DIY Felted Wool Seating Pad Knitting Pattern

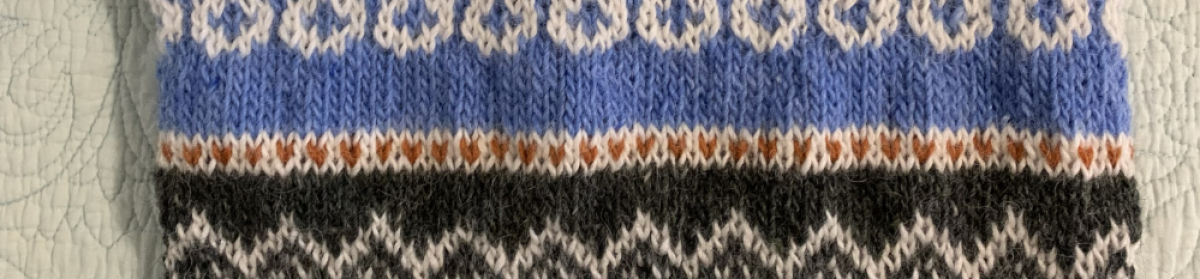
Knitting a simple wool chair pad to use up some heavy weight and worsted wool. This DIY pattern uses Fair Isle, colorwork that is simple and can easily be changed.

This is a free pattern for a felted wool seating pad. It’s an old pattern, and doesn’t have a lot of information. The colorwork is by chart only, but it’s a simple chart. Also, your own colorwork designs can be substituted. It’s what I decided to do. Or, don’t do Fair Isle, and make it all one color, or stripes. Anything works really. The colorwork makes it a bit thicker.

Scroll to get the pattern link, listed further down the page.

Need some helpful advice for reading a colorwork chart? I have written a page that will help.

Yarn Ideas

Worsted or heavy worsted type wool yarn. I used Lettlopi leftovers for this one. It doesn’t matter really as long as it is all wool, or other animal fiber that will felt.

The Finishing Process

Once the sewing of the pad was completed, I needed to figure out how to sew up the ends. The pattern group that was formed seven years ago seems to be unavailable, and when I searched YouTube I didn’t find an answer.

Because the edges were really curling, I decided to rinse the project and block it before attempting to close up the edges.

For the felting part, I washed the pad in warm water in the sink and alternated with cold. I continuously scrunched the fabric, swishing it, rinsing and re-doing. This pad did not felt a lot and maybe it needs to go into the washer. I might re-do it.

Questions and Answers

So how did I get those ends sewn up? I used a crochet hook. After the bind-off I left a long tail and simply pulled the yarn through each side of the flattened project until I reached the end. The stitch was like a single crochet and it was pretty easy with those larger stitches made by the heavy weight yarn. No need to be precise or too worried, it’s pretty easy. *I do suggest marking the halfway point (as you knit around) so the sides line up.

For the other end, I added a long piece of yarn and did the same thing.

Skibum edges after being closed up using a crochet hook.

Does this cushion need to be tacked down before felting? No. I was worried it would twist or felt to itself, but that didn’t happen. It might be a problem for another type of yarn, I don’t know.

Uses For the Chair Pad

This seating pad is named the SkiBum and is meant to keep your butt warm in winter. I don’t know much about that except I guess if you ski or hike and need a place to sit you would whip it out of your backpack and sit on top of the snow.

So what will I use it for here in Florida?

Right around the same time I found this pattern, I had been camping. It was December and although real winter never really reaches into Florida, we do get cold nights and mornings. It rarely remains cold all day, but it can.

While camping, we sit around the fire at night. My folding chair is made of simple canvas, without padding, and my butt was cold. I grabbed the cheap foam pad (see photo below), which I use on the picnic table bench, and set it under my rear. When I found the SkiBUM pattern, it seemed like a great solution to this problem! I’d rather sit on wool.

Also, we always need something to use year round when sitting at the picnic tables.

camping chair pads on picnic table

Wool is usually thought of as being used to keep us warm. Wool is also great for staying dry. Think, wool hiking socks. A wool seating pad should be fine for year round outdoor seating at a campsite.

Finished Chair Pad

I followed the pattern directions for the cast on number and did some of the colorwork from the chart. Mostly I went off on my own and did simple Fair Isle knitting. It didn’t even matter if the count for the pattern was correct because it would be off at the side (the beginning / end point) – no one will really notice it.

Hand knit Skibum chair pad on top of black cat
Fontana was in the way, so I left her in the shot!

I am now in the process of making more of these pads. It’s a nice way to make something useful and use up my yarn stash.

Thanks for reading…

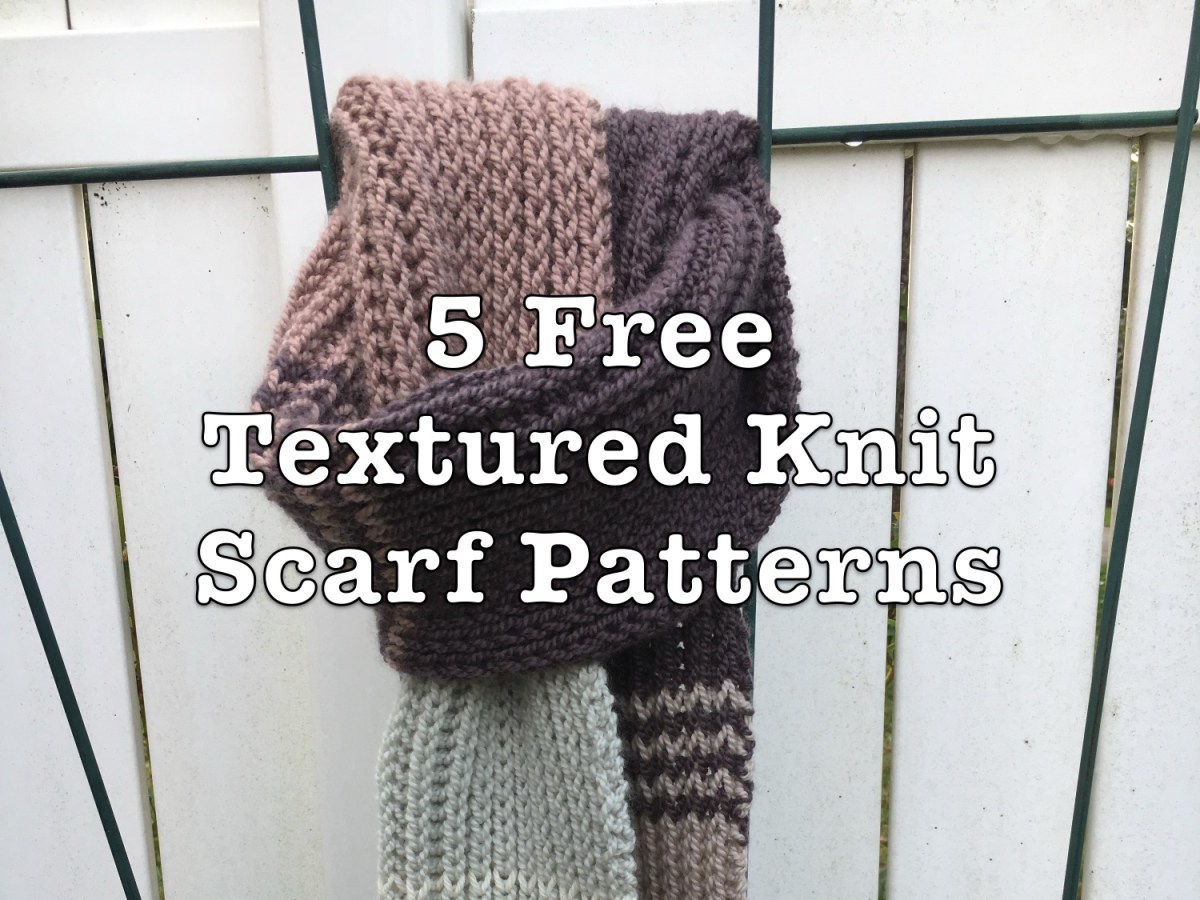
Five Cozy Scarf Knitting Projects For Fall

Five cozy scarf patterns to begin knitting this Fall. Keep for yourself or give to friends and family. The selection has small and long scarves, with many free patterns included.

When I began knitting, I knit long, quite ugly, mistake riddled scarves. I didn’t care because it was great practice. I used the incorrect type of yarn (sock yarn) and simply knit row after row of stitches in crazy combinations. I wanted to see what the different types of stitches would do.

There is a better way. Use the correct yarn for the project (soft yet warm) and follow a good pattern. That way the end result is wearable and possibly giftable as well. On this page I am listing small and large scarf styles – many are Free patterns. Most of them work for men and women.

Fall is the Time For Knitting

I’m betting that more knitters pick up the needles in fall than in any other season. Cool weather gets people thinking about some wardrobe additions. New mittens, hats and of course scarves are on the list.

Today we are talking about cozy scarves. I live in Florida and miss (very much) being able to wear a nice scarf. I knit sweaters often, and do wear them a few times, but a scarf is simply too out of place in the Sunshine State.

Will You Keep It or Give it Away?

Christmas is coming. Fall is the time when we begin to feel the pressure of giving gifts to EVERYONE! I have good news for you – a cute little scarf makes an awesome gift. It works for co-workers, the boss, a sweet neighbor, young people, old people, men and women alike.

#1. The Sophie Scarf by Petite Knit – View her pattern page for a list of suggested yarns. Simple little one skein scarf patterns may get your attention. One skein sounds doable, right? Cheap and quick. The Sophie Scarf has been very popular. I knit a few of them, but I used more than a skein. I decided to use a cashmere blend, which comes in small balls. But, you can easily knit The Sophie Scarf using a larger skein. It will tie right against the neck, so choose a soft yarn.

#2. The Sophie Hood – larger Sophie, with a hood. If you have more time to spend, knit the Sophie Hood pattern and include a head cover built into the scarf. It will take more yarn, but it seems very simple. I have not knit this one.

#3. Wheat Field Scarf – This one is longer, and has some simple cables and creates a texture. Show off your skills and impress the recipient. This pattern is currently FREE! There is no information about type of yarn or length – but a normal scarf usually takes around 3 normal size skeins of yarn. It looks like a good, all around style that works for everyone.

*FYI – if you knit a scarf with a texture, it’s best to use a solid color yarn to show off the stitches.

#4. Braided Rib Scarf – by Purl Soho – A simple looking, unisex design with suggested yarn and measurements. This is currently a FREE PATTERN. The scarf is a long, wrap around the neck style with ribs.

#5. Close Cable Scarf – by Purl Soho – a shorter scarf that hooks through itself by creating openings on one end. This one is perfect for wearing under a coat to cover the neck / chest area. It is another beautiful FREE PATTERN.

Advanced Knitters Can Make Their Own Pattern

A scarf is a simple thing. Begin on one end and finish at the other. An experienced knitter will know how to create stitches that go together to make a pretty repeating pattern. It could be as simple at making a rib of knits and purls, or create an eyelet with yarn overs. Even cable “how to’s” are easy to find online.

Whichever way you decide to go, there are some things to consider. Will the person receiving this scarf gift be willing to hand wash it? Or, do you need to make it easy care with washable yarn?

If I was knitting one of these scarves for myself, I would spend a little money and use some nice, soft yarn. After all, it could be a once a year new accessory for the winter wardrobe that will last a lifetime.

Knitting Project Review: Magnolia Chunky Cardigan

This sweater knitting project was a fun one. Although there were a few things to figure out, I recommend the pattern to any fairly experienced knitters out there.

The Magnolia Chunky Cardigan is a beautiful sweater design. It is offered by designer Camilla Vad, and you can find the pattern to buy here.

I like to read through the comments by knitters who have previously knit a pattern. In this case, I think it was very helpful. I wrote a blog post about this when I first began to knit the sweater in September.

These photos were taken in the early morning, before the bright Florida sun could interfere.

A Pattern That is Fun and … Quick

I don’t think I have ever said that a sweater pattern was a quick knit. I always see knitters saying this, and usually I completely disagree. Being quick while knitting is not something I care about. I knit for fun, and it’s not a race. But, this time was different.

The types of sweaters I have knit usually become more boring as I knit down the body. Sleeves are usually slow-going as well. Because this pattern gives us something to concentrate on toward the hem and cuffs, I was not bored.

The body, with the nupps (or bobbles) did take some time. That one row with double bobbles was super time consuming…! There was always something to look forward to when knitting this project.

The sleeves were the fastest sleeves I’ve ever knit. Yes, they are 3/4, so that helps. Also, it is worsted yarn on size 10 needles. This also helps. LOL … The lace before the cuffs is easy – with no nupps.

Mods I Made

I really only changed a couple of things while knitting this cardigan. I added about 3 extra rows after the sleeves and body division. This is a good place to make the body longer. The few rows I added didn’t make much of a difference.

The nupps, when I made them, didn’t look great. I practiced on some swatches and ended up doing bobbles instead. You can find the link to making Bobbles that Pop on my Ravelry page. They take more time, so it’s your choice.

Yarn

The yarn came from my stash. Like most knitters, I have a stash to use up. I loved the “Suede” color of the Highland Wool (Harrisville Designs) but I had purchased it on cones. The color is mostly gray, but with some brown. It’s so hard to capture the color, but trust me, it’s nice.

Cone yarn is a bit different because it’s meant for weaving and machine knitting. Because of this, the yarn (I used) is thin and a bit stiff. Cones usually contain oil, which means the yarn needs to be washed well once the project is complete. Some people wind the yarn onto hanks and pre-wash it to remove the oil.

Below are photos of the lace part of the cardigan taken before and after being washed. It may be hard to tell, but after washing the fabric softened and filled out (bloomed). (The color comes out differently because of lighting.)

The Highland wool creates beautiful hand knits. It comes in skeins as well. Most buyers use the cone put up for weaving. The cones tend to be without knots and ends – just one very long strand (450 yards). I remember finding only one tiny knot when knitting from these two cones. And the knot was way at the end of the first cone.

Cost is another consideration when knitting a larger project, like a sweater. Sweater yarn usually costs me around $100, give or take, depending on the yarn. I knit the Magnolia Chunky Cardigan using less than 2 cones, and each cone cost $25.50. That is less than $50 for the yarn to knit this sweater. And the yarn is nice wool.

How I Washed My Sweater Knit From Cone Yarn

Washing a garment made from yarn on a cone takes a bit more effort. I am no expert, but most places I found for advice said to wash in hot, or very warm, water. (This could be a problem if you use cones for colorwork, or combine various colors in a garment. I’m not sure about colors running and bleeding together in warm water. The addition of vinegar can usually help, but I’m not sure about that in warm water. Please leave a comment if you have some experience with this.)

My sweater is all one color. I washed it twice using Woolite. Some people use shampoo, or dish detergent. Those first two washes were done in quite warm water. I couldn’t bring myself to use hot. I saw a lot of gray water in those washes, meaning something yucky was definitely coming out. I let the sweater soak for about 10 minutes each time.

I did a cool water rinse, and then a second. The last rinse was clear, and that is when I added the Eucalan (Amazon paid link) to soften the wool.

A Worthwhile Knitting Project

The Magnolia Chunky Cardigan is unique and beautiful. It’s not the fit that looks best on me, but I couldn’t resist giving it a try. It is an elegant sweater, and probably deserves to be knit with some very pretty (and probably expensive) yarn. But my choice of wool works too, and I’m very happy with the outcome. Now, to find buttons.

Knit / crochet buttons links:

Wearing the Magnolia Chunky Cardigan

Update: Since finishing (minus buttons) this sweater, I have been wearing it often. Thankfully, it’s “winter” weather here in Florida – at least for part of some days. I love the 3/4 sleeves, and the fabric is soft and warm. I love it!

Pattern Review: Beginning the Magnolia Chunky Cardigan

I’m knitting a beautiful cardigan pattern by Camilla Vad. The Magnolia Chunky Cardigan is knit top-down with lace and bobbles on the body and sleeves. On this page I cover some issues I had in the beginning.

This is such a pretty cardigan, with lace at the bottom of the body and sleeves. The Magnolia Chunky Cardigan (Ravelry page) is a design by Camilla Vad. Although “chunky” is in the name, it is knit with a worsted weight yarn, or a combination of yarns held together that equal a worsted weight. The finished sweaters on her Ravelry page (link above) are so beautiful.

This button up sweater is shorter, with a boxy shape and 3/4 sleeves. Many knitters have lengthened it and knit long sleeves as well. Usually, I like a longer sweater, but this one is quite pretty as is. Personally, I like the way it is meant to be, so I will probably follow the pattern as written. Don’t hold me to it….:)

Heads Up

This is not a beginner pattern. It includes lace, which means yarn-overs done correctly. It includes bobbles (new to me), increases, knitting and purling through the back loop. There is a button band, or one with buttonholes. You should have experience with most of these things to complete this pattern.

The Yarn I Chose

Harrisville Designs Highland Wool, on a cone, is the yarn I chose for this cardigan. It is worsted weight, in the color Suede. The light gray yarn has a bit of brown in it, but the color is very neutral. Each cone contains 450 yards, and I have three cones. The yarn came from my stash, but I love the color for this project.

Harrisville Designs yarn cone Highland wool in color Suede.
Highland wool cone – color Suede

This yarn is awesome. I love wool, and it is strong and consistent. There are knots, but they splice nicely.

This one can be a little tricky

Almost as soon as I began the sweater project, I had some trouble.

With this pattern, for whatever reason, some things could have been made much clearer. Thankfully for me, I am late to the party, and over 2,000 cardigans have already been knit from this pattern…. so it is popular! I want to thank the knitters who kindly shared helpful notes on their Ravelry pages.

Edge Stitches

This seems to be the biggest problem knitters have with this pattern: Edge stitches. At times they are included in the line by line directions, but not always. More about that in the “yoke increases” section below. But first…

The First Wonky Thing

The cast on and twisted rib neckline are done on smaller needles. Once the rib is complete, you simultaneously switch to a bigger needle while also beginning short rows.

If you are familiar with how short rows are done, you will know that a short row is just that – it stops short of the entire row, and then turns to knit back (or purl back) the opposite way. Knitting goes back and forth like this to lengthen the back part of the sweater so it will fit correctly. It is needed. You will be working off two different size needles until all the short rows are complete.

When I got to the “turn” I mistakenly picked up the smaller needle to knit because it was there! I had to rip back and use the larger needle while letting the stitches on the smaller needle just hang there. This was very odd, but worked out fine when I paid attention!
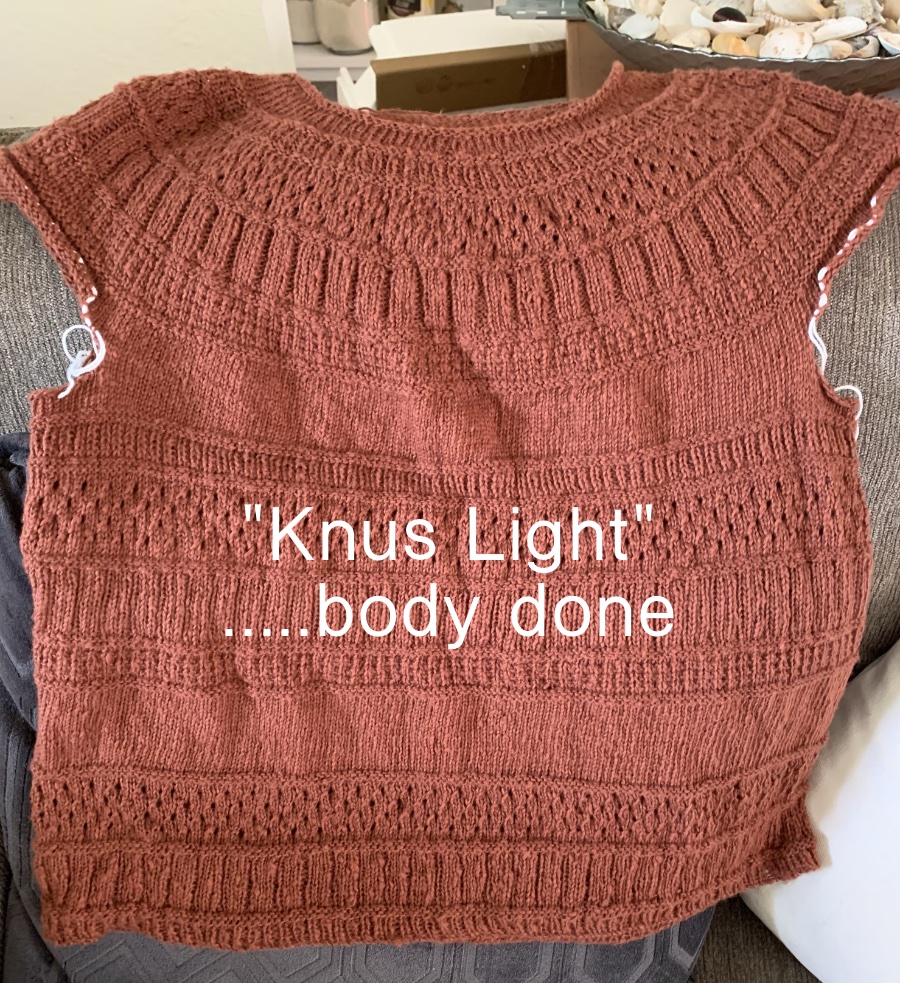
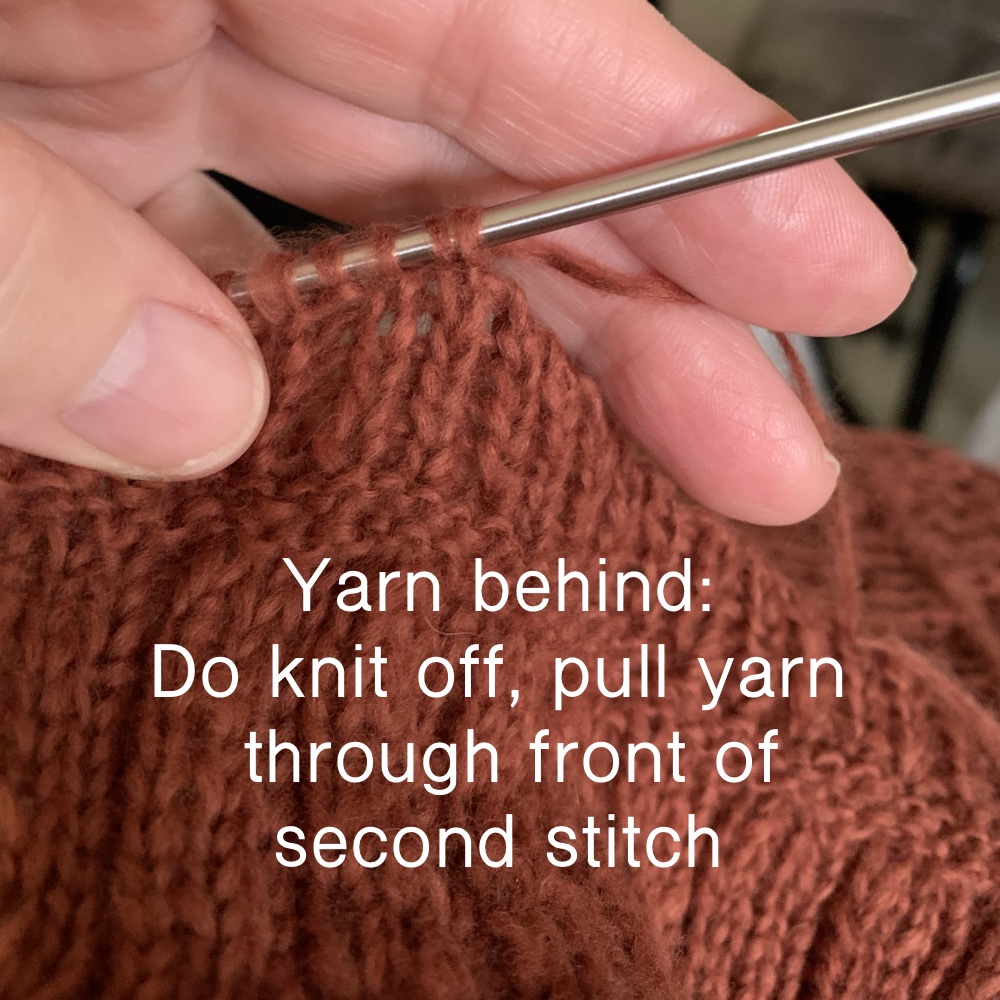
When expanding past each turn, just knit those few stitches off the small needle. And remember to pick up the larger needle as you knit, or purl, back.

Yoke Increases

The designer makes a note at the beginning about making sure we don’t stagger the yoke increases. They should line up over one another. Each knitter must figure out how to space their set of increases. For the size Large sweater, which I am knitting, 11 evenly spaced increases must be figured.

I THINK that the trick here is to not include 2 stitches (the edge stitches) when dividing up the number of stitches for increases. Now that I’ve passed that part of the pattern, I can’t be sure. Next time I would try that.

This threw off my subsequent rows. Things did not match up to the pattern, but I marked the increase locations and kept my increases lined up – even though they were not exactly where it seemed they should be. All my stitch counts were correct.

The Lace and bobble making

If you follow the pattern, the lace section will begin right after the body and sleeve separation. I knit a few extra rows here before beginning the lace. This is a good place to add length to the body, if you want it.

The pattern has some stitches that do not show up in the lace chart, or the lace written directions (the pattern has both). These stitches are mentioned before beginning the lace section. We simply must remember to add them when we knit, or purl, each row. The best way to do that is to use stitch markers.

I’m following the written out lace pattern. I rarely knit lace, and when I do, I usually have trouble. Those darn yarn overs get me every time!

Those end stitches will remain knits – except for the extra one. Refer to the directions for changes to it.

Nupps or Bobbles – Swatching for Practice

I’ve never done a knitted bobble, but this pattern has something called nupps. They look like little knitting bobbles.

Before trying my hand at bobble making on my sweater, I decided to practice on a swatch. I practiced making the bobbles shown in this video. She goes a little fast, but it’s easy to pause and catch up.

To practice my bobbles and nupps, I knit a couple of swatches. I had a hard time at first with the pattern nupps. They are easy to do, but didn’t look very good.

Image below: Nupps tan swatch, and bobbles gray (many mess ups).

knitting nupps and bobbles

A bobble is fairly easy to unravel FYI, just in case it looks really awful.

My question is this, will the bobbles be too large compared to the nupps? Maybe I can find a nupp video. YAY… Mostly Knitting has a good Nupp making video which you can watch here.

To Be Continued

The directions for this sweater are actually pretty good. It’s just that you have to be careful and go back and reference particular rows and stitches. I’m grateful that all the lace rows are also written out! I’m not good at reading charts.

Now, I am going to finish the lace and ribbing and then start the sleeves. If I come across any other tricky directions, I’ll be sure to share. And if anyone who has already knit this sweater wants to chime in, please do so in the comments and help us out.

By the way, Camilla Vad has other beautiful sweater patterns. Her pullover, Magnolia Bloom, contains this same lace pattern, but it’s on the yoke. I have already knit the immensely popular Field Sweater.

divider image animals in sweaters