New England native, Florida resident. Blogging about boating, beach-combing, gardening, camping, and knitting. Work for Zazzle as a designer since 2008.
Writing a blog, sharing photos, and doing research and making links takes time. Lately I don’t think the time spent doing all that is worth enough to continue.
I have stopped writing my gardening blog, and downgraded my seashells/ boating / camping blog. I’ve been spread too thin for too long. The past 18 years have been spent working for an online POD store only to find that they have made unreasonable changes lately that I find hard to live with.
I am not young, but I must keep working so now I need to spend time building a new stream of income. When I weigh writing and blogging against time I can spend trying to earn an income, I realize I can’t do it all.
I will continue to knit, garden, and do all the things I enjoy. But writing takes way too much time away from other things.
I hope this knitting blog has been helpful to some readers. I honestly don’t know because there isn’t a lot of feedback. I will update occasionally, but not as often.
If you are a knitter, keep at it and have fun! I’m not done knitting. It is a lot of fun, but I may be updating this blog a lot less now.
How many projects do you have on your needles? It is not uncommon to find that fellow knitters have many things going at once.
Why is it that knitters usually have many projects going at once?
Well, we love yarn, first of all. Seeing a pretty yarn, or a nice sale, makes us sure that we can find a project to match it. Awesome patterns run a close second. Pattern designers know how to push our buttons. With beautiful images, and affordable pricing, how can we say no?
Biting off more than we can chew is a typical habit of crafty people. Somewhere between the high of receiving a new bundle of yarn in the mail, to the stress over finding a place to keep it all, we have been casting on much more often than binding off. We can’t keep up. Who could?
Buying yarn is a quick process. Creating a handmade item takes time. We know this, yet we can’t seem to stop getting ahead of ourselves.
The Big Reason: New Yarn and / or New Patterns
Browsing Ravelry or Instagram, or your favorite social place will often bring up something beautiful. This leads me down the path to checking on the pattern, and yarn used, reviews and comments. It can be a rabbit hole. I think that “this is the pattern I should be knitting instead of that sweater I really don’t like”. Or, “what a great way to use up that yarn in my stash”. I need to start this project right away. Everything else can wait!
Or, I get a newsletter e-mail. I’ve completely removed all but one yarn seller from my e-mail list. Pascuali is the only one I get, because I love the company and the yarn. Their newsletters are interesting, and for me, that one is enough. When I would get all kinds of notices of yarn sales, I would feel obligated to buy because of the discount. That is how I ended up with loads of yarn I would never use. I donated it.
Another way to become bombarded by yarn is the offer of free shipping. If you spend this much, shipping is free! Okay, I can find a few more skeins that I will use one day…. blah blah…bad idea.
Time of Day Knitting Projects
I believe it is actually a good thing to have more than one knitting project going at a time. Often the projects I knit will range in difficulty, and are appropriate for various knitting opportunities.
Being a morning person, tougher projects get attention early in the day. Whenever the yarn is hard to see, I must knit in daylight. I sit by the window and enjoy the natural light. When nighttime rolls around, and I’m watching a show or movie, I need something mindless and simple.
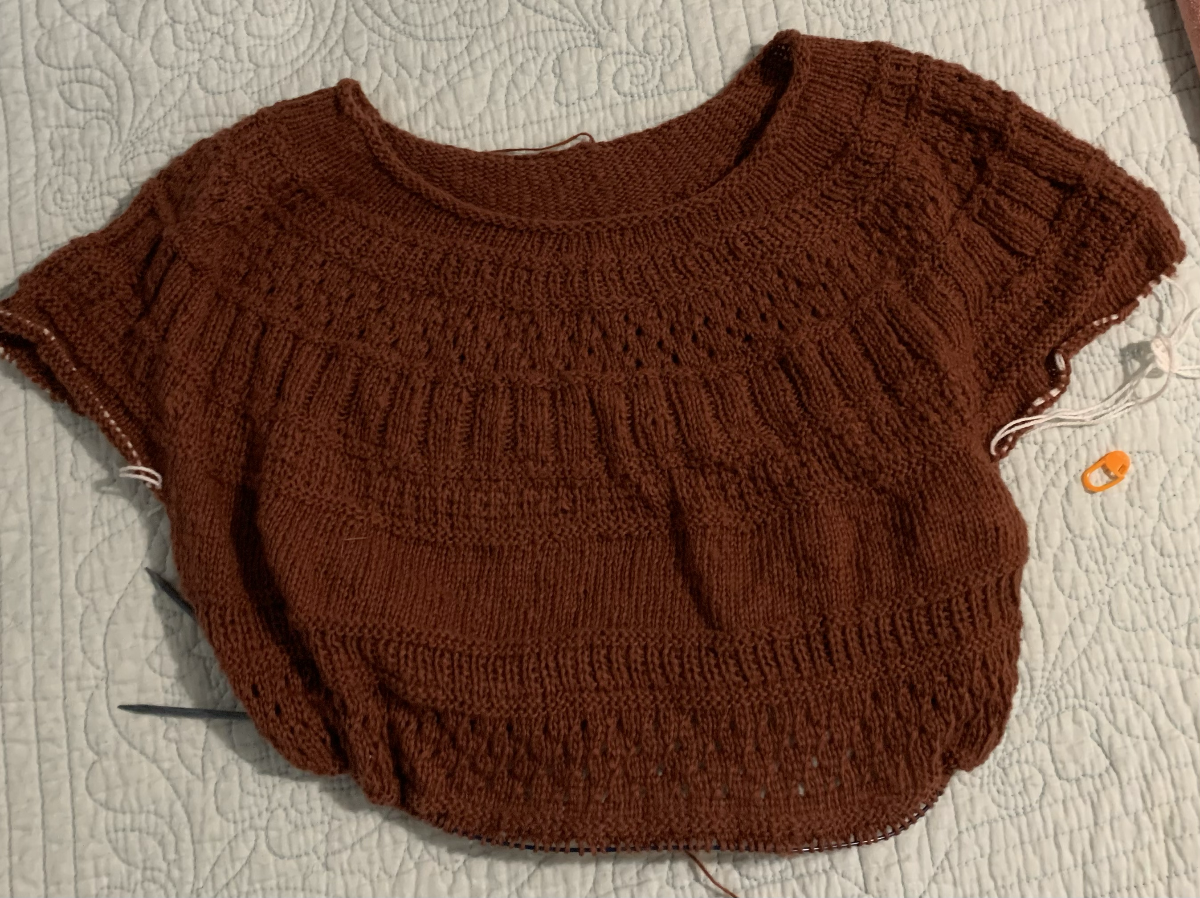
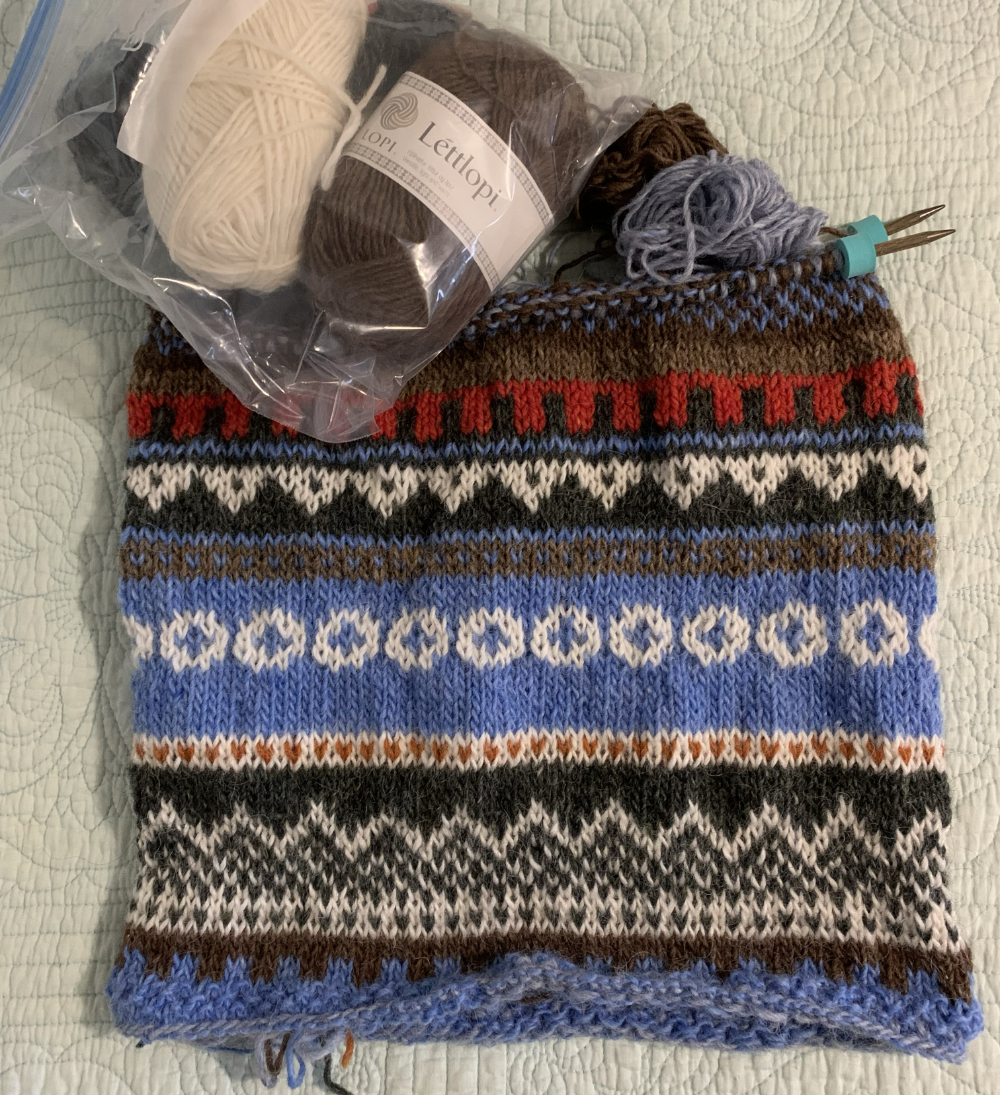
The Knus Light top is a morning project. The dark rust yarn makes the stitches a bit hard to see and the fingering weight means the stitches are small.
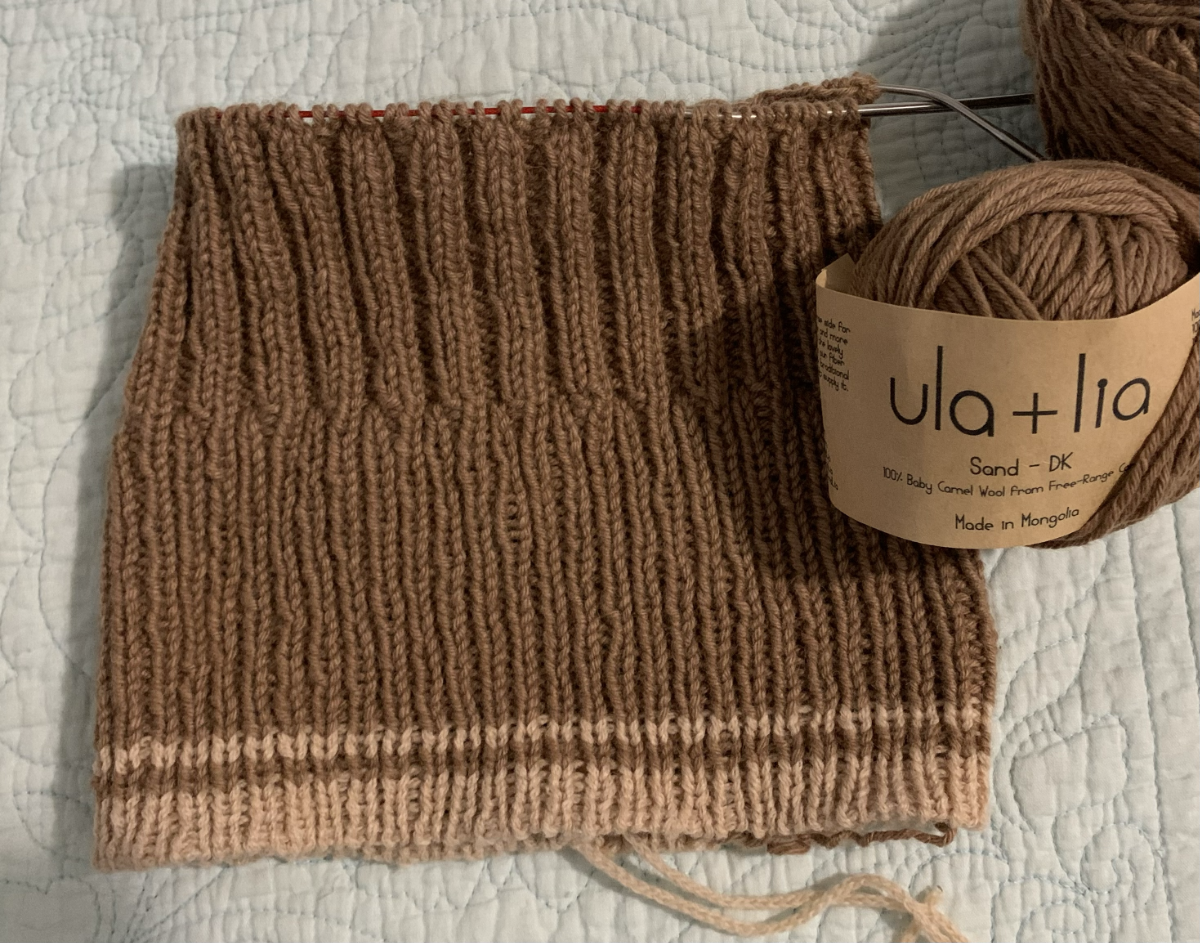
On the other hand, the Dual Loops Beanie is a simple rib – until the crown, which gets finicky. The roundness of the camel hair yarn makes the stitches easy to see even though the color is darker. That project is great for nighttime.
Then, we may have the projects that are easy to accomplish while traveling. I personally like stockinette or ribbing. Smaller projects that pack easily include little scarves, dishcloths, and hats. Also, sweater projects where the body is ready with lots of stockinette.
Simple Stripes, my versionSkiBum seating pad
It’s no wonder we knitters have more than one project lying around the house. The availability of needles stops me from having more!
Organizing Our Knitting
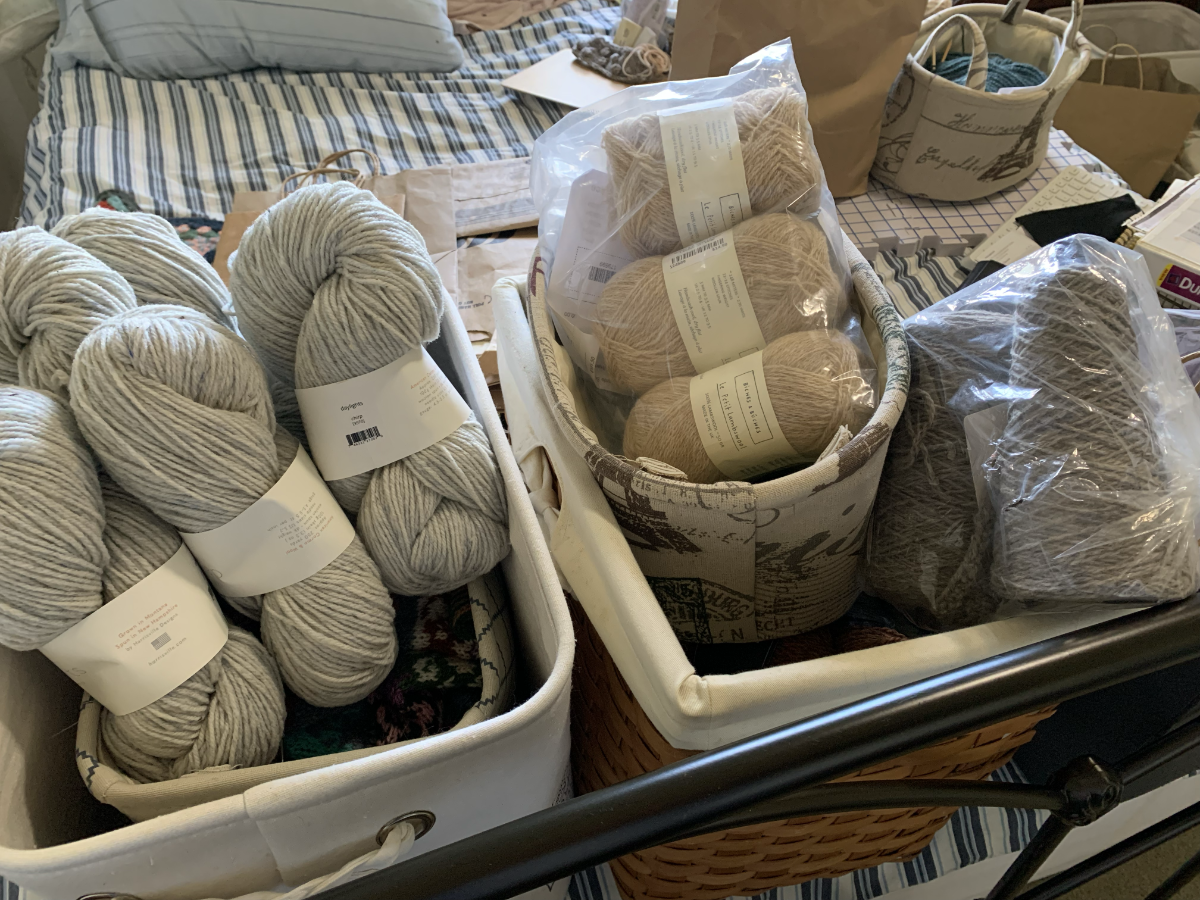
I’m in the process of organizing my knitting room. After reducing my yarn stash, and removing yarn I know I will never use, I feel much better. I want an easier way to store and find my yarn, instead of using bins and bags. My plan is to buy shelves and use baskets.
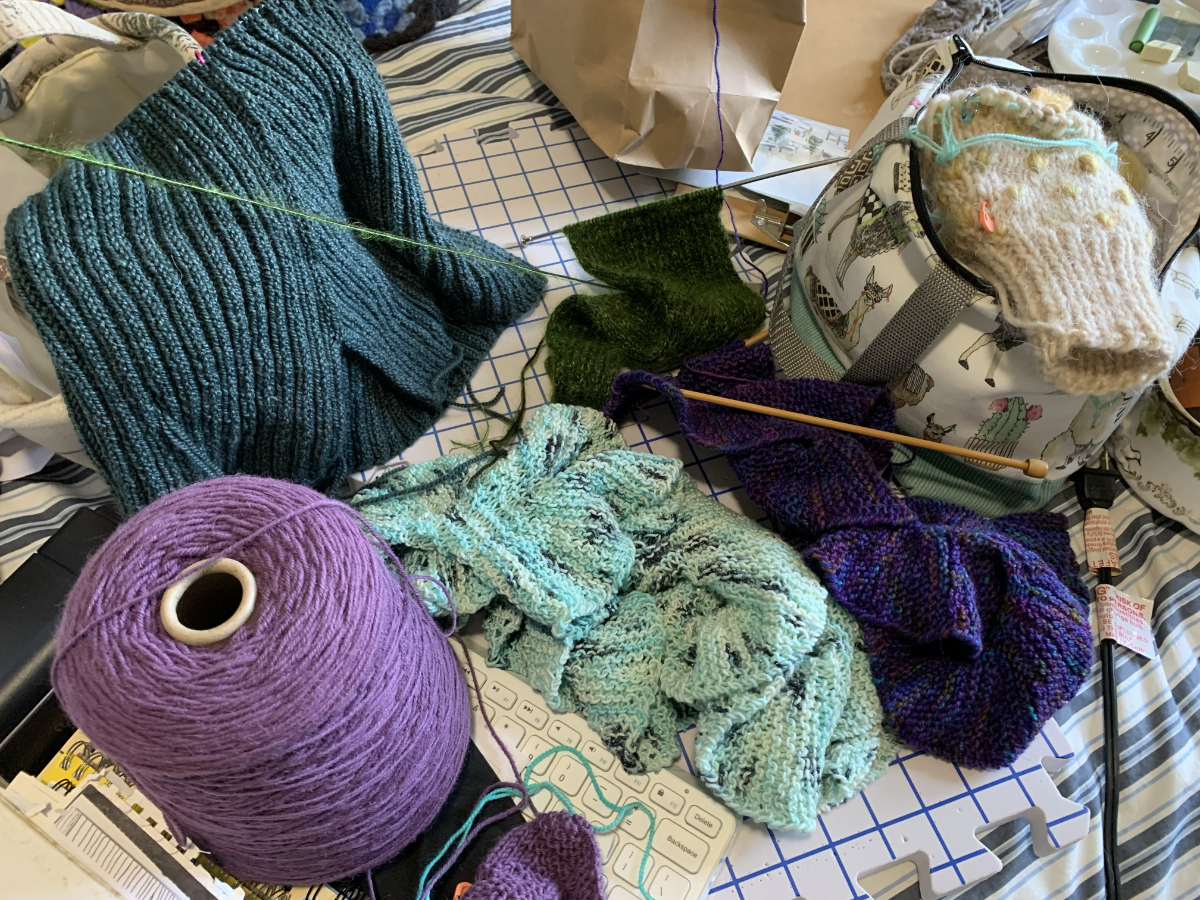
Knitting projects in the worksPart of my stash
As I am cleaning and downsizing, I’ve come across more unfinished projects. These are projects begun years ago…Do you have those? They aren’t bad, just uninteresting. And because I live where it is seldom cold, the cowl and mitten projects won’t be something I’ll use anyway!
I’m not alone in having many projects going at once. But, sometimes I have to say, time to catch up.
What have you been knitting that fits into these categories? Do you have a favorite take-along item? And of course, how many projects are on your needles! Be honest, we don’t want to feel alone.
Thanks for reading. Here are more posts you might like.
A new year means a brand new knitting project to begin. What will you be making?
Believe it or not, this unfinished post has been sitting around for a year! I had to change the title for 2026. Talk about being behind!
Last January
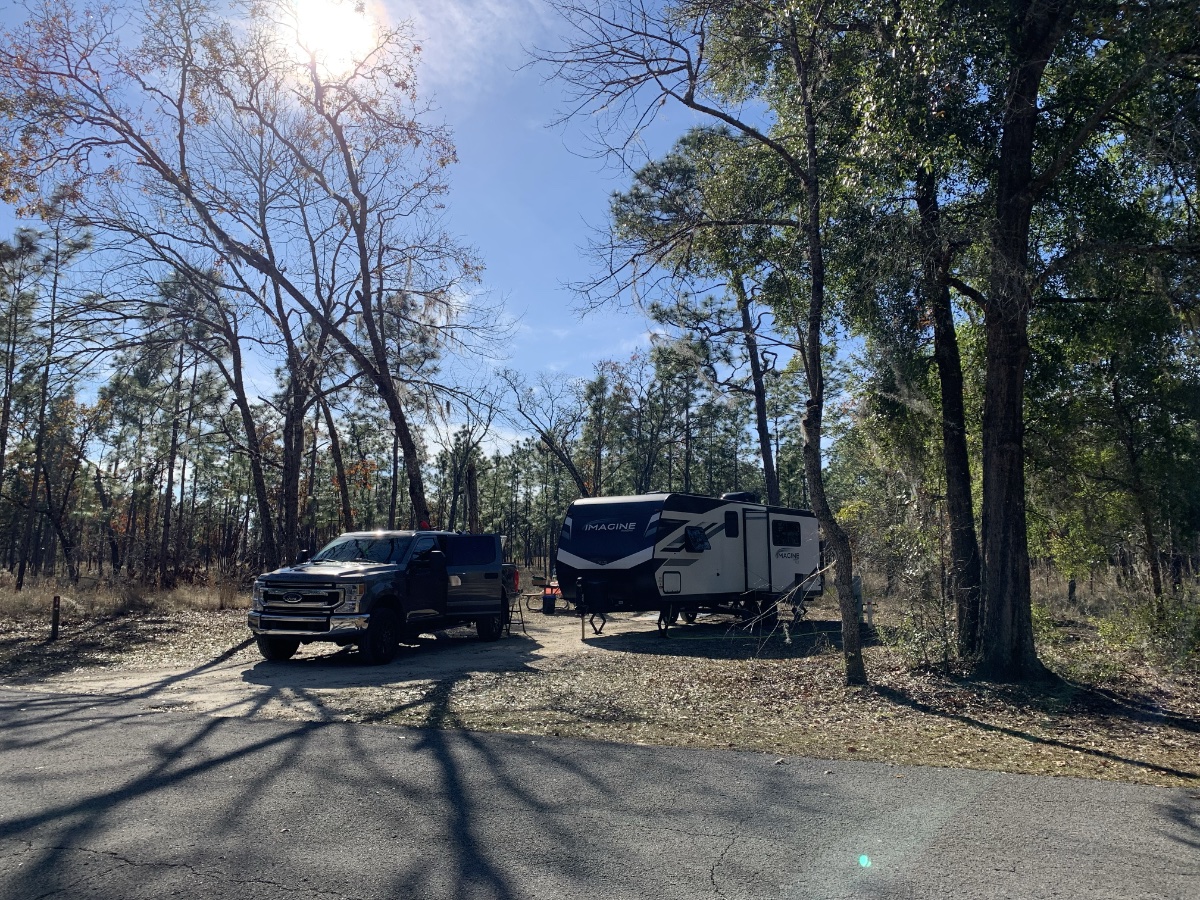
We went camping the beginning of January 2025 (pics below) and I wore my Calliope 2 sweater. It does get cold in Florida and it is a damp, nasty cold. Sometimes we even have ice! The hand knits that sit in my closet and under the bed for months and months, finally come out and get some use. We had fun camping last January, even though we had to bring our cats!
In the photos below we are camping in north Florida at Mike Roess Gold Head Branch campground. I love this area for the hills and trails. Bike riding is a challenge (for this old gal), but lots of fun. The campground is expansive, with lakes and three separate areas for RV and tent camping.
Winter camping, sweater weather- yay!
Our campsite – January
Plans for This January
We are not camping. The past two years of camping in winter made me re-think it. In Florida it can be nice in January, and it can be downright cold. This year we are skipping the January camping trip. That means it will probably be a beautiful and temperate month…LOL.
I will stay home and knit instead. We do have some fun planned, which I may share – we’ll see how it goes.
January 2026 and a New Cast On
I like to begin the new year with a special knitting project. I’ve been thinking about knitting a cable cardigan for a while. Cables are time-consuming to accomplish, and I knew the project would require the best yarn combined with an awesome pattern.
After much thought and lots of searching, I hope to be casting on for the ….. Book Club Cardigan.
Sari Nordlund is the designer and I see her knits on Instagram all the time. Usually I feel like they are too difficult for me to manage. But, she assures us (right on the product page) that this cardigan is easier to knit than it may appear. It is seamless – meaning there are no pieces to sew together. Often a cabled cardigan is knit in pieces and then the pieces have to be attached. This pattern is not like that. I’m looking forward to it.
I just need to buy some yarn.
After completing the Simple Stripes sweater and a beanie, time got away from me. Already it is New Year’s Eve! And I don’t have the worsted weight yarn for the cable cardigan.
Do your New Year plans include a new knitting project? I ‘d love to hear about it. Thanks for reading!
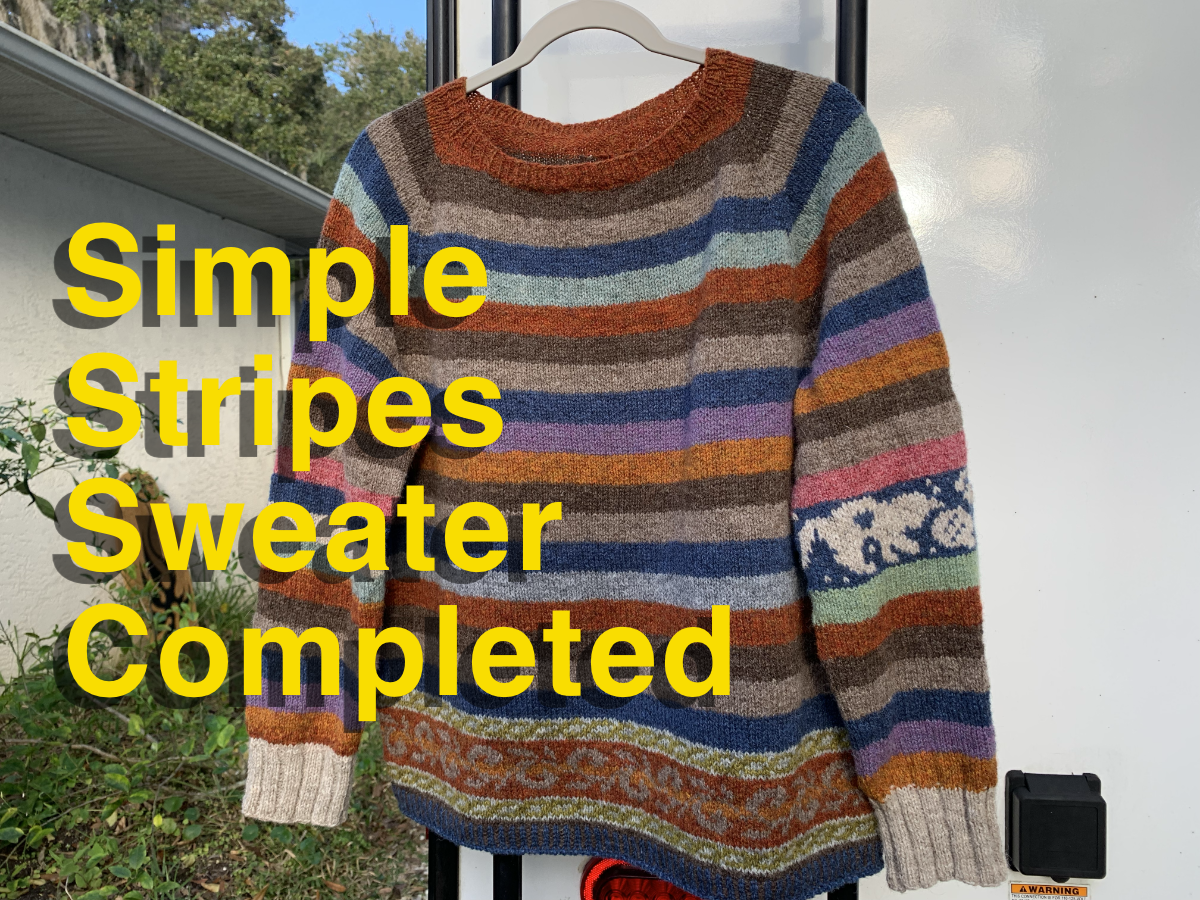
I finished knitting the Simple Stripes pullover on Christmas Day. Here is my review and photos.
Yup, I was knitting on Christmas Day. I live with my son and he is a firefighter so he works. That means I had the whole day to myself. Of course I did some knitting.
The Simple Stripes pullover was nearly done, and my goal was to get it off the needles.
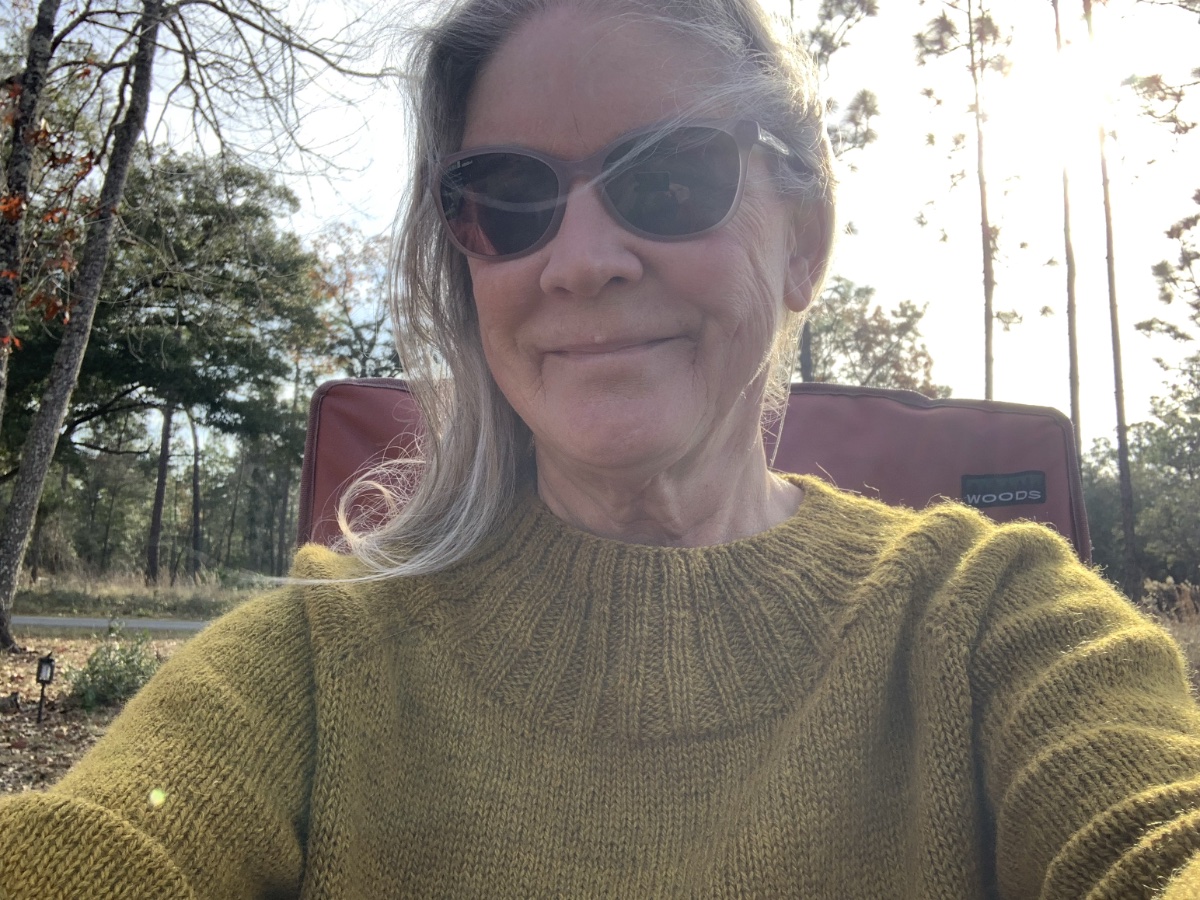
Two days later I took it outside and got some photos. We are having beautiful weather here in central Florida. Not cold enough for a sweater (except maybe in early morning). And I’ve found that the camper ladder is the perfect location for a photo.
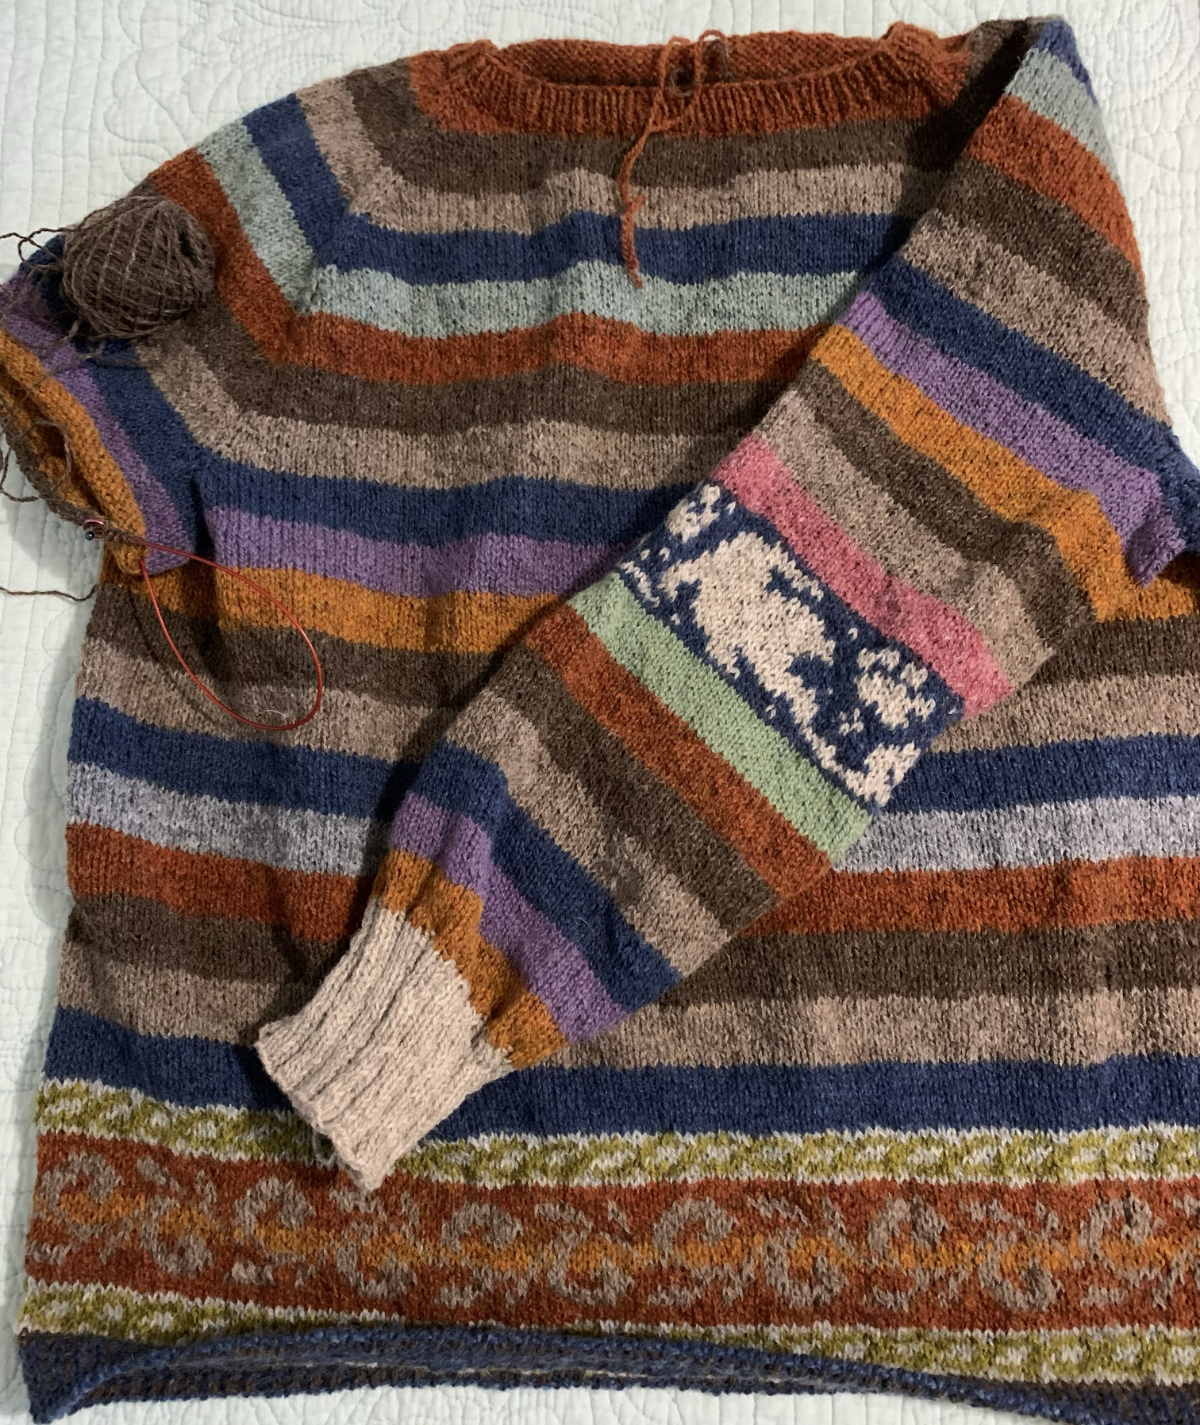
Simple StripesAdded my own things
After having some counting problems on the sleeves (oh brother), I got the cuffs finished. For some reason I decreased too much, then had to add back about 5 stitches. I almost ripped it back, but decided not too. It’s Christmas – why annoy myself? Haha….
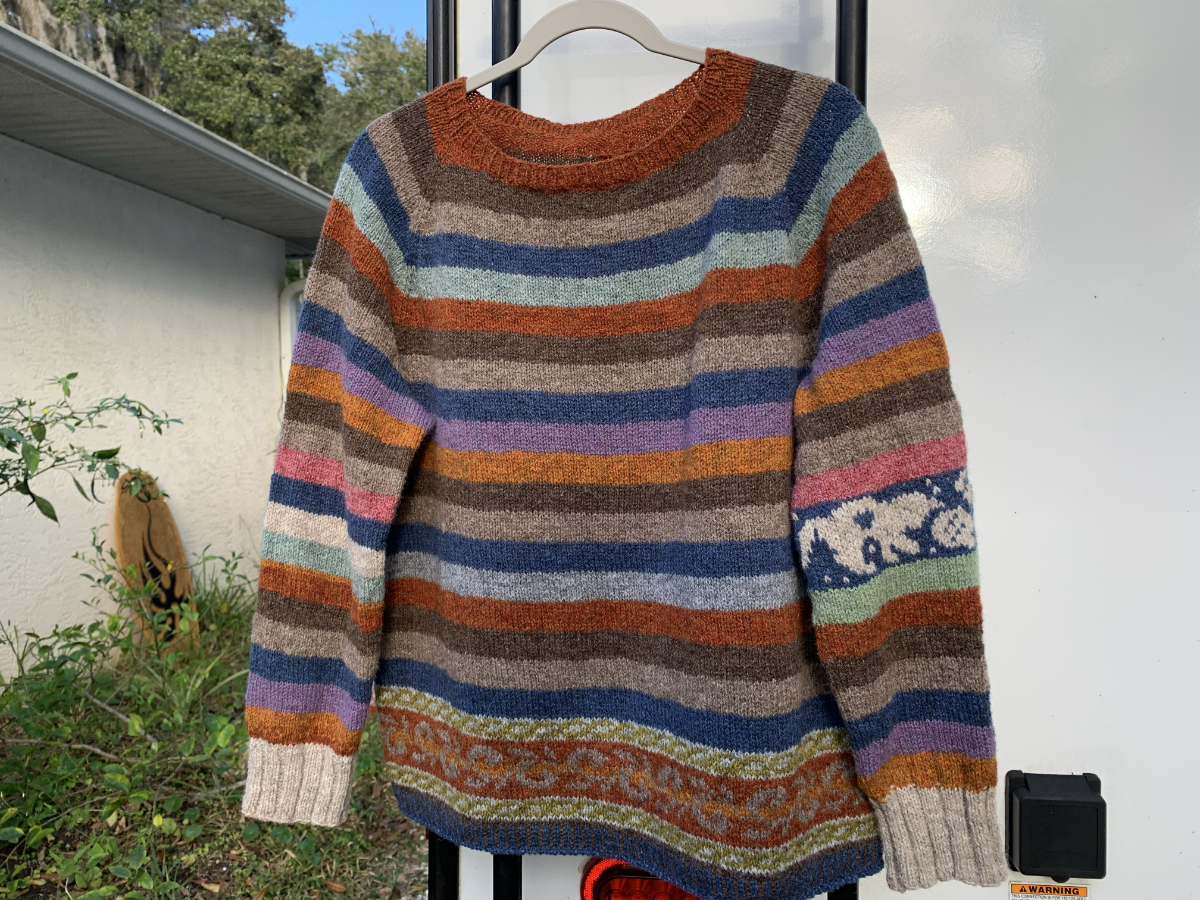
The sweater pattern was simple enough, and it’s a good choice for using up stash yarn. The knitting can be a bit tedious because we are using fingering weight yarn. And I know now that I don’t like doing colorwork on sleeves!
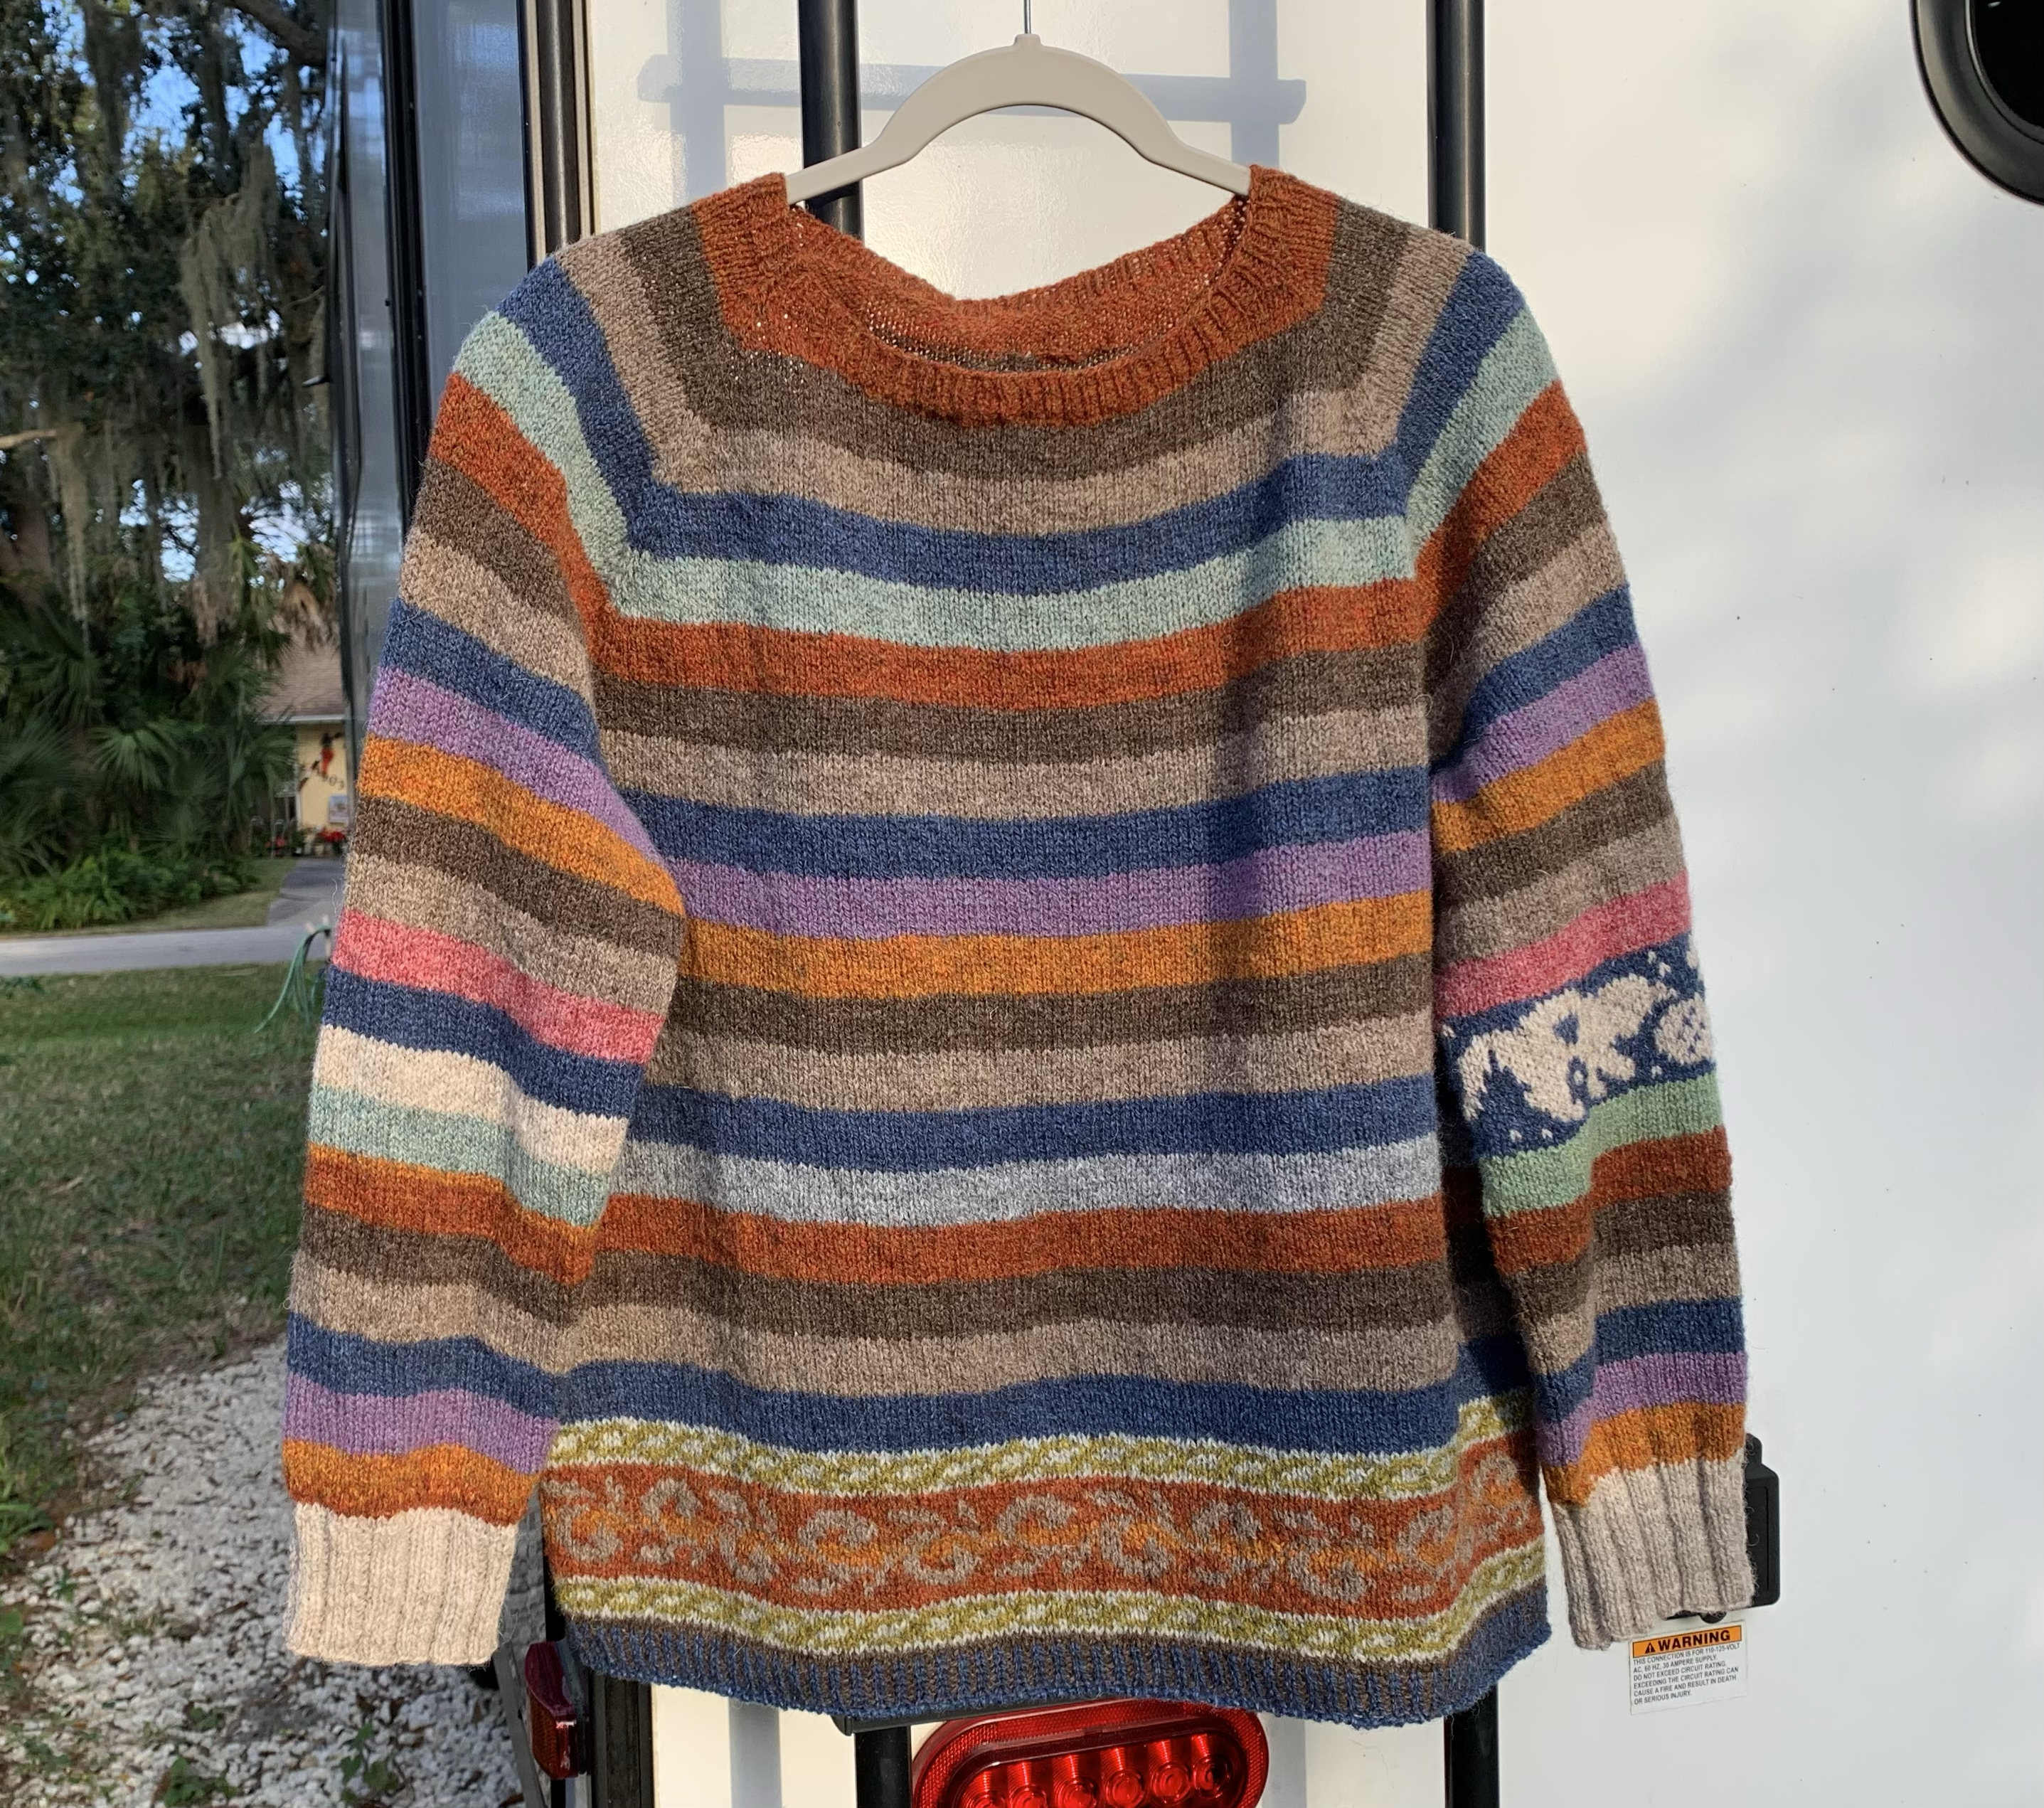
I managed to do a cat playing on one of the sleeves, but did nothing on sleeve #2. There is more colorwork at the bottom of the body (my own mod) and a corrugated rib at the bottom. This is all my own idea. The pattern has a sewn hem. I didn’t make the wisest choices, but this will be a throw on to wear around the campfire. I am not concerned with small things.
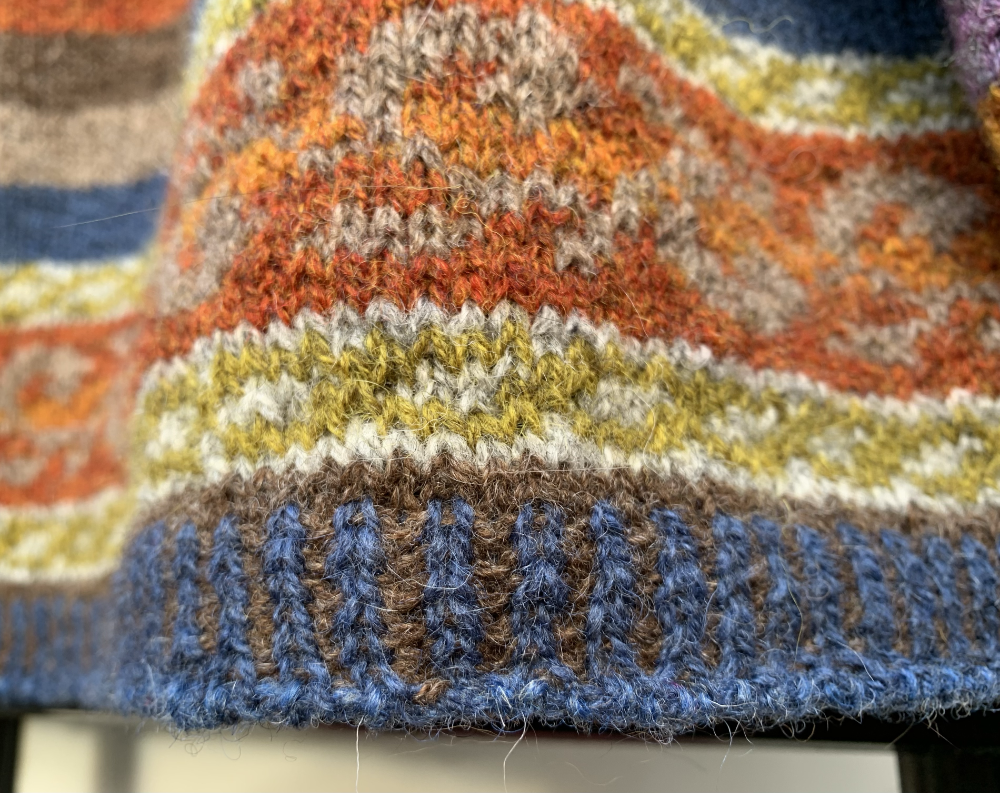
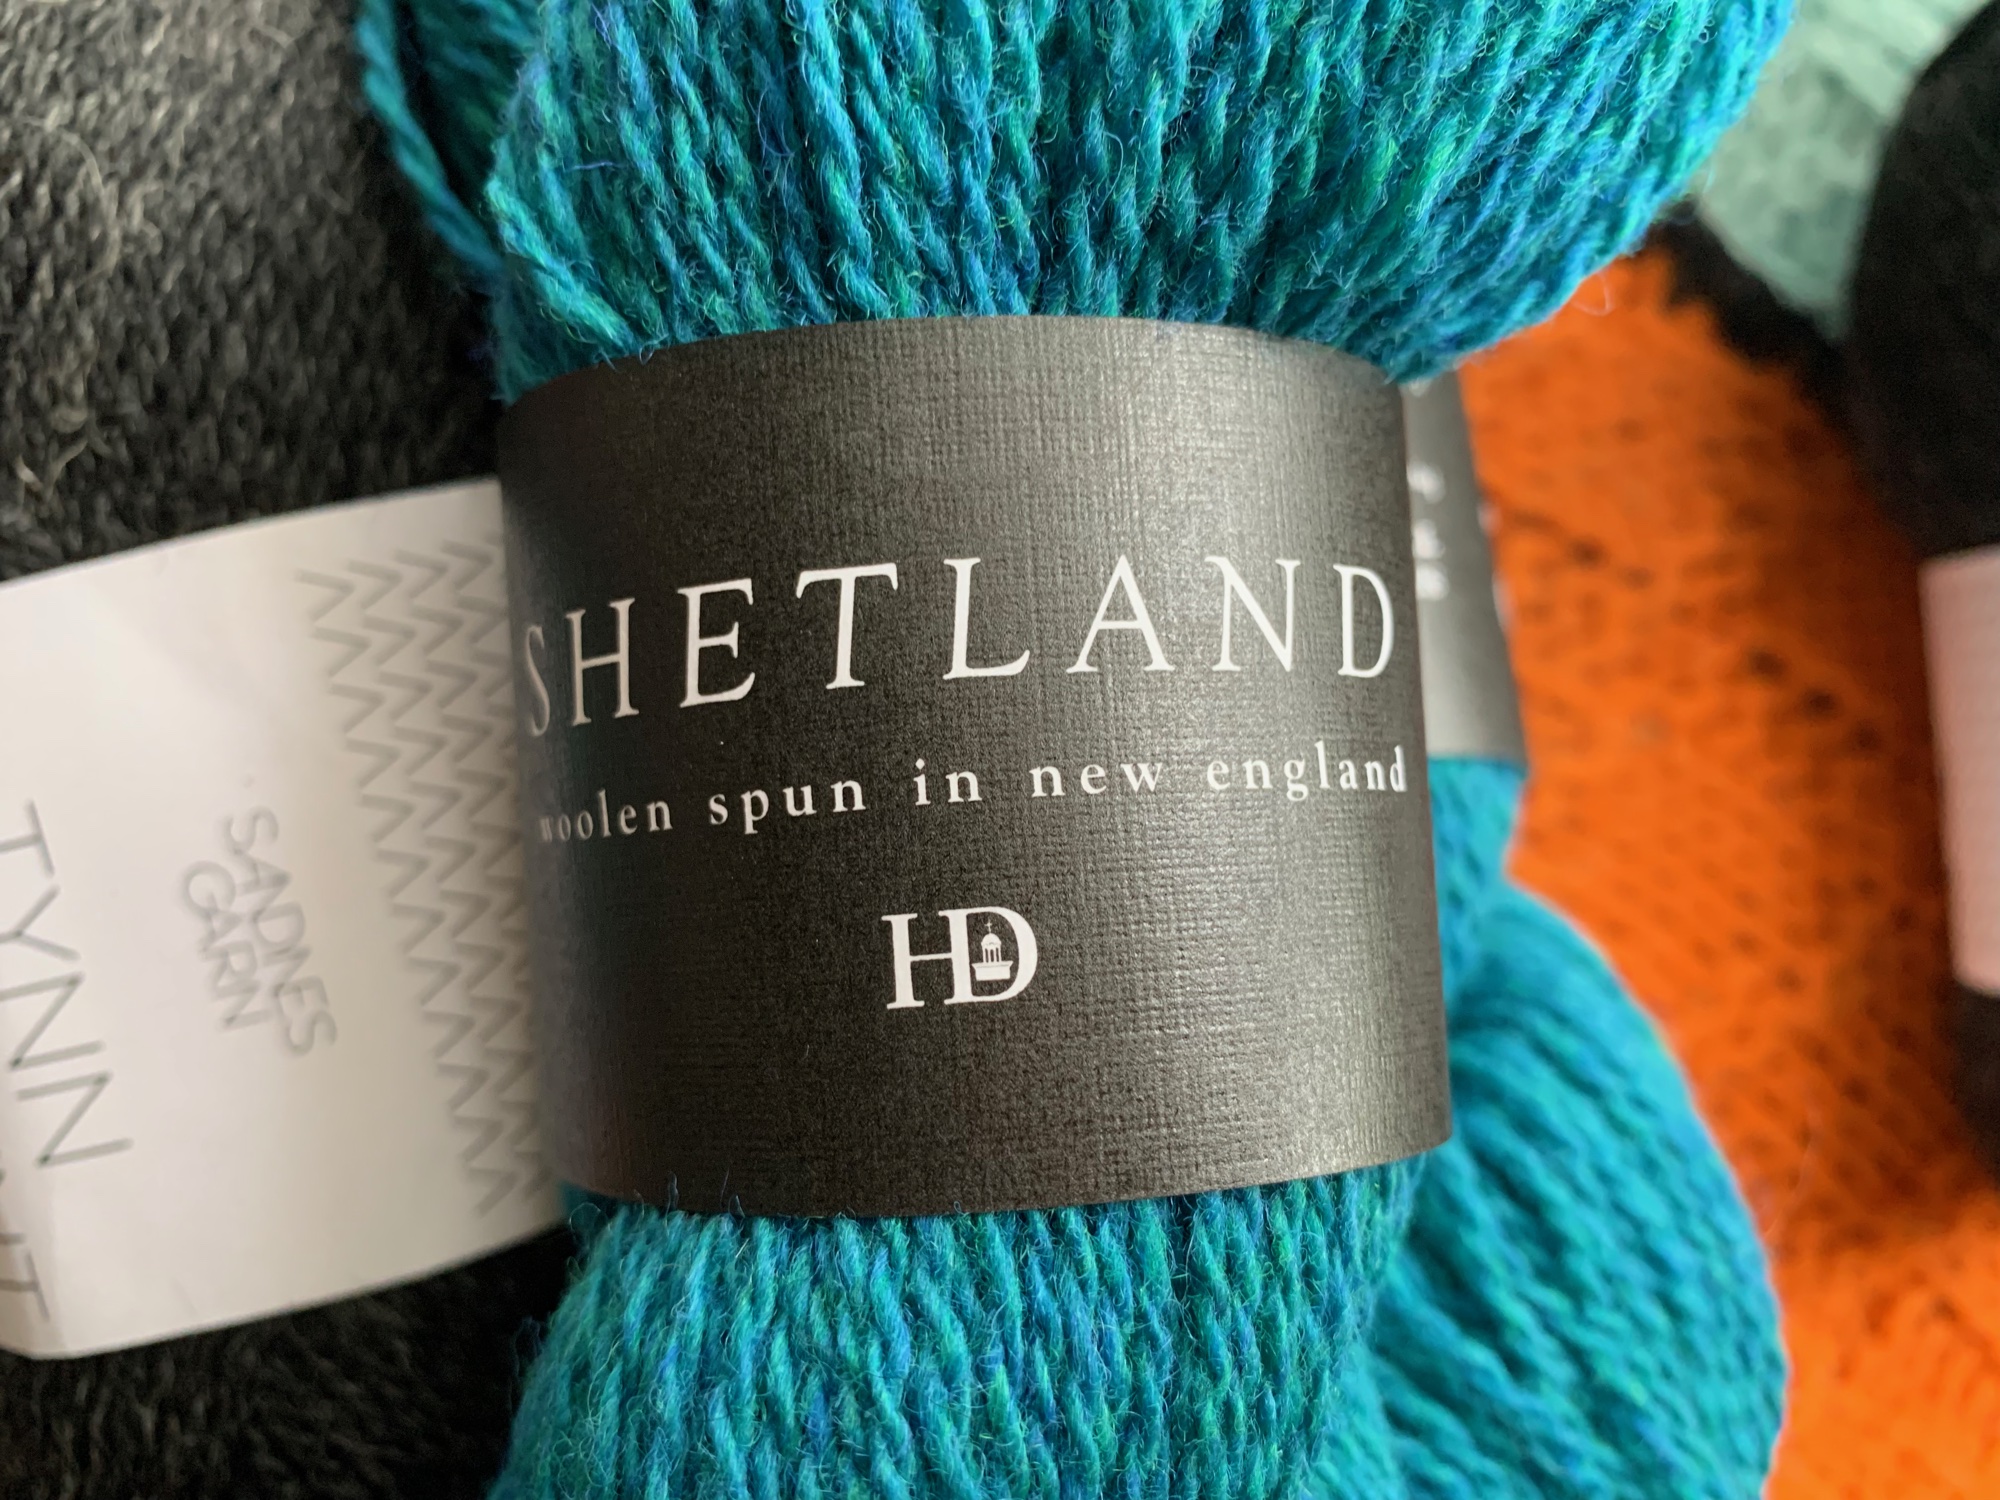
I will say this, the fabric is not as soft as the Highland wool sweater I just knit. For Simple Stripes I used Uradale yarn (it’s very thin), Jamison and Smith wool, and a little Rauma. I was trying to use up the Uradale, but I still have a lot left over.
The Harrisville Designs highland and shetland is softer (after washing) in my opinion.
I’ve become very partial to Harrisville Designs wool. They sell yarn in cones, which are cheap! Once the yarn is washed, it blooms beautifully and the garment is so lovely.
Simple Stripes is a pattern I would recommend for anyone who wants to knit a simple sweater that will use up bits of leftover yarn.