How to Knit An Easy Cable Hat – Part 1

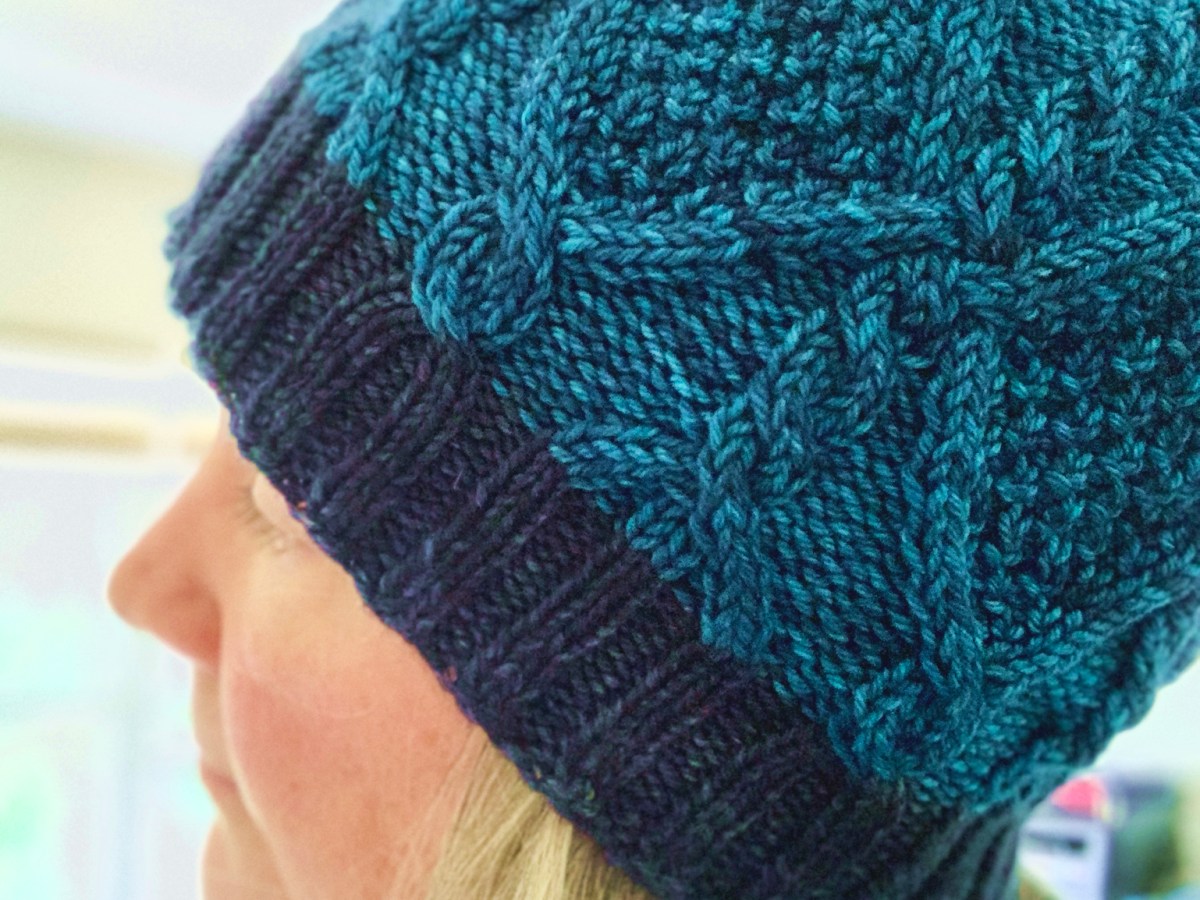
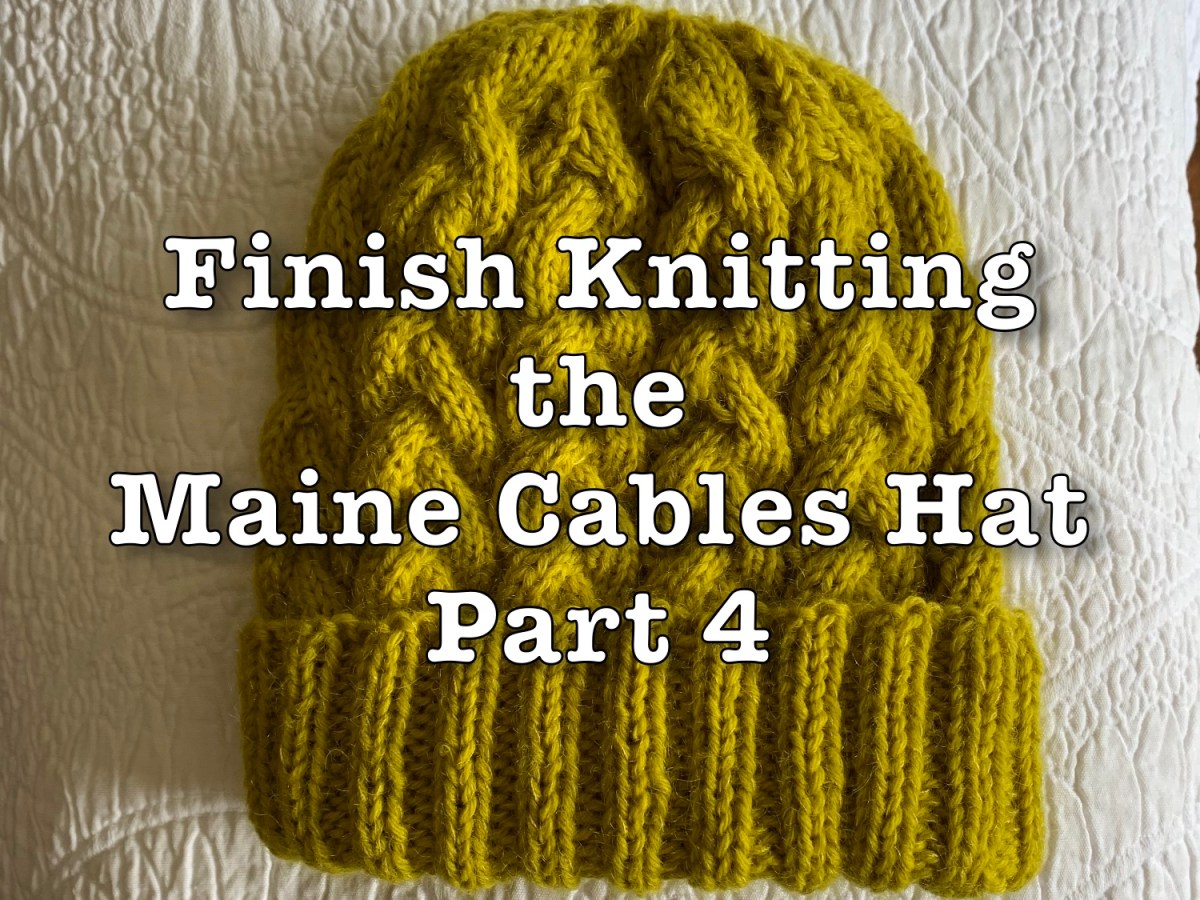
For my trip to New England this fall I want a new, warm hat. The free pattern Maine Cables Hat is what I chose and will document my knitting along the away to encourage first time cable knitters.

Would you like to knit along with me as I knit this easy cable hat? The pattern is free – yay! I’m knitting this hat for my trip to New England this Fall. This page will explain what is needed to accomplish the project. Part 2 will begin with a cast-on and knitting the ribbing.

A Hat Pattern for Experienced Beginner

If you can knit and purl, and if you like knitting hats, grab some nice yarn and let’s knit this beautiful beanie. I’ll list some videos that can help with everything from the cast-on to the switch to DPN’s or Magic Loop knitting for the decreases at the top.

Even if you’ve never knit a hat, if you have some experience in knitting, it might be the perfect time to branch out. Cables are not difficult to create, but you do need a smaller cable needle (link below) to hold the stitches. *If you don’t want to buy a cable needle, a DPN would also work. Wood is best so the stitches don’t slip.

This pattern is not suggested for a true beginner. You should have some knitting experience to make this project fun. *The pattern is written out and it includes a chart.

Ravelry knitters (219 at the time I’m writing this) have rated this pattern as quite easy to knit, and 4.9 of 5 rating for clarity. Overall, knitters loved this pattern and lots of them were first time cable makers!

Tools Needed to Knit This Hat

Here is a list of necessities for knitting this cable hat pattern. Also included are other things you may probably have.

Some links below will go to Amazon where you can find the item suggested. These links are affiliate links where I could make a small commission, at no cost to you, and are listed as (paid links).

  • The pattern, by Heather Anderson – Maine Cables Hat – download for free at Ravelry
  • Yarn – Worsted weight yarn, 175 – 210 yards (per pattern and size chosen) *If you choose to make a longer folded brim, I’m guessing you will need more yarn. The pattern doesn’t say, but the double brim in the pattern is only 3 inches. I’m making mine 4 inches.
  • Needles – circular 16″ in size 7 (paid link to ChiaoGoo brand) and also double-pointed needles (paid link)in same size. (For magic loop, you will need a longer circular – 32 inches at least- in the same size.)
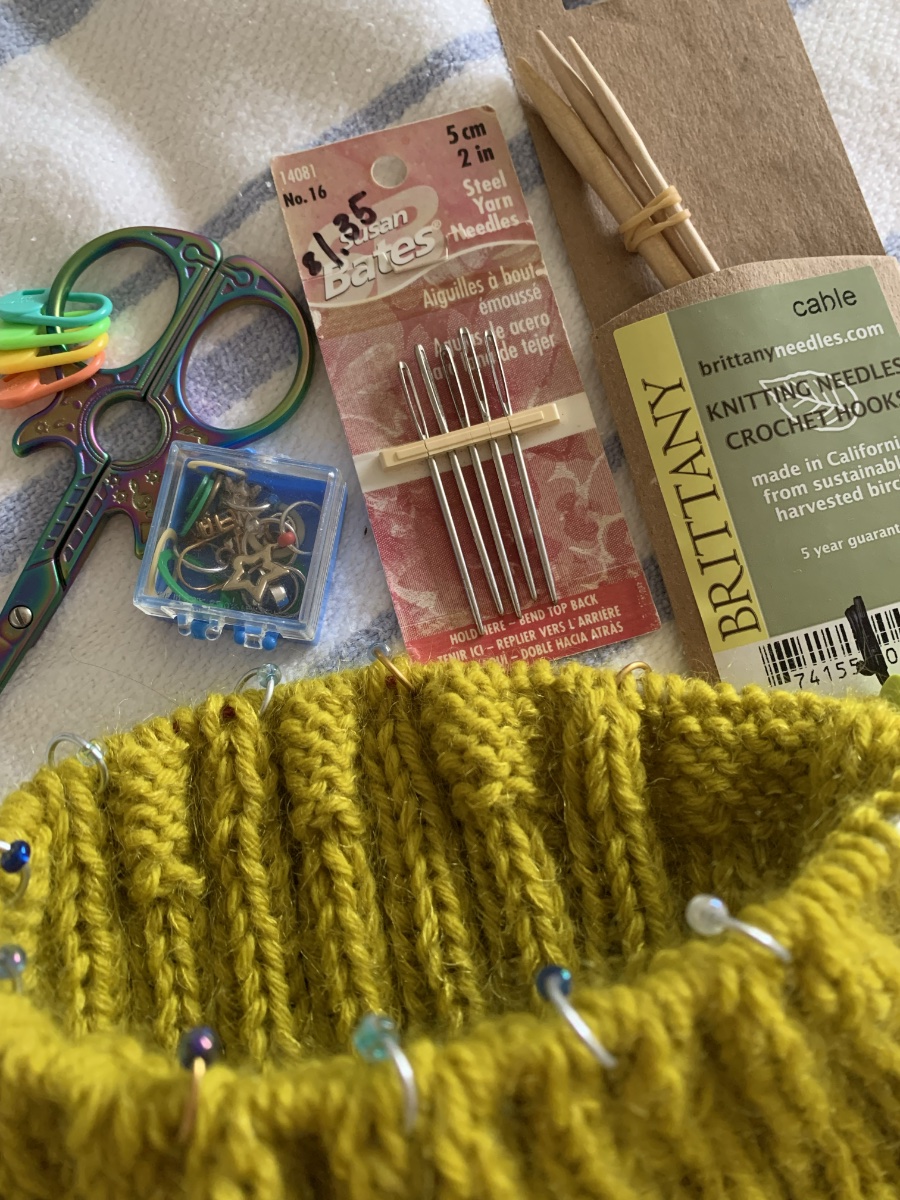
  • Cable needles – if you don’t have any I suggest the Brittany wood cable needles. (paid link) OR, if you have them, use a size 7 DPN (wood preferred).
  • Stitch markers – A special / different one for BOR (beginning of round) and 10 – 11 more to mark the cables. Clover 32 piece (paid link) larger size markers.
  • Stitch stoppers / point protectors – to keep work on the needles in the knitting project bag. There are many types, but something like this will work.
  • Embroidery needle to weave in the ends. (8 piece, large eye with wood case) – paid link.
  • Scissors
Knitting tools needed to complete the Maine Cables hat project

Getting Started

Once you have your yarn and needles and other necessities, read through your Maine Cables Hat pattern. Decide which size, Small or Large, (18 or 20 inches finished size) you will knit.

The pattern designer mentions that the smaller size hat “fits snugly” on her head, and the larger size is looser. The large size would work well for a man. She also says that the overall finished hat is very stretchy.

(The pattern does mention a gauge of 20 stitches to 4 inches in stockinette. I never knit a gauge for a hat, but the info is there is you like.)

*Keep in mind that the ribbing cast-on will be fewer stitches than the cable stitch total for the top of the hat. After the ribbing is done, increases will be made to bring the stitch count up to 121, or 132 total.

A fewer stitch count for the ribbing will make it a bit tighter, which I like. I hate when my finished hat fits too loosely! Cable stitches also pull inward to tighten the fabric, so more stitches are needed to account for that.

New Stitches to Know

The cable stitches will be the only stitches you may not be familiar with. Most other abbreviations should be familiar. They are all listed at the end of the pattern.

After the ribbing, increases will be made. This will be a backward loop increase, which is simple to accomplish. Purl two together (p2tog) is made just like a normal purl except purling two stitches at the same time. This decreases one stitch.

The cables are explained in the pattern, but in general this is what they mean: 3/3RC and 3/3LC are the cable stitches. 3/3RC means the next 3 stitches will be slipped to the cable needle and held in back while the next three stitches are knit. Then, knit the 3 stitches off the cable needle.

3/3LC means three stitches will be held in front, but done the same way.

My Choices For Size, Yarn, and Needles

Choose a worsted weight yarn for knitting this hat. I suggest you choose a solid color, or slightly marled. Any yarn with lots of changing colors will take away from the cables. This is my opinion, and you are free to knit as you wish!

I chose Knitting for Olive heavy merino yarn. I bought two balls to equal 274 yards and am combining it with one ball of Knitting for Olive mohair (246 yds.) I should have plenty of yarn, even with a longer rib.

For my hat, I am holding two yarns together. Both are from the company Knitting for Olive and both are color Umami Yellow. One is a heavy merino wool and the other is mohair. Because I’m using two yarns together, I went up a needle size to an 8US. (*Now that the hat is complete, I am finding that the brim is a bit loose. I would use a needle size smaller than the actual hat top next time – like a 7 or even 6!) I will be knitting the smaller size hat *This size was perfect on a size 8 needle.
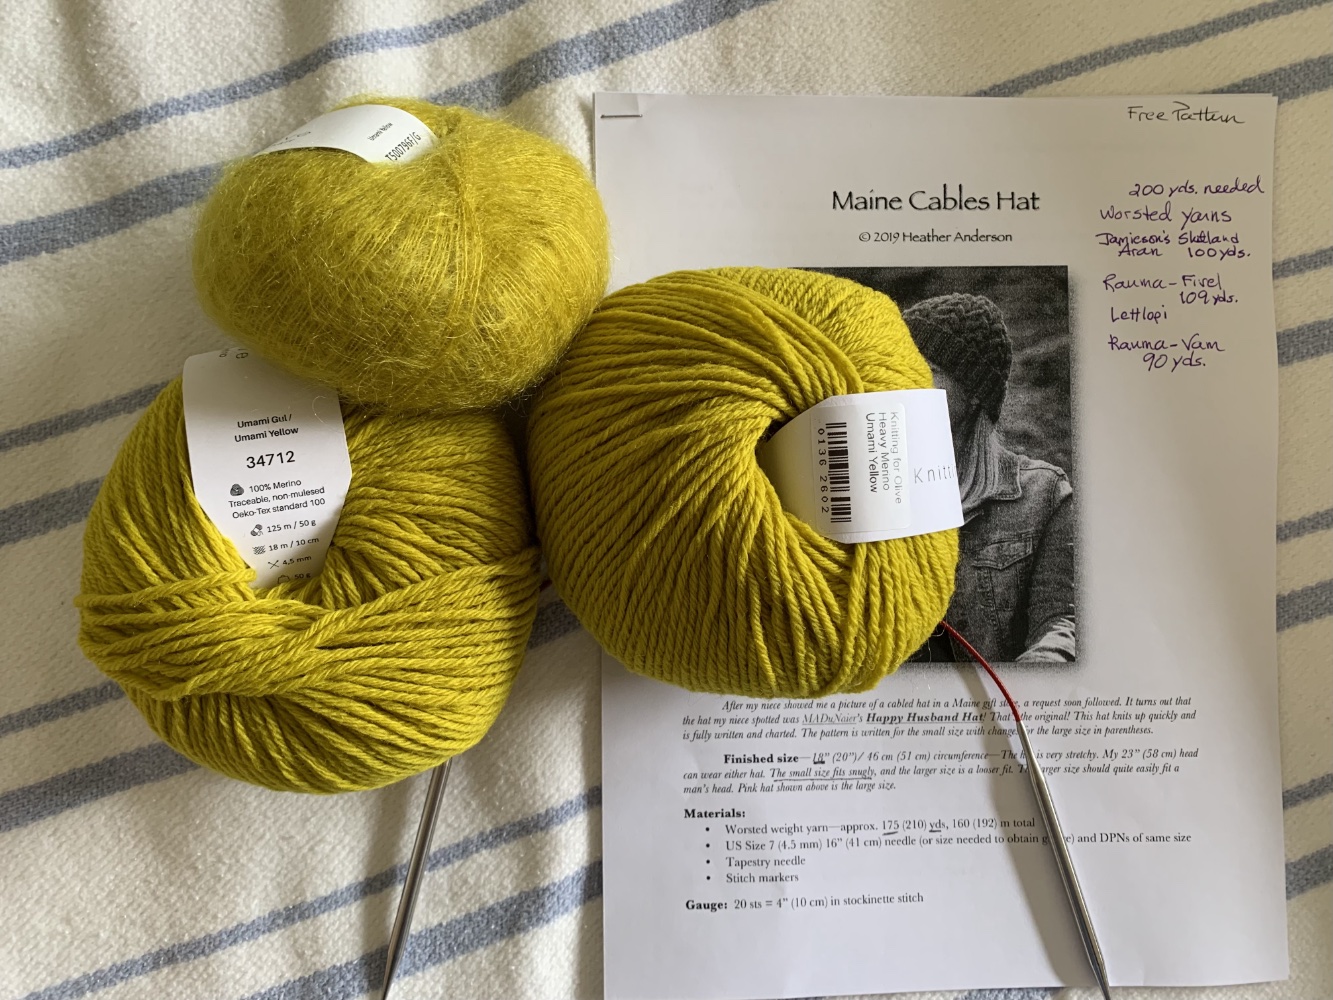
Maine Cables Hat knitting pattern and yellow yarn

More to come on the tutorial for knitting the Maine Cables Hat. Get your tools ready and follow along and knit yourself a beautiful new hat for this winter!

If you are ready, check out Knitting the Maine Cables Hat Part 2 where we will cast on and knit the ribbing.
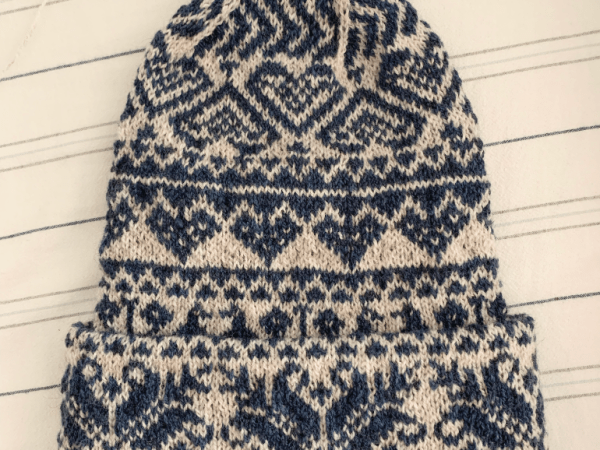
More about the hats I’ve knit.

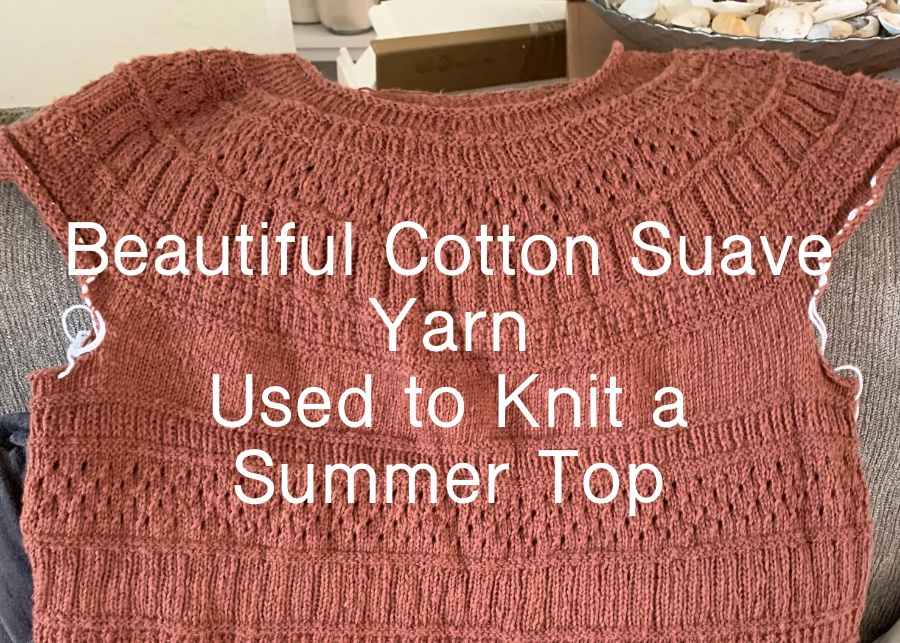
Beautiful Cotton Suave Yarn For a Summer Top

Knitting a summer top pattern using some unique cotton yarn called Pascuali Suave. It is surprisingly lovely for cotton, which you would never guess it is.

Hello my knitting friends. I’ve taken some time off from knitting because life got busy and I was doing other things.

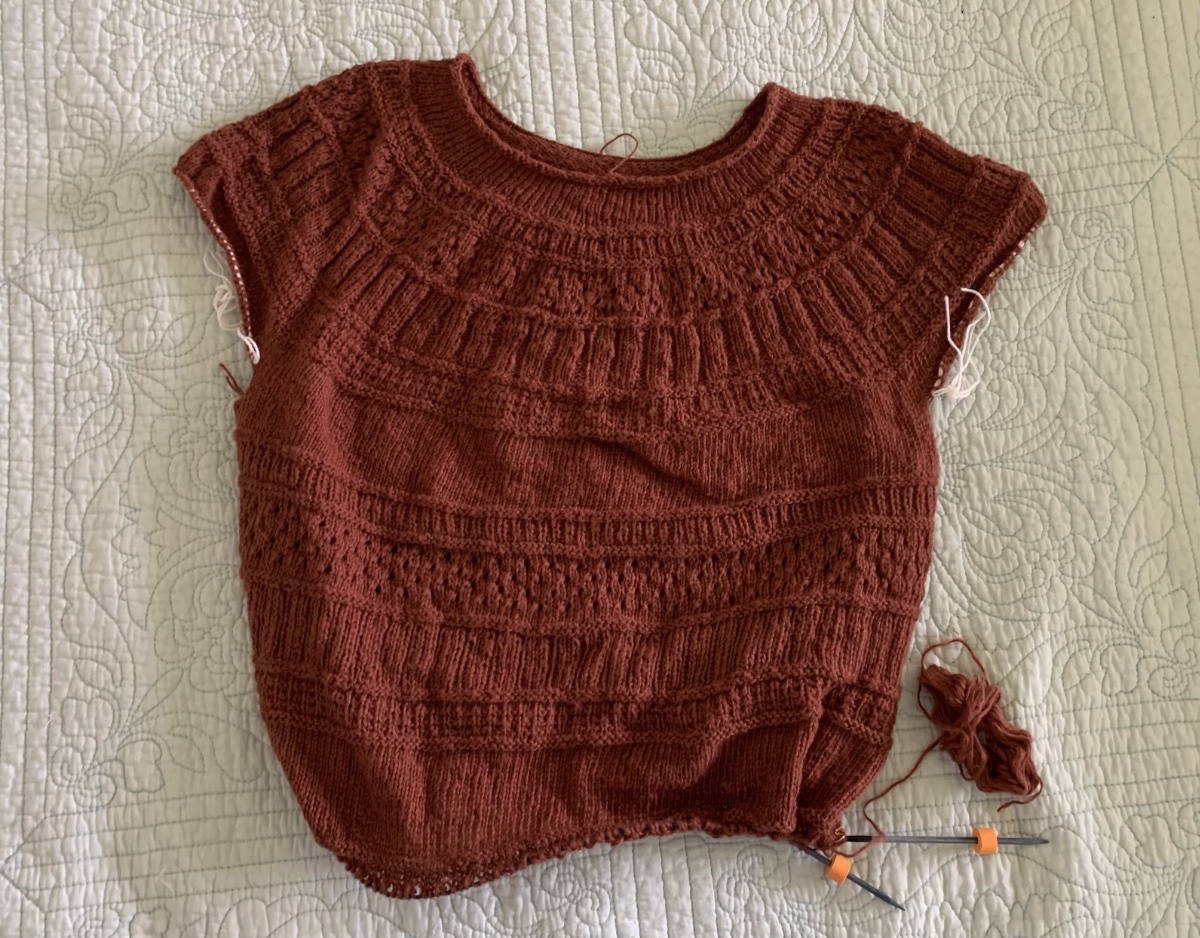
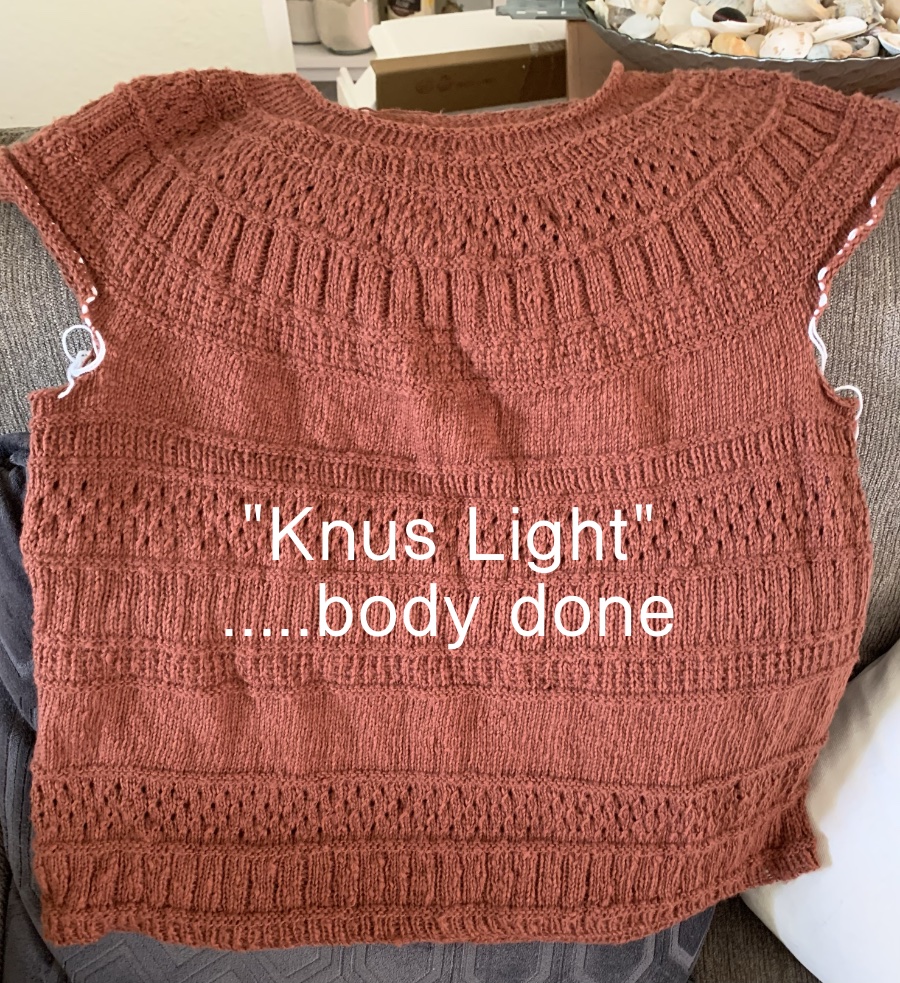
Back in September (a year ago!) I began knitting the pattern Knus Light as a summer top. I am using a very unique type of cotton yarn. Pascuali’s cotton Suave yarn (link to buy this yarn below) is creating the most incredible, light weight and soft fabric!

I seldom knit with cotton fiber because I just don’t like it, except for dishcloths. It is usually stiff, it shrinks, and it fades.

Characteristics of Pascuali’s Suave, Cotton Yarn

The Pascuali Suave yarn is made of 100% GOTS certified organic cotton. It is vegan friendly, and good for those with animal fiber allergies. It is fluffy (see my photos below) and looks fragile, but it is strong and holds together well. It can be machine washed on a gentle setting. Best of all, it comes in a wide array of beautiful colors. The color I am knitting with is Color 54 Brown.

After working with this yarn for the first time, I’m adding it to my favorite yarns list. It might be the best yarn for creating summer items that are truly perfect for my Florida climate!

How to Do a Sewn Bind-off, With Video

Now, I am nearly finished with the body part of Knus Light. It calls for a sewn bind off, or Italian bind-off for 1×1 ribbing.
Here is a quick little video that I followed to begin the bind off. You will use an embroidery needle. It is quite easy. I’ve done them before, but I needed a refresher. This is also called an Italian bind-off.

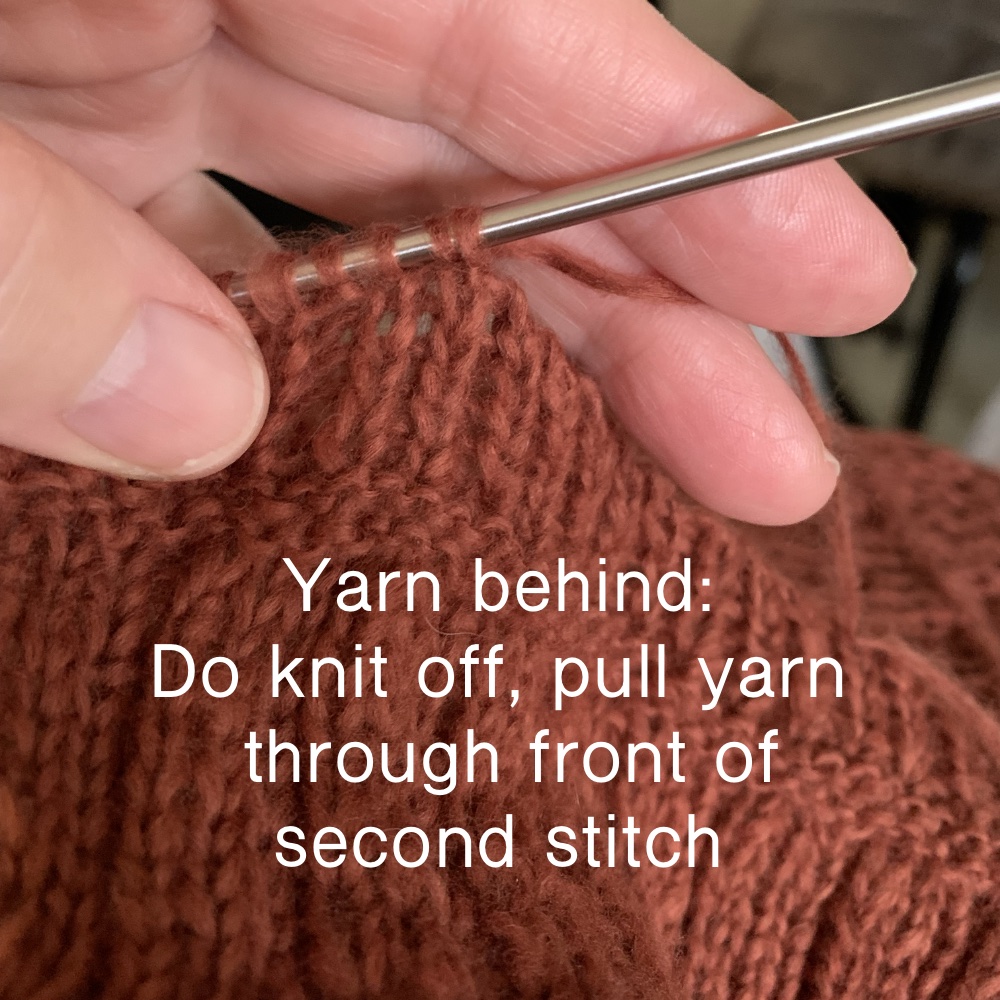
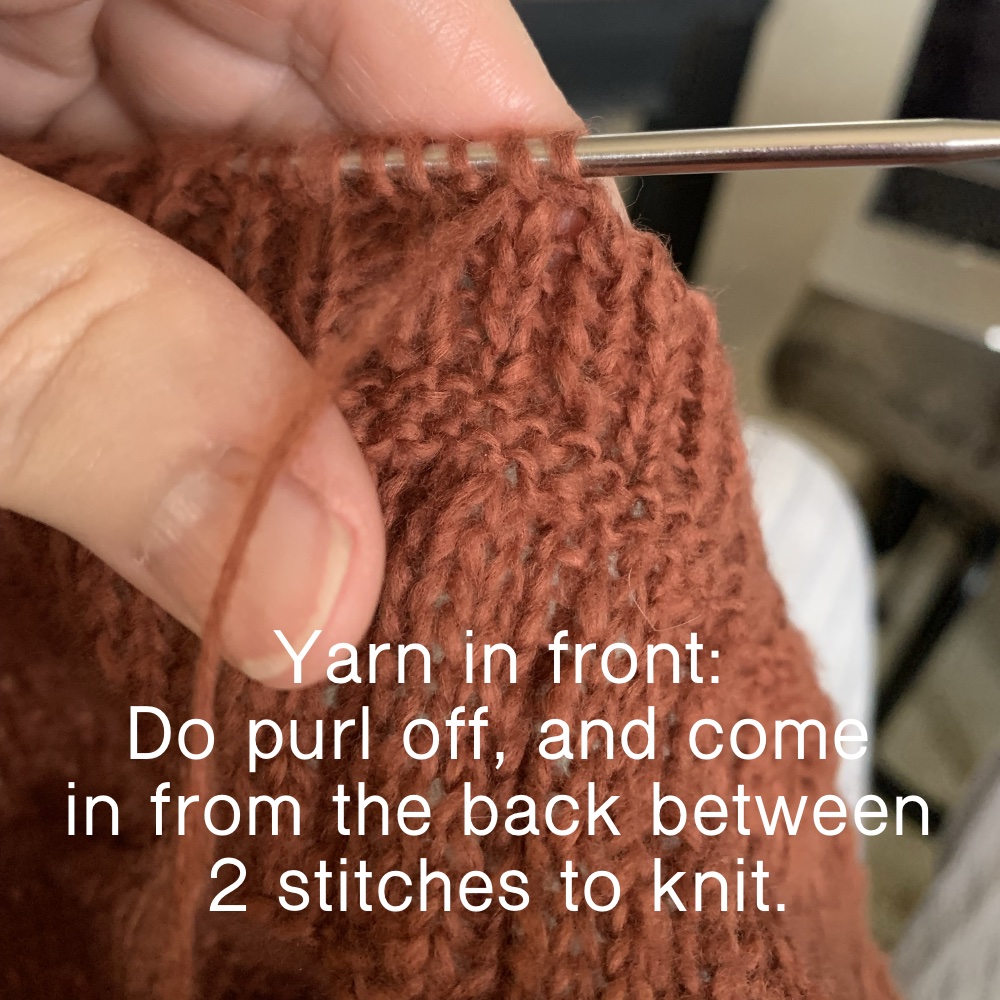
Here are some photos to remind you where you are if you set the project down while doing a sewn bind-off.

When you pick up the project, if the yarn is coming from behind, slip the first stitch off knit-wise. Then, put the needle through the front of the second stitch. Now the yarn is in front (photo 2).

If you pick up the project and the yarn is coming from the front, slip the first stitch off purl-wise and bring the needle from the back through the first two stitches and knit that second stitch. See the “quick little video” linked above to understand this better.

How I Got Into Trouble During the Bind-off

I ran out of yarn, which became a big problem. The cotton Suave does not splice, so I needed a way to connect more yarn.

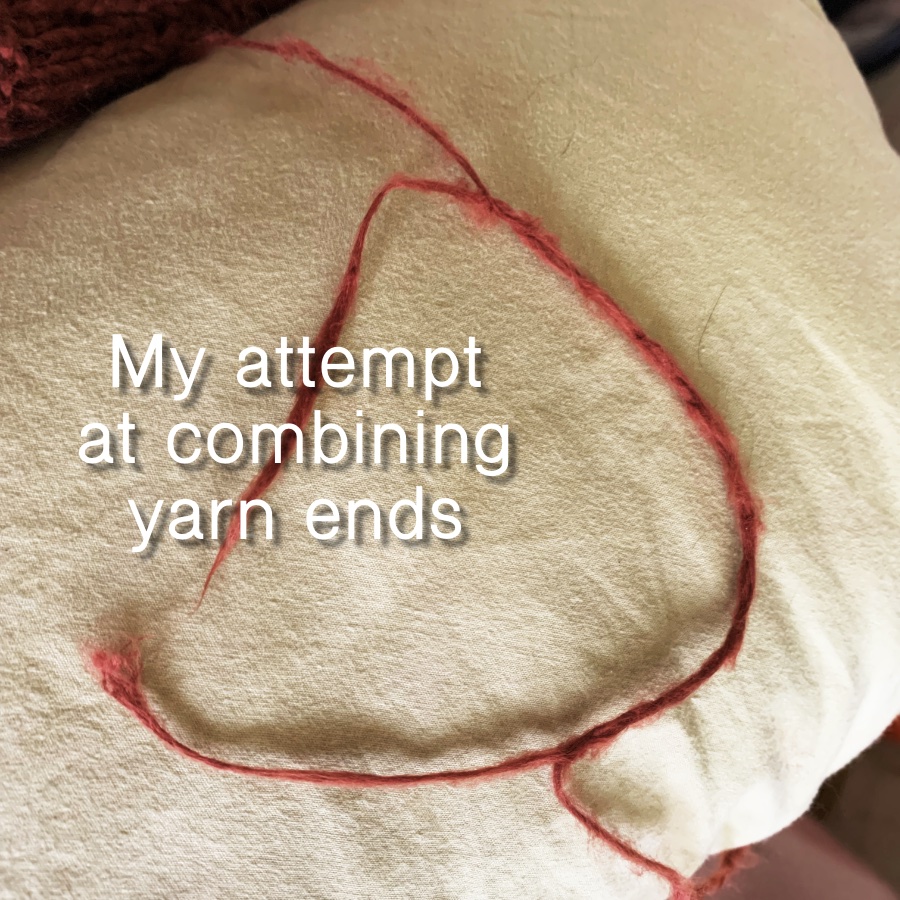
I did the attachment using a needle to go through each end as seen in this video. My cotton yarn is very different, but this would have worked had I been simply knitting and needed to attach yarn. But, when I tried to pull the yarn through the loops by sewing, the attached section of yarn bunched up, creating a knot.

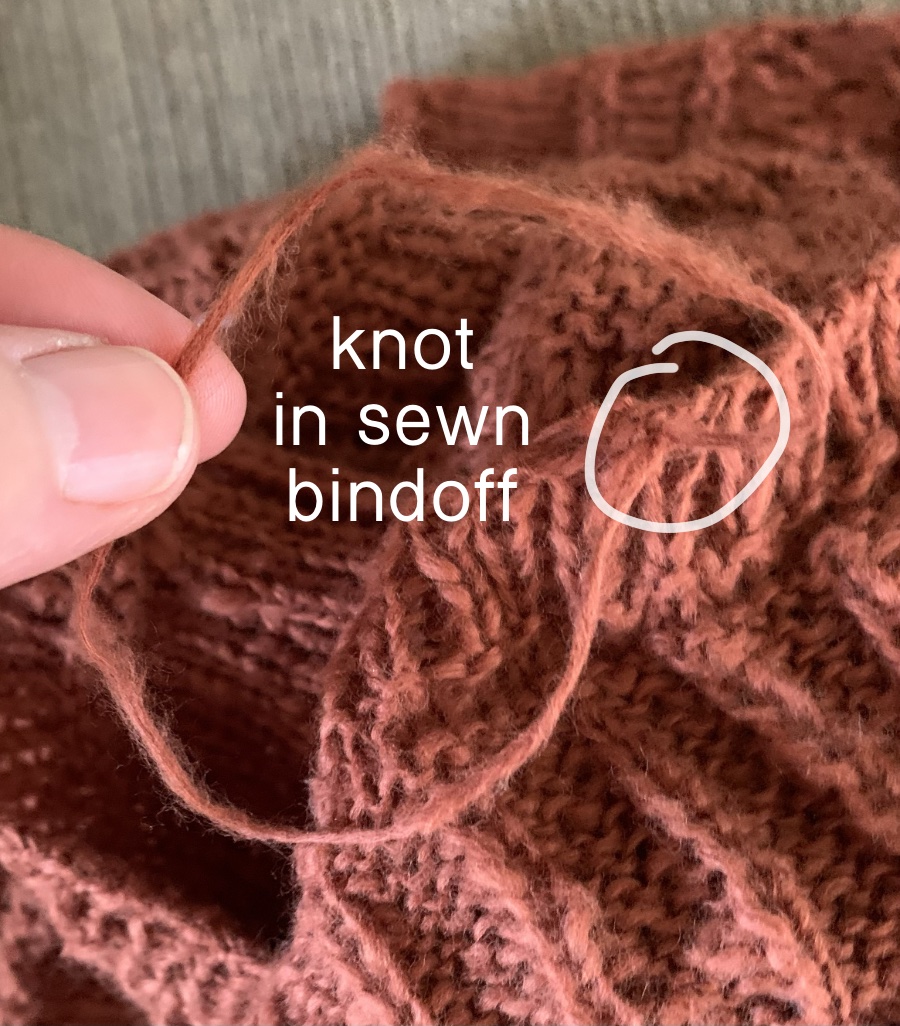
I ended up leaving the knot with a loop hanging to the back. I couldn’t get it pulled through while sewing. I will cut the loop and weave in the ends. I really had no choice. I had already tried splicing and wetting the yarn, which didn’t work. I tried tying a tiny knot – nope, it wouldn’t pull through. By this point I was freaking out and hoping that the remaining length was enough to finish. It was, phew… It was stressful.
OKAY… after I finished knitting the bind-off, and published this post, I found this very helpful video that would have been great to know a few days ago… Anyway here it is… just in case you have my same problem of running out of yarn.

All I can say is either do not do a sewn bind-off using Cotton Suave, or make sure you have plenty of yarn to finish the bind-off. Attaching this yarn to itself is impossible. A sleeve would have been different, but the body is so big around that I didn’t have the length needed. It took me hours (and a bottle of wine – just kidding) to get the hem finished!

After the body, I still have the sleeves to knit. One thing I know, is that I will need one more skein of yarn to finish this project.

I Need More Yarn

I knew I was cutting it close with my yarn amount for this project. I did add some length to the body, and plan to make the sleeves 3/4 length. It means I need one more ball of yarn. I’m hoping that Wool and Company can match the dye lot.

Have you used the Suave yarn? What did you think? I’ve always passed by the so-called “summer tops” patterns because the yarn used would not be summery enough for Florida. Once the Knus Light is finished comes the true test – when I wear the top.

Thanks for reading.

DIY Felted Wool Seating Pad Knitting Pattern

Knitting a simple wool chair pad to use up some heavy weight and worsted wool. This DIY pattern uses Fair Isle, colorwork that is simple and can easily be changed.

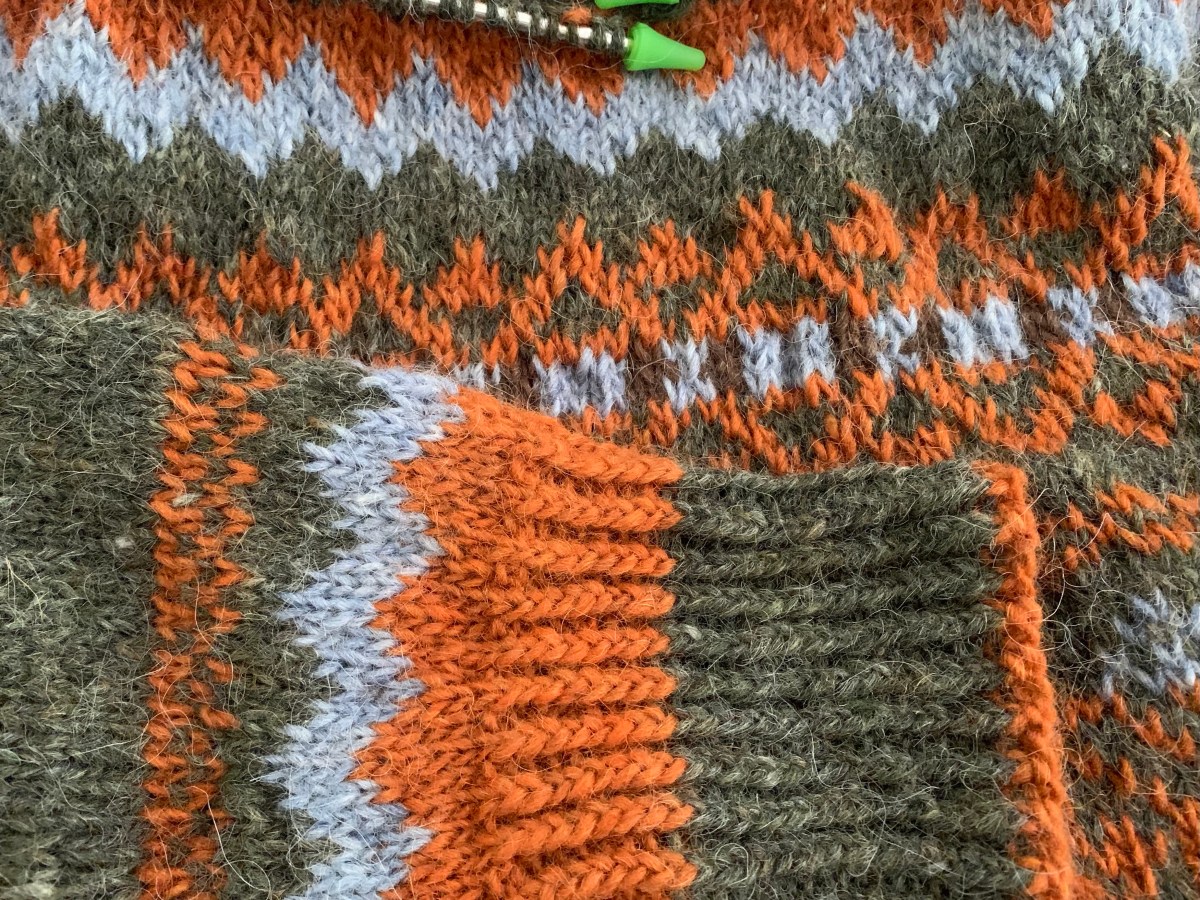
This is a free pattern for a felted wool seating pad. It’s an old pattern, and doesn’t have a lot of information. The colorwork is by chart only, but it’s a simple chart. Also, your own colorwork designs can be substituted. It’s what I decided to do. Or, don’t do Fair Isle, and make it all one color, or stripes. Anything works really. The colorwork makes it a bit thicker.

Scroll to get the pattern link, listed further down the page.

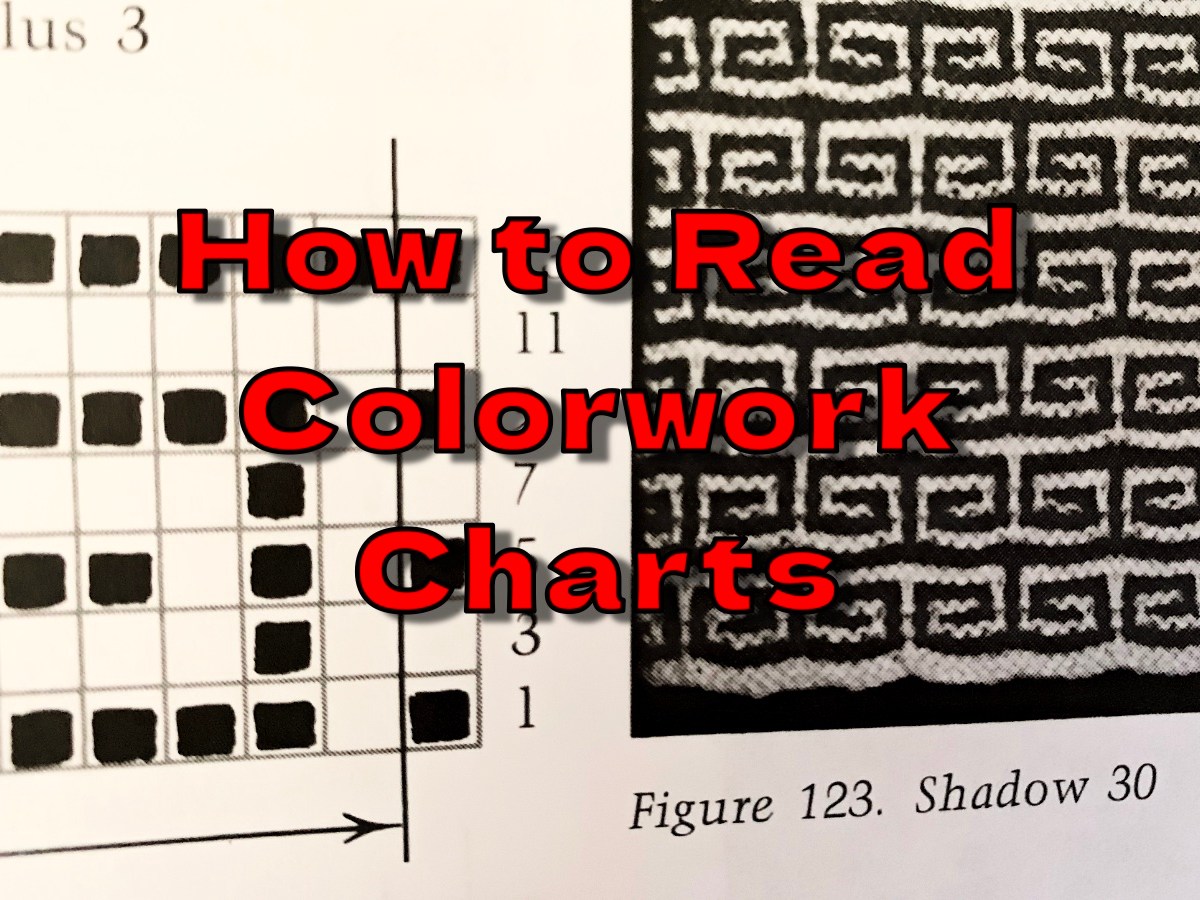
Need some helpful advice for reading a colorwork chart? I have written a page that will help.

Yarn Ideas

Worsted or heavy worsted type wool yarn. I used Lettlopi leftovers for this one. It doesn’t matter really as long as it is all wool, or other animal fiber that will felt.

The Finishing Process

Once the sewing of the pad was completed, I needed to figure out how to sew up the ends. The pattern group that was formed seven years ago seems to be unavailable, and when I searched YouTube I didn’t find an answer.

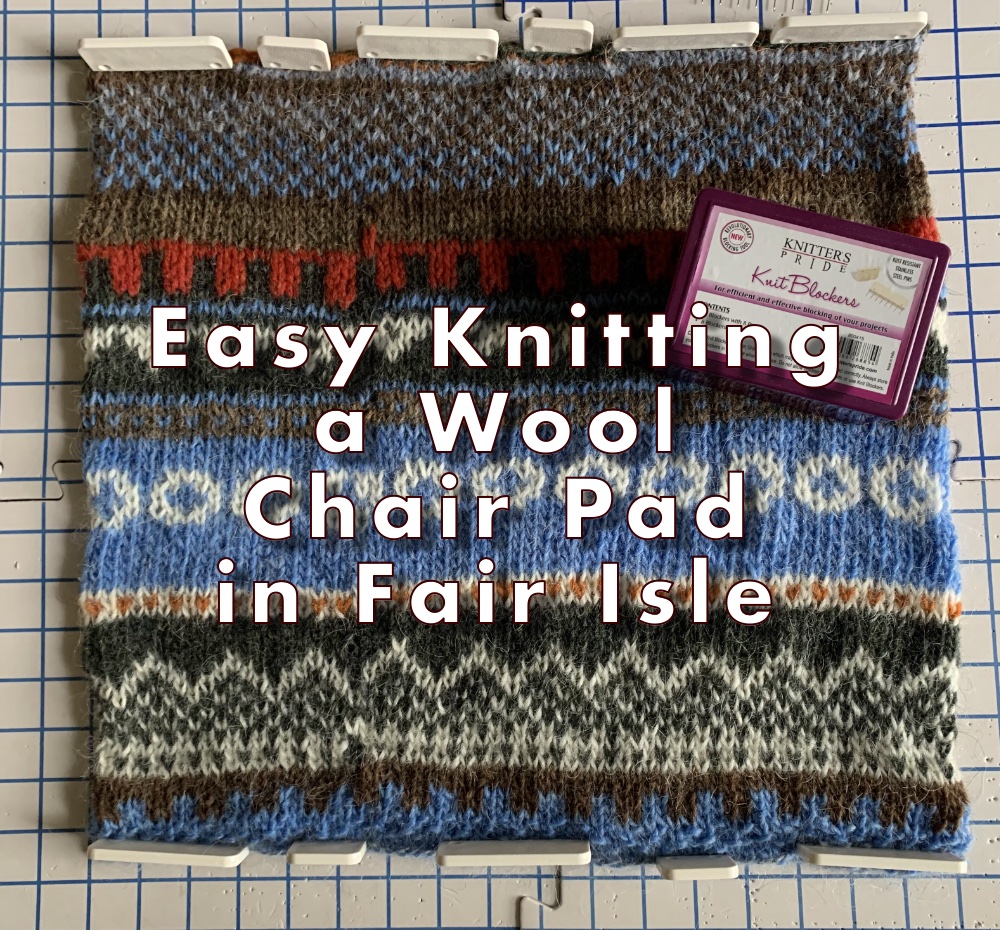
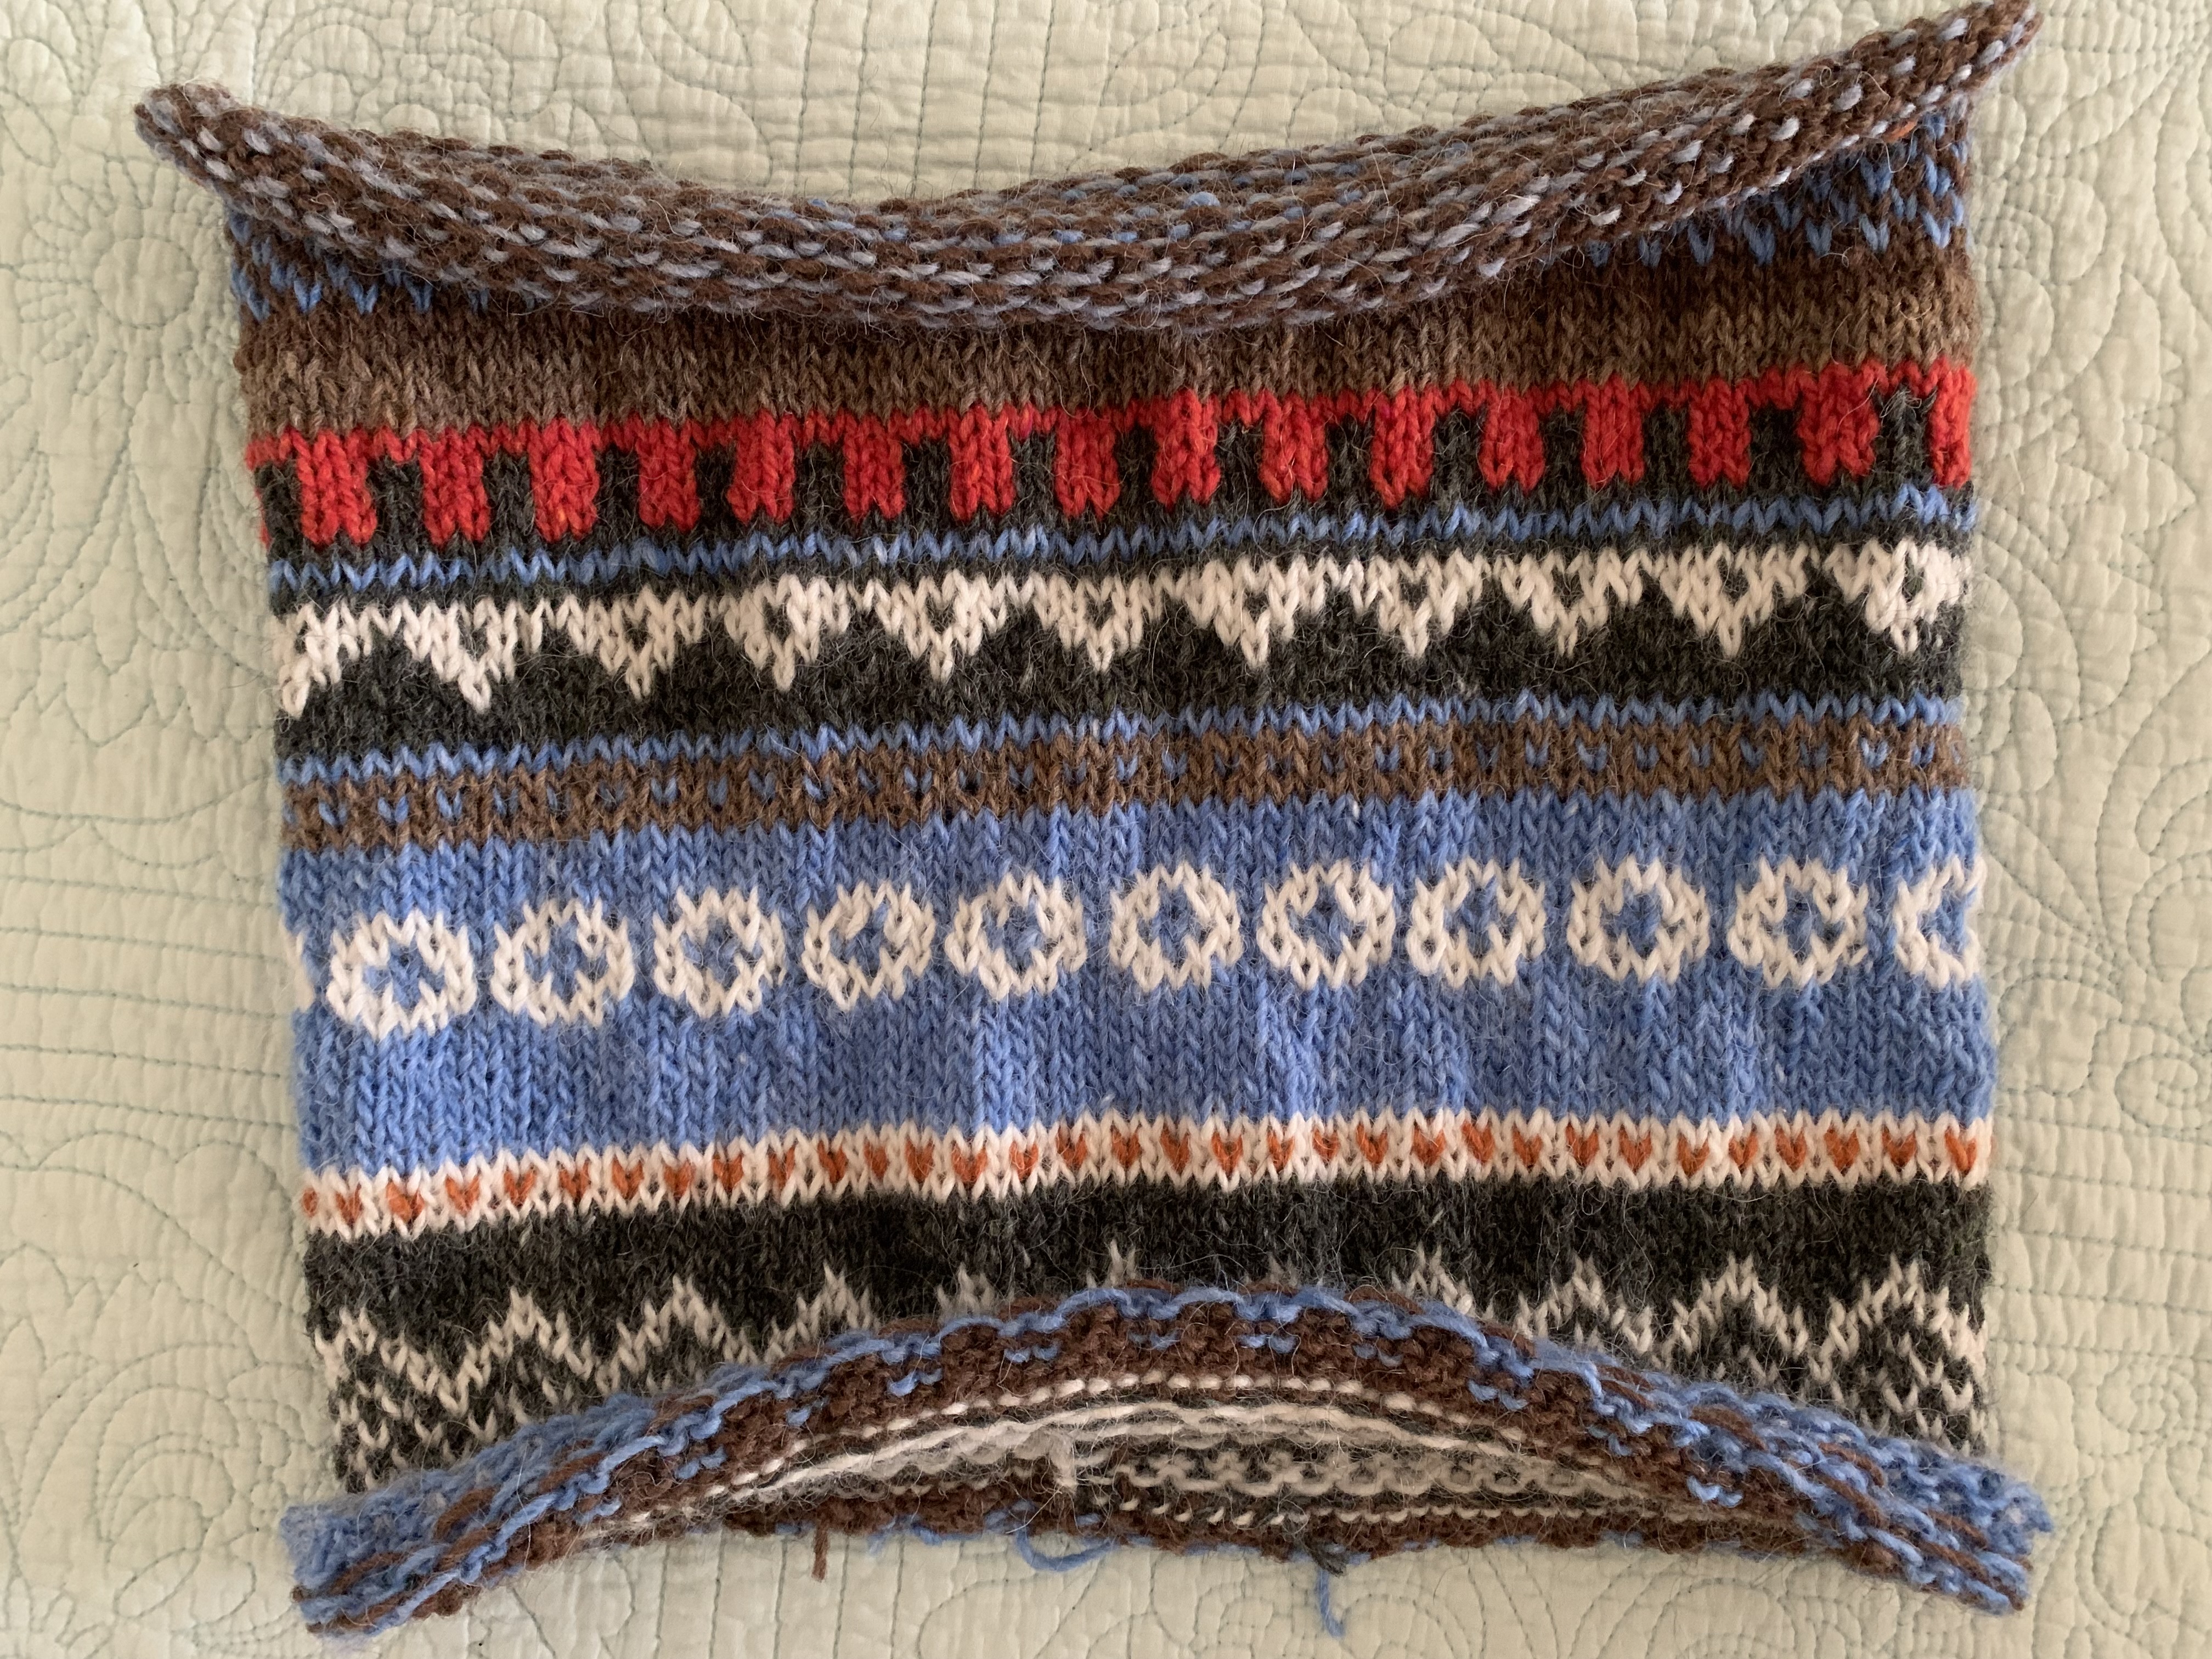
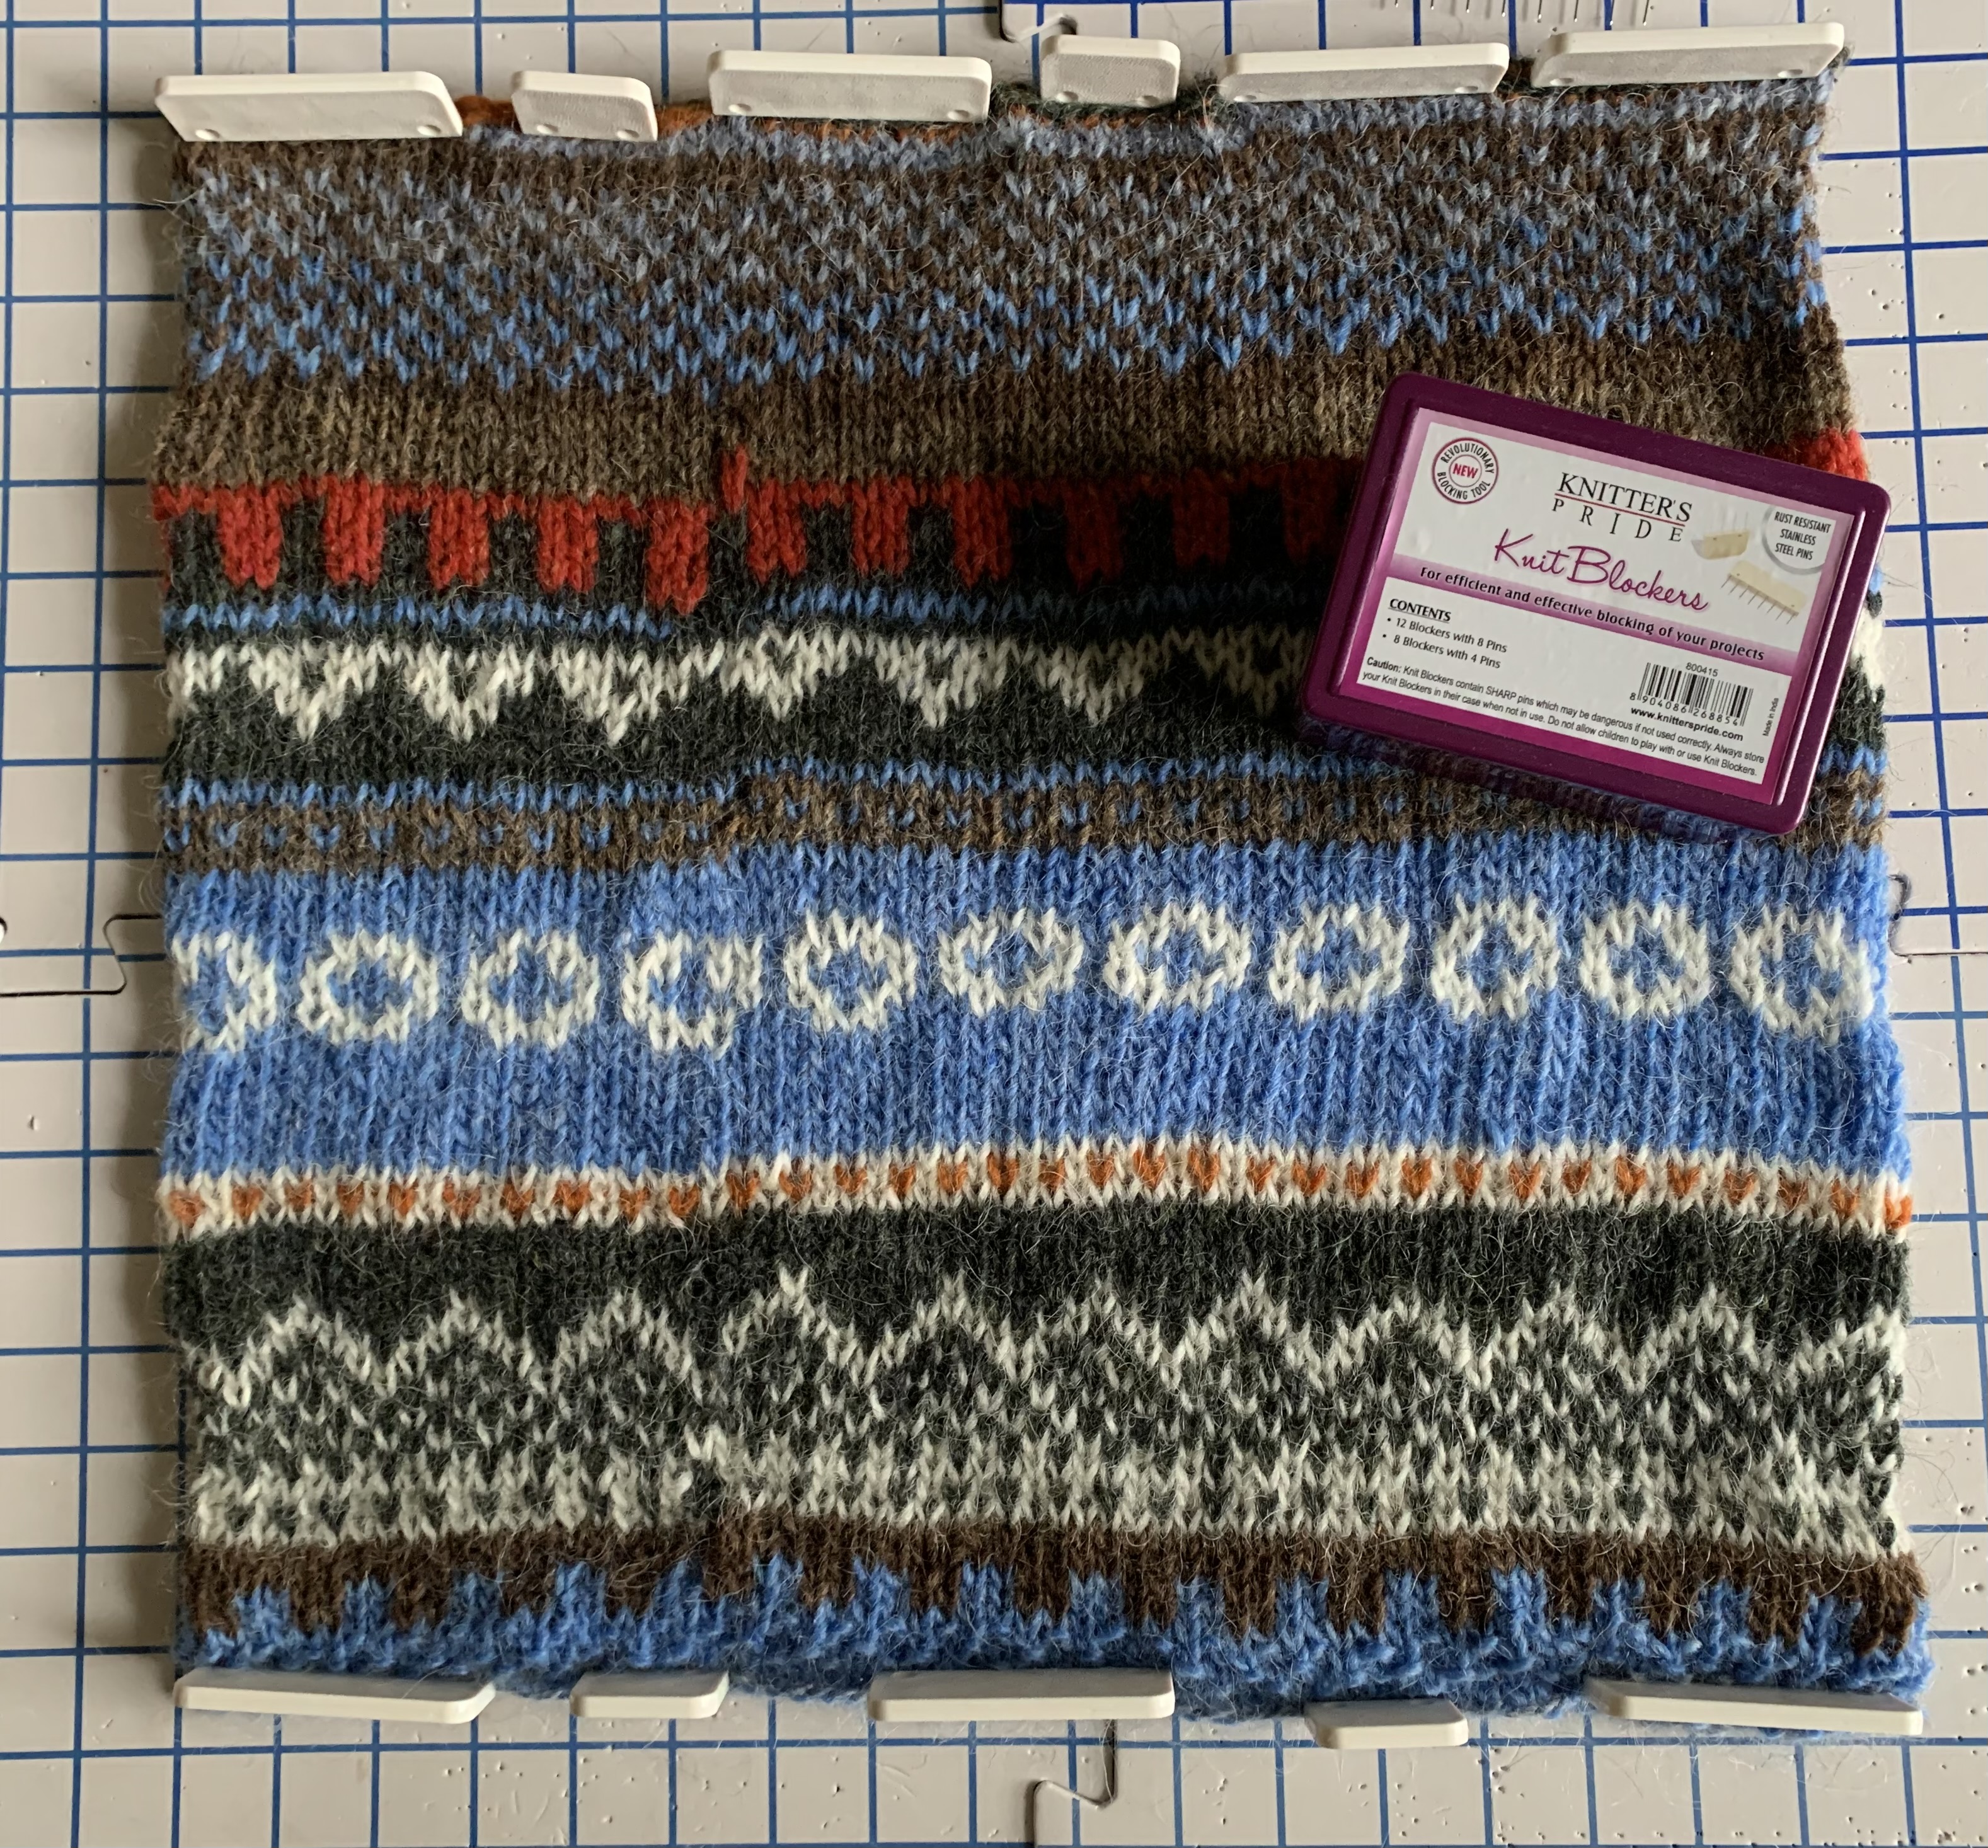
Because the edges were really curling, I decided to rinse the project and block it before attempting to close up the edges.

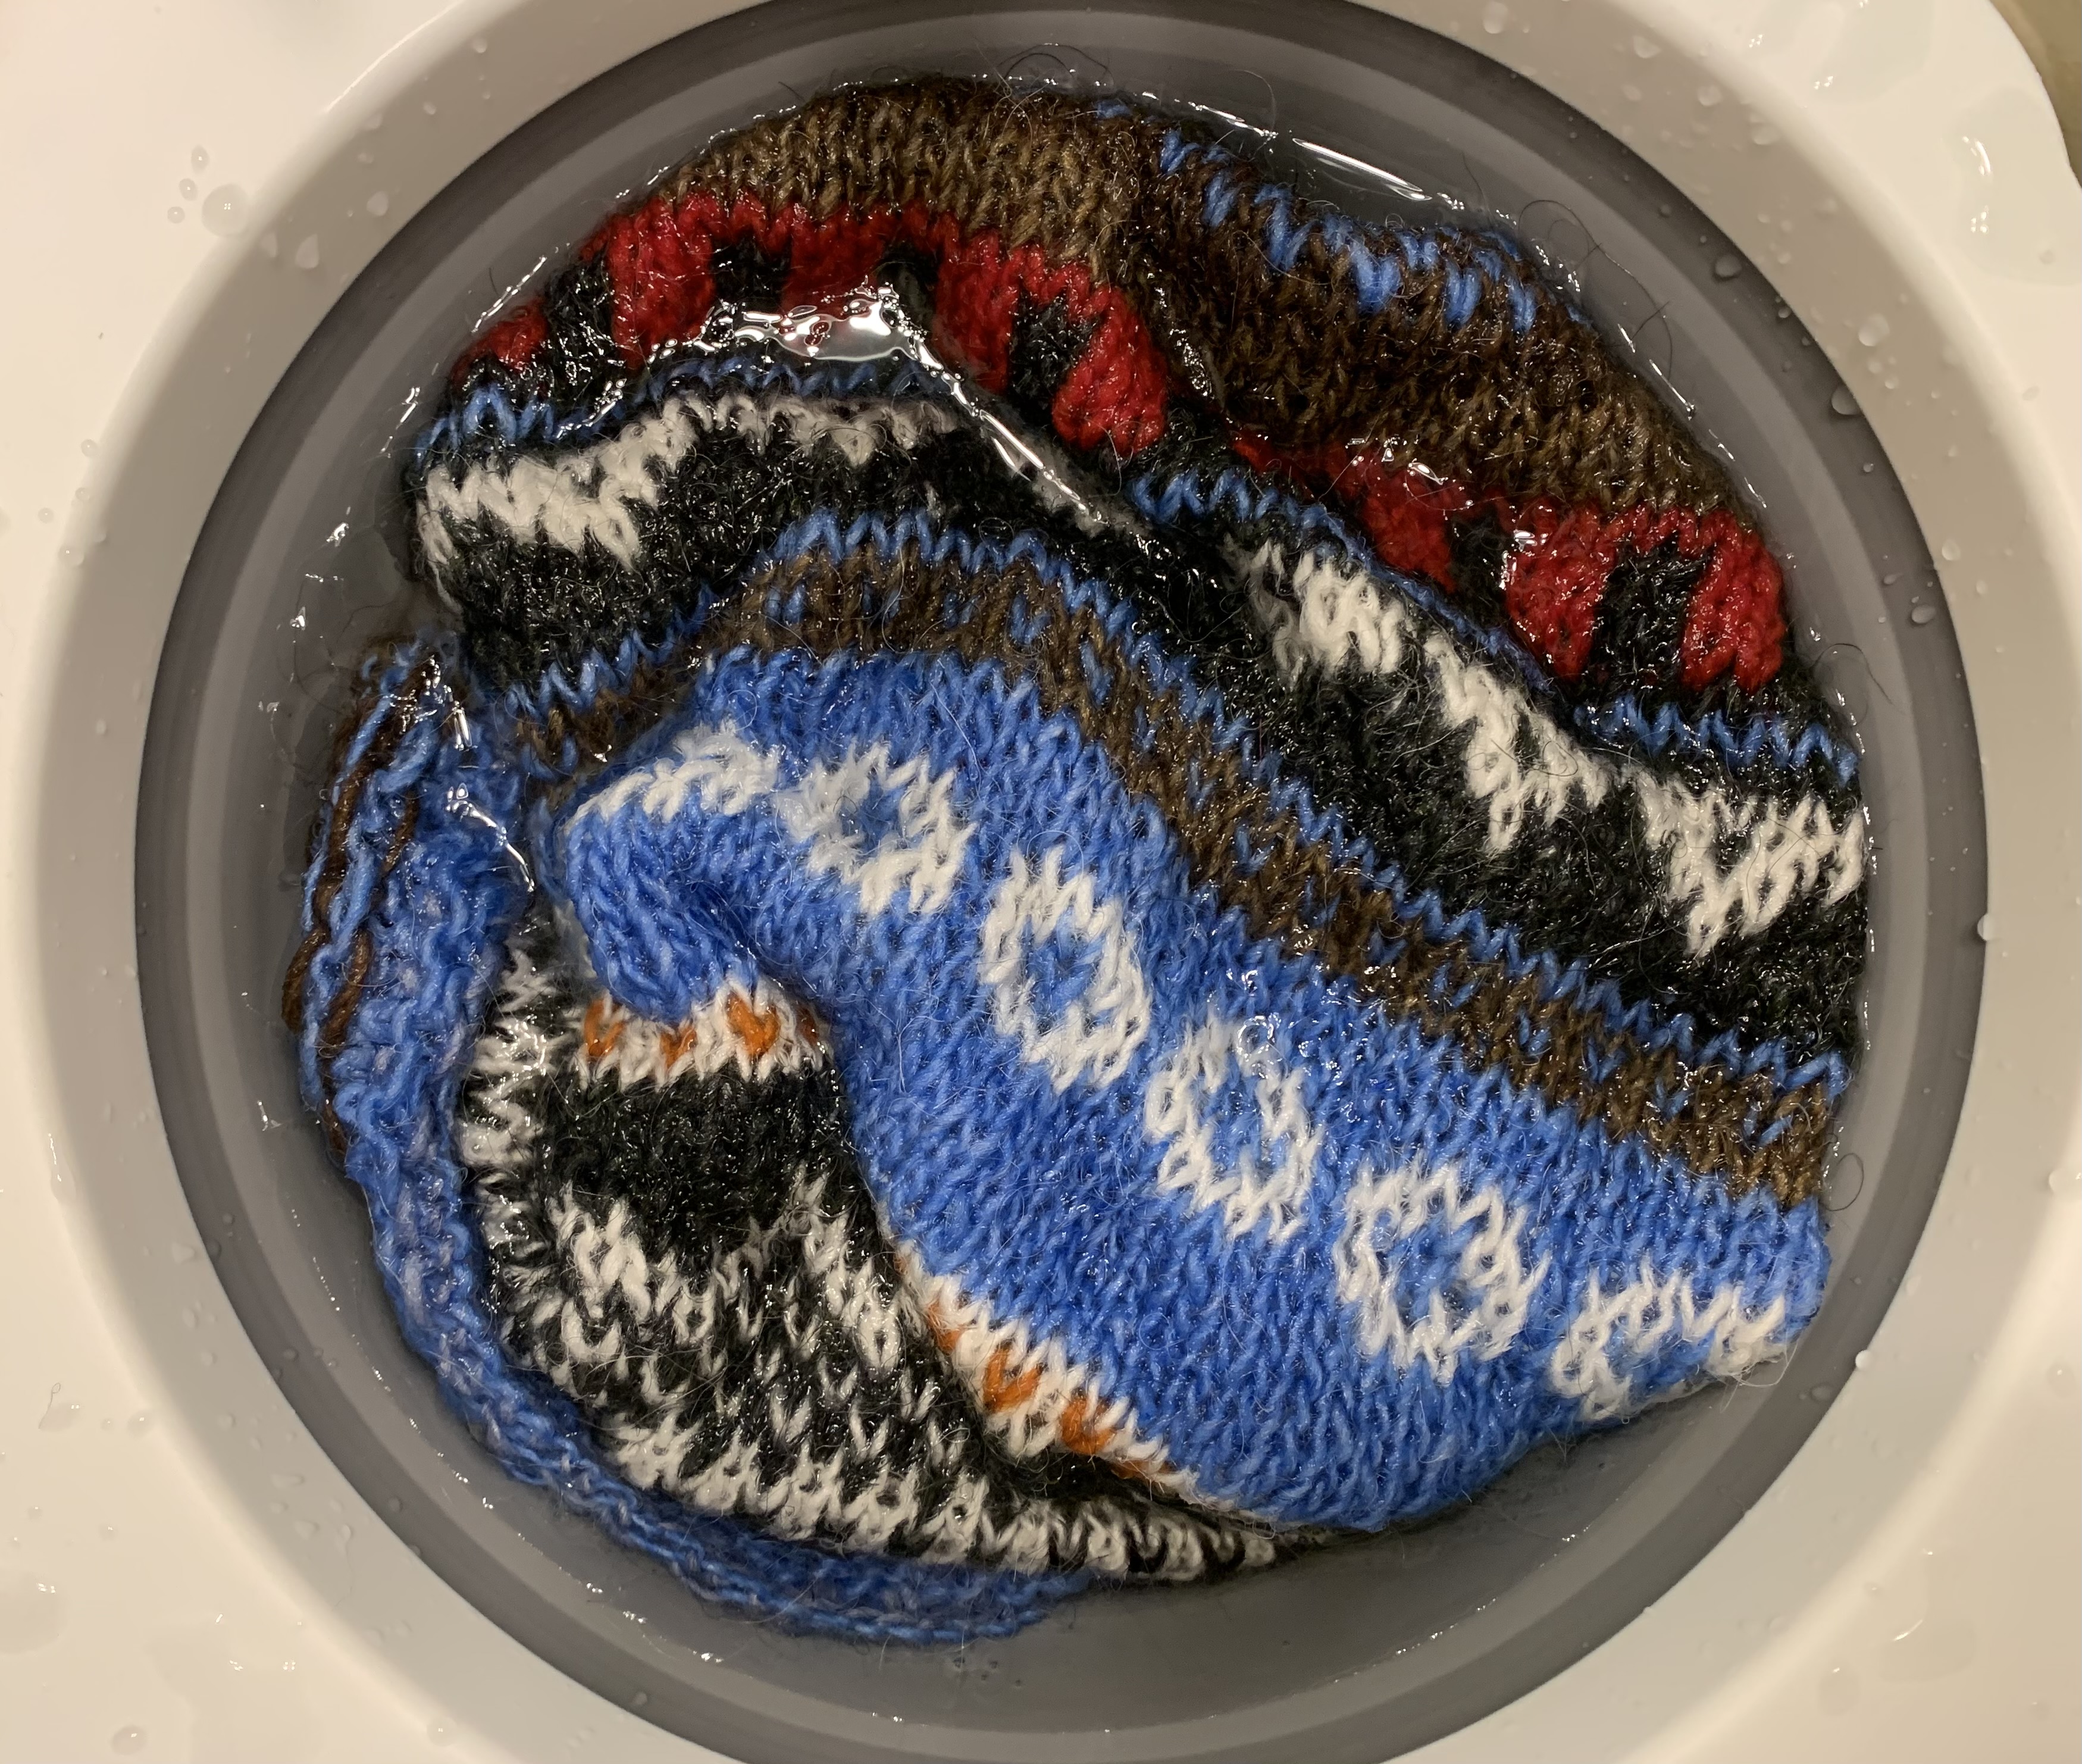
For the felting part, I washed the pad in warm water in the sink and alternated with cold. I continuously scrunched the fabric, swishing it, rinsing and re-doing. This pad did not felt a lot and maybe it needs to go into the washer. I might re-do it.

Questions and Answers

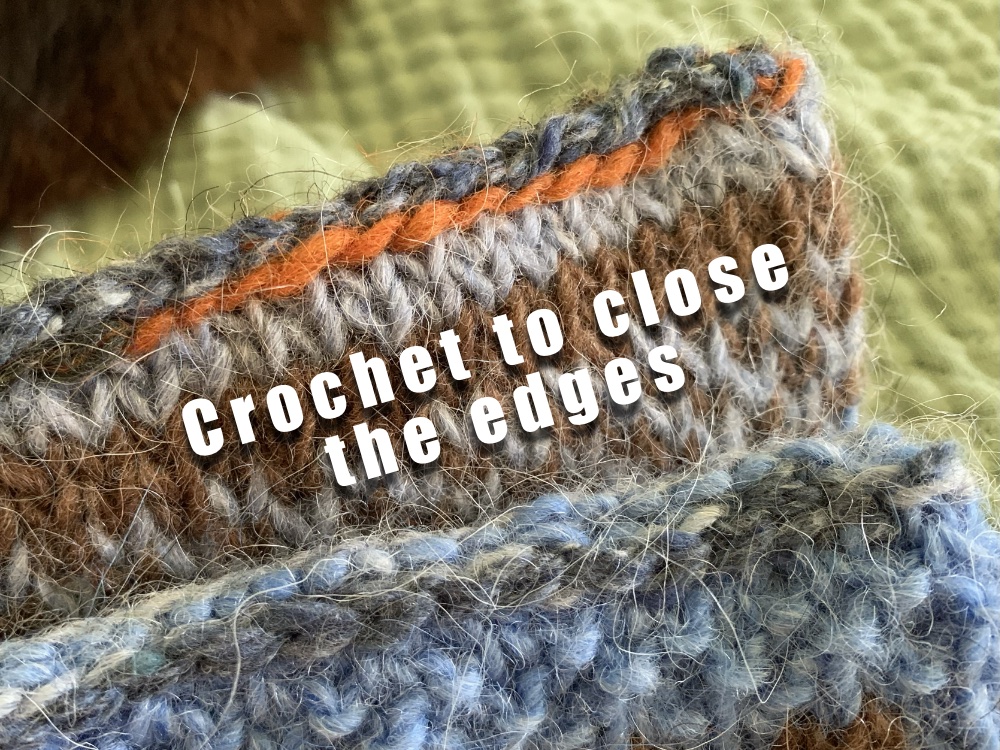
So how did I get those ends sewn up? I used a crochet hook. After the bind-off I left a long tail and simply pulled the yarn through each side of the flattened project until I reached the end. The stitch was like a single crochet and it was pretty easy with those larger stitches made by the heavy weight yarn. No need to be precise or too worried, it’s pretty easy. *I do suggest marking the halfway point (as you knit around) so the sides line up.

For the other end, I added a long piece of yarn and did the same thing.

Skibum edges after being closed up using a crochet hook.

Does this cushion need to be tacked down before felting? No. I was worried it would twist or felt to itself, but that didn’t happen. It might be a problem for another type of yarn, I don’t know.

Uses For the Chair Pad

This seating pad is named the SkiBum and is meant to keep your butt warm in winter. I don’t know much about that except I guess if you ski or hike and need a place to sit you would whip it out of your backpack and sit on top of the snow.

So what will I use it for here in Florida?

Right around the same time I found this pattern, I had been camping. It was December and although real winter never really reaches into Florida, we do get cold nights and mornings. It rarely remains cold all day, but it can.

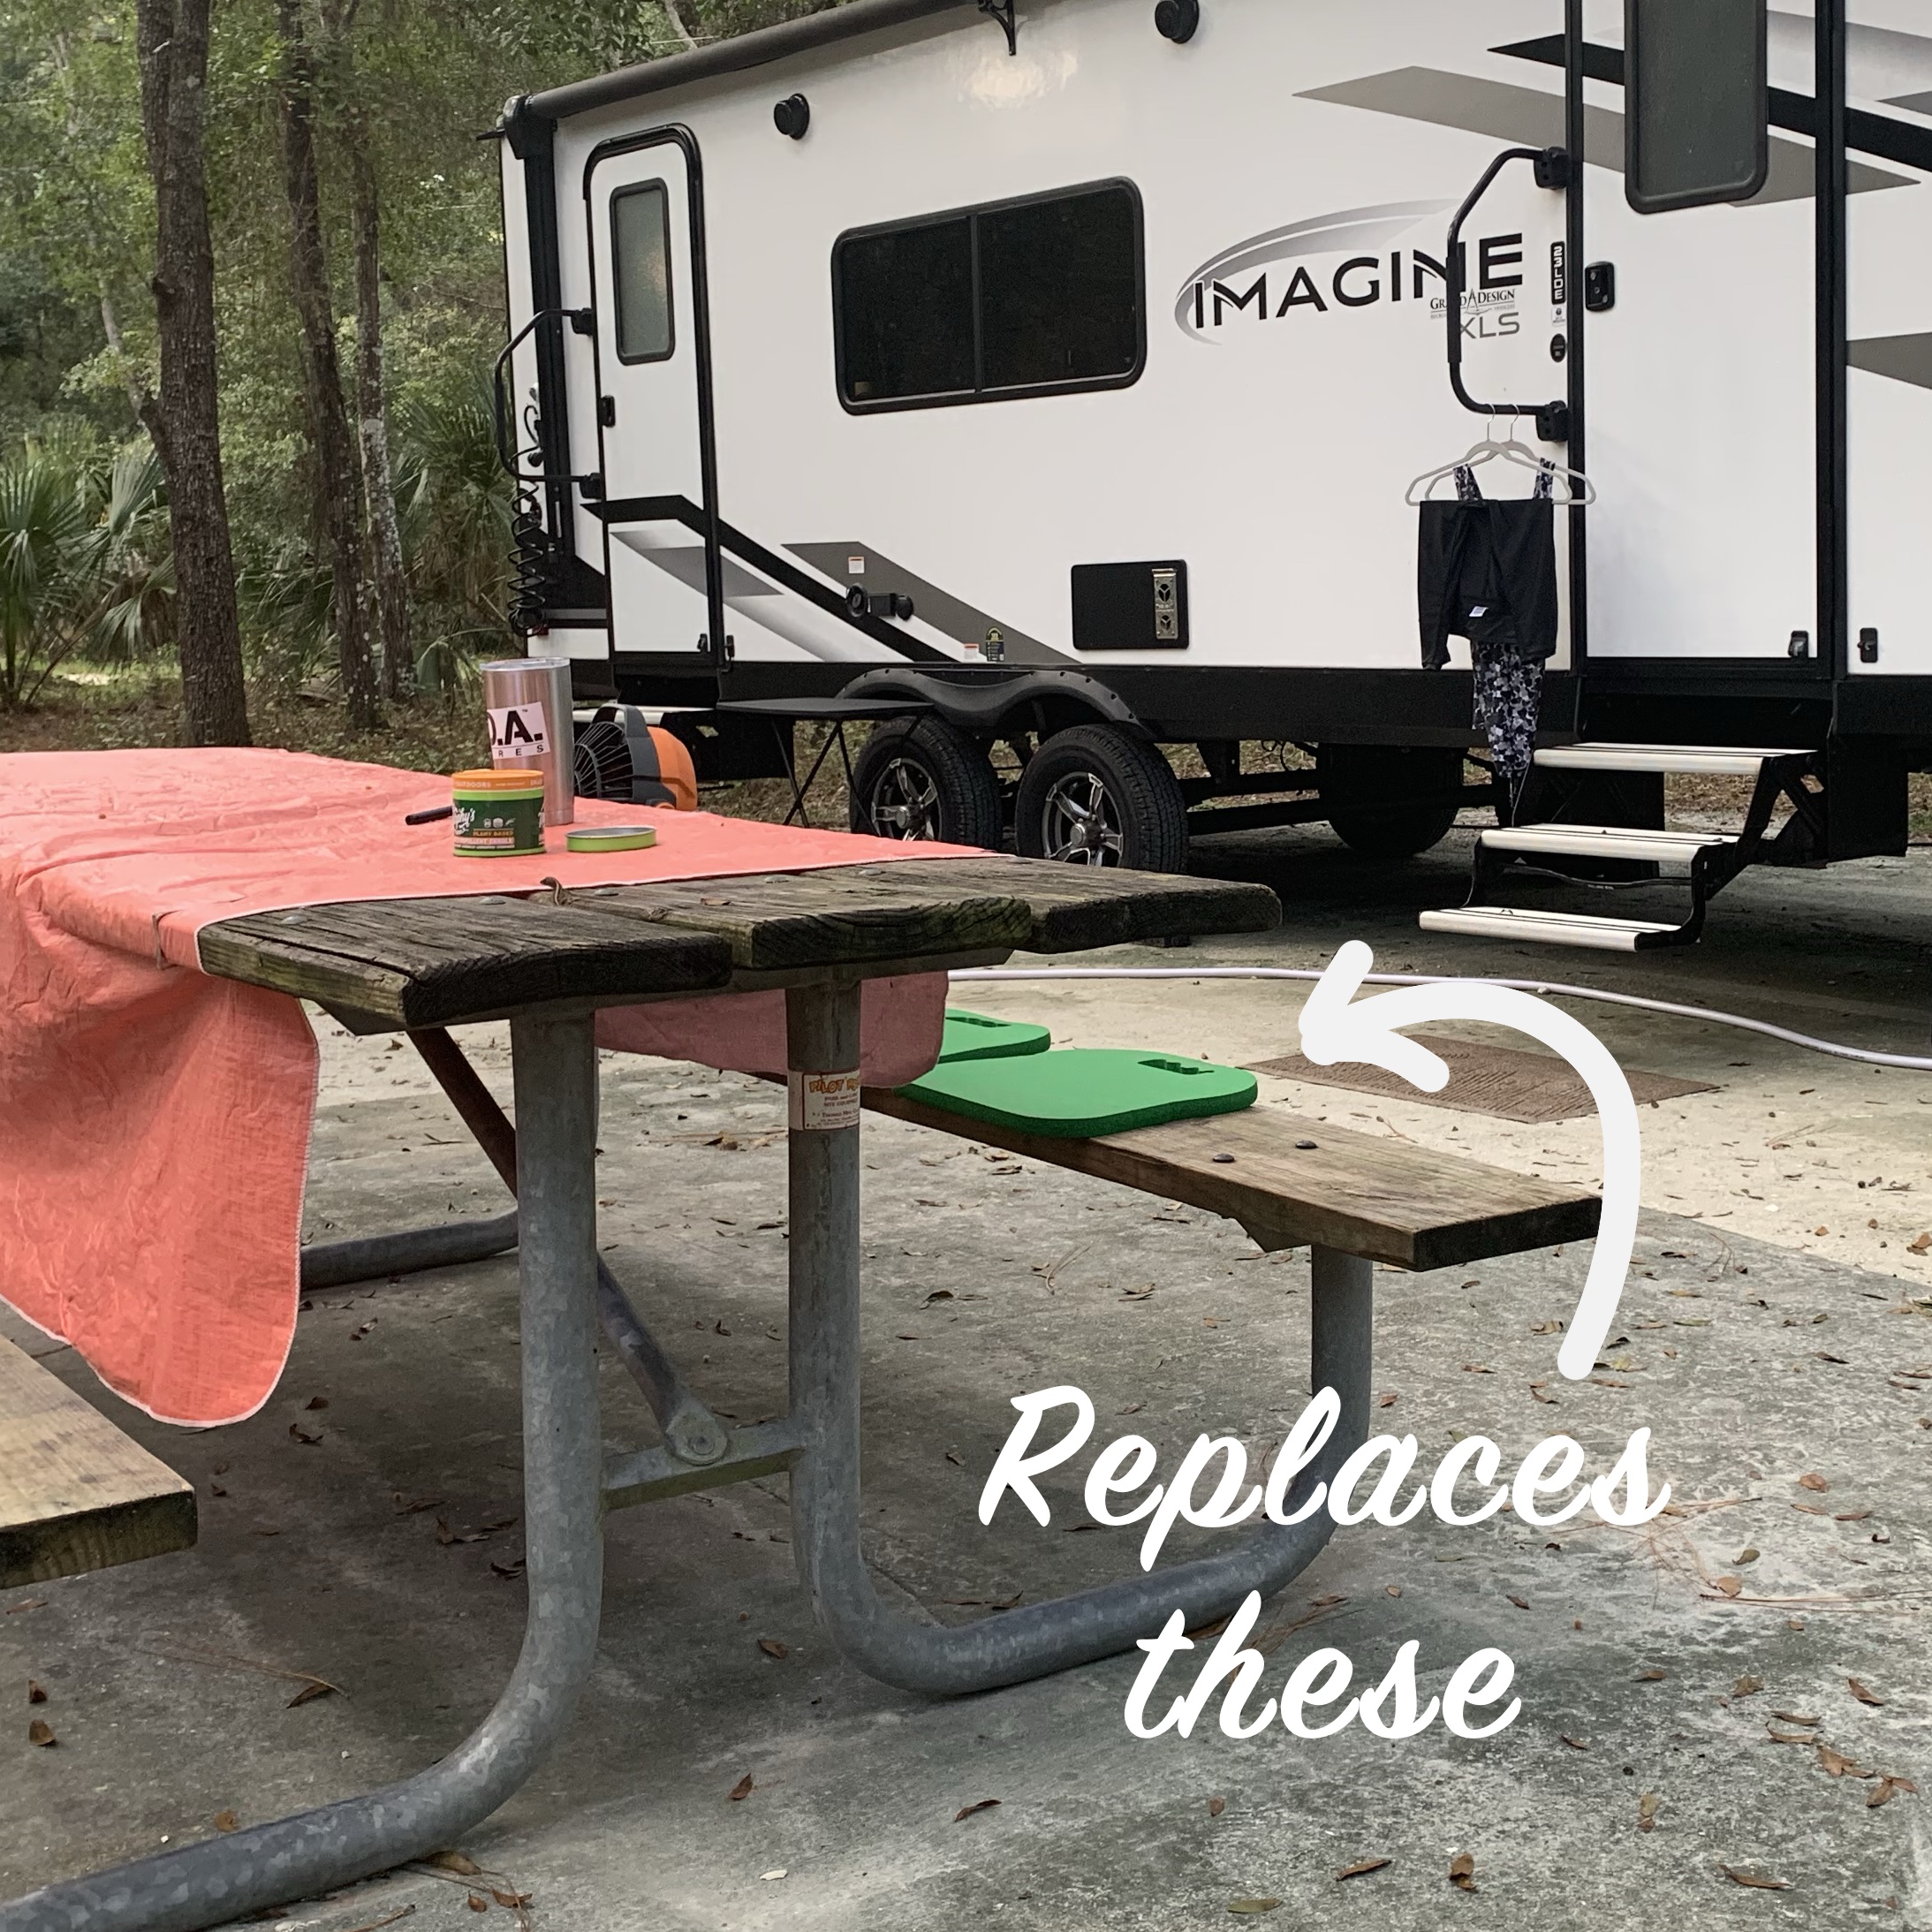
While camping, we sit around the fire at night. My folding chair is made of simple canvas, without padding, and my butt was cold. I grabbed the cheap foam pad (see photo below), which I use on the picnic table bench, and set it under my rear. When I found the SkiBUM pattern, it seemed like a great solution to this problem! I’d rather sit on wool.

Also, we always need something to use year round when sitting at the picnic tables.

camping chair pads on picnic table

Wool is usually thought of as being used to keep us warm. Wool is also great for staying dry. Think, wool hiking socks. A wool seating pad should be fine for year round outdoor seating at a campsite.

Finished Chair Pad

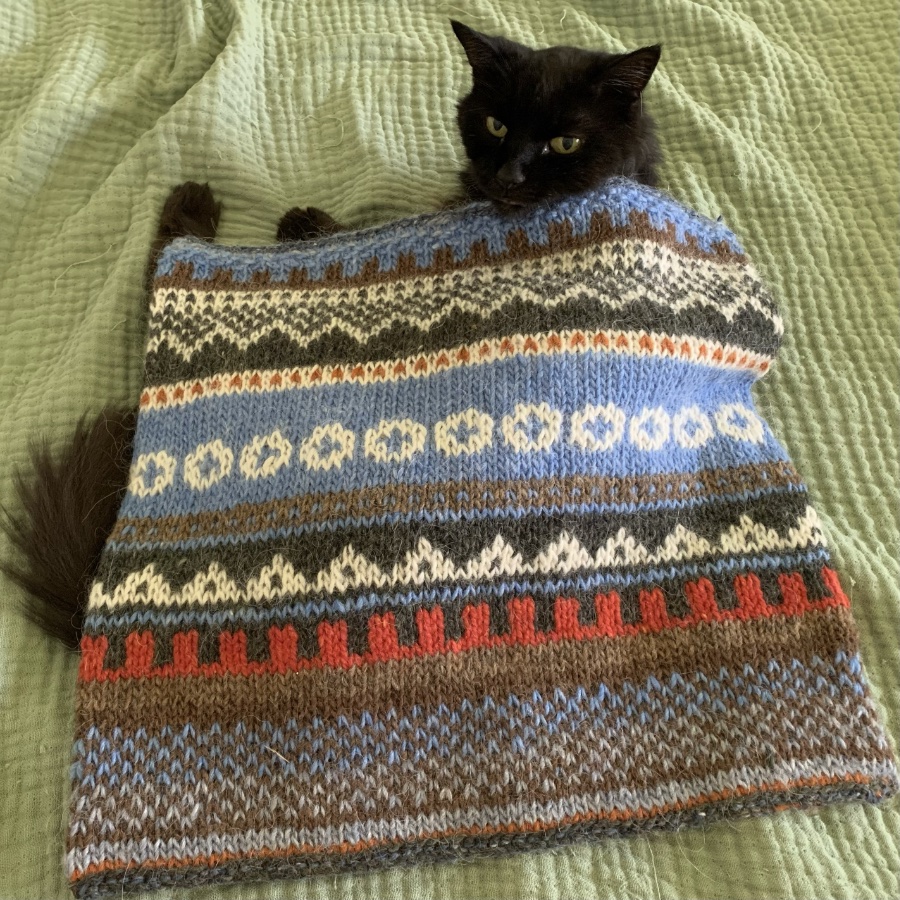
I followed the pattern directions for the cast on number and did some of the colorwork from the chart. Mostly I went off on my own and did simple Fair Isle knitting. It didn’t even matter if the count for the pattern was correct because it would be off at the side (the beginning / end point) – no one will really notice it.

Hand knit Skibum chair pad on top of black cat
Fontana was in the way, so I left her in the shot!

I am now in the process of making more of these pads. It’s a nice way to make something useful and use up my yarn stash.

Thanks for reading…

Five Cozy Scarf Knitting Projects For Fall

Five cozy scarf patterns to begin knitting this Fall. Keep for yourself or give to friends and family. The selection has small and long scarves, with many free patterns included.

When I began knitting, I knit long, quite ugly, mistake riddled scarves. I didn’t care because it was great practice. I used the incorrect type of yarn (sock yarn) and simply knit row after row of stitches in crazy combinations. I wanted to see what the different types of stitches would do.

There is a better way. Use the correct yarn for the project (soft yet warm) and follow a good pattern. That way the end result is wearable and possibly giftable as well. On this page I am listing small and large scarf styles – many are Free patterns. Most of them work for men and women.

Fall is the Time For Knitting

I’m betting that more knitters pick up the needles in fall than in any other season. Cool weather gets people thinking about some wardrobe additions. New mittens, hats and of course scarves are on the list.

Today we are talking about cozy scarves. I live in Florida and miss (very much) being able to wear a nice scarf. I knit sweaters often, and do wear them a few times, but a scarf is simply too out of place in the Sunshine State.

Will You Keep It or Give it Away?

Christmas is coming. Fall is the time when we begin to feel the pressure of giving gifts to EVERYONE! I have good news for you – a cute little scarf makes an awesome gift. It works for co-workers, the boss, a sweet neighbor, young people, old people, men and women alike.

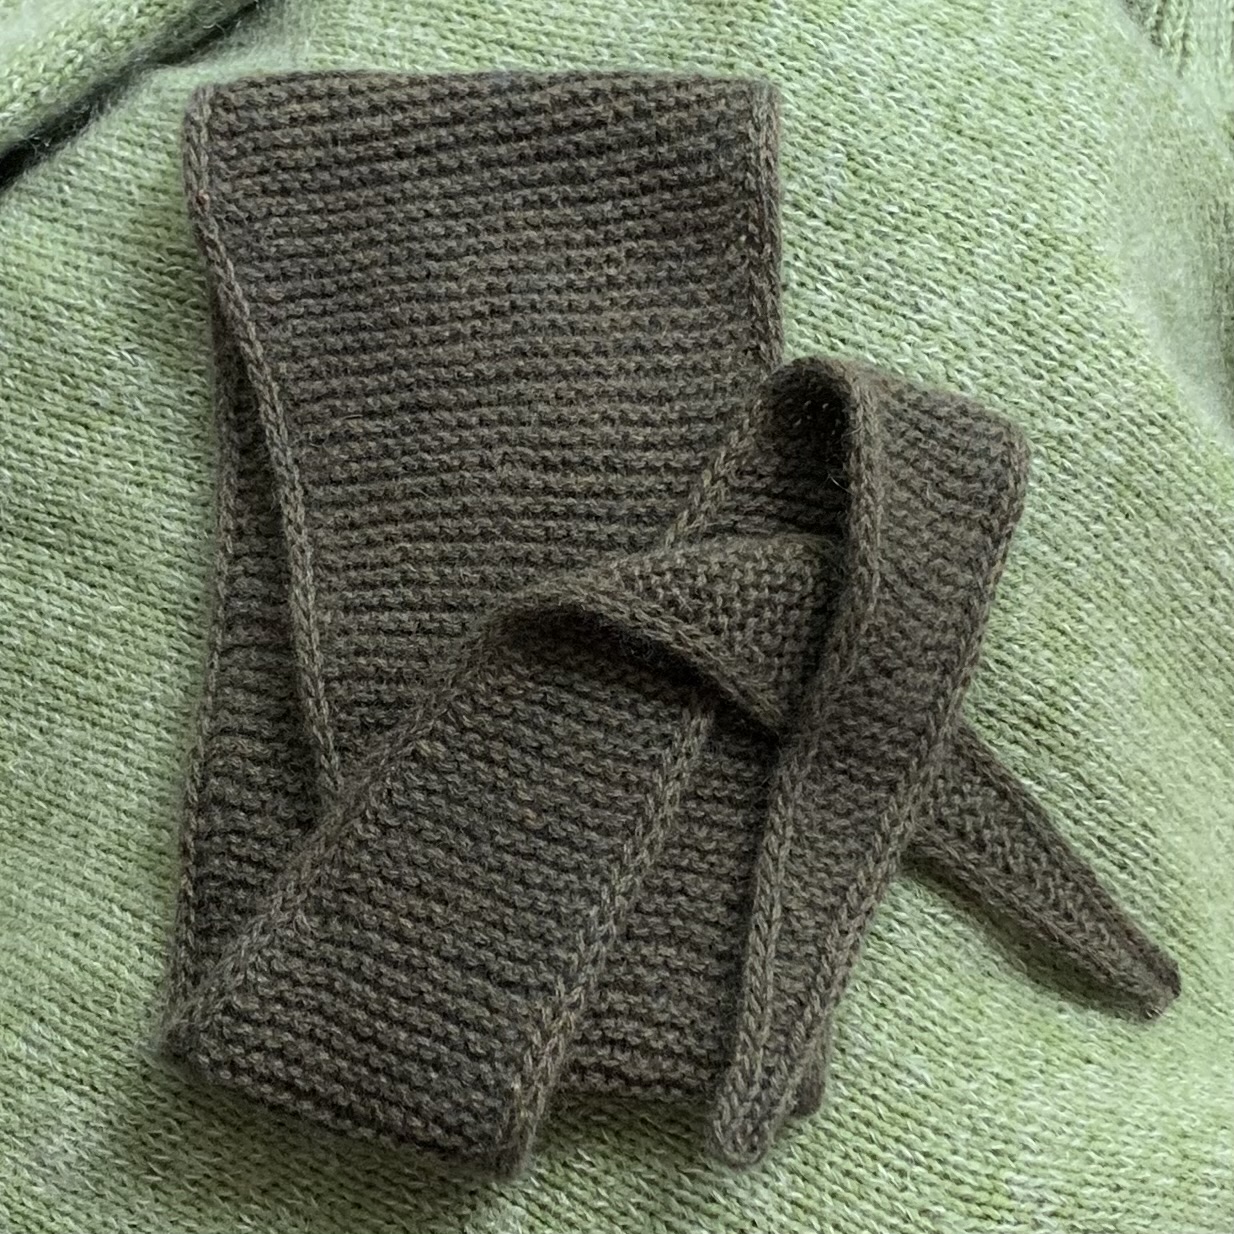
#1. The Sophie Scarf by Petite Knit – View her pattern page for a list of suggested yarns. Simple little one skein scarf patterns may get your attention. One skein sounds doable, right? Cheap and quick. The Sophie Scarf has been very popular. I knit a few of them, but I used more than a skein. I decided to use a cashmere blend, which comes in small balls. But, you can easily knit The Sophie Scarf using a larger skein. It will tie right against the neck, so choose a soft yarn.

#2. The Sophie Hood – larger Sophie, with a hood. If you have more time to spend, knit the Sophie Hood pattern and include a head cover built into the scarf. It will take more yarn, but it seems very simple. I have not knit this one.

#3. Wheat Field Scarf – This one is longer, and has some simple cables and creates a texture. Show off your skills and impress the recipient. This pattern is currently FREE! There is no information about type of yarn or length – but a normal scarf usually takes around 3 normal size skeins of yarn. It looks like a good, all around style that works for everyone.

*FYI – if you knit a scarf with a texture, it’s best to use a solid color yarn to show off the stitches.

#4. Braided Rib Scarf – by Purl Soho – A simple looking, unisex design with suggested yarn and measurements. This is currently a FREE PATTERN. The scarf is a long, wrap around the neck style with ribs.

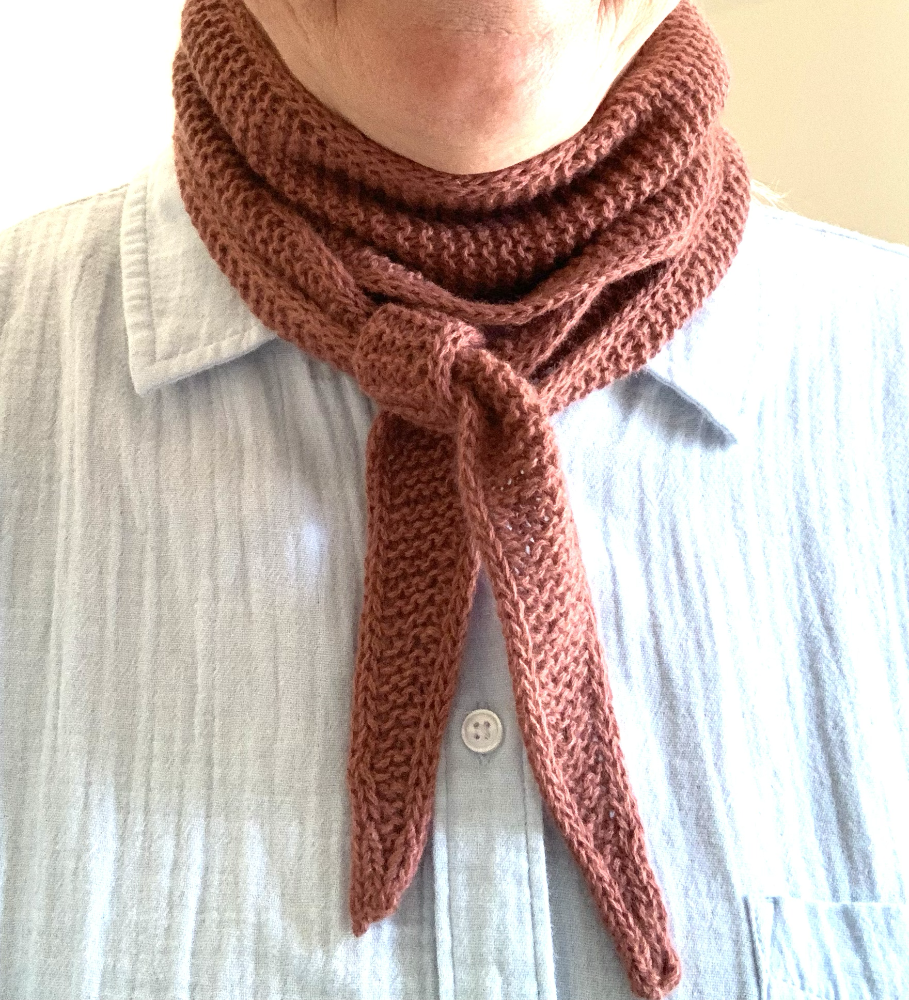
#5. Close Cable Scarf – by Purl Soho – a shorter scarf that hooks through itself by creating openings on one end. This one is perfect for wearing under a coat to cover the neck / chest area. It is another beautiful FREE PATTERN.

Advanced Knitters Can Make Their Own Pattern

A scarf is a simple thing. Begin on one end and finish at the other. An experienced knitter will know how to create stitches that go together to make a pretty repeating pattern. It could be as simple at making a rib of knits and purls, or create an eyelet with yarn overs. Even cable “how to’s” are easy to find online.

Whichever way you decide to go, there are some things to consider. Will the person receiving this scarf gift be willing to hand wash it? Or, do you need to make it easy care with washable yarn?

If I was knitting one of these scarves for myself, I would spend a little money and use some nice, soft yarn. After all, it could be a once a year new accessory for the winter wardrobe that will last a lifetime.