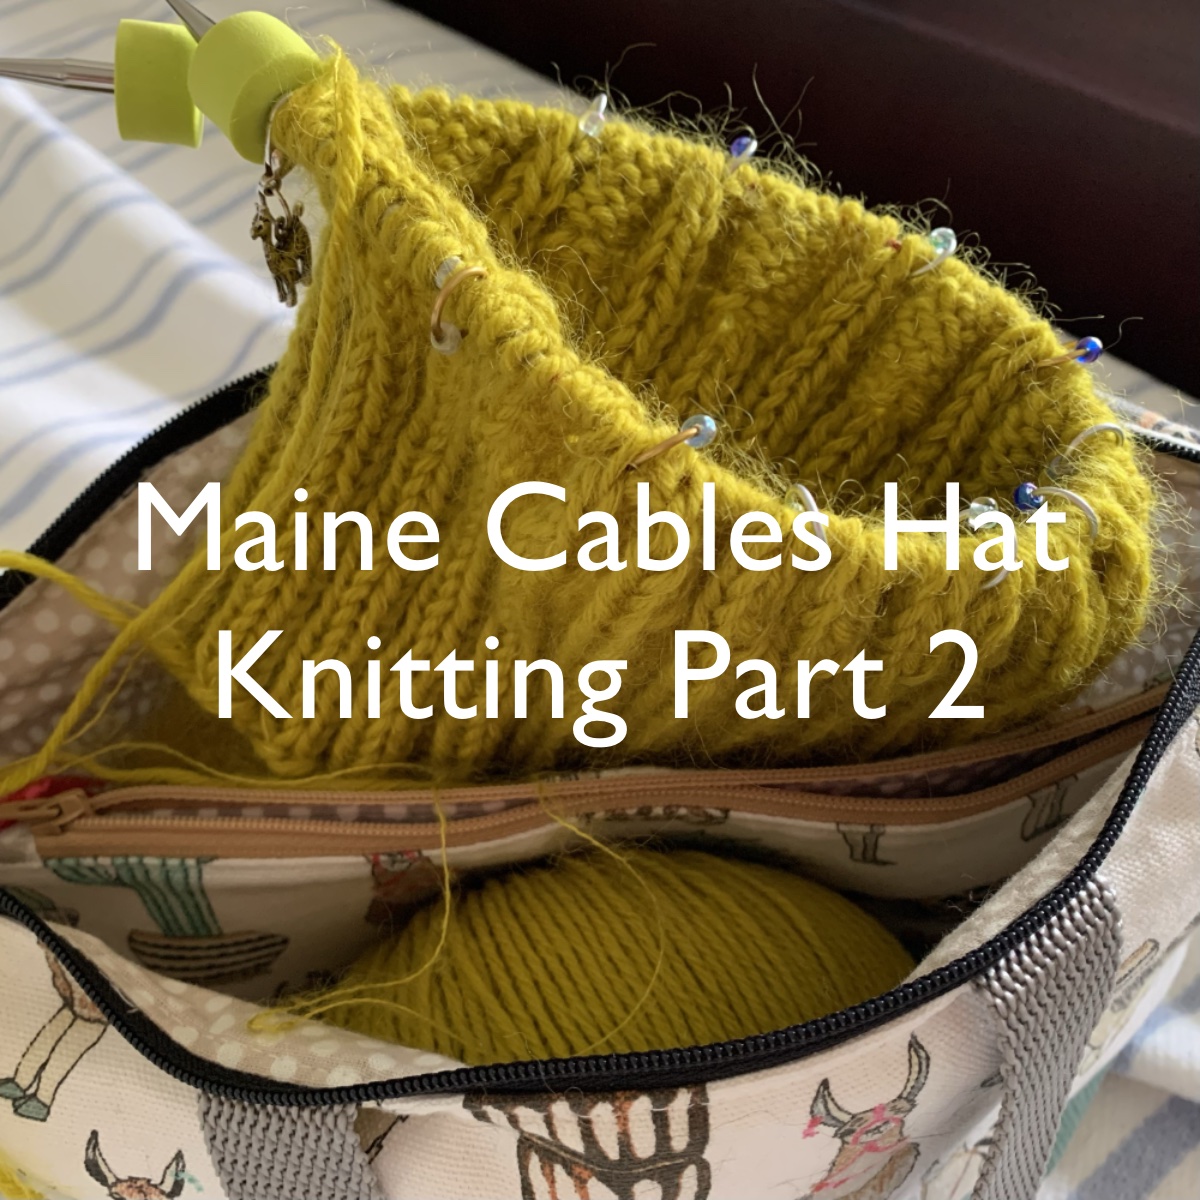
If you are ready to knit the Maine Cables Hat, here we go.
My last post was about gathering the things you’ll need to knit this free pattern. If you need to know about that, go back there and read Part One.
For everyone else, grab the needles and your yarn, and let’s cast on some stitches.
Cast On With Long Tail
I hope you have decided which hat size you will make. I’m making the small size so my cast on will be 88 stitches. I will follow the pattern which says to begin by using the Long Tail cast-on to get our stitches onto our 16″ circular needles. That video is SLOW and great for anyone just learning – remove the slip knot and do not count it as a stitch. I do my cast on without a slip knot – like this video.
For this type of cast-on make sure your tail end is 3-4 times longer than the circumference of your project. Do a general measure of three and add a little more.
Join in the Round – Three Ways
There are many ways to join in the round. Once all my 88 stitches are on the needle the first and last stitch will be swapped. Then I add a BOR (beginning of round) marker. This should be a unique marker, different from the ones you will use later to mark off the cable sections.
Here is a short list of quick videos showing different ways to join in the round. Once all stitches are on your needle, straighten them to face the same way and connect the first and last stitch. This is called joining in the round.
- Invisible Join – slip and pass stitch over
- Join in the round – extra stitch
- Join slipping last and first stitches. (This is what I do)
Next, Knit the Hat Ribbing
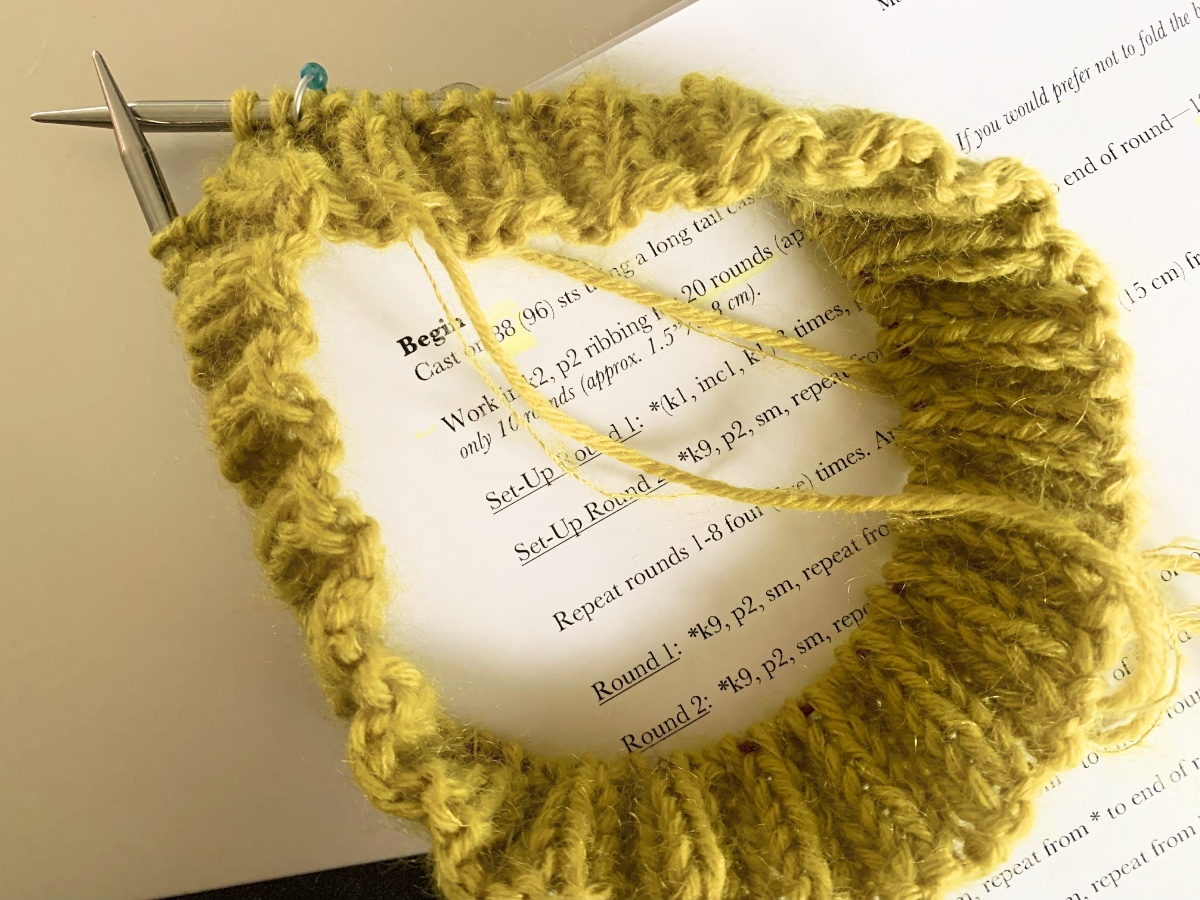
The ribbing is a knit 2, purl 2 alternating stitch (2×2 rib). The pattern says to knit 10 rounds, which will create a short brim that does not fold. The pattern says to knit 20 rounds, or approximately 3 inches for a folded brim. *This is where I will make an adjustment to the pattern.
I like a brim that folds, but three inches total is not long enough. I decided to knit 4 inches, which will give me a 2 inch folded brim. I’m hoping it will be long enough for my liking as I usually knit at least 6 inches for the fold.
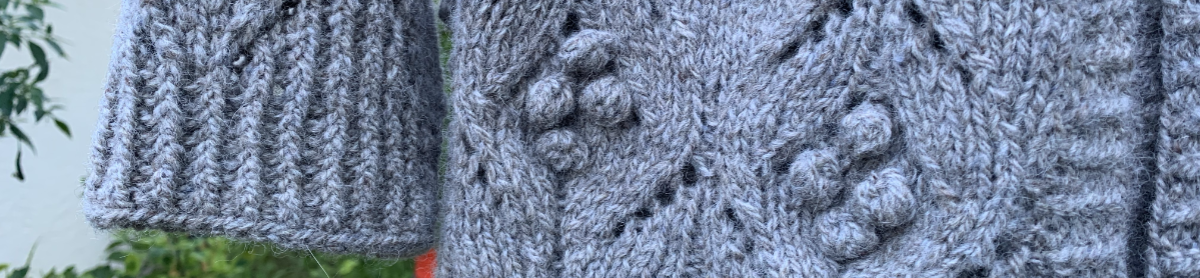
Below I am sharing photos of other hats I’ve knit showing the nice, big folded brim. If the ribbing is too short, it won’t fold well. I suggest making that ribbing longer for the Maine Cables Hat if you want a nice, folded brim.
Hats With Long Brims I Have Knit


Ribbing Done, Do Set-up Rounds
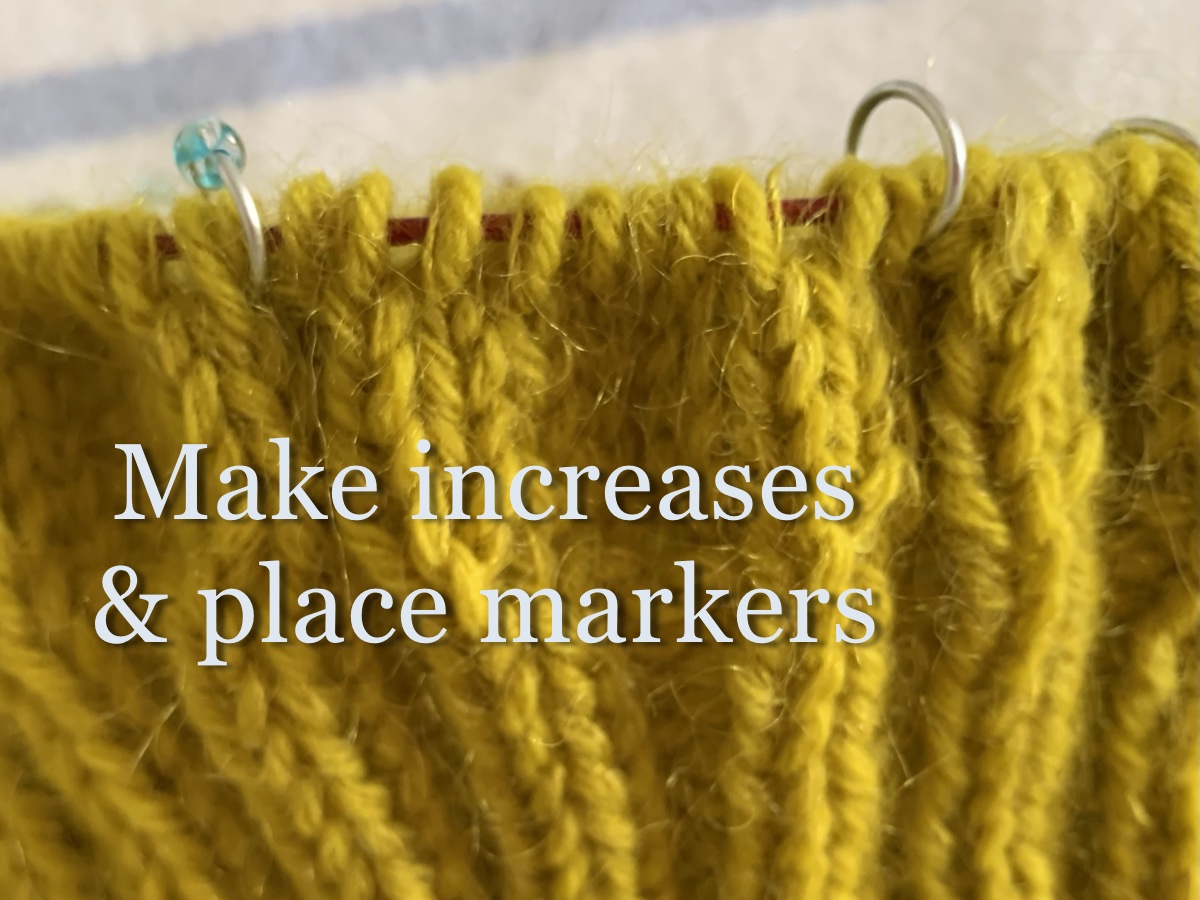
Once you have knit your desired length of 2×2 ribbing, there are two set up rounds. This creates the sections for the top of the hat where the cables will be. Get your 10, or 11 stitch markers. They will go between those sections of stitches all the way around.
Set up round 1: *(knit 1, increase 1, knit 1) – do this 3 times, then purl 2 and place marker. *Repeat all of this, all the way around. Each section will have 11 stitches. You will end up with 121 stitches for the small size, or 132 stitches for the large size. Need a backward loop increase refresher? Check out this video.
Set up round 2 is pretty easy. Knit all the knits and increases and purl the two purls in each section.
Cable Section / Top of Hat
Next we will knit the cable part of the hat. I need to get going and knit this part myself, so more to come in my next post.
Happy knitting! Hope you are having fun, because that is what knitting should be.
More knitting stories






Share this:


One thought on “Knitting the Maine Cables Hat, Cast-on and Ribbing – Part 2”