Brioche Knitting For Beginners With Video Tutorials

When beginning to knit brioche, choose a simple pattern and get some practice. This post has video tutorials and easy pattern links for knitters who want to learn something new.

Let me admit right up front that I am not a brioche knitter. I have tried it numerous times and failed. I consider myself a brioche beginner. The basic stitch is not hard, but I think the trick is to knit a very easy project to become accustomed to the stitches. After that, if it seems like something to pursue further, go on to try two-color brioche, and pattern knitting.

A reader recently left a nice comment on my old post where I had given up on brioche after failing at it miserably. I was doing a more difficult two-color hat pattern. The comment reminded me to finish this post.

Back to Brioche, Simple Beginner Tutorial

I hadn’t planned to knit brioche. But, I was camping in Florida, and thunderstorms were all around us. I needed something to do while confined inside the camper. I had brought my cotton yarn to create new dishcloths because I had no other knitting project to bring. I’ve wanted to go back to Purl Soho and find some fun, new stitches to use for a dishcloth. It’s where I found them years ago and have been using the dishcloths ever since.
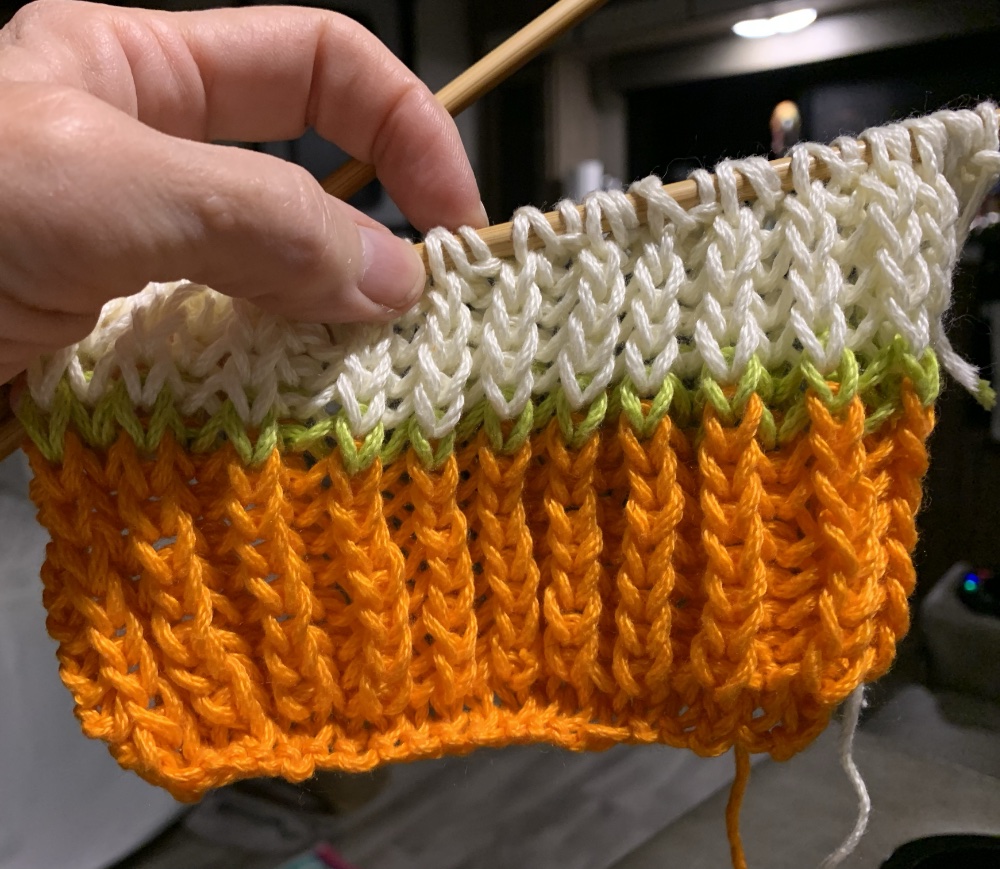
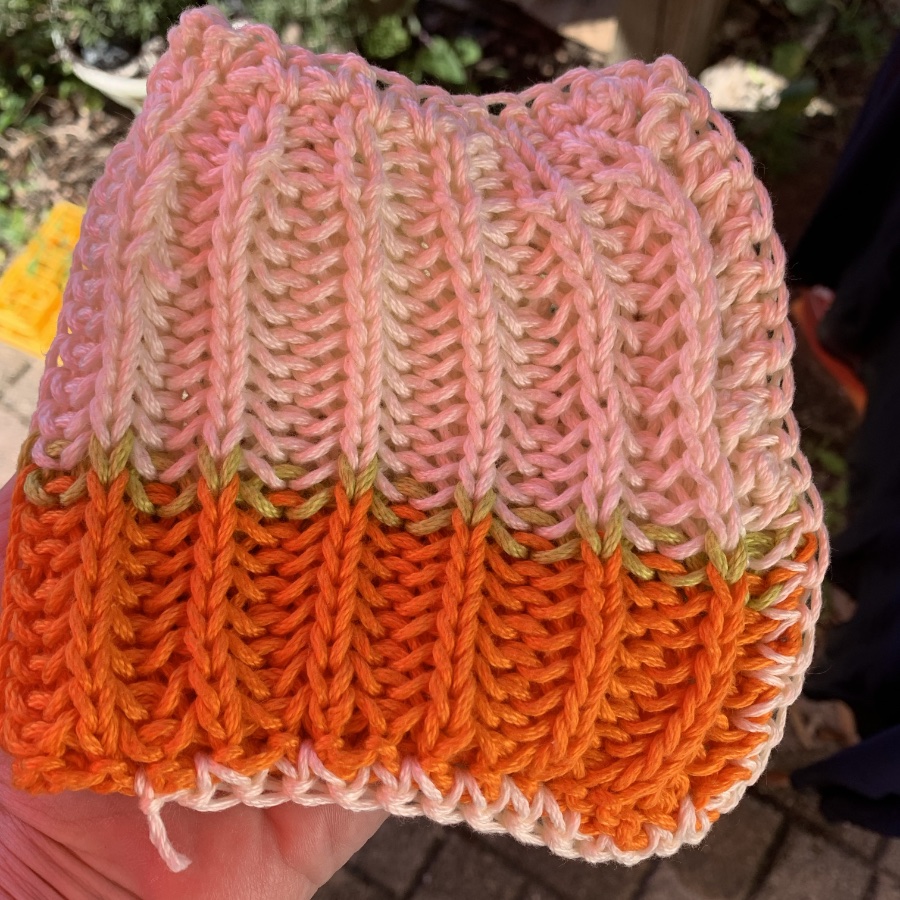
Knitting brioche in cotton for a dishcloth
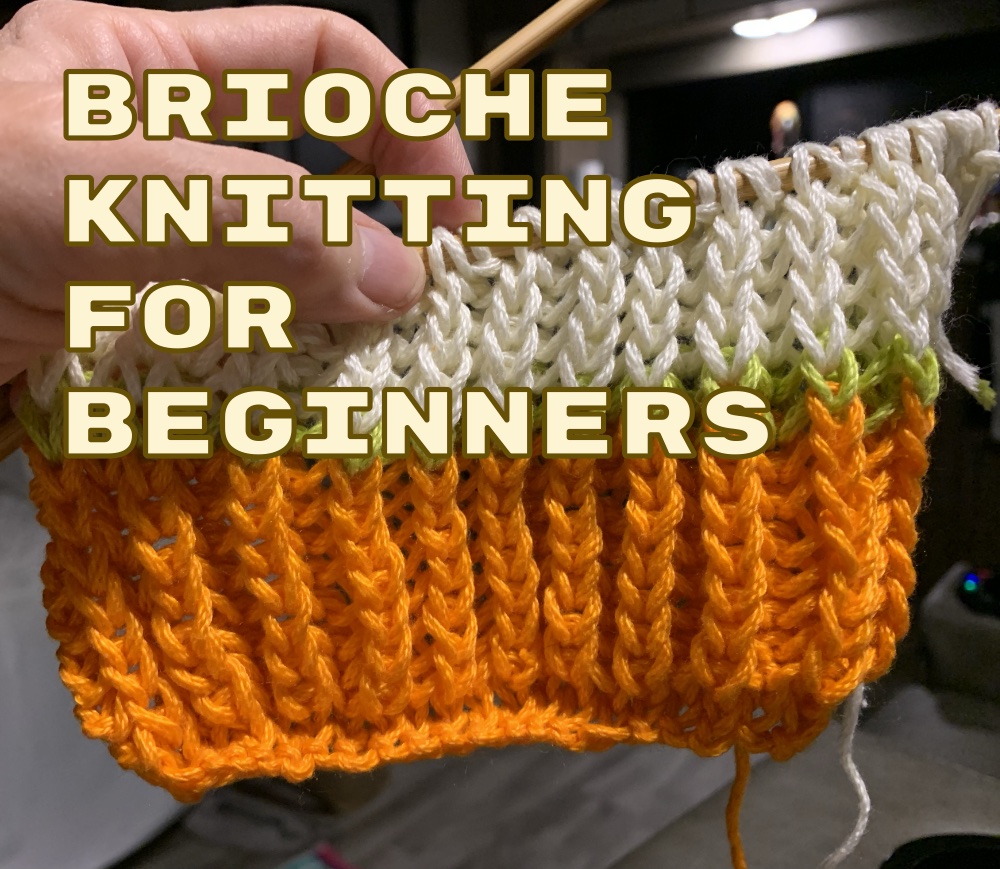
Brioche cotton dishcloth using one yarn color at a time.

Purl Soho has always had some interesting tutorials on various stitches which I like to try out on simple, small projects. They also sell pretty yarn and have many helpful tutorials. I noticed that they include sewing, weaving and embroidery tutorials – in case you are interested. And I am! I will be checking out the embroidery.

What is Brioche Knitting?

Brioche is using simple knitting stitches, yarn overs, and sometimes purls to create a ribbed, squishy, fabric. It is thick with detailed ribs on both sides which makes it reversible. It can be knit in a solid color, or using two colors. It’s very pretty for certain projects, but it is also tricky when it becomes advanced. This is my own opinion.

Basic Brioche Video: Knit Flat (Back and Forth)

A few Purl Soho tutorials cover brioche knitting. I have a bit of a negative response to “brioche” because it has been tough for me to complete a project. However, I reconsidered and watched their brioche knitting video tutorial. It is easy to follow and it perfect for a beginner brioche knitter. *Except that it was not clear to me that there is a knit stitch at the beginning and end of the row. In the video, she never finished a row!

In the video we are given the steps – cast on an even number of stitches, and do a set up row. After that the brioche stitch continues on row after row. So how do we end the project?

Purl Soho does have many helpful videos for knitters. They have many brioche videos; for making increases / decreases, fixing mistakes, and doing two-color brioche (flat). I see nothing for binding off in brioche.

Since brioche is made up of a doubled up stitch (BRK – brioche knit), it is counted as one stitch but looks like two. This is due to the yarn overs. When it comes time to the bind-off for brioche, check out this video by 10 Rows a Day.

I ended up doing a simple, regular bind off for my dishcloth because I don’t care how it looks. For a nicer project, I would follow the real brioche bind off tutorial.
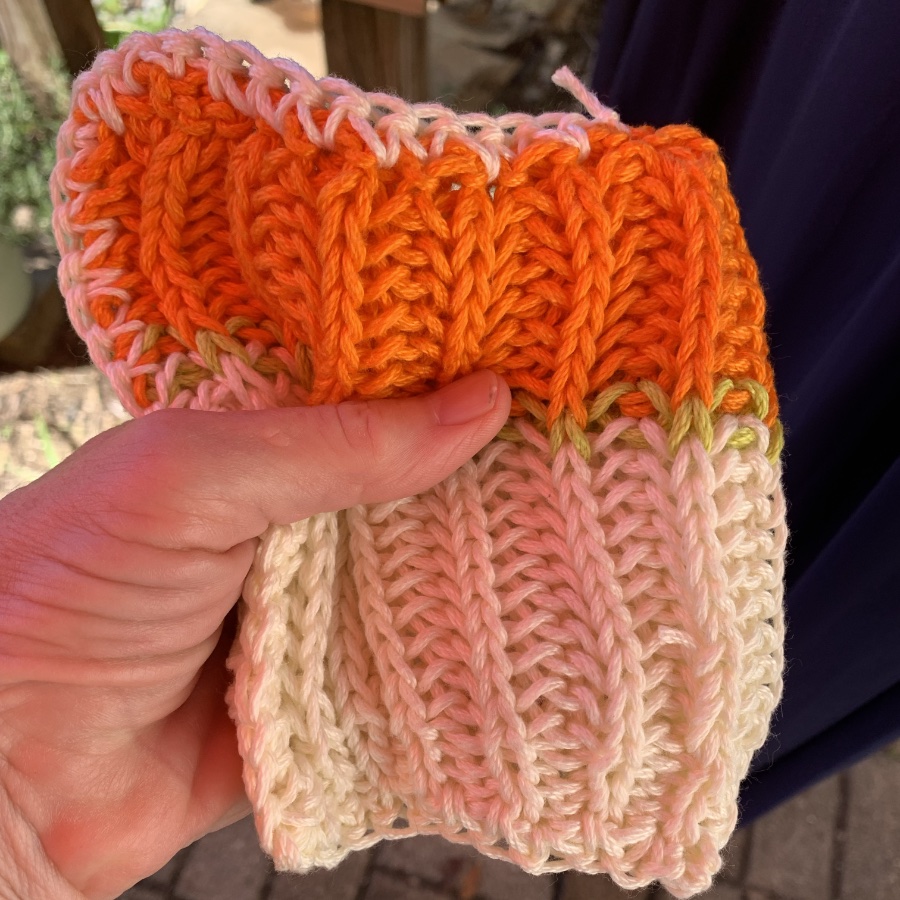
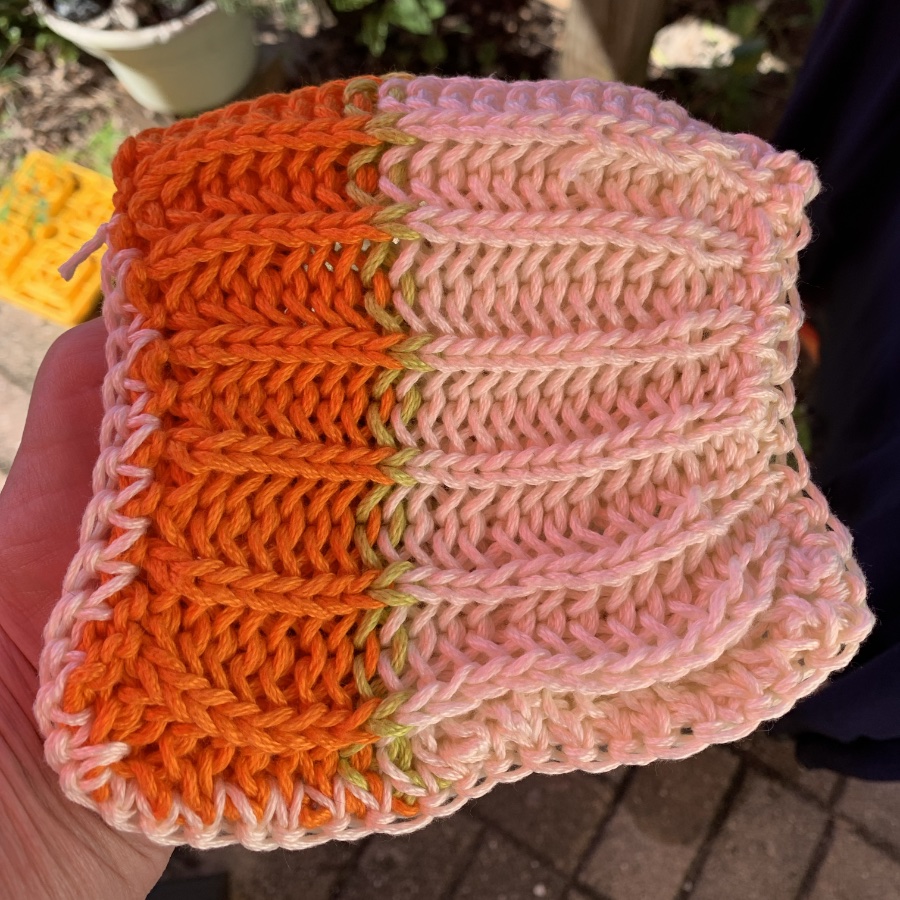
After washing, my brioche cotton dishcloth became very wide so I folded it in half and crocheted the edges together. When you do a real brioche project, choose the correct yarn (wool!) and needle size and your brioche will look much nicer than this!

To Begin, Don’t Knit a Complicated Brioche Project

Here is my suggestion. Don’t pay for a brioche knitting project before trying out the stitch on free patterns. Do a simple, flat (back and forth) brioche stitch item. Maybe progress to a two-color flat project. Do some increases and decreases and then maybe knit in the round. I’m saying get the hang of the way brioche looks and works.

Basic Brioche Abbreviations – Only Two for Flat Brioche

To begin a simple brioche flat pattern, you only need to know a few abbreviations. For circular brioche, you need to know more. I’m not going there.

  • bk2tog – brioche knit two stitches together. You will see two wonky stitches side by side, and knit them together.
  • YOS – bring the yarn over – from back to front between the needles – and slip the next stitch which is a purl stitch, purl wise. Then, the yarn goes over the needle to the back (this is the yarn over – not between the needles, but over the top of the right needle). Now you are ready to bk2tog.
  • Continue with these two stitches. Watch the video.

Easy Brioche Patterns For Beginners

After all that practice (many dishcloths later) if you still want to try a pattern, buy one from a reputable designer who will supply good directions.

Purl Soho has a simple and FREE Brioche Scarf pattern knit in one color, at their website. After you watch their brioche video (linked above on this page), grab some of their nice yarn and knit a long scarf.

Look for a flat knitting project without a lot of anything (increases and decreases) but simple back and forth. One scarf I have had in my favorites for years is Westknits- Bundled in Brioche – it is a FREE scarf pattern that could be knit all in one color, or using many colors (two at a time). I want to knit it one day! This one would be great practice and a great way to use up leftover yarn.

Westknits has many brioche patterns. Many of them look very complicated, and also a bit bizarre. Stephen West also includes a lot of video tutorials for his patterns, which is so helpful. These are ideas for those who feel confident with brioche.

Free Hat Pattern in Brioche – for the brave beginner.

Purl Soho also has a FREE hat pattern for Two-color brioche hat which is knit in DK weight yarn. This circular project requires more knowledge. You will also have to decrease in brioche at the top of the hat. It is such a pretty hat, but I’m honestly afraid to try it. *Note also that Purl Soho’s 2-color brioche video tutorial is done flat, not in the round.

If I ever find a good tutorial that walks me through cast on, joining, knitting, decreasing, and everything that has to do with brioche in the round, I will let you know! If you have one, please share.


animals divider fox, mice, hamsters

More Knitting Stories here:

Knitting a Striped Warm Up Sweater #2 Using Peace Fleece Yarn

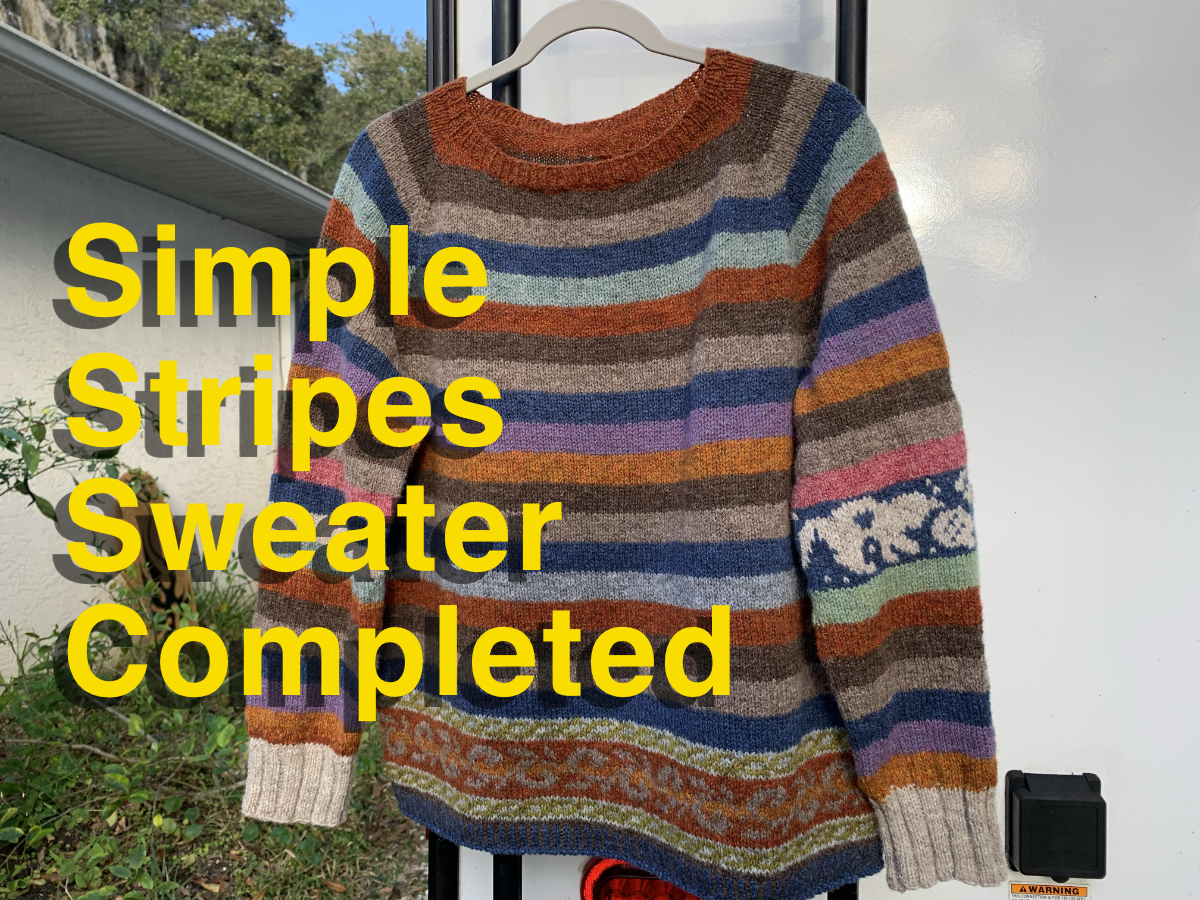
The Warm Up sweater pattern is a simple raglan design. Although the sample is knit in one solid color, I like making wide stripes. I also like a rustic wool for more of a sweatshirt feel.

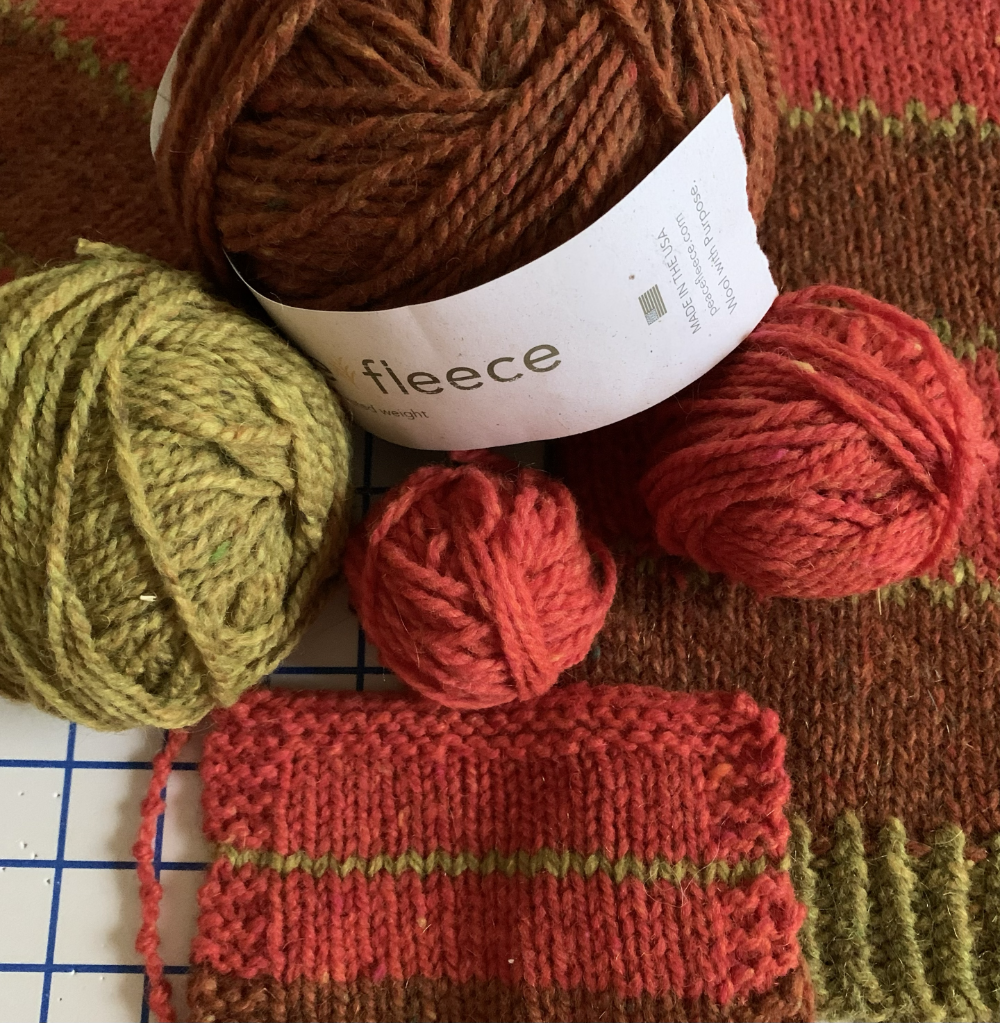
The Warm Up pullover is a pattern I have knit before. It is a basic raglan style sweater. The pattern does not include color changes, but I like it with wide stripes. I also like it in a nice, rustic wool. This time I chose Peace Fleece. (Pattern buying option is linked down the page.)

Pattern Mods

A basic sweater offers a blank palette for trying new things. I liked the wide stripes on Warm Up #1 and kept them on Warm Up #2. This time I added a little border pattern between them using a contrast color. Because this yarn splices very nicely, I changed the main colors (red and brown) by spit splicing.

The neck was the only part of the original sweater that I didn’t like. My neckline choice for this new sweater has a little roll and then a rib. I hope I will like it better.

Warm up sweater

The pattern suggests a twisted rib for the neck, cuffs and bottom. By the time I did the sleeves, some time had passed and I did a regular rib. Mostly because I simply forgot. I forgot to go down a needle size for the ribbing, so it was done with a size 8.

Sleeves are done! On to the body.

The sleeves were knit before the body. I was not sure on the yarn color amounts. While knitting the sleeves, I had a feeling that the whole sweater would be way too big. I was wrong! Once the sleeves were finished, I tried it on. The fit was good. The bulky nature of the yarn makes the pullover seem big.

Tubular Knit Bind Off For Sleeves

If you feel inclined to knit a tubular bind off, please watch this video. The Chilly Dog channel has made an excellent video. It explains, and shows, how to bind off with a needle for 1×1 ribbing in the round. The example is a pair of socks, but it works for any in-the-round 1×1 bind off. I have linked it here for myself as a reminder for when I knit my second sleeve.

This bind off is done with a sewing needle and because the cuff is small around, it is very manageable.

I’m running a little low on the salmon red color.

Buy the Warm Up Pattern Here

This pullover pattern is from Espace Tricot. It was a free pattern back when I got it. Now it must be paid for, but it’s only around $5.50 US currency at the present time. It is a well explained pattern and a good one for beginner sweater knitters.

I will update with a finished photo when I’m done. The hot weather is coming. Now that February is here, we are having some very warm days. I won’t be wearing sweaters for much longer. I need to get this heavy, wool project off my lap!

finished knitting and gave it a soak in Eucalyn. Now it’s drying on the mats. I have nearly a whole skein of the brown left. There is quite a bit of yellow, and not enough red to complete the last ribbing.

Knitters, please keep reading…

Knitting a First Sweater, Warnings, Ideas and Suggestions

Want to know more about knitting a first sweater? I have some advice for beginner sweater knitters, as well as pattern suggestions.

After fiddling around with dishcloths, hats and scarves for a while, and getting basic stitches learned, I needed a bigger knitting project. I yearned to make a sweater just like all those pretty knitted sweaters I was seeing everywhere online.

I tried to find out as much information as I could before choosing the pattern. I read blogs, Ravelry pattern reviews, and visited the forums, but I still felt indecisive. What type should I choose? A top down, or bottom up? Cardigan or pullover? Plain or colorwork? I had done a bit of colorwork and liked it. A cardigan seemed like too much to handle with button bands, buttonholes and buttons! So, I chose a bottom-up pullover with some colorwork at the top by a designer I’d seen mentioned quite a bit, and bought the Umpqua sweater pattern by Caitlin Hunter.

Continue reading “Knitting a First Sweater, Warnings, Ideas and Suggestions”

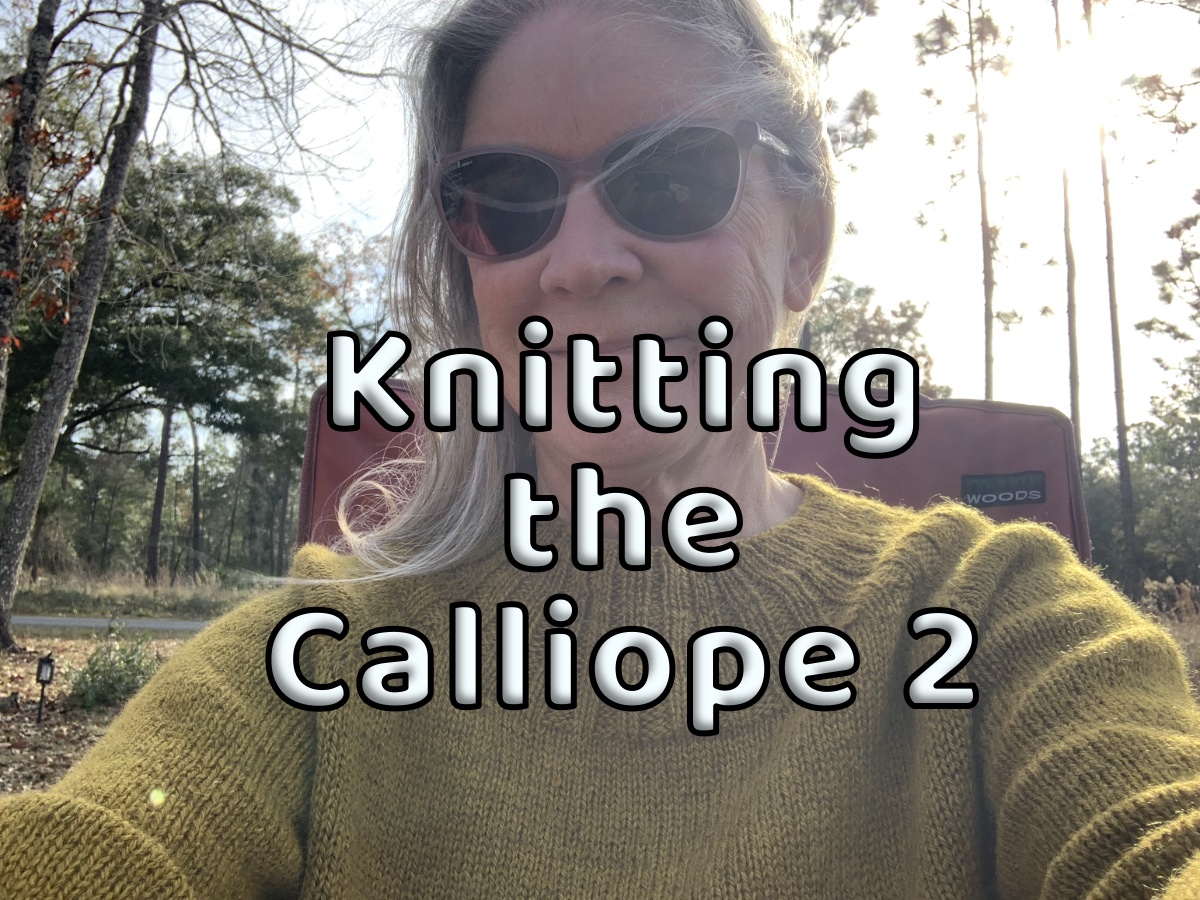
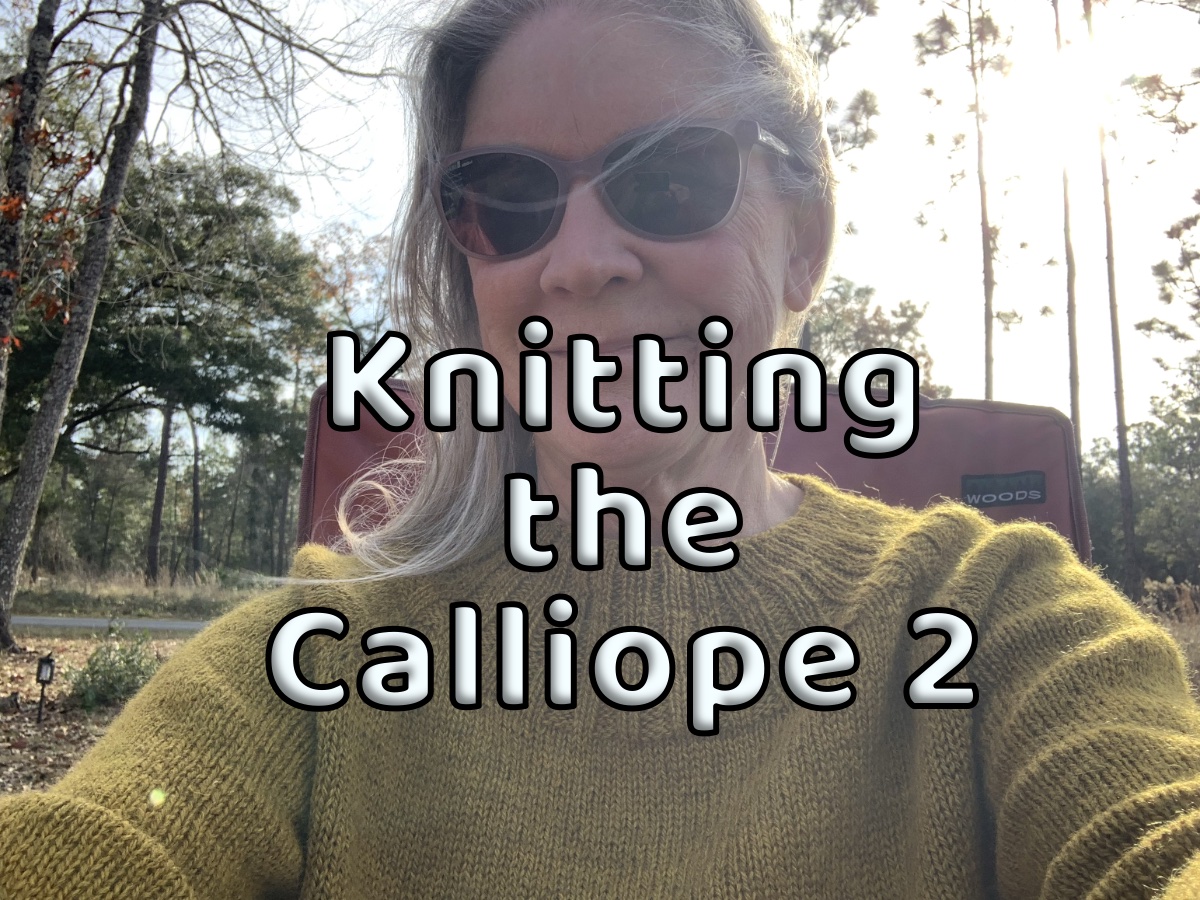
Knitting the Calliope Pullover in Rustic Gold Wool

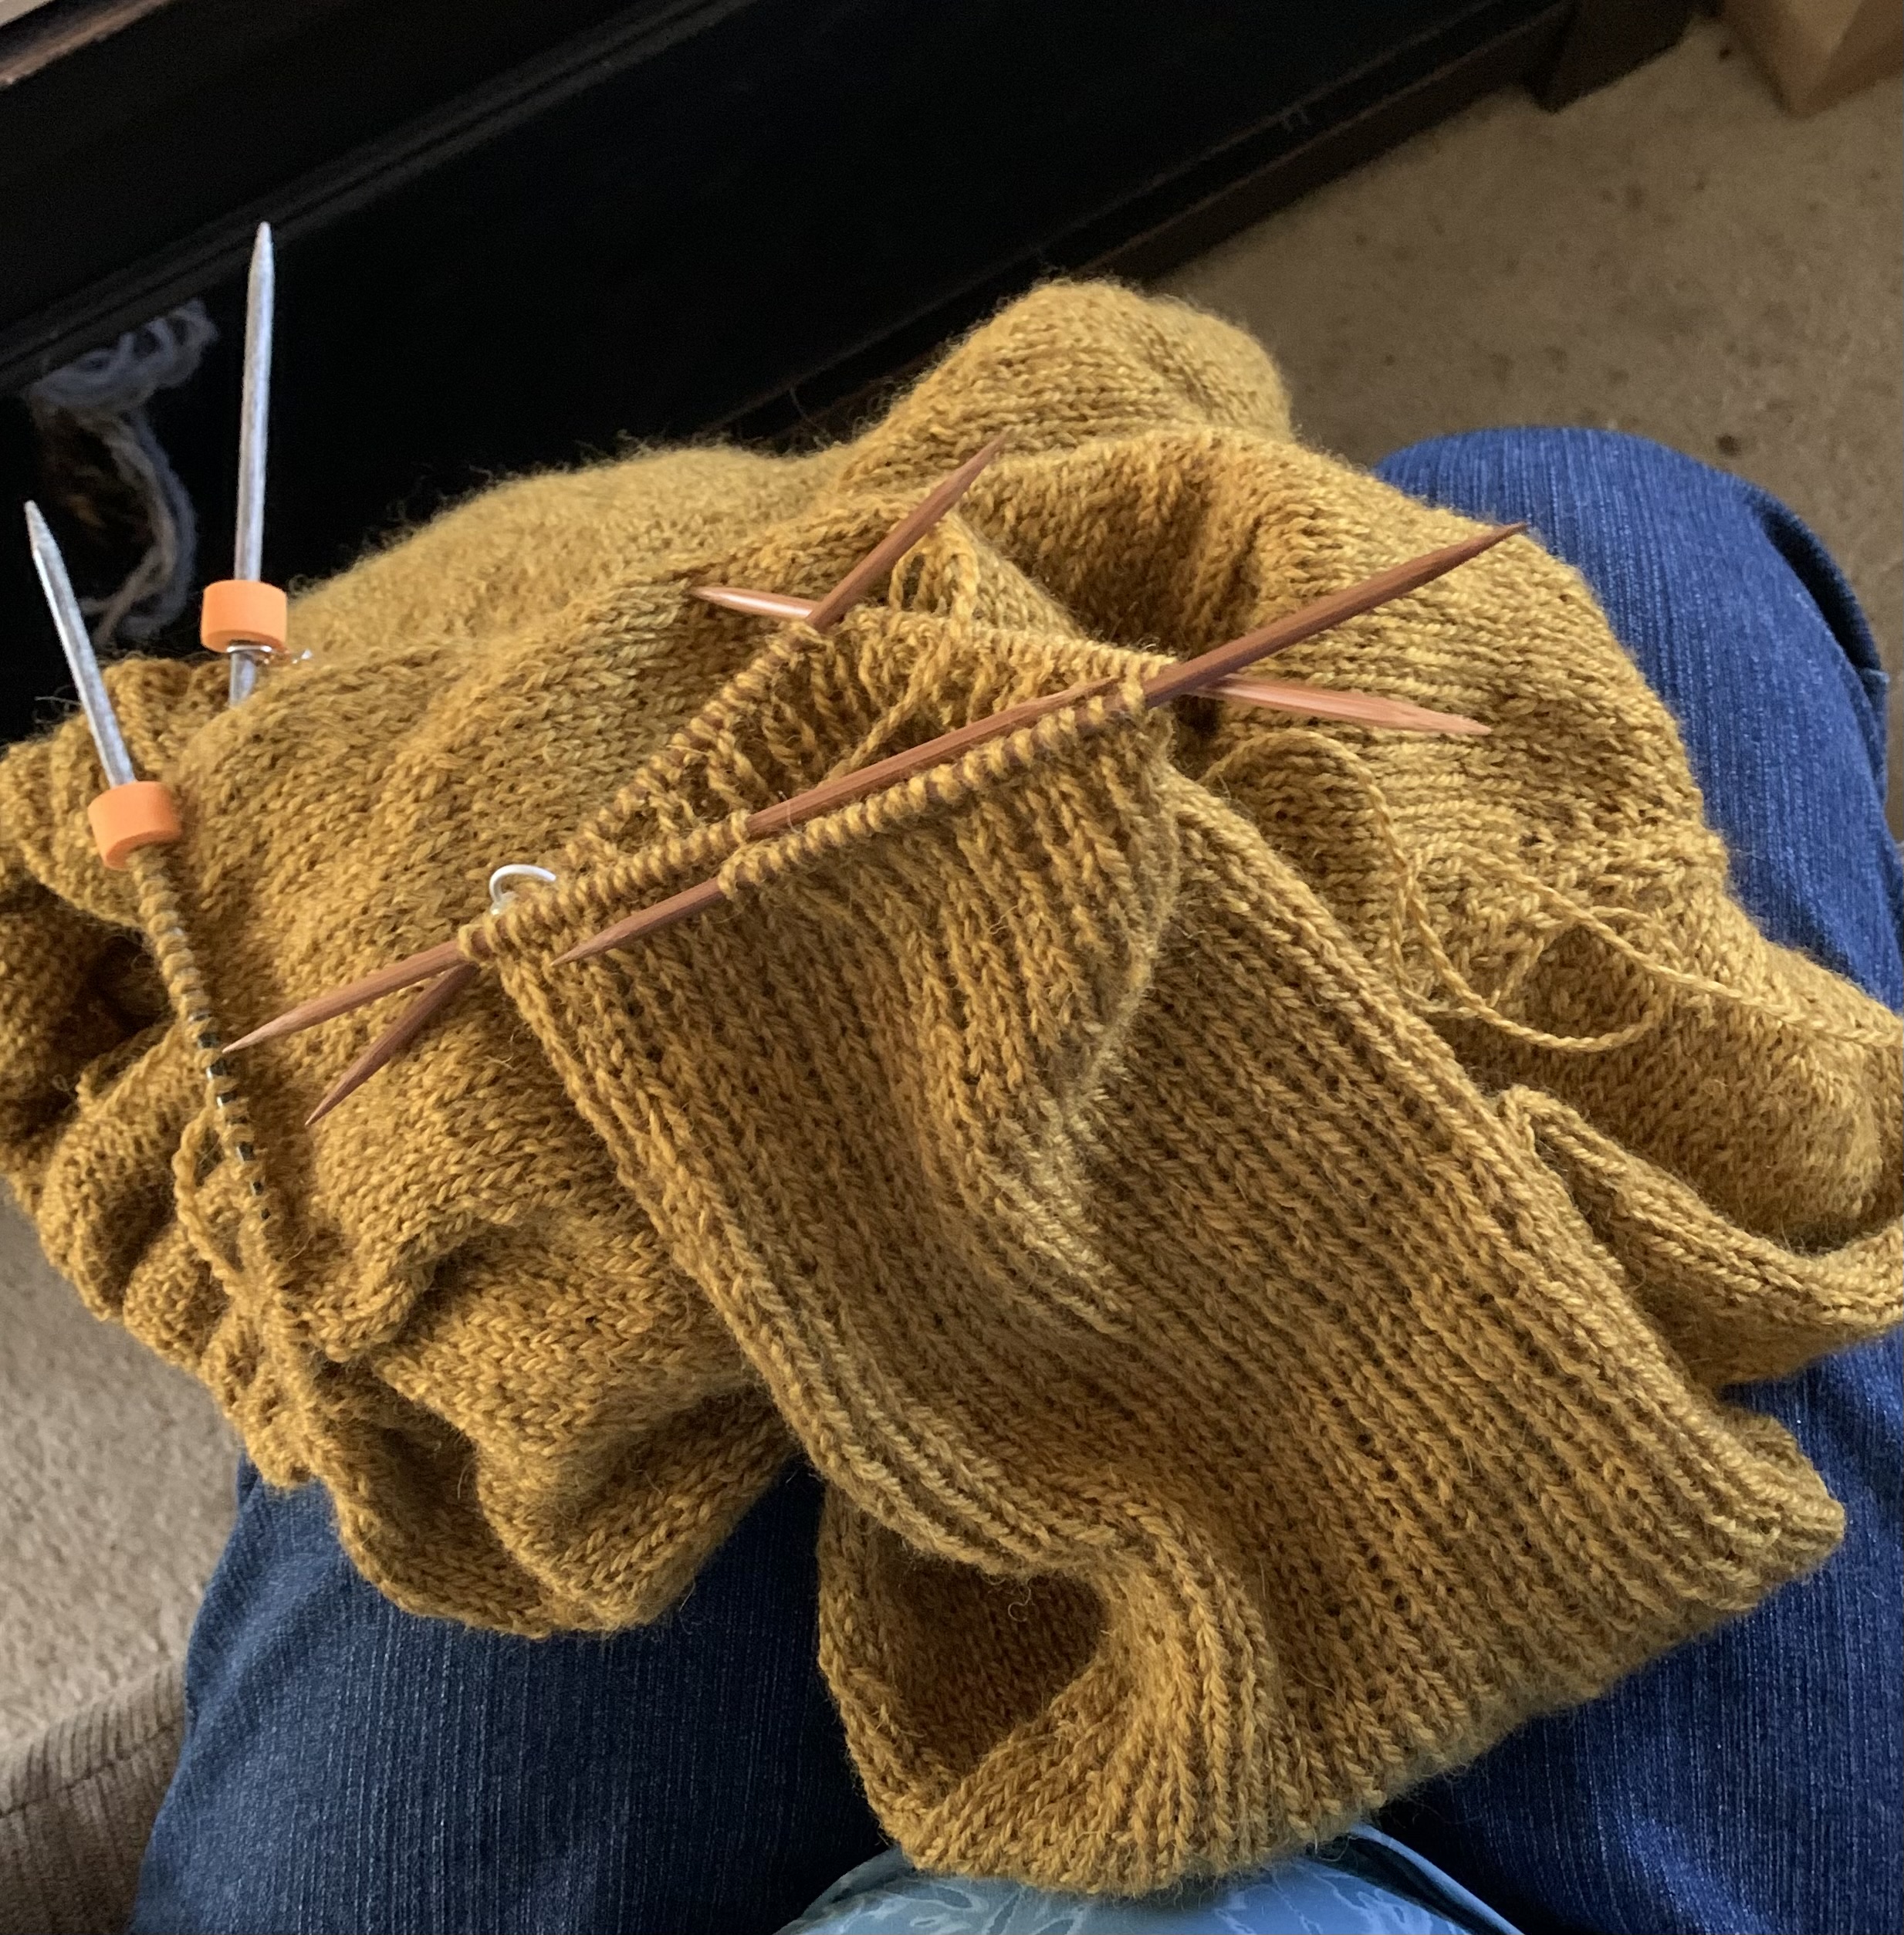
Stumped while knitting the sleeves of my second Calliope sweater.

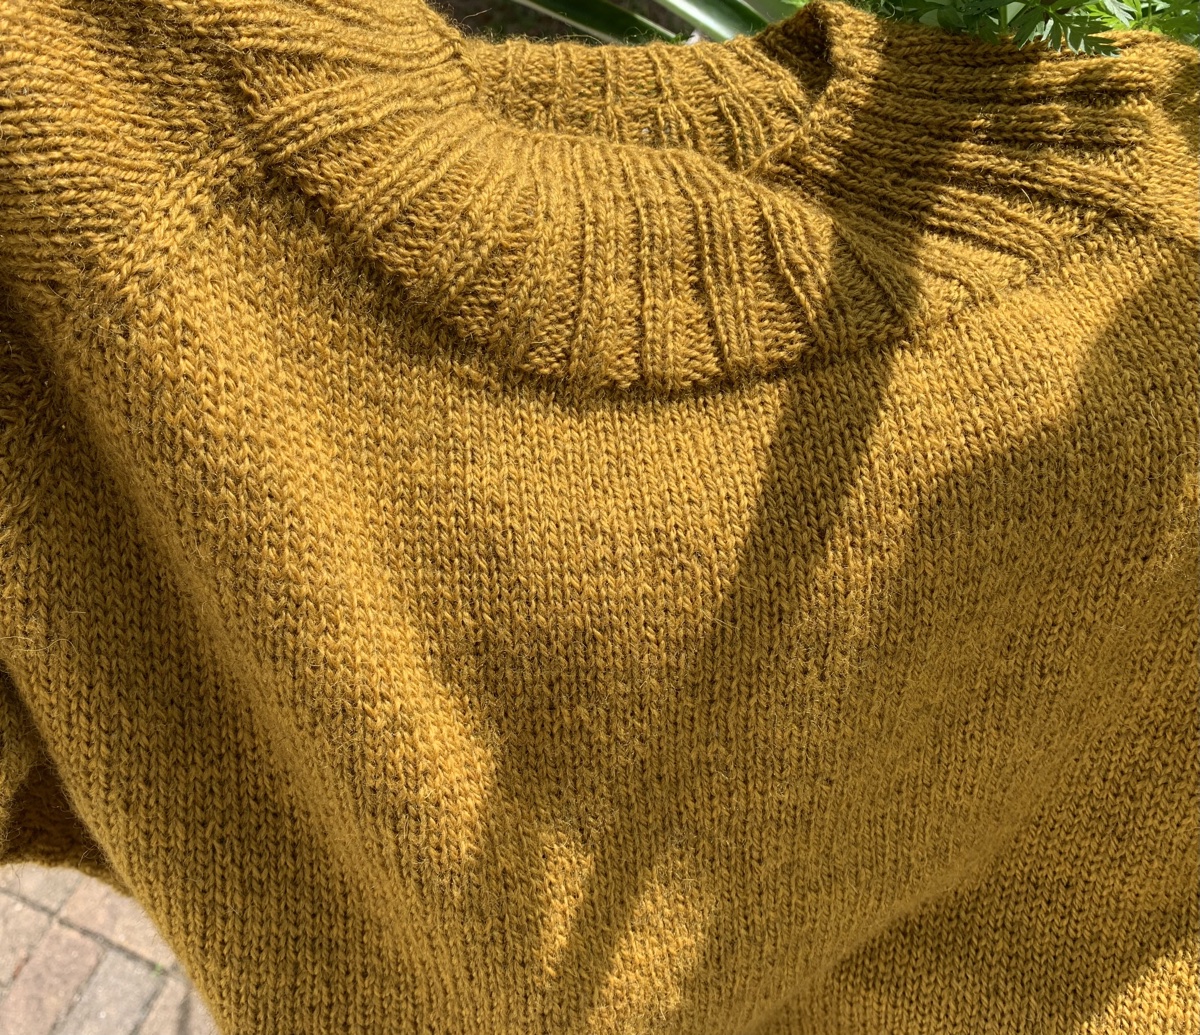
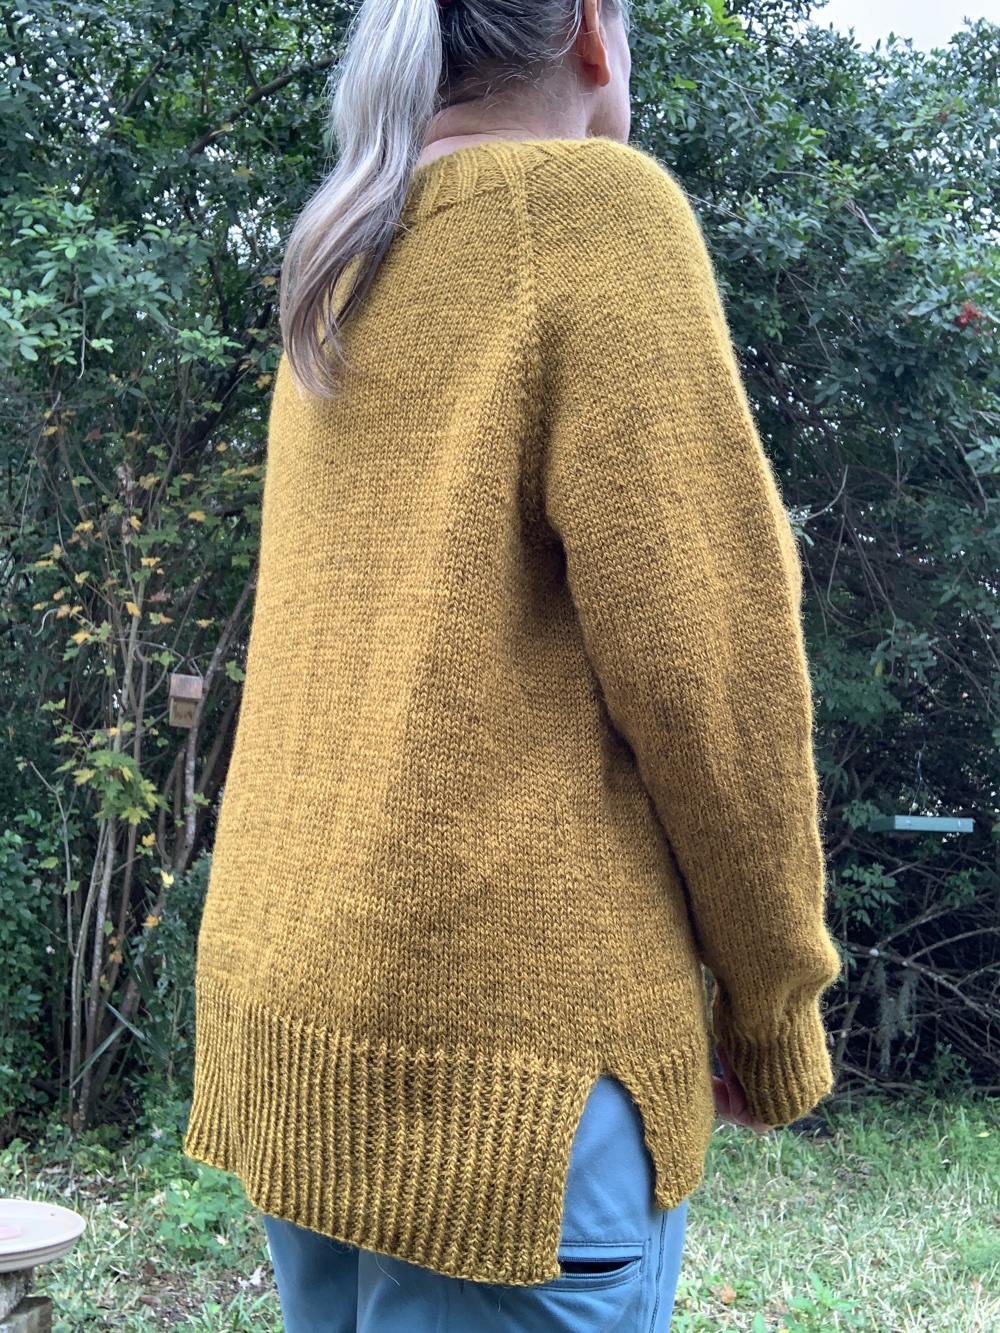
After I had knit my first Calliope sweater, I wanted to knit another one. The style is basic raglan, but it has some rib at the yoke. The sleeves also have an extra long rib. I ended up changing that on my project. (The pattern was free at one time, but no longer is.)

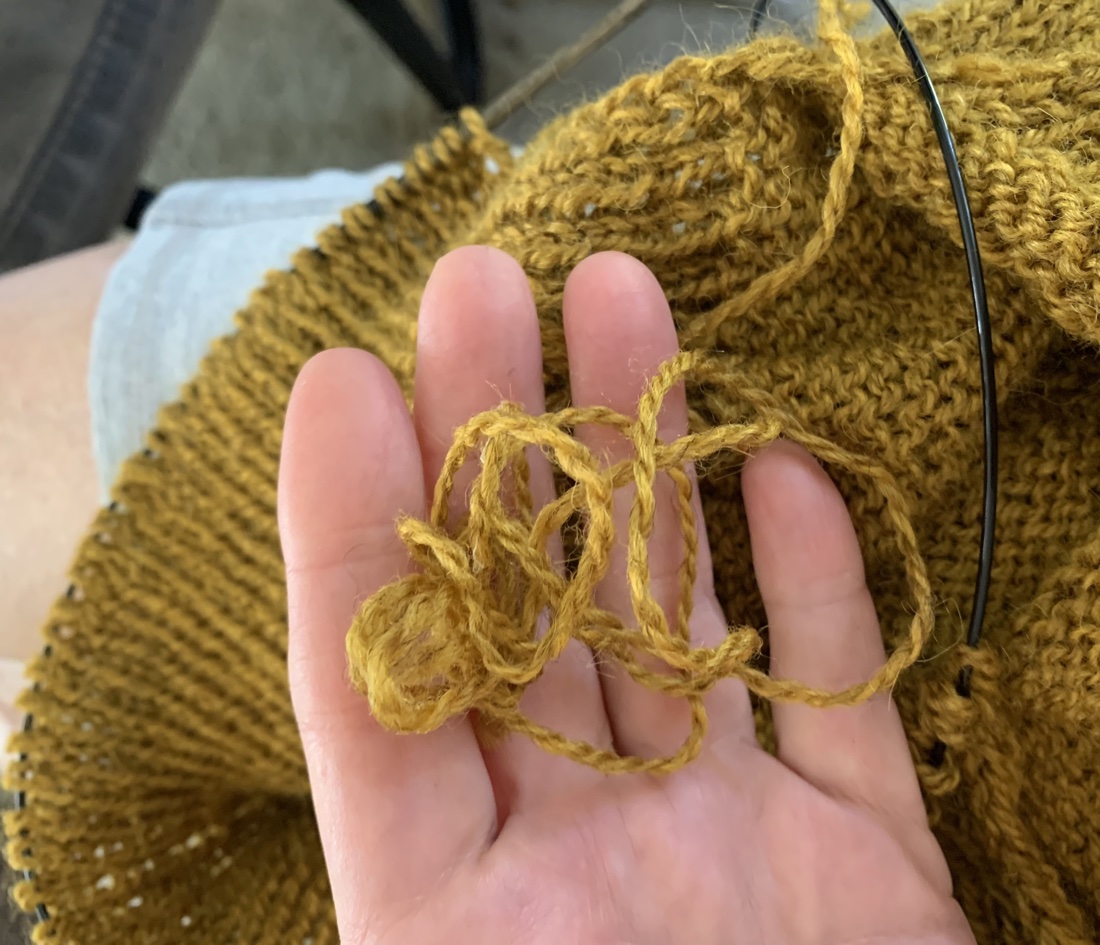
The yarn is something new for me, and came from the Sonder Yarn Company. It is a pretty, golden color called “Toast & Honey”. I’m really enjoying knitting with it. Some skeins had more than one knot though. Thumbs down on all the knots, which I cut out and “spit spliced“.

The sweater had some weird looking stitches as I knit, but after washing all things magically smoothed out and it looks wonderful!

An Easy Sweater Knitting Project

This sweater pattern is quite easy to knit and might be perfect as a first sweater project for beginners. It helps to know the basic construction of a raglan. Increases widen the front, back and sleeves as the yoke expands. The pattern says exactly where and when to make the increases. Stitch markers help to keep track of it all. I used removable stitch markers to mark the two sleeve sections, for my own preference.

The sweater designer used two yarns held together: a fingering weight with lace to make a DK. I did that for my first Calliope and used Superwash yarn. The sweater stretched and ended up very big and droopy – that’s why I now avoid this type of yarn for sweaters. This time I am knitting a smaller size overall, and using a single strand of DK wool.

Buy the Calliope Pattern at Ravelry

Knitting the Sleeves

My one concern is the sleeves of this sweater. I’m using a completely different yarn this time, but as I knit the long ribbing, it seems big around.

I considered doing the sleeves differently. I do like the unique long rib, but I’m not sure this yarn is right for it. Yarn can change a great deal once it’s washed and blocked which usually makes a sweater look much better. *Yes, this happened! I think the original ribbing in the pattern would have worked out fine.

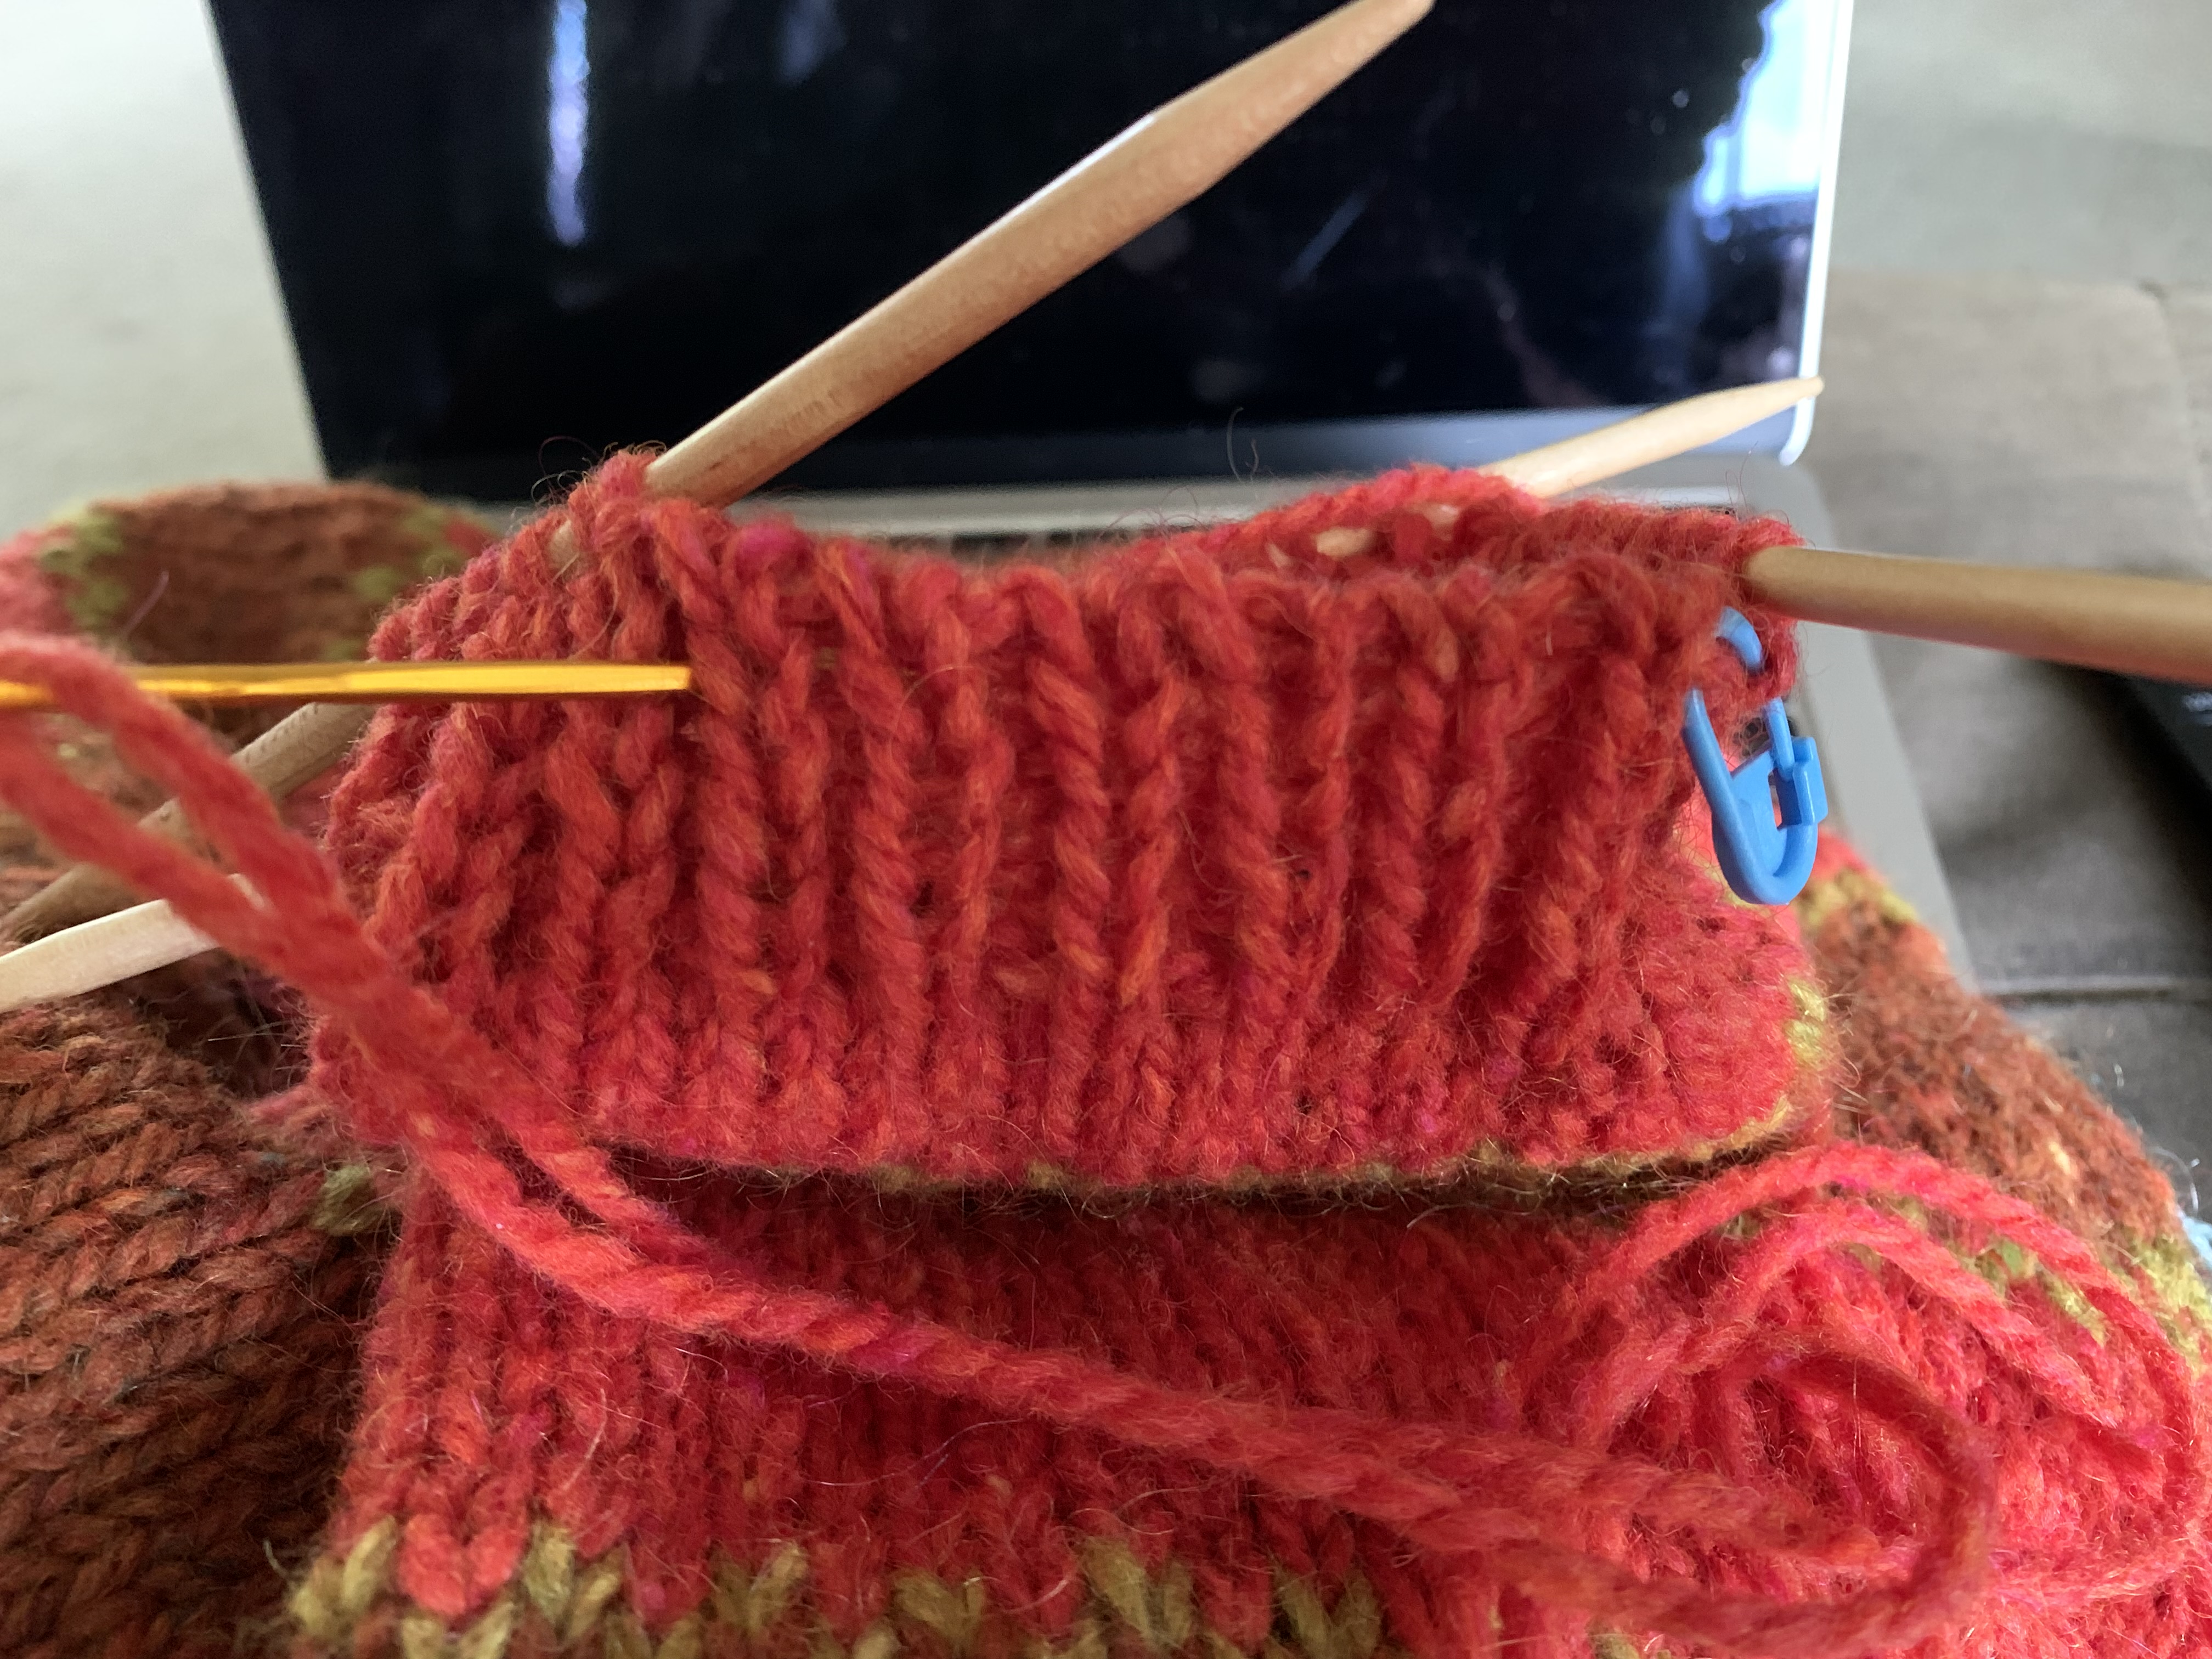
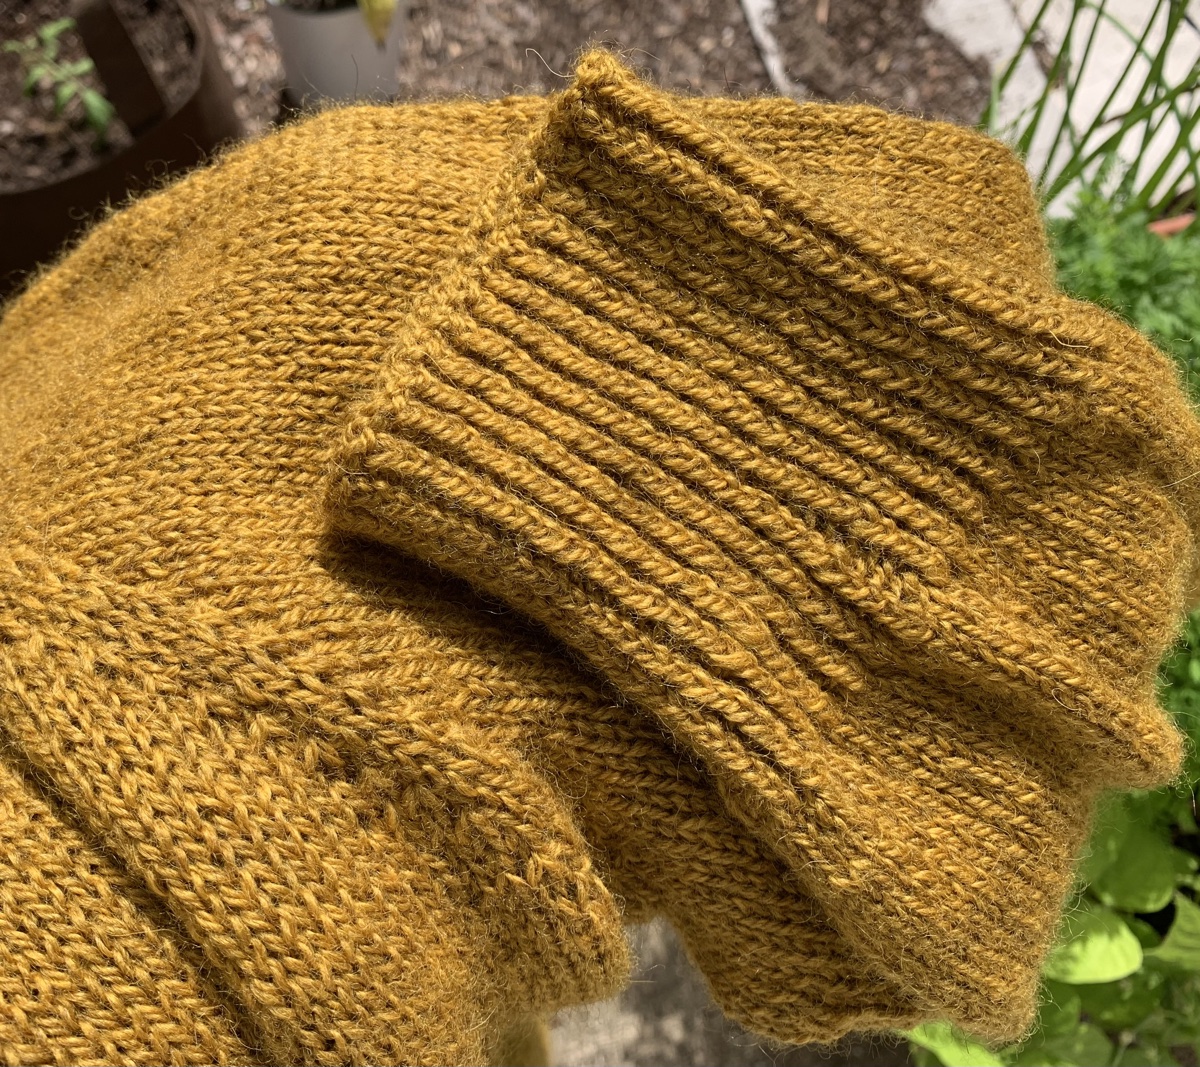
Sleeve changes: I ripped back to the beginning of all that ribbing on the sleeve. I did a few more decrease rounds to end up with 60 stitches on the needle. Knit to about 16 inches and made a 2 inch rib cuff. I’m not happy with the bind-off and may go back and do an Invisible rib BO. *Update: I am now knitting the second sleeve with a 1×1 twisted rib cuff that is about 4 inches long. Will go back to the first sleeve and re-knit to match! I’m happy with my ending choice on the cuff. See below.

twisted rib cuff
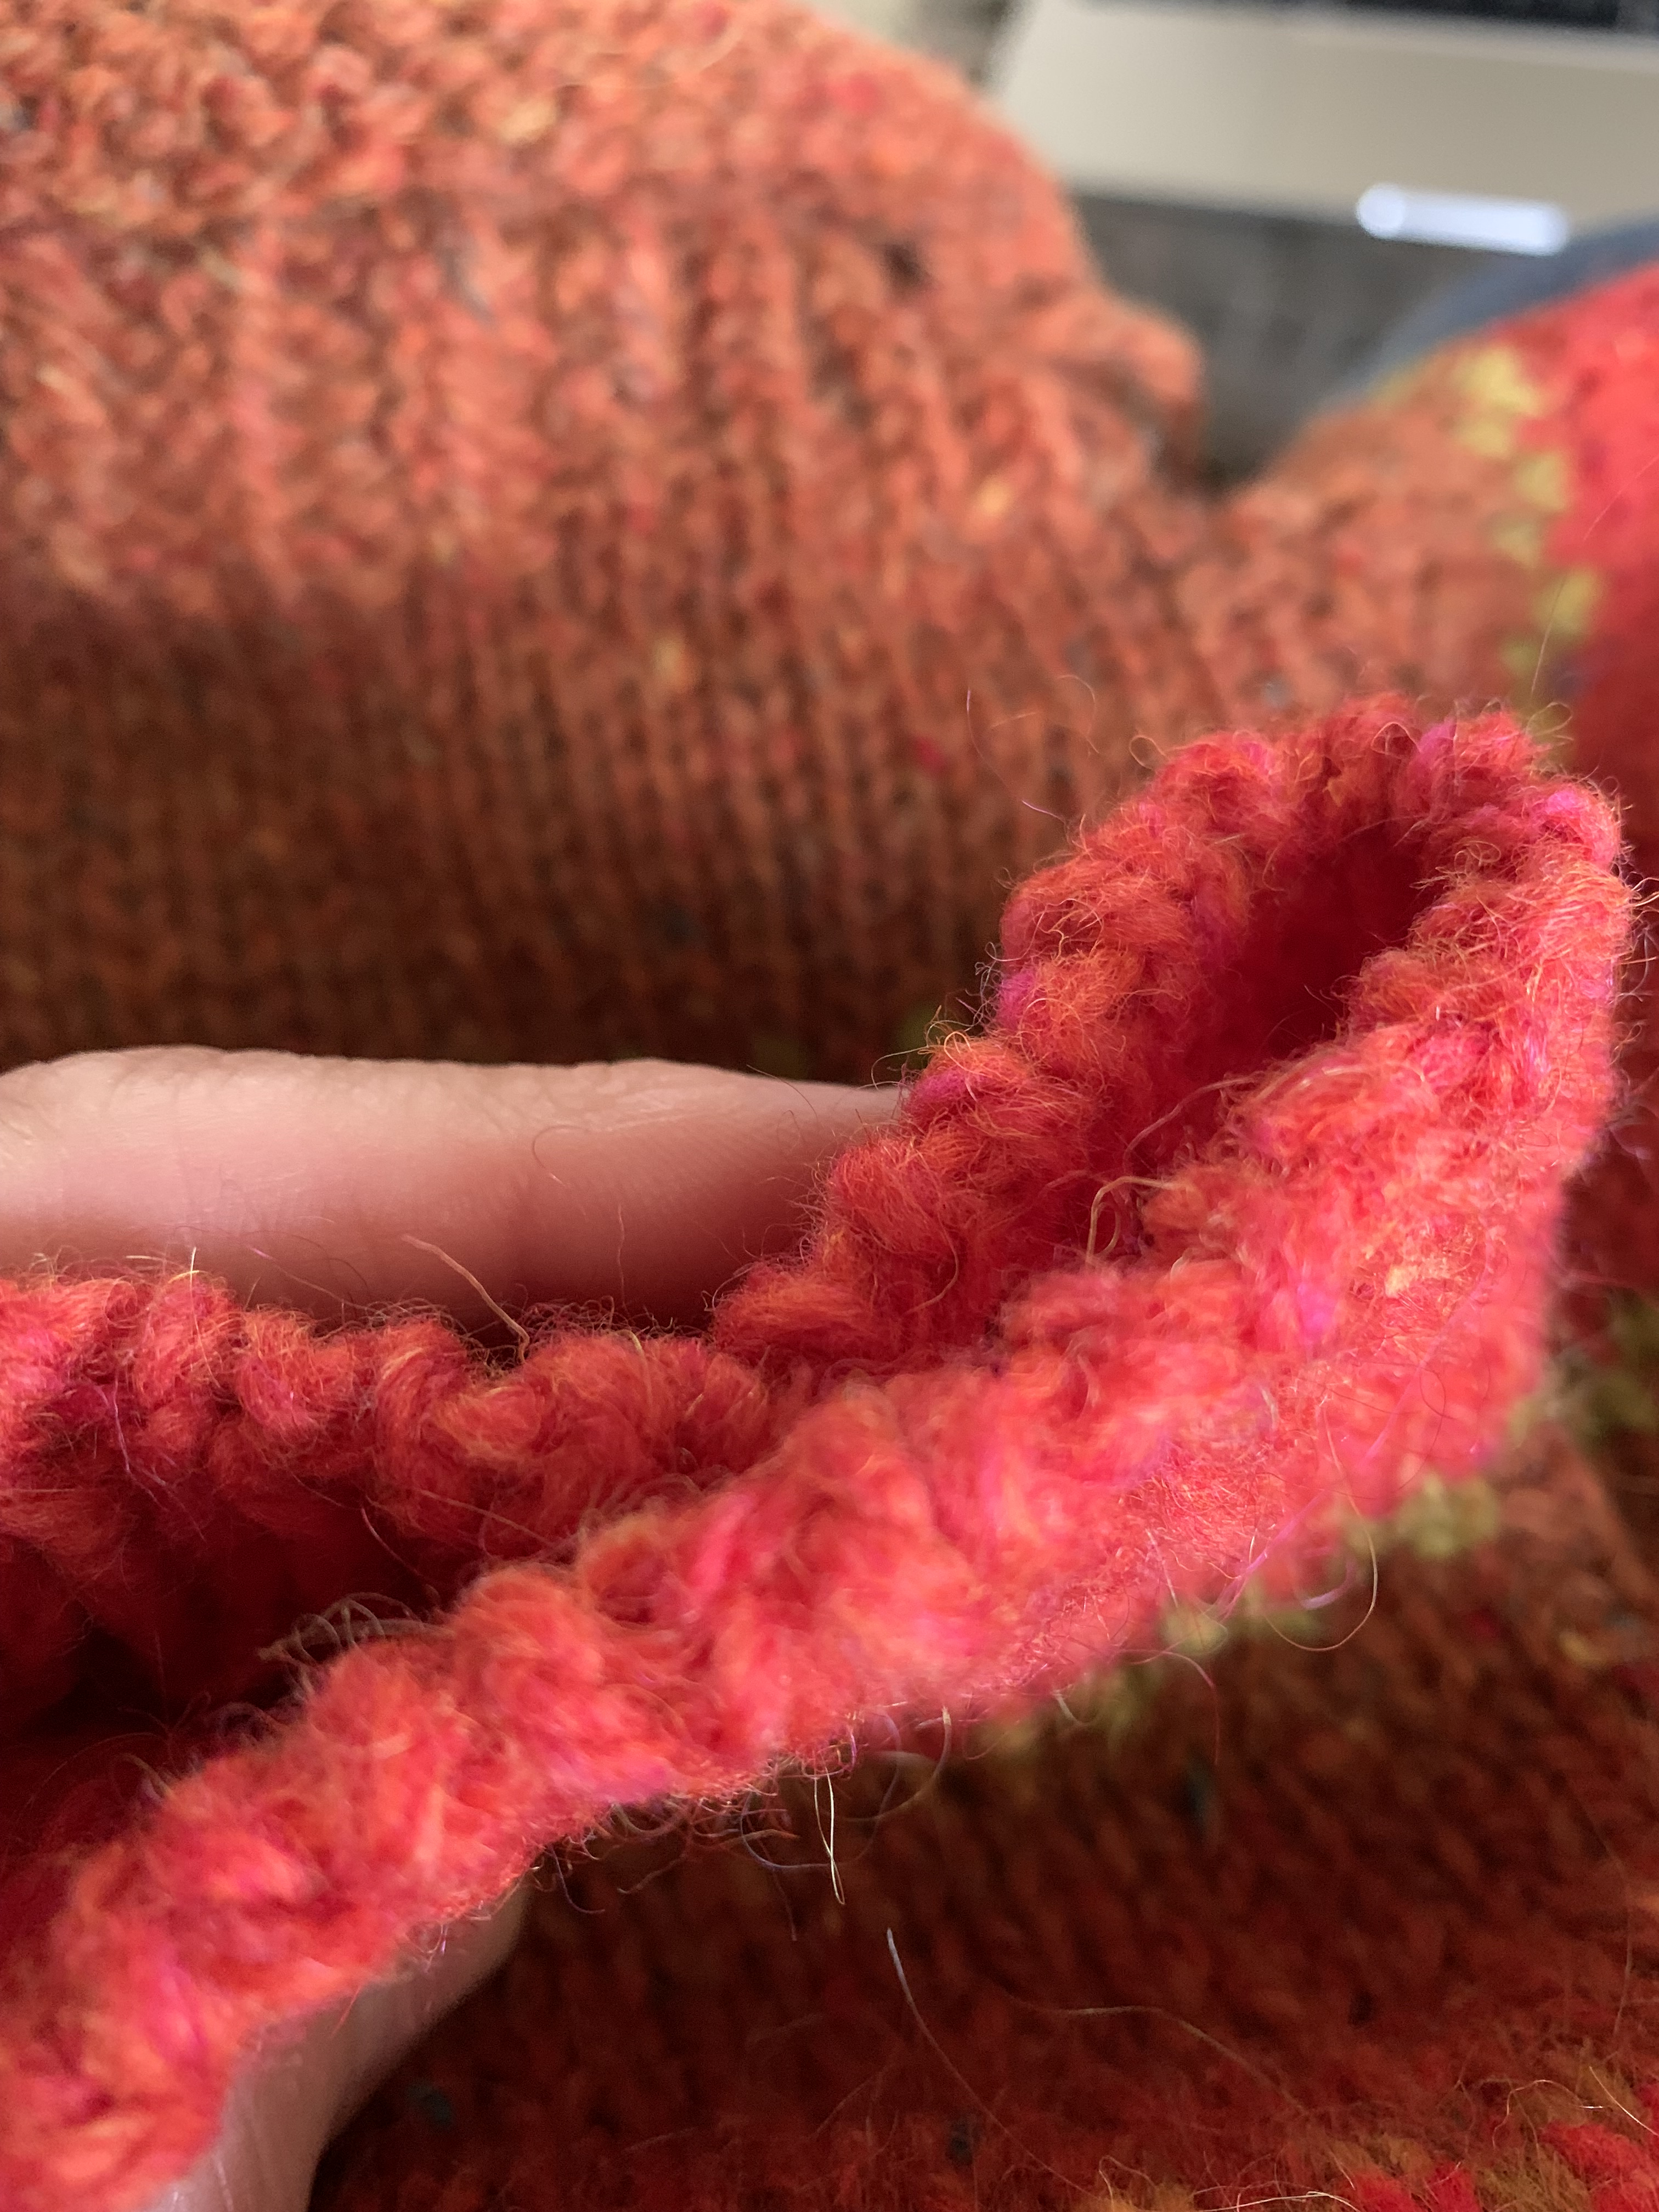
Ribbing on cuff after washing

I used magic loop on the cuff but it was leaving ladders, so I changed to DPNs. The ladders are now gone and the cuff looks perfect – through the magic of washing! (Soaked entire project in Eucalan -Amazon paid link- for 20 minutes and put on boards to dry.)

Making it a Split Hem

I decided to split the hem and do a twisted rib. I’ve never done this on my own, without following a pattern, but it’s simple enough. Divide front and back stitches in half. Make a nice edge at each side of the rows. I did have to learn how to knit the wrong side of a twisted rib because it’s different than going round and round.

Doing a Flat (Back and Forth) Twisted Rib

For the hem ribbing I did this once the stitches were divided between front and back of sweater: Right side: begin row with K1tbl, sl1wyib – then *knit through the back loop and purl one across to last two stitches and end row with sl1wyib, k1tbl. Wrong side: begin row with Sl1wyif, P1 – then *knit one and purl through the back loop, to last two stitches and end with P1, Sl1wyif.

Lost at Yarn Chicken (Knew I Would)

When it came time to bind off the back hem, I had only a small bit of yarn remaining. I did not make it, so had to wind up my last skein. I encountered two knots in that one skein and it was my one complaint with this yarn. Too many knots to cut out. I have nearly one entire skein of yarn leftover.

Washed and Photographed

As is so often true, this yarn became soft and lovely after a wash. My sweater is plenty loose, long and comfy – just like I’d hoped it would be. I would have no trouble wearing this without a shirt underneath. But layering would also work. I am very happy with the finished project. On to the next…

End measurements: Total length from top of back to bottom is 26 inches. Sleeves are 18.5 inches, Body knit for 12 inches and then did a 3 inch twisted rib in the front, and a 4 inch rib in the back. I knit the size 3 Calliope using a size 6 US needle as my main needle. I used 4 skeins of Sunday Morning DK = 1072 yards (plus about a foot!) See notes on my Ravelry page.

Have you knit the Calliope sweater?

Please leave a comment, as I’d love to hear if, and how, you changed the sleeves.


More knitting projects, reviews and stories.