Knitting the Maine Cables Hat, Cast-on and Ribbing – Part 2

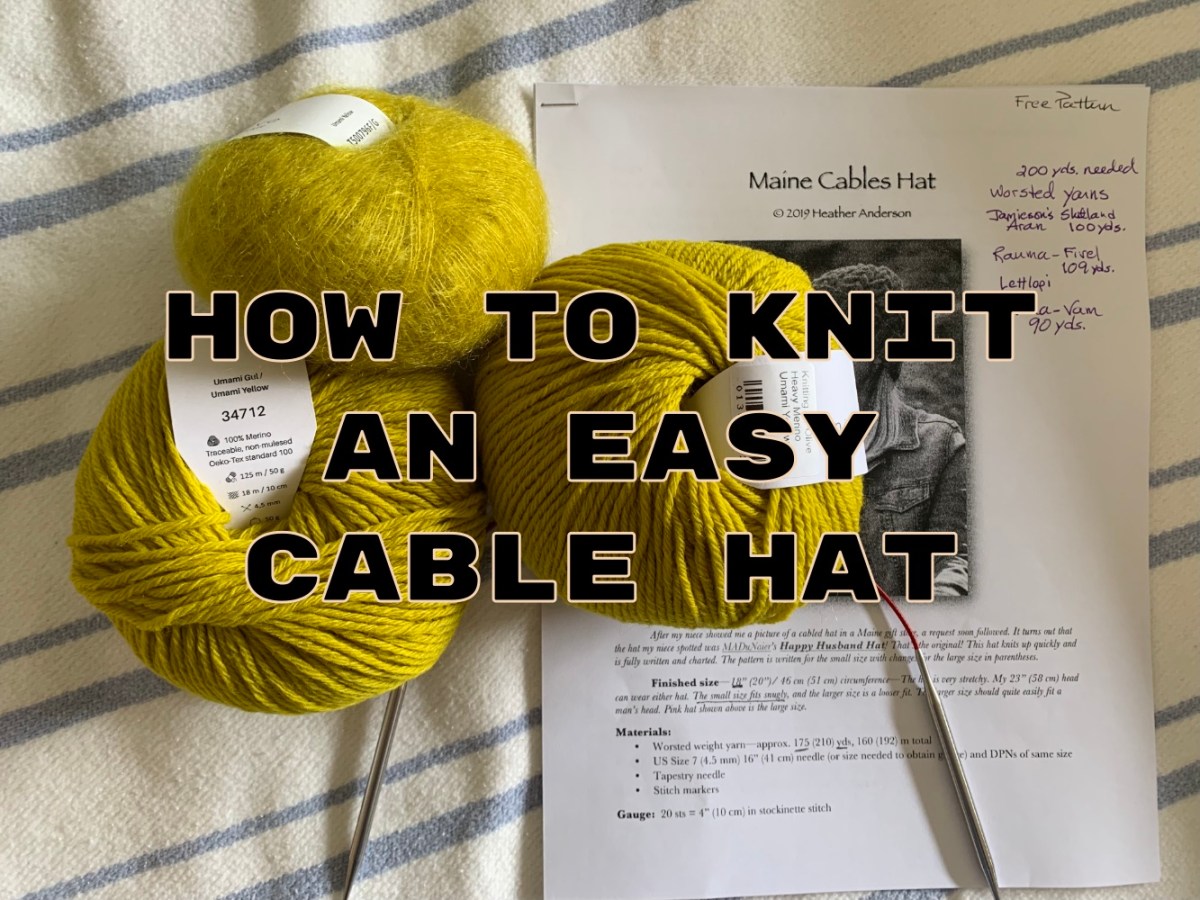
We are getting ready to knit the Maine Cables Hat. Grab your needles, yarn and stitch markers and let’s begin!

If you are ready to knit the Maine Cables Hat, here we go.

My last post was about gathering the things you’ll need to knit this free pattern. If you need to know about that, go back there and read Part One.

For everyone else, grab the needles and your yarn, and let’s cast on some stitches.

Cast On With Long Tail

I hope you have decided which hat size you will make. I’m making the small size so my cast on will be 88 stitches. I will follow the pattern which says to begin by using the Long Tail cast-on to get our stitches onto our 16″ circular needles. That video is SLOW and great for anyone just learning – remove the slip knot and do not count it as a stitch. I do my cast on without a slip knot – like this video.

For this type of cast-on make sure your tail end is 3-4 times longer than the circumference of your project. Do a general measure of three and add a little more.

Join in the Round – Three Ways

There are many ways to join in the round. Once all my 88 stitches are on the needle the first and last stitch will be swapped. Then I add a BOR (beginning of round) marker. This should be a unique marker, different from the ones you will use later to mark off the cable sections.

Here is a short list of quick videos showing different ways to join in the round. Once all stitches are on your needle, straighten them to face the same way and connect the first and last stitch. This is called joining in the round.

Next, Knit the Hat Ribbing

The ribbing is a knit 2, purl 2 alternating stitch (2×2 rib). The pattern says to knit 10 rounds, which will create a short brim that does not fold. The pattern says to knit 20 rounds, or approximately 3 inches for a folded brim. *This is where I will make an adjustment to the pattern.

I like a brim that folds, but three inches total is not long enough. I decided to knit 4 inches, which will give me a 2 inch folded brim. I’m hoping it will be long enough for my liking as I usually knit at least 6 inches for the fold.
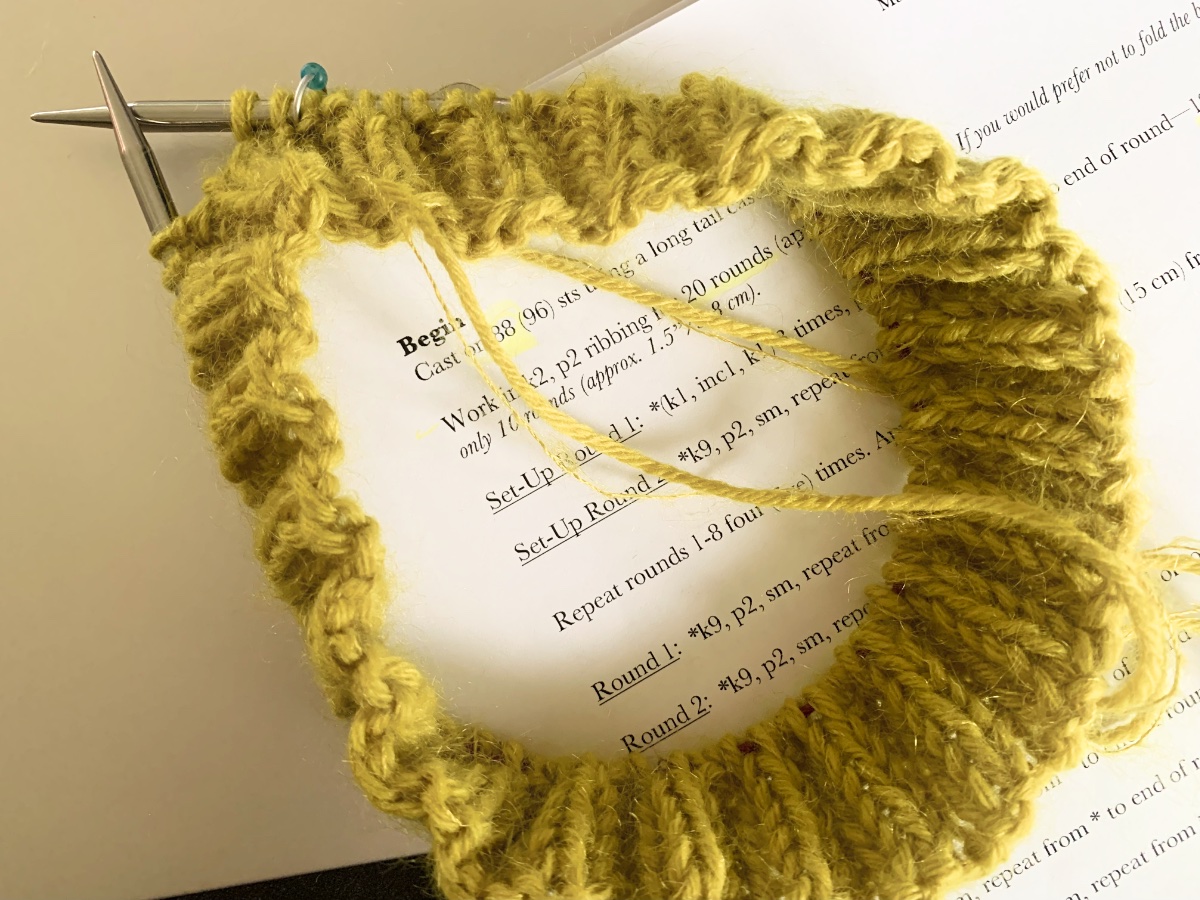
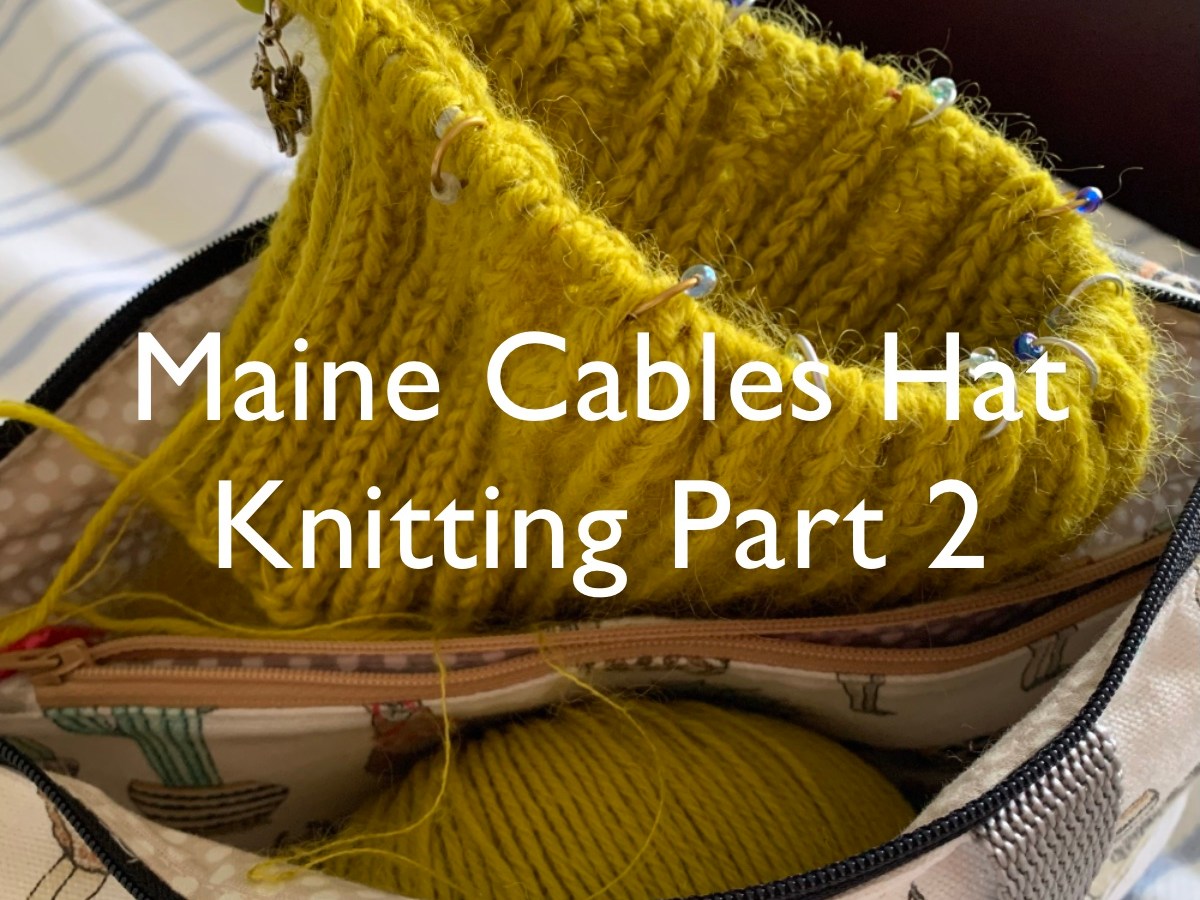
Casting on and knitting ribbing for Maine Cables hat.

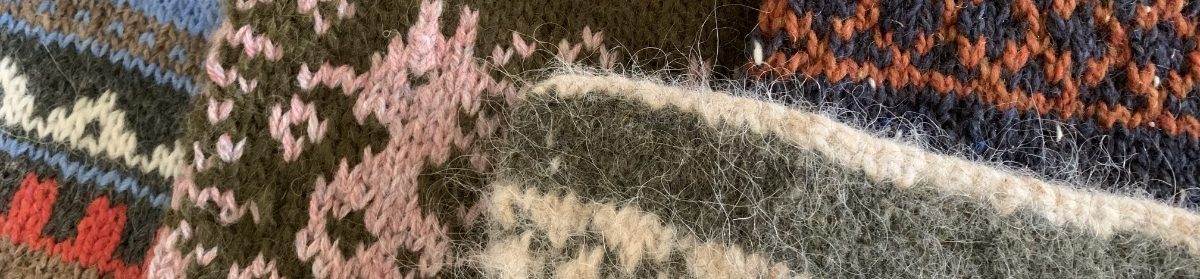
Below I am sharing photos of other hats I’ve knit showing the nice, big folded brim. If the ribbing is too short, it won’t fold well. I suggest making that ribbing longer for the Maine Cables Hat if you want a nice, folded brim.

Hats With Long Brims I Have Knit

Ribbing Done, Do Set-up Rounds

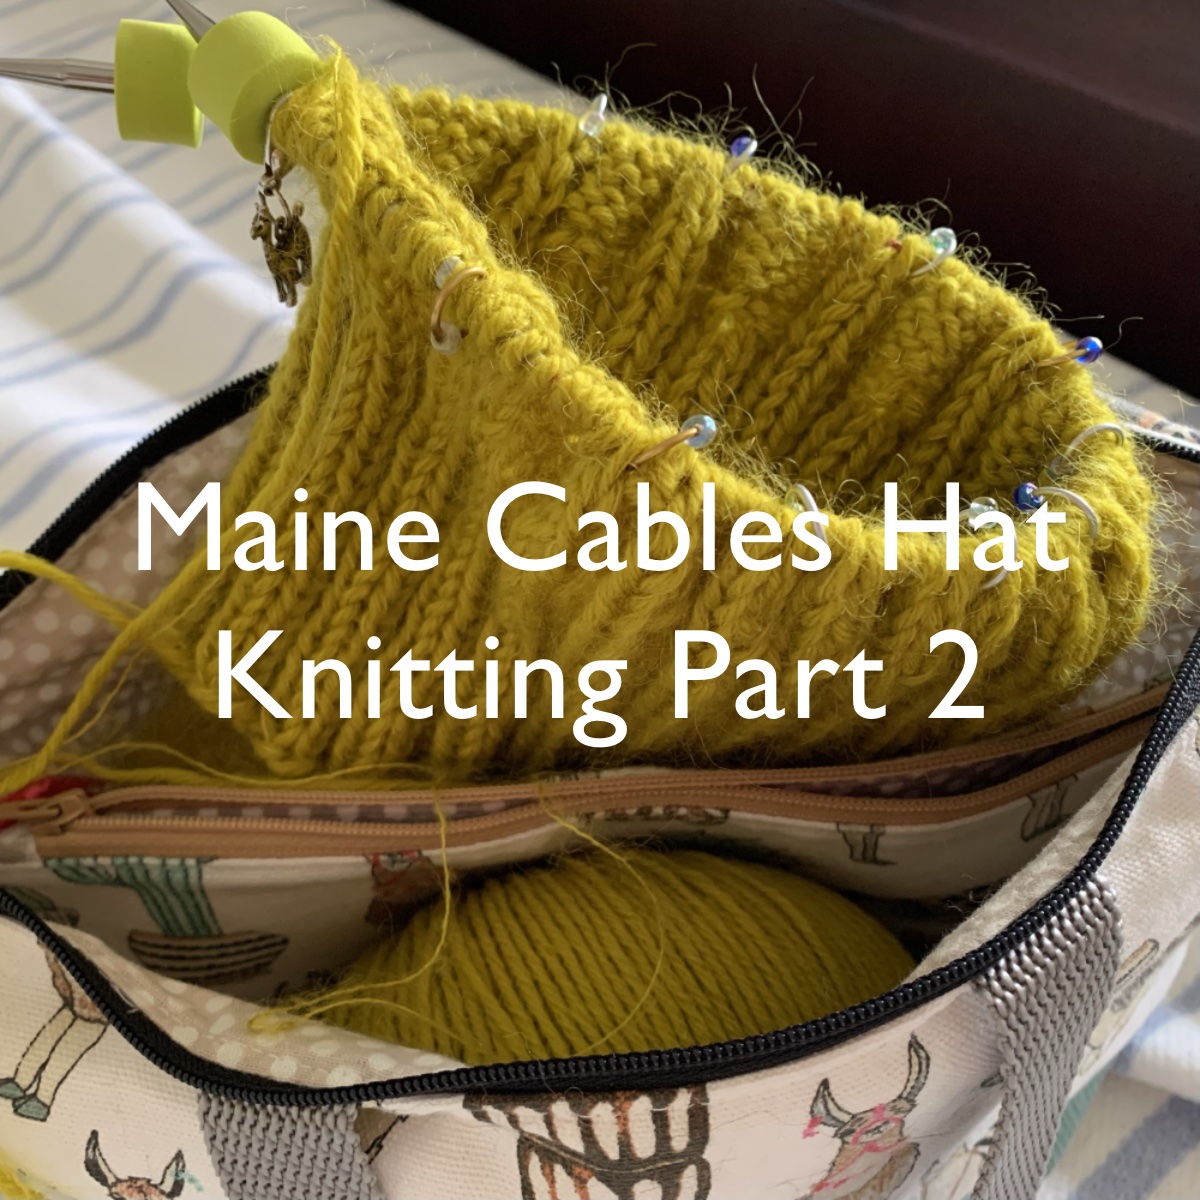
Once you have knit your desired length of 2×2 ribbing, there are two set up rounds. This creates the sections for the top of the hat where the cables will be. Get your 10, or 11 stitch markers. They will go between those sections of stitches all the way around.

Set up round 1: *(knit 1, increase 1, knit 1) – do this 3 times, then purl 2 and place marker. *Repeat all of this, all the way around. Each section will have 11 stitches. You will end up with 121 stitches for the small size, or 132 stitches for the large size. Need a backward loop increase refresher? Check out this video.

Set up round 2 is pretty easy. Knit all the knits and increases and purl the two purls in each section.
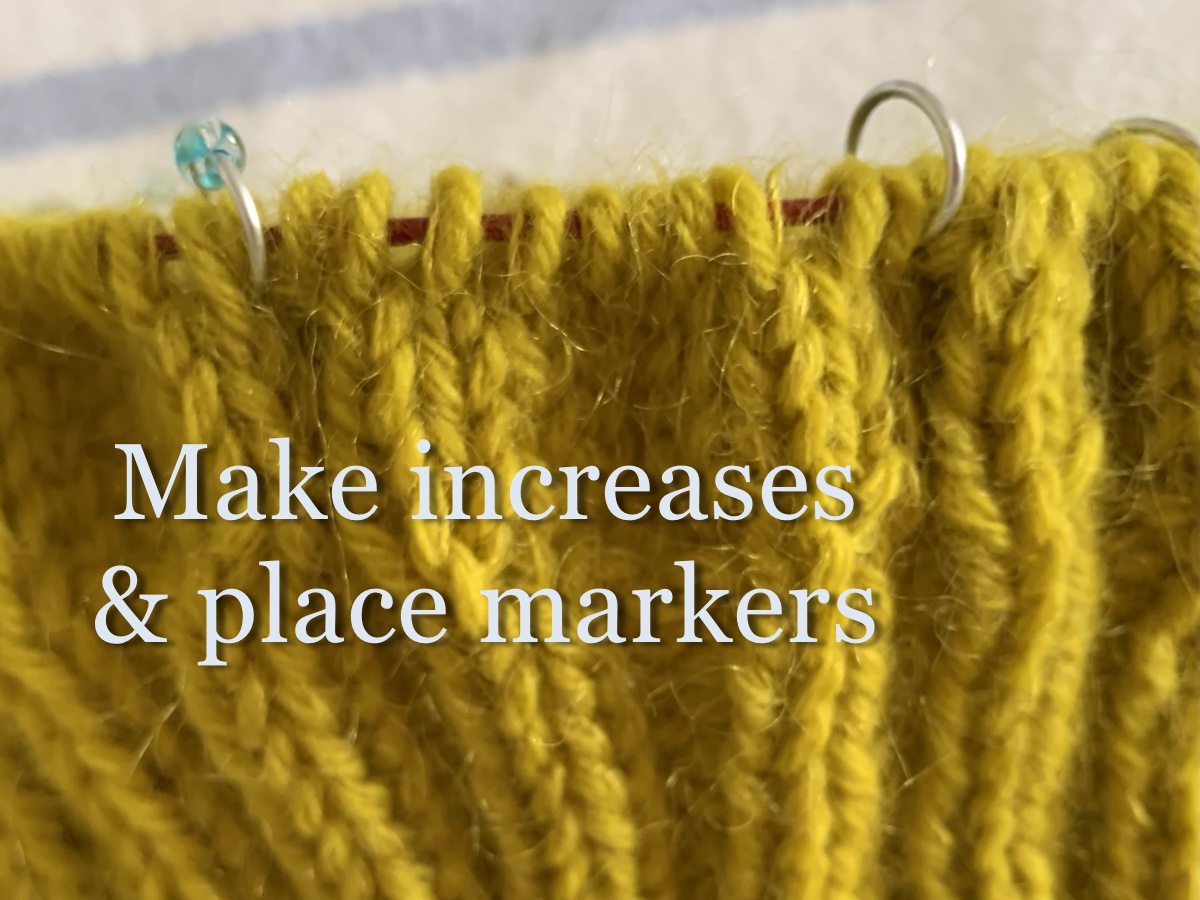
Maine Cables Hat knitting with cable sections marked with stitch markers

Cable Section / Top of Hat

Next we will knit the cable part of the hat. I need to get going and knit this part myself, so more to come in my next post.

Happy knitting! Hope you are having fun, because that is what knitting should be.
More knitting stories

Knitting the Cozy Dual Loop Beanie

Beginning to knit the deal loop beanie pattern in heavy wool.

After knitting sweaters for a while, I decided to try a smaller project. The Dual Loop Beanie, by Other Loops, looked like a nice hat. (Pattern link below.) I purchased the pattern and began the project. Yup, one more knitting project on the needles!

Here it is all finished, but still needing a soak. Read on and make one of your own.

dual loop beanie
Dual Loop Beanie knit using Plotulopi wool

The Pattern

The pattern is easy to follow. One thing to be aware of is you will always be following the 2×2 rib for the top part. One line in the directions says, “knit to two stitches before the next marker” but it should be knit and purl.

Also, a thumbs down for this pattern is the fact that the needle size is listed ONLY in mm and size / length is ONLY in cm. For those of us in the US we have to convert. It’s not a big deal, but most patterns do list both.

The beginning directions are for a tubular cast on. If you don’t know how to do it, then you must look it up (I have a video link below). There are no directions or links in the pattern. There are no other cast on options listed either. But, if you feel more comfortable using a long tail, or other cast on, go for it!

Stitches / Techniques to Know

  • Tubular cast on & join (see below)
  • K2tog – knit 2 together
  • P2tog – purl 2 together
  • P2togtbl – purl 2 together through the back loop
  • SSK – slip, slip, knit (or left leaning decrease)

The Cast On and Set Up Rows

I am not a fan of doing the tubular cast on. Many ribbed hats use it to make the edge rounded. And, it does look nice. The cast on is not difficult, BUT keeping the stitches straight gives me a headache. To solve this problem, I used a straight needle this time. A wooden straight needle would be perfect, but I only had my grandmother’s old steel needles. They worked fine.

straight needles and Alafosslopi yarn
tubular cast on onto straight needle

If you are wondering why I would cast on for a hat using a straight needle, here’s the answer. The tubular cast on is worked in back and forth rows called the “set up” rows. Once those are done, then the round is joined.

The pattern begins with, “cast on using a tubular cast on in rib stitch”. My help for this came from Stephen West’s video. I followed his cast on directions. Also his first set up row directions (he knits through the back loop on the first row). At his suggestion, I used one needle size smaller (size 3US) for this part of the project.

After finishing the cast on and set up rows, I slipped all of the stitches onto a size 4 circular needle (the main size). Then, I made the join by simply continuing in pattern. I will have to close up that gap when I weave in the ends. *I had no trouble closing the gap and it looks perfect.

Ready to join the cast on to knit round and round.
Stitches transferred to circular needle size 4.

Now I am working using the main yarn, which is Plotulopi unspun held double. I’m pulling a strand from each of two cakes. But to cast on and begin with set up rows, I used dark green-brown Alafosslopi. It is sturdier and I needed something to make that cast on as easy as possible. Both yarns came from my stash.

Because I couldn’t fit more stitches on the straight needle, I cast on for the small size hat. This yarn is thick and the hat size is perfect.

Dual loop beanie

The Dual Loop Beanie is pretty much a basic hat pattern. Once I was beyond the cast on, it’s round and round knits and purls. The decreases for the top are well written out and I’m looking forward to the end result.

Dual loop beanie hat knitting project using Icelandic wool.
Just beginning the decrease rounds on my Dual Loop beanie. Isn’t that yarn pretty!

The beanie is nearly ready to wear. Just needs a soak and then drying out. I had a lot of trouble with this yarn at the top. Unspun yarn like this Plotulopi can’t stand any stress or it comes apart like cotton candy. Fortunately it can be spit-spliced easily. If you prefer a very tall point at the top – add more rows. I followed the directions and mine is not all that tall.

dual loop beanie
dual loop beanie
dual loop beanie in plotulopi wool

Here in central Florida we are certainly not suffering with horrid freezing temperatures like most of the county. We have had a cold, gloomy January. For the past week or so temps have been in the 40’s and 50’s for highs, with wind chills lower. I can hear you… “Oh poor baby” “Those Florida wussies” I know, I know… I’m not whining, just saying it is unusual. And it has given me lots of opportunities to wear my hand knits, so I’m happy. It snowed in the Panhandle, and I hope next time the snow comes here. I love snow.

More posts about hats.