How to Knit An Easy Cable Hat – Part 1

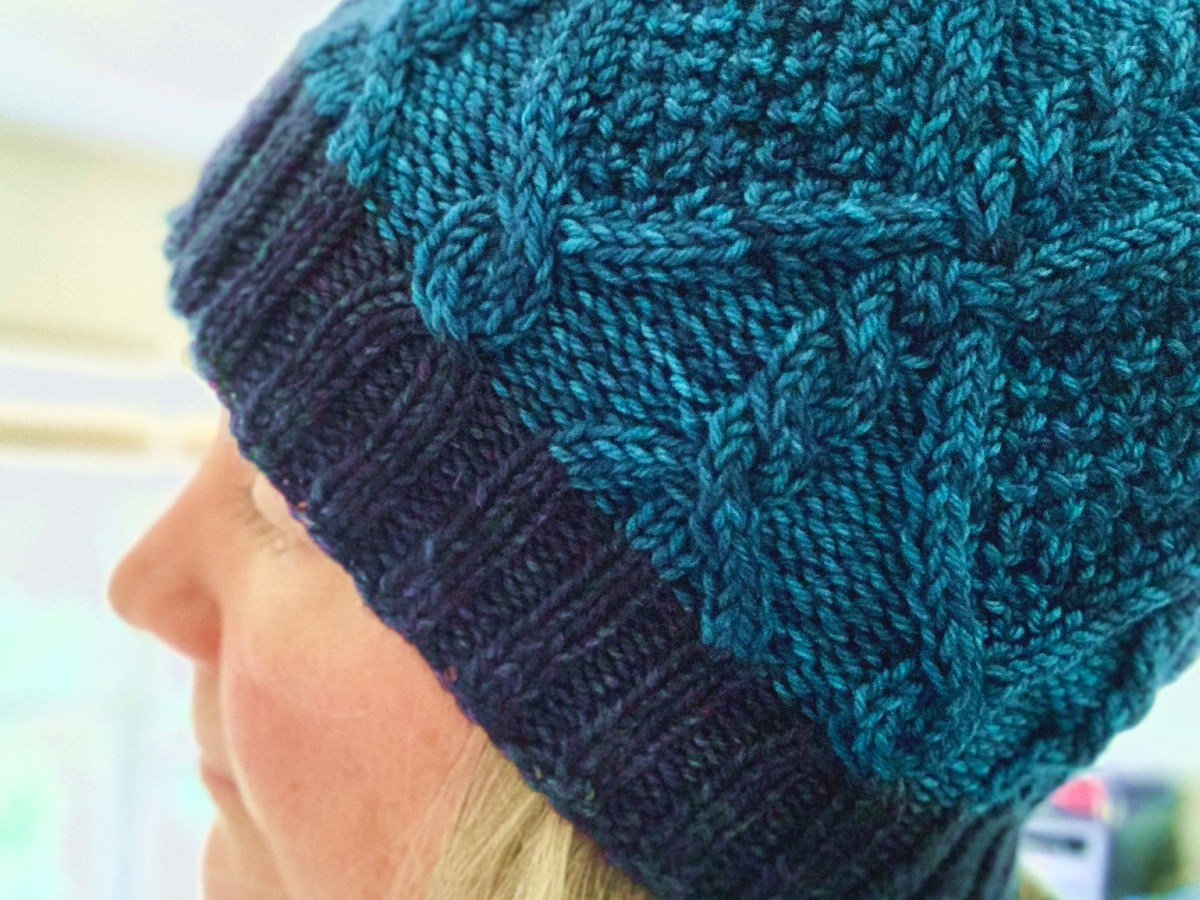
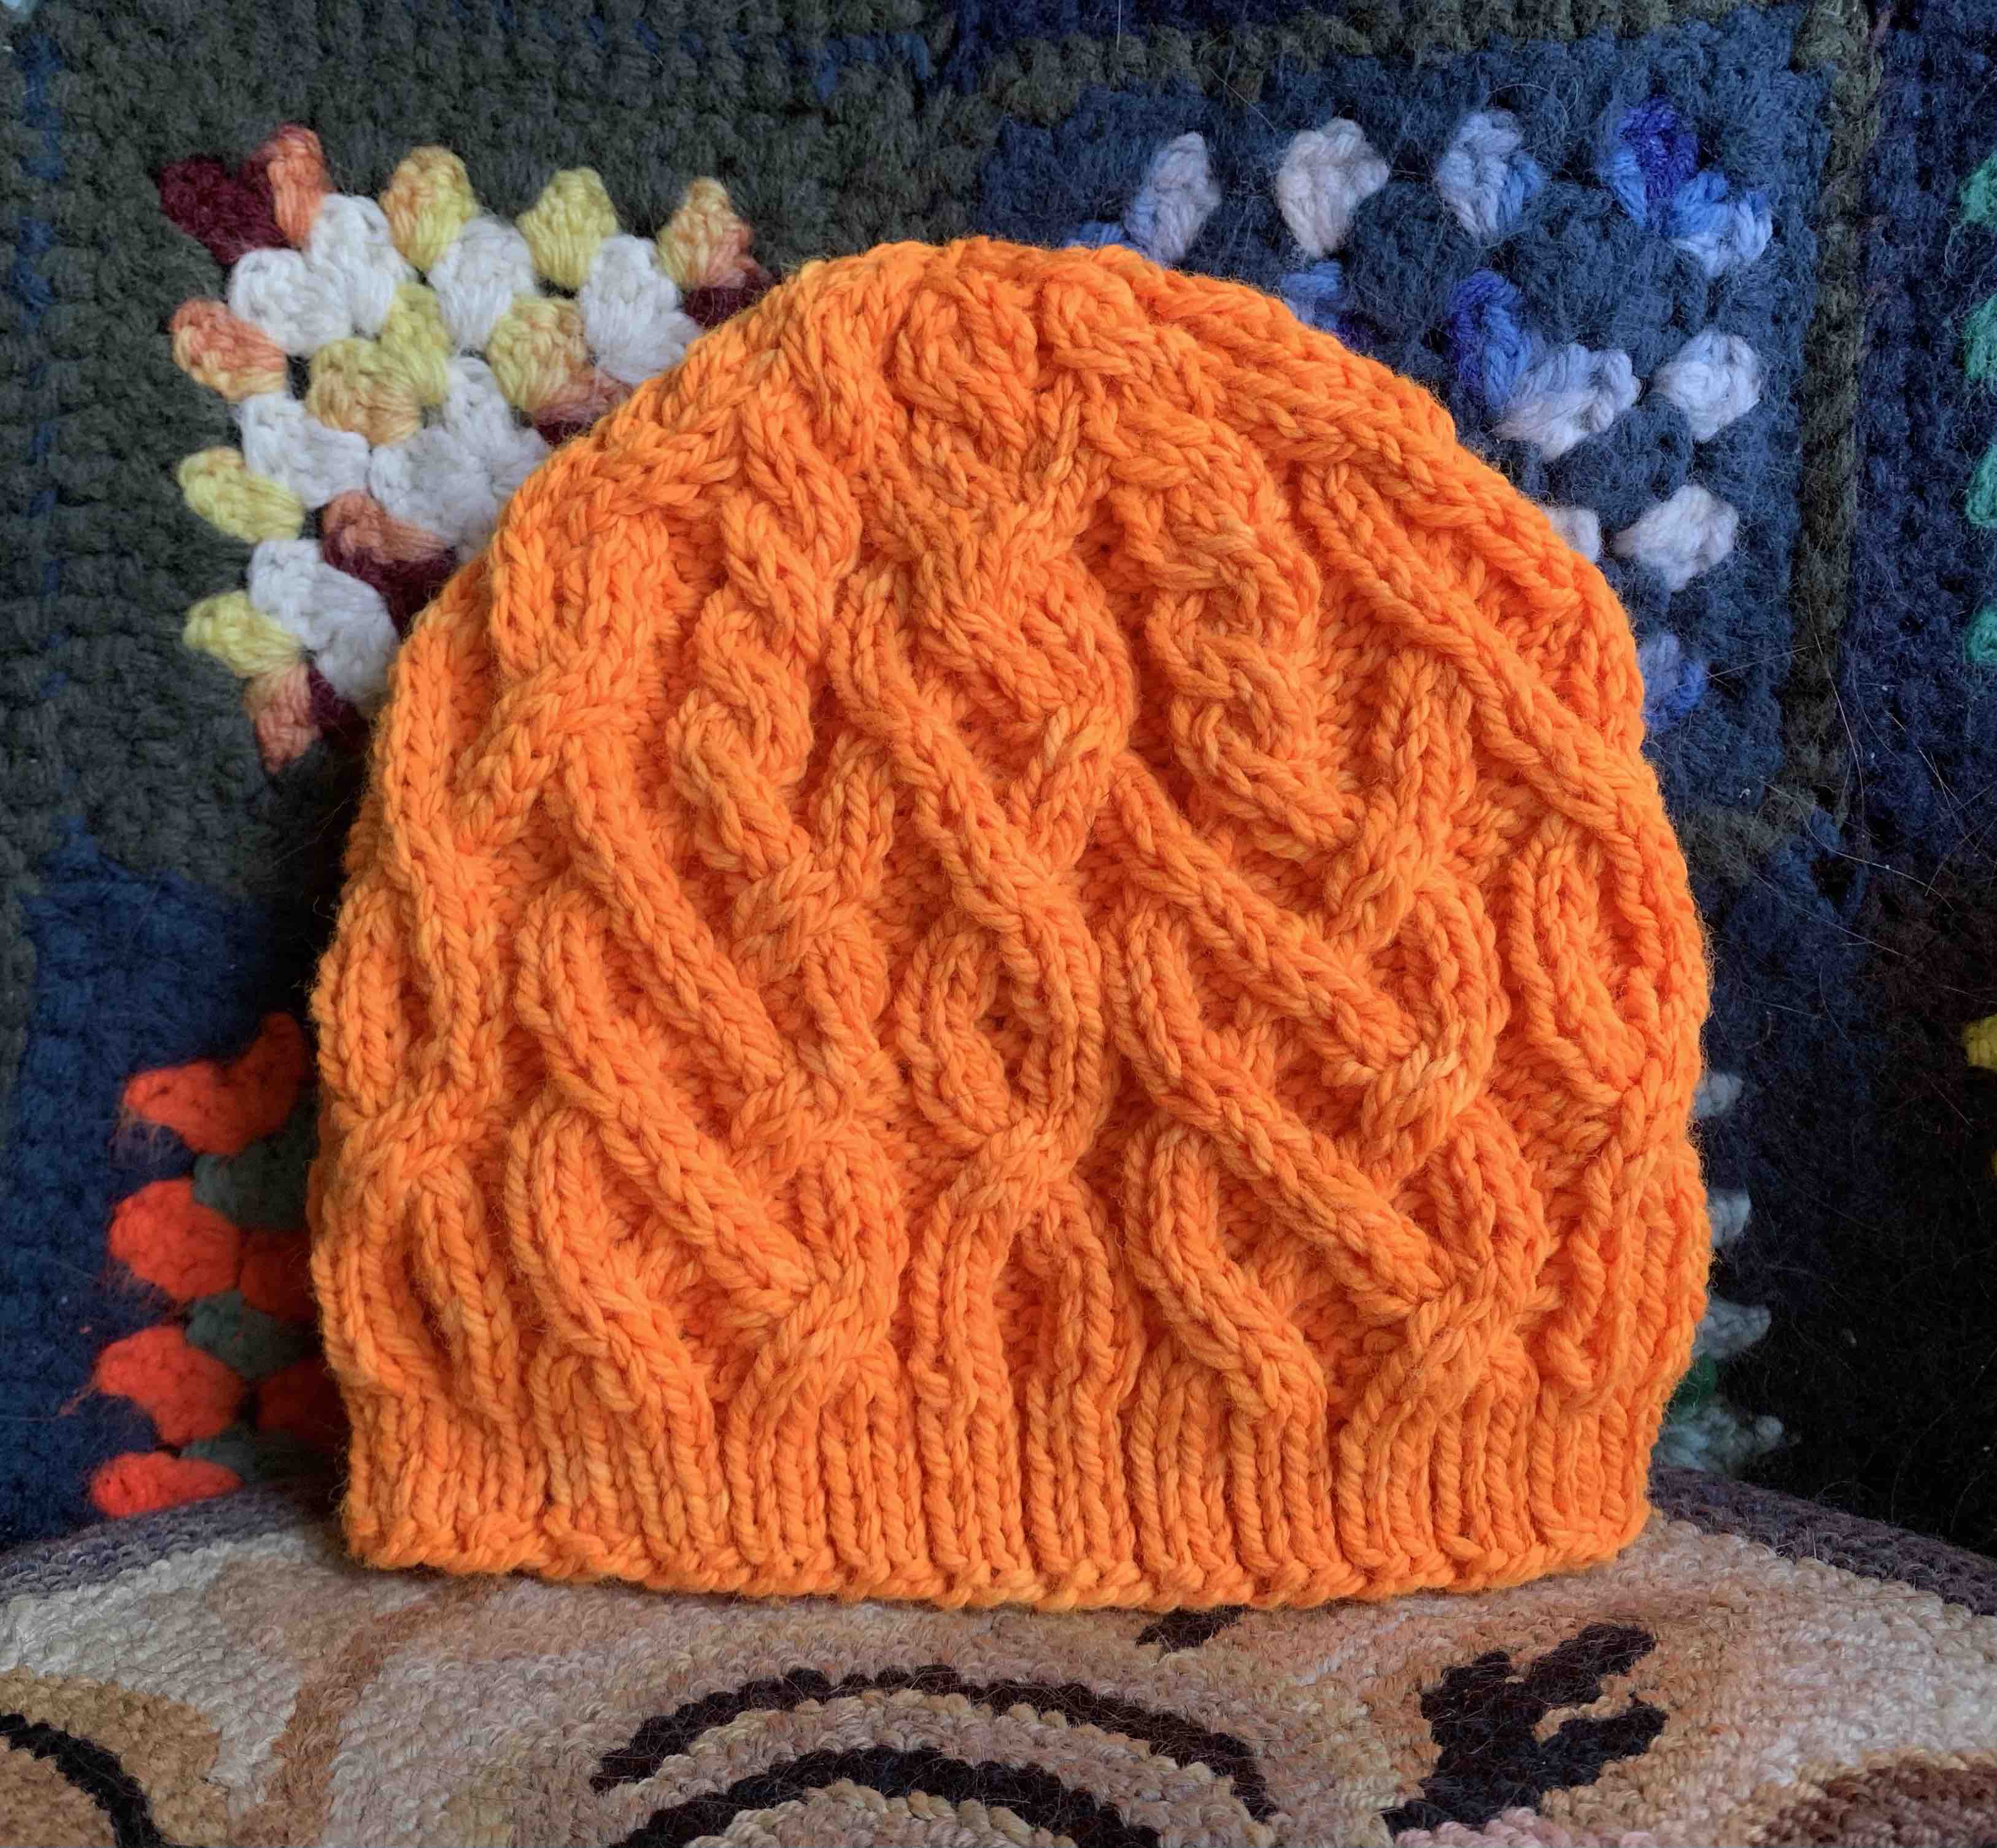
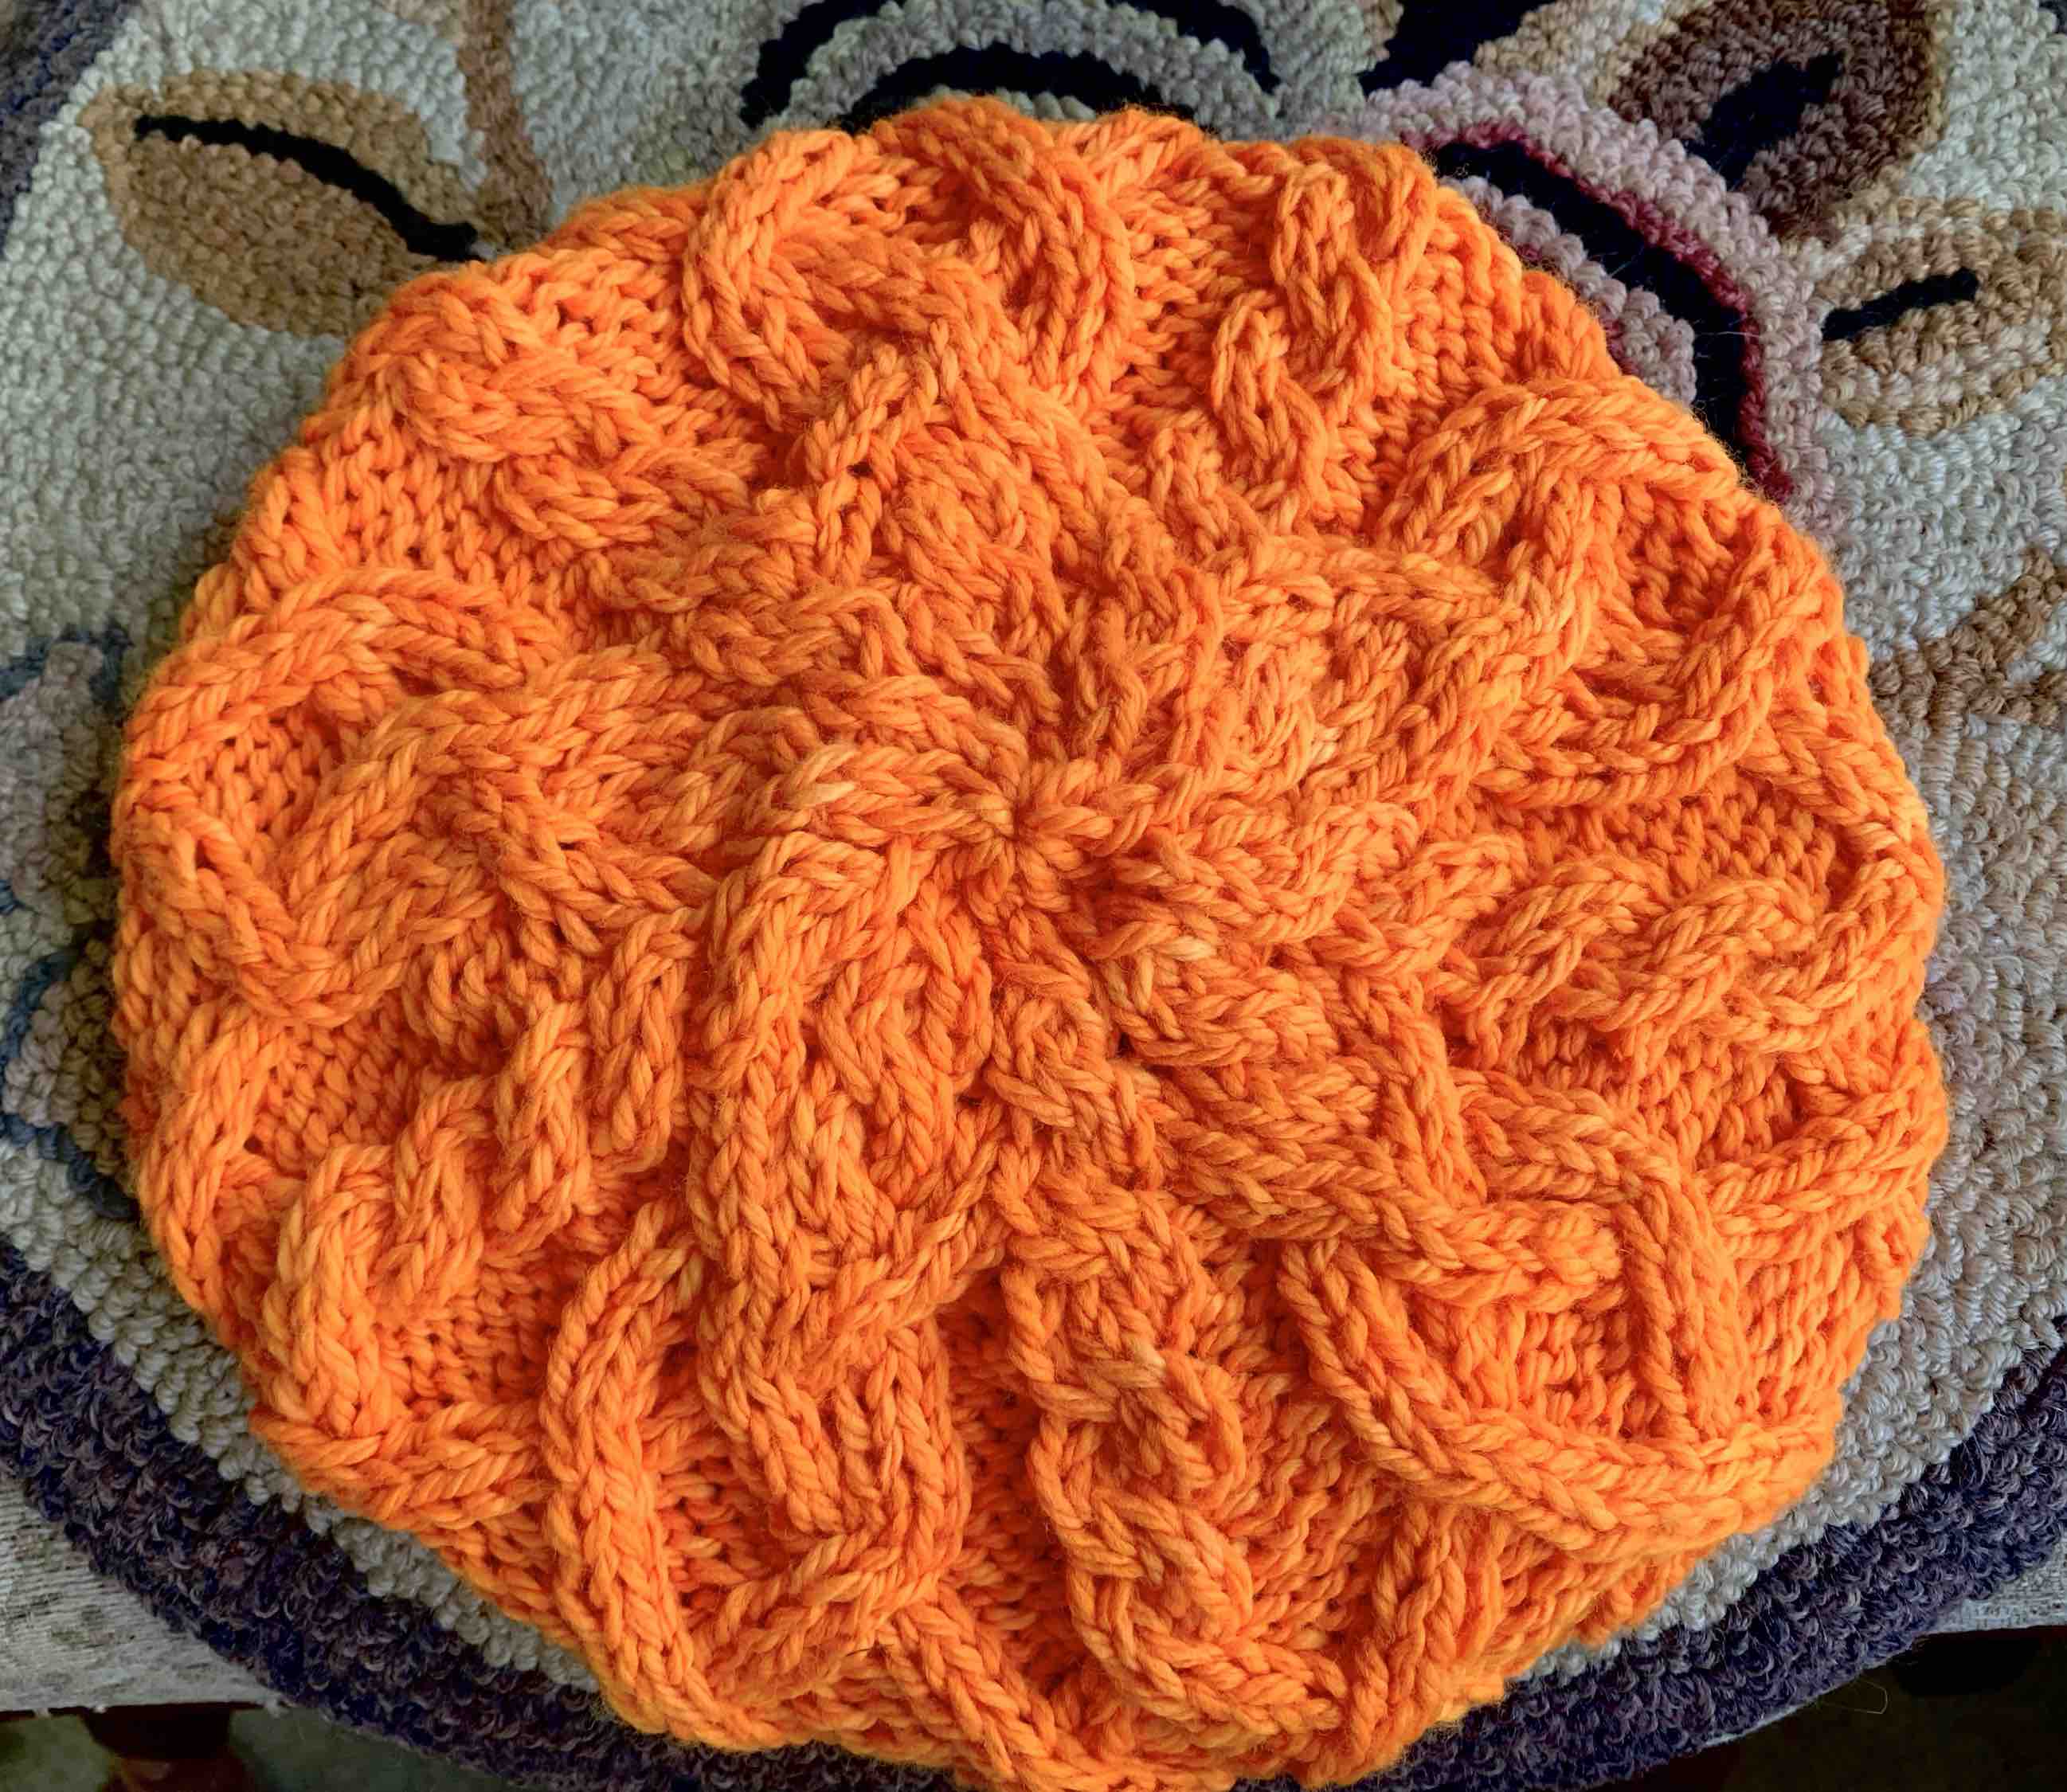
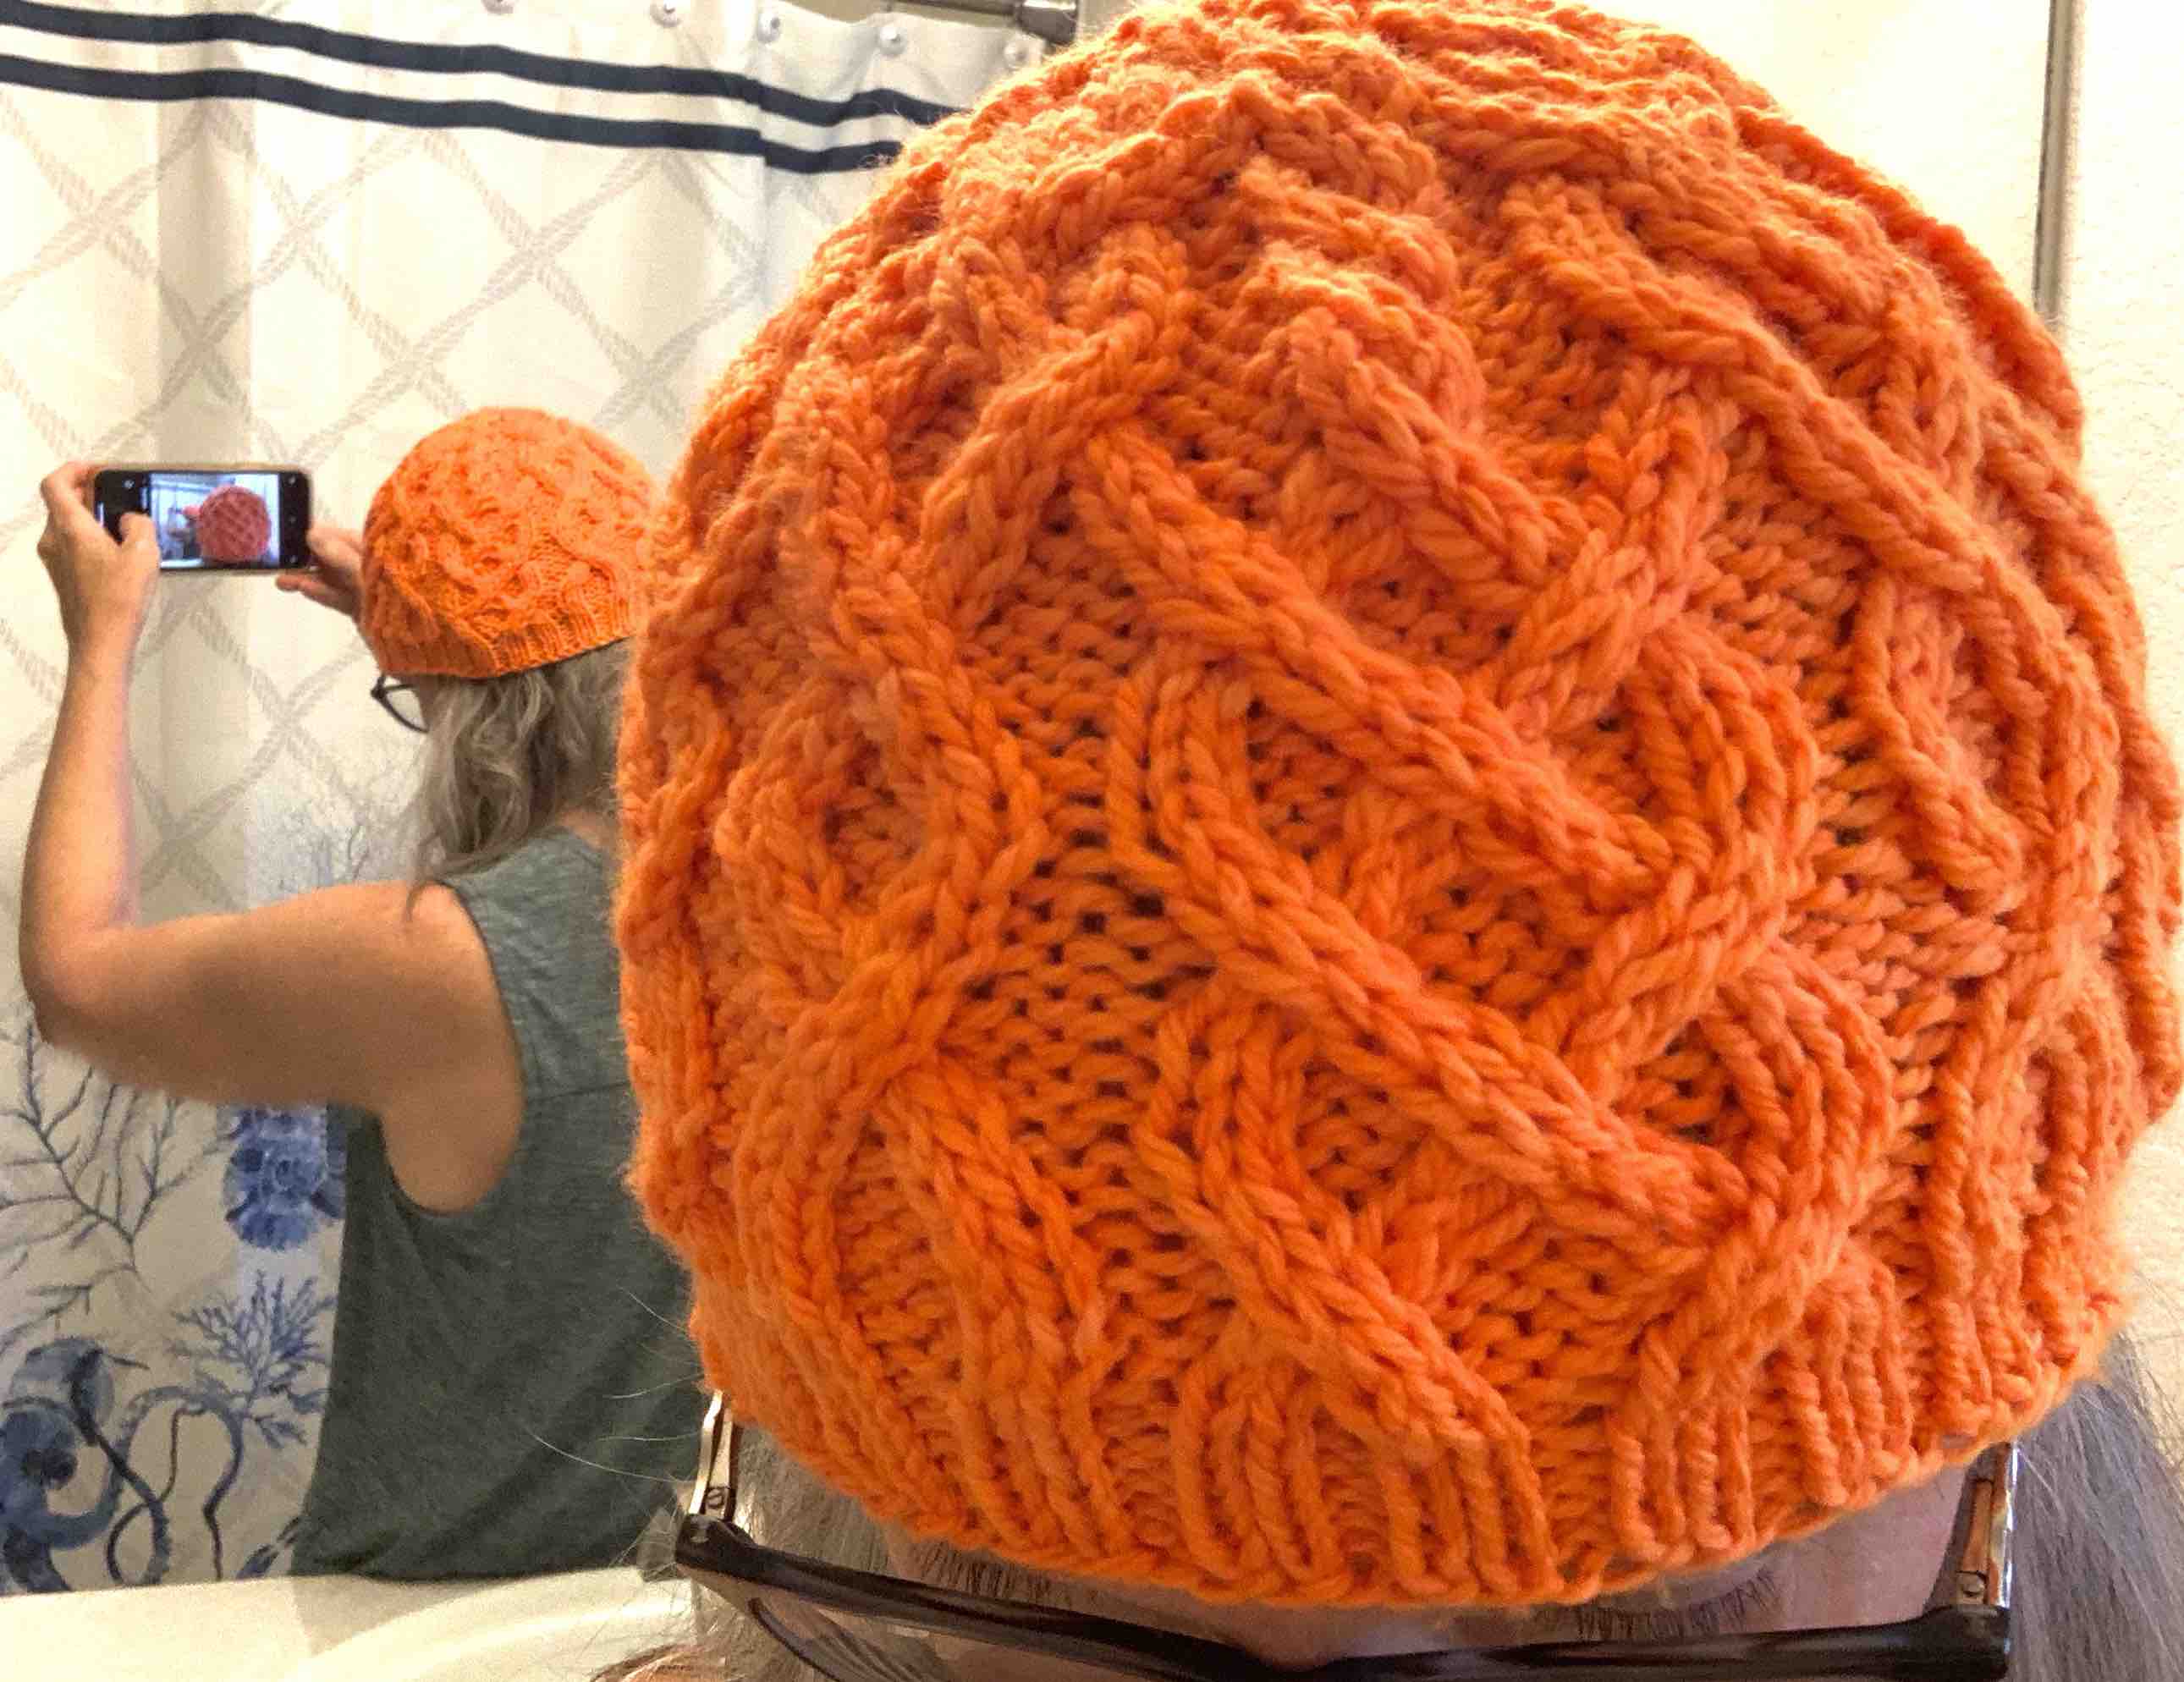
For my trip to New England this fall I want a new, warm hat. The free pattern Maine Cables Hat is what I chose and will document my knitting along the away to encourage first time cable knitters.

Would you like to knit along with me as I knit this easy cable hat? The pattern is free – yay! I’m knitting this hat for my trip to New England this Fall. This page will explain what is needed to accomplish the project. Part 2 will begin with a cast-on and knitting the ribbing.

A Hat Pattern for Experienced Beginner

If you can knit and purl, and if you like knitting hats, grab some nice yarn and let’s knit this beautiful beanie. I’ll list some videos that can help with everything from the cast-on to the switch to DPN’s or Magic Loop knitting for the decreases at the top.

Even if you’ve never knit a hat, if you have some experience in knitting, it might be the perfect time to branch out. Cables are not difficult to create, but you do need a smaller cable needle (link below) to hold the stitches. *If you don’t want to buy a cable needle, a DPN would also work. Wood is best so the stitches don’t slip.

This pattern is not suggested for a true beginner. You should have some knitting experience to make this project fun. *The pattern is written out and it includes a chart.

Ravelry knitters (219 at the time I’m writing this) have rated this pattern as quite easy to knit, and 4.9 of 5 rating for clarity. Overall, knitters loved this pattern and lots of them were first time cable makers!

Tools Needed to Knit This Hat

Here is a list of necessities for knitting this cable hat pattern. Also included are other things you may probably have.

Some links below will go to Amazon where you can find the item suggested. These links are affiliate links where I could make a small commission, at no cost to you, and are listed as (paid links).

  • The pattern, by Heather Anderson – Maine Cables Hat – download for free at Ravelry
  • Yarn – Worsted weight yarn, 175 – 210 yards (per pattern and size chosen) *If you choose to make a longer folded brim, I’m guessing you will need more yarn. The pattern doesn’t say, but the double brim in the pattern is only 3 inches. I’m making mine 4 inches.
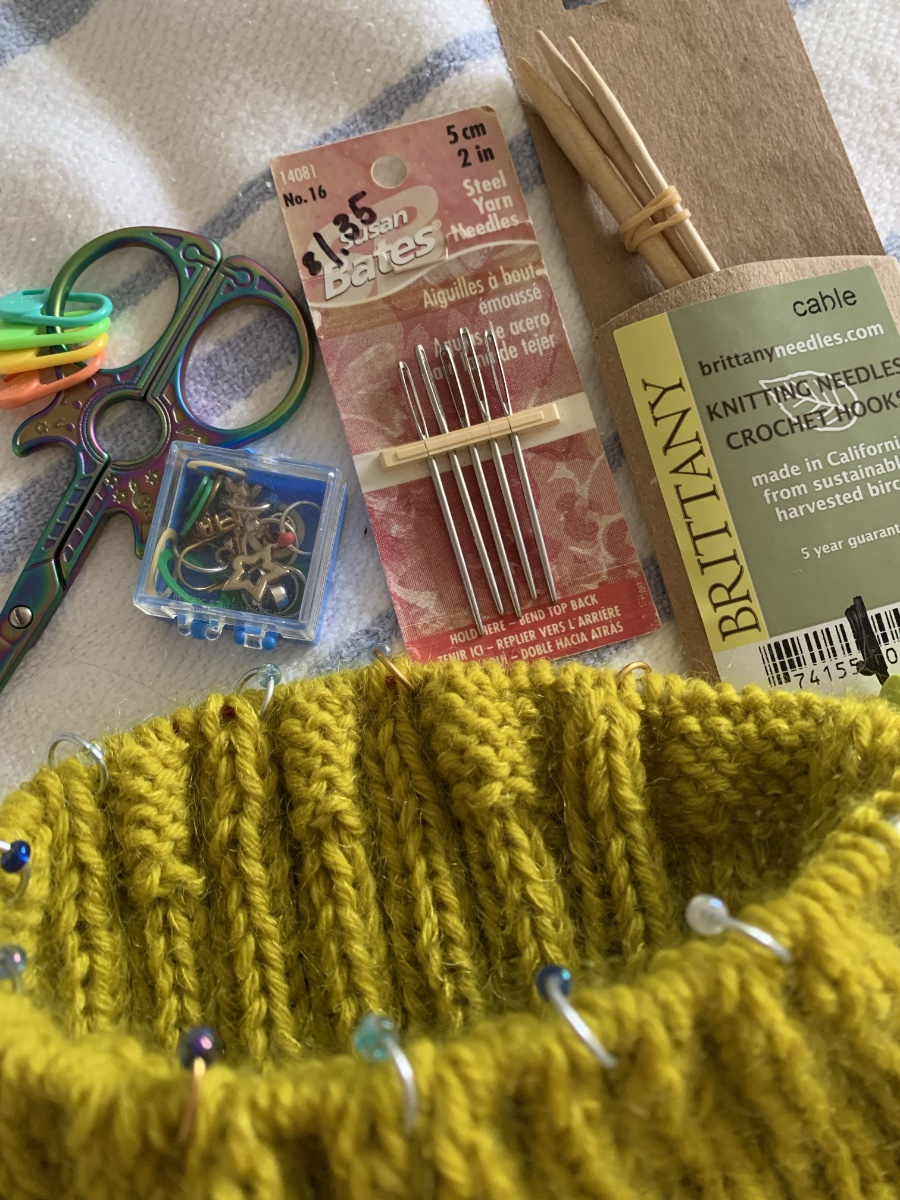
  • Needles – circular 16″ in size 7 (paid link to ChiaoGoo brand) and also double-pointed needles (paid link)in same size. (For magic loop, you will need a longer circular – 32 inches at least- in the same size.)
  • Cable needles – if you don’t have any I suggest the Brittany wood cable needles. (paid link) OR, if you have them, use a size 7 DPN (wood preferred).
  • Stitch markers – A special / different one for BOR (beginning of round) and 10 – 11 more to mark the cables. Clover 32 piece (paid link) larger size markers.
  • Stitch stoppers / point protectors – to keep work on the needles in the knitting project bag. There are many types, but something like this will work.
  • Embroidery needle to weave in the ends. (8 piece, large eye with wood case) – paid link.
  • Scissors
Knitting tools needed to complete the Maine Cables hat project

Getting Started

Once you have your yarn and needles and other necessities, read through your Maine Cables Hat pattern. Decide which size, Small or Large, (18 or 20 inches finished size) you will knit.

The pattern designer mentions that the smaller size hat “fits snugly” on her head, and the larger size is looser. The large size would work well for a man. She also says that the overall finished hat is very stretchy.

(The pattern does mention a gauge of 20 stitches to 4 inches in stockinette. I never knit a gauge for a hat, but the info is there is you like.)

*Keep in mind that the ribbing cast-on will be fewer stitches than the cable stitch total for the top of the hat. After the ribbing is done, increases will be made to bring the stitch count up to 121, or 132 total.

A fewer stitch count for the ribbing will make it a bit tighter, which I like. I hate when my finished hat fits too loosely! Cable stitches also pull inward to tighten the fabric, so more stitches are needed to account for that.

New Stitches to Know

The cable stitches will be the only stitches you may not be familiar with. Most other abbreviations should be familiar. They are all listed at the end of the pattern.

After the ribbing, increases will be made. This will be a backward loop increase, which is simple to accomplish. Purl two together (p2tog) is made just like a normal purl except purling two stitches at the same time. This decreases one stitch.

The cables are explained in the pattern, but in general this is what they mean: 3/3RC and 3/3LC are the cable stitches. 3/3RC means the next 3 stitches will be slipped to the cable needle and held in back while the next three stitches are knit. Then, knit the 3 stitches off the cable needle.

3/3LC means three stitches will be held in front, but done the same way.

My Choices For Size, Yarn, and Needles

Choose a worsted weight yarn for knitting this hat. I suggest you choose a solid color, or slightly marled. Any yarn with lots of changing colors will take away from the cables. This is my opinion, and you are free to knit as you wish!

I chose Knitting for Olive heavy merino yarn. I bought two balls to equal 274 yards and am combining it with one ball of Knitting for Olive mohair (246 yds.) I should have plenty of yarn, even with a longer rib.

For my hat, I am holding two yarns together. Both are from the company Knitting for Olive and both are color Umami Yellow. One is a heavy merino wool and the other is mohair. Because I’m using two yarns together, I went up a needle size to an 8US. I will be knitting the smaller size hat.
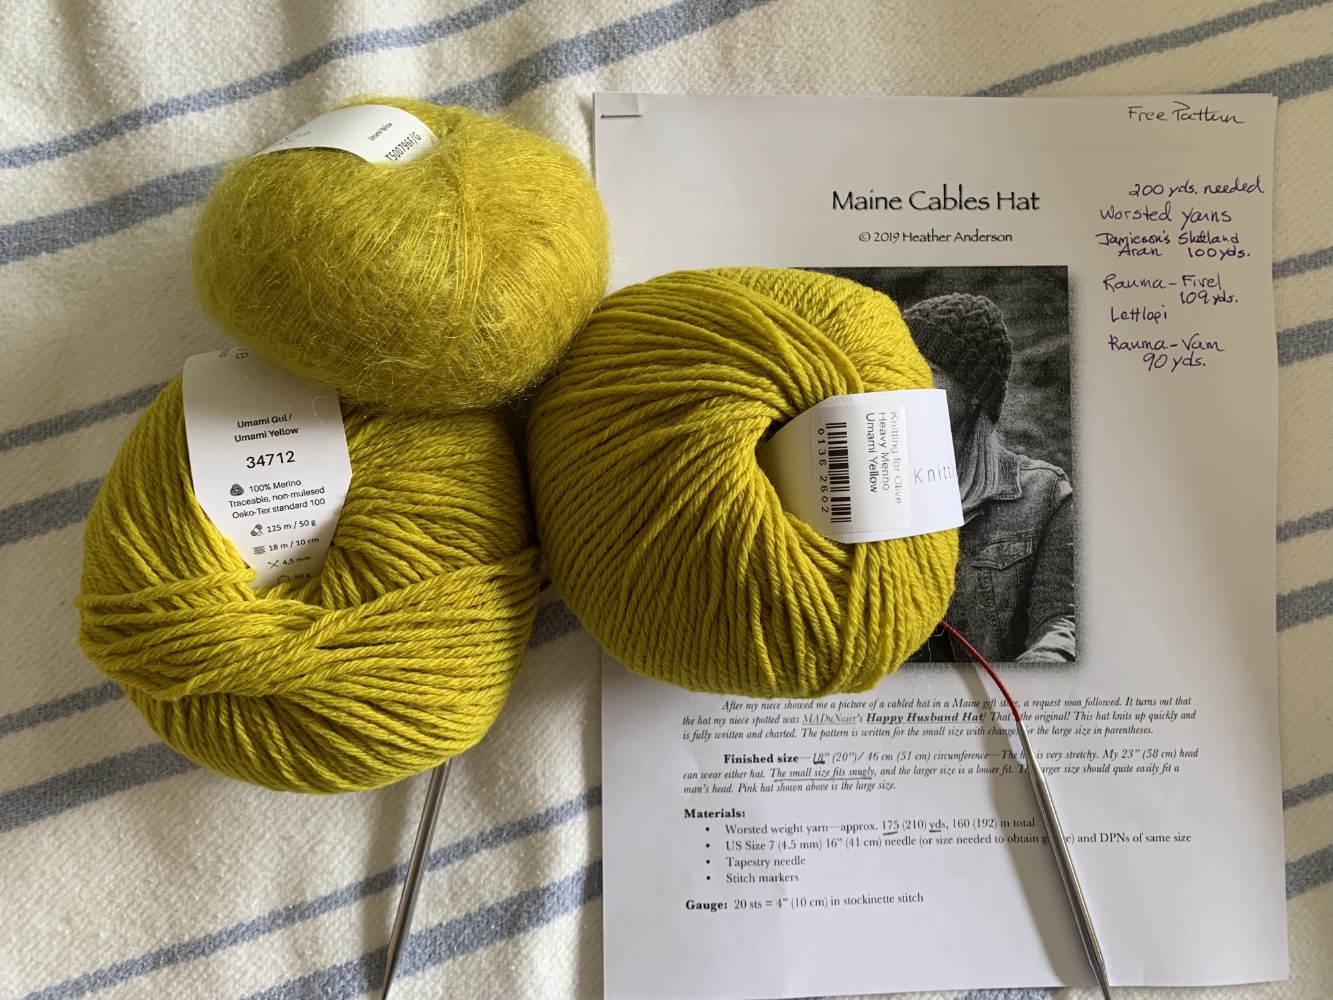
Maine Cables Hat knitting pattern and yellow yarn

More to come on the tutorial for knitting the Maine Cables Hat. Get your tools ready and follow along and knit yourself a beautiful new hat for this winter!

If you are ready, check out Knitting the Maine Cables Hat Part 2 where we will cast on and knit the ribbing.
More about the hats I’ve knit.

Considering a Cable Knitting Project

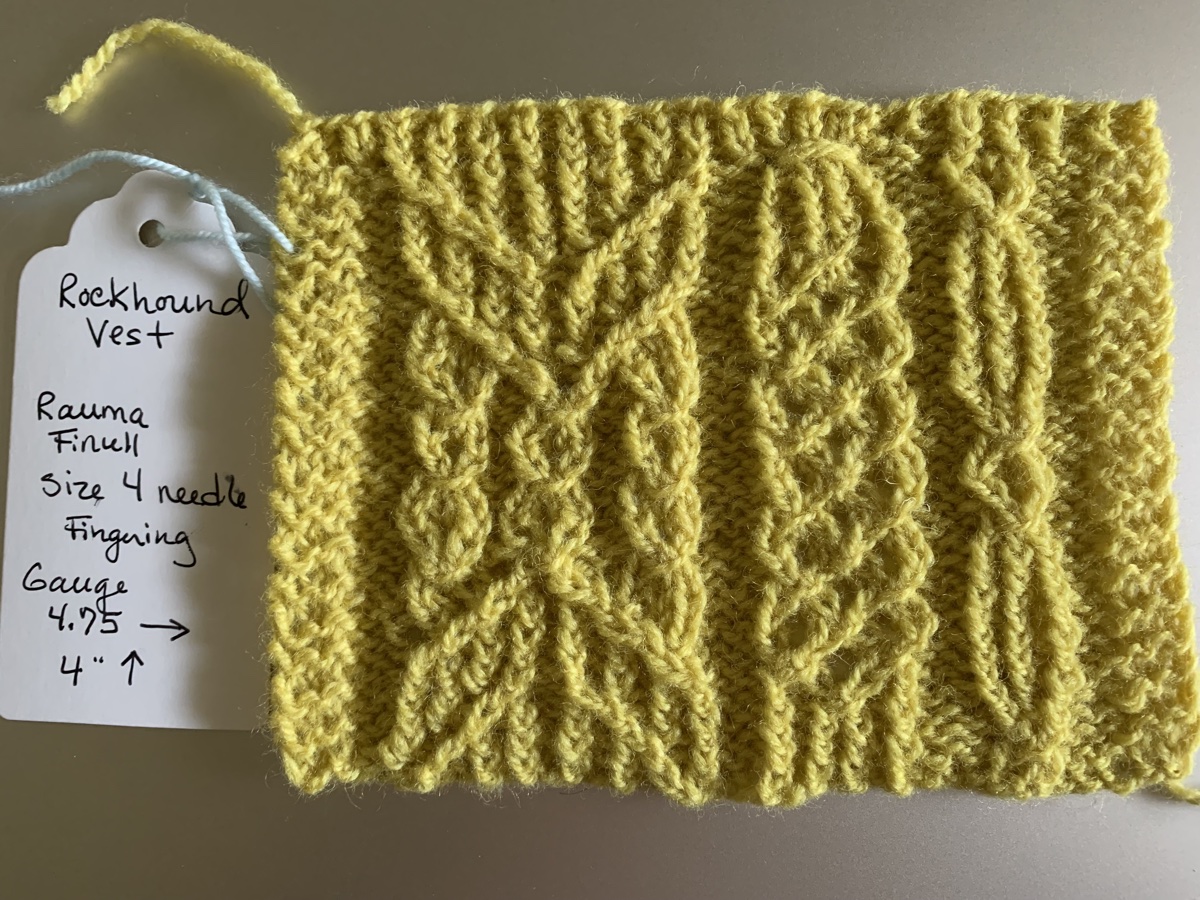
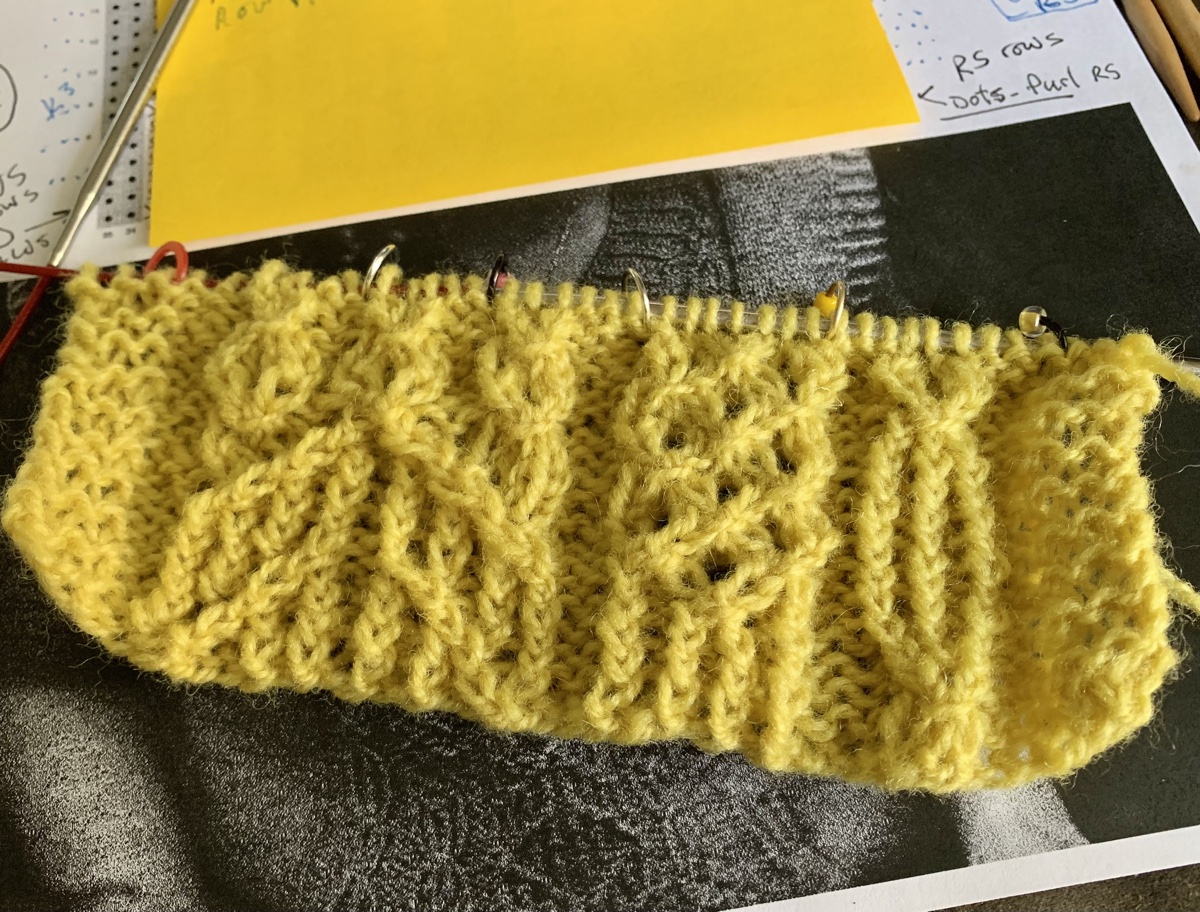
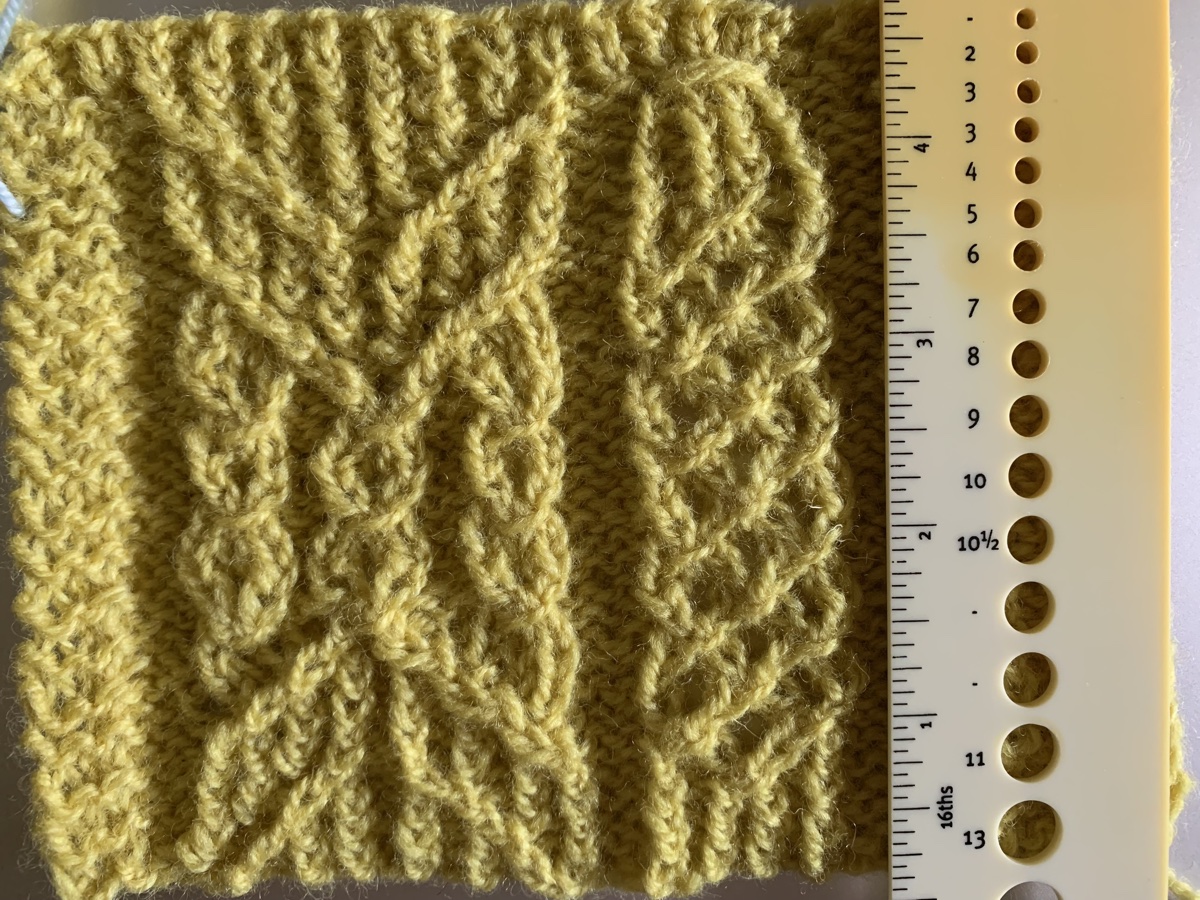
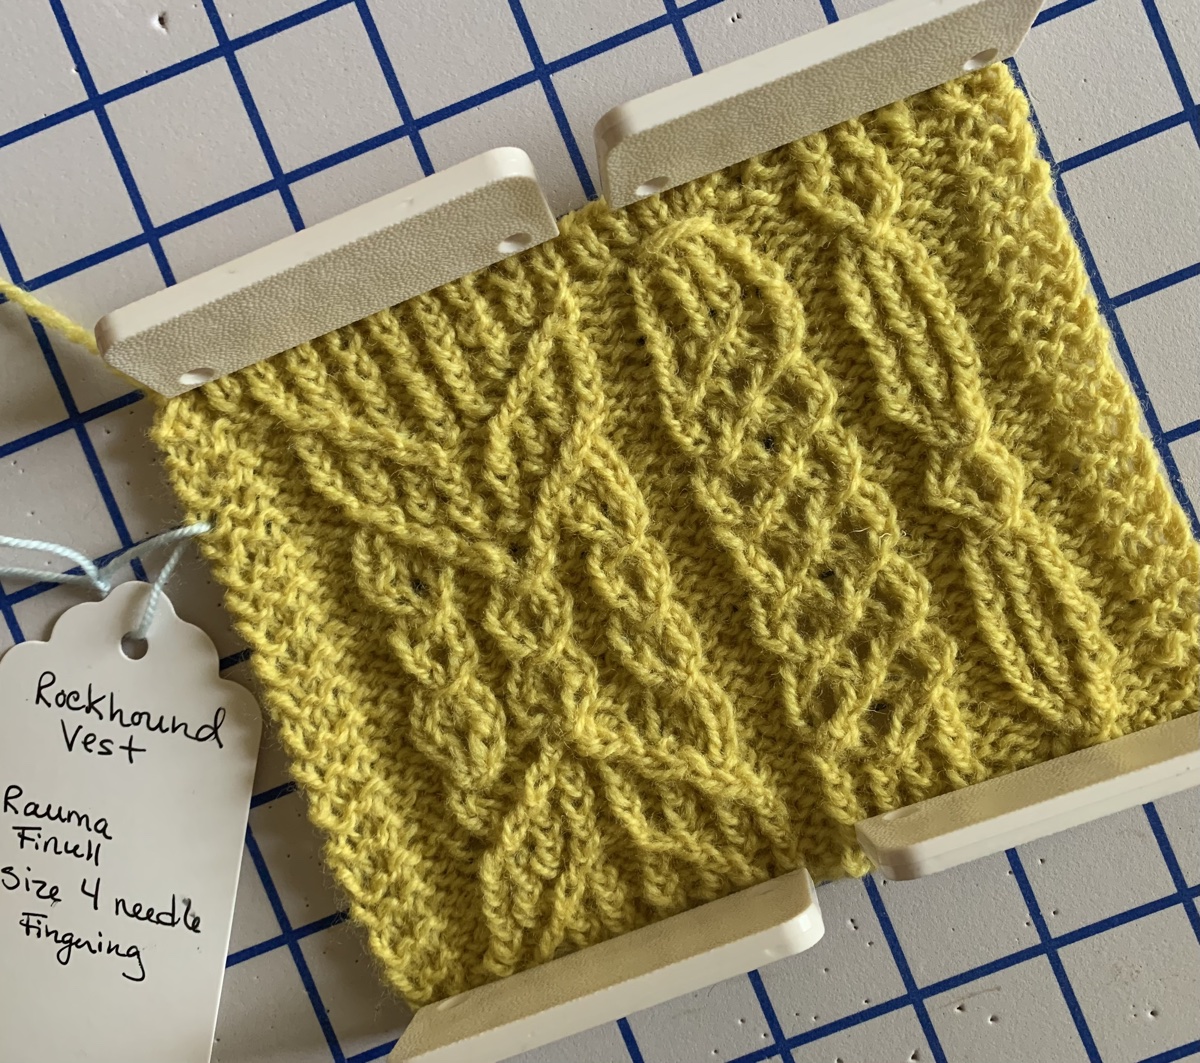
Knitting a cable vest swatch for size reference and cable chart practice. The Rockhound Vest is a beautiful cabled knitting project.

Cable knitting is not something I have much experience with. I tend to buy cable patterns and then file them away thinking “maybe one day”.

The biggest cable projects I have done were hats (Skiff and Habitat). Now I am looking at knitting a vest with cables on the front and back.

The Rockhound Vest is a pattern by Wool and Pine designs. The company was offering a discount on their patterns and I thought I would see what they had to offer.

You would think that a vest would be a simple and quick knit. This one has a section of cables that comes down from the shoulders and goes down the front. Cabling takes time, but it can be so pretty.

The V-neck and armholes have to be picked up and knit after, and I’m not looking forward to that. Also, the charts look a bit intimidating.

Knitting a Cable Swatch

The Rockhound Vest pattern (link at the bottom of this page) comes with a Swatch Chart, which is a section of cable that needs to be knit, washed, blocked and measured as a swatch – both flat and in the round.

I decided to knit the swatch using Rauma Finull yarn because I had a skein, and I already know I love this fingering wool.

Helpful

First thing I do when knitting cables is color code them! I also write a short description of each cable next to each cable diagram. I have no idea how to read a cable stitch, so the color helps me find the description quicker.

colored pencils

Use stitch markers!!! This helped me a great deal, even though I had to keep moving some of them because the cable section would move. I made small sections on the row to prevent a lot of ripping back.

cable knitting with stitch markers
Use stitch markers to knit a flat cable swatch

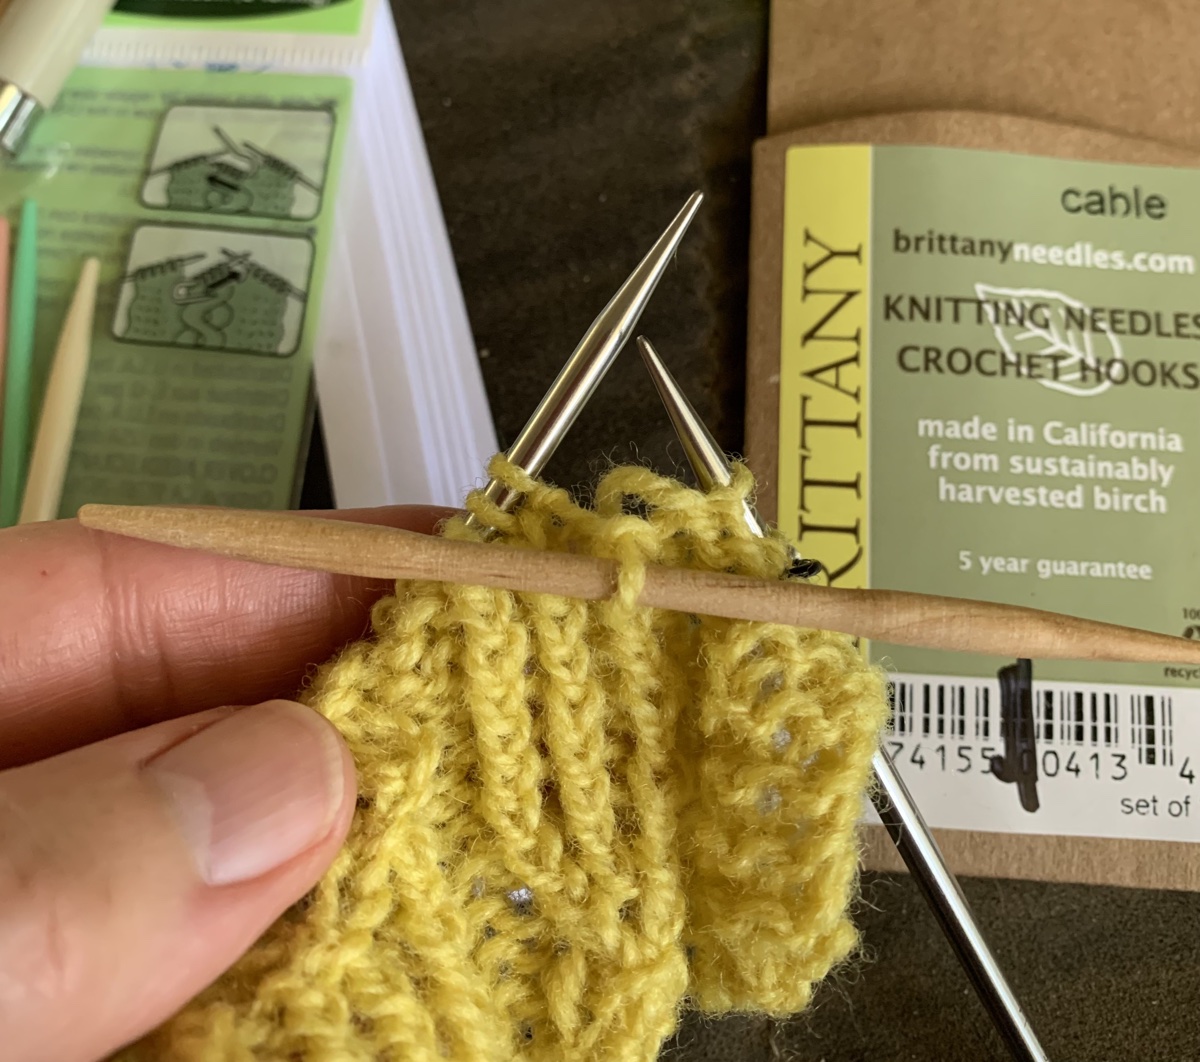
Get a better cable needle!!! I was trying to knit using my old, metal cable needle and had my usual problems. The thing would slip out and leave my stitches hanging, or I had to clumsily hold it to be sure that didn’t happen.

Then, I searched for new types of cable needles. I just couldn’t understand why cable needles couldn’t work better! Low and behold… I discovered the Brittany short wooden cable needles (Amazon paid link). Amazing!

short wood cable needle
New Brittany wood cable needle – LOVE!

This set of cable needles comes in three sizes, and I used the middle size for this project, which is fingering yarn (picture above). The short, wooden needle is thinner in the center so the stitches stay put. The shortness also helps when knitting off the cable needle. This has made cabling a lot easier for me. I highly recommend them.

Swatch and Sizing

After looking over reviews, at Ravelry, written by previous knitters of this vest pattern, I see that many finished projects have turned out to be too tight. Even when a seemingly larger size was chosen, the vest seems to end up with a smaller circumference than planned. Maybe knitters did not do a swatch in the round???

I have added six extra stitches (3 on each side) to my swatch. Those stitches are not part of my gauge.

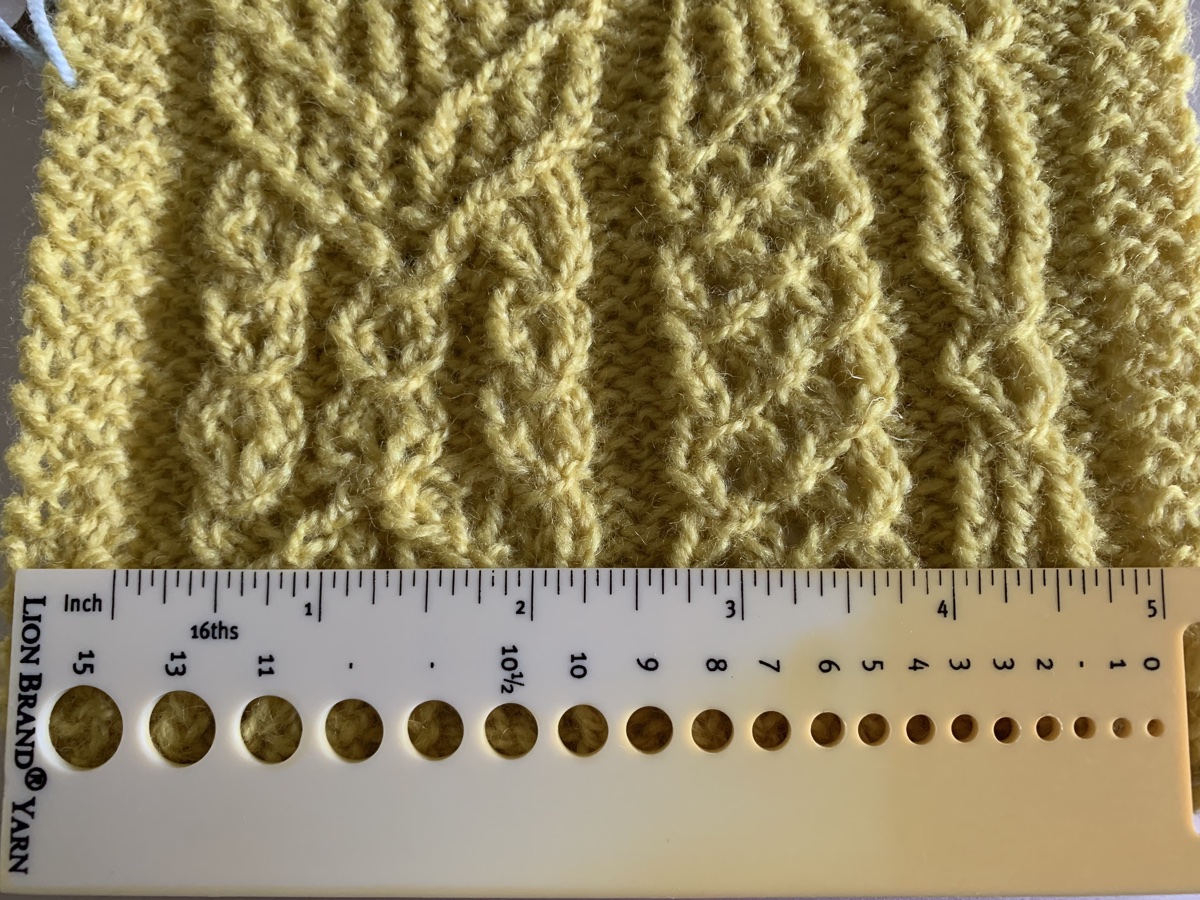
Knitting a swatch is very important and swatches should be knit flat and in the round, because that is how they are knit in the pattern. I’ve only done the flat swatch. The finished swatch size will be larger than normal 4×4 inches- according to the pattern. My swatch was nearly exact, but a tiny bit larger. Going down a needle size would most likely make this too small, and having things a little larger might be good with this pattern.

If I decide to knit this pattern, I need to buy the same kind of yarn, in a different color. I may knit a swatch in the round with my new yarn and see how that turns out. It is possible that the gauge is tighter in the round. That would explain why knitters were getting tighter vests. Maybe they never checked gauge in the round.

I definitely made some mistakes in this cable swatch, but it wasn’t that bad to knit. This swatch shows only part of the cable pattern which goes down the middle of the front and back. If nothing else, it was good practice at knitting from a cable chart.

More Knitting From Me

Knitting “Habitat” Hat With Cables in Hunter Orange

Last year I searched for a hunter orange yarn so I could knit hats for my kids who live in New Hampshire. Whenever hunting season is open – and it is regularly open year round for various animals in NH – walkers, hikers, bikers and anyone who ventures into the wilderness needs to wear hunter orange, aka safety orange, or an equally bright color.

Last year I was unsuccessful in finding the perfect, brightly colored yarn. This year I believe I have found it!

I came across the colorway “Kid You Not” by Hedgehog Fibres, in aran worsted weight and took a chance and bought two skeins from Eat, Sleep, Knit. Later, I found it at Wool and Company and was a bit less expensive. Hedgehog Fibres yarn is hand-dyed and comes from Ireland. It is beautiful, but pricey. What I also love is that it is superwash. Some people I knit for will not hand wash.

Knitting the Cabled Hat “Habitat”

Because the yarn is a semi-solid color I wanted to knit some cables. I searched through many cable hat patterns and ended up with the “Habitat” by Jared Flood. I’ve knit his “Skiff” cabled hat a few times, so I suspected this pattern would be similar, and it is.

I love the way the cables criss-cross up the hat, but that means lots of various cables to do all throughout the project. I do okay until I have to switch and use the DPNs, but the end product is always worth the work.

Shorten the Cable Descriptions

This pattern is charted only, which can be a bit intimidating, but not too tough to figure out. Every cable used is listed on the right-hand side of the chart, with a description of how to make that cable. The chart and cable description prints out on the same page.

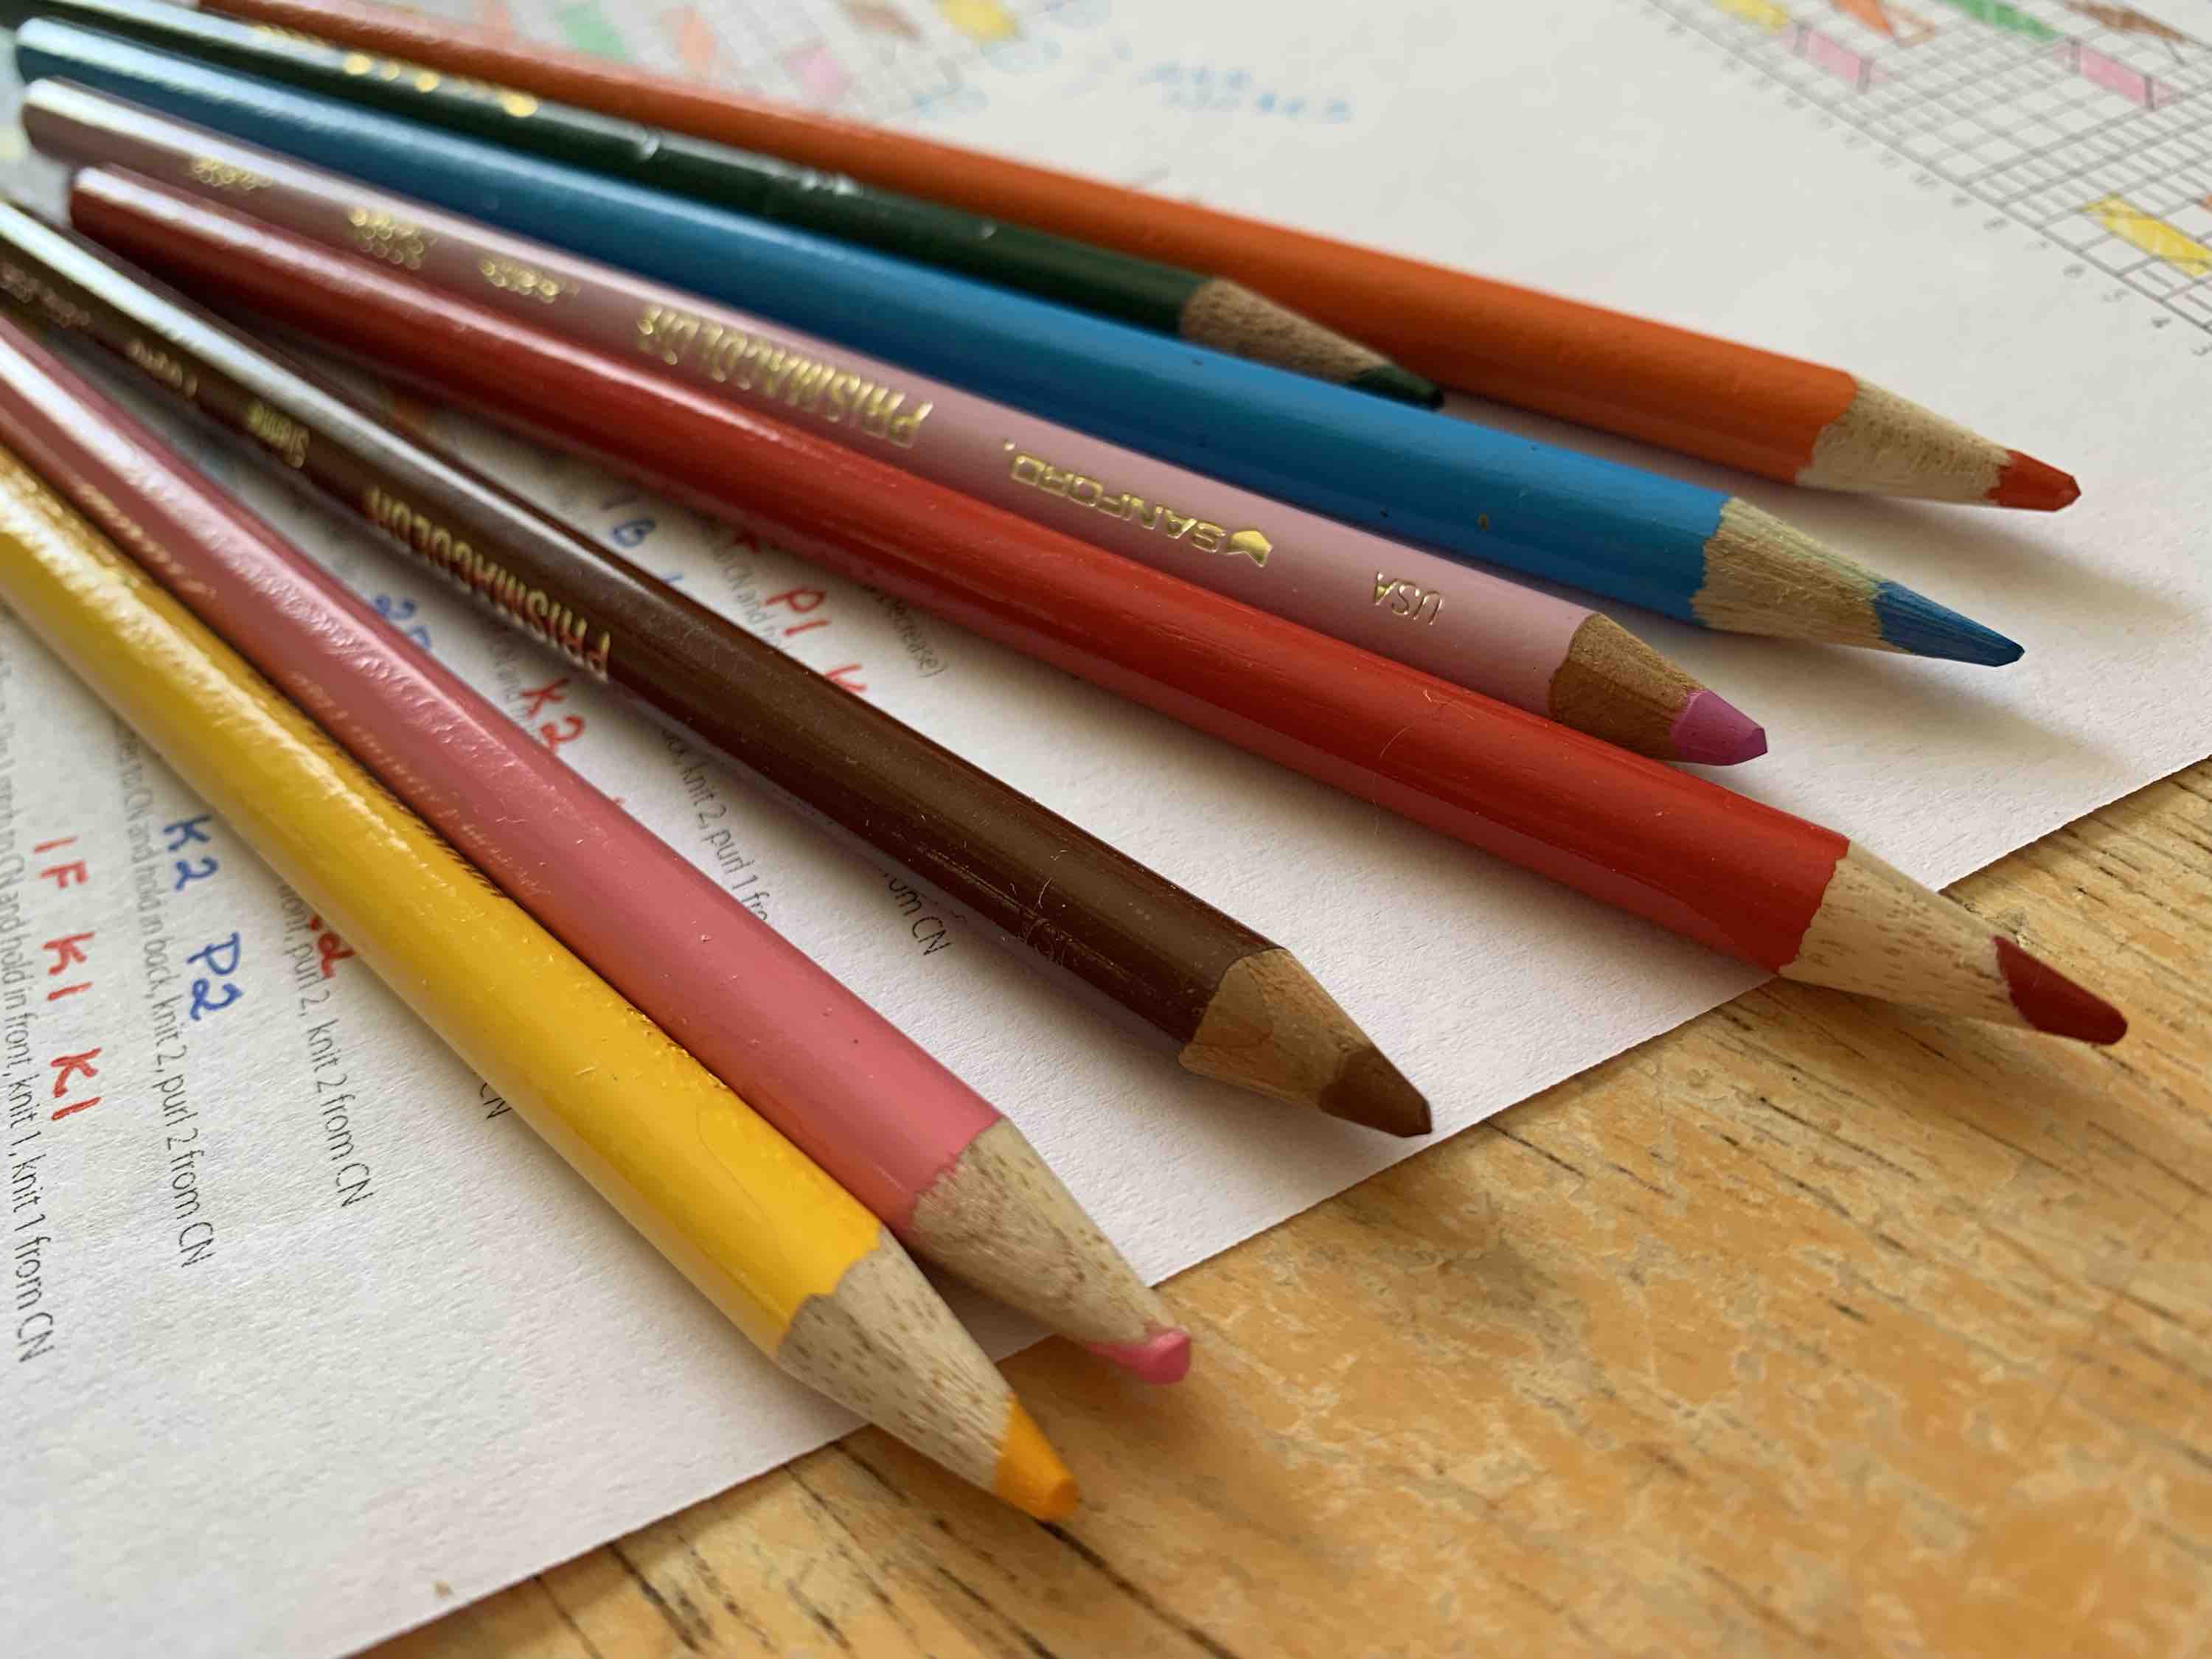
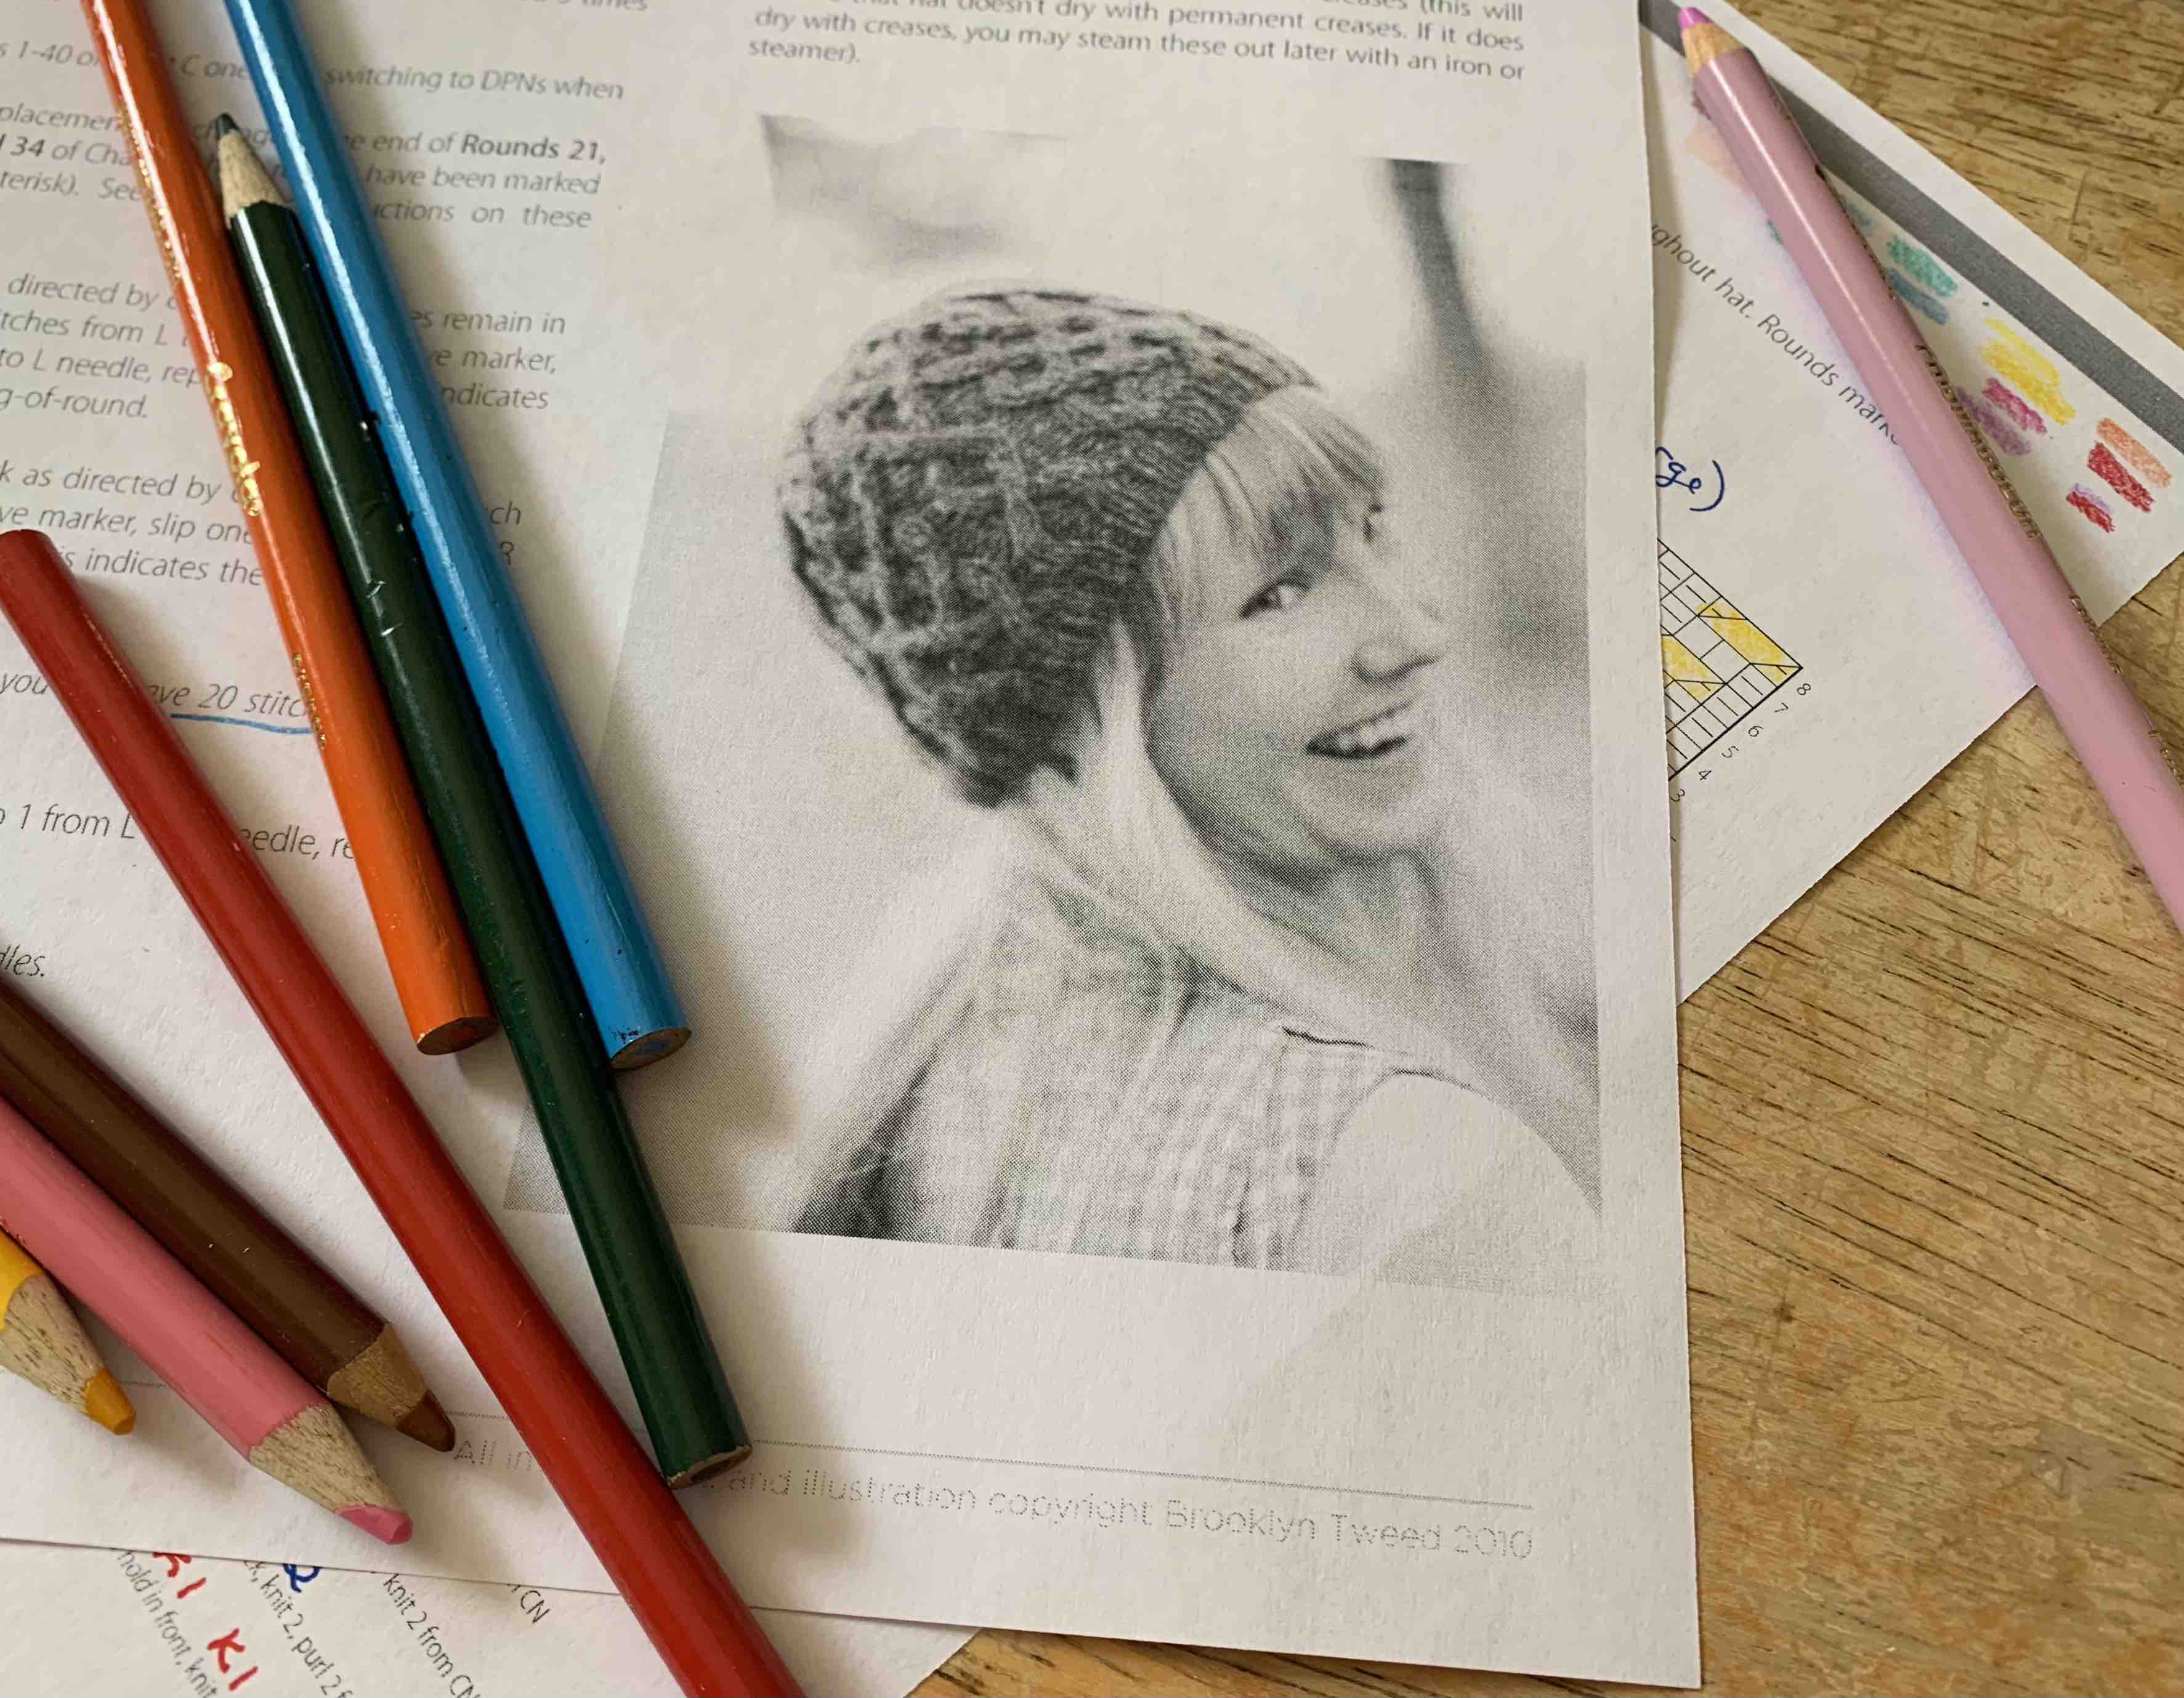
The printing is tiny – too tiny for those of us with older eyes to see well – so I use a pen and make each cable easier to read at a glance. This can be seen beneath the pencils in my photo below.

For instance: C3Lp = Slip 2 stitches to CN (cable needle) and hold in front. Purl 1, and knit 2 from the CN. That description is written out, but I make my note to simply say: 2F, P1, K2. When I get to this cable stitch in the pattern, a quick glance tells me what to do.

colored pencils
Creating my easy-to-read chart using color coding

Coloring the Cable Chart

The next order of business before knitting this cable design, is to get out the colored pencils. I’m sure some tech-savvy people can do this using some sort of spreadsheet, but I color the chart by hand. (I do use Knit Companion and I think this can be done with “Magic Markers” in the program, but I haven’t tried it. I do like having a paper printout too, just in case technology is down.)

Next, I go through each cable listed and find it on the chart. Each of the seven various cables used in this knit will get it’s own color coding. Doing this is time consuming, but totally worth the effort. The C3Lp cable which I mentioned, is colored pink for my chart, so every time I come to a pink colored cable in the pattern, I know at a glance to do 2F, P1, K2 ……. 2F (hold 2 front on CN), P1 (purl 1 from the normal needle), K2 (knit 2 from the cable needle).

When I am knitting each row from the chart, I use a sticky note to mark my place. I find this way of knitting the cables to be quite easy to follow.

Needle Sizes I Used

This hat is being knit for my daughter who has a small head. The hat is offered in two sizes, but that only means the length will change, not the diameter. Because of this, I dropped down a needle size and used a size 6US to cast on and knit the short brim. In general, I am a tight knitter, so I hope that will help with size reduction. I switched to size 8US for the cables.

The difference between the Small / Medium and Large sizes is a cable section which is done right after the brim. Choose the shorter, Chart A for S/M or the longer Chart B for size L. Whichever chart is chosen, it will be knit only once. This is a set up section before moving on to the longer, main hat chart.

Habitat Hat Knitting Photos

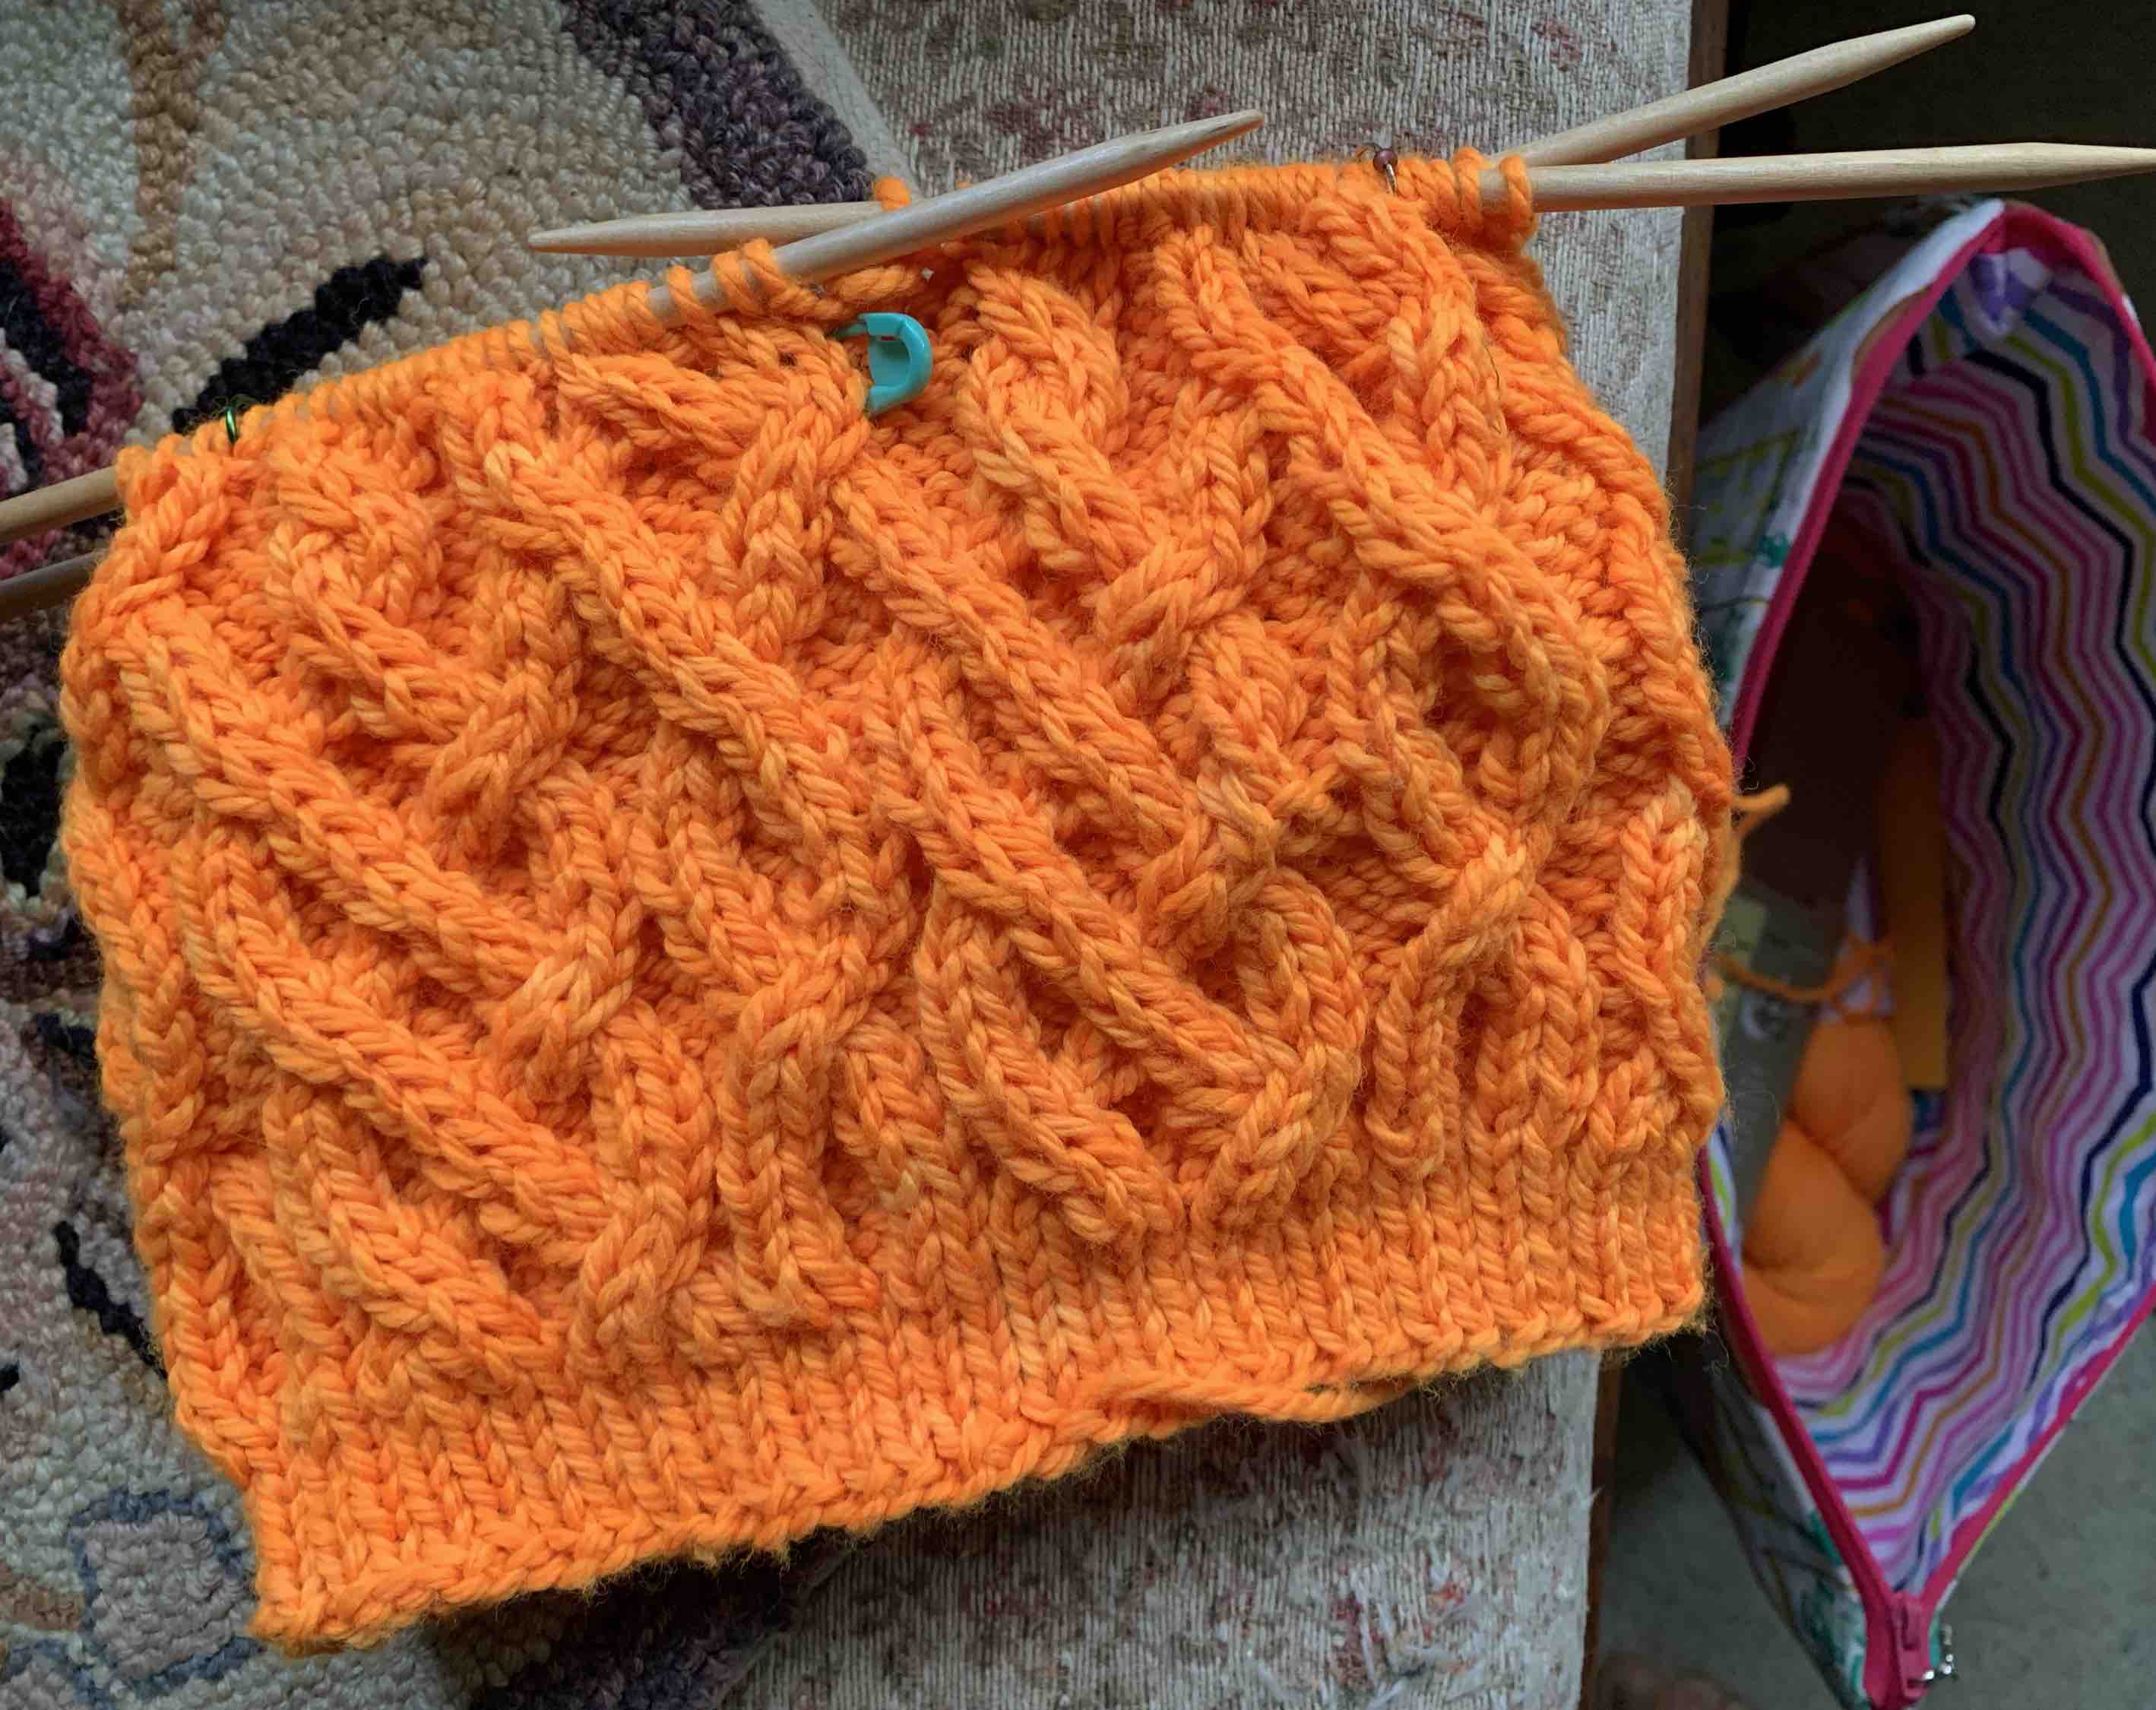
After a few inches of knitting, the cables begin to show. There are a lot of cables to do in this pattern. The yarn is beginning to remind me of Cheetos!

Switched to DPN’s on row 25 which is not a cable row, to make things easier.

Cabling on the DPN’s and keeping track of the cable sections got a bit difficult, but I hate DPN’s in general.

The Gift

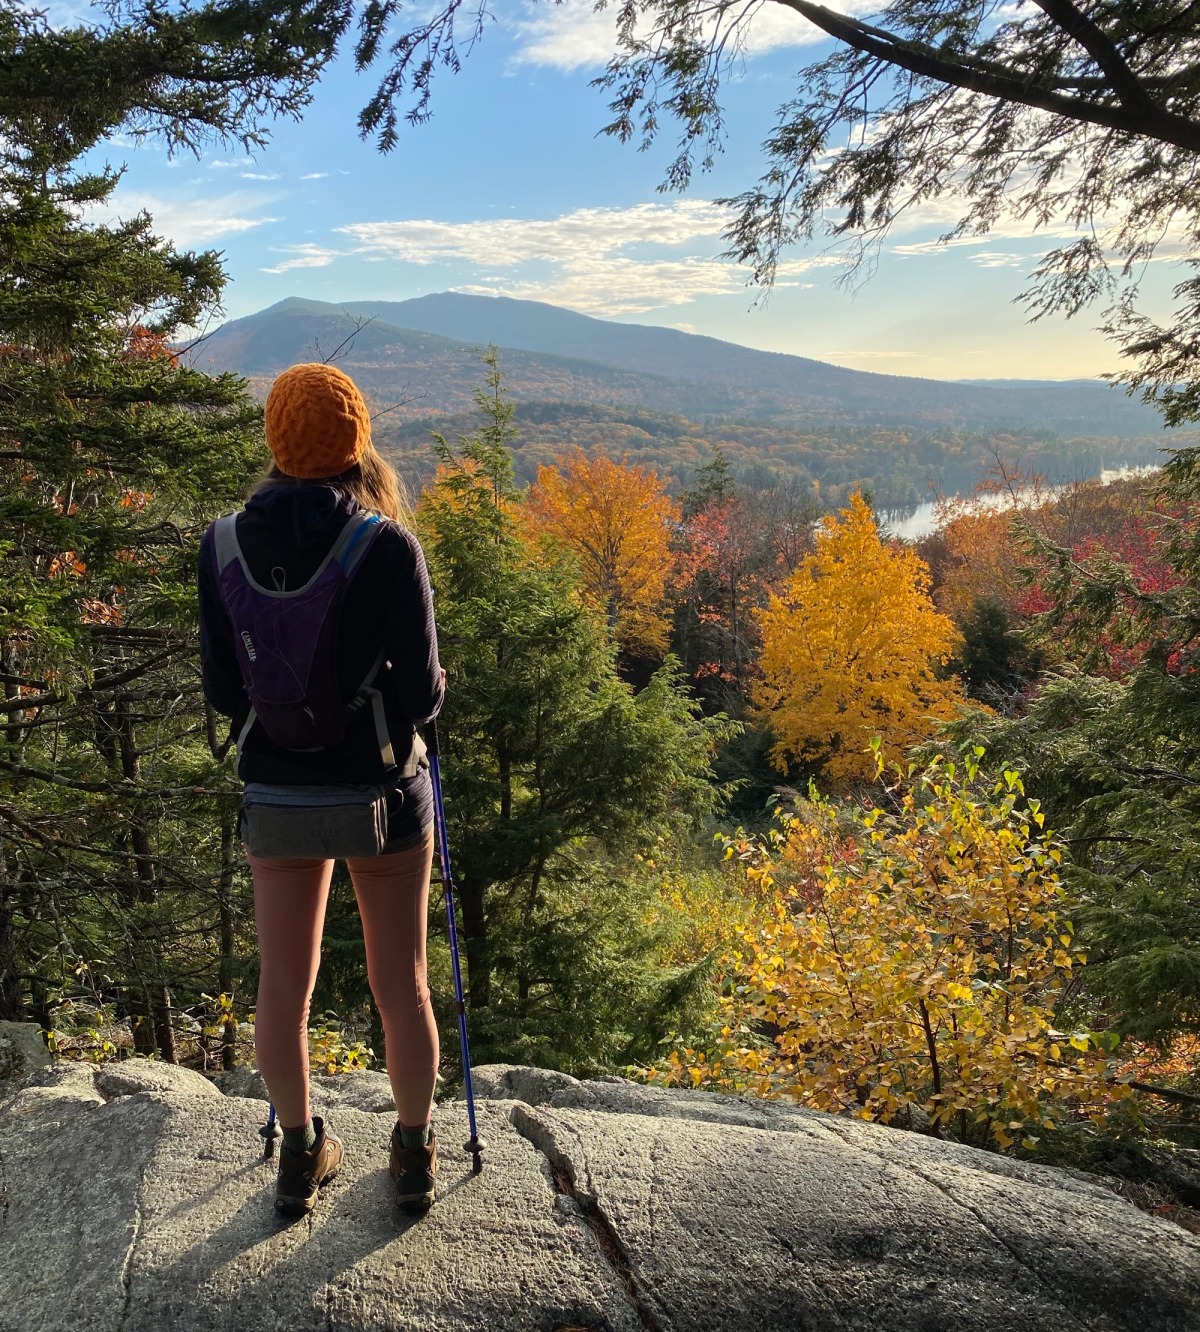
Hiking mountains wearing Habitat hat
Gifted this hat to my daughter who wore it on a New Hampshire hike in Fall!

My Last Remarks About Knitting “Habitat”

Loved the pattern and the yarn. Although this hat comes in “two sizes” there is not much difference between them. I may go up a needle size if I want to make a larger hat, but cables are stretchy.

I know from my experience knitting Jared Flood’s “Skiff” hat that I can do cables. This hat was similar, but was a quicker knit because there is no long brim.

Brooklyn Tweed patterns are full of information but sometimes it’s spread out on various pages. It is imperative that time is taken to read through the entire pattern carefully before beginning any project. I take a highlighter and mark all the important information as I read.

I used the sm/med size which makes the hat shorter only, and not by much. I knit it for my daughter, but for myself, I would knit the large size to make it a bit taller – only 4 more rows, so not a huge difference. I may do a rolled brim next time.

getting the shot newly knit cabled beanie
Getting the shot!

It’s fun to experiment with photography and as soon as I finish weaving in the ends (and sometimes before that!) I grab the iPhone and begin to get the shots that will be added to this blog and my Ravelry project page.

A New Skiff Beanie Gift Knit in Gray

My son’s blue Skiff beanie, pattern by Jarod Flood, has gotten a lot of attention this winter. Yes, we can wear hats in Florida in winter. My son was born and raised here so he is always cold when the temps drop below 60!

Some friend’s of his have seen his blue Skiff, which I knit a while ago, and have mentioned that they really liked it. When he accidentally wore it into work at the fire department, a friend said he would like a hand-knit hat. I said I would make him one.

Skiff hand knit beanie with cables
Skiff beanie in gray

Did I really want to knit another Skiff? Oh ya… this is a fun hat to knit. If you are interested, you should know that the pattern is in chart form. What I did, before ever knitting this pattern, was go through the whole graph and color code each cable area. I also made notes for the other stitches as some were very new to me. Every cable and stitch has an easy to understand description.

I use a wooden DPN for the cable needle, which holds the stitches nicely, and my circular needle is also wood. One of the cables needs 3 needles – over 5 stitches, but really I’ve found it to be so fun that I really enjoy the challenge of watching this extraordinary pattern emerge.

The Madeline Tosh Vintage yarn, in “Antique Moonstone” is some that I’ve had for a few years but it is perfect for this pattern. I love how the colors blend and make highlights, and the roundness of the yarn shows off the texture and cables.

Top of Skiff beanie with cables
Top of beanie

The Yarn

Mad Tosh is not cheap, but it is machine washable. I always wash by hand, and my brim on this gray Skiff is of a non-machine wash yarn by Quince & Company. So this hat needs to be hand-washed.

Madeline Tosh comes as 200 yards, and I had plenty leftover. Brooklyn Tweed Shelter comes in smaller size skeins at 140 yards and the pattern calls for 2 skeins for this beanie. You will spend about the same amount – a little more for the Mad Tosh, but will have more of the BT yarn leftover. Remember I used a contrast color for the brim.

Madeline Tosh leftover yarn
Mad Tosh yarn leftover from knitting this hat

I cast on using a size 3 circular needle and used the German Twisted cast-on. For the top of the beanie I used a size 7 needle. This hat is quite roomy for me, but is probably perfect for a guy. My son loves his.

Skiff cable beanie
Yarn color: Antique Moonstone

Jarod Flood is known for his patterns for men, but he also has beautiful and intricate patterns for women. And many of his patterns are unisex. What I have noticed is that he goes into great detail when describing how a pattern is knit. I will be knitting his Cobblestone Cardigan soon to wear on my trip to New Hampshire!