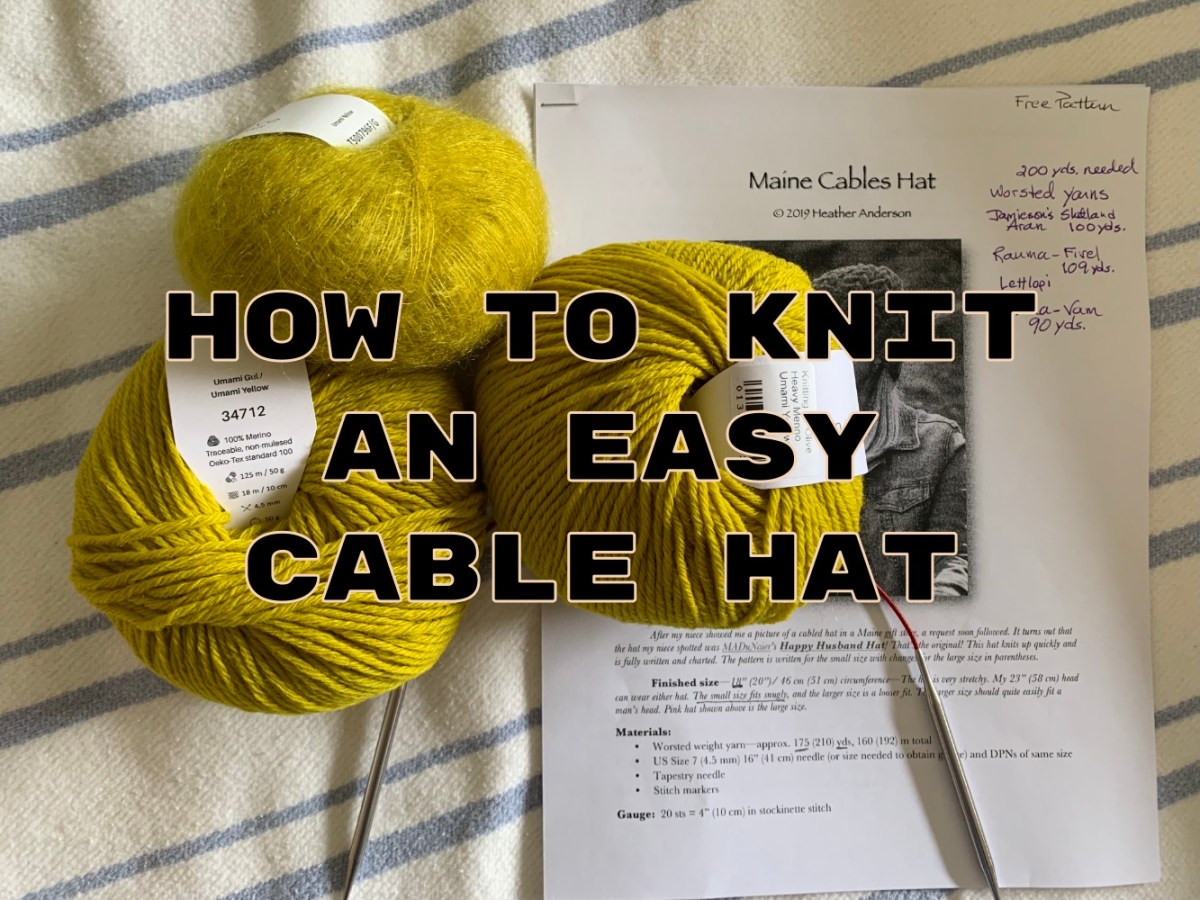
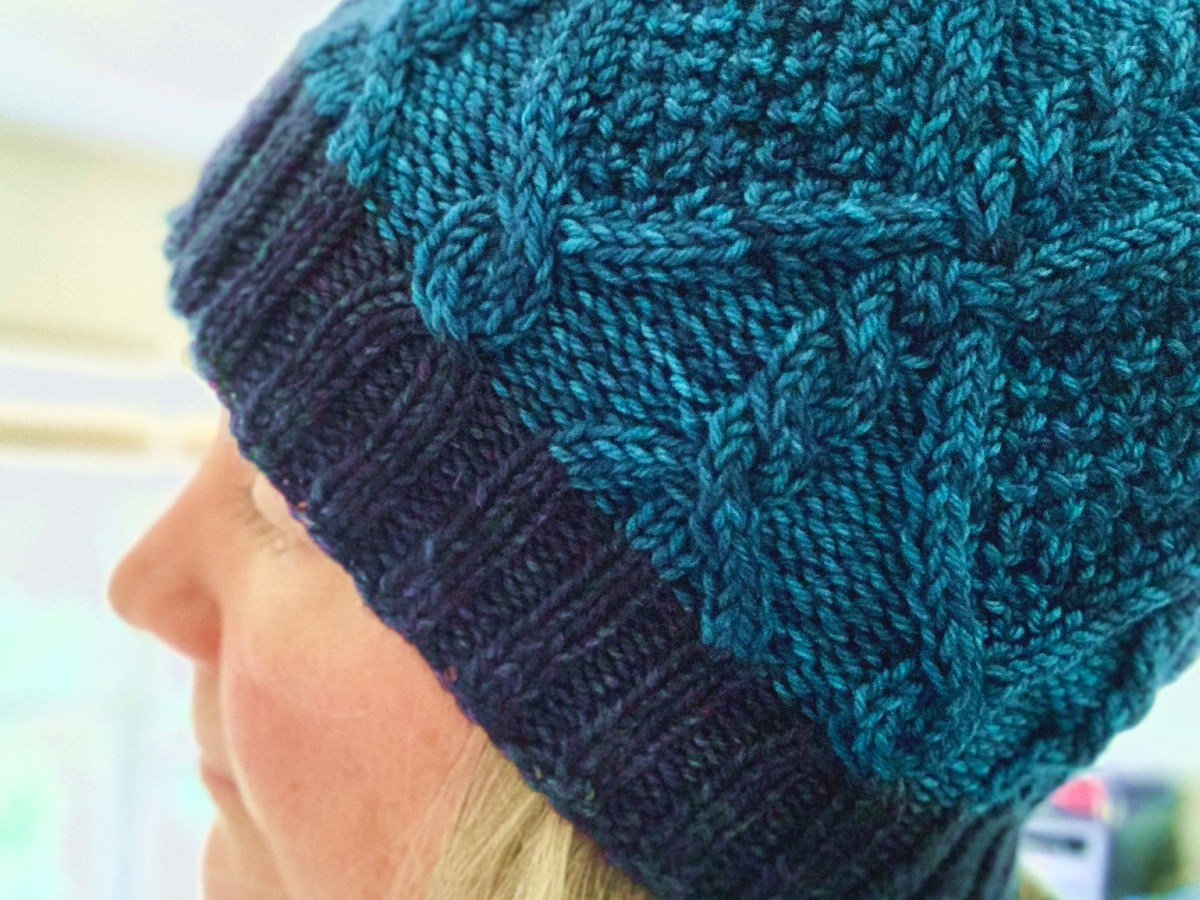
Would you like to knit along with me as I knit this easy cable hat? The pattern is free – yay! I’m knitting this hat for my trip to New England this Fall. This page will explain what is needed to accomplish the project. Part 2 will begin with a cast-on and knitting the ribbing.
A Hat Pattern for Experienced Beginner
If you can knit and purl, and if you like knitting hats, grab some nice yarn and let’s knit this beautiful beanie. I’ll list some videos that can help with everything from the cast-on to the switch to DPN’s or Magic Loop knitting for the decreases at the top.
Even if you’ve never knit a hat, if you have some experience in knitting, it might be the perfect time to branch out. Cables are not difficult to create, but you do need a smaller cable needle (link below) to hold the stitches. *If you don’t want to buy a cable needle, a DPN would also work. Wood is best so the stitches don’t slip.
This pattern is not suggested for a true beginner. You should have some knitting experience to make this project fun. *The pattern is written out and it includes a chart.
Ravelry knitters (219 at the time I’m writing this) have rated this pattern as quite easy to knit, and 4.9 of 5 rating for clarity. Overall, knitters loved this pattern and lots of them were first time cable makers!
Tools Needed to Knit This Hat
Here is a list of necessities for knitting this cable hat pattern. Also included are other things you may probably have.
Some links below will go to Amazon where you can find the item suggested. These links are affiliate links where I could make a small commission, at no cost to you, and are listed as (paid links).
- The pattern, by Heather Anderson – Maine Cables Hat – download for free at Ravelry
- Yarn – Worsted weight yarn, 175 – 210 yards (per pattern and size chosen) *If you choose to make a longer folded brim, I’m guessing you will need more yarn. The pattern doesn’t say, but the double brim in the pattern is only 3 inches. I’m making mine 4 inches.
- Needles – circular 16″ in size 7 (paid link to ChiaoGoo brand) and also double-pointed needles (paid link)in same size. (For magic loop, you will need a longer circular – 32 inches at least- in the same size.)
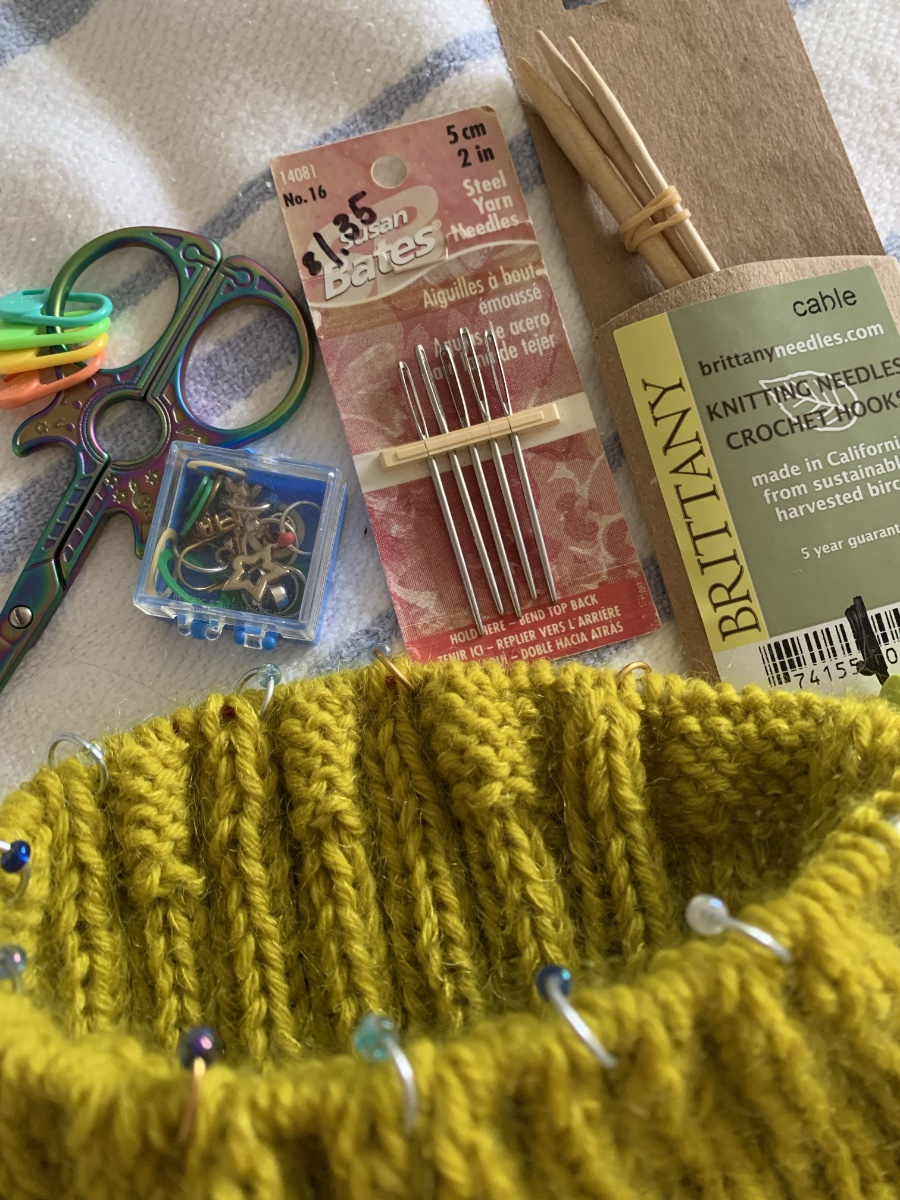
- Cable needles – if you don’t have any I suggest the Brittany wood cable needles. (paid link) OR, if you have them, use a size 7 DPN (wood preferred).
- Stitch markers – A special / different one for BOR (beginning of round) and 10 – 11 more to mark the cables. Clover 32 piece (paid link) larger size markers.
- Stitch stoppers / point protectors – to keep work on the needles in the knitting project bag. There are many types, but something like this will work.
- Embroidery needle to weave in the ends. (8 piece, large eye with wood case) – paid link.
- Scissors
Getting Started
Once you have your yarn and needles and other necessities, read through your Maine Cables Hat pattern. Decide which size, Small or Large, (18 or 20 inches finished size) you will knit.
The pattern designer mentions that the smaller size hat “fits snugly” on her head, and the larger size is looser. The large size would work well for a man. She also says that the overall finished hat is very stretchy.
(The pattern does mention a gauge of 20 stitches to 4 inches in stockinette. I never knit a gauge for a hat, but the info is there is you like.)
*Keep in mind that the ribbing cast-on will be fewer stitches than the cable stitch total for the top of the hat. After the ribbing is done, increases will be made to bring the stitch count up to 121, or 132 total.
A fewer stitch count for the ribbing will make it a bit tighter, which I like. I hate when my finished hat fits too loosely! Cable stitches also pull inward to tighten the fabric, so more stitches are needed to account for that.
New Stitches to Know
The cable stitches will be the only stitches you may not be familiar with. Most other abbreviations should be familiar. They are all listed at the end of the pattern.
After the ribbing, increases will be made. This will be a backward loop increase, which is simple to accomplish. Purl two together (p2tog) is made just like a normal purl except purling two stitches at the same time. This decreases one stitch.
The cables are explained in the pattern, but in general this is what they mean: 3/3RC and 3/3LC are the cable stitches. 3/3RC means the next 3 stitches will be slipped to the cable needle and held in back while the next three stitches are knit. Then, knit the 3 stitches off the cable needle.
3/3LC means three stitches will be held in front, but done the same way.
My Choices For Size, Yarn, and Needles
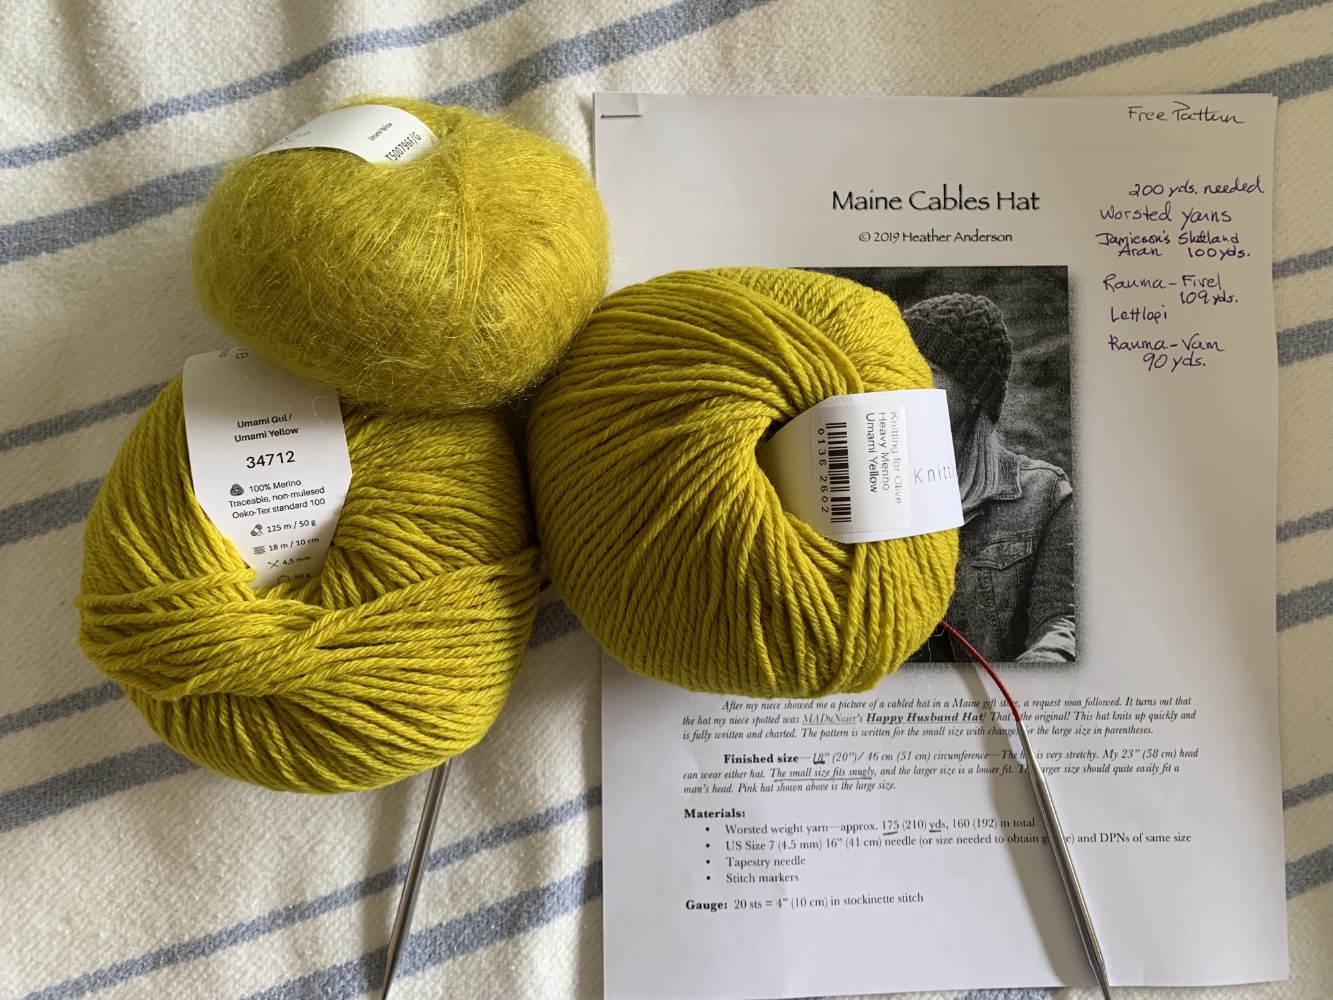
I chose Knitting for Olive heavy merino yarn. I bought two balls to equal 274 yards and am combining it with one ball of Knitting for Olive mohair (246 yds.) I should have plenty of yarn, even with a longer rib.
For my hat, I am holding two yarns together. Both are from Knitting for Olive and both are color Umami Yellow. One is a heavy merino wool and the other is mohair. Because I’m using two yarns together, I went up a needle size to an 8US. I will be knitting the smaller size hat.
More to come on the tutorial for knitting the Maine Cables Hat. Get your tools ready and follow along and knit yourself a beautiful new hat for this winter!
More about the hats I’ve knit.



Share this:


