When knitting with wool and changing colors or adding a new skein, use the spit splice join to make things simpler and have fewer ends to weave in.
Only recently have I begun to spit splice yarn. When I discovered how easy it is to do, I became hooked.
Wool is a great fiber to use for knitting. In my opinion, sweaters need to be made of wool. A sweater is made to be worn for warmth and wool is the perfect choice.
To the best of my knowledge, spit-splicing only works when knitting with wool. If the yarn is a wool combination, I am not sure. Wool is a sticky fiber and water (spit) will help hold the strands together. Also the brisk rubbing of the wet wool connects the fibers.
Wool Yarn Only
This is exactly why wool garments need to be hand-washed. The combination of water and friction changes the fiber. It will totally ruin a wool garment if it goes into the washing machine and / or dryer. It is also why felting wool works, which shrinks an item on purpose.
Warm-Up Sweater pattern
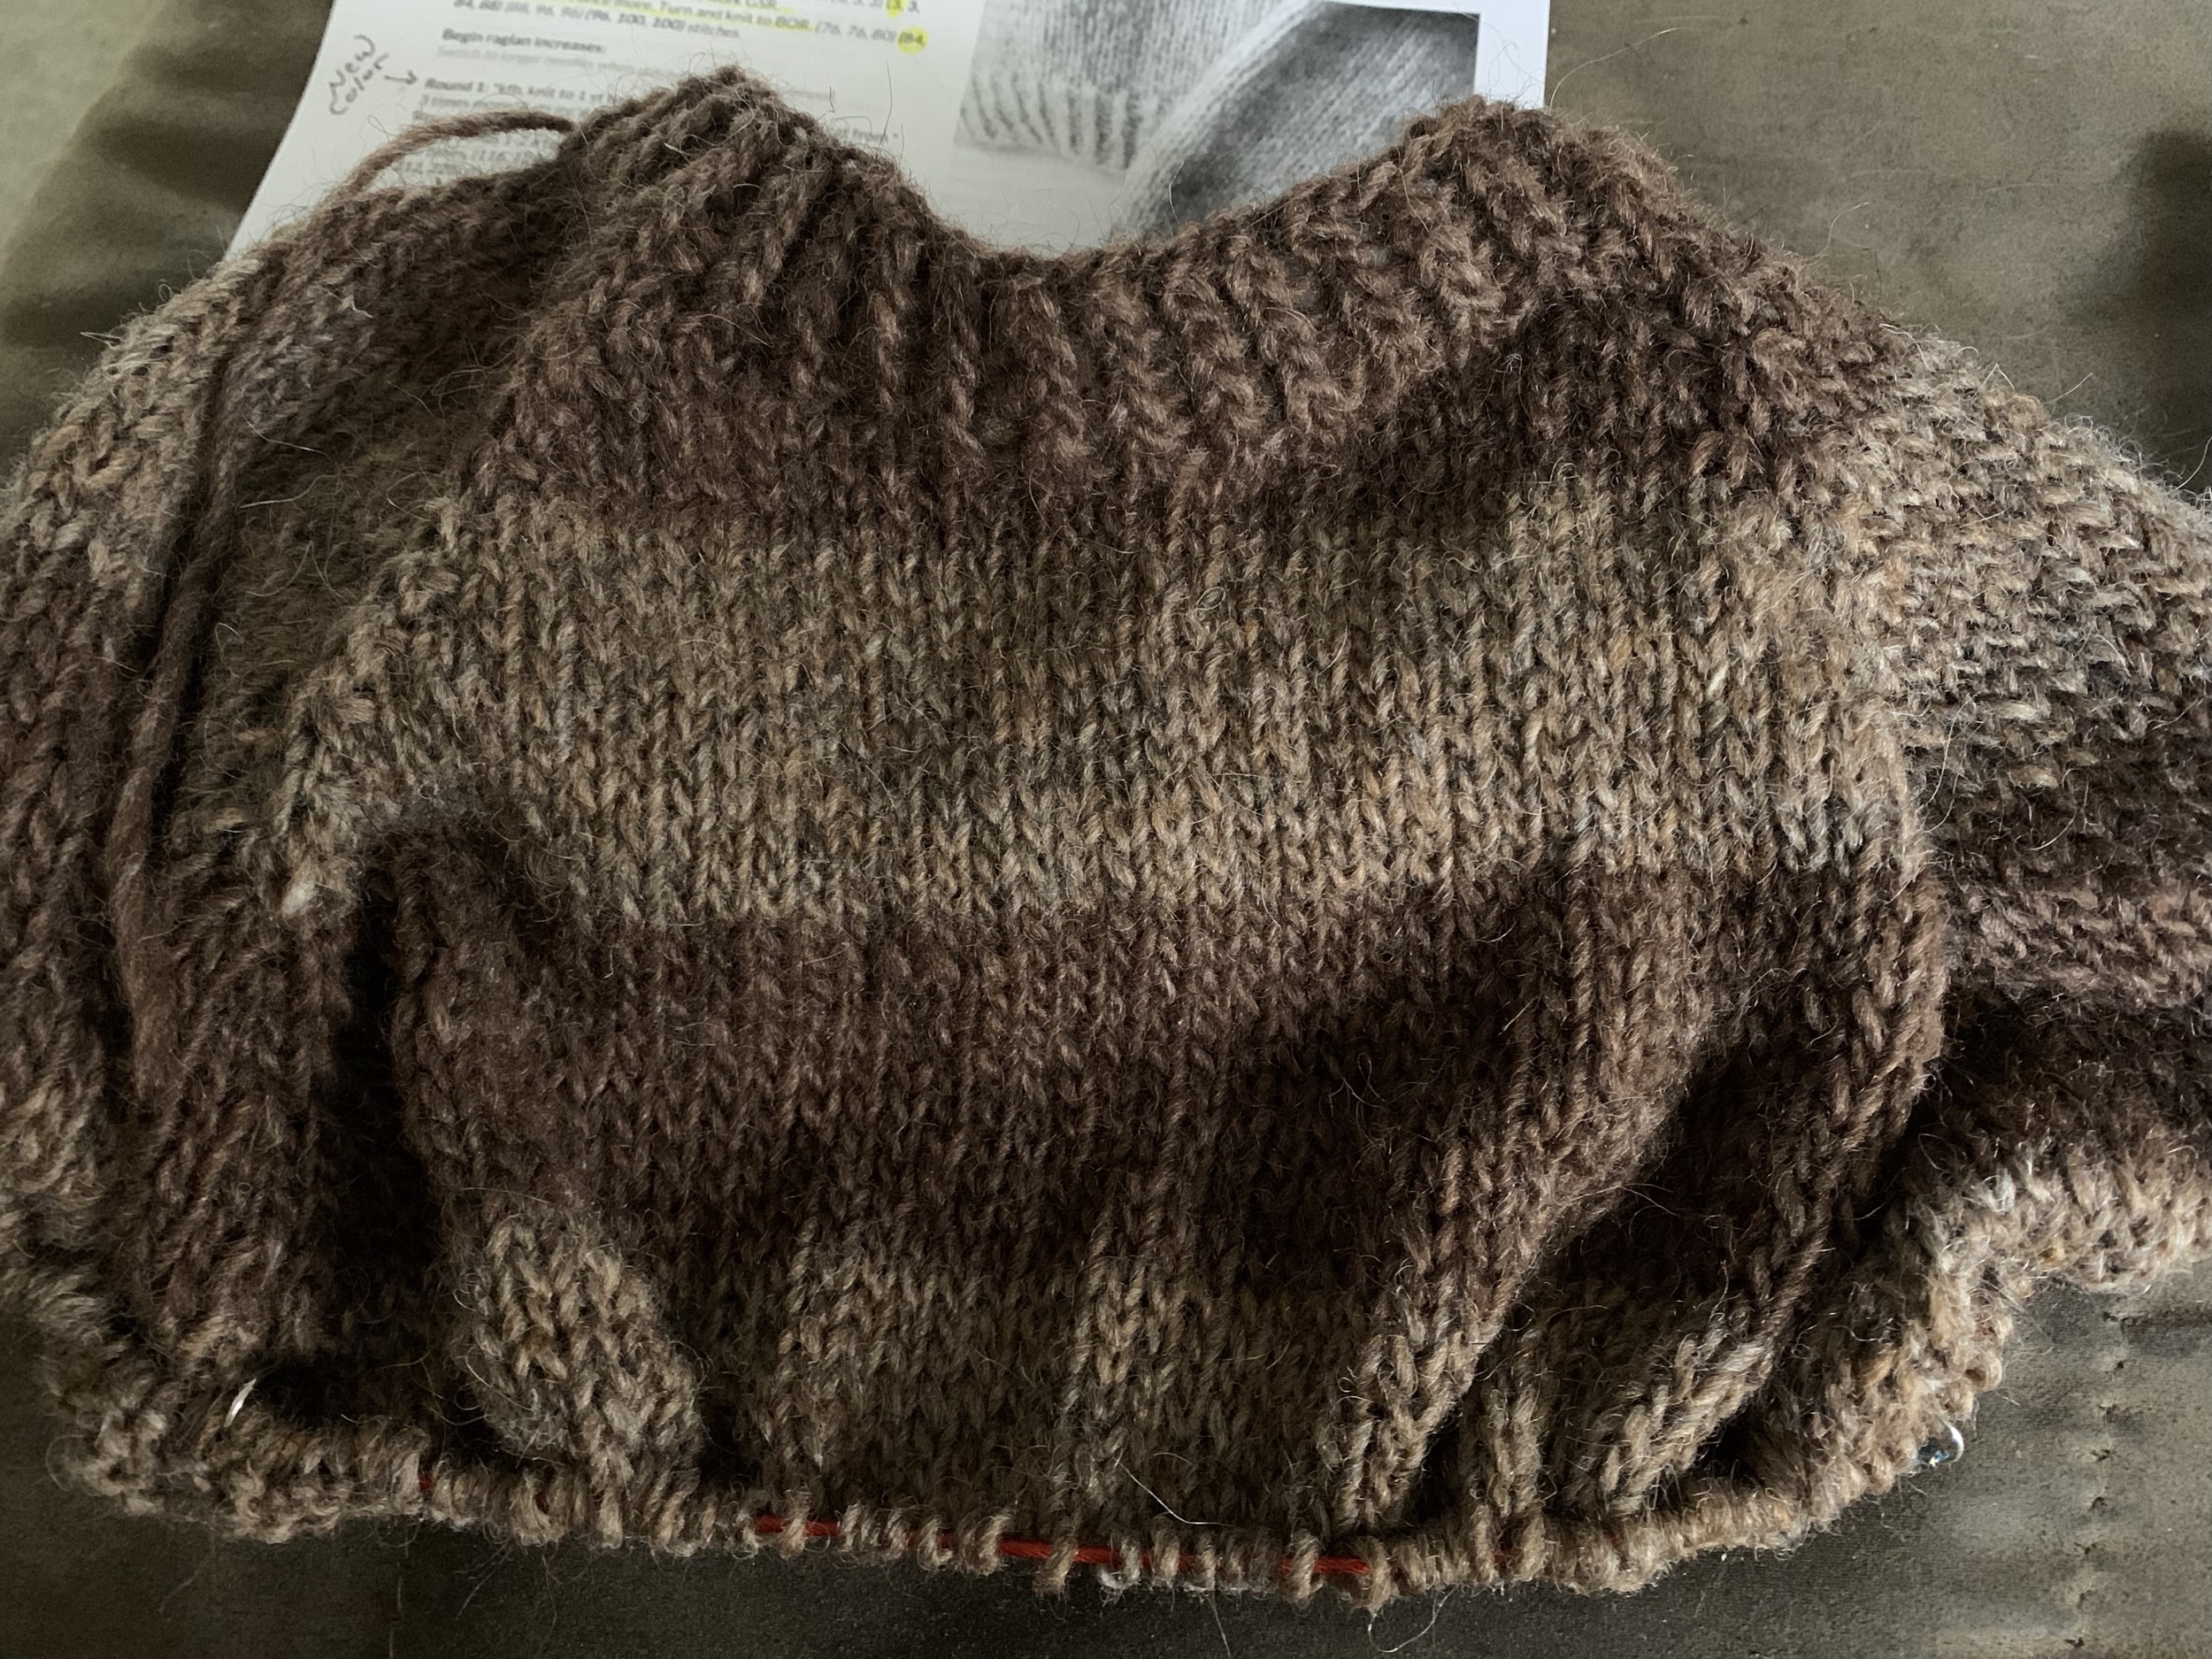
I am knitting a pattern called the Warm-Up Sweater by Espace Tricot (see pattern link at bottom of page). It is a simple raglan, top-down knit. I chose it to use up some of my Lettlopi wool. For some reason I have a lot of brown yarn. Then, I decided to combine the browns to make wide stripes for a less boring knit. (Lettlopi colors used are Murky and Acorn Heather.)
Spit-splicing is perfect for this type of patterning of colors.
How to Do the Spit Splice Join – With Photos
To do the spit splice, I change the colors by cutting the end of the yarn I have been using, as normally would be done. In this case it’s the lighter brown.
Instead of adding that new, darker brown color to my needle, I will combine the two colors of yarn together to form one strand. This will gradually bring in the new color and leave no ends to weave in – which is the best part!
Warm-up SweaterTwo brown wool yarns
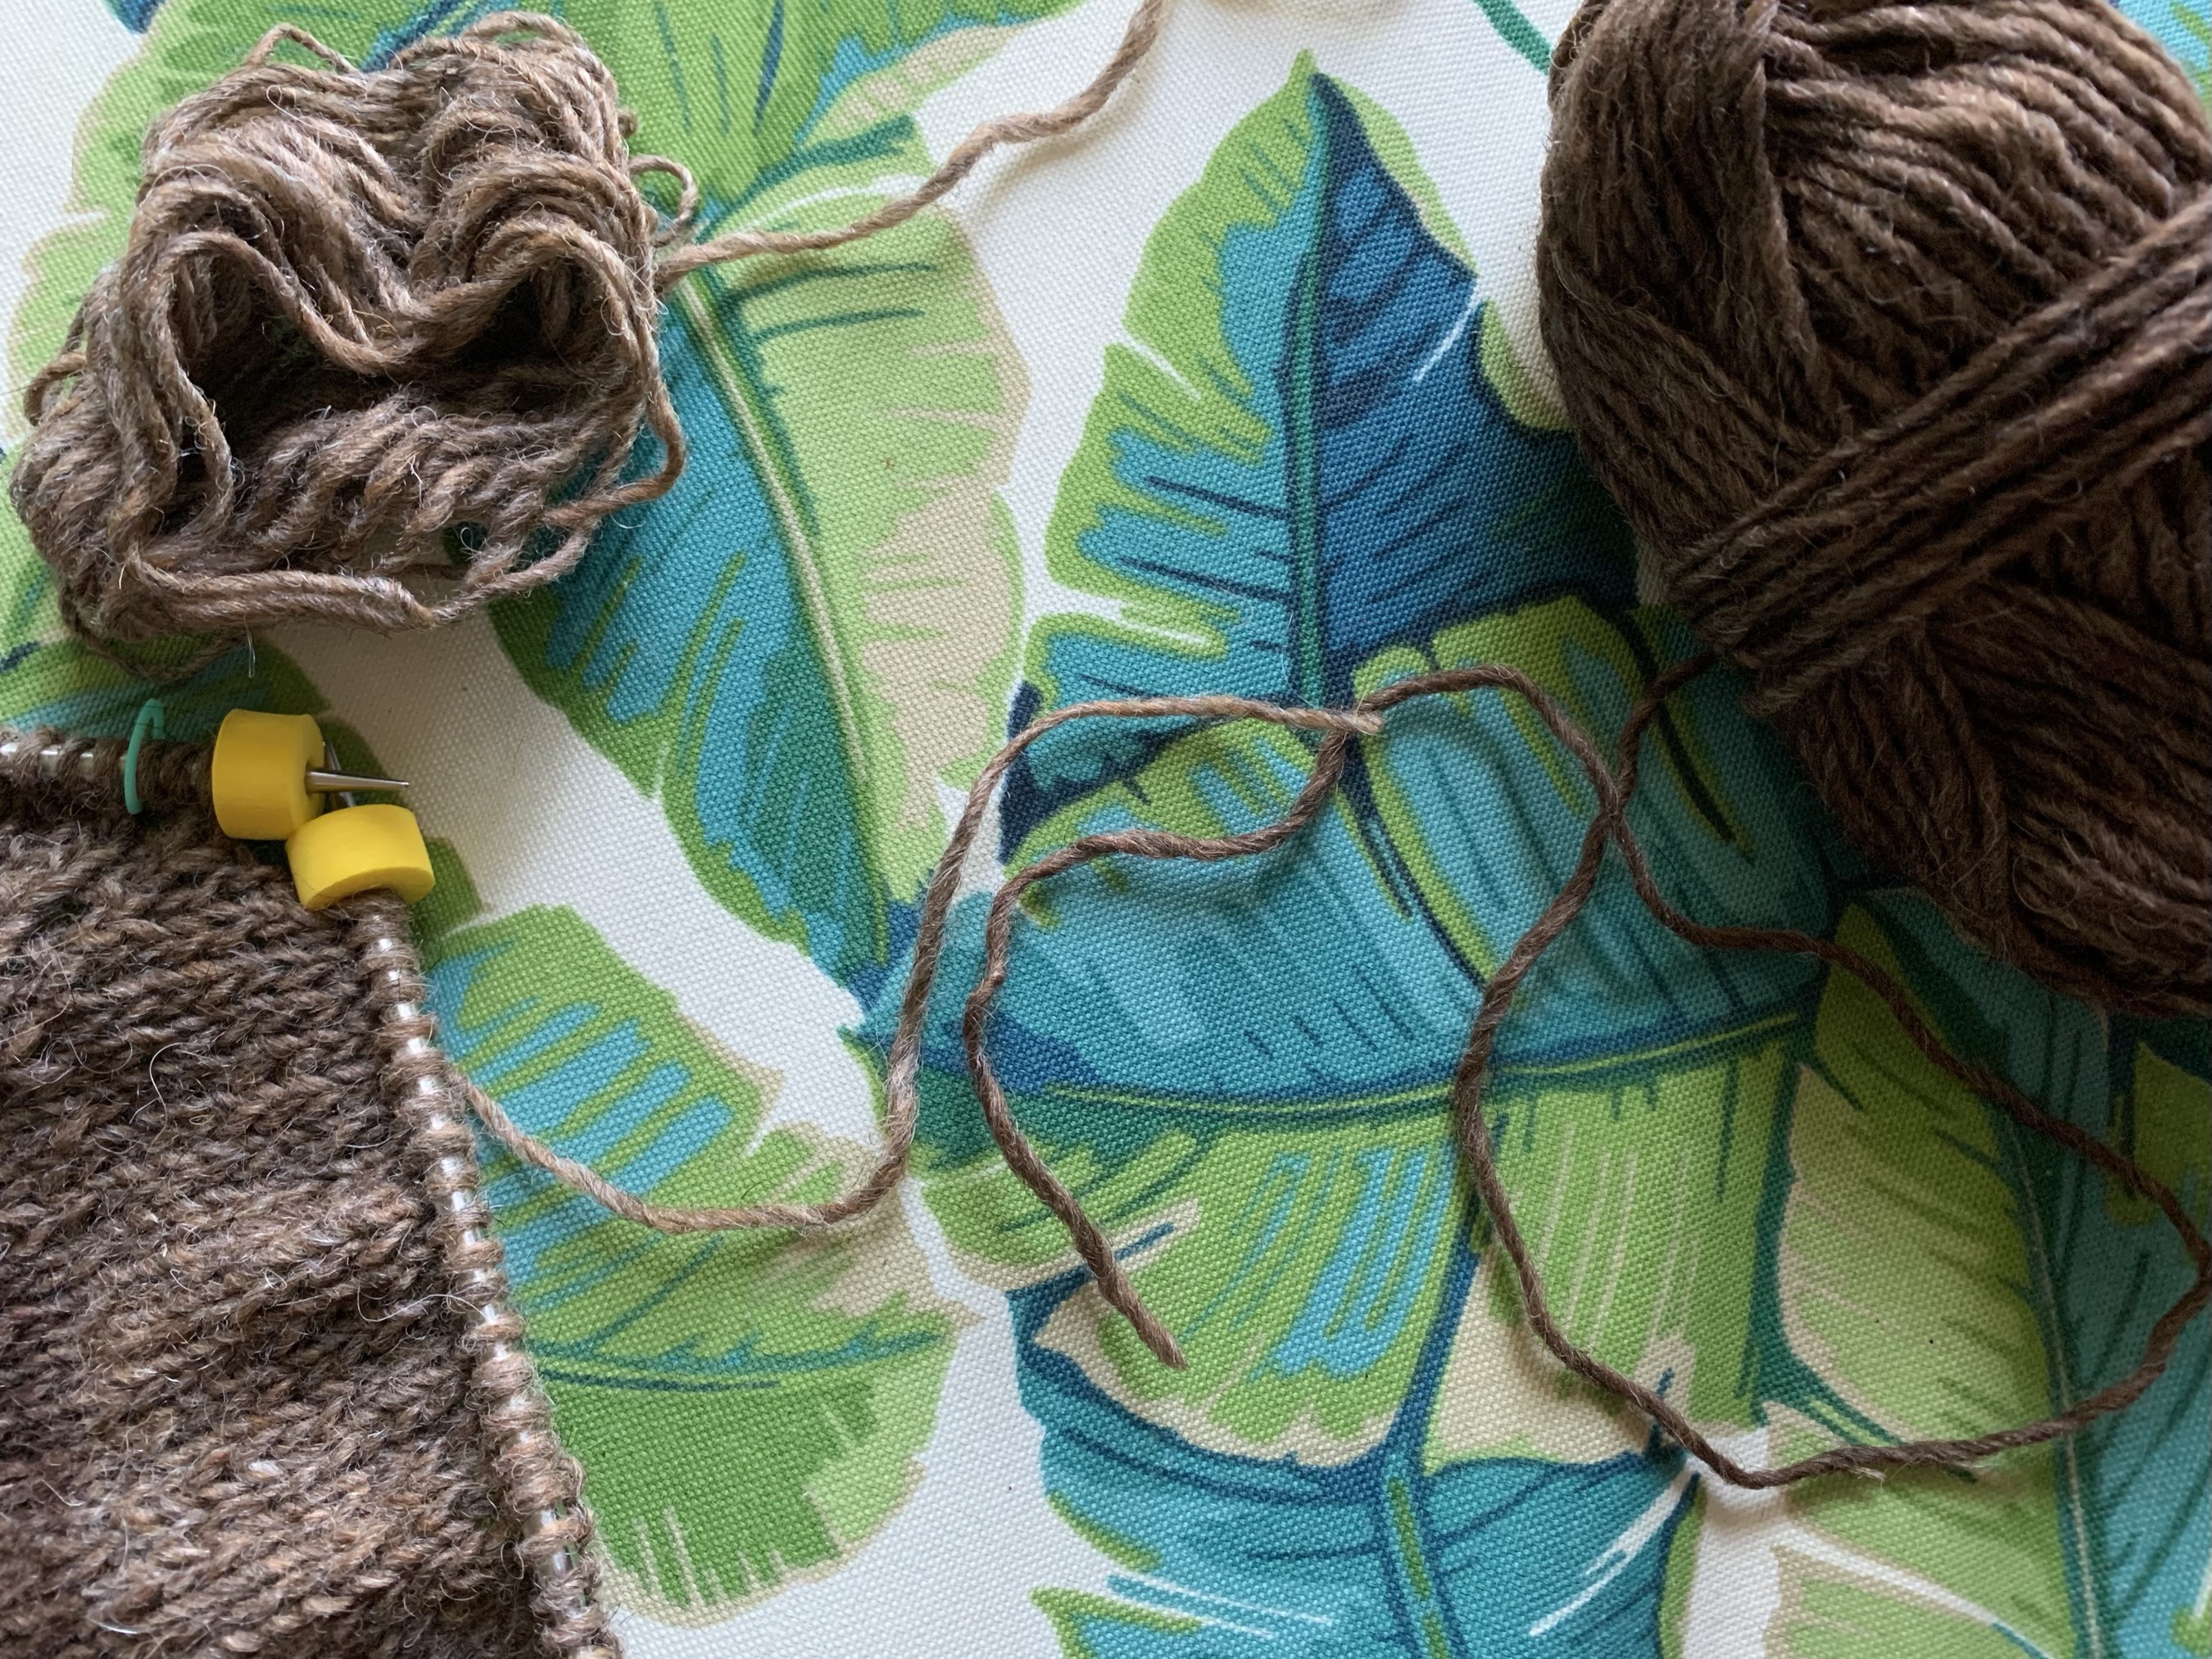
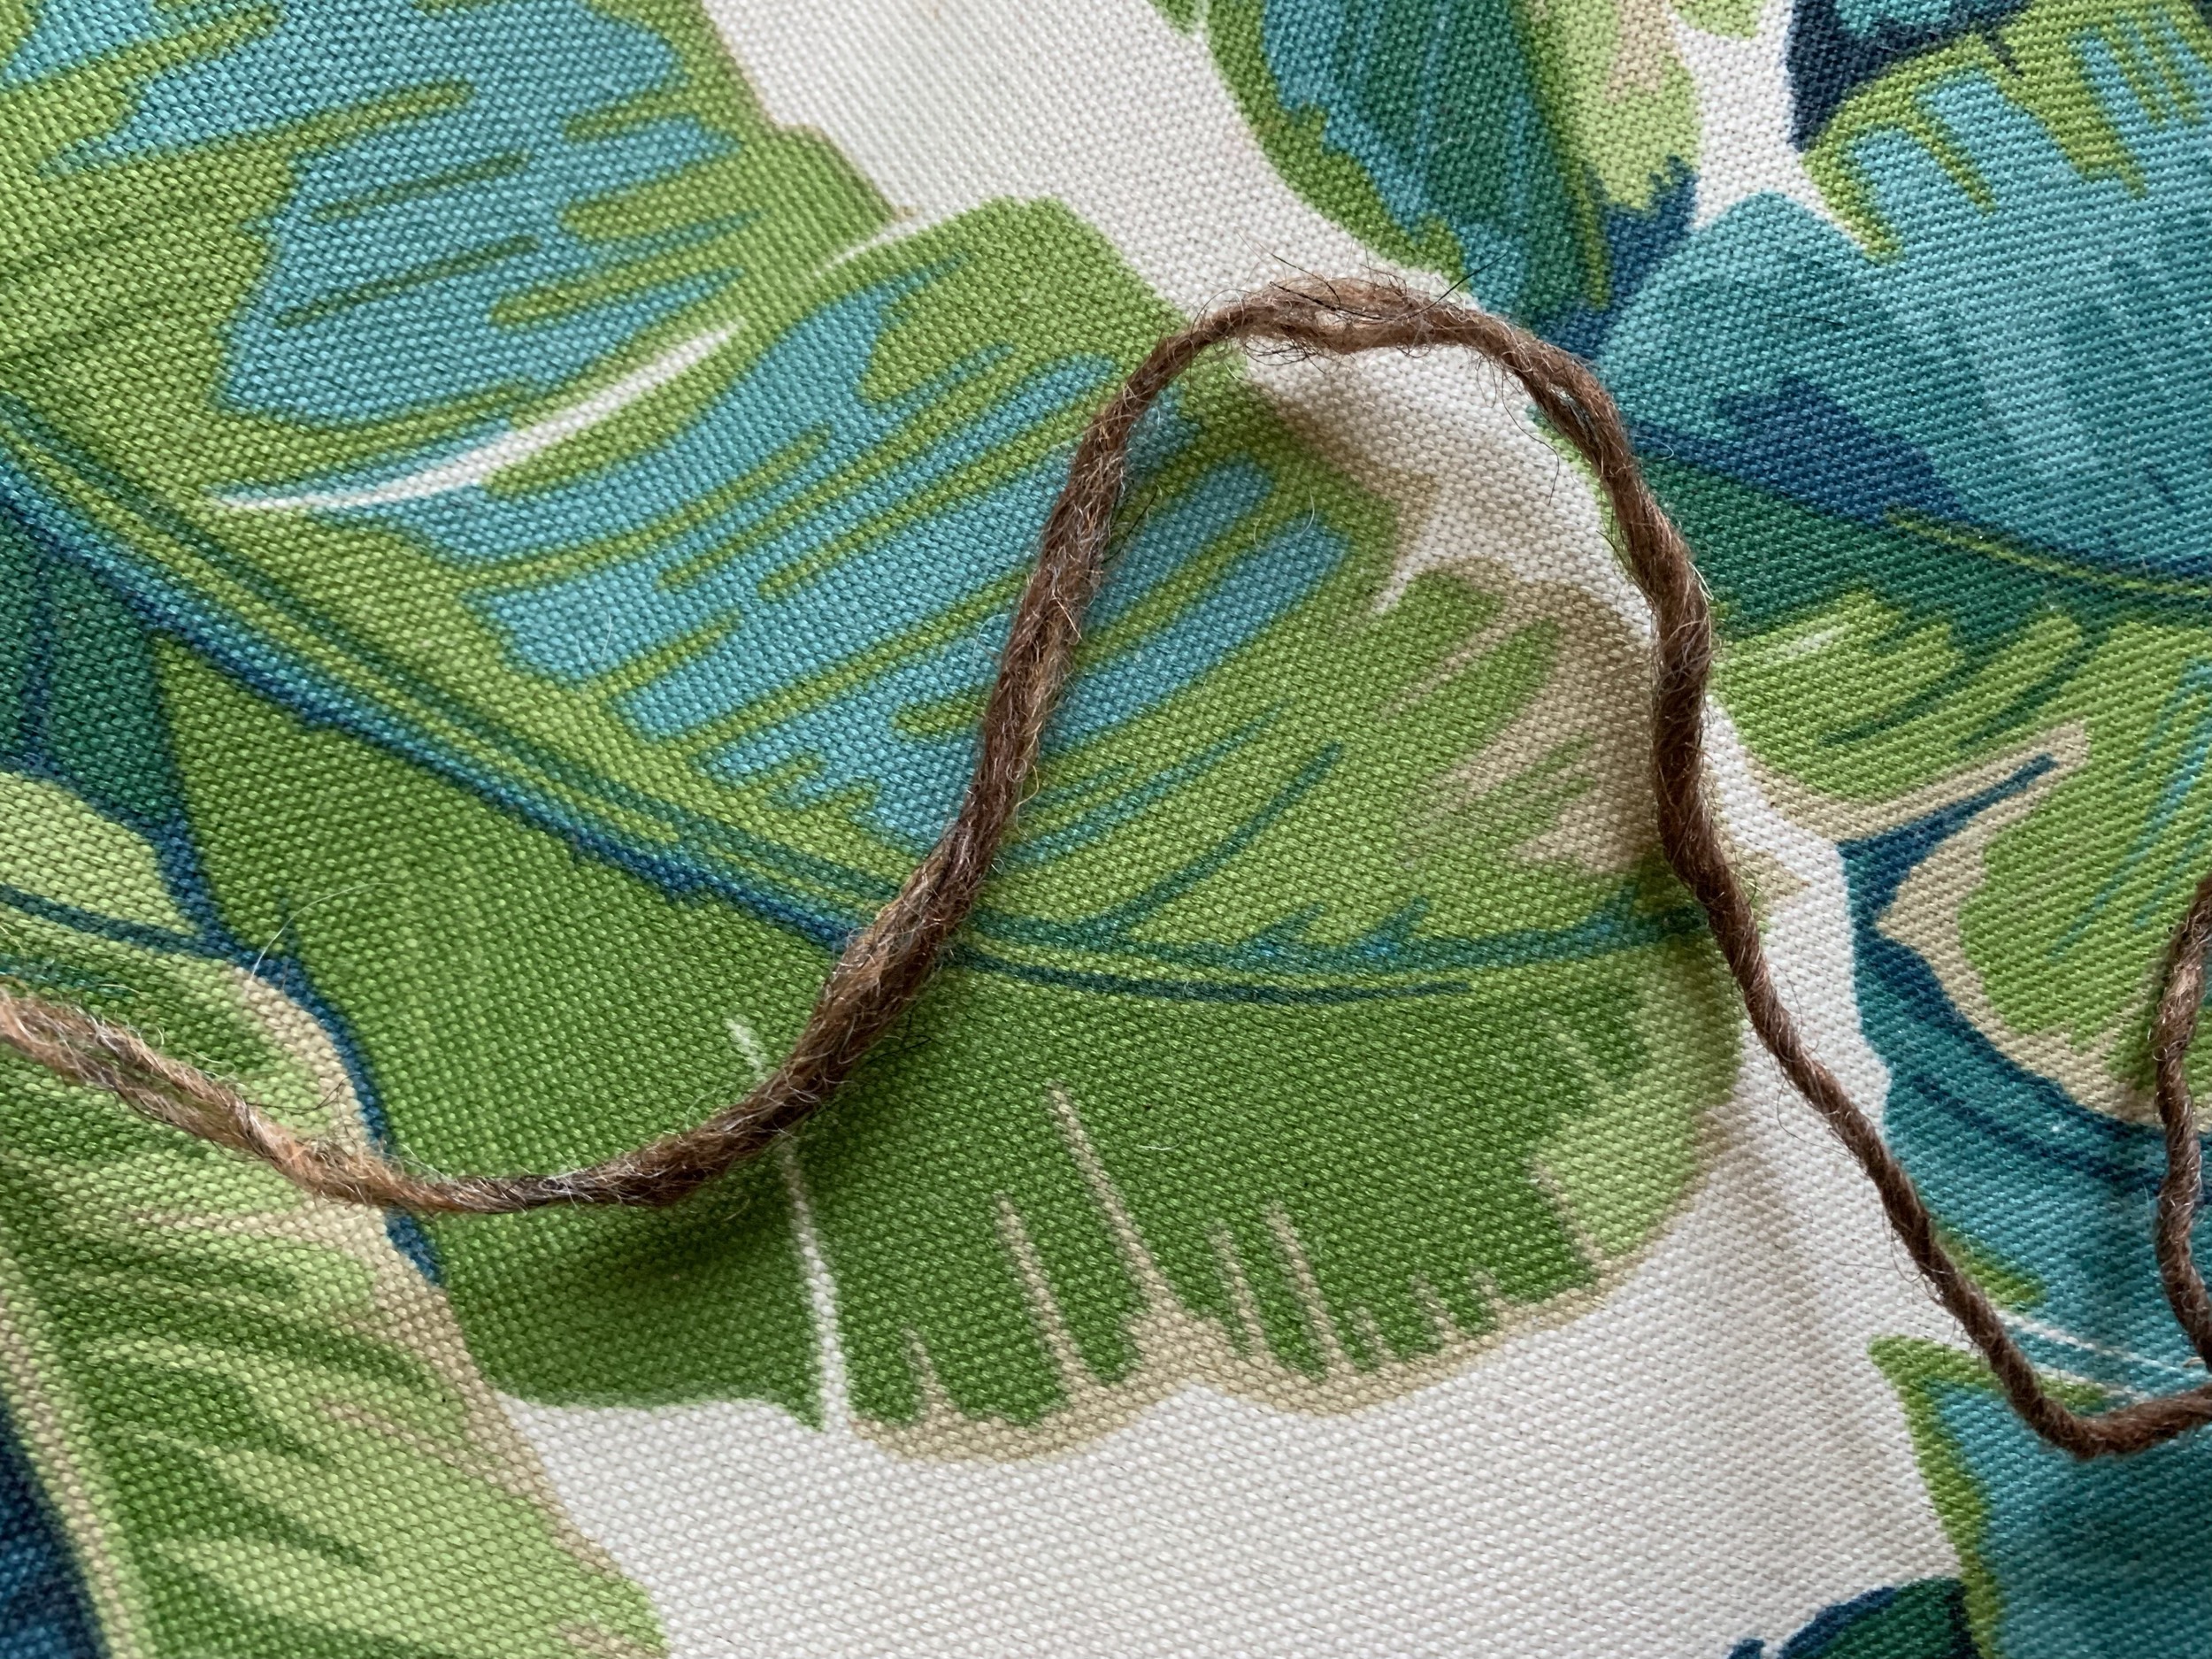
With the Lettlopi yarn, I can easily separate each end into two strands. They pull apart and unravel nicely.
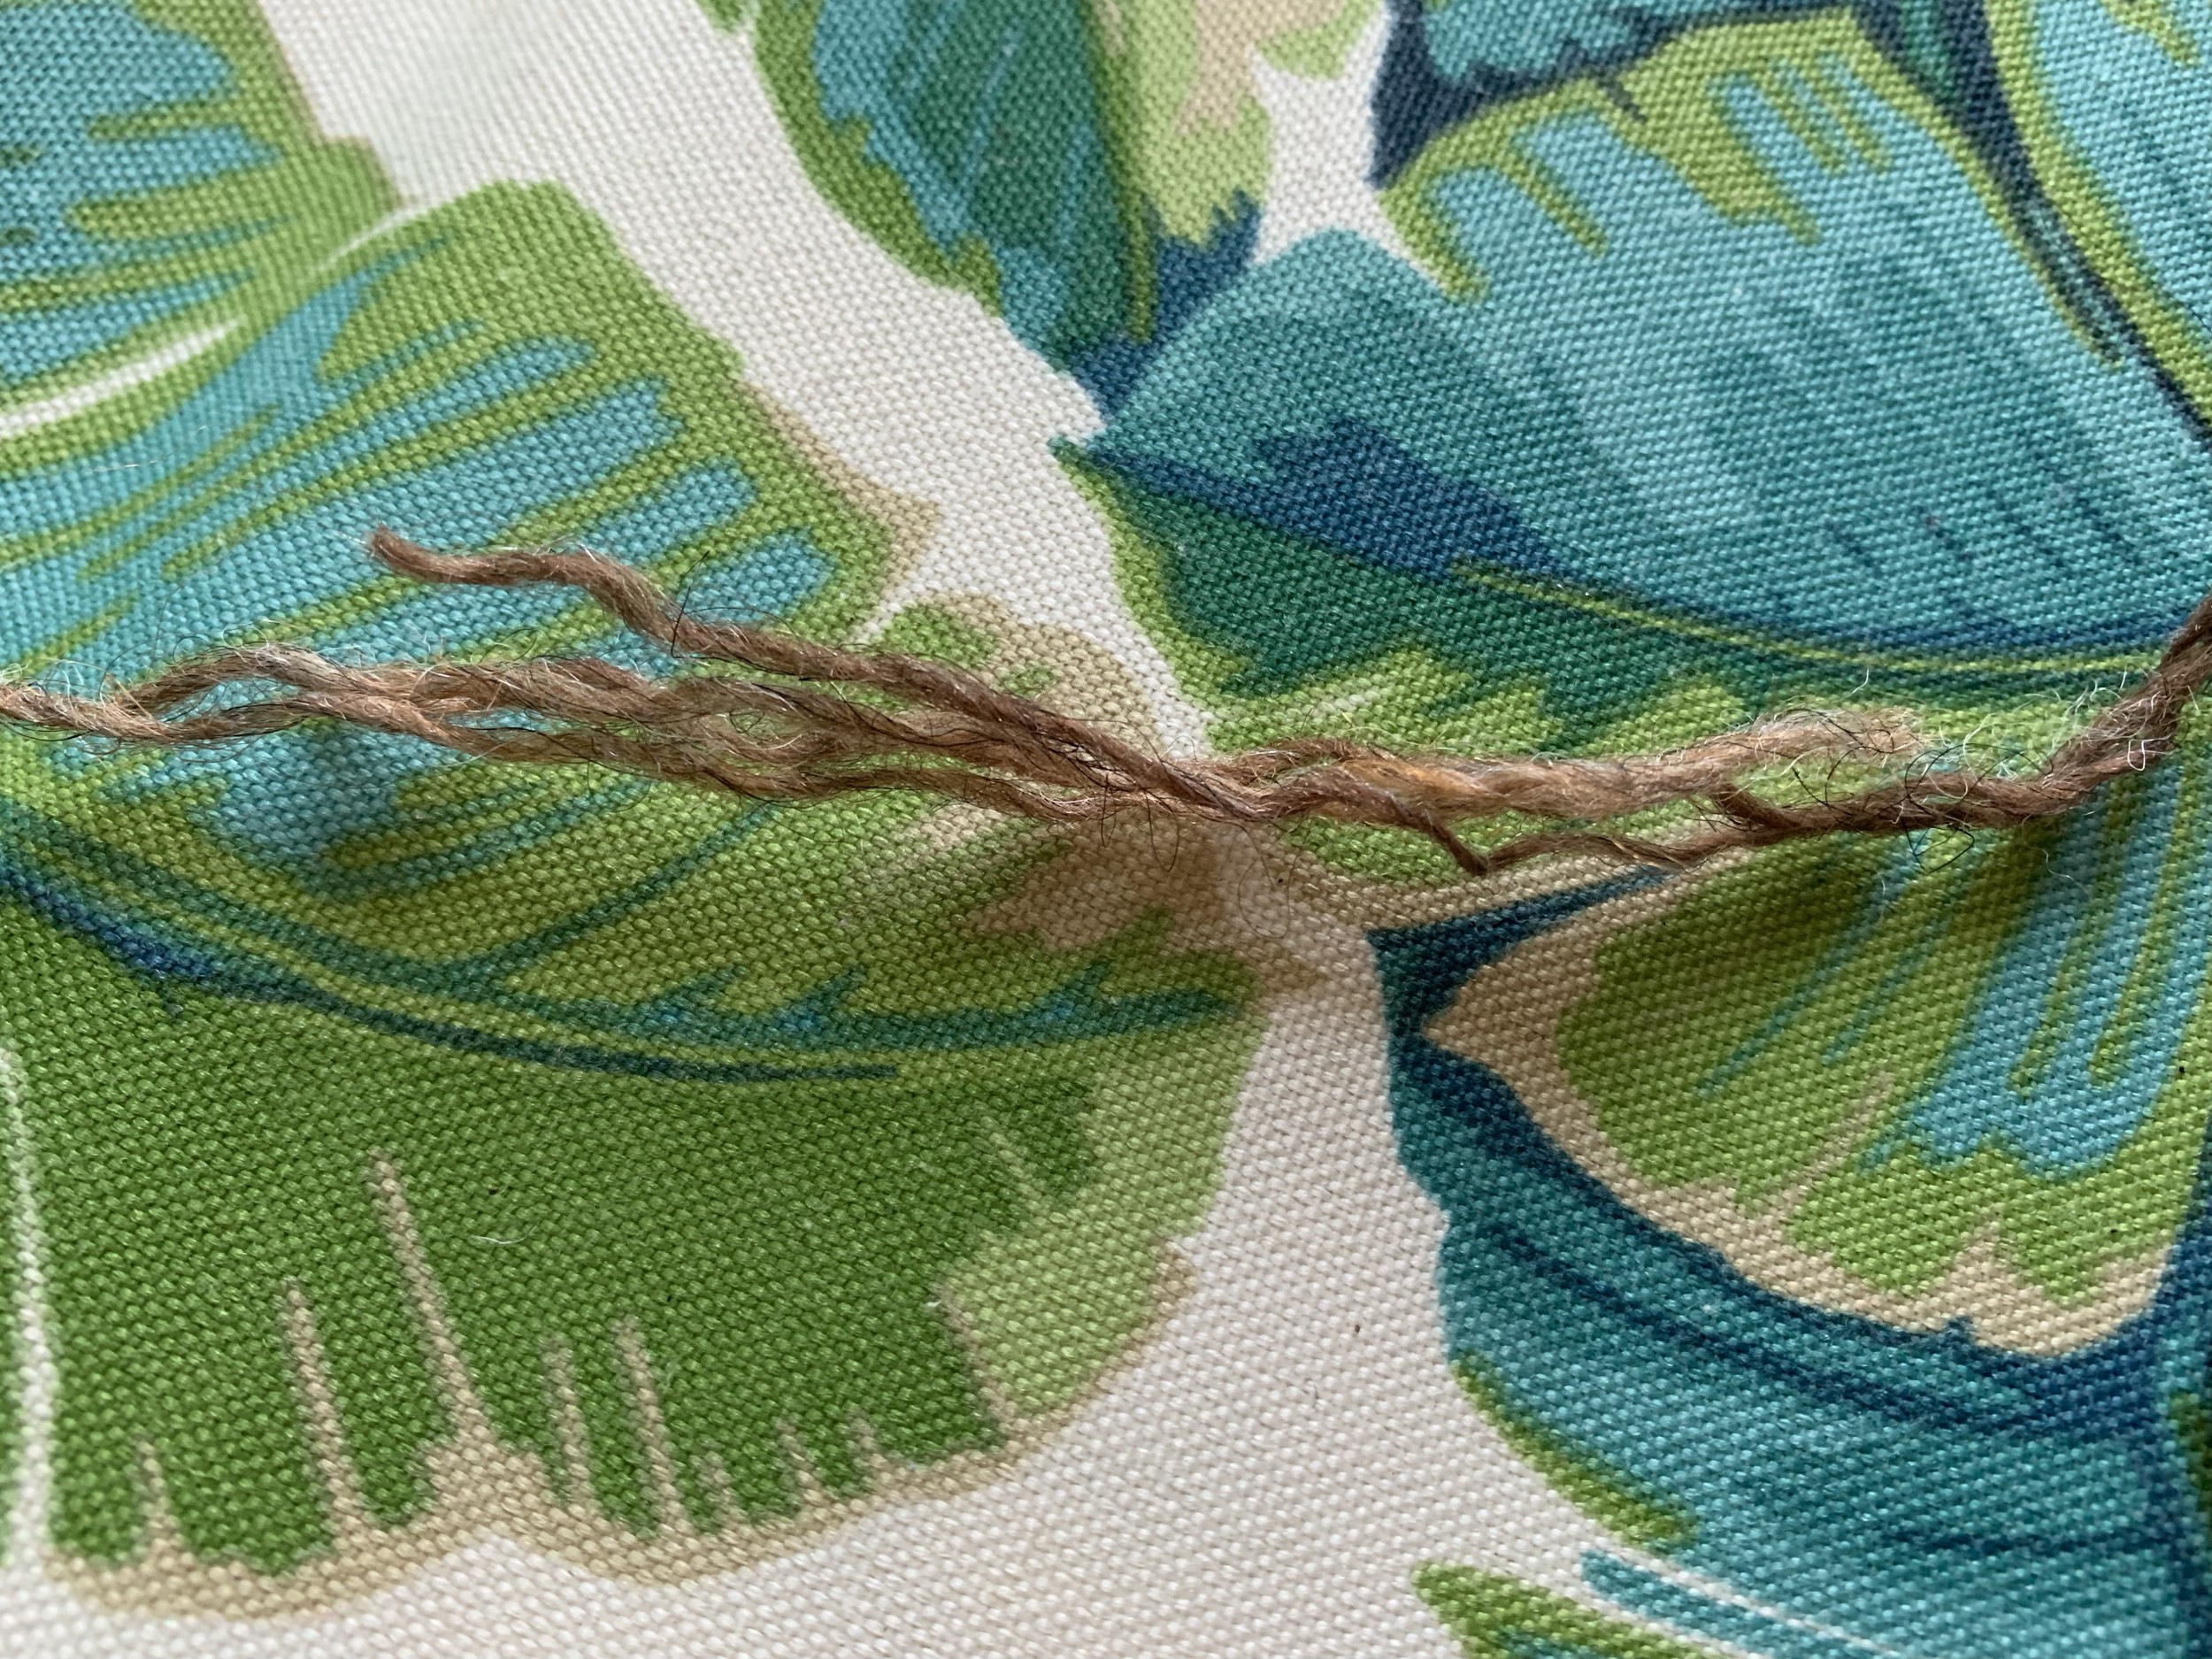
Lay the ends together to overlap a bit and twist together.
Spit on that entire entwined section of wool to make it nice and wet. (Someone somewhere said spit works better than water – and quicker too.)
Once the yarn is wet, rub the section briskly between the palms of your hand. I usually have to rub a few times to fill in any loose holes. Do a little tug to be sure the yarns have stuck and do not pull apart.
Unravel each strandCombine and twist together
Once the two strands are stuck together, I have a section of yarn that is made up of both colors. Part of that section is a bit thick, but the yarn is thick and thin on its own, so this works.
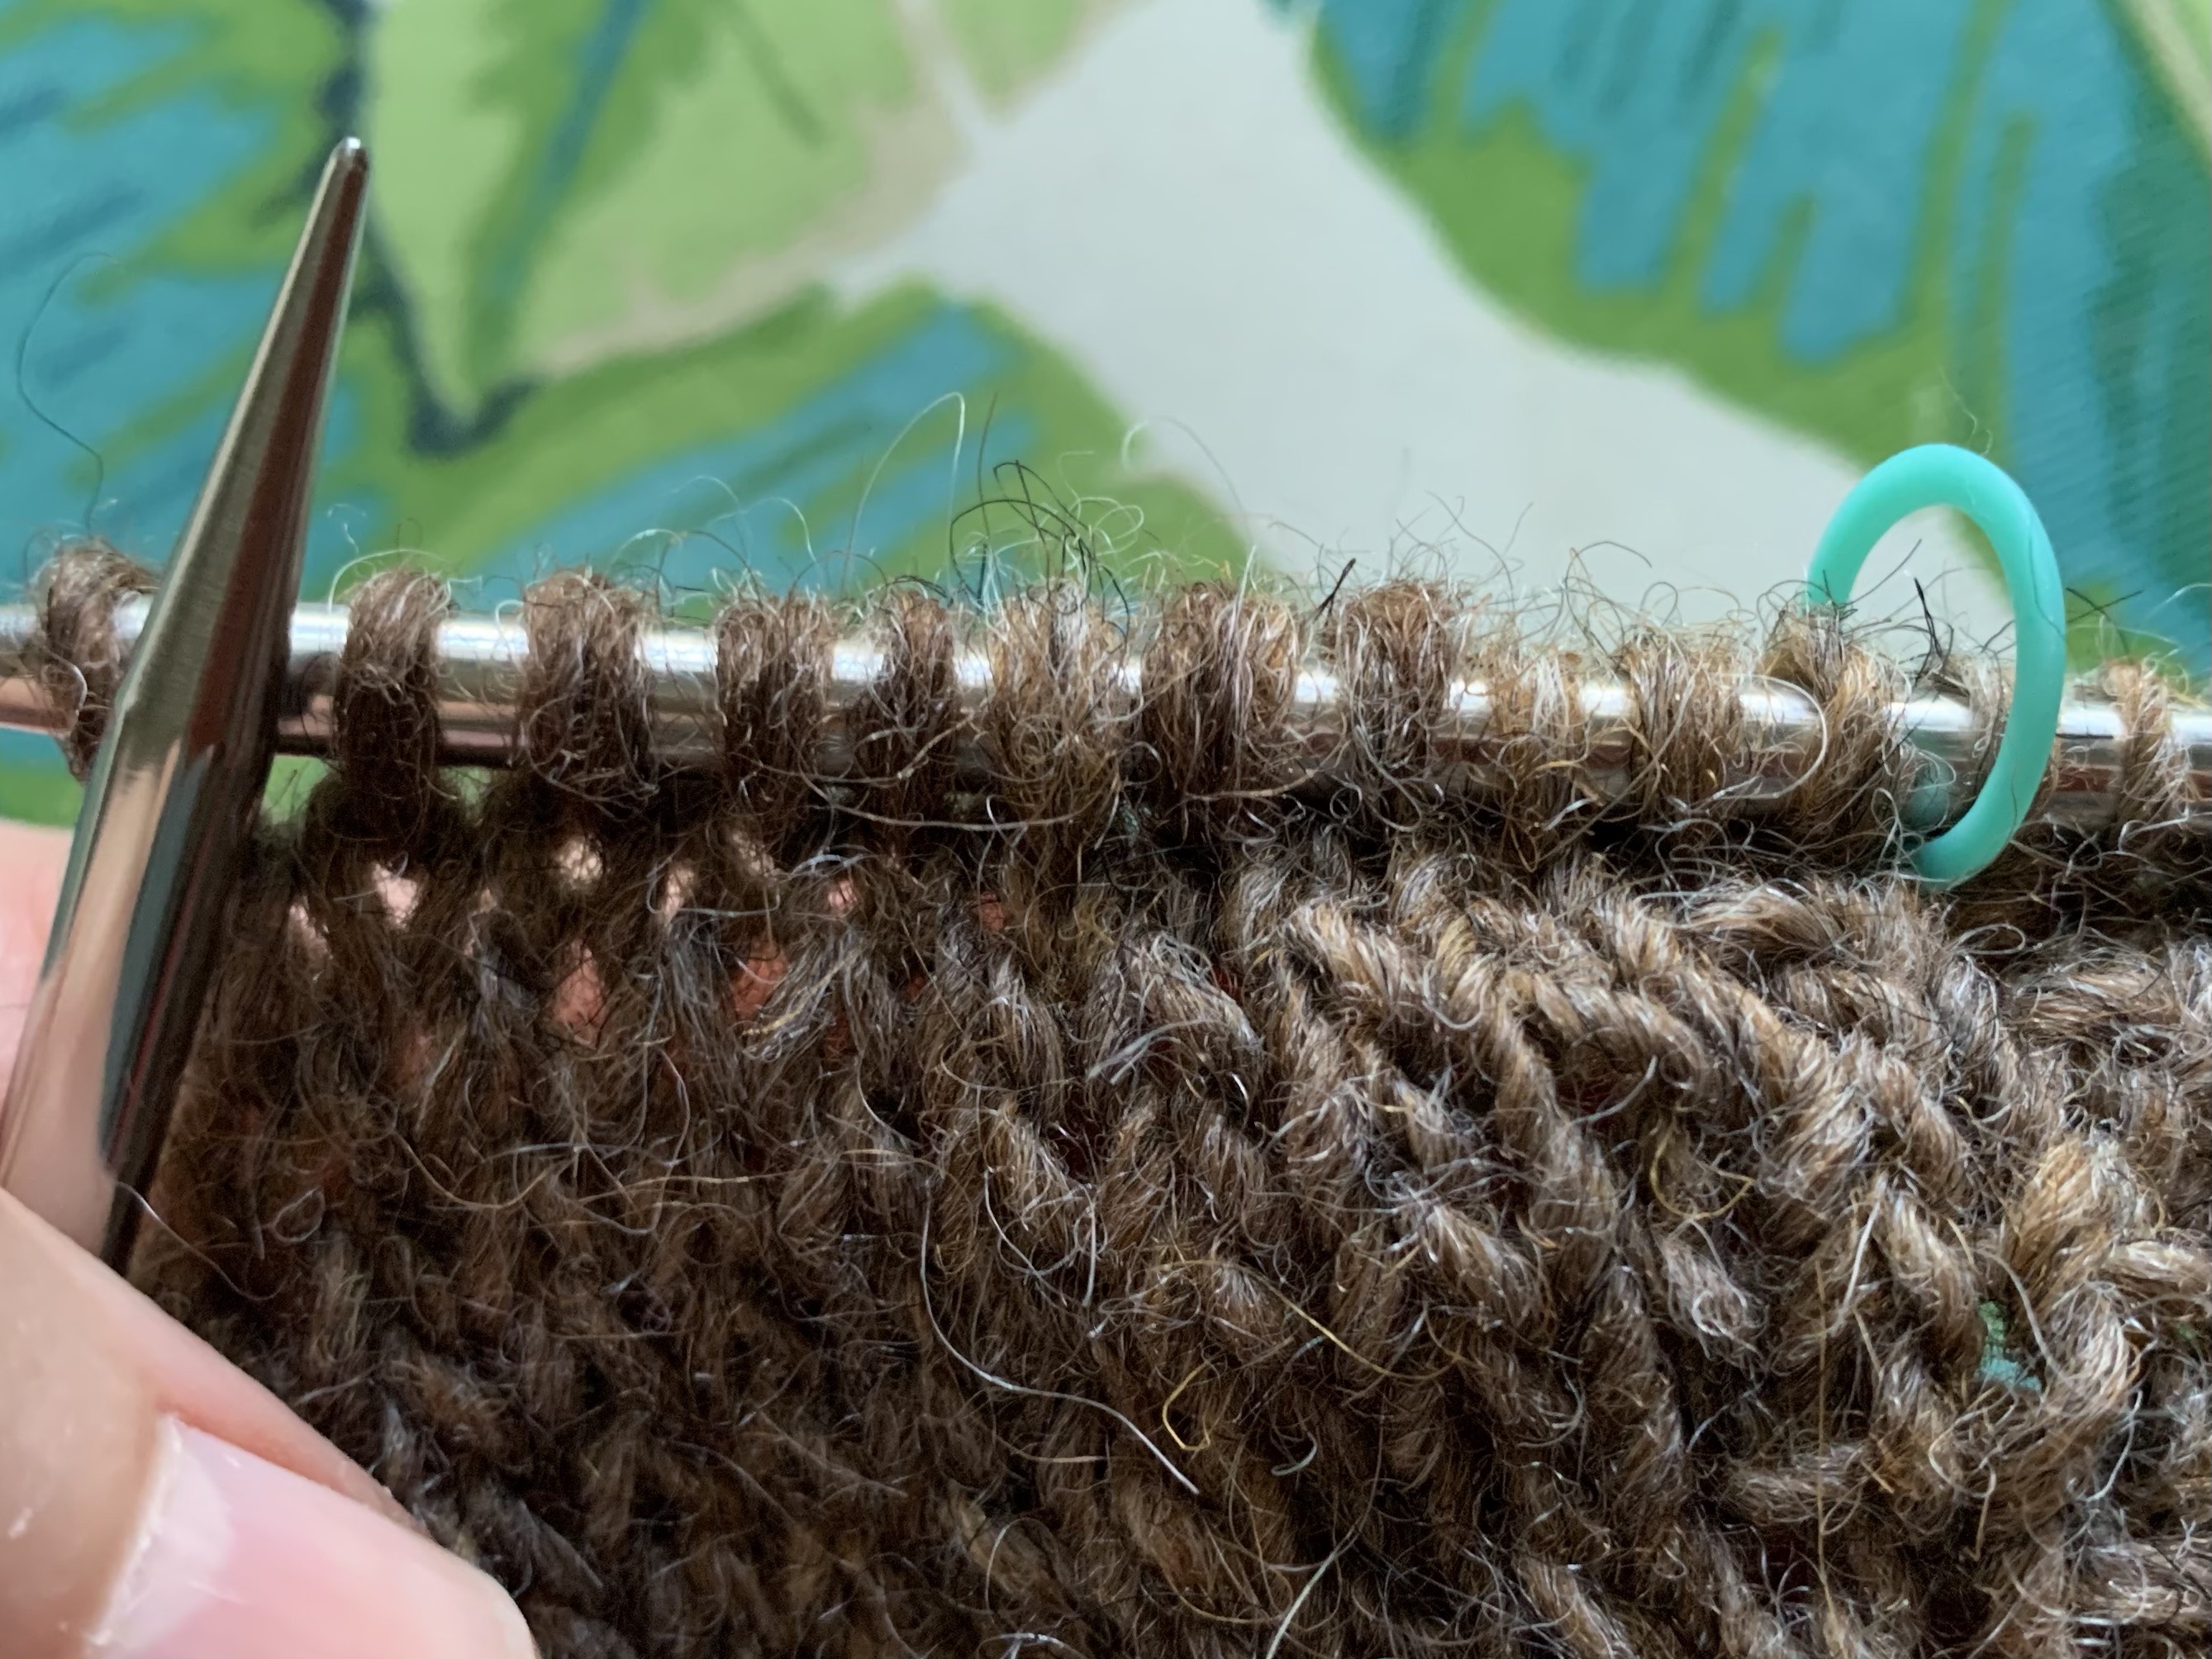
Here is my spliced bit of yarn. As I continue knitting, the yarn goes from light to dark and blends in nicely for my next section of darker brown.
Wet yarn and rub until they stickKnit with new color strand
I’m doing the splicing close to the beginning of round marker but it is not exact. It won’t matter. My two yarns are close in color and they just blend nicely. Also, this pattern has the BOR at the back, right shoulder where it wouldn’t been seen anyway.
Why Spit Splicing Makes Knitting Simpler
In the end, the reason for doing the spit splice join is to save myself the hassle of having to weave in ends. In this striped sweater project I would have had two ends hanging at every row of color if I had added yarn the traditional way. That would be a lot of ends when the sweater is complete!
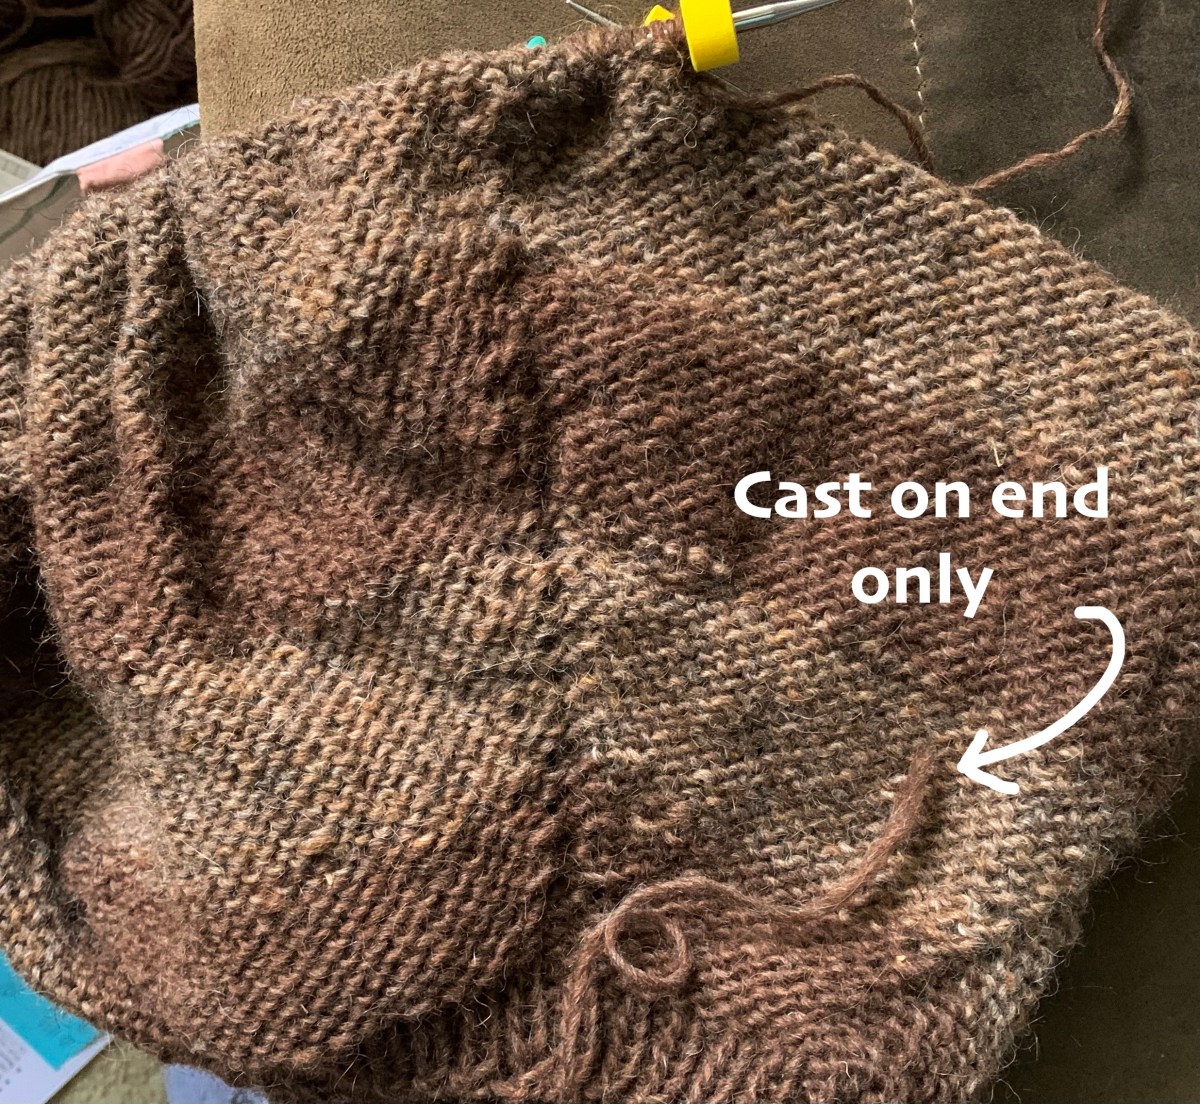
Joining the yarn and not leaving ends means I will only have the cast-on strand, underarm strands, and cast-off strands on body and sleeves to weave when I am done. That is a win in my book!
Rows of color with no ends showing except the cast-on
Other Uses For the Spit Splice Joining of Yarn
Also use this joining method when changing to a new skein, or if the yarn breaks, or if you come across a knot, and so on. I recently knit a colorwork sweater with Plotulopi wool which would come apart very easily on the slightest tug. I used the spit splice join a lot on that one!
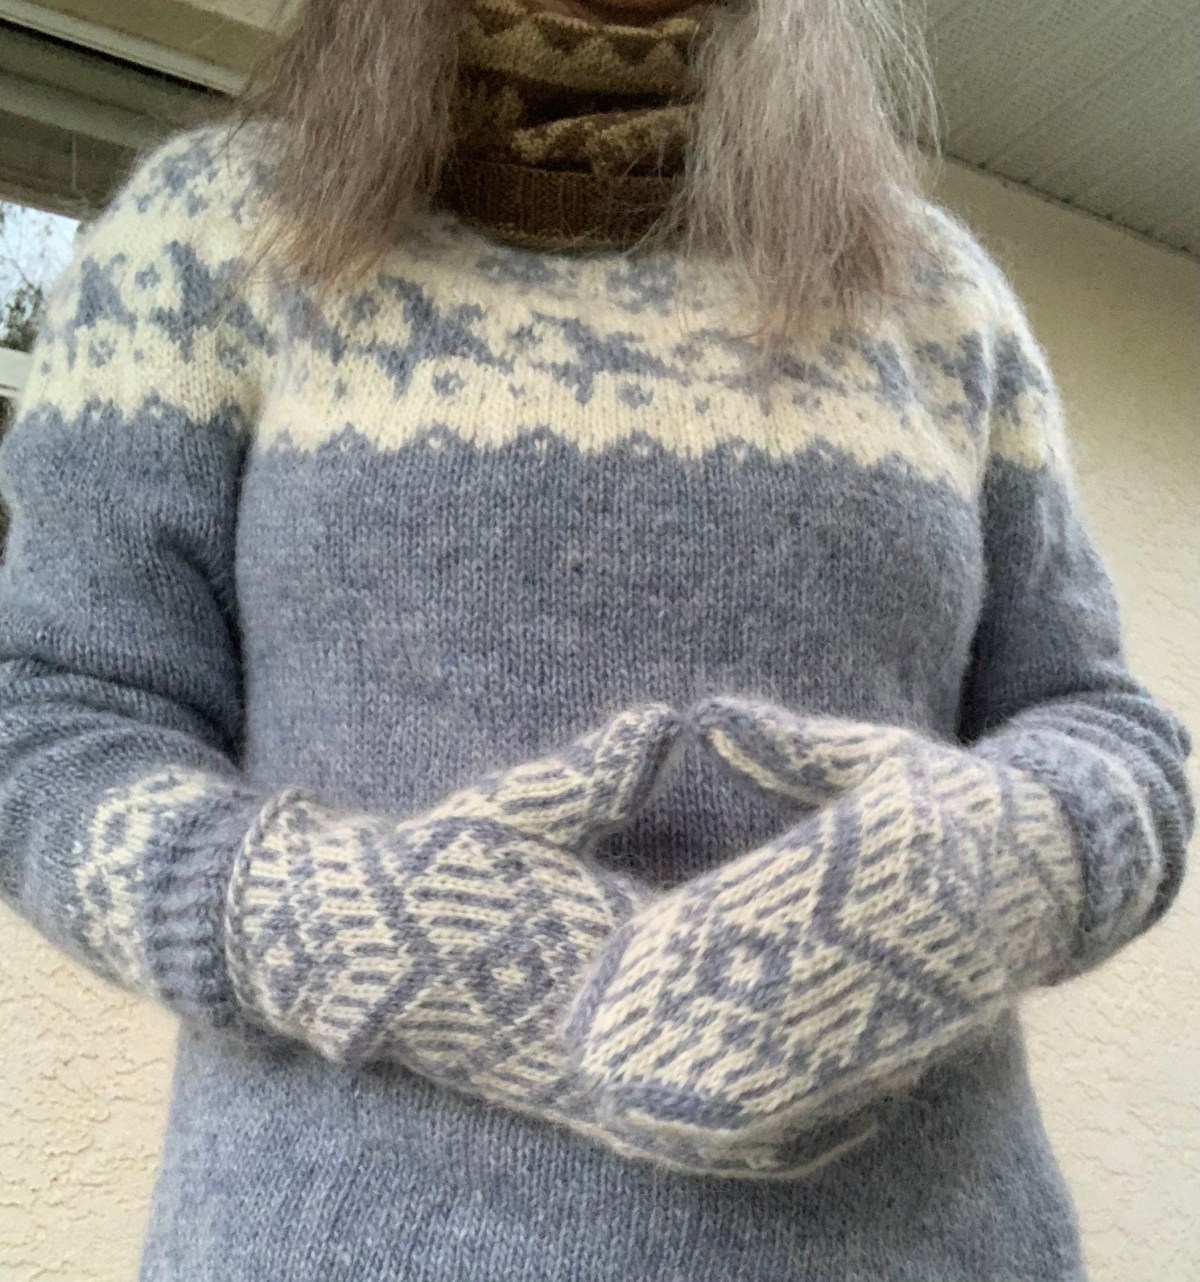
On a recent morning my i-phone said it was 42 degrees, I dug out my hand-knit woolies and went outside to feed the birds! It was the perfect time to get some “real life” photos of me wearing a sweater, hat and mittens!
This is a cold temperature for Florida, but it’s been worse. I’ve lived (off and on) in Central Florida since 1979. I’ve seen freezes, rolling blackouts, and ice on trees when sprinklers are left on. Forty-two degrees is not exactly freezing, but I loved that I could dress up and pretend!
I remember how long winter months can be from my time living in New Hampshire. For all of you who live in the really cold winter climates, remember that Spring – and green – is right around the corner.
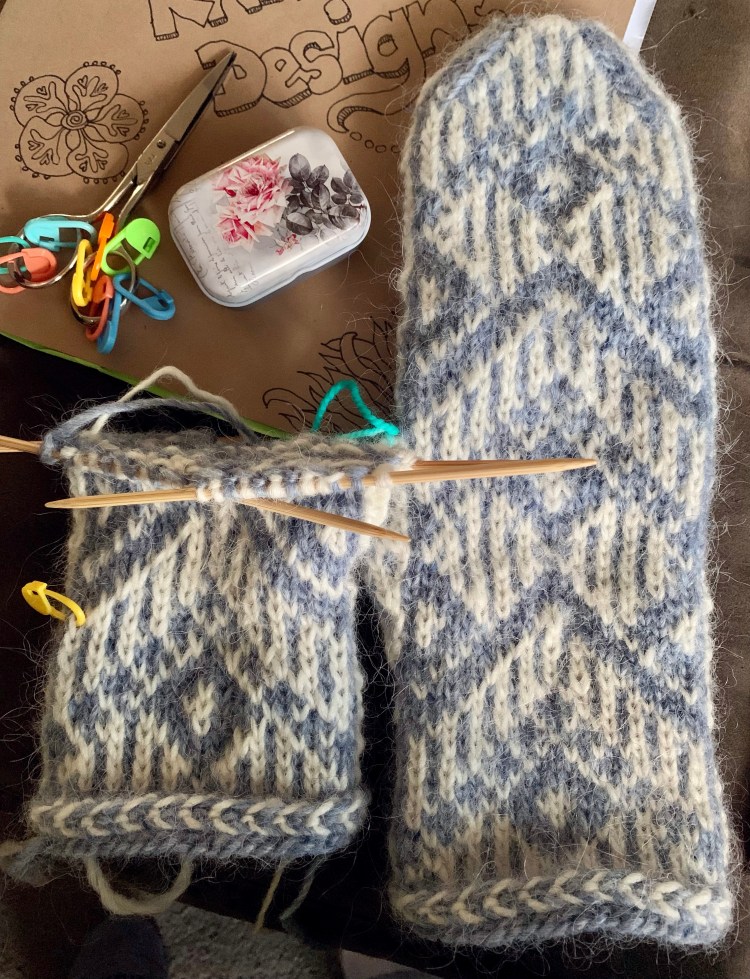
When I finished knitting a recent sweater, I had some wonderful Icelandic wool leftover. About that same time I found the Clacks mittens pattern. I thought it might be perfect for using up more of the Lettlopi wool.
Lettlopi wool mittens
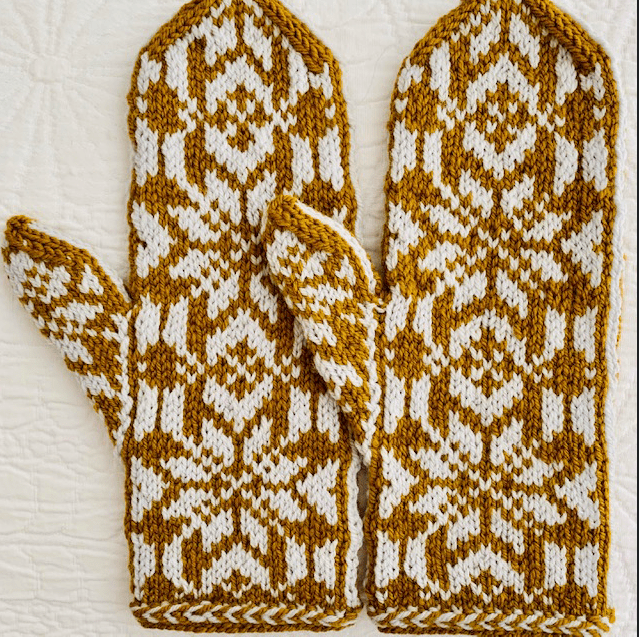
About a year or so ago I knit a stranded mitten pattern by designer Virginia Settler-Reimer. I hadn’t knit any colorwork mittens at that point and was only just beginning to get the hang of mitten knitting overall. The pattern was Glissade mittens and I used Brooklyn Tweed’s Arbor yarn. Between the beautiful yarn and the well written pattern I thoroughly enjoyed making that pair of mittens.
Now, the designer has come out with a new, similar pattern called Clacks Mittens. Just like Glissade, this pattern has the thumb on the side, which means both right and left hands will be knit the same way. In fact, I have never knit mittens, or fingerless mitts, with a different type of thumb!
Why I Like the Glissade and Clacks Mittens Patterns
Both patterns are by designer Virginia Sattler-Reimer and this link goes to her Ravelry page. Anyone already familiar with mitten knitting and doing colorwork would find this pattern fun and easy to follow.
Both Glissade and Clacks mittens begin with a Latvian Braid (directions included in pattern). Then, we jump right into knitting the colorwork. There is no boring ribbed cuff to knit first.
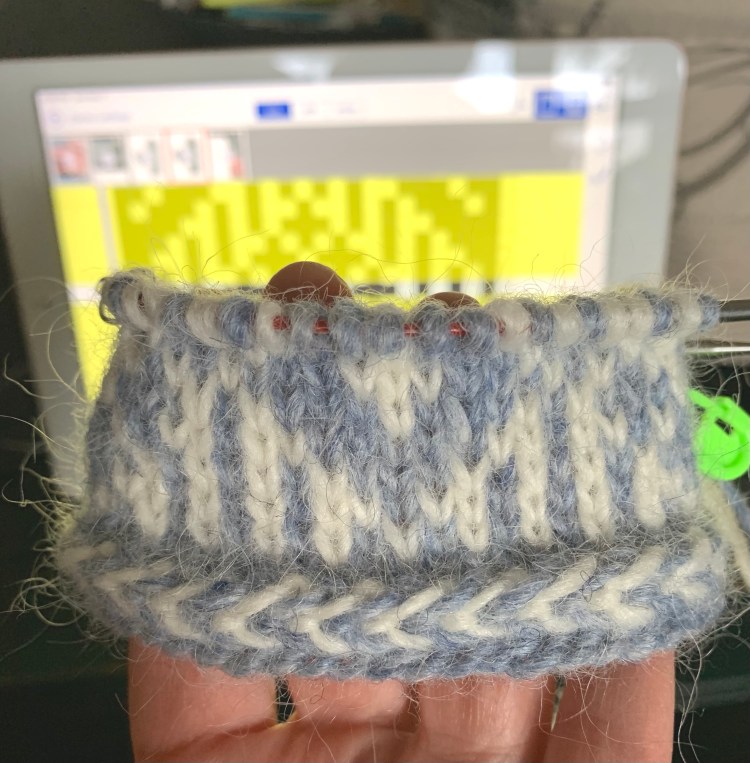
The mittens are knit on 4 DPNs which separates the front stitches from the back with a line of similar colored stitches. The first two needles hold the first half of the pattern, and the last two hold the remainder. I use a 9-inch circular needle to cast on and do the braid before changing to DPNs. (The second needle will hold the thumb stitches as well.)
The “make one” stitch is a backwards loop (Andrea Mowry video) which is super easy.
I don’t remember this from knitting Glissade, but for Clacks, the designer has provided two charts – one for a light colored background and one for a dark. Because blue is my chosen MC – I’m following the “dark” chart and using Knit Companion.
The Kitchener Stitch (Very Pink Knits slow-motion video) is needed for the top of the mitten and because there are only a few stitches, it is perfect practice for anyone unfamiliar with this finishing stitch.
Yarn and Knit Companion
After I first saw this pattern, I began to hunt through my stash to find yarn to use. The pattern calls for two colors only, and I just happened to have some Lettlopi yarn leftover from a recent sweater. I decided that this wool would be perfect for mittens.
Once the pattern was purchased it was added to Knit Companion and opened on my iPad. From there, it is easy to follow the colorwork pattern line by line.
I had considered changing to a larger size needle at the thumb, to knit the hand a bit wider, but ended up not doing so and the fit is fine. Maybe do this if you have wide hands. Also these mittens are plenty long (for me) already. Measurements are 3.5 – 3.75 inches wide and 11 inches long.
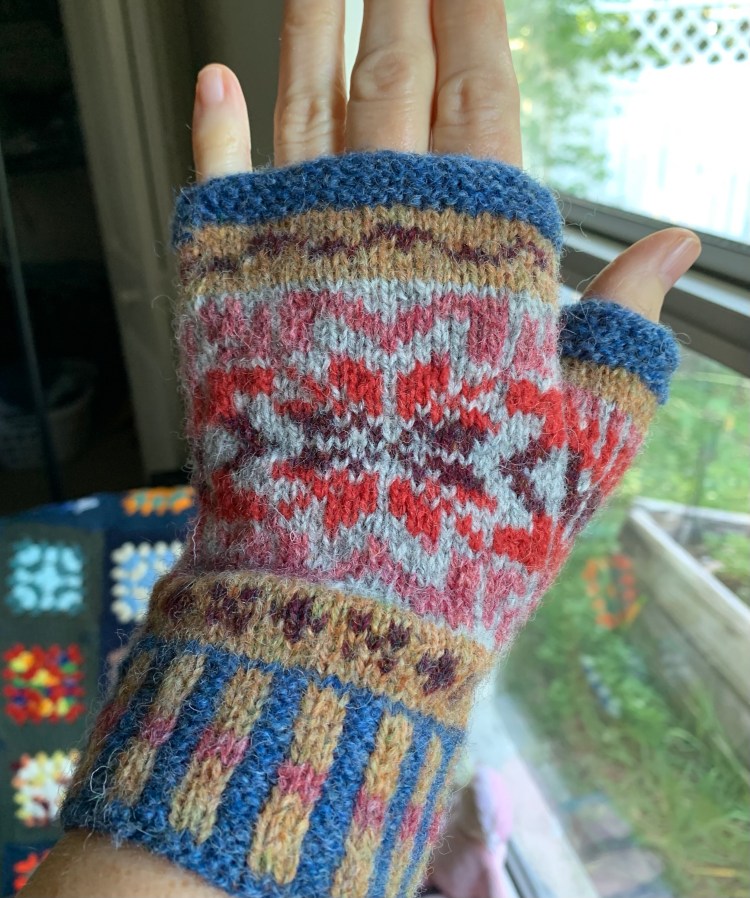
Fair Isle Mittens and Fingerless Mitts I Have Knit.
After knitting for a while, I’ve discovered that I like to knit hats, mittens (and mitts) and sweaters best. I prefer Fair Isle colorwork and think it is especially nice for mittens to add extra bulk and warmth.
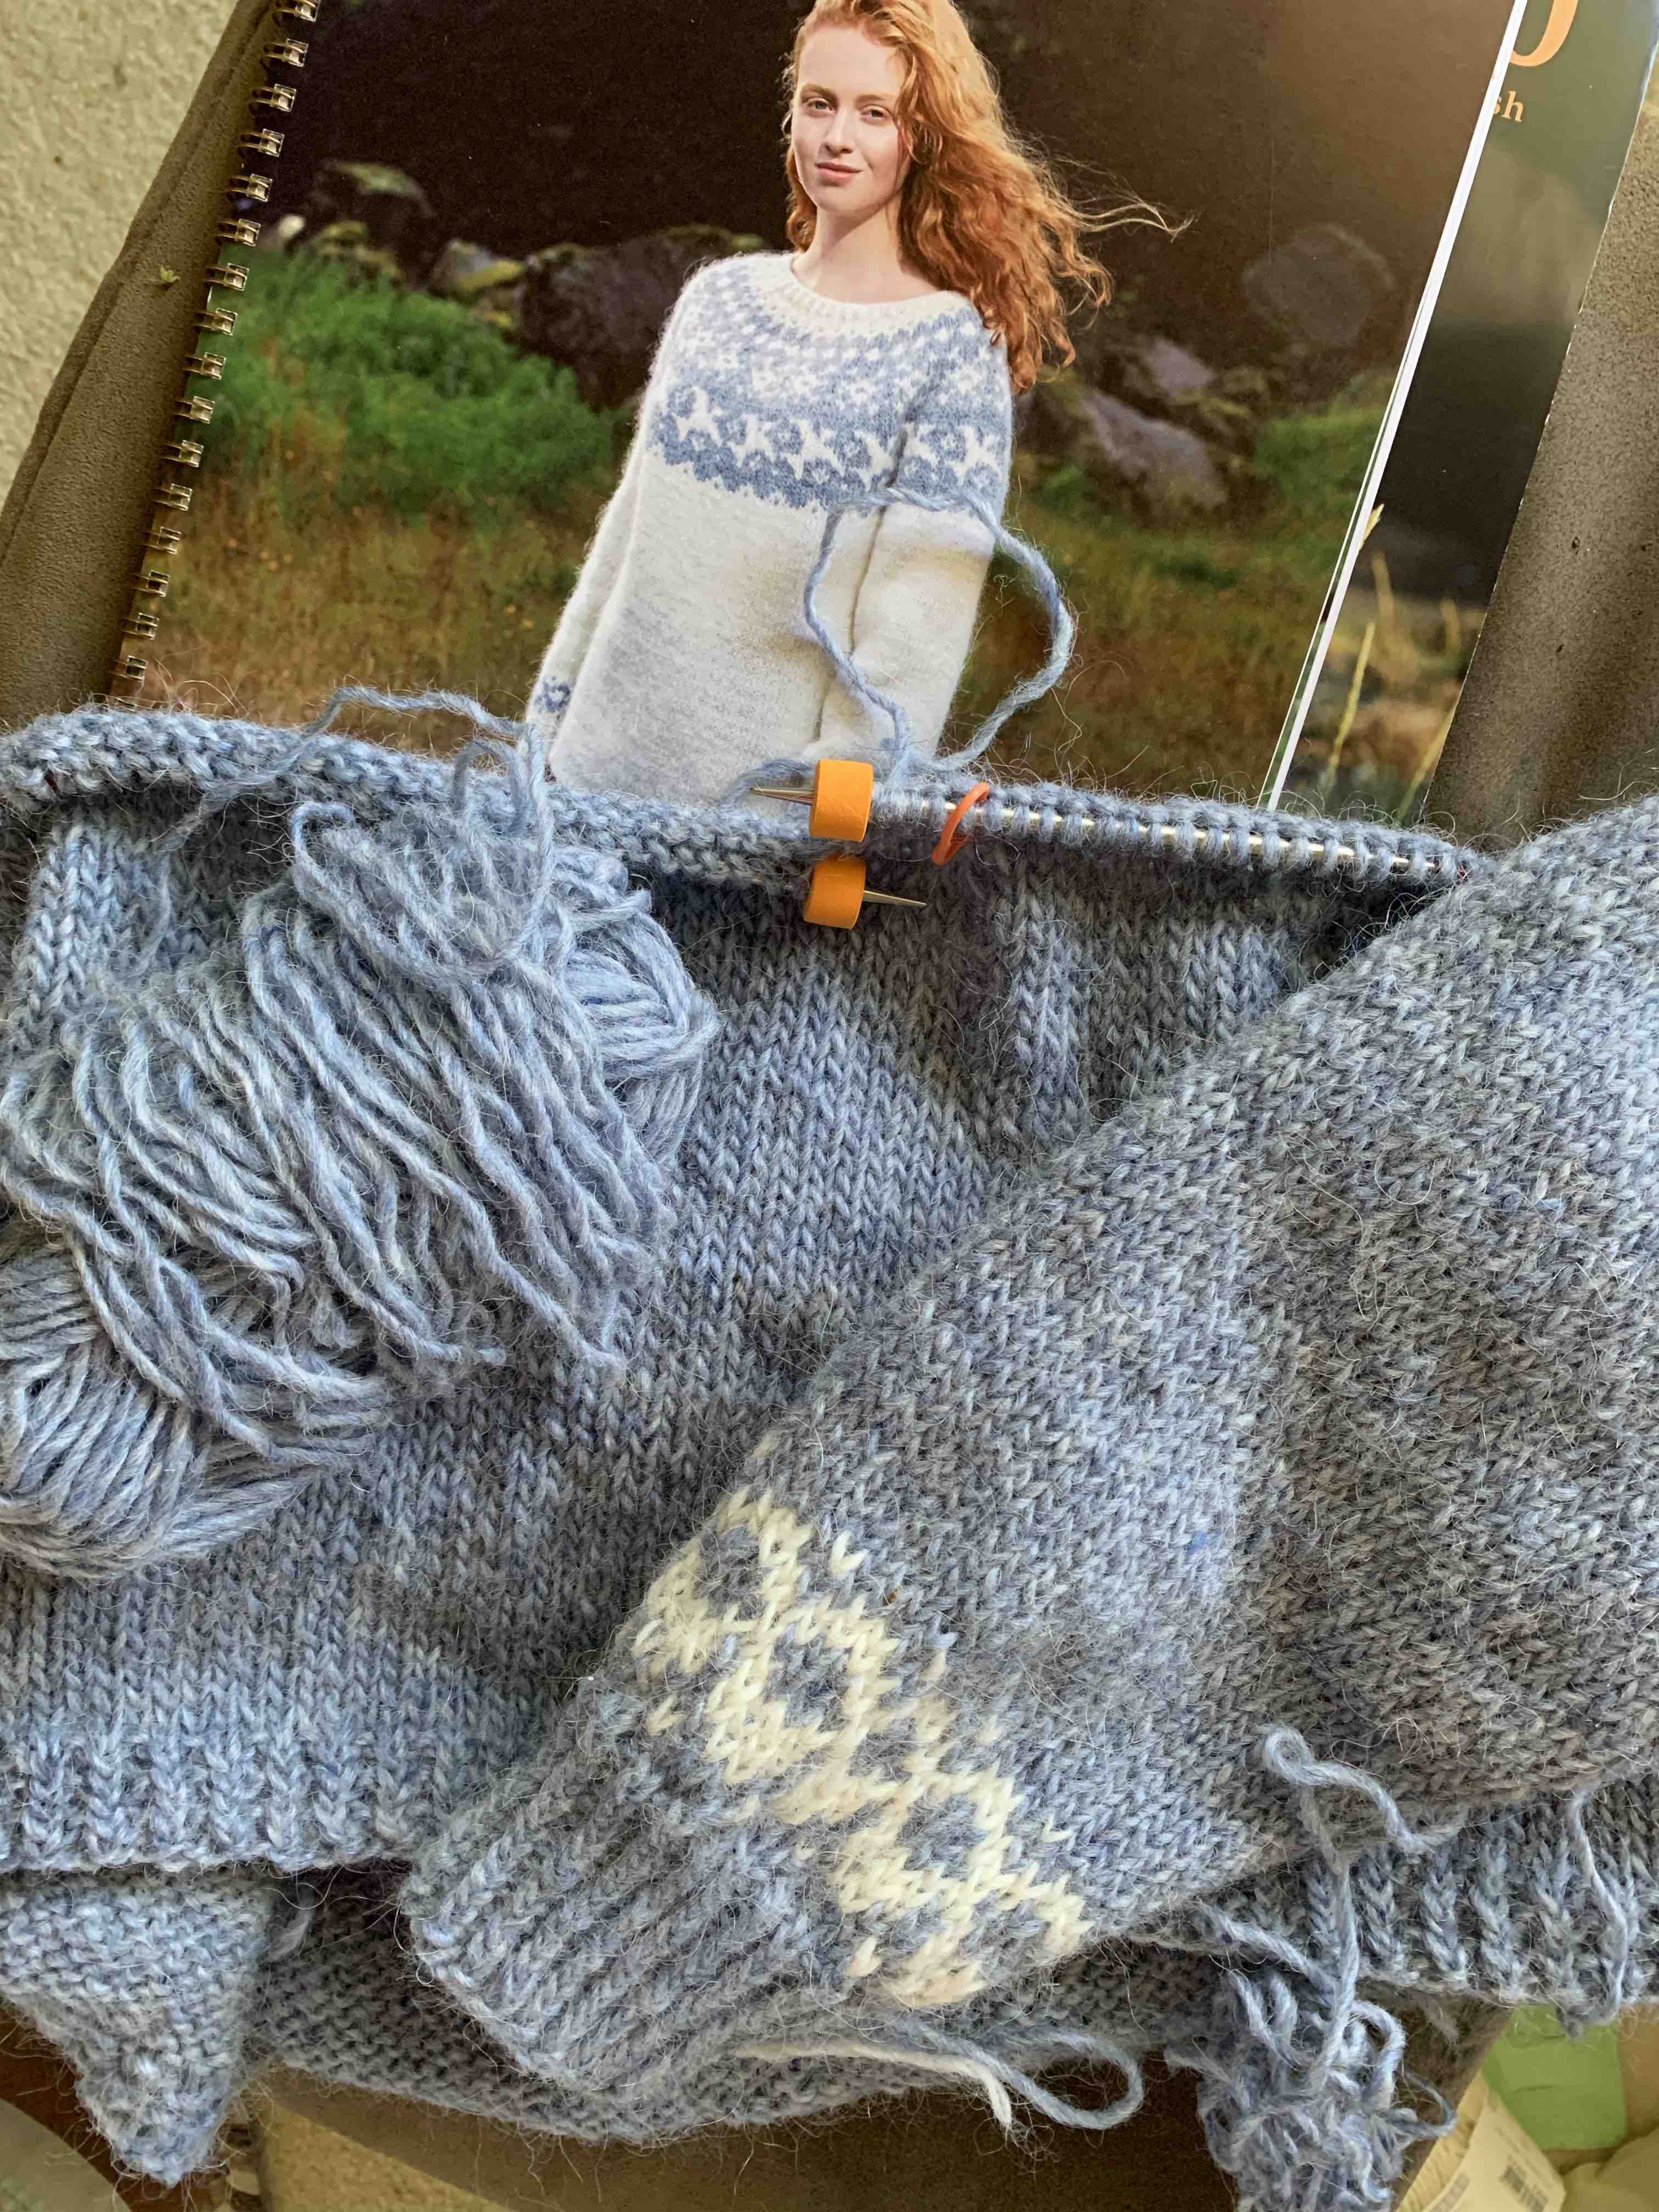
This new sweater pattern is from the Lopi 40 book which I bought along with some Lettlopi yarn recently. I want a light blue sweater with white accents and Farfuglar is the pattern I chose. It means “migrating birds”. The sweater shown in the book uses my same choice of colors (air blue and white) as I chose, but in the opposite way. The yoke can also have more colors in another version.
Lopi 40 is full of Icelandic designs knit with Lopi wool and apparently it is one of the newer books.
This Farfuglar pattern, and other patterns in the book, can also be purchased separately. (This link goes to Ravelry.)
Book CoverPattern page
The Farfuglar Learning Curve
I purchased bunches of the Lettlopi yarn variety which is aran weight. The first pattern I chose was one by Jennifer Steingass. After beginning the sleeve twice, and not being happy, I gave up and moved on. That is when I chose this pattern from the Lopi book: Farfuglar, or “Migrating Birds”.
I knit a flat gauge swatch which matches the required gauge for the sweater. I know that garments knit in the round should have swatches knit in the round, but oh well, I didn’t do that.
The pullover is knit bottom up. I have begun knitting one of the sleeves and really like the way this yarn looks and feels. The pattern uses the same two colors I chose, white and “Air blue”, but the sample sweater is mainly white with blue accents whereas mine will be the opposite. The colorwork chart is in five colors because there are two ways to knit this sweater. As I knit the chart I will convert it to two colors in my head.
The patterns in Lopi 40 are Icelandic and measurements are given as centimeters. Needle sizes are also mentioned in mm except at the beginning of the pattern where they give the US size also.
Increases and Decreases
After the sleeve ribbing is finished, we are told to increase around evenly to end up with correct stitches for the colorwork. I had to go from 42 stitches to 50. I don’t know why, but this was hard to figure out. I will have to do something similar at the neckband except it will be decreases! Oh Boy….
Had to decrease at the neckline from 100 to 84 stitches evenly around. This strained my brain, but I did it.
Learning New Things
Two new (to me) types of decreases are also mentioned: KRPR (right leaning) and SKP (left leaning) – both links go to pages at the New Stitch a Day site where videos show the process.
I’m not a super experienced sweater knitter, but I have finished a few. Most have been top-down knits, but this is a bottom up. The underarm stitches need to be grafted together when finishing, which I’ve never done, that I recall. The pattern doesn’t say how to accomplish this, but I found this page at Laura Chau that explains Grafting Underarm Stitches. It uses the Kitchener Stitch, which I have done.
Joining Sleeves to Body – Notes for the Inexperienced (Me)
I’ve only knit one other sweater bottom up which means the sleeves and body must be joined. It’s not difficult, but for me, drawing out a diagram while reading the directions was helpful. I got a better picture for how this would happen. I also placed a pink marker on the front section so I would know front from back.
I’ll keep this for future reference and noted needle sizes and other hints to the paper.
Notes I made: After finishing the second sleeve, leave stitches on the needle (I used a 9-inch circular). When beginning to join, I used the longer (body needle) to knit off the sleeve needle. When I got around to the second sleeve, I put those stitches from the holder yarn onto a smaller (size 4) needle and then knit off of it. Once that happens, the whole sweater is now combined into one piece.
Needle lengths: Begin knitting the whole yoke with a 40 inch (The pattern says 32, but I found the longer needle to be easier). Changed to 32 inch farther up, and ended up with 16 inch for the neck.
Four places are on holder yarn and stitch holders for the underarms. Those will be grafted together using the Kitchener Stitch when I’m done knitting.
Joining sleeves to body and beginning yoke
Now I have begun the colorwork yoke. Some of the yarn carries are quite long, so knowing how to catch floats is definitely necessary for this design. I was very excited to see the birds emerge!
The birds!Knitting the colorwork yokeReady to bind off
Yarn Used For Size L
Blue Yarn total used: 8 skeins – nearly every bit of 8, so 9 is better just in case
White Yarn total used: less than 2 skeins
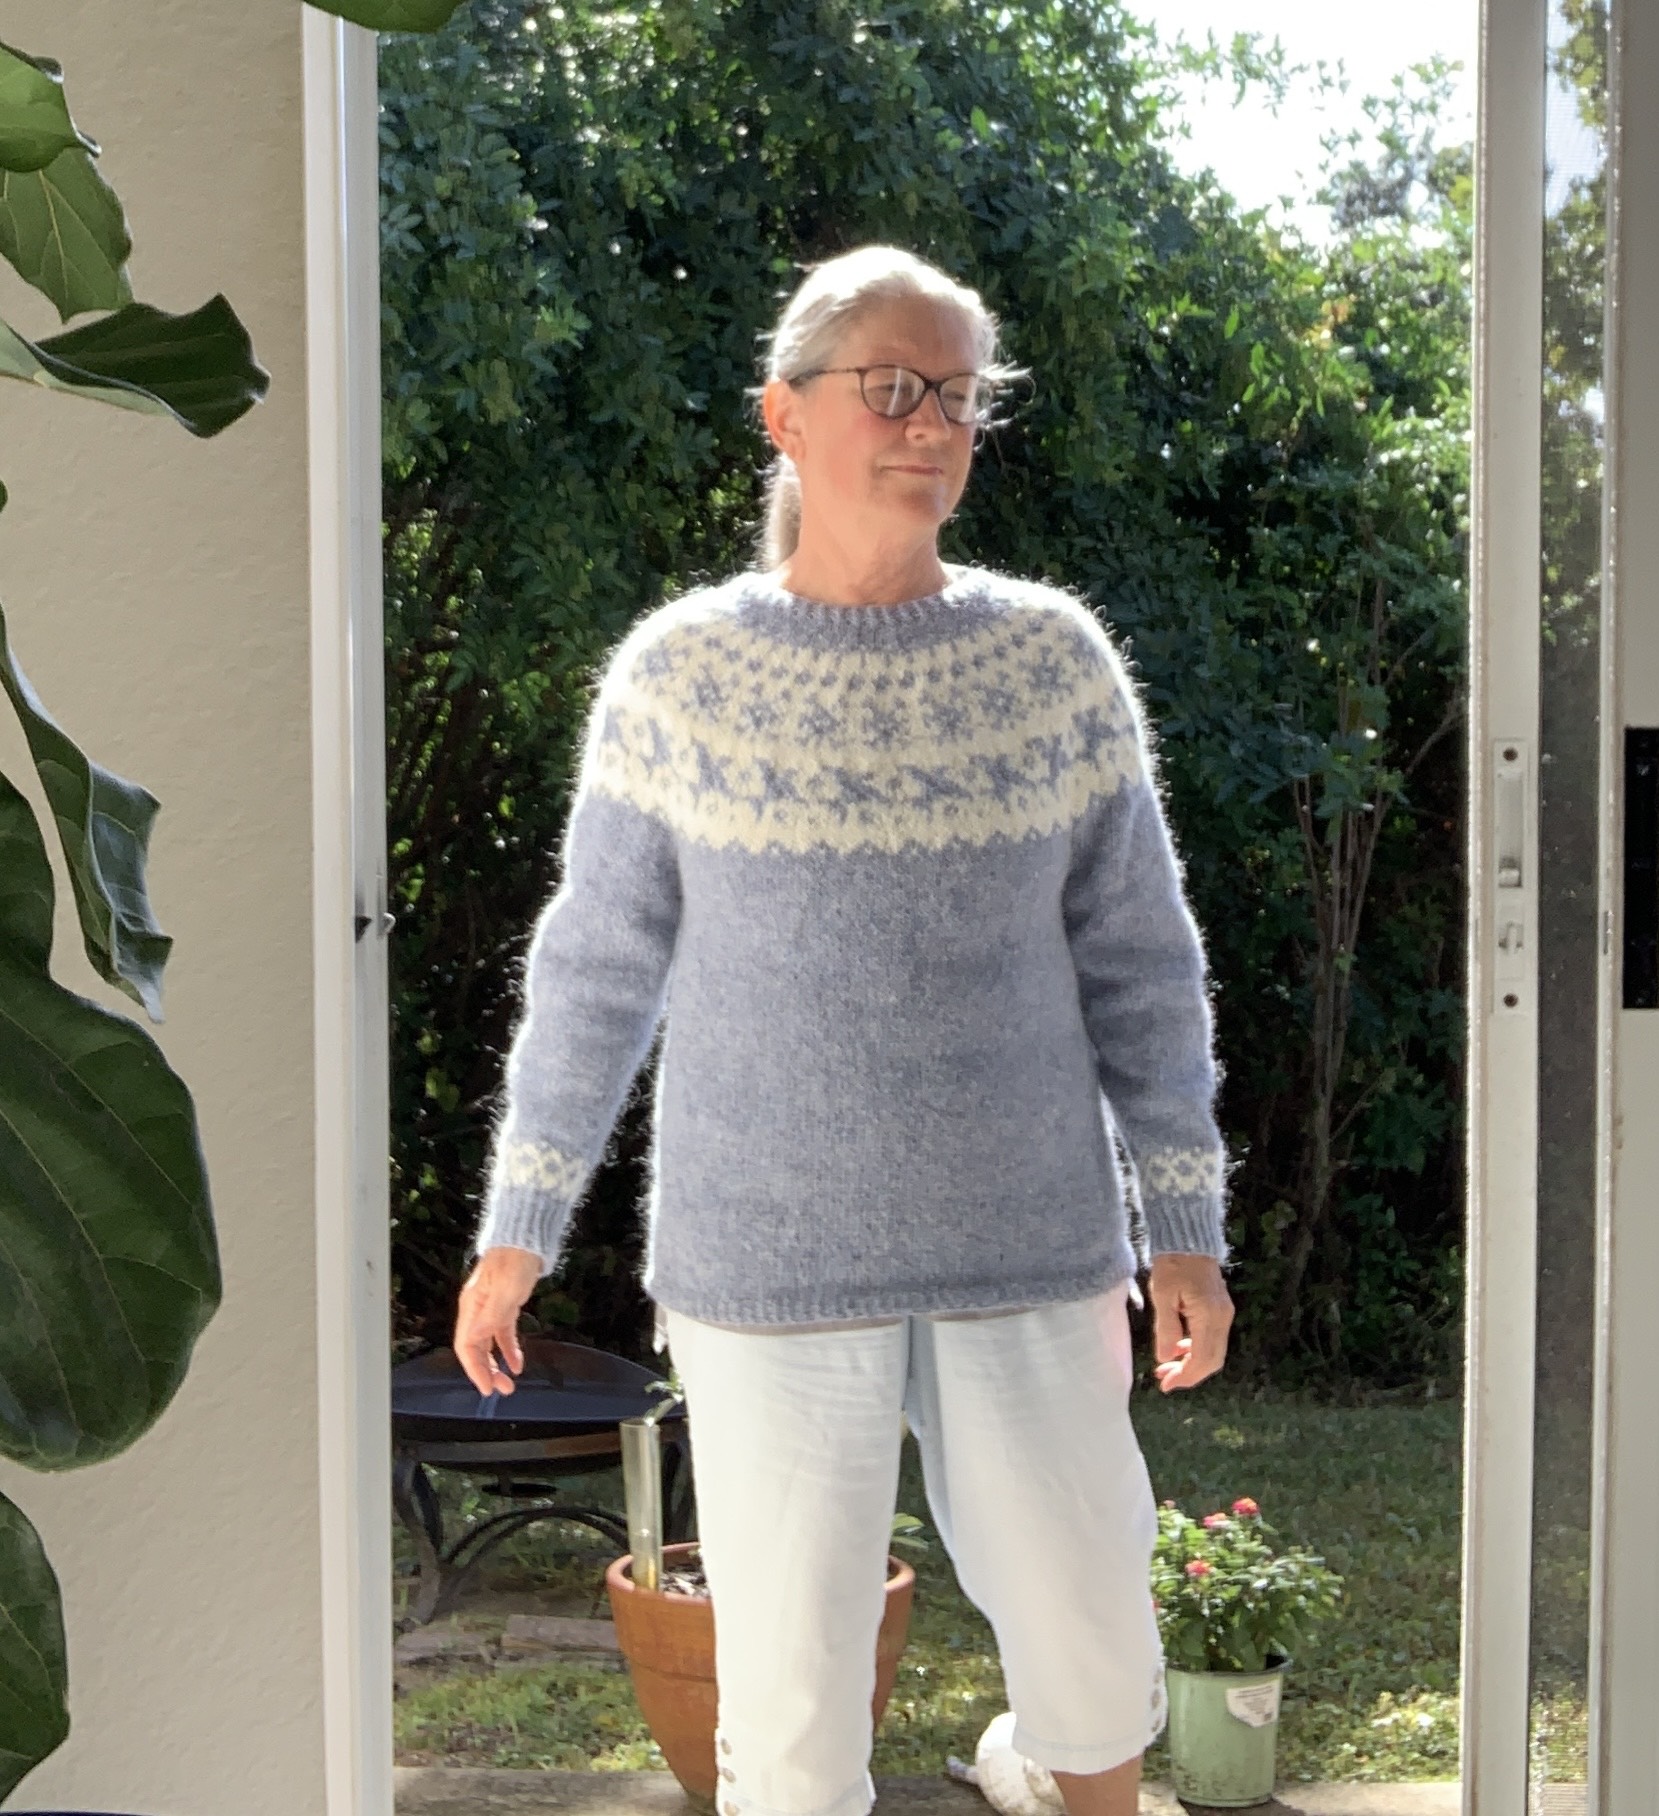
October 29th and the Sweater is Finished! See My Photo Shoot Below
At this point I was still trying to decide if that high front neckline would be okay. Without any type of short rows, the front and back of this one are exactly the same. This makes the front neckband ride on my neck. I would probably have a shirt on underneath, so I decided I could live with the neck as it is. Also, I didn’t want to risk ruining things since I am not experienced at changing knitwear designs!
The hat photos were taken in “winter” when the temps dropped to the low 40’s here in Florida. I went out to feed the birds bundled up in my woolies! (Triple-patterned watchcap, mittens, Woolfolk cowl) All other photos were taken before I washed the sweater.
I will be writing a separate blog post about how I finished off this sweater.
Learning About Lopi Wool
The sheep who provide this wool live in the harsh Iceland landscape. If their wool can keep them safe and warm during winters spent outdoors, certainly the wool in your Icelandic sweater will do the same. The yarn comes in lots of pretty colors (if you can find them in stock!) as well as natural colors such as white, gray, tan, brown and black. It comes as heathered, solids, and tweeds in various weights, including unspun yarn. The yarn is a combination of insulating and water repellant, not to mention very warm indeed! If you are not a knitter, the sweaters can be purchased already knit up.
After knitting with the Lettlopi, I found there were quite a few knots to deal with. More than most yarn I knit with, but maybe that is just the nature of the yarn.
I don’t yet have a sweater or other garment to try on so I can’t comment on the scratchiness of this yarn. Some people think it is exceptionally scratchy, but many people say the wool softens over time and gets better and better.
As is unfortunately true these days, finding yarn can be challenging, and especially in the popular color ways.
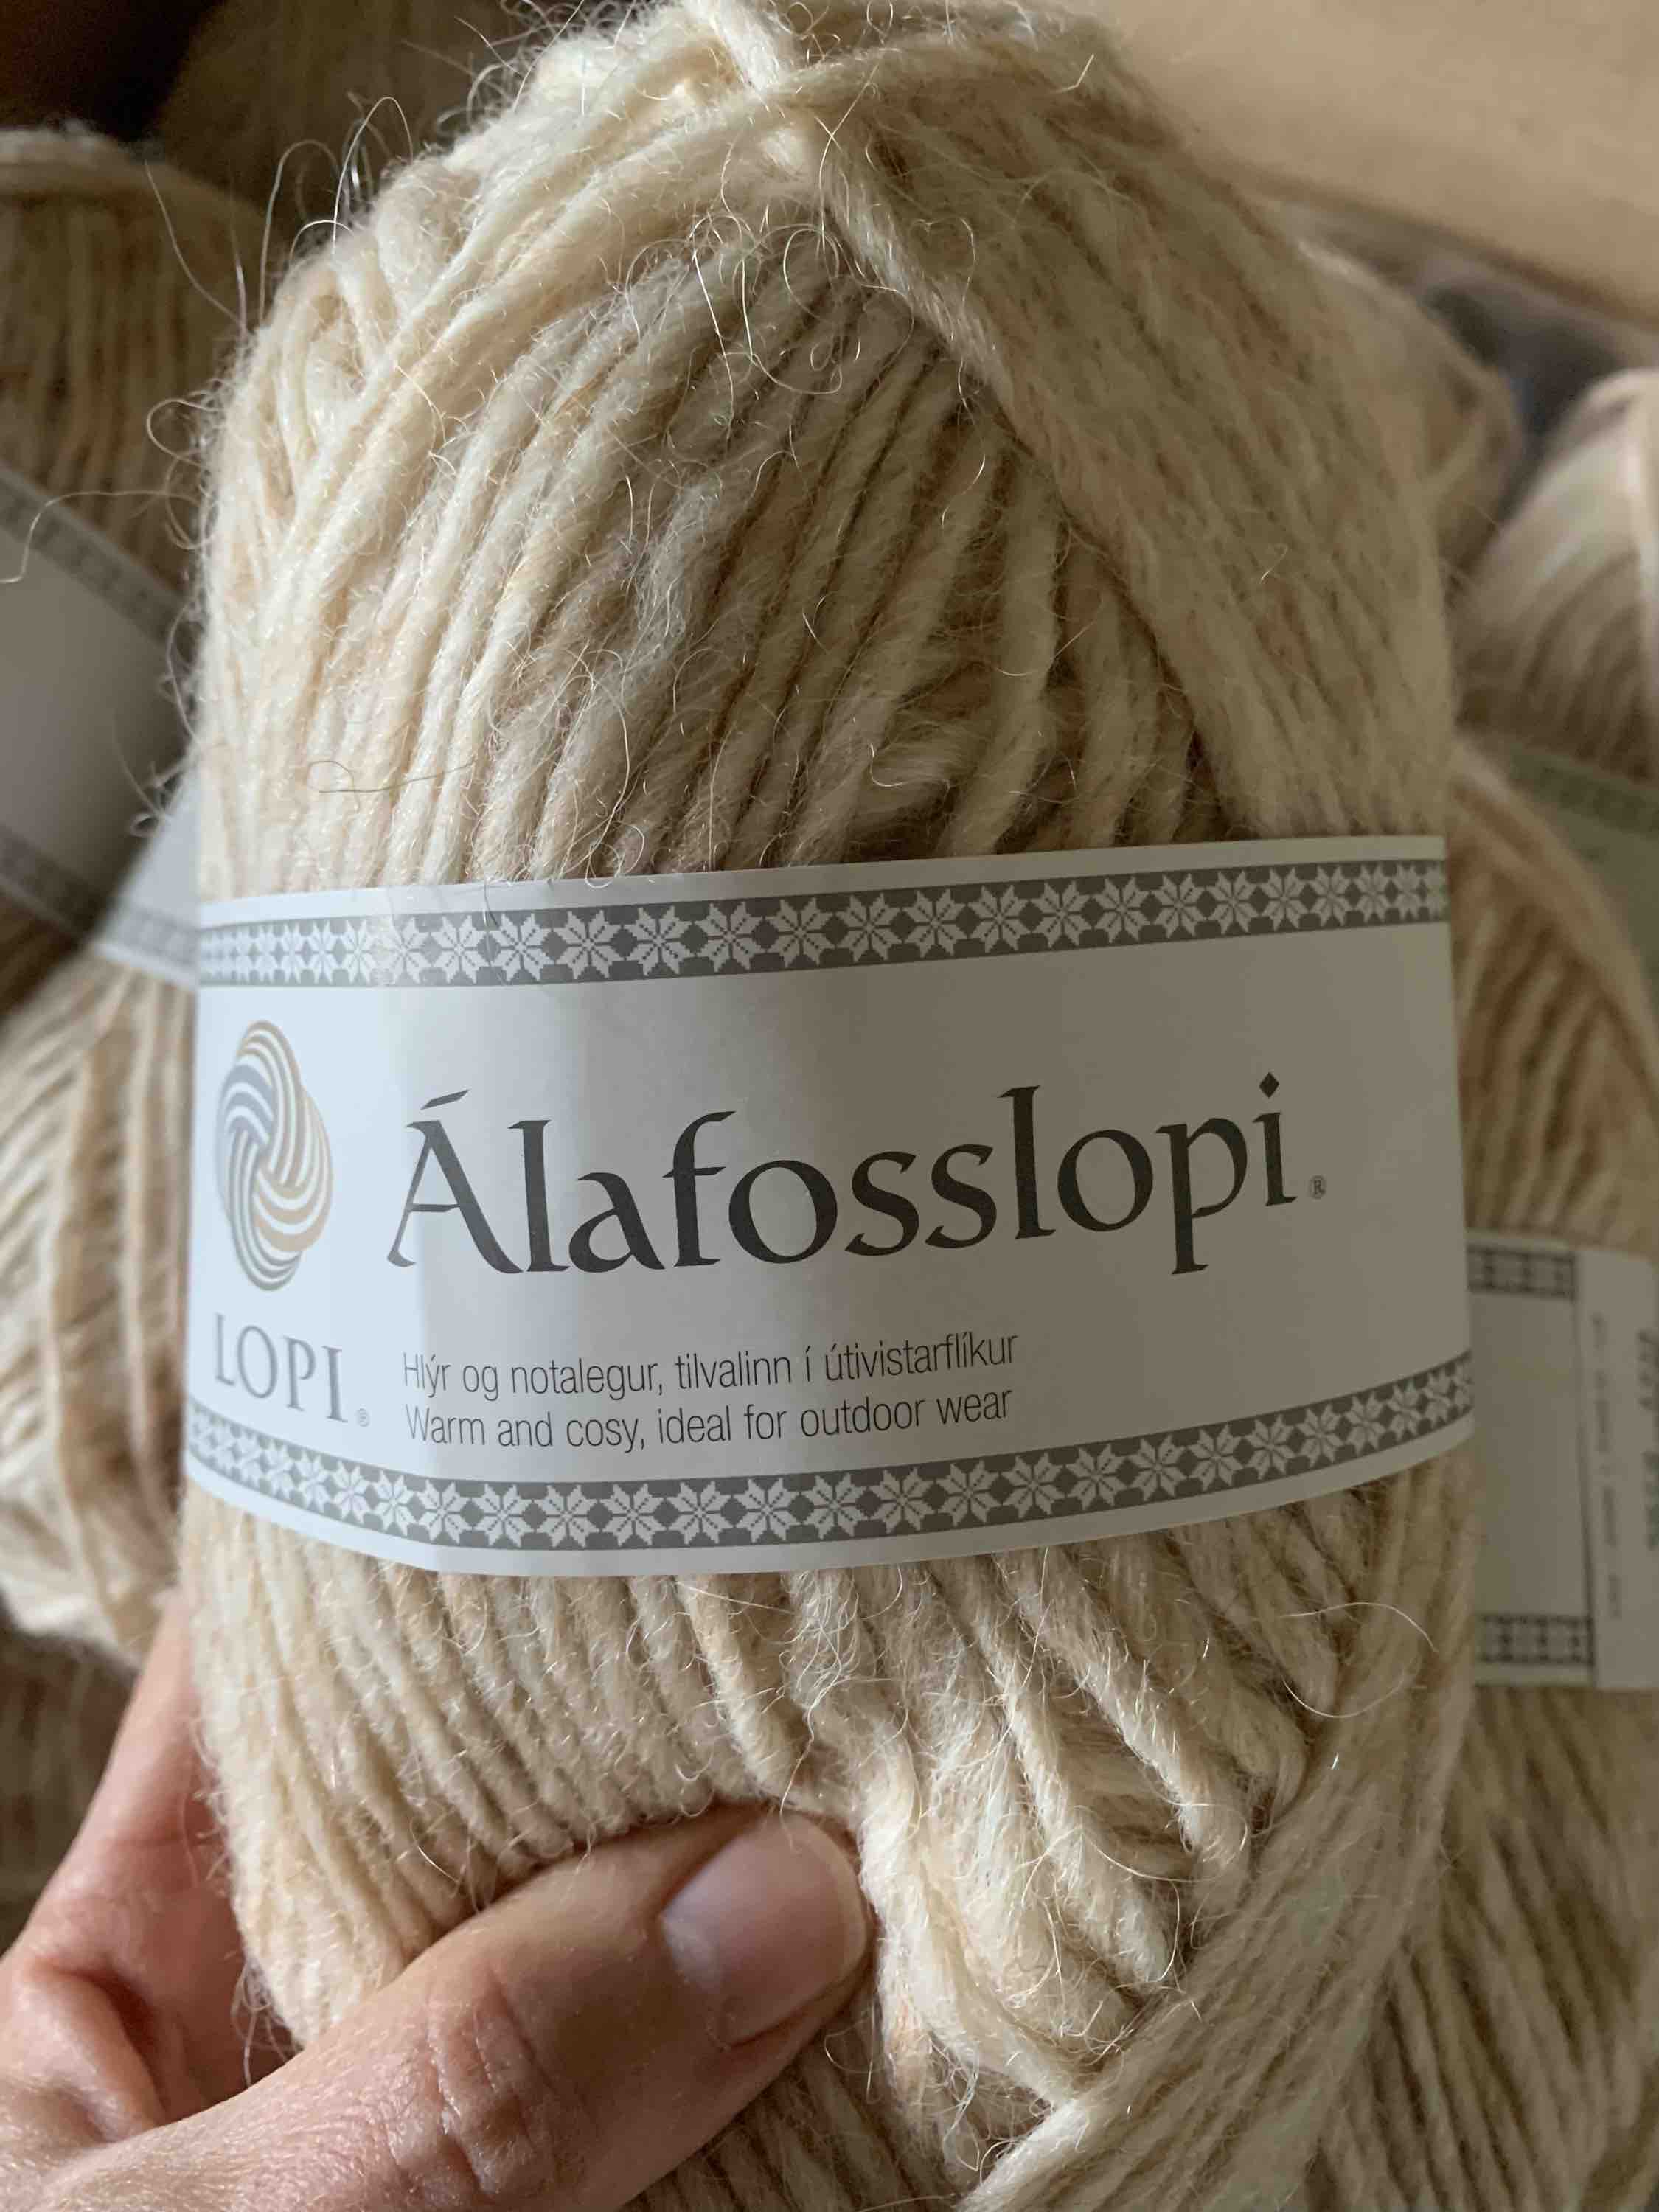
The Lettlopi (aran) and Alafosslopi (bulky) yarn in my stash has come directly to me from Iceland and is from the Istex company. It was ordered from The Icelandic Store where they still have quite a few colors in stock. The low price of the skeins, compared to prices in the US for the same yarn, made it worth paying the high shipping rates.
My order of Alafosslopi arrived in four days..!!… and came with a little candy surprise. I have already knit up a swatch and plan to knit the Carbeth Cardigan by Kate Davies, but that plan could change.
A little candy surprise in with my Alafosslopi yarn delivery!
For instance, many places in the US have Alafosslopi for around $10 a skein, or close to that price. When ordering from Iceland, each skein is $5.99, which is a big difference, and especially if you need many skeins to knit a sweater. The Lettlopi costs about $5.75 in the US compared to $2.99 each in Iceland.
Webs yarn offers big discounts if large amounts are bought, and the cost can be less in the end, but many of the colors are out of stock at the time of this writing.
Writing a blog, sharing photos, and doing research and making links takes time. Lately I don’t think the time spent doing all that is worth enough to continue. I have stopped writing…