Surprisingly Sweet Blueberry Vodka Lemonade Sweater Pattern

My experience and notes about knitting the Blueberry Vodka Lemonade sweater pattern by Thea Colman, aka Baby Cocktails.

After some summer top knitting, I needed to have wool in my hands again. I chose a new pattern and some new-to-me yarn and got knitting on the Blueberry Vodka Lemonade sweater (pattern link below).

I made a stupid mistake when beginning the first rows after the neck ribbing, and had to rip it all out and begin again. Believing I would be able to do those yarn-overs just fine, I began to screw things up again – because, no I did not do yarnovers correctly. This time I kept knitting and took a refresher in doing yarn-overs.

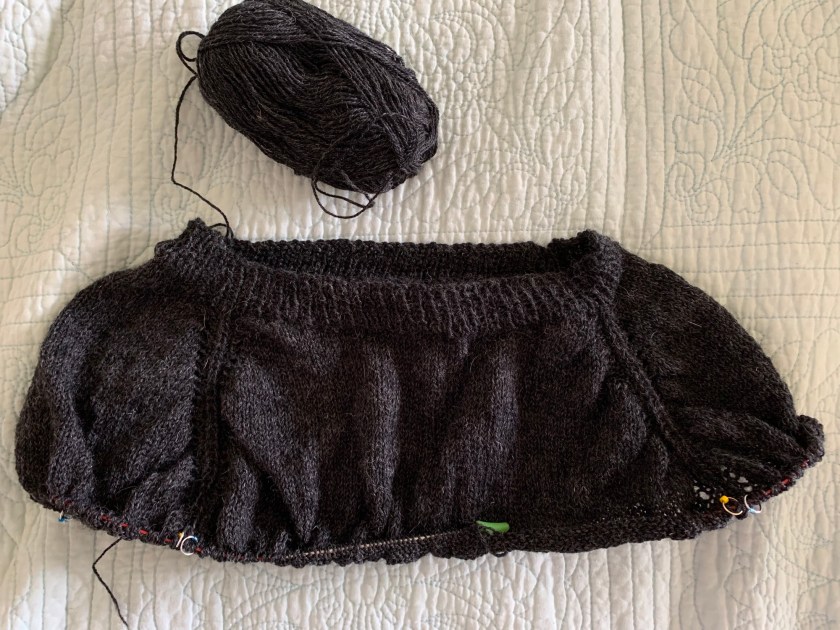
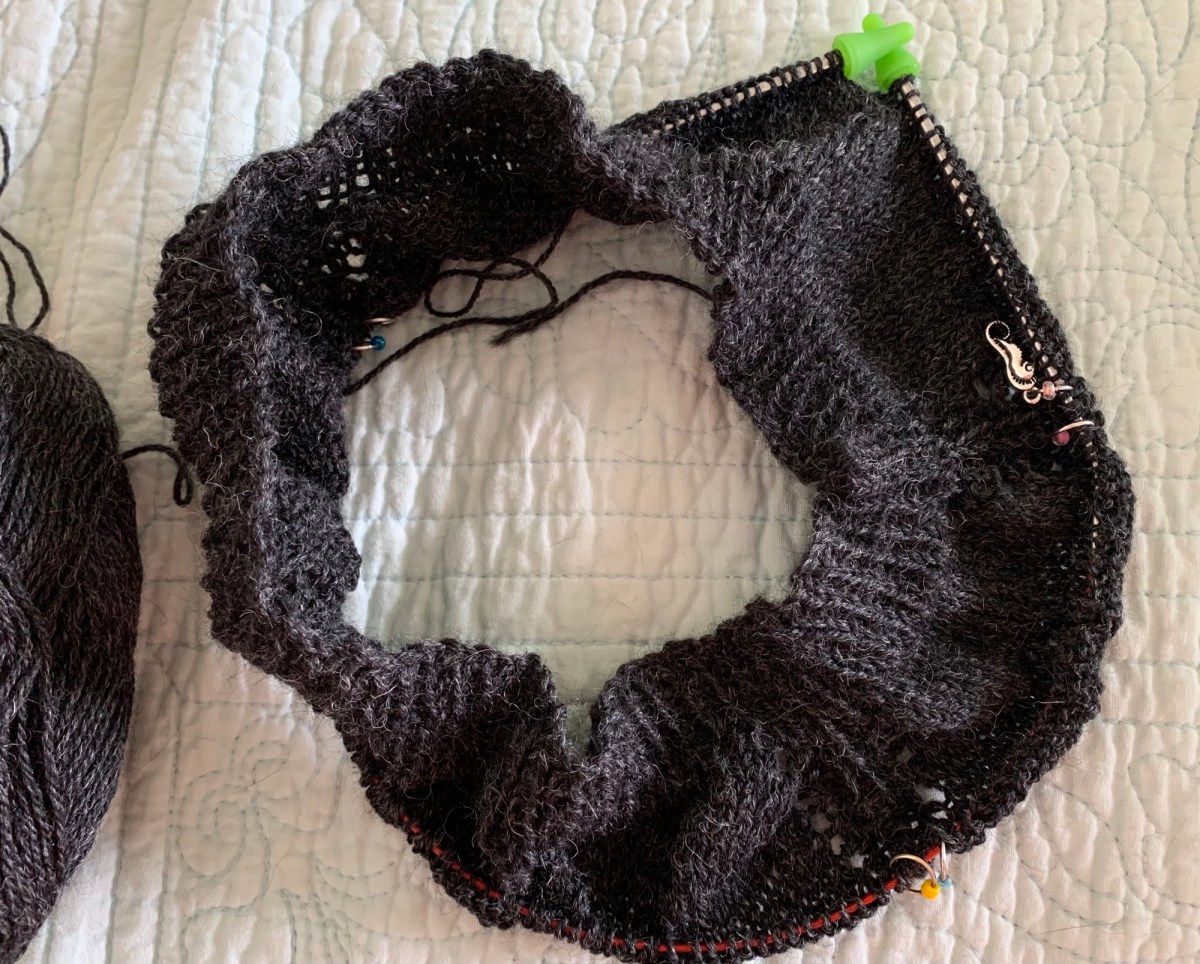
Once I had all that down, the knitting went smoothly and the yoke became fun to knit.

The Yarn

I am knitting with Sandnes Garn Tynn Line Peer Gynt wool yarn (link goes to Wool & Co.). I’ve never knit with it before, but it’s soft and beautiful. There are some thick to thin areas, but I don’t mind that and I think it’s typical.

Although I bought two types and colors of yarn as possible choices for this project, the Tynn Peer Gynt worked out better for the needle size. I’ve ended up knitting with the black yarn.
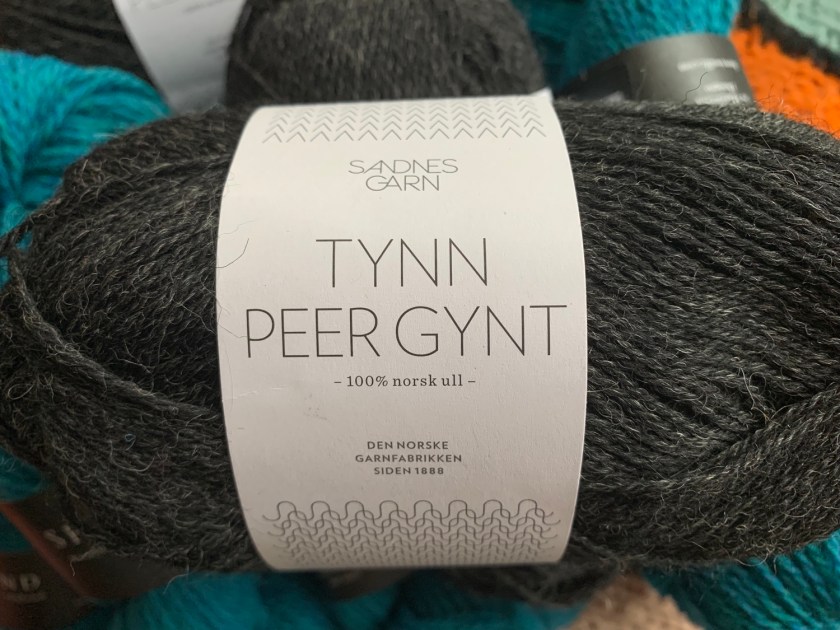
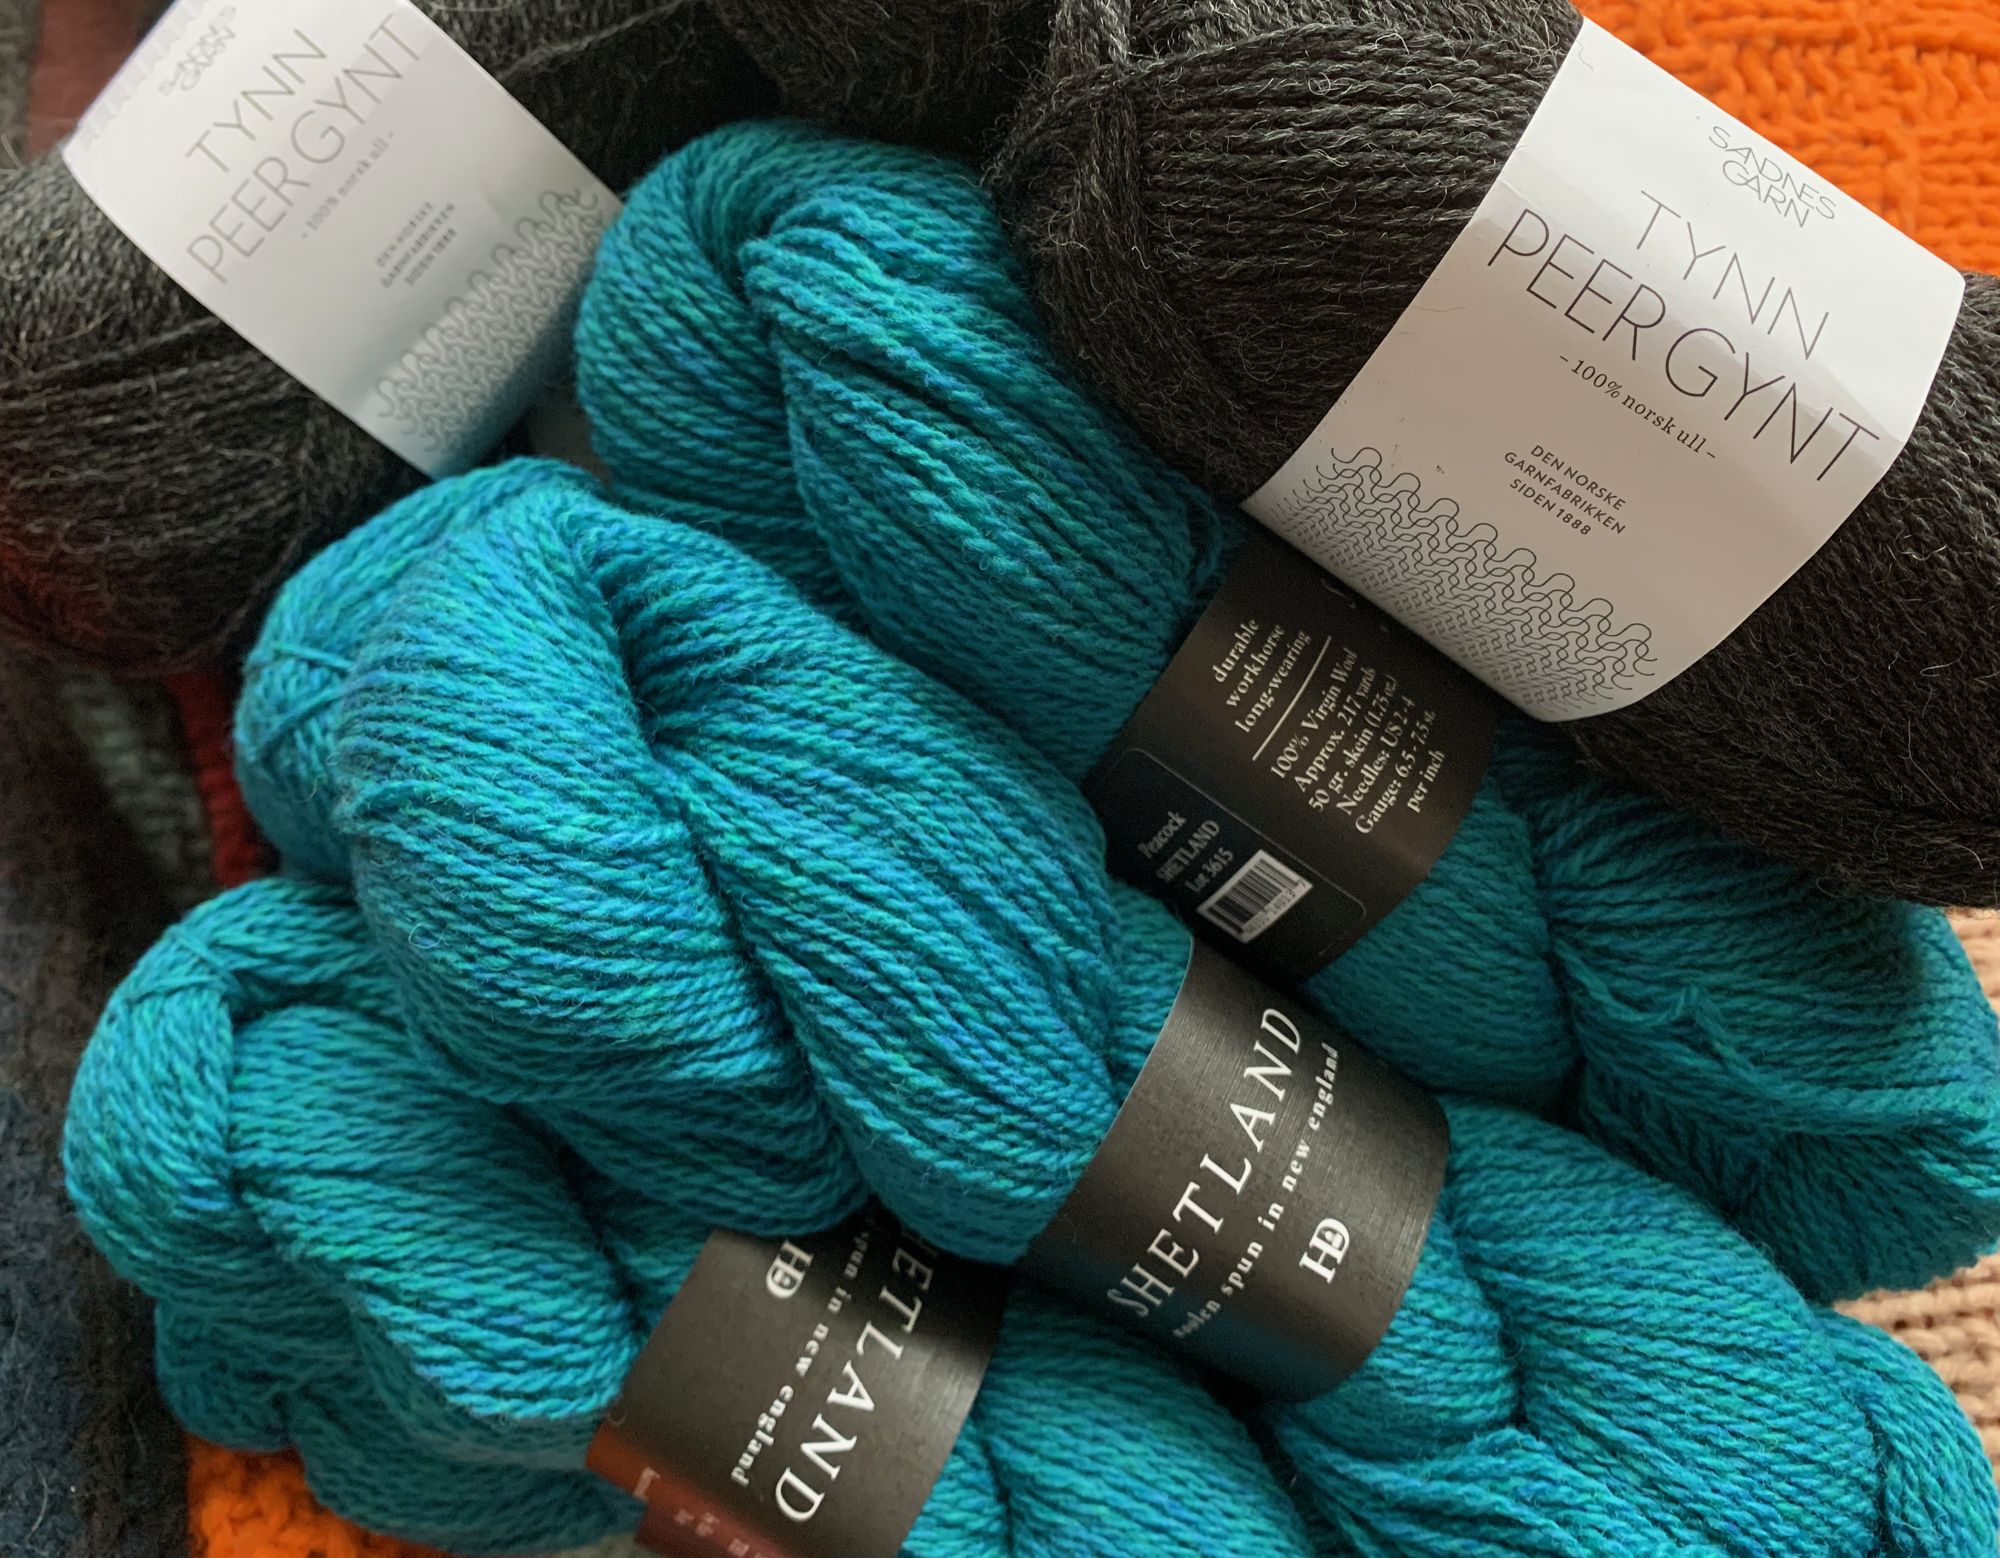
  • Sandnes Garn Tynn Peer Gynt fingering wool yarn
  • skeins of wool yarn
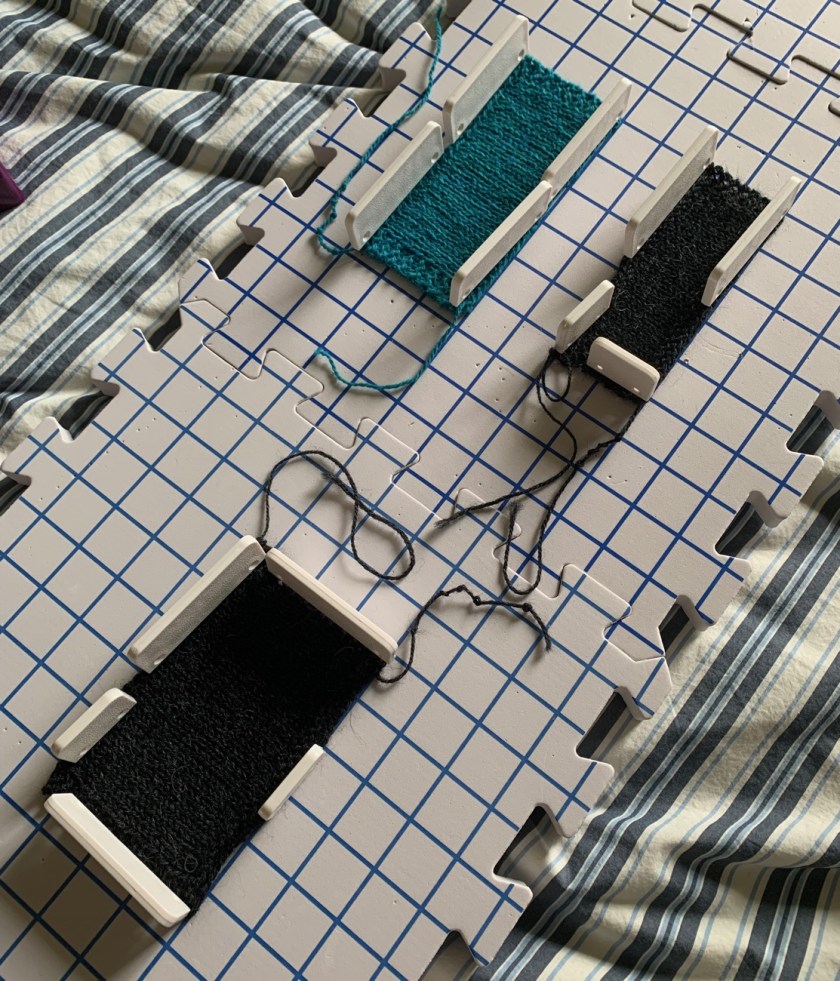
  • Knitting swatches drying
  • Harrisville Designs shetland wool

Let’s Try This Thing On!

Using fingering weight yarn to knit a sweater means lots of little stitches and many rounds of knitting. Surprisingly, to me, I was done knitting on this fun project in just a little over a months time.

Finally I have split the body at the hem which means I can get this thing tried on! Yay…!

I am very pleased. That neckline seems perfect. A bit wide, but not too wide, just as the designer promised. I did knit for one more inch on the body, stopping at around ten inches and not nine. Two more inches of hem will be added, but first I plan to knit the sleeves.

We cannot run out of yarn on the sleeves, so I want to knit them without worry. IF I run low on yarn for the body ribbing, I can order another skein and not worry if it’s not a perfect match. *No problem here. I ended up with plenty of yarn even with adding a couple of extra inches to the body length.
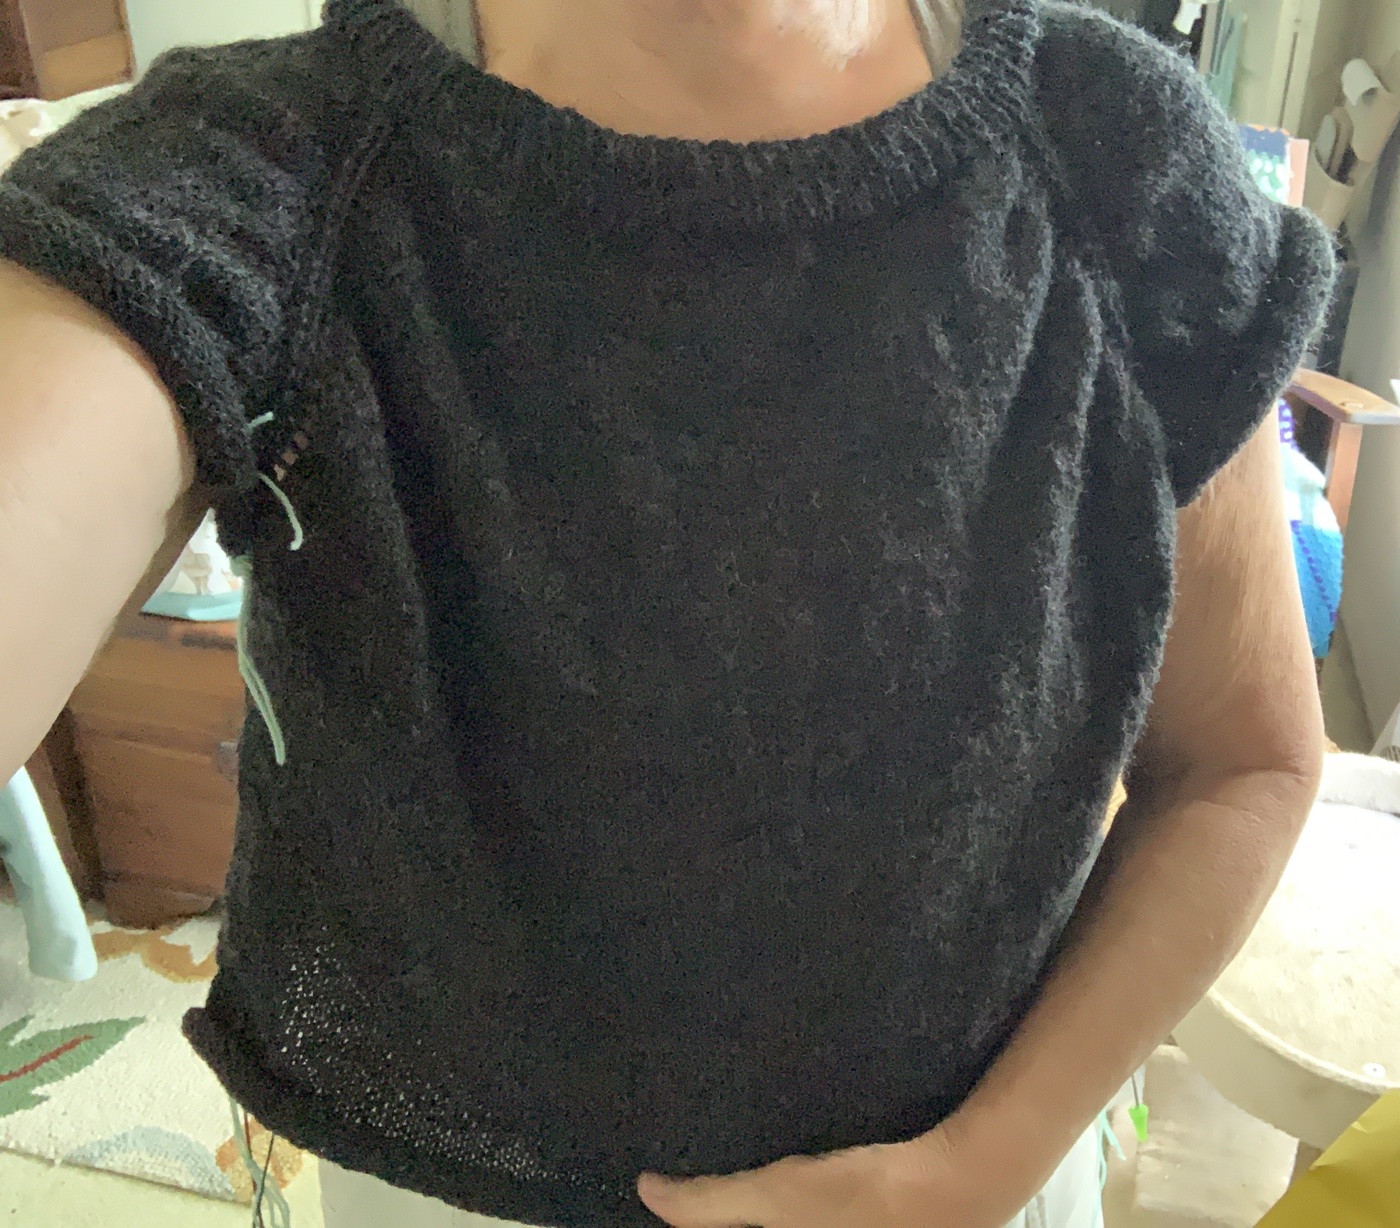
Blueberry vodka lemonade raglan sweater knitting pattern
Hem split done, time to try it on

I began knitting this sweater on July 20th and today is August 15th, so it has taken almost a month to get this much done on the BVL sweater. *Then I finished on August 29th.

A few days later, I had one sleeve knit. They are 3/4 sleeves which stay wide until just before the short cuff. I ended up liking them a lot.

Decreasing for the Cuff

The knitting round where the many decreases are made, just before the cuff, gave me pause. Then I realized that the first set of knit stitches – in the parenthesis () – is done ONE TIME ONLY to begin the round. The next set of stitches – in the brackets [] is the number of stiches to knit along with the k2tog – and this is repeated in the round. The last set of stitches is what is left at the end of the round, and they will be knit – unless there are no stitches left and you knit zero.

For example: For my size, on this decrease round, I had to knit 2, then knit 4 + k2tog for the repeat, until I had only 2 stitches left at the end of the round, which were simply knit.

knitting sleeve cuff
Sleeve cuff
knitting sweater sleeve
Sleeve 1 done

Buy the Blueberry Vodka Lemonade Pattern

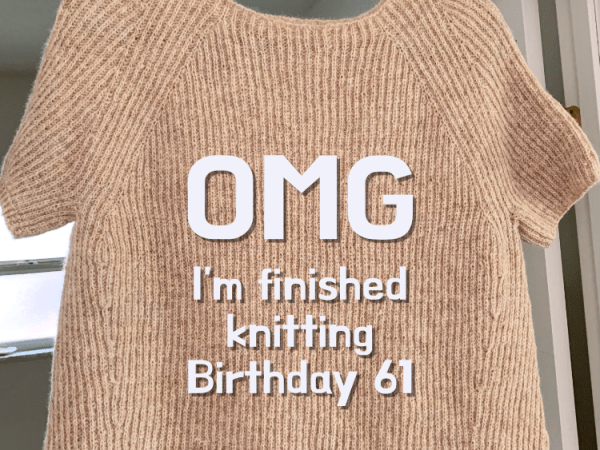
Finished and Happy

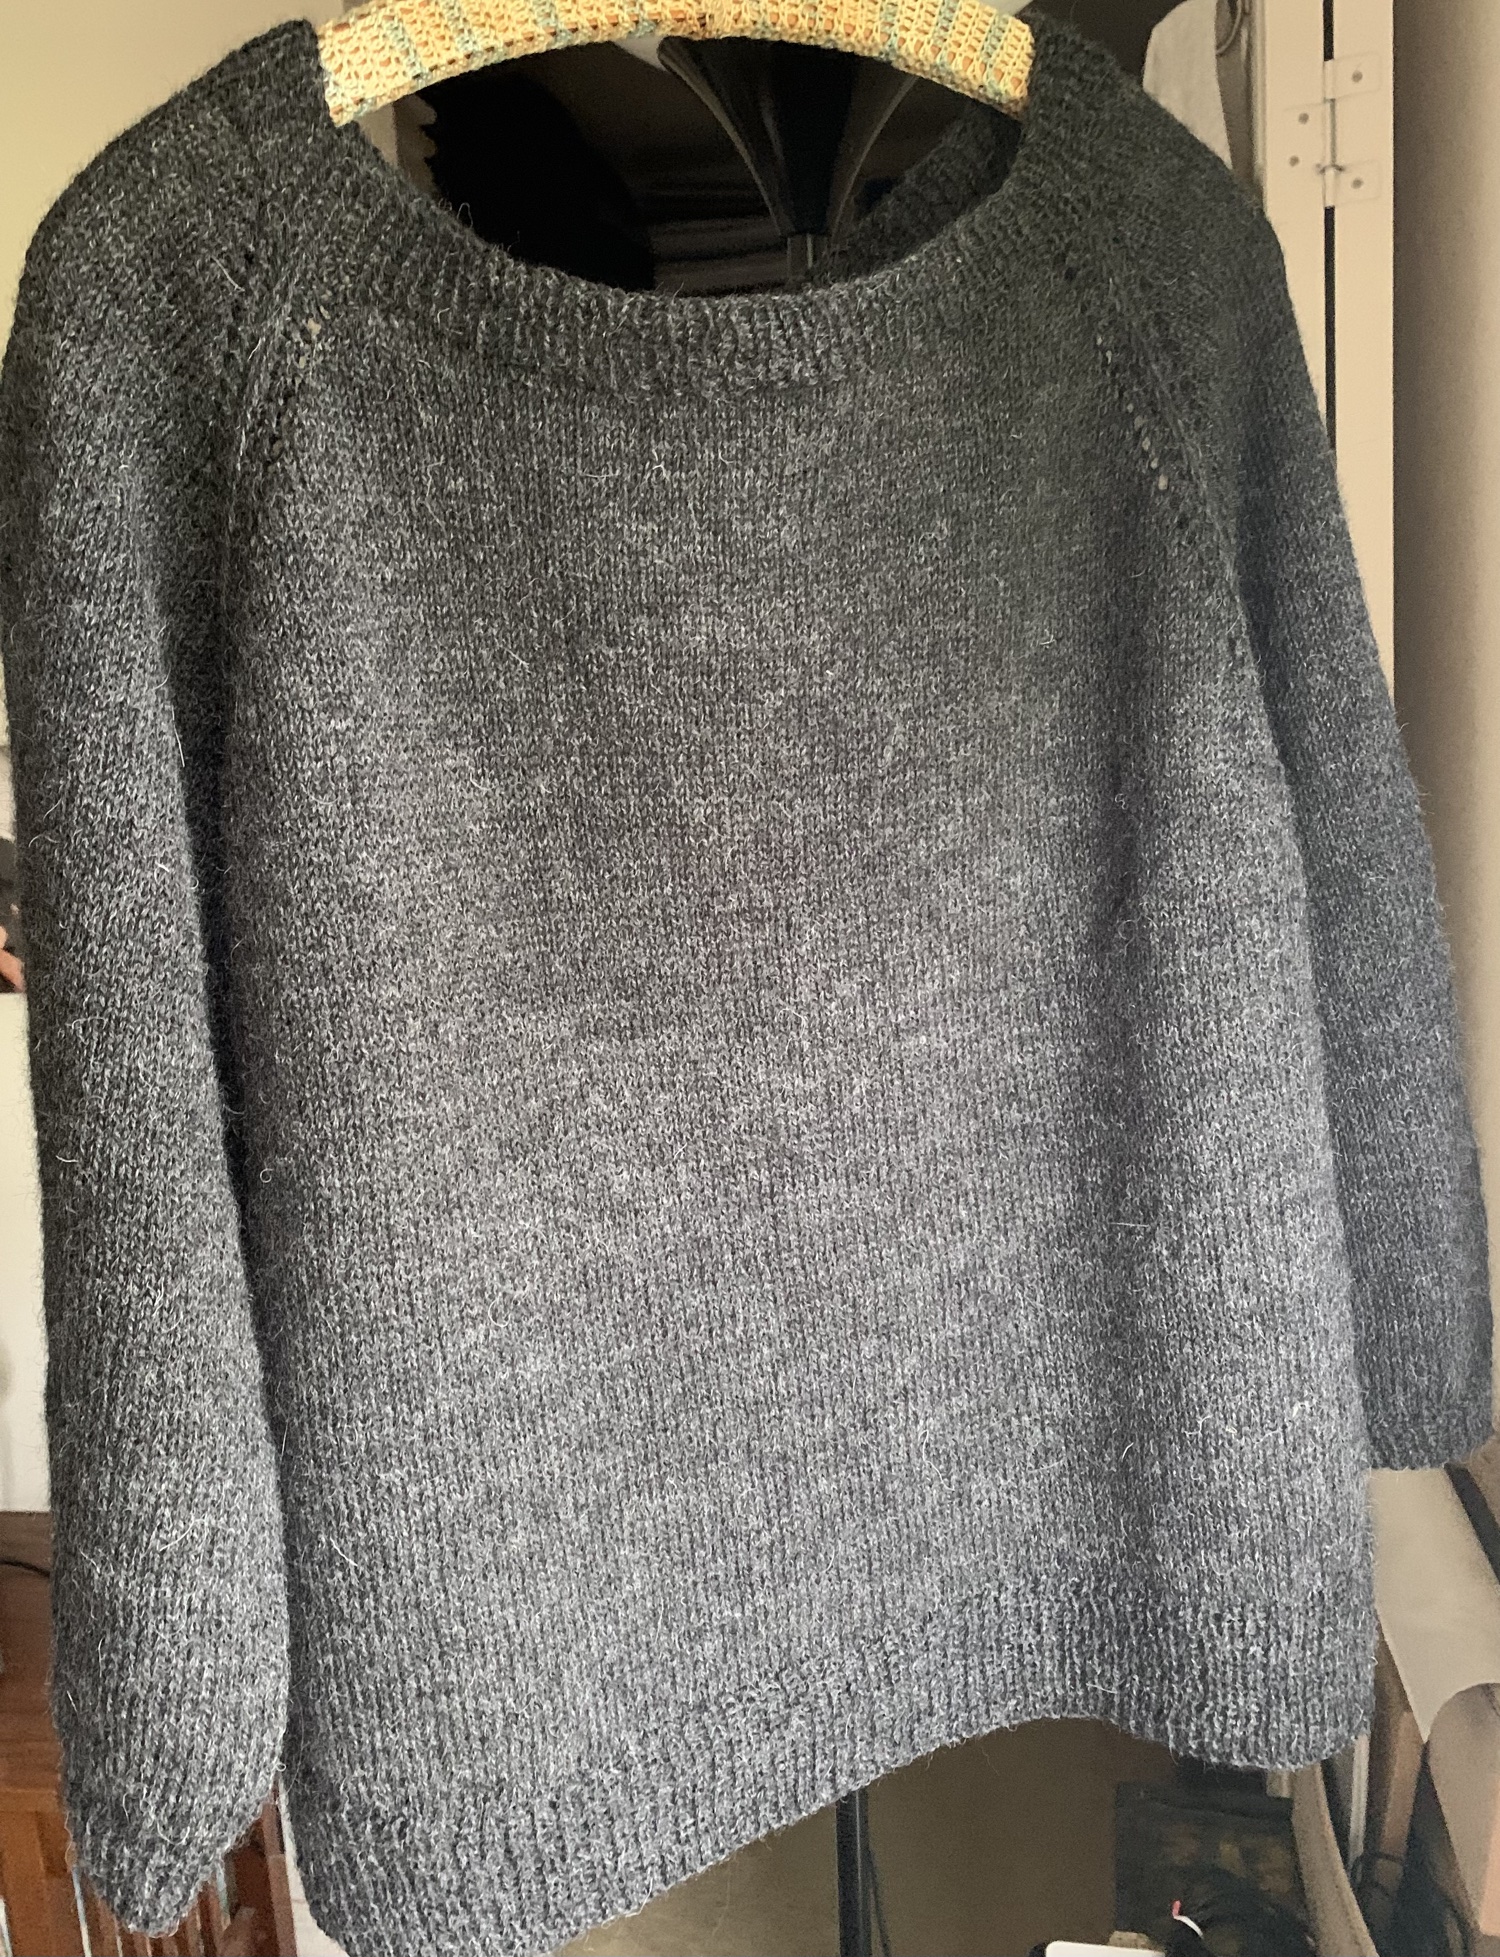
It took me about a month to finish knitting the Blueberry Vodka Lemonade sweater. I enjoyed knitting it because there was always something going on while knitting. The yarn-overs at the raglan sleeves, the texture down each side, and the bottom split rib, all added to the enjoyment.

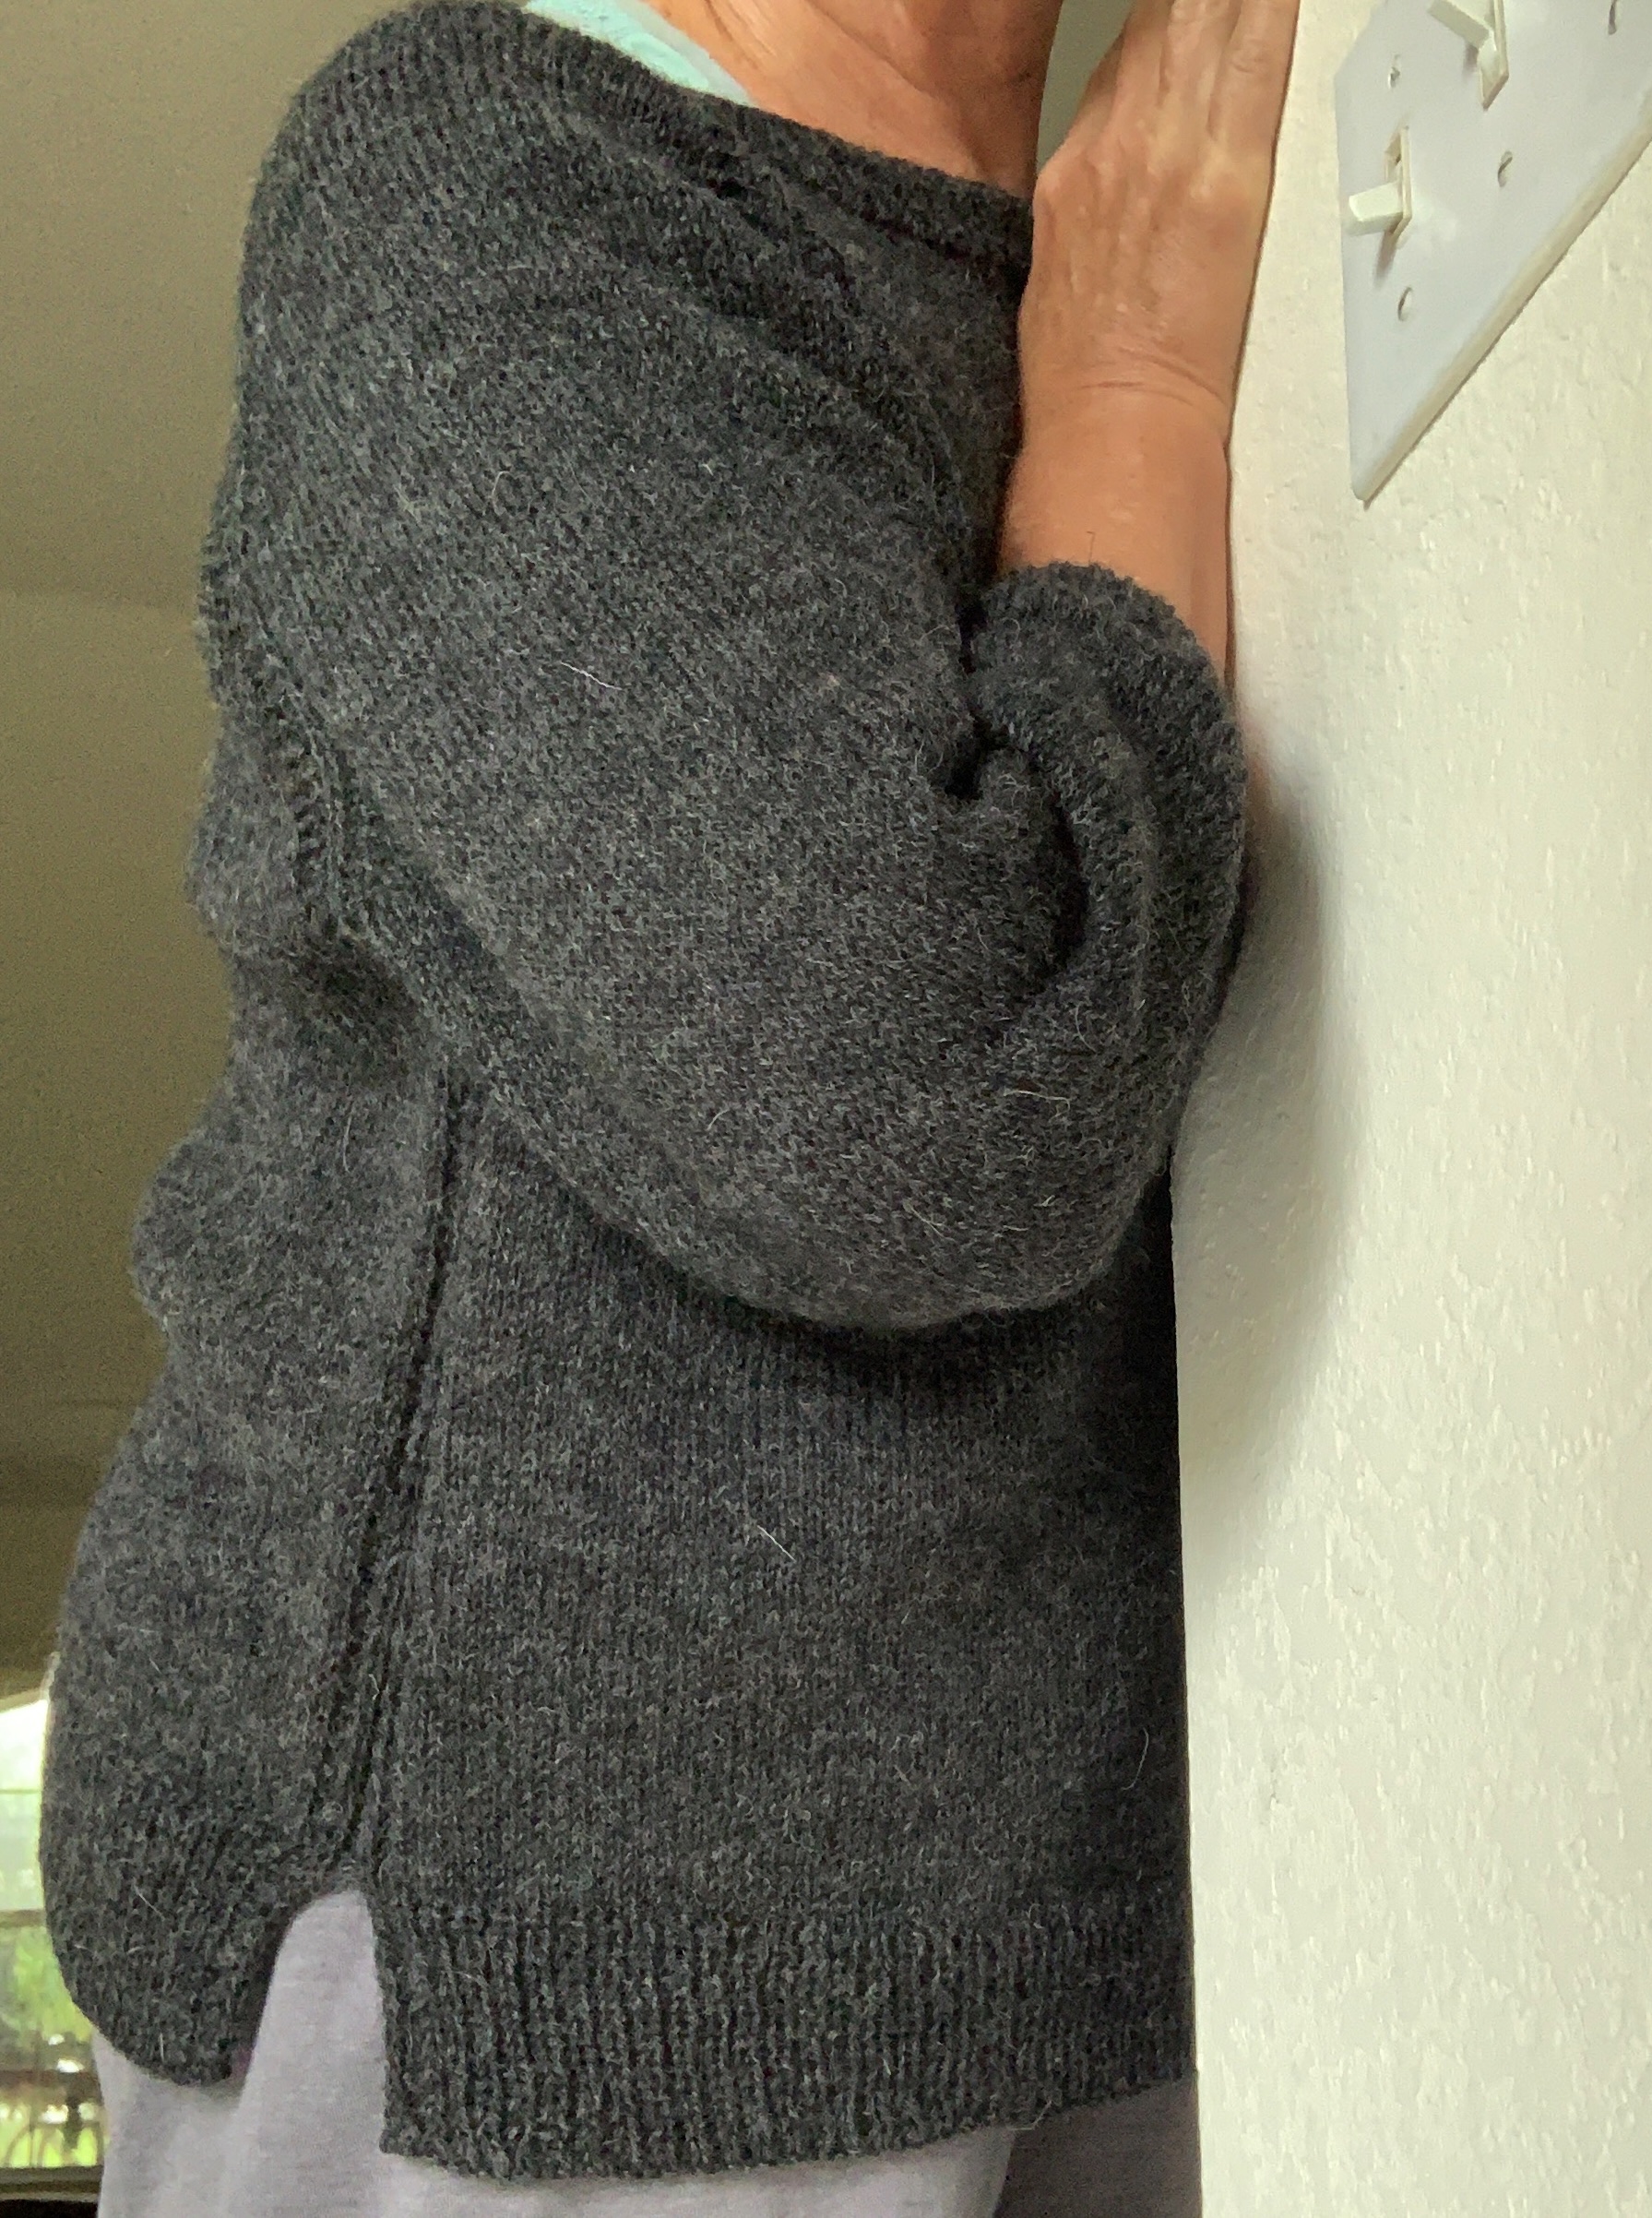
Blueberry Vodka Lemonade sweater

The sweater was dry after a day and I did a quick photo shoot. We were getting the outer bands from Hurricane Idalia, with wind and rain, so I couldn’t go outside.

I also love this yarn. It is wool, but very soft. I would compare it to Rauma, but it may actually be softer. The finished project is absolutely fabulous! I’m always amazed at much more lovely a hand-knit becomes when washed. I’m very happy with my new sweater!

I don’t often say this, because once I knit a pattern, I move on to something new, but this is a pattern I would absolutely use again.
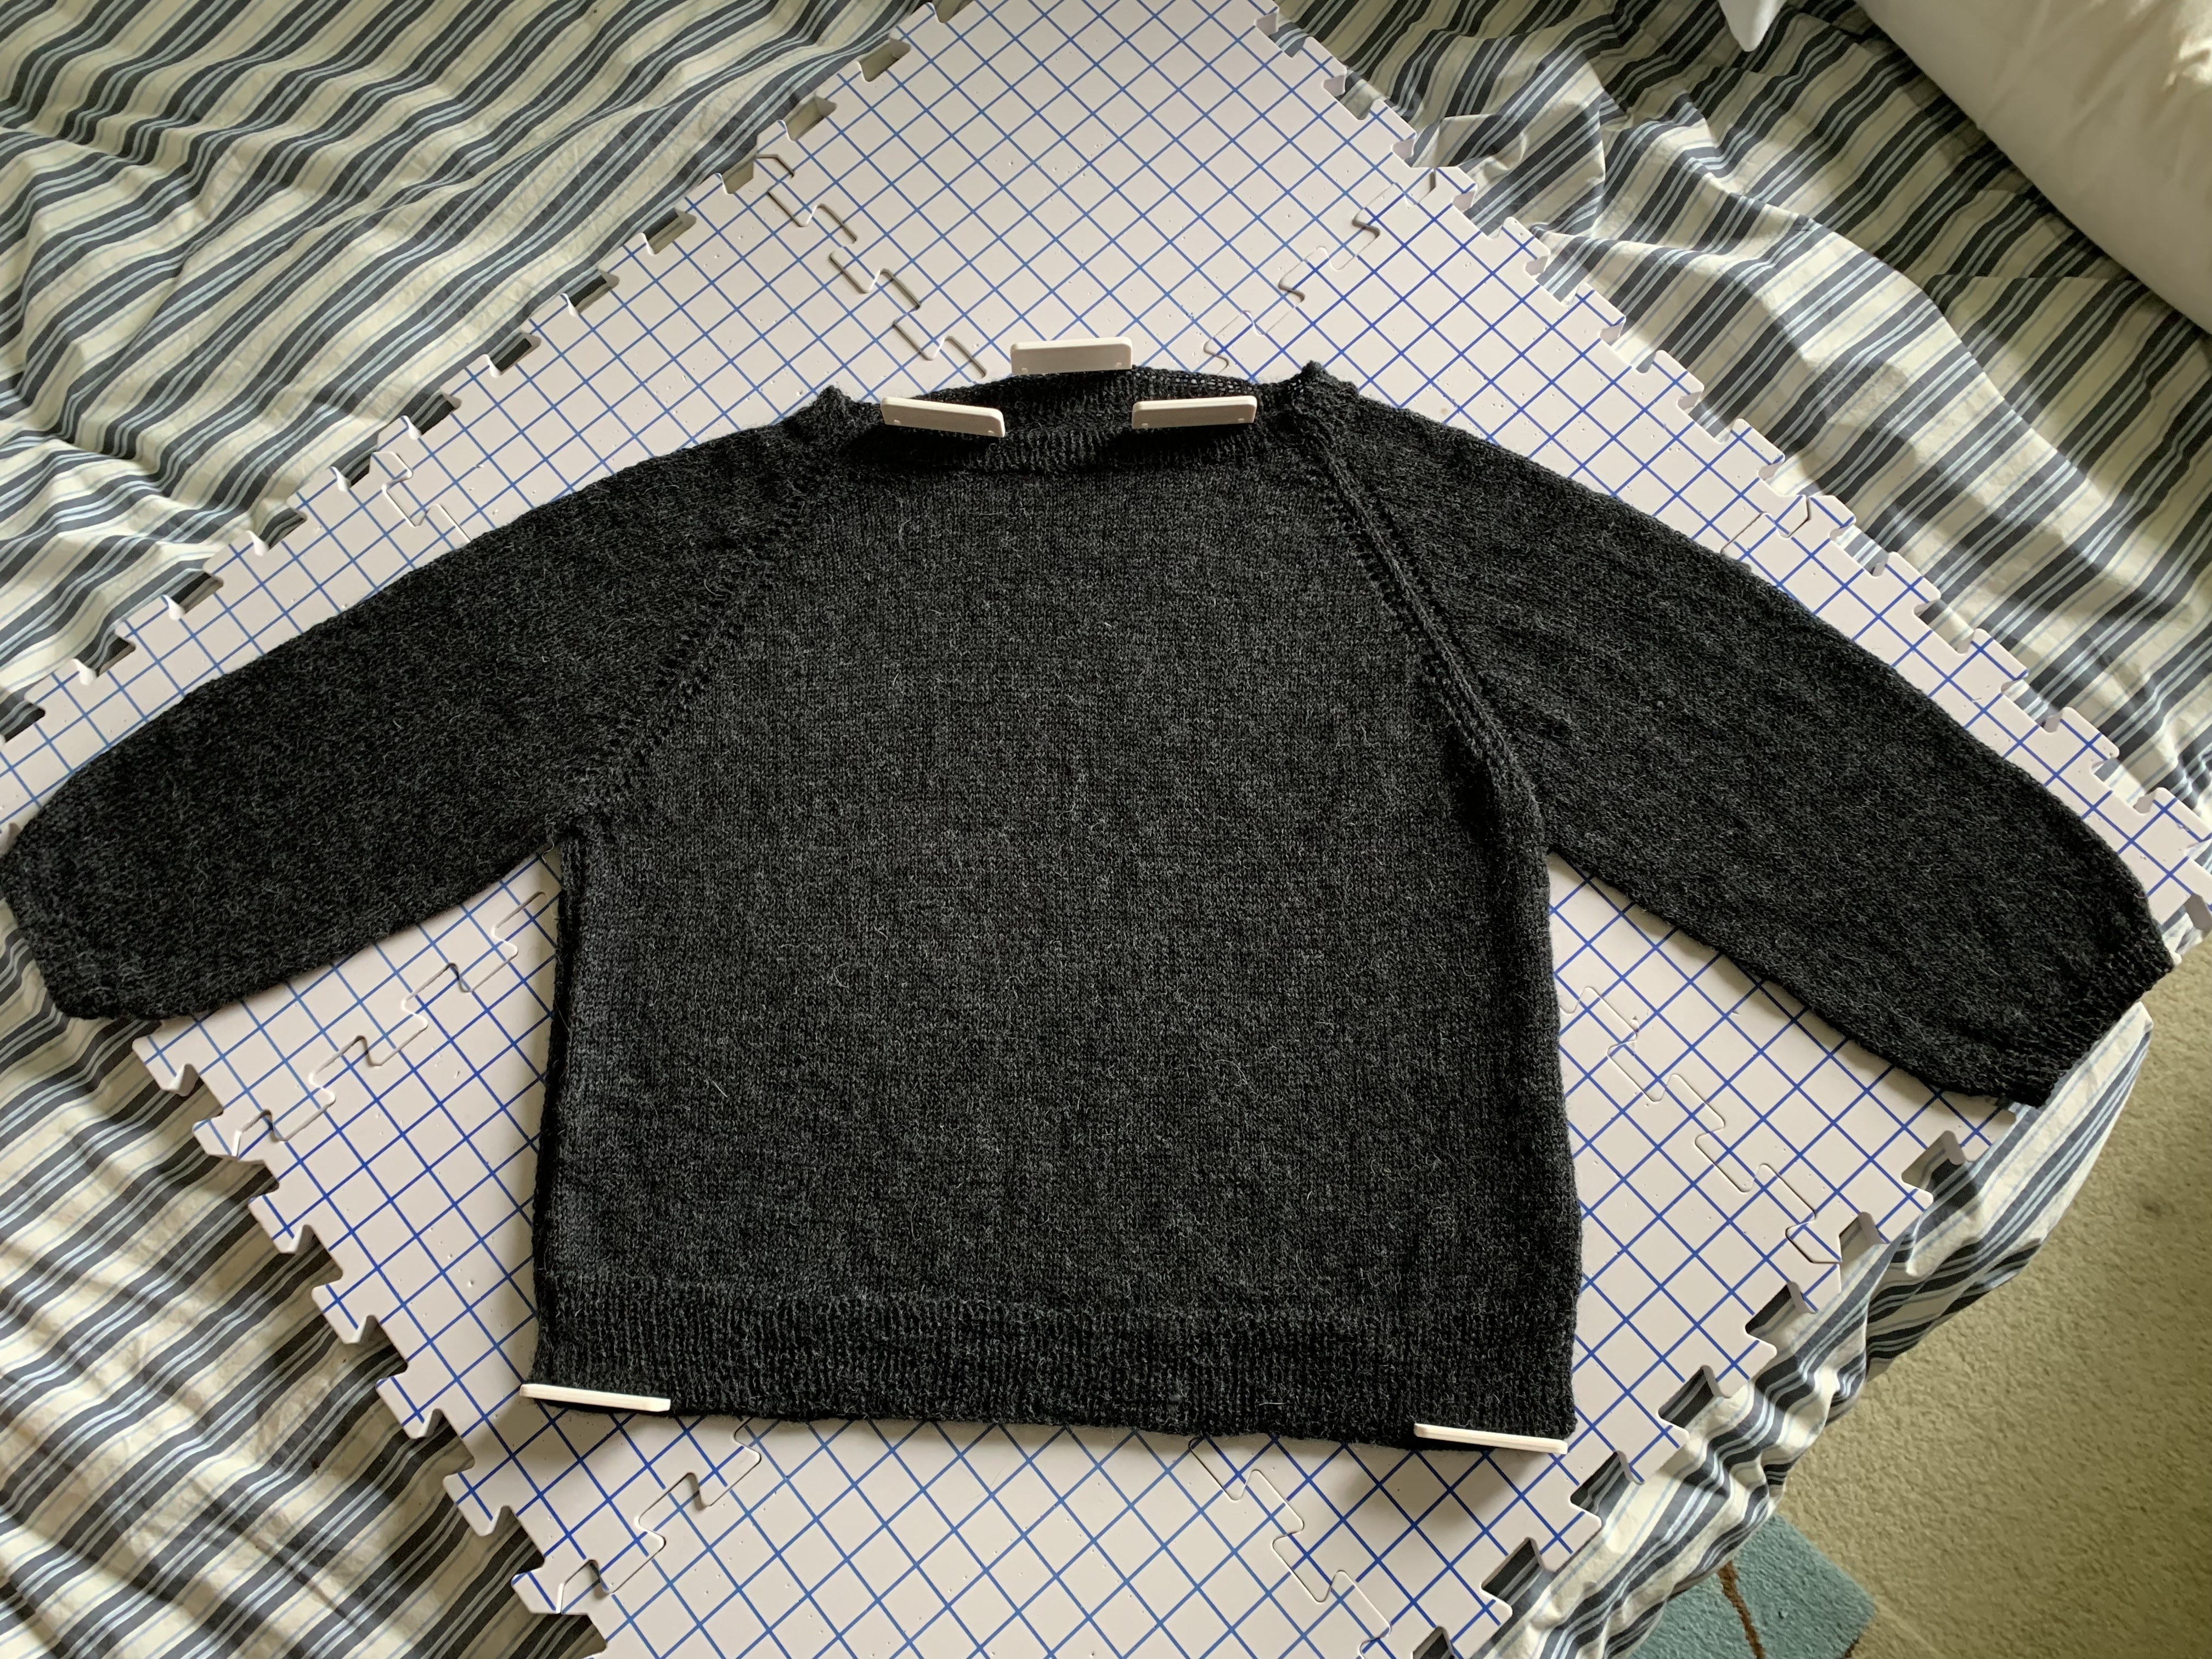
  • Blueberry Vodka Lemonade sweater

Please keep reading the blog…

If at First You Don’t Succeed

Beginning to knit a new sweater pattern called Blueberry Vodka Lemonade, but I messed up and must begin again. It happens.

The motto, “If at first you don’t succeed, try try again” is one I have in mind after casting on for a new sweater, knitting a bunch, and then goofing up badly. I was so looking forward to knitting this new sweater, but I’m not as good a knitter as I had hoped! After knitting all the way through the entire neck ribbing of a new sweater pattern…. I ripped the whole thing out.

It was totally my fault and not the pattern. In fact, this pattern is written better than any I think I have ever knit. Everything is explained in detail, with stitch counts, measurements, etc. to help the knitter. I’ve never knit a pattern by this designer (info below) but wow, I’m impressed…!

sweater neckband
Starting over

I will be starting again, but it is disappointing to get so far and then mess up. I had no hopes of going back and picking up the rib stitches because the yarn is black and difficult for me to see. It’s part of knitting life to make mistakes… it’s how we learn to fix them, or learn to deal with inevitable re-starts.

The Pattern

This new sweater pattern is named Blueberry Vodka Lemonade and is a design by Thea Colman, who is also known as Baby Cocktails in the knitting world. I love the look of this pullover knit in raglan style, with split hem, and 3/4 sleeves. My last project (the Lakeland Tee) also had a split hem, and I really like the look.

The Yarns I Chose

I searched for a while before I settled on two yarn types I wanted to try. I’ve never used either before.

First, a beautiful black, fingering yarn by Sandnes Garn: Tynn Peer Gynt, which comes from Norway. It is really lovely.

The gorgeous turquoise blue yarn is color “Peacock” and is Shetland wool from Harrisville Designs. Another beautiful yarn, which is spun in New Hampshire. I have visited Harrisville Designs, as I lived in NH for many years.

The Shetland seems a bit heavier for a fingering weight. On the other hand the Peer Gynt seems pretty thin.

skeins of wool yarn Shetland by Harrisville Designs, color Peacock and black Sandnes Garn Peer Gynt.
New yarn order

The Swatches

Because the pattern calls for a size 5 needle for the main part of the knitting, I did two different swatches with that size. Both were too large. So, I knit up a shorter swatch with the black yarn using a size 4 needle. It was perfect. Usually I knit a larger swatch but I didn’t want to use up the yarn.

(I had to wind the Shetland, by hand over my knees, and it was very easy to do so.). The black yarn does not need winding. I pulled from the outside.

Knitting swatches drying
Swatches

Messing Up and Making Changes

I want to follow this pattern as it is written, so I used a needle one size larger for the neckband. I knit all the way through the set up row – for the raglan and then my issues began.

When I re-knit this, and I will soon, I plan to switch to the smaller (main) needle on that “knit around one row”. I found it difficult to switch needles while knitting short rows and making the lacy parts at the raglan. I kept getting confused as to which needle I should be using. This is probably just me and my inexperience.. AND the fact that I did something really stupid. When I made the short row turn, I began following the wrong part of the directions (mark your place !!!! – I’m yelling at myself here).

Once I did it incorrectly – with the yarn overs and such, I totally could not go back without making a mess. AND that dark yarn didn’t help … so difficult to see.

Before I gave myself some kind of stroke, I just pulled the needles out and said, “Oh well, I guess I’ll start over”. Keep calm and carry on… and all that. I’ll cast on again later today.

If you plan to knit this sweater, you will need to be good at yarn overs (YO) as that is how the open holes along the sleeves will be made. Purl Soho has a nice, short, to-the-point video to help with that. See it here if you need help: https://youtu.be/n6Bpde5wihE

cat and yarn image

More Knitting Stories on the Blog

Knitting a Man’s Sweater in Bulky Yarn

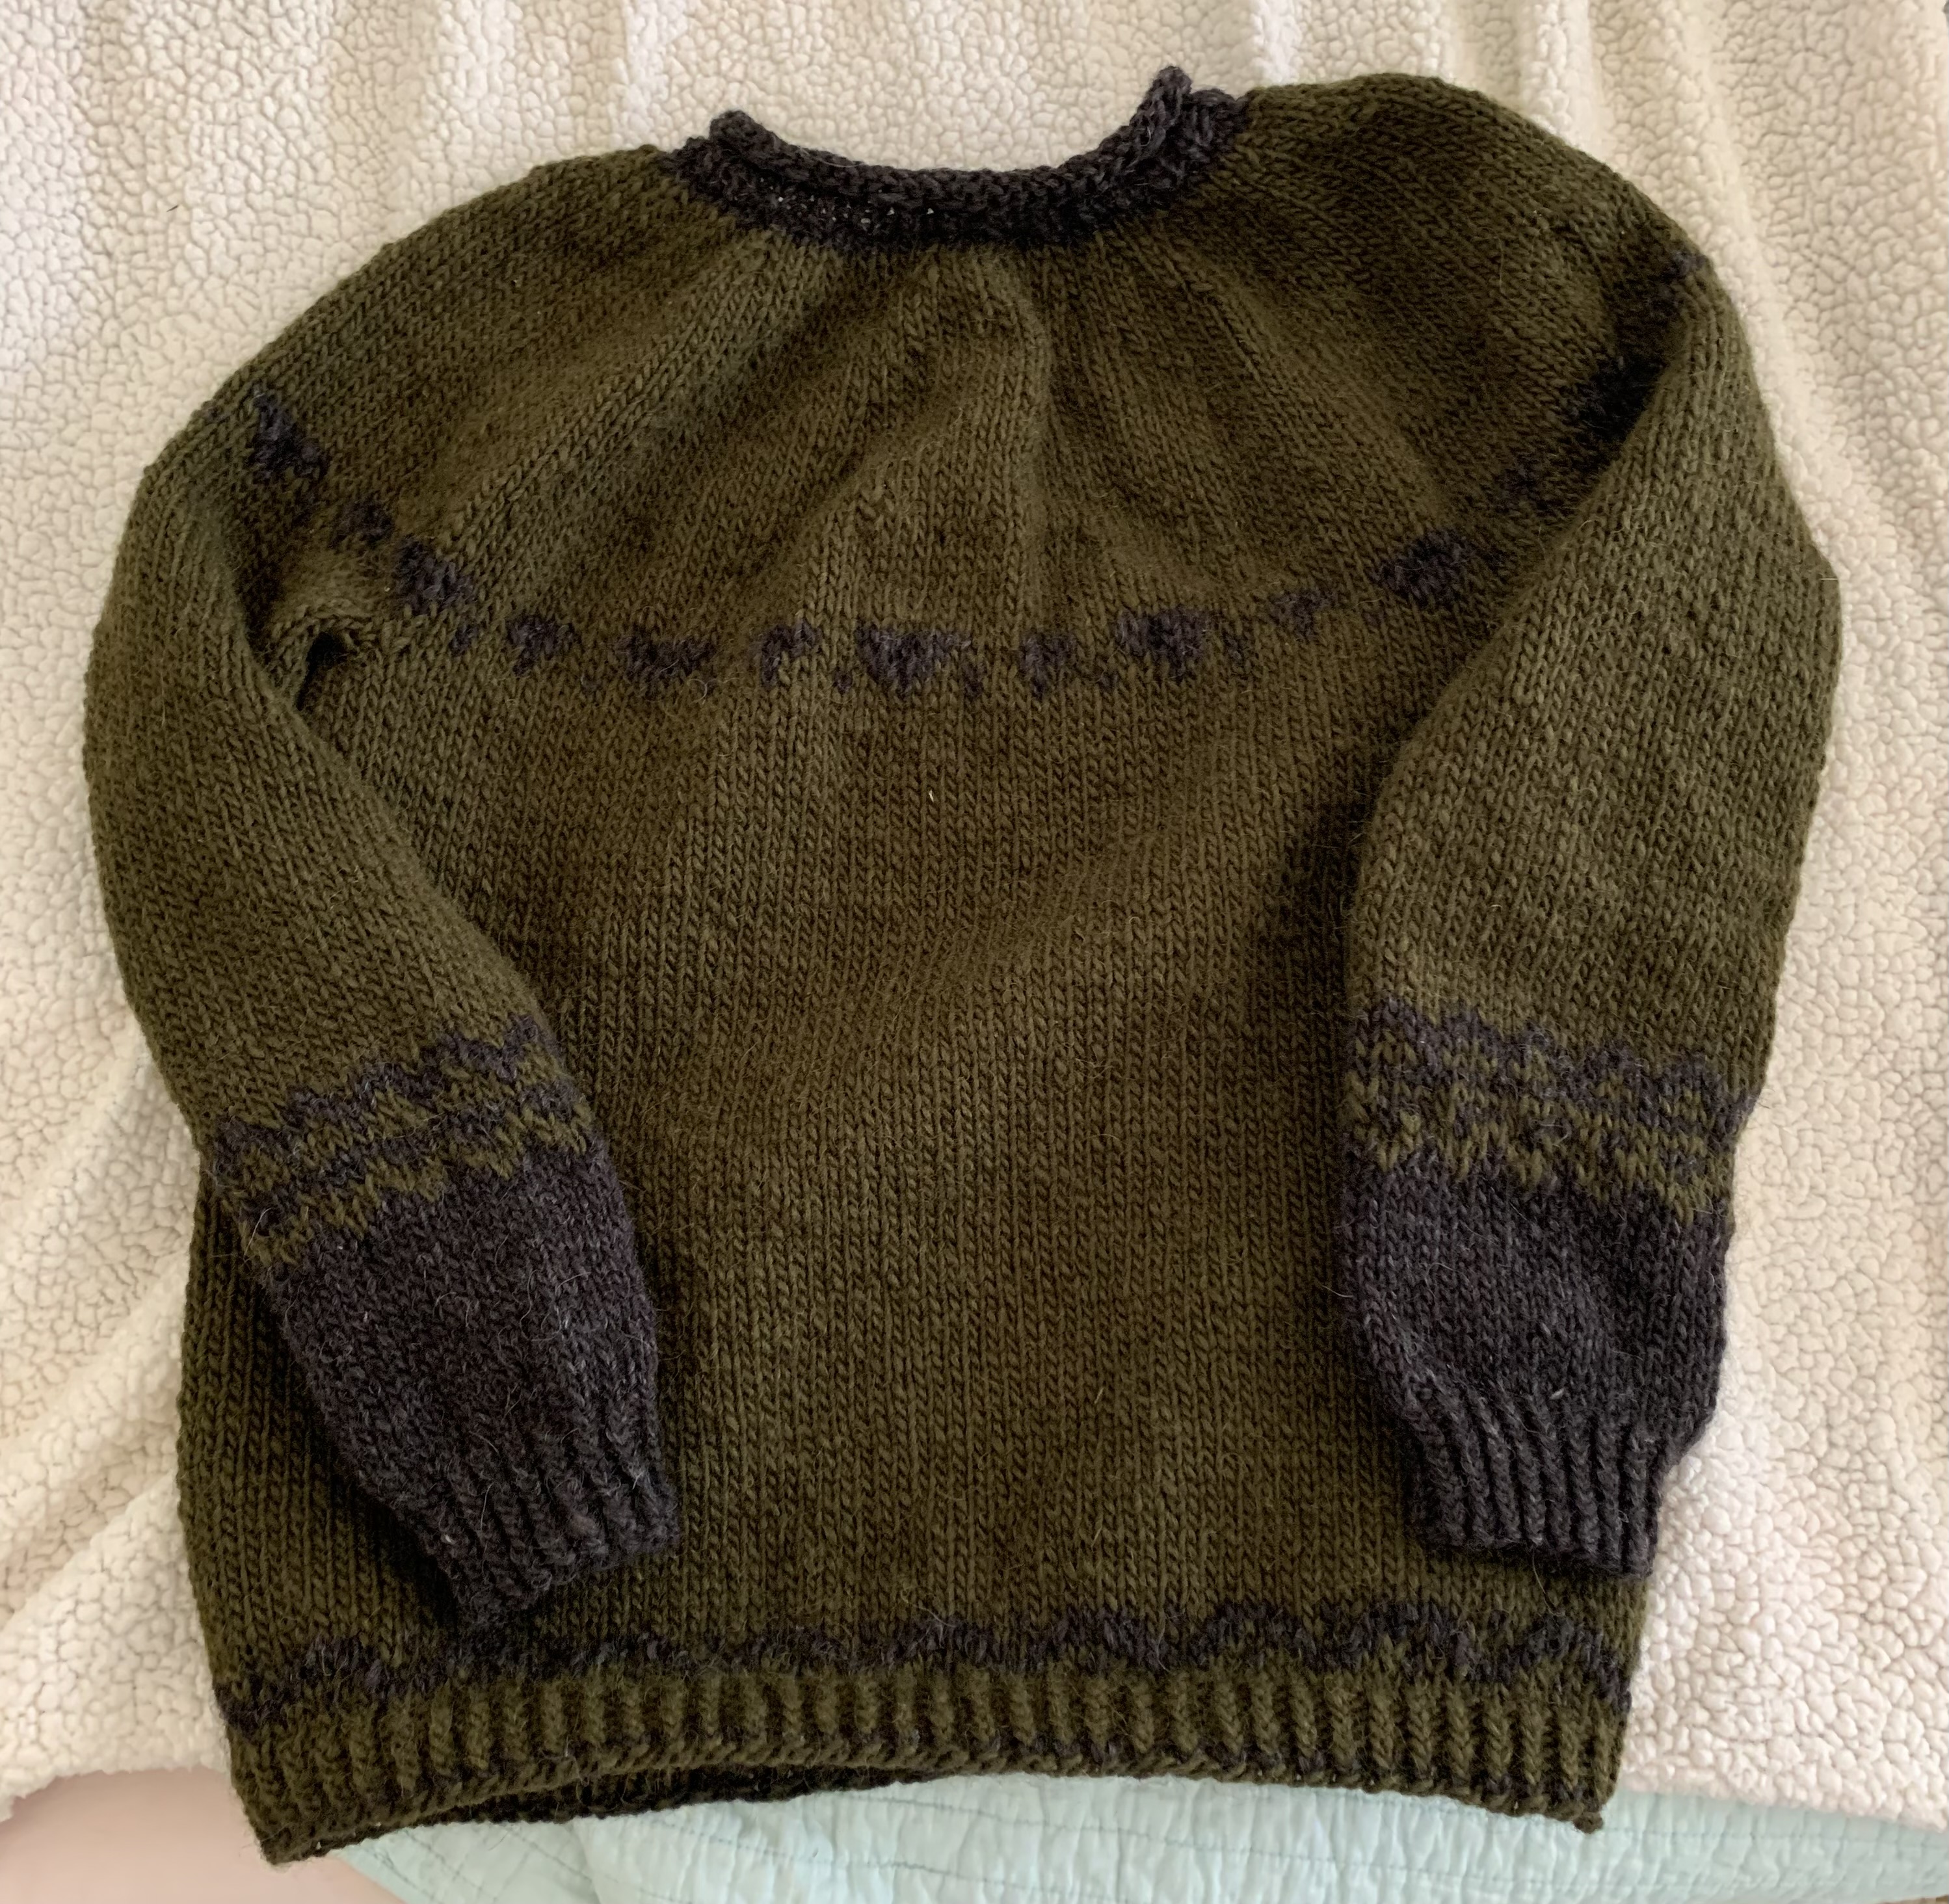
This bulky wool yarn sweater was knit loosely from the Joker pattern in the Lopi 41 book. It is made in a size XL for a man.

The warmest sweaters are knit with wool but caring for wool is not so simple. My son lives in a cold climate and I’ve wanted to make him something warm. I know he will never hand wash anything in a sink. So, finally I told him that he will never have to wash the sweater. If it gets a spill, rinse the spot and let it dry.

If he always wears the sweater over other clothing, it should be fine.

I’ve been looking for some simple sweater patterns that men would wear.

I’ve settled on the Joker pattern in the Lopi 40 pattern book – Ravelry page here. The pattern uses bulky Alafosslopi yarn which creates a nice thick sweater that will knit up quickly. I don’t plant to do all that colorwork on the yoke because my kids like subtle, dark colors. I’ve used Alafosslopi to knit the Carbeth Cardigan, which had no colorwork. And honestly I found that knitting stranded with two hands was a bit tough to do with this yarn.

Gauge Swatch and Casting On

My gauge is goo with needle recommended. I knit with a couple of black stripes with the main color green to see how well that worked. When there is a long cast-on like the beginning of the body, I do a two-stranded cast on using yarn from two skeins. That way I won’t have to worry about running our of yarn for the Old Norwegian cast on.

Yarn Amounts Used

In the end, this is approximately how much yarn was used. Eight skeins total needed to knit size XL if done in one color.

  • Alafosslopi Green – 6 + a little
  • Alafosslopi Black – 1 + a little

The Joker pullover is knit from the bottom up. Then the sleeves and body are attached and a colorwork yoke is knit. I was not looking for a colorwork pattern, and ended up not doing much of it.

The Joker pattern is pretty straightforward for anyone who is used to knitting a sweater, but does not go into detail. Directions are in cm which I had to convert. Under the sleeves, the armpits have Kitchener stitch to close up the hole.

One note that I hope will be helpful to others, and to myself for next time, is to do a very stretchy bind-off around the neck. I had to rip back and re-do the neck. Binding off loosely is not enough. The neckline curls under so the bind-off is hidden.

How I did the stretchy bind-off: Like this video by Andrea Mowry, EXCEPT I only did 2 stretchy style, then did 2 regular style. I’ve found that doing the stretchy bind-off all the way around will often make that last row way too loose. So I alternated and it turned out great.

Stretchy bind off alternating: Knit one, bring yarn over needle to add another stitch. Knit one – 3 stitches on the right needle. Pass the first two over the last stitch to leave one on the right needle. Do this twice, then do a regular knit one, pass the first stitch over (twice).

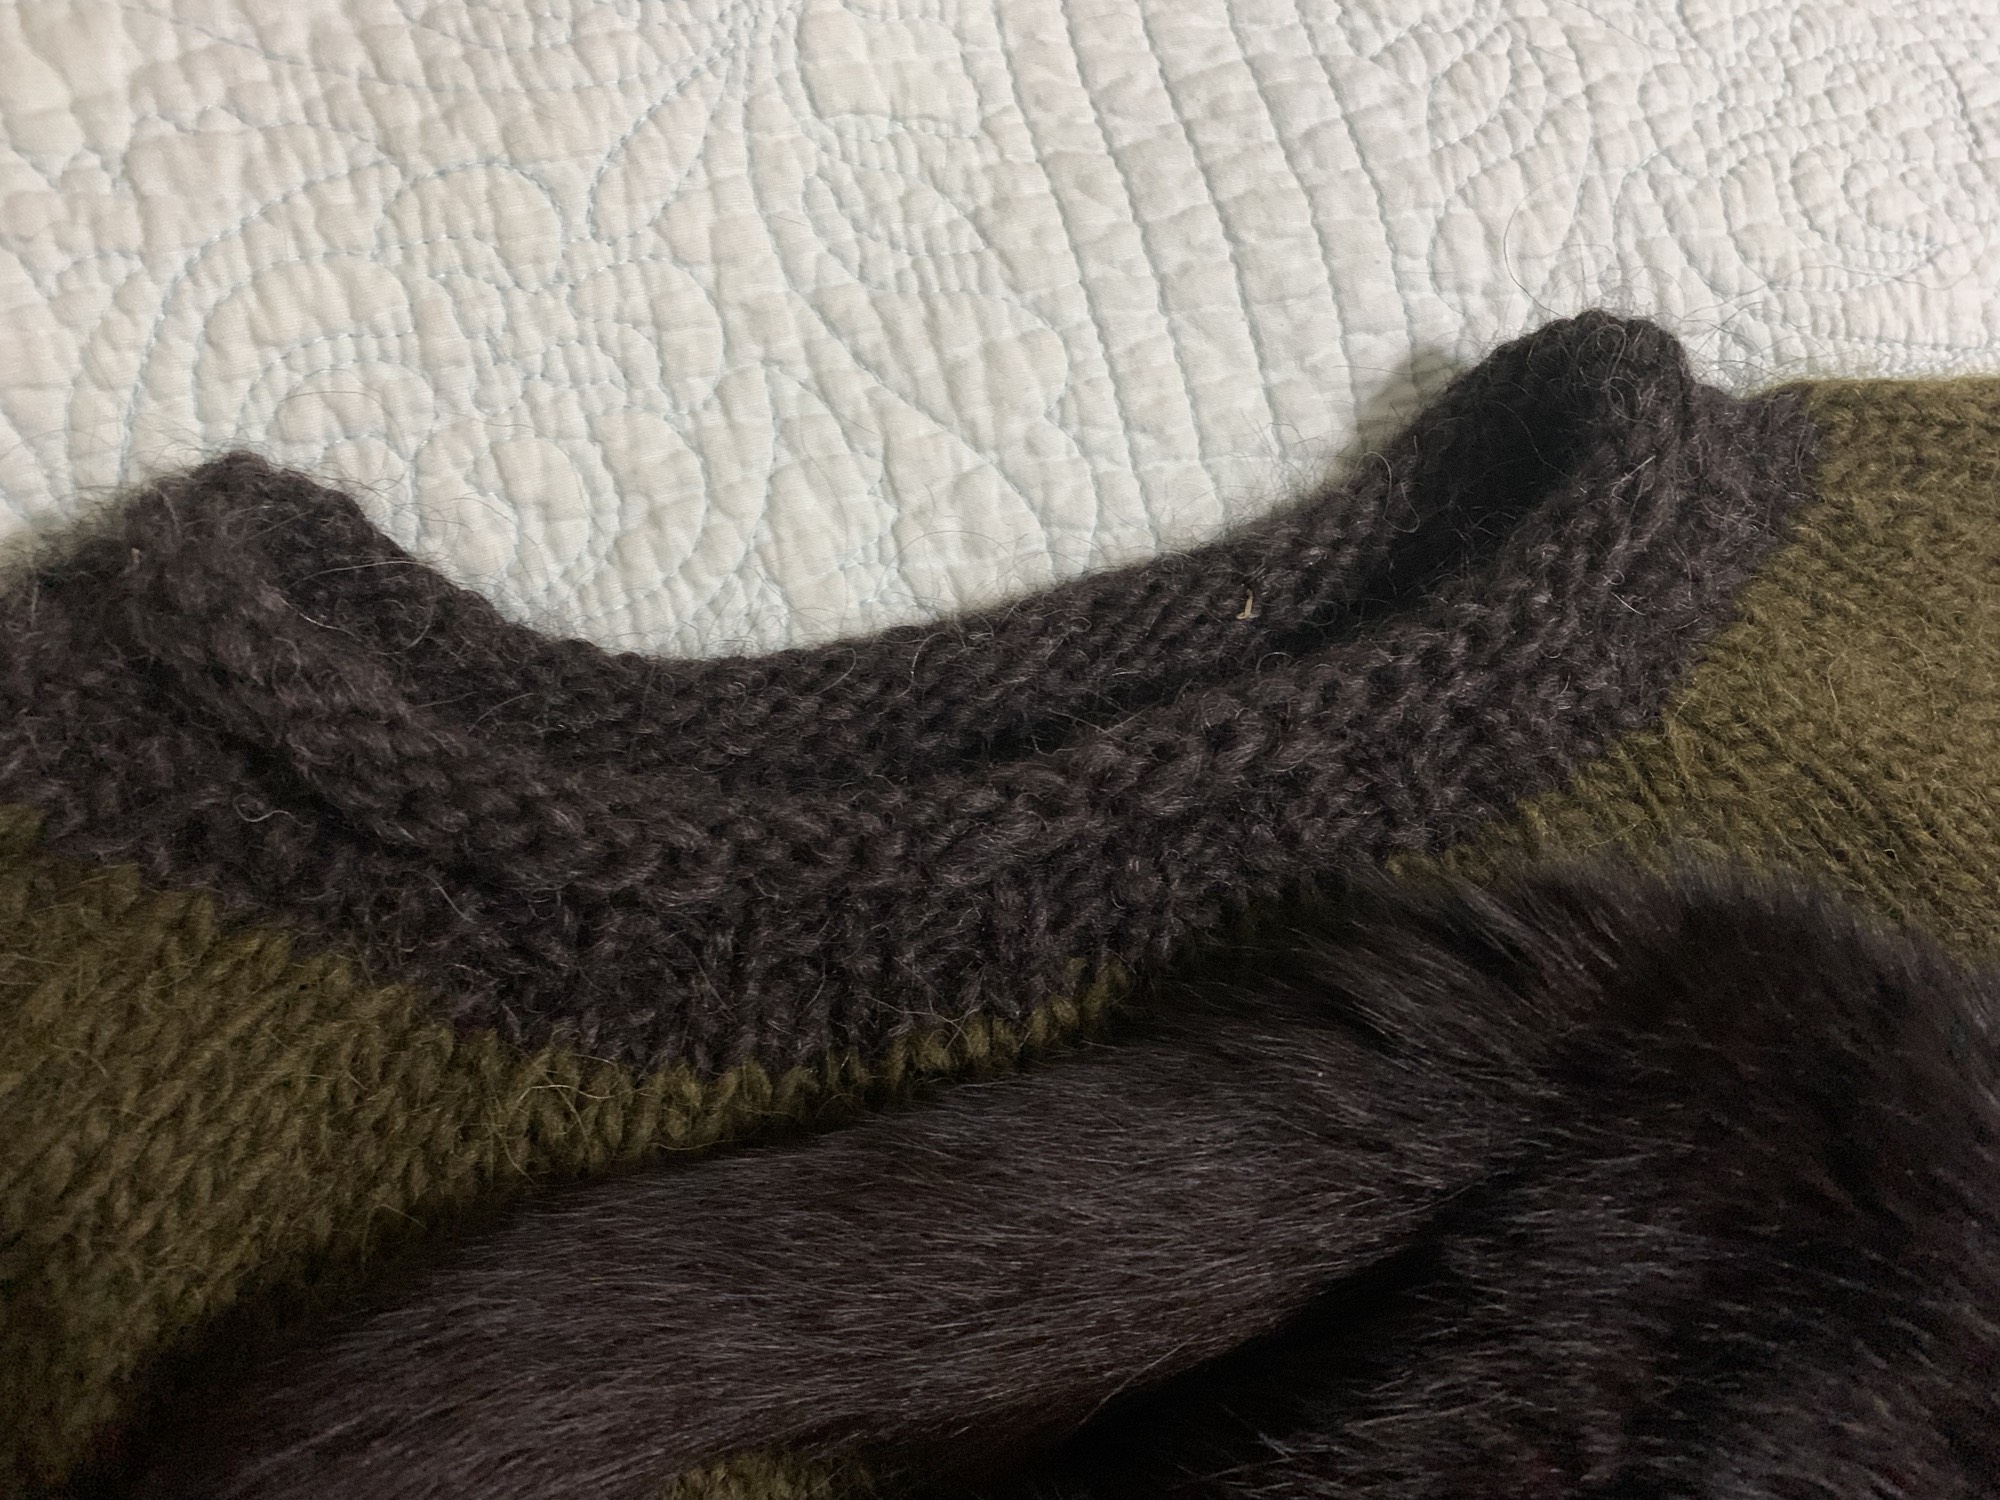
Joker sweater rolled collar

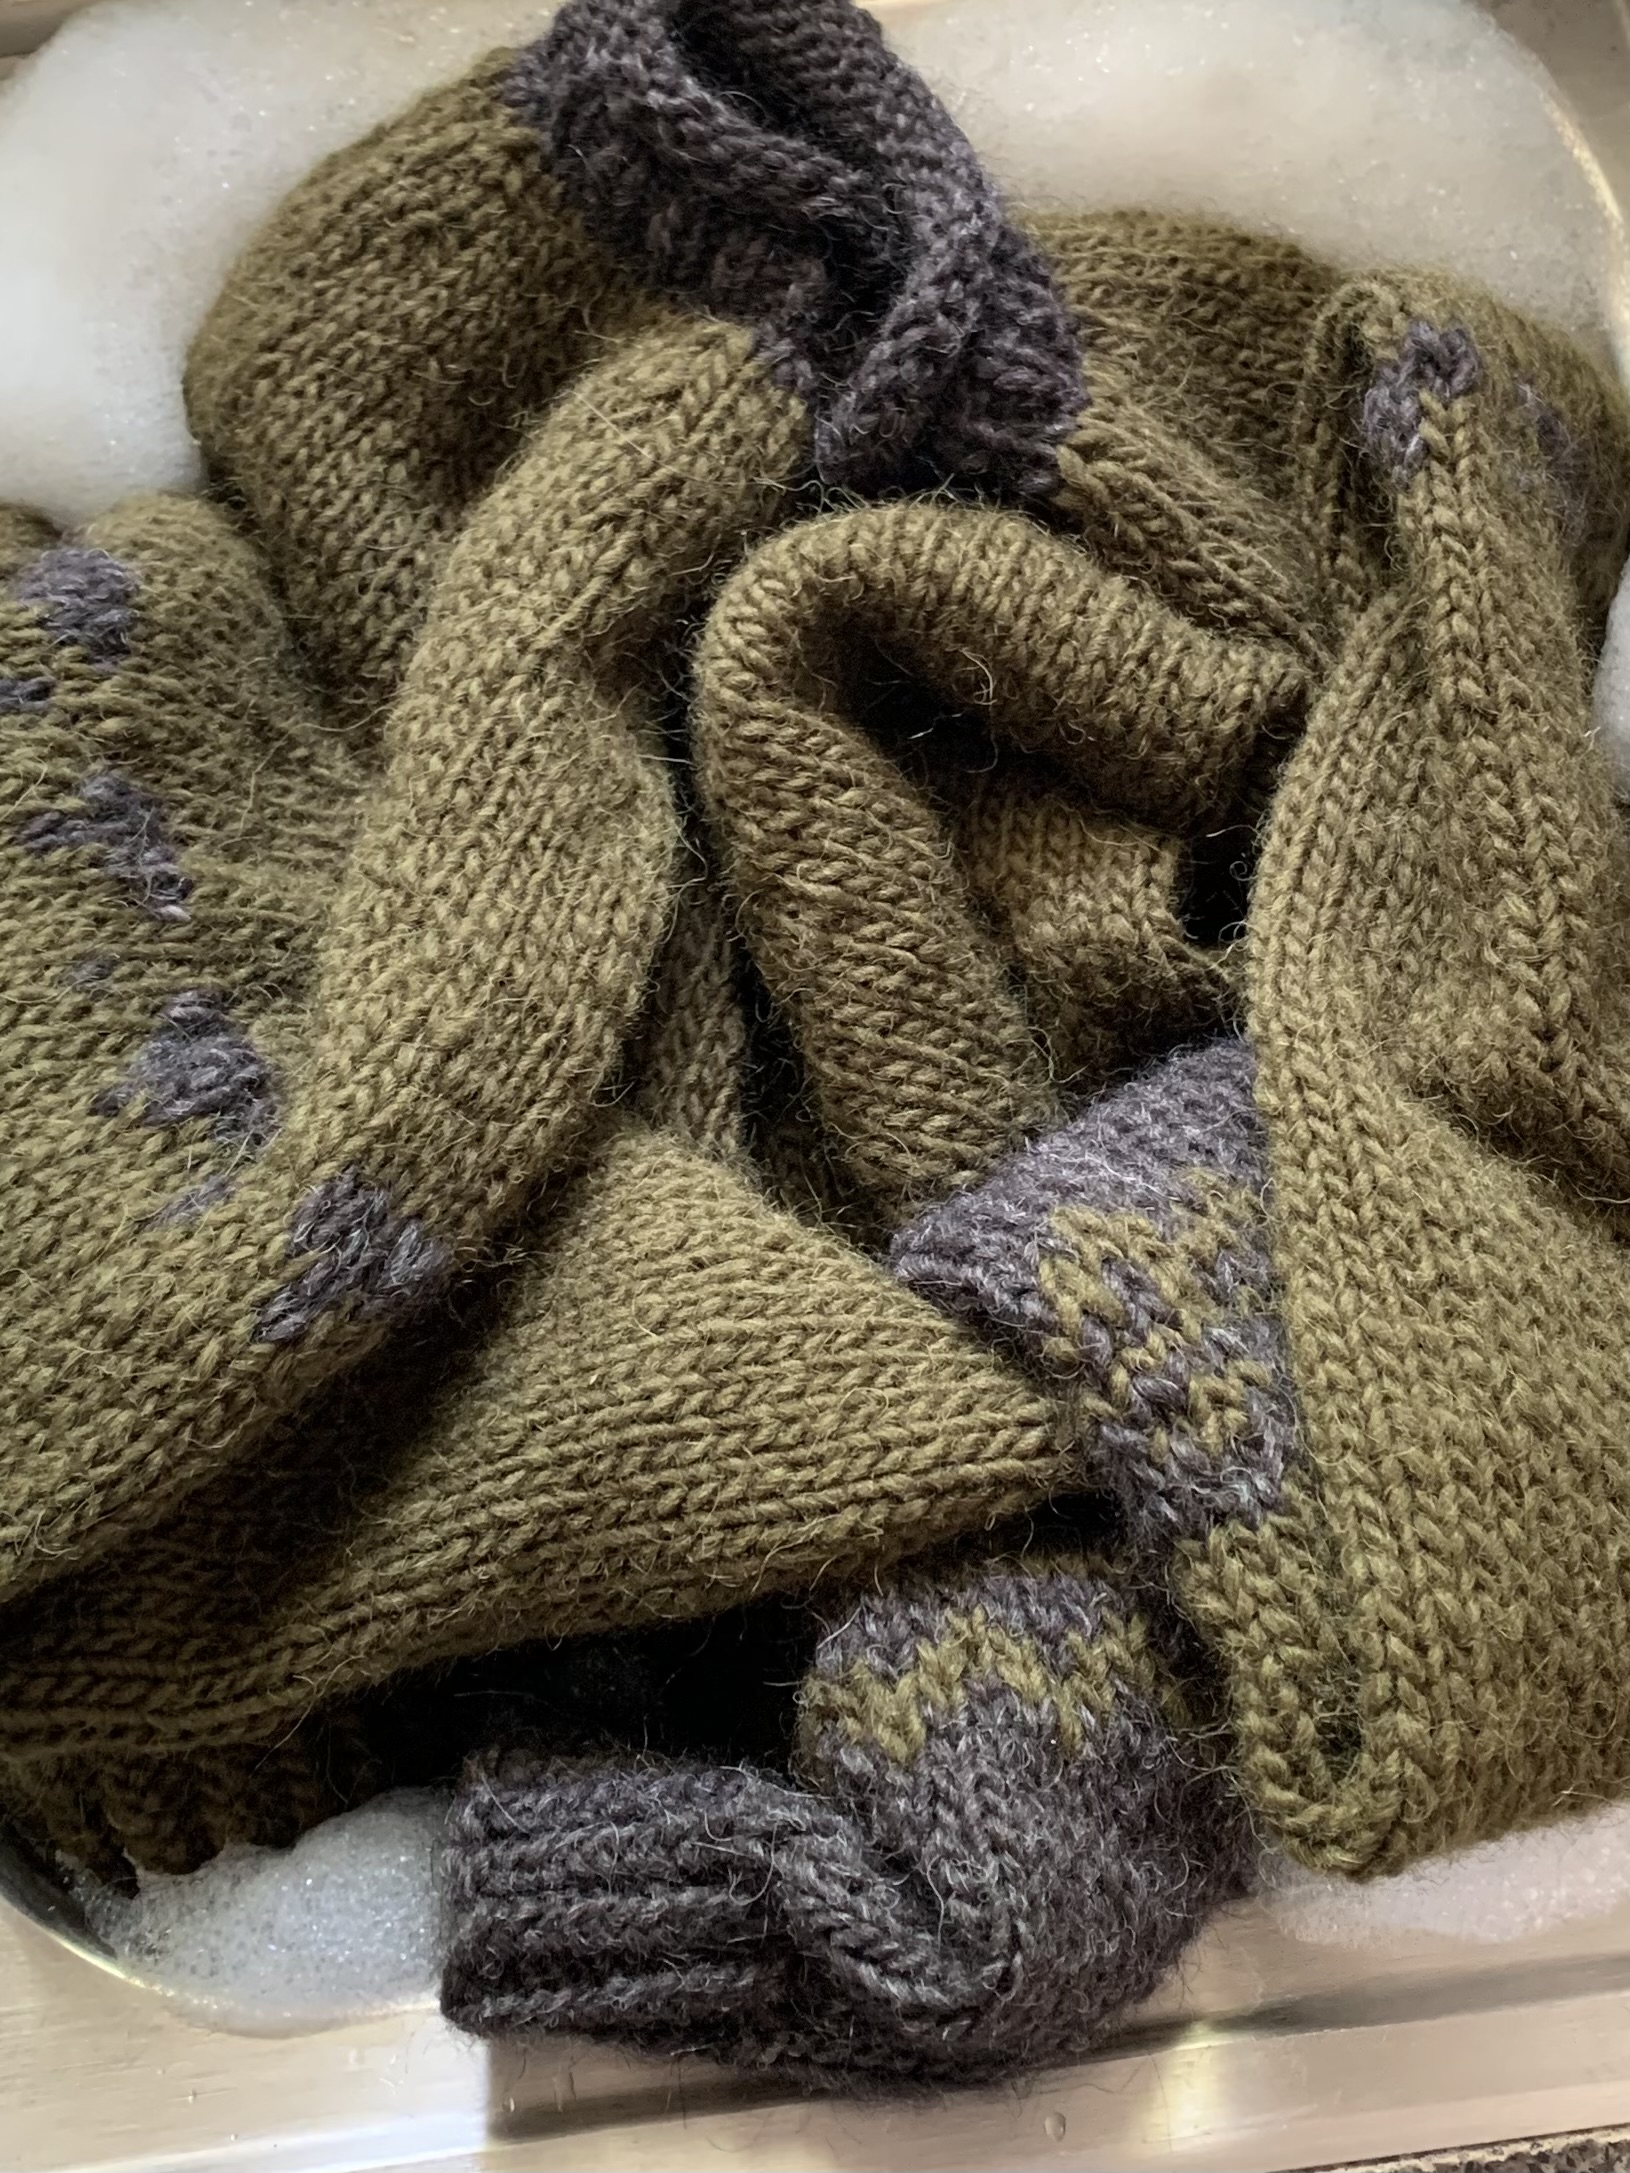
We went camping for a couple of days at Long Point Campground, and the sweater was still damp when we returned home! It had been drying for 4 days! So I put the dehumidifier on which helped.

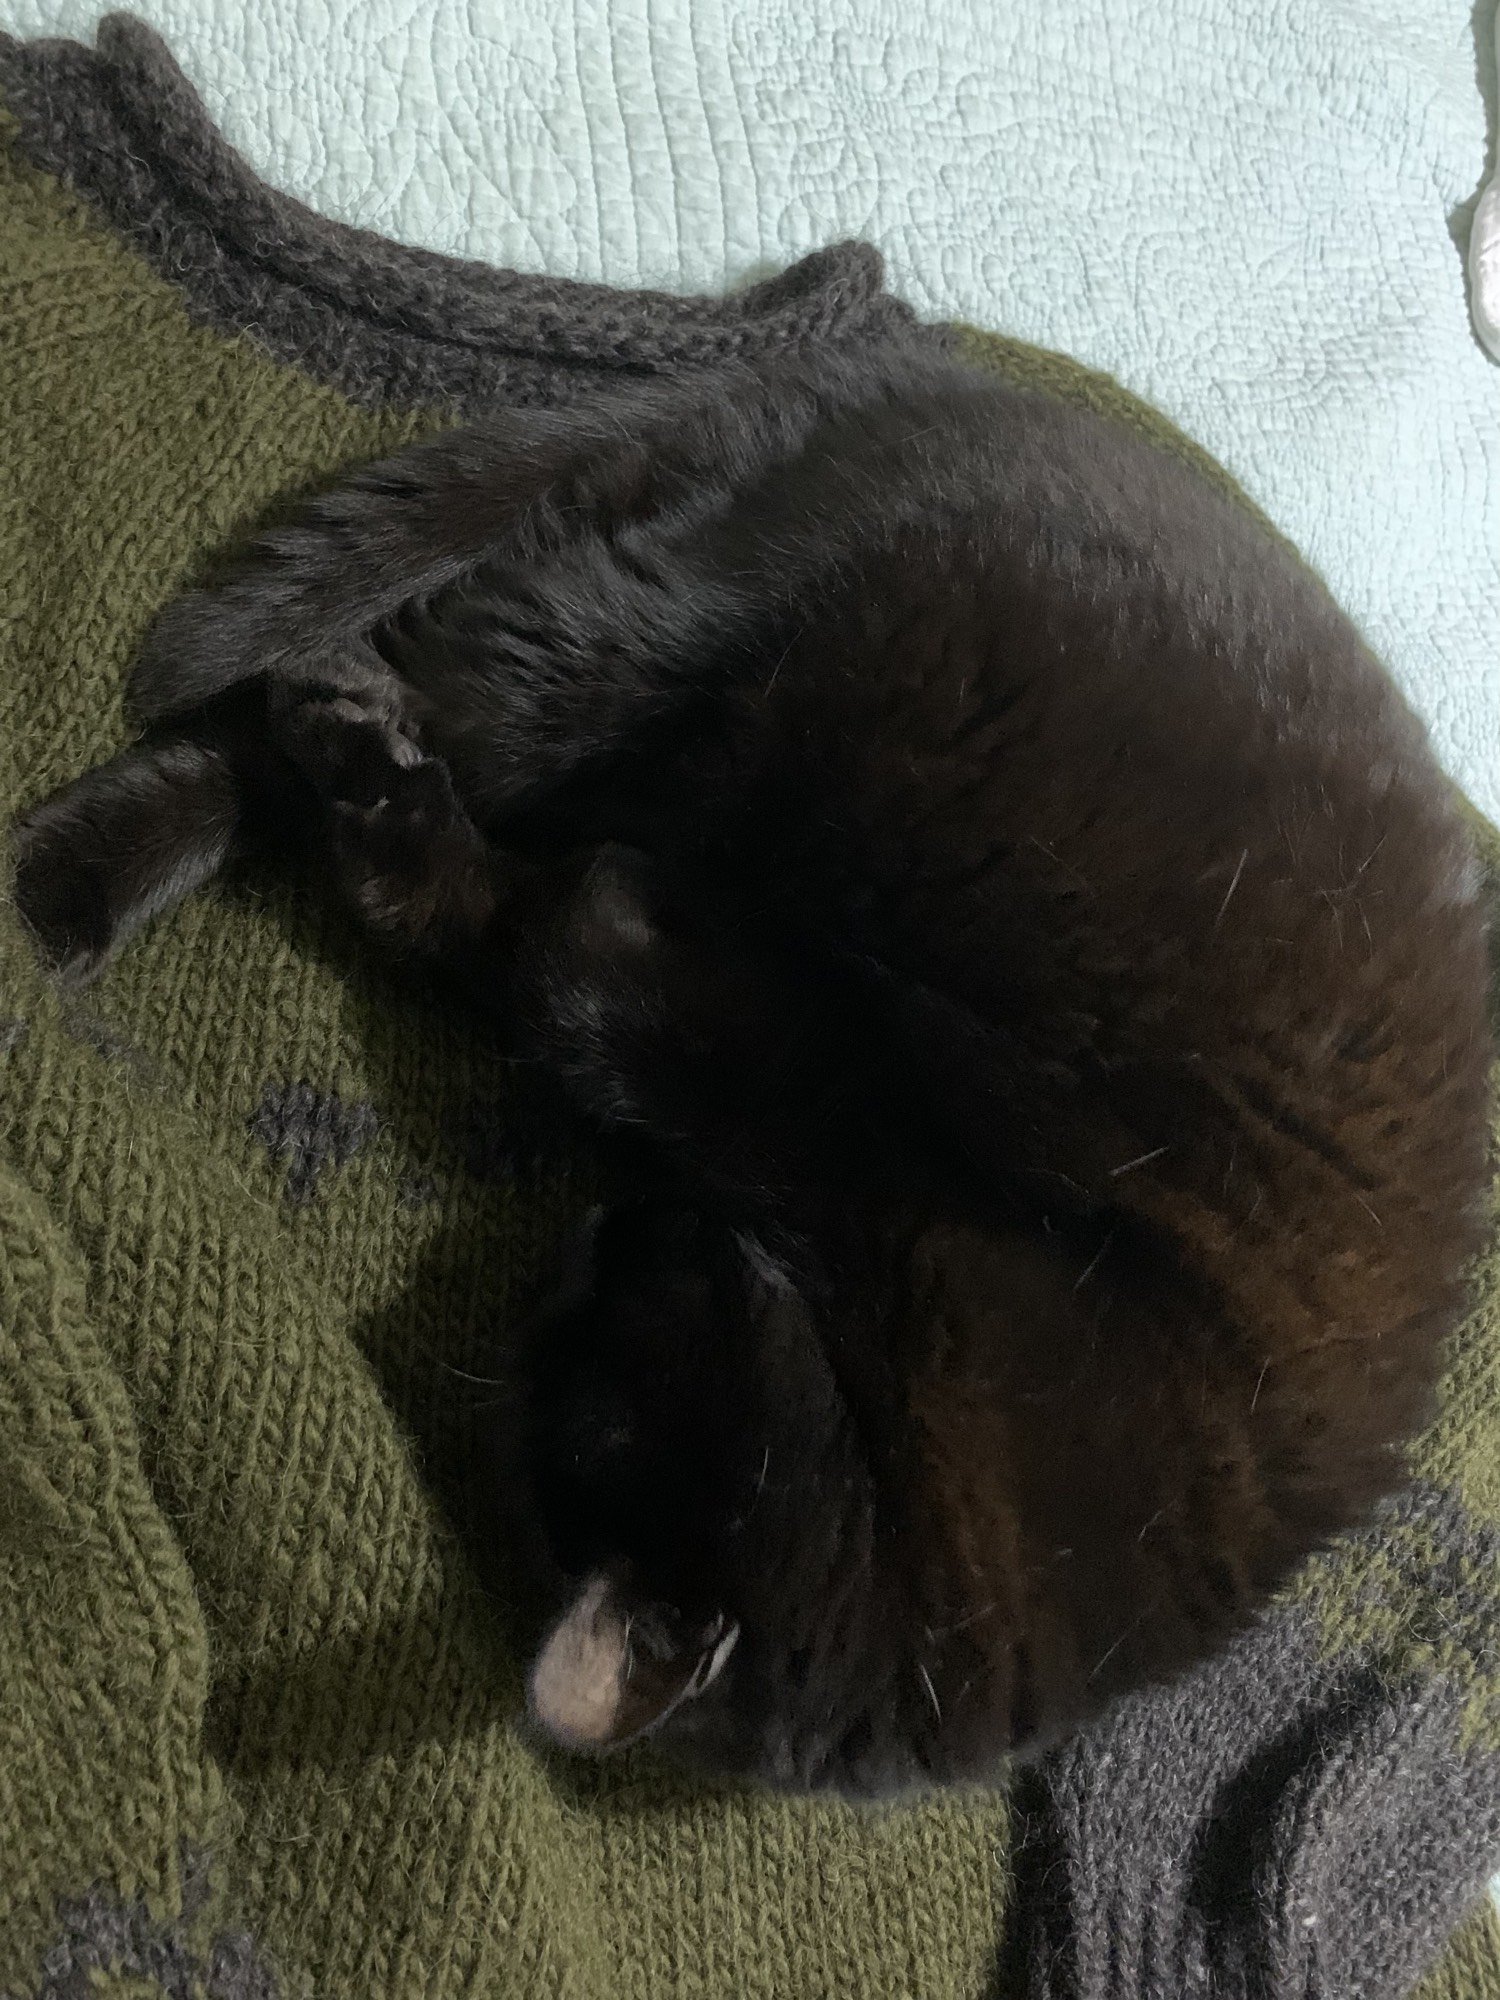
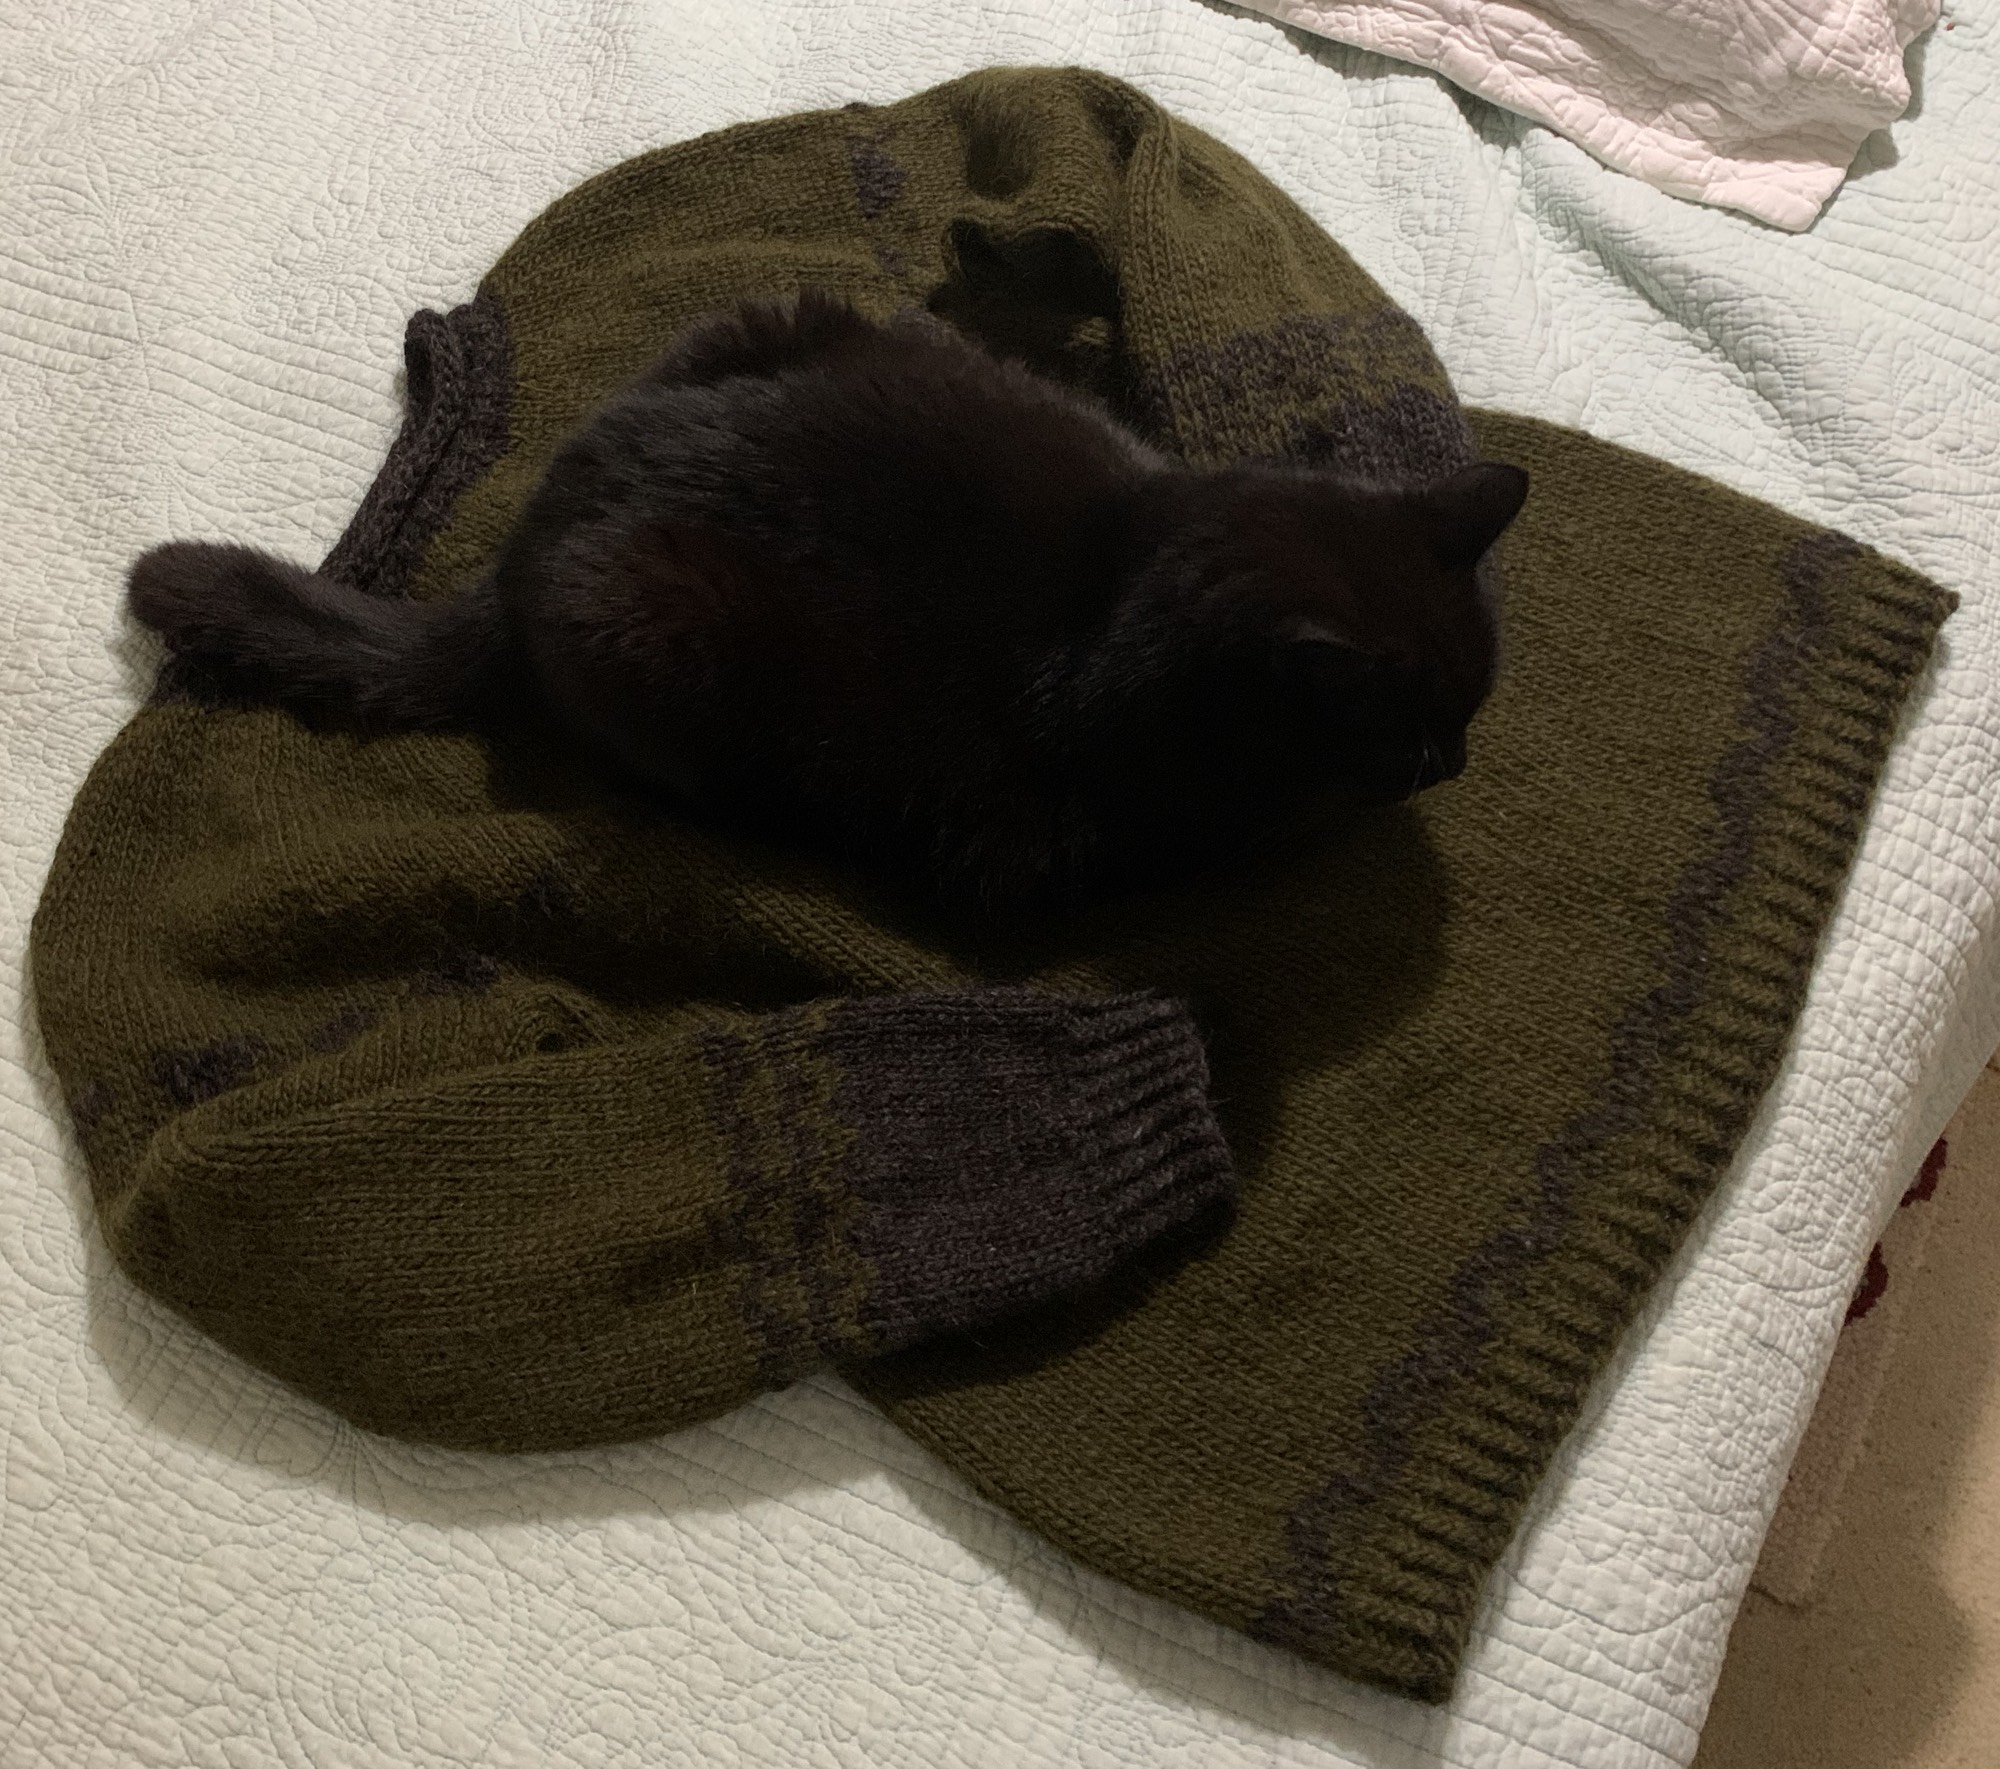
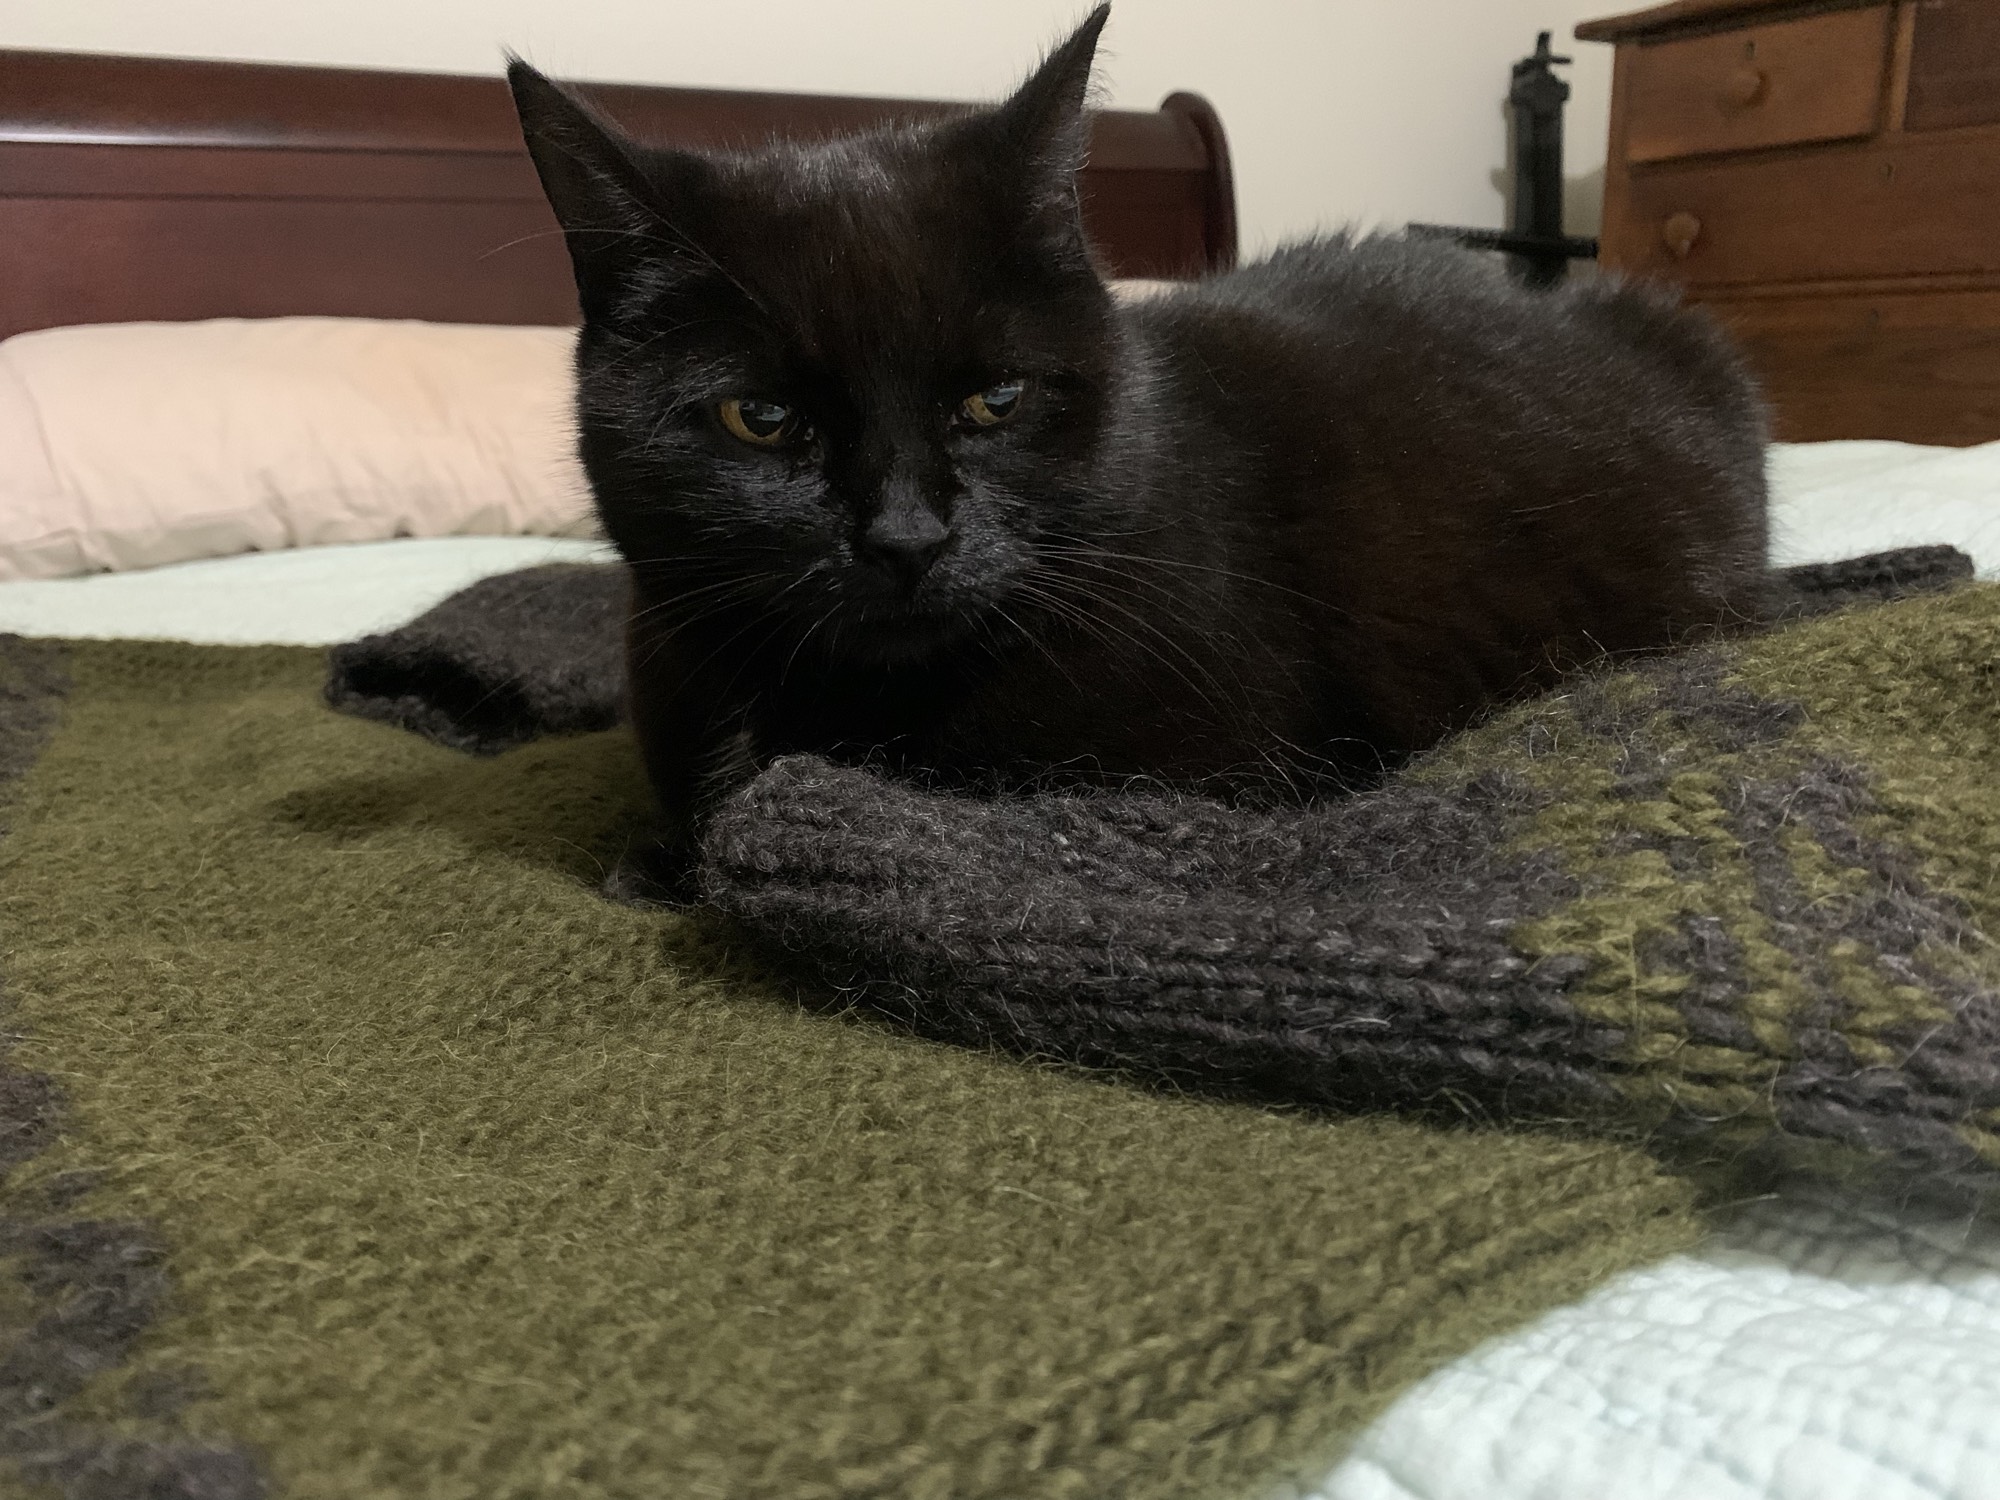
Sweater is finished – March 27, 2023, just in time for my son’s visit. He can take it back home with him! But first, Skittle needed to make sure it was good and comfy.


Please keep reading more knitting stories

First Attempt at Knitting Clotilde

I didn’t get far when I began the Clotilde Cardigan pattern, but it’s a good looking cardigan, and I’ll try knitting the pattern again.

Christmas Gift Knitting; Hats For the Guys

Get an early start on hat knitting for Christmas. This page lists a few hat patterns, for free and to purchase, that work well for guys. Also, I’ve listed some machine washable yarn to get you started.

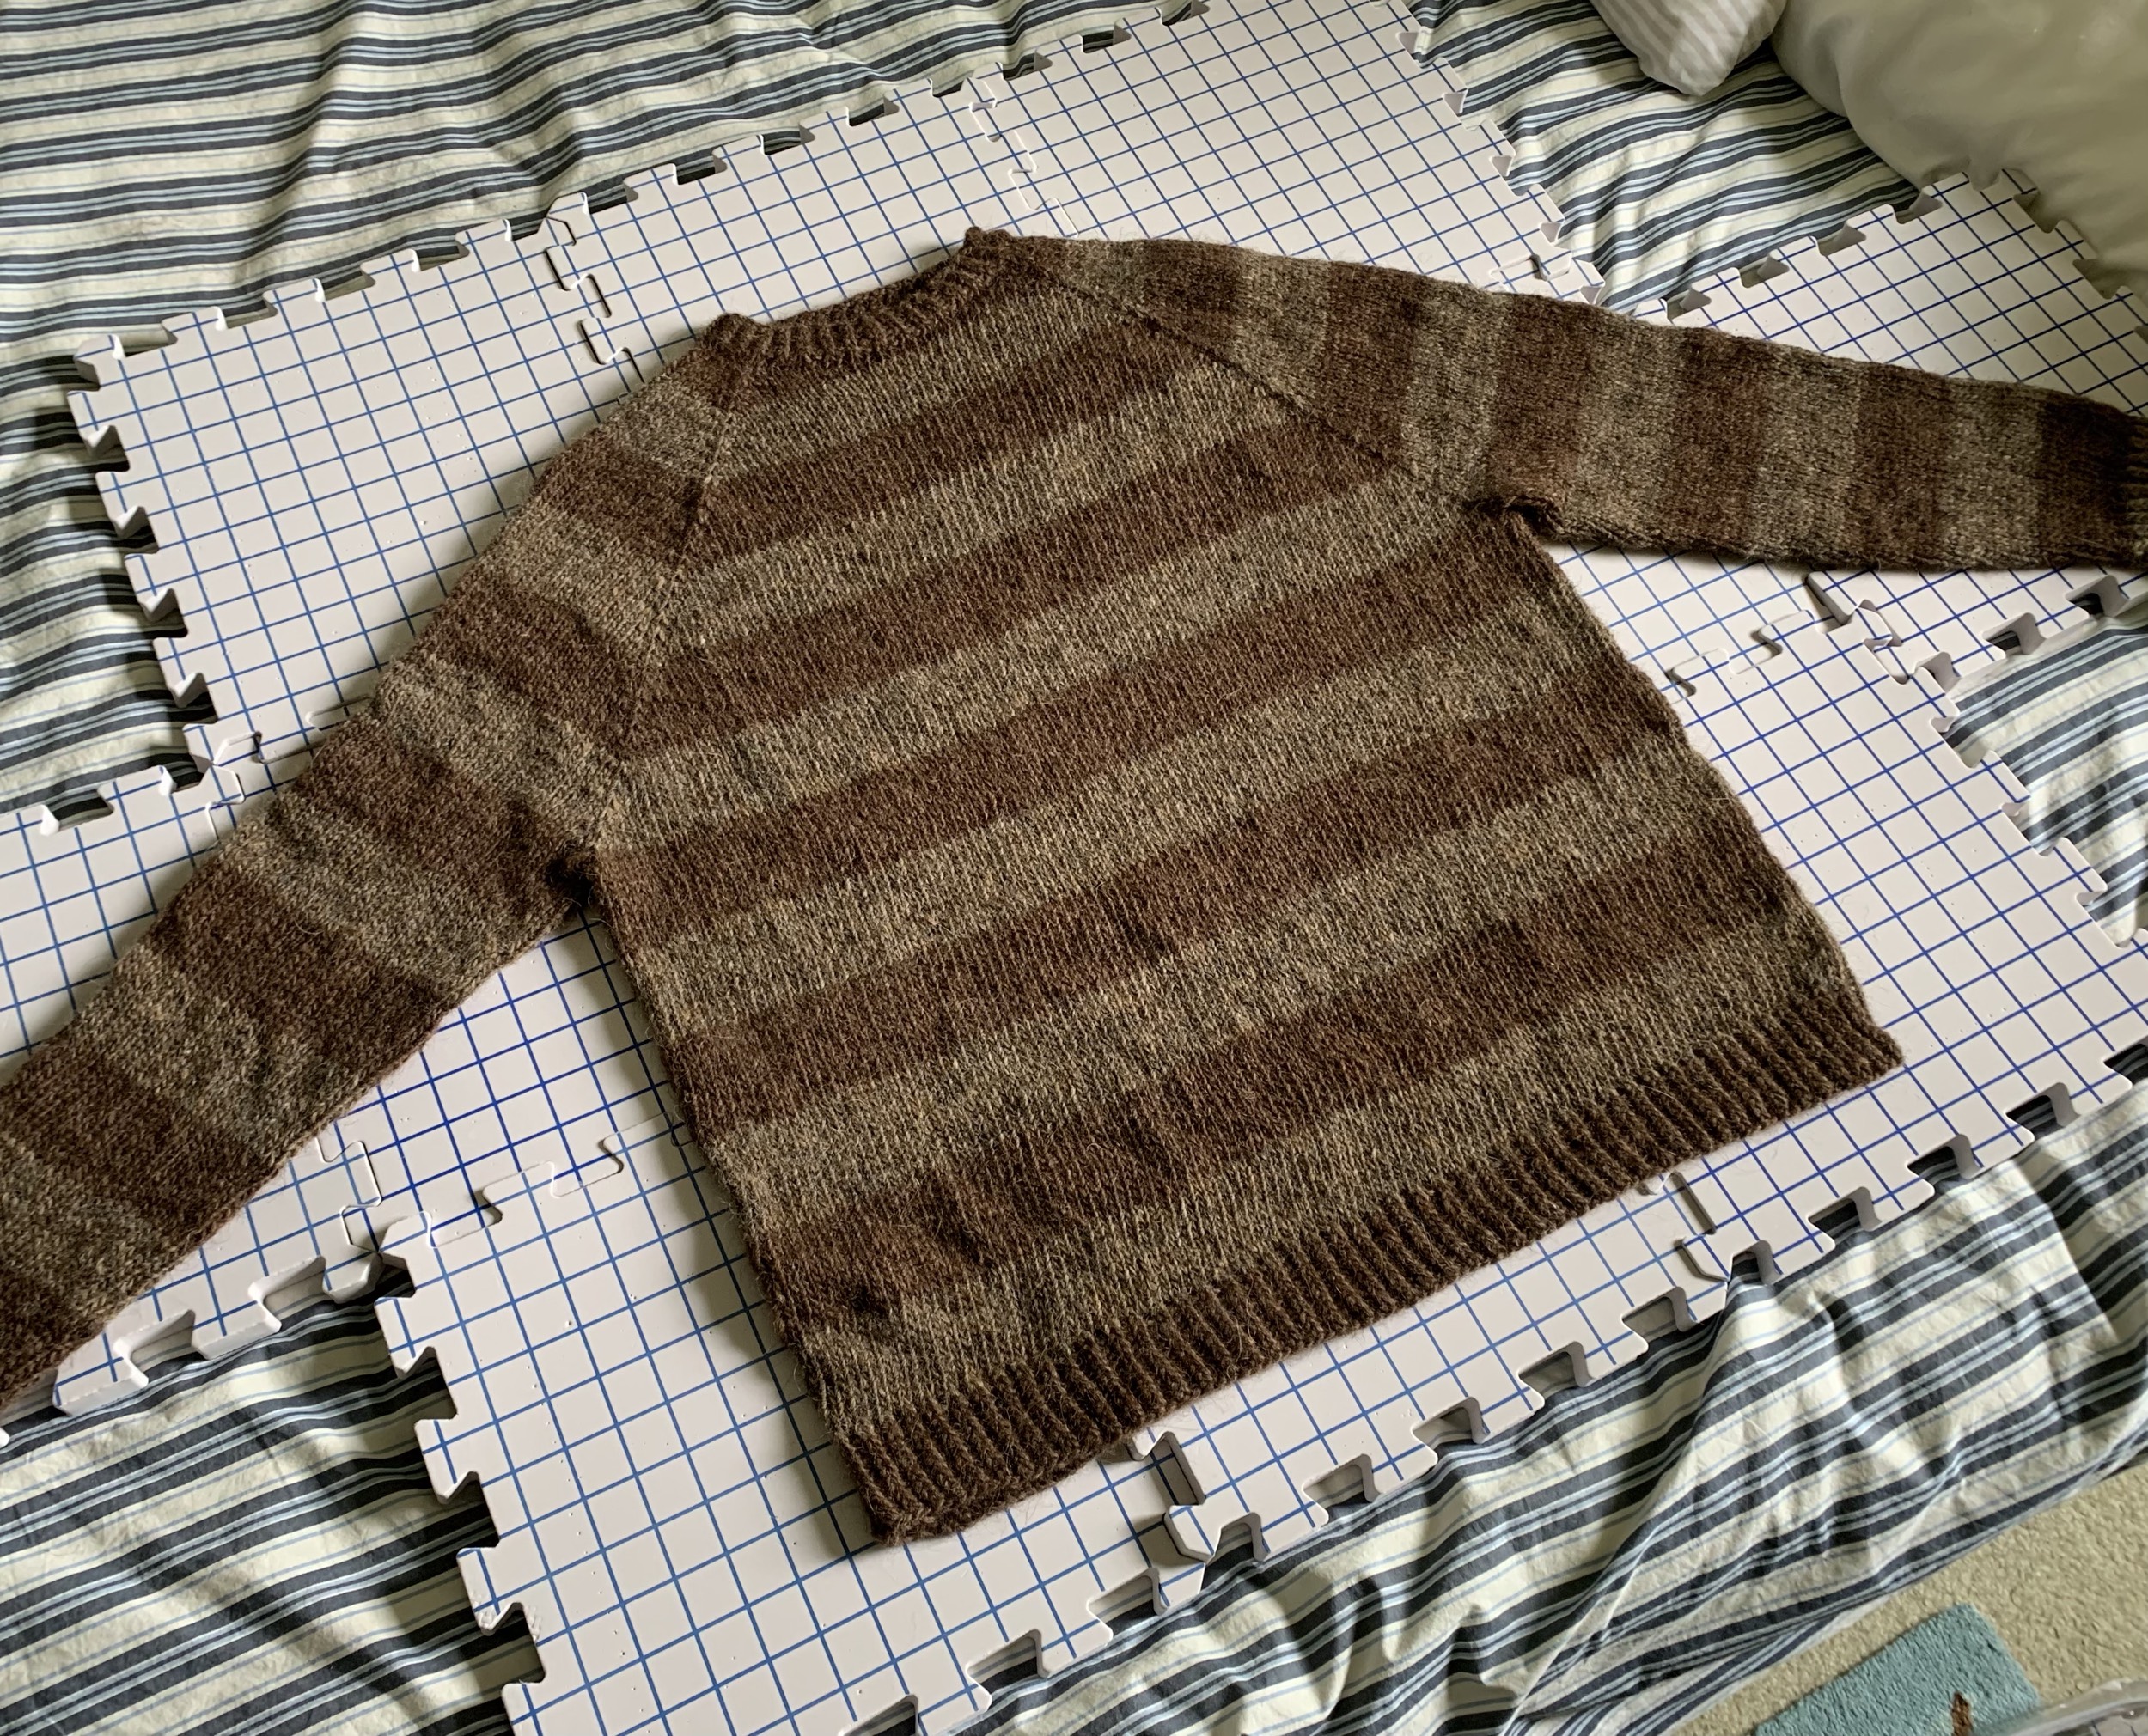
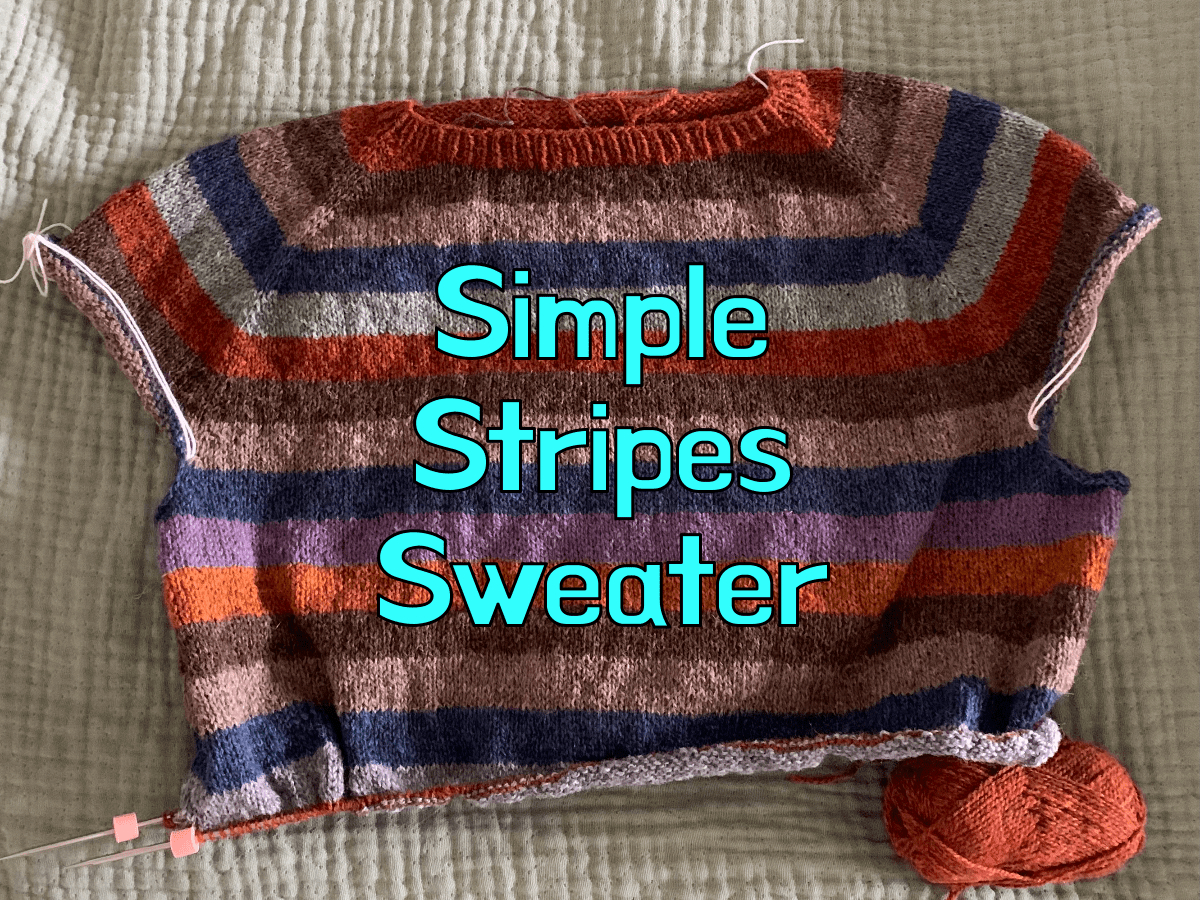
A Simple Sweater With Stripes

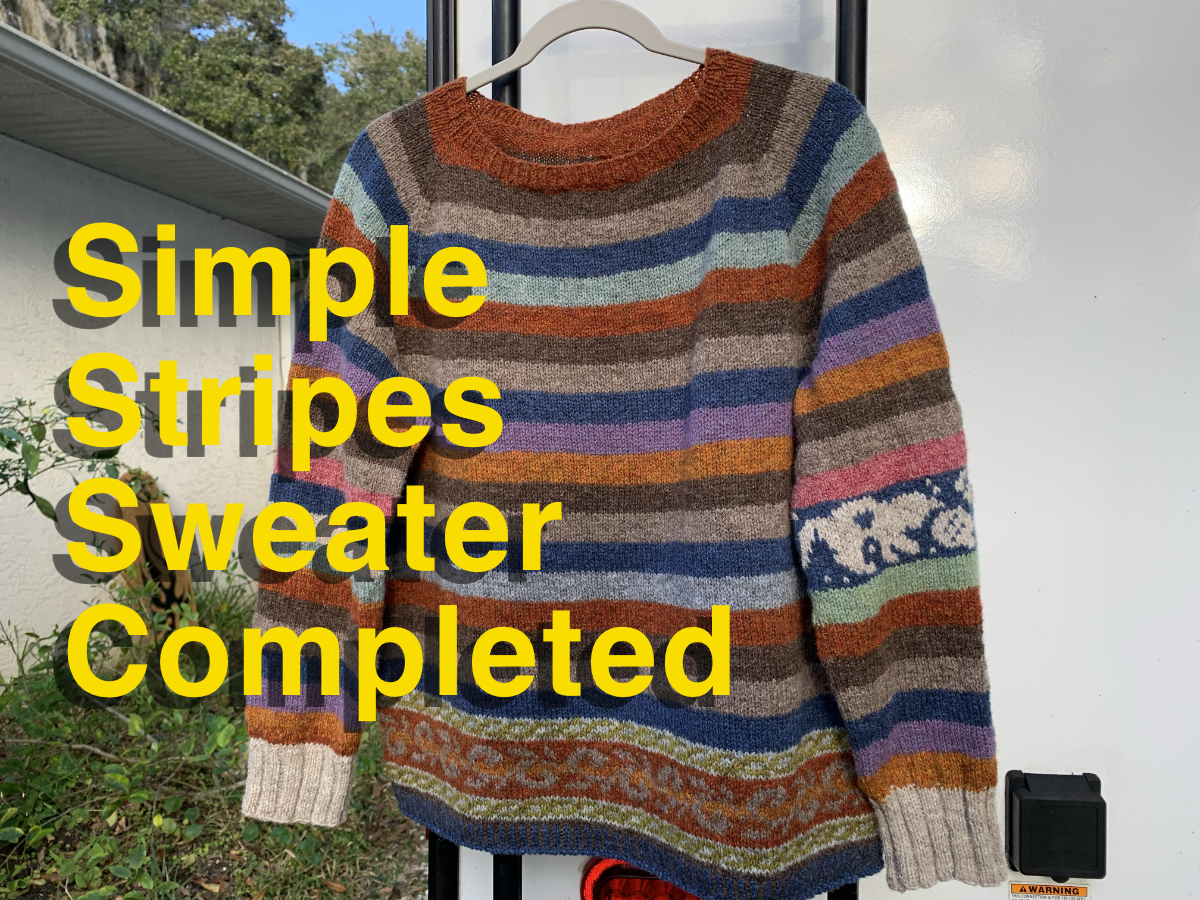
My newest knitting project is a simple sweater with stripes. A link to the pattern page on Ravelry is further down the page. This one is advertised as a good project to use up stash yarn. I…

Knit the Warm-Up Sweater Pattern

The Warm Up Sweater may be a perfect free pattern for a first time sweater knitter.
For those of us who have not knit a lot of sweaters – or knit them successfully – the raglan top-down style may be the easiest.

I’ve begun knitting the Warm-Up Sweater which is NO LONGER a free pattern, UNLESS you buy yarn from Espace Tricot – for this sweater and mention it when buying.

See the Espace Tricot designer page at Ravelry. I believe this company has changed hands, and now many of their patterns are no longer free.

The Warm-up sweater knitting pattern with collar and yoke complete

Anatomy of a Raglan Sweater

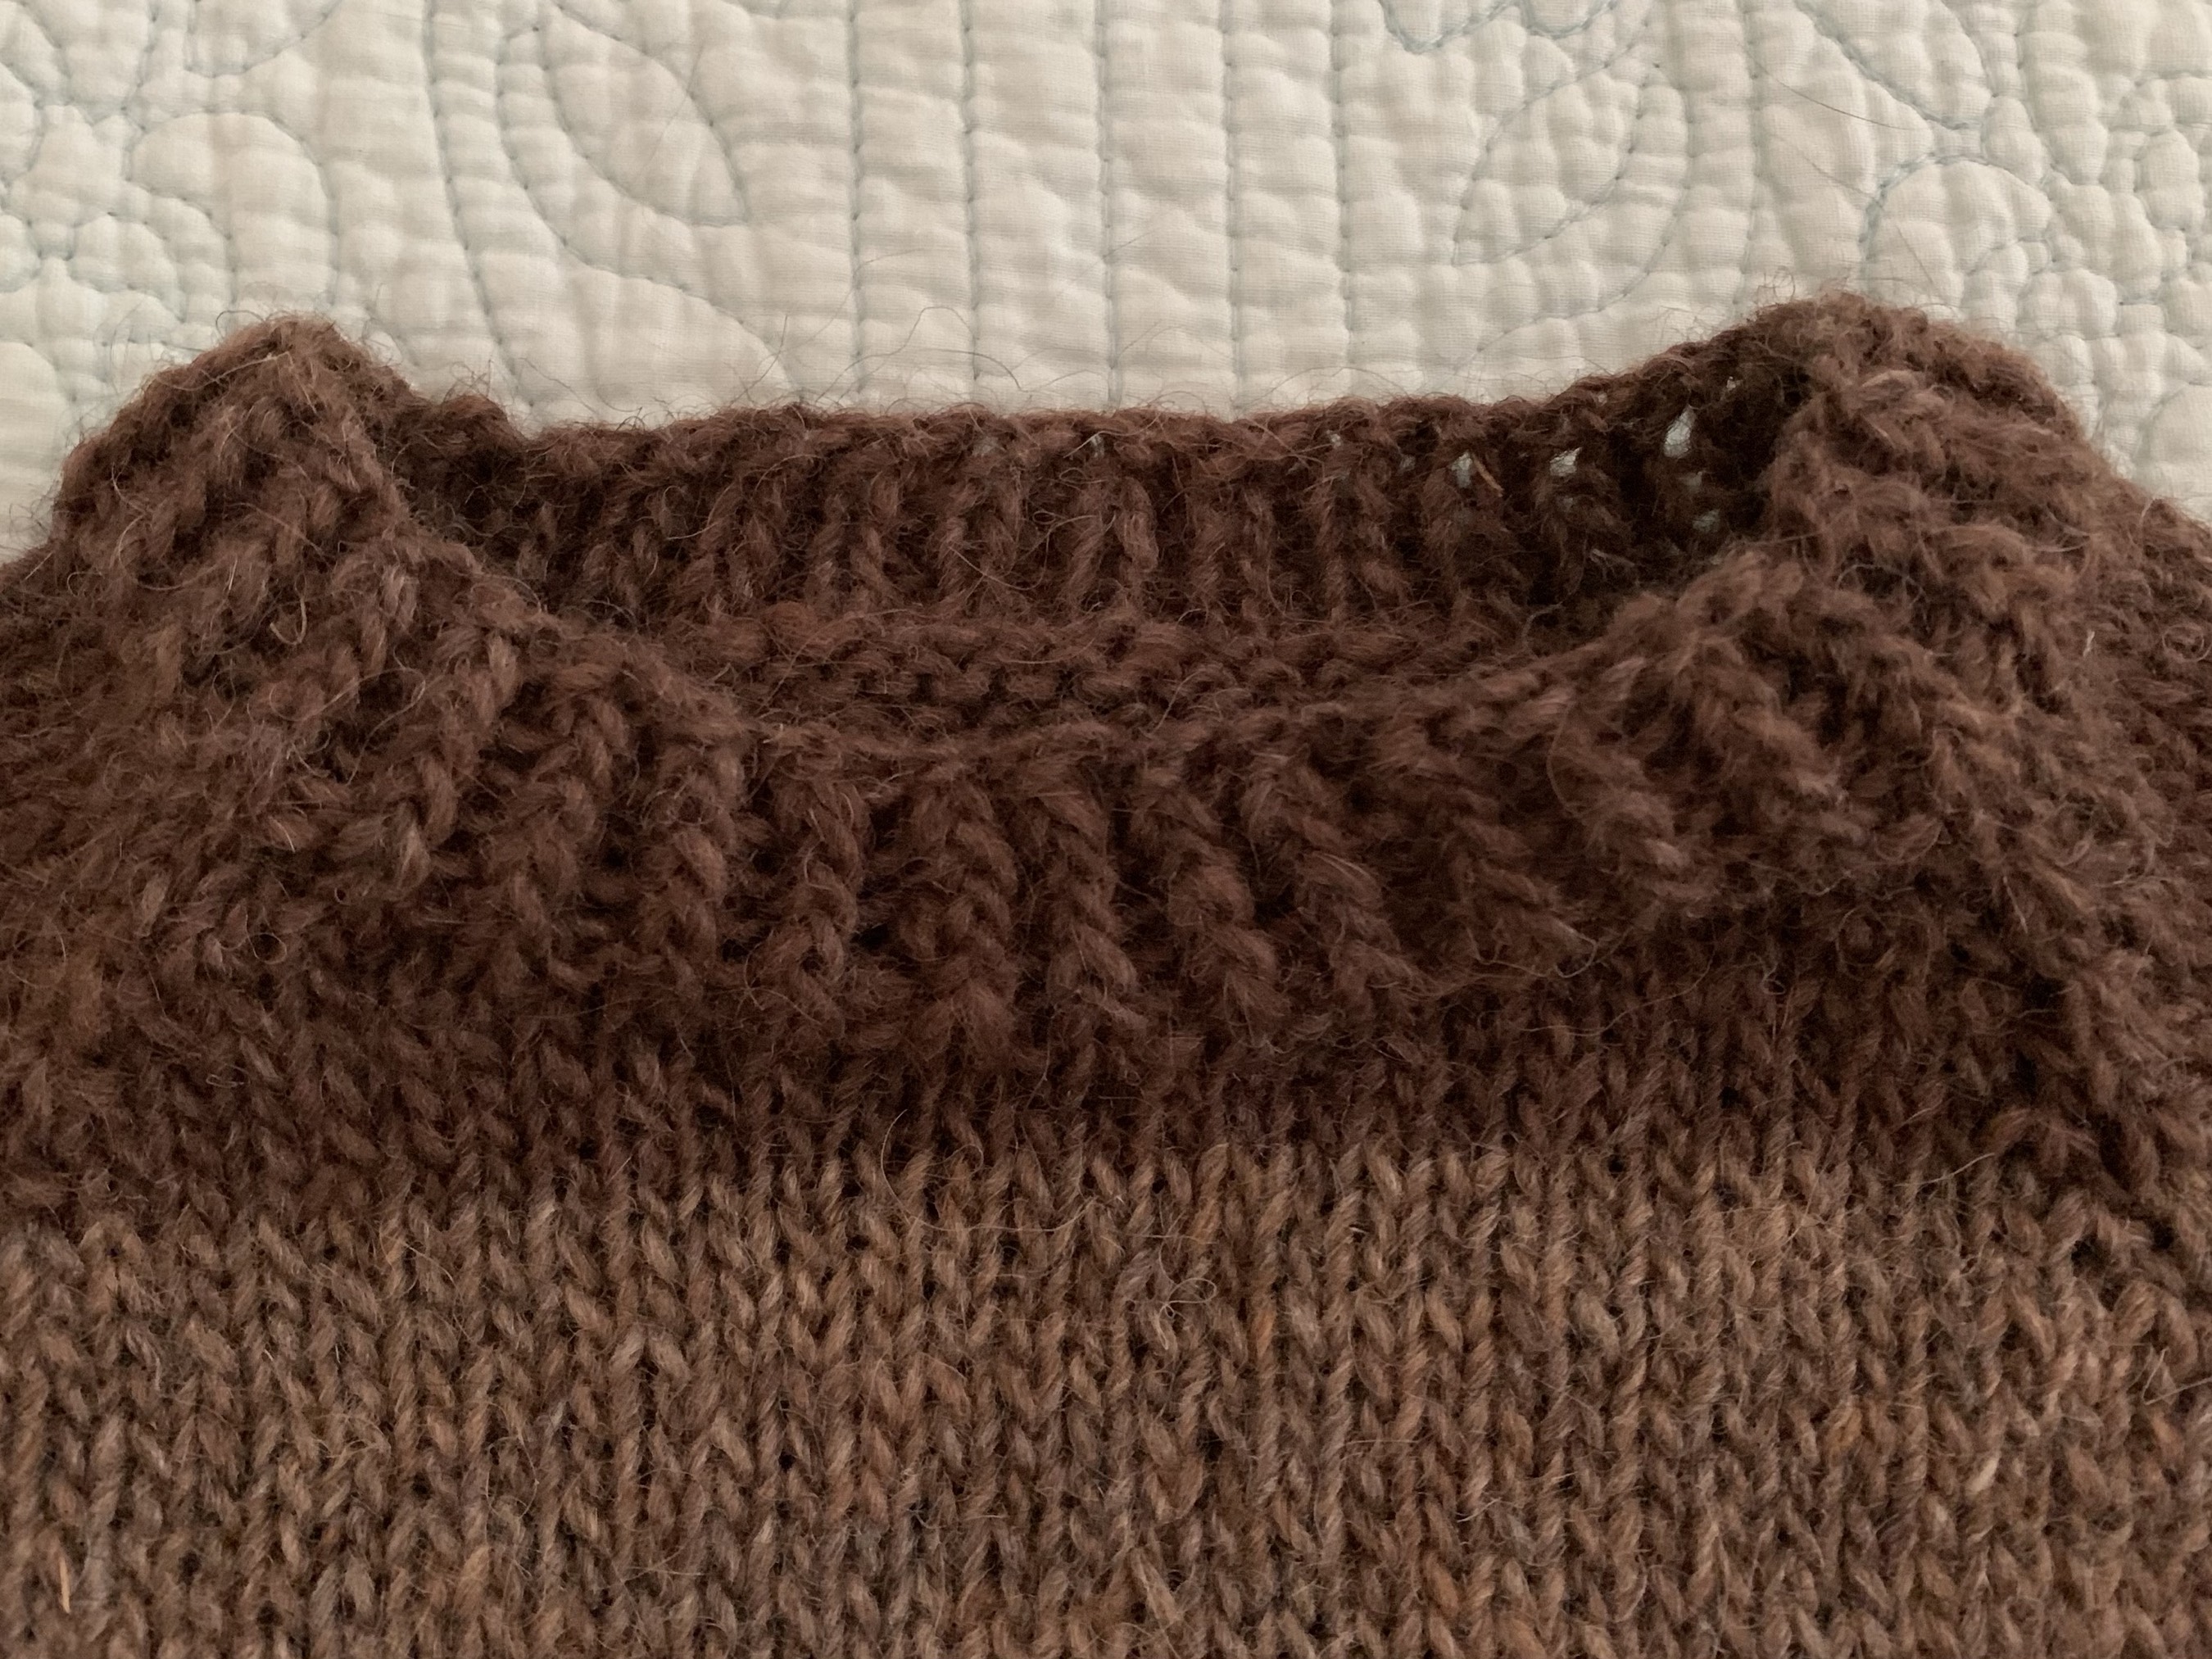
A raglan sweater is known for the increases done along the sleeve and shoulder area that dips down toward the underarm. You can see these stitches, that make a “line” on either side of the front. They are also on the back. The raglan style looks like four sections put together, but it is knit round and round. The knitting expands outward around the yoke and creates room for the sleeves.

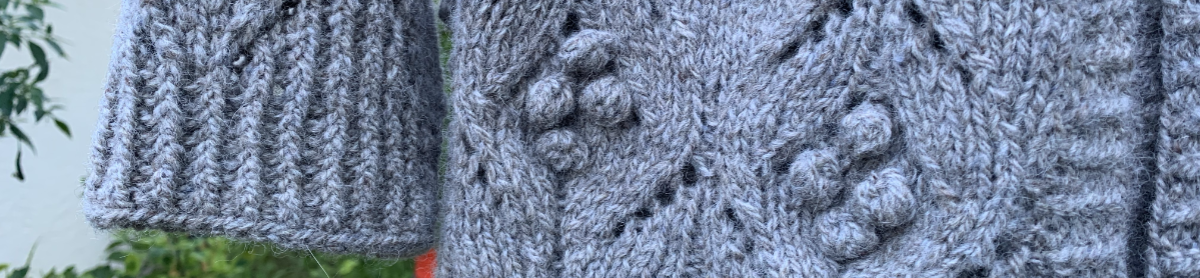
This sweater pattern has a simple “knit through the back loop” increase but some sweaters do a pretty little cable or decorative area at these increases which looks very nice (Blueberry Vodka Lemonade Sweater).

A raglan is usually knit from the top down which makes it nice because it can be tried on as it is being knit – or at least pulled over the head. Raglans are usually pullovers but can also be cardigans.

What You Need to Know to Knit This Pattern

The Warm-up pattern – get it at Ravelry – begins with a cast-on at the neck. A few rows of a twisted rib is done and then some short rows. I love that this free pattern includes short rows. See my photo to see how the short rows raised the back of the neck. Sweaters need this shaping to fit comfortably. It is surprising to me that some designers, who sell sweater patterns, do not include short rows in their sweaters!

If you need more info about knitting the Short Rows for the Warm Up sweater, I have written a whole page about making the short rows.

Short rows raise the back

After that we get into the raglan increases which take place on either side of the sleeve / shoulder areas.

When the correct length and stitch number is reached, the sleeves are put on hold while the body is knit down to the correct length. A bottom ribbing is done and bound off.

Then each sleeve will be knit. Stitches at the sleeve area will be picked up from the waste yarn and the sleeve will be knit down to the correct length. Decreases are spaced to taper the sleeve shape. Do the ribbing and bind-off. Weave in ends, wash and block, and you have a new, hand-made sweater!

Is The Warm-Up Sweater Good For Beginners?

If you are a beginner sweater knitter, you may enjoy knitting this pattern. If you are a total beginner knitter, you should try something easier – a shawl, scarf, or hat – first. In other words, this is not a pattern for an absolute beginner. I say this because there is a lot to learn if all you can do is knit a little. I have mentioned in the section above what this pattern entails.

For those who want to step up their knitting game from the simple stuff, and are thinking about knitting a sweater, this one is perfect. The directions are very clear with stitch counts along the way to make sure you are on track.

Read through all pages and highlight numbers for your size before beginning – or go row by row on a knitting app. Also, if you’ve never done them, learn about doing German Short Rows – marked as “work GSR” in the pattern. Purl Soho has a good video. Follow the directions, row by row, and you will be fine.

You may even learn new and useful techniques along the way!

A Little Sweater Knitting Advice

If you are new to sweater knitting, first be sure to check your gauge. Yes, you must. Keep the little swatch as a reference. It is not a waste of time. The gauge required is listed on the first page of the pattern and also on the Ravelry Warm-Up pattern page. For more on gauge see my post here.

A few knitters had trouble with the cast-on number of stitches being too small, or too tight around the neck. I had no trouble, but would prefer a wider neck. I am knitting size 4 – or finished circumference bust size 49 inches. I used the Old Norwegian, aka German Twisted, cast on method, which is somewhat stretchy and had 68 stitches on my 16 inch circular needle. I suggest using this type of cast-on. See my page about different ways to cast on when knitting if you don’t know it.

My sweater is being knit in Icelandic Lettlopi wool. The Warm-Up is shown in worsted weight yarn, in solid colors with an option to do thin stripes. Of course you can use whatever yarn you want as long as you get gauge. I happened to have a lot of brown yarn and instead of doing a solid brown sweater, I opted to do wide stripes alternating the two browns.

Because my yarn is wool, I am doing a spit-splice every time I change colors or add a new skein of yarn. This is saving me from having to weave in many ends when the garment is finished.

spit splice knitting no ends to weave in
Wrong side – with no tails!

I am having fun knitting this simple sweater. Now that I am beyond the raglan increases, it is mindless round and round knitting that can be done in the car or in front of the television. All I need to remember is to change colors when it’s time (I am knitting 12 rounds of each color), and measure for length.

The needles I have used are size 7 and 8, 16-inch circular. Size 8, 32-inch circular (for the body). Then I switched to a 9-inch circular down the sleeve and for the ribbing at the cuff. DPNs can also be used, but I really don’t like using those.

On the sleeves, I picked up and began knitting with the 16-inch circular and changed to the 9-inch circular toward the end of the sleeve. I knit the ribbing in size 7.

Because I did spit-splicing throughout when changing colors, I only had 6 ends to weave in – one under each arm, at the neck, body rib and sleeve ribs…. pretty awesome!

Future Plans

If this sweater turns out to fit me well, I plan to make more like it with possible modifications. I almost made a rolled collar on this one, so maybe I will do so next time. It definitely needs to be wider for comfort.

For another time, some color-work could be added at the bottom near the cuffs on the body and sleeves. I’d go up a needle size to do that.

Finished Knitting

Now my striped sweater is drying. All I had leftover for yarn was two small skeins each of the dark and light brown. In all I used about 9 1/2 skeins, or approximately 1,031 yards.

I’ll try it on and get photos once it’s dry. Total knitting time was about a month and a half. See notes on my Warm-Up Sweater Ravelry page.


December at the Fire

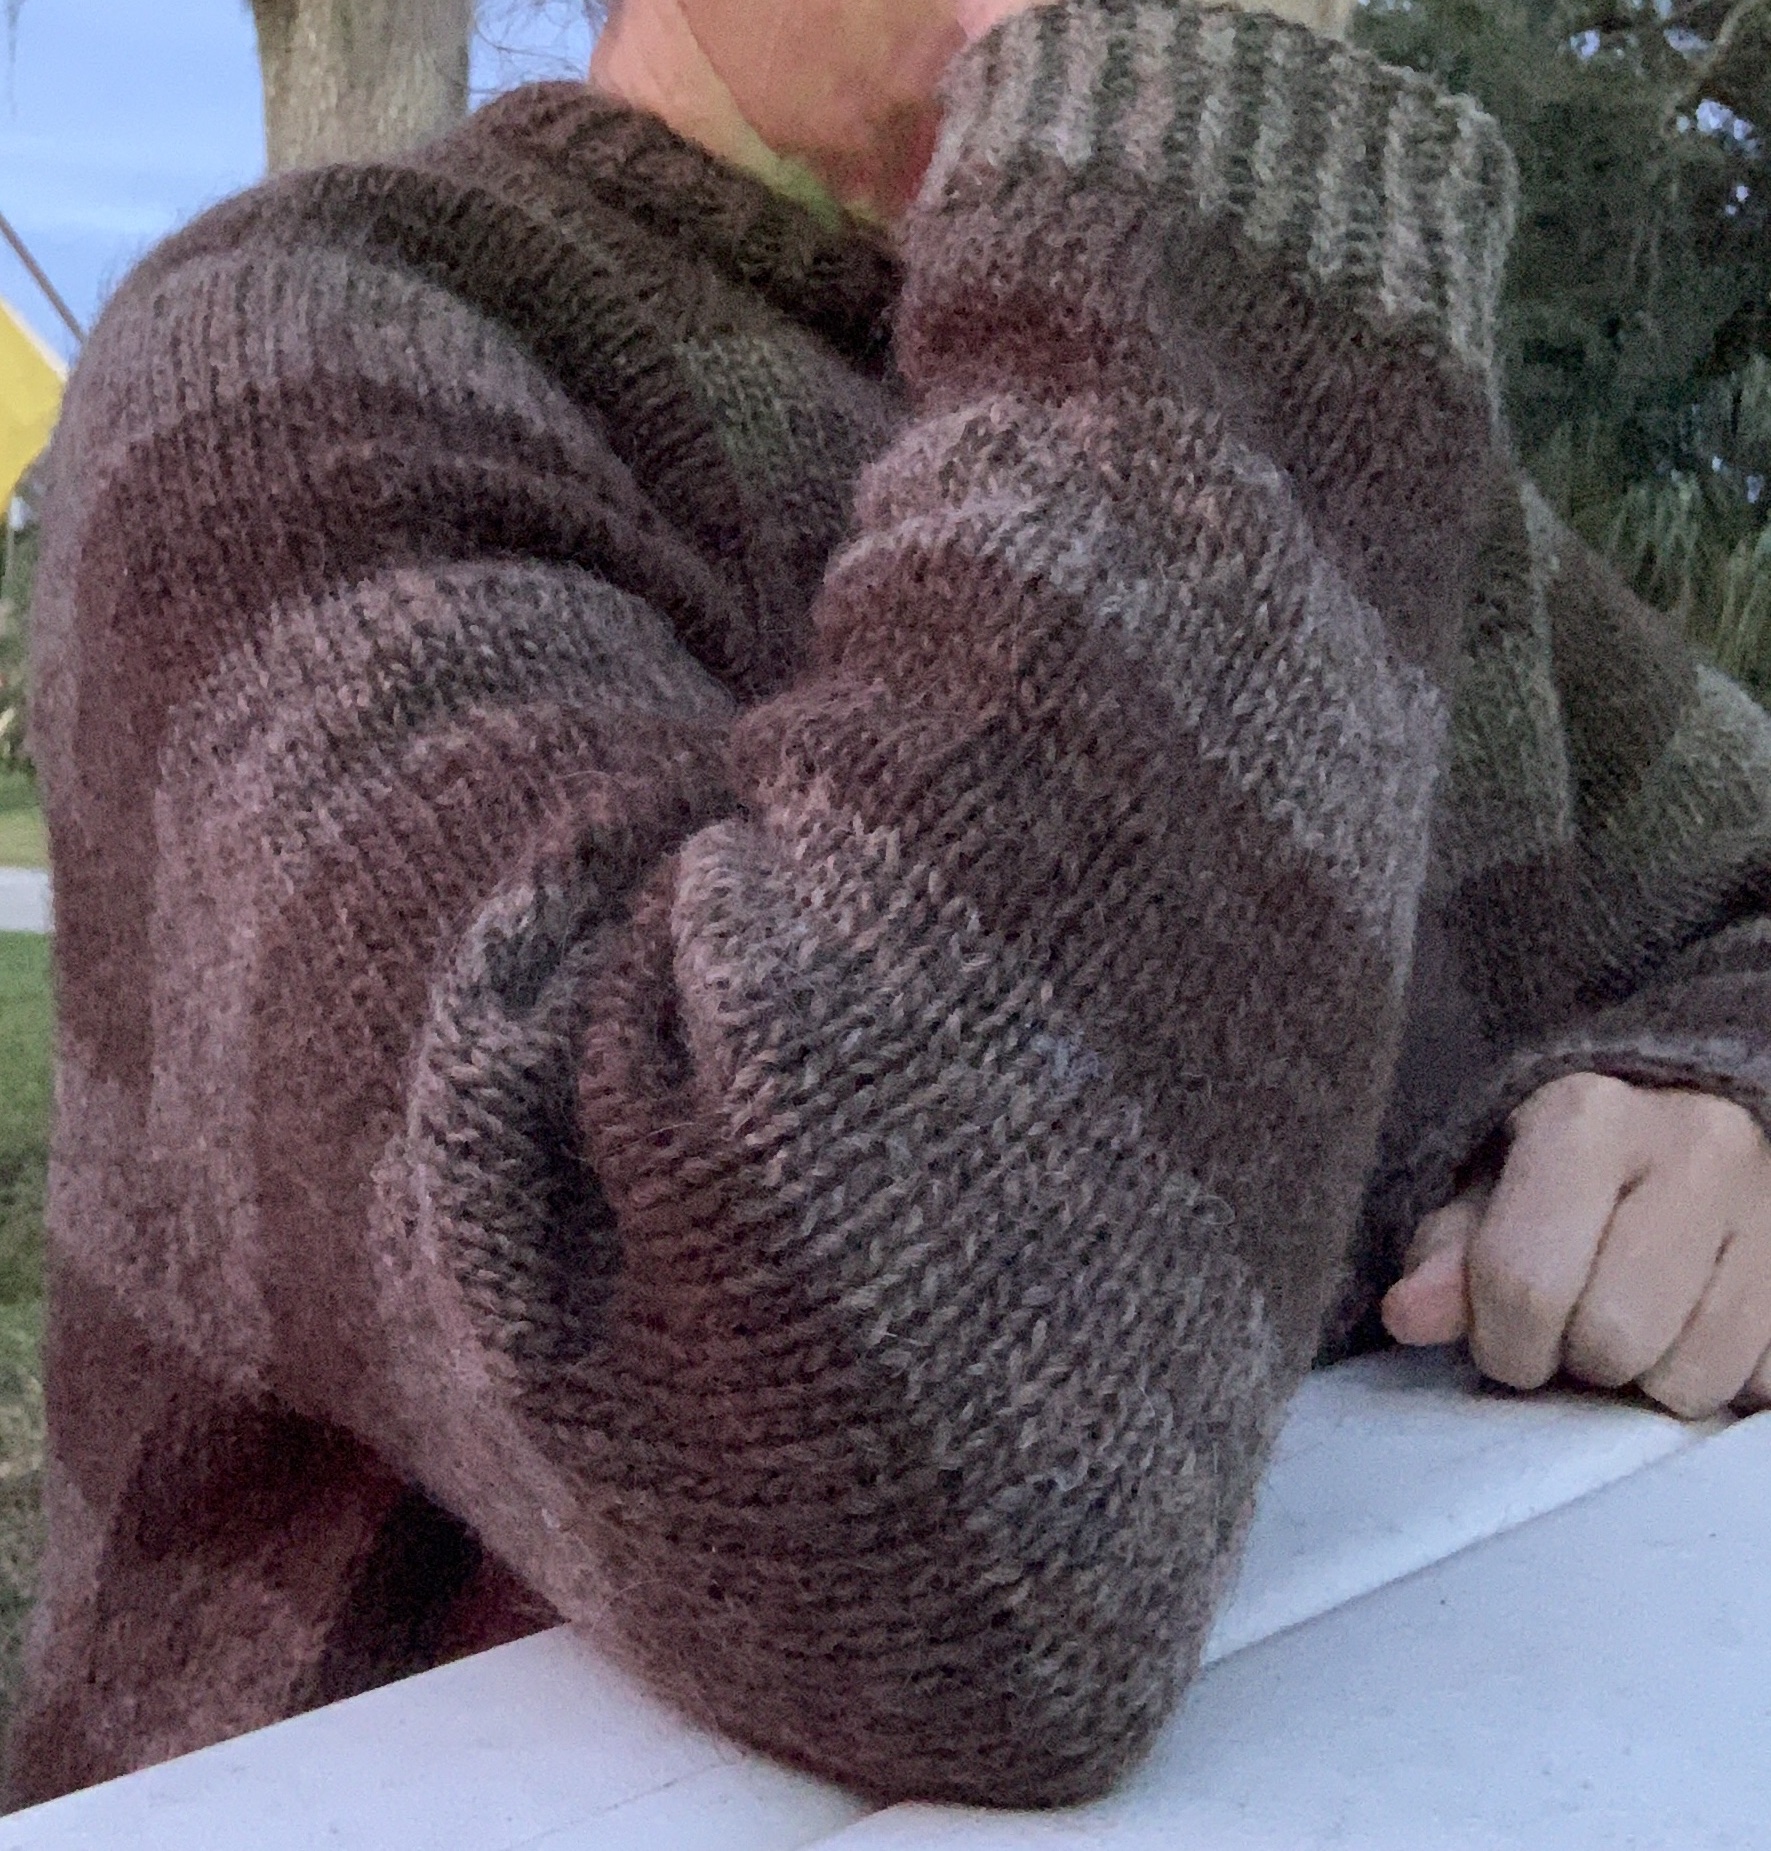
The few cool days we have here in my area of Florida are much appreciated by me! I dig out my wool sweaters and make sure I wear them. It was also an opportunity to get a few selfies.

Warm Up sweater
Warm up sweater
Warm up sweater sleeve
12/2023

Please Keep Reading

Something went wrong. Please refresh the page and/or try again.