How to Read a Knitting Colorwork Chart

How to read colorwork charts for Fair Isle and mosaic knitting.

When I began knitting I was afraid of knitting from a chart. This was because I had never done it. Reading a chart is not really hard at all. The only time a chart gets tricky is when cables are involved. A lace chart can be a little tricky also.

What I am covering today is the easiest of charts, in my opinion, and that is the colorwork chart.

Fair Isle Colorwork, Two-stranded Knitting

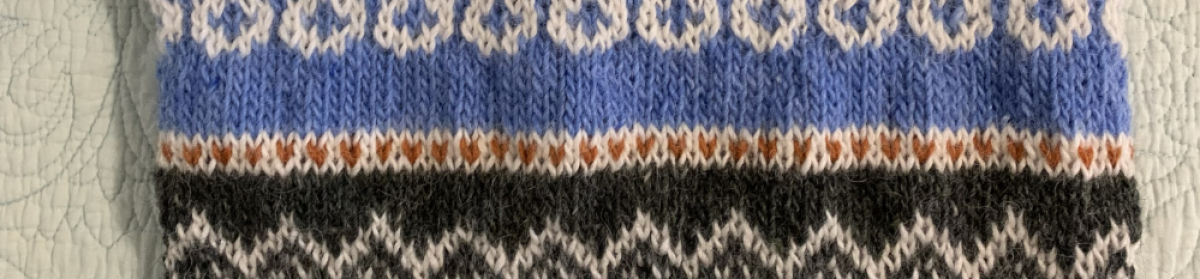
The main type of chart I use in a pattern is when I do colorwork knitting. A chart will be used to show the various colors used – or when colors will be changed. Some charts will be in color and others are only black and white.

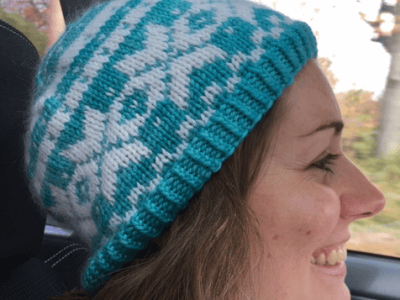
Fair Isle is a style of knitting using two different colors of yarn in the same row. Only two – no more. Those colors can change row by row to create an interesting and beautiful pattern that may look much more difficult in the end.

Most colorwork is knit circular – round and round – such as a sweater, hat or mittens.

Here is an example chart for colorwork.
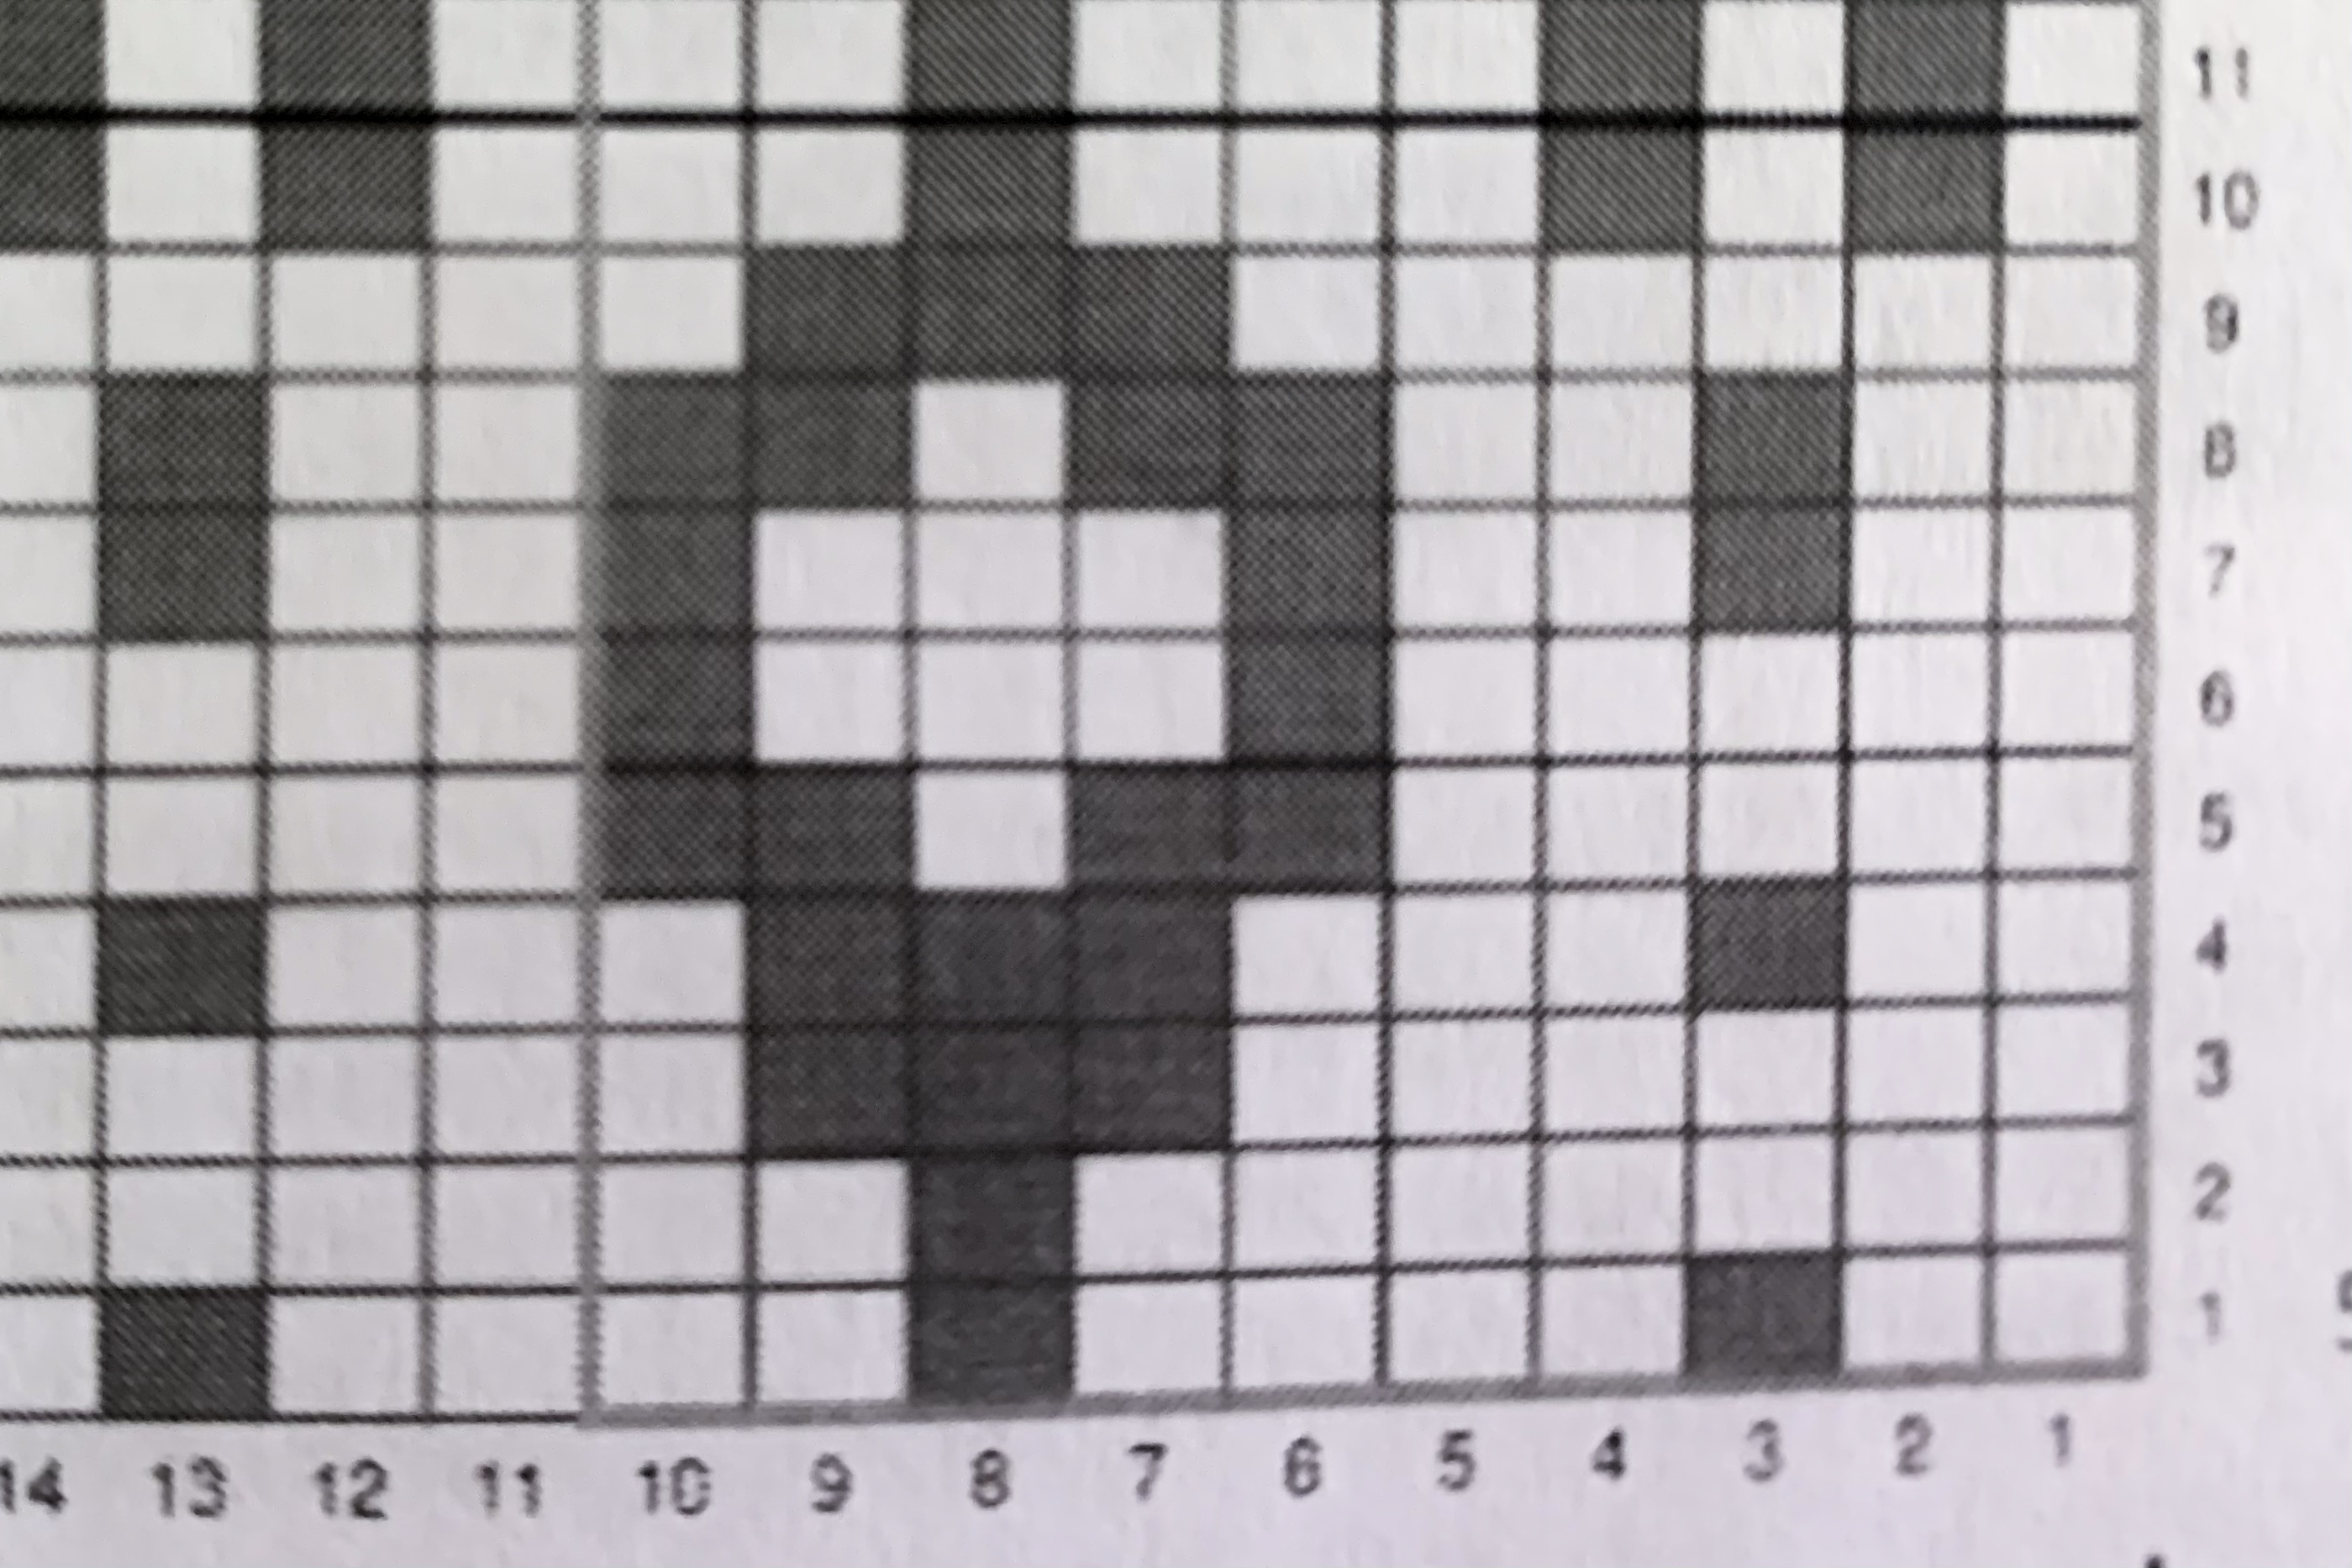
Numbers on the bottom go right to left because that is how we knit. Those are your knit stitches. Numbers up the side are for rows.

In this case let’s say I am knitting with yellow and red across. The “white” squares will represent my yellow yarn, and the “black” squares are for red.

I will knit 2 yellow, 1 red, 4 yellow, 1 red, 4 yellow, 1 red… and so on. There will be a repeat somewhere in your colorwork. It could be a quick repeat – like two sitches (1 yellow, 1 red – around) or it could be a long repeat. This depends on the motif. In the image above the repeat is at 10 stitches.

I like to place stitch markers at each repeat if the repeats are long – say 10 stitches or more. That way if I make a mistake I will catch it within that 10 stitch repeat. The markers will stay in place until the motif is finished.

This way you don’t have to follow the entire row – just the repeat area. I usually print out my patterns and use a long post-it note to underline the row I am following. Or, use Knit Companion, a digital program, which is an easy way to mark rows too.

Once the entire row has been knit, move up to row 2 and begin again. In the chart above I will knit seven yellow stitches and then one red. And then nine yellow and one red, according to the chart.

This is how the repeat will go which means the red yarn will be carried behind the work to be used after nine yellow stitches. You need to know how to carry yarn – called “catching floats” when you have long stretches of one color.

Often Fair Isle knitting won’t have long stretches of same color stitches. I like to pick up my floats every 4-5 stitches.

Projects completed using Fair Isle charts

If you are unsure of how to hold yarn to create colorwork, read my (old) post here, which includes a video by Suzanne Bryant showing how to do it. It works if you want to use only one hand and switch the yarns, but a much easier way is to knit with one color yarn in each hand. The left hand will work in Continental style, while the right will do typical English – throwing – style. It is not difficult, just takes practice.

ball of yarn divider

Flat Colorwork, or Mosaic Knitting

Another fun way to create colorwork patterns is to do Mosaic knitting. This is done back and forth to create a flat project, like a shawl or scarf. It does not require holding two colors at the same time.

You will knit using one color at a time, but create a two-color pattern. Many knitters will find it easier than Fair Isle, once you get the hang of it. But it creates a different type of fabric.

Mosaic patterns are made by slipping stitches at specific times on front and back rows. You can read my post about Mosaic Knitting here.

See some of my attempts at Mosaic knitting below. I’ve only ever made swatches, but no projects. You can’t do anything fancy, these are basic knits, purls and slip stitches.

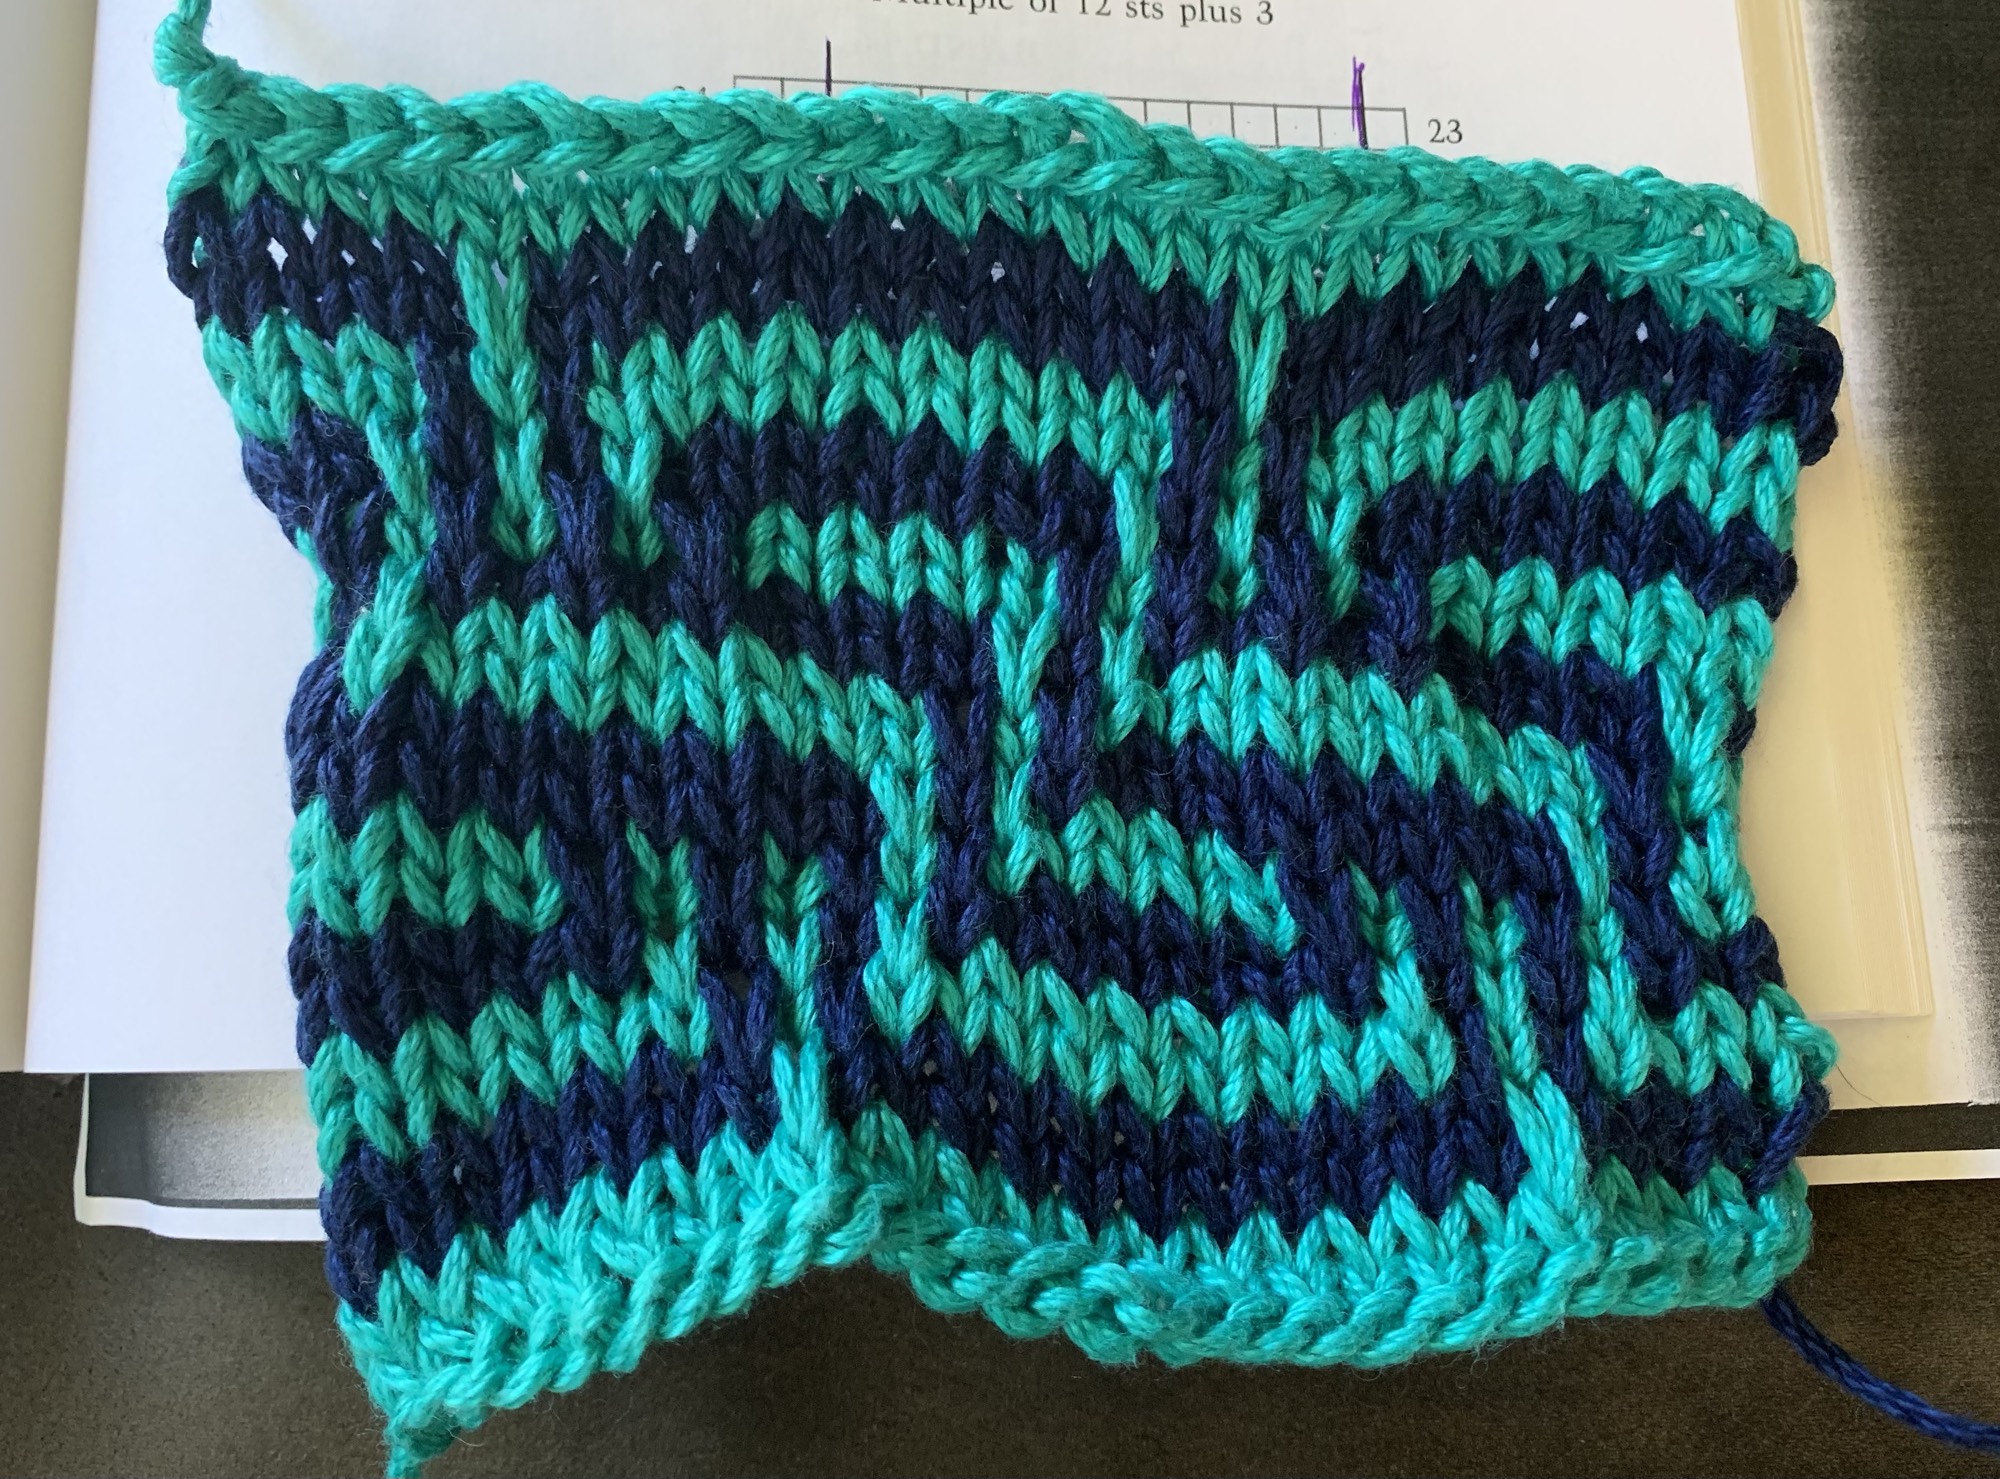
Mosaic Chart Example

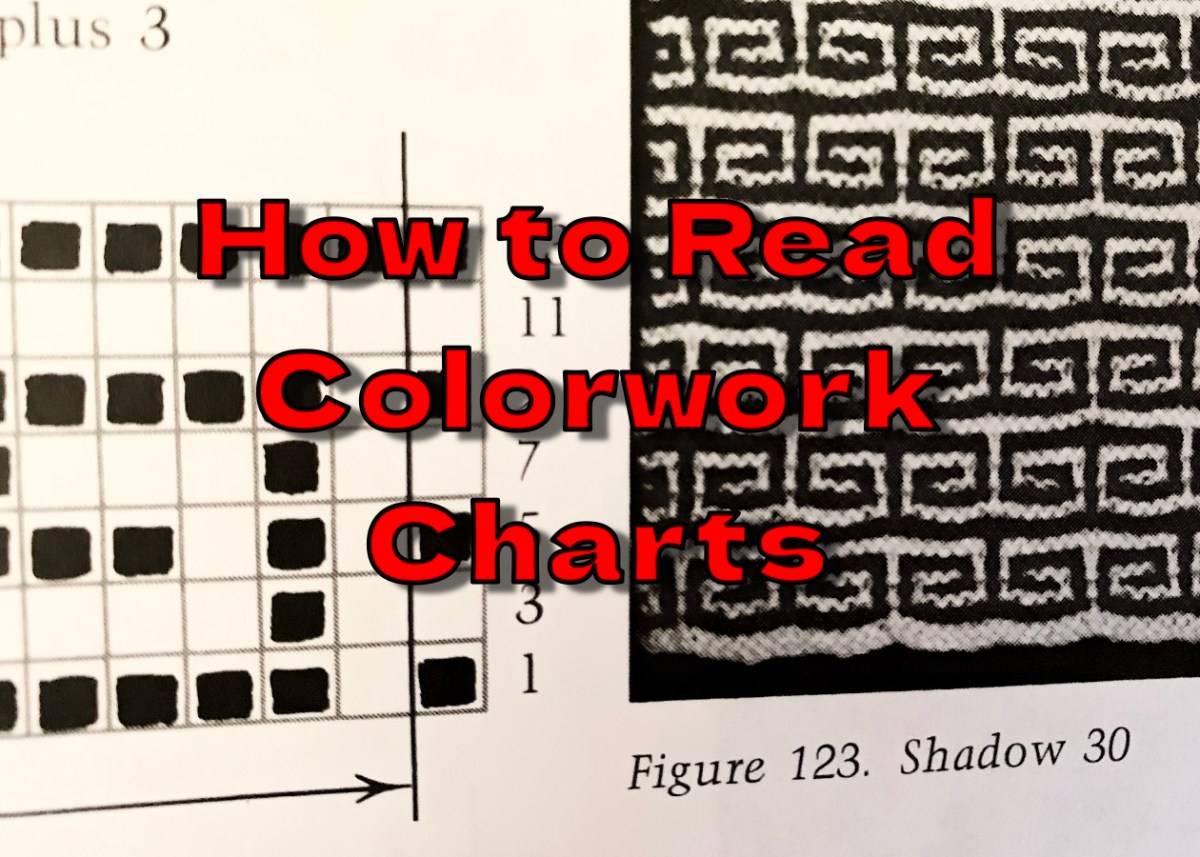
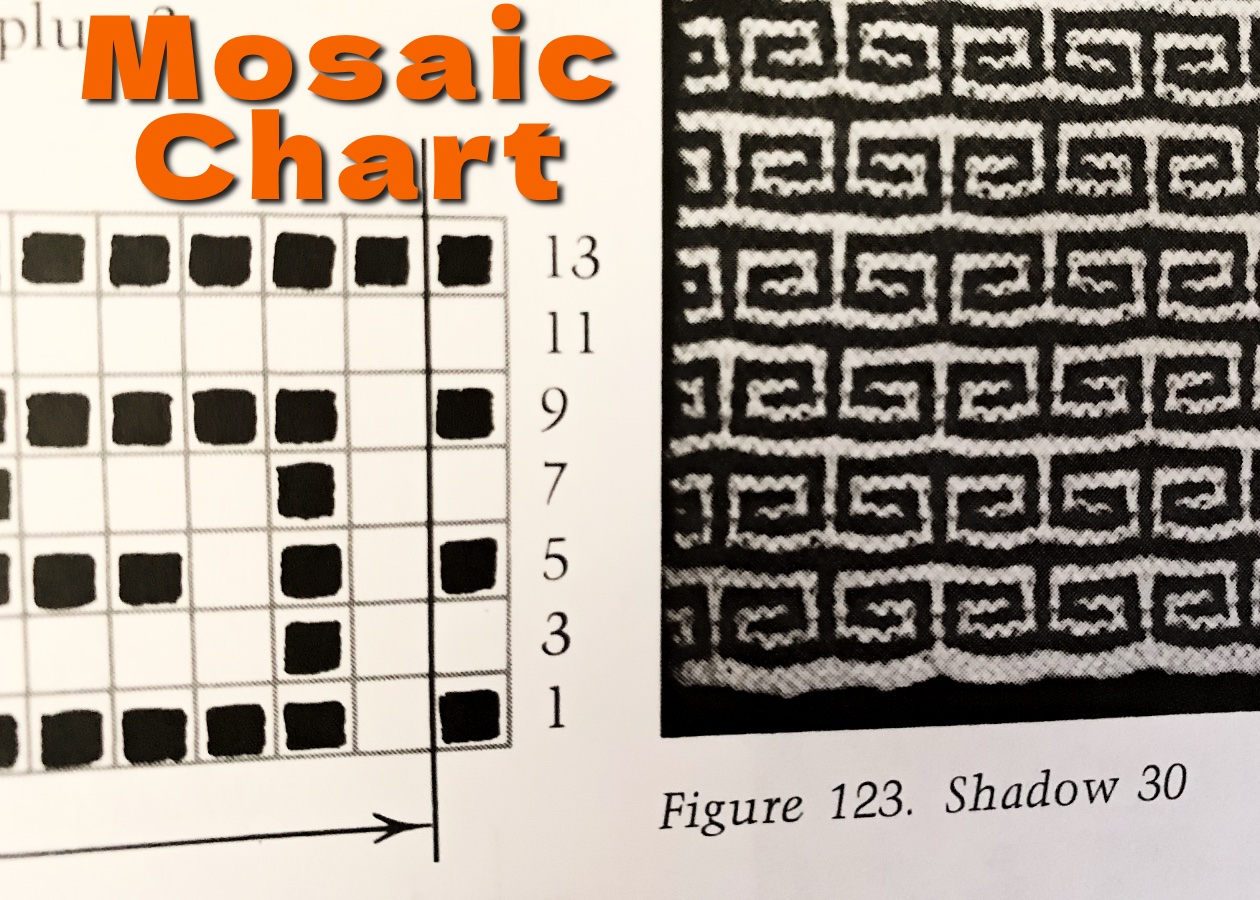
This little image below is a piece of a mosaic colorwork chart that can be found in Barbara G. Walker’s book – Mosaic Knitting – (Amazon paid link) which I own.

It shows the (partial) chart on the left that would complete the pattern on the right (if you had the entire chart). I highly recommend this book as it has loads of patterns – NOT patterns for making garments, but patterns you could use to make something by using a chart like this one.
Mosaic knitting chart example

Reading a Mosaic Chart

Looking at the partial chart in the image above you can see that even numbered rows are not mentioned. That is because you will always do the same thing on the reverse of the fabric (the even rows). The stitches are made by following the colors knit on the front side rows. There is no need for a chart. It might not make sense until you try it.

In the sample chart above, that line that the arrow points to is where the repeat happens. After the first stitch, which is before the arrow is made, you begin the repeat. The first stitch is not included in the repeat – it is a border stitch. Just like in Fair Isle, you will complete the charted row to the end.

I’m not going to get into explaining in depth how the chart is knit, as I am talking about recognizing parts of a chart. If you buy the book I linked above, the author goes into a detailed description of how to work her charts. YouTube most likely has some tutorials for Mosaic knitting as well.

It may seem confusing at first, but just do it. I promise you will find it fun and easy once you get into the rhythm. I always forget how to do it and then have to re-learn, but it is so easy – really!

Fair Isle vs. Mosaic

I find colorwork knitting to be fun no matter which type I am doing. Fair Isle takes a bit more practice but can complete beautiful colorful designs. Fair Isle lays flat and smooth once it is washed and blocked. Fair Isle knitting is worth learning as it leads to making some really beautiful garments.

Mosaic knitting for me is simply fun. I might make a scarf or shawl one day using the technique. It creates a bumpy, thicker fabric.
Thanks for reading, please leave a comment!

DIY Felted Wool Seating Pad Knitting Pattern

Knitting a simple wool chair pad to use up some heavy weight and worsted wool. This DIY pattern uses Fair Isle, colorwork that is simple and can easily be changed.

This is a free pattern for a felted wool seating pad. It’s an old pattern, and doesn’t have a lot of information. The colorwork is by chart only, but it’s a simple chart. Also, your own colorwork designs can be substituted. It’s what I decided to do. Or, don’t do Fair Isle, and make it all one color, or stripes. Anything works really. The colorwork makes it a bit thicker.

Scroll to get the pattern link, listed further down the page.

Need some helpful advice for reading a colorwork chart? I have written a page that will help.

Yarn Ideas

Worsted or heavy worsted type wool yarn. I used Lettlopi leftovers for this one. It doesn’t matter really as long as it is all wool, or other animal fiber that will felt.

The Finishing Process

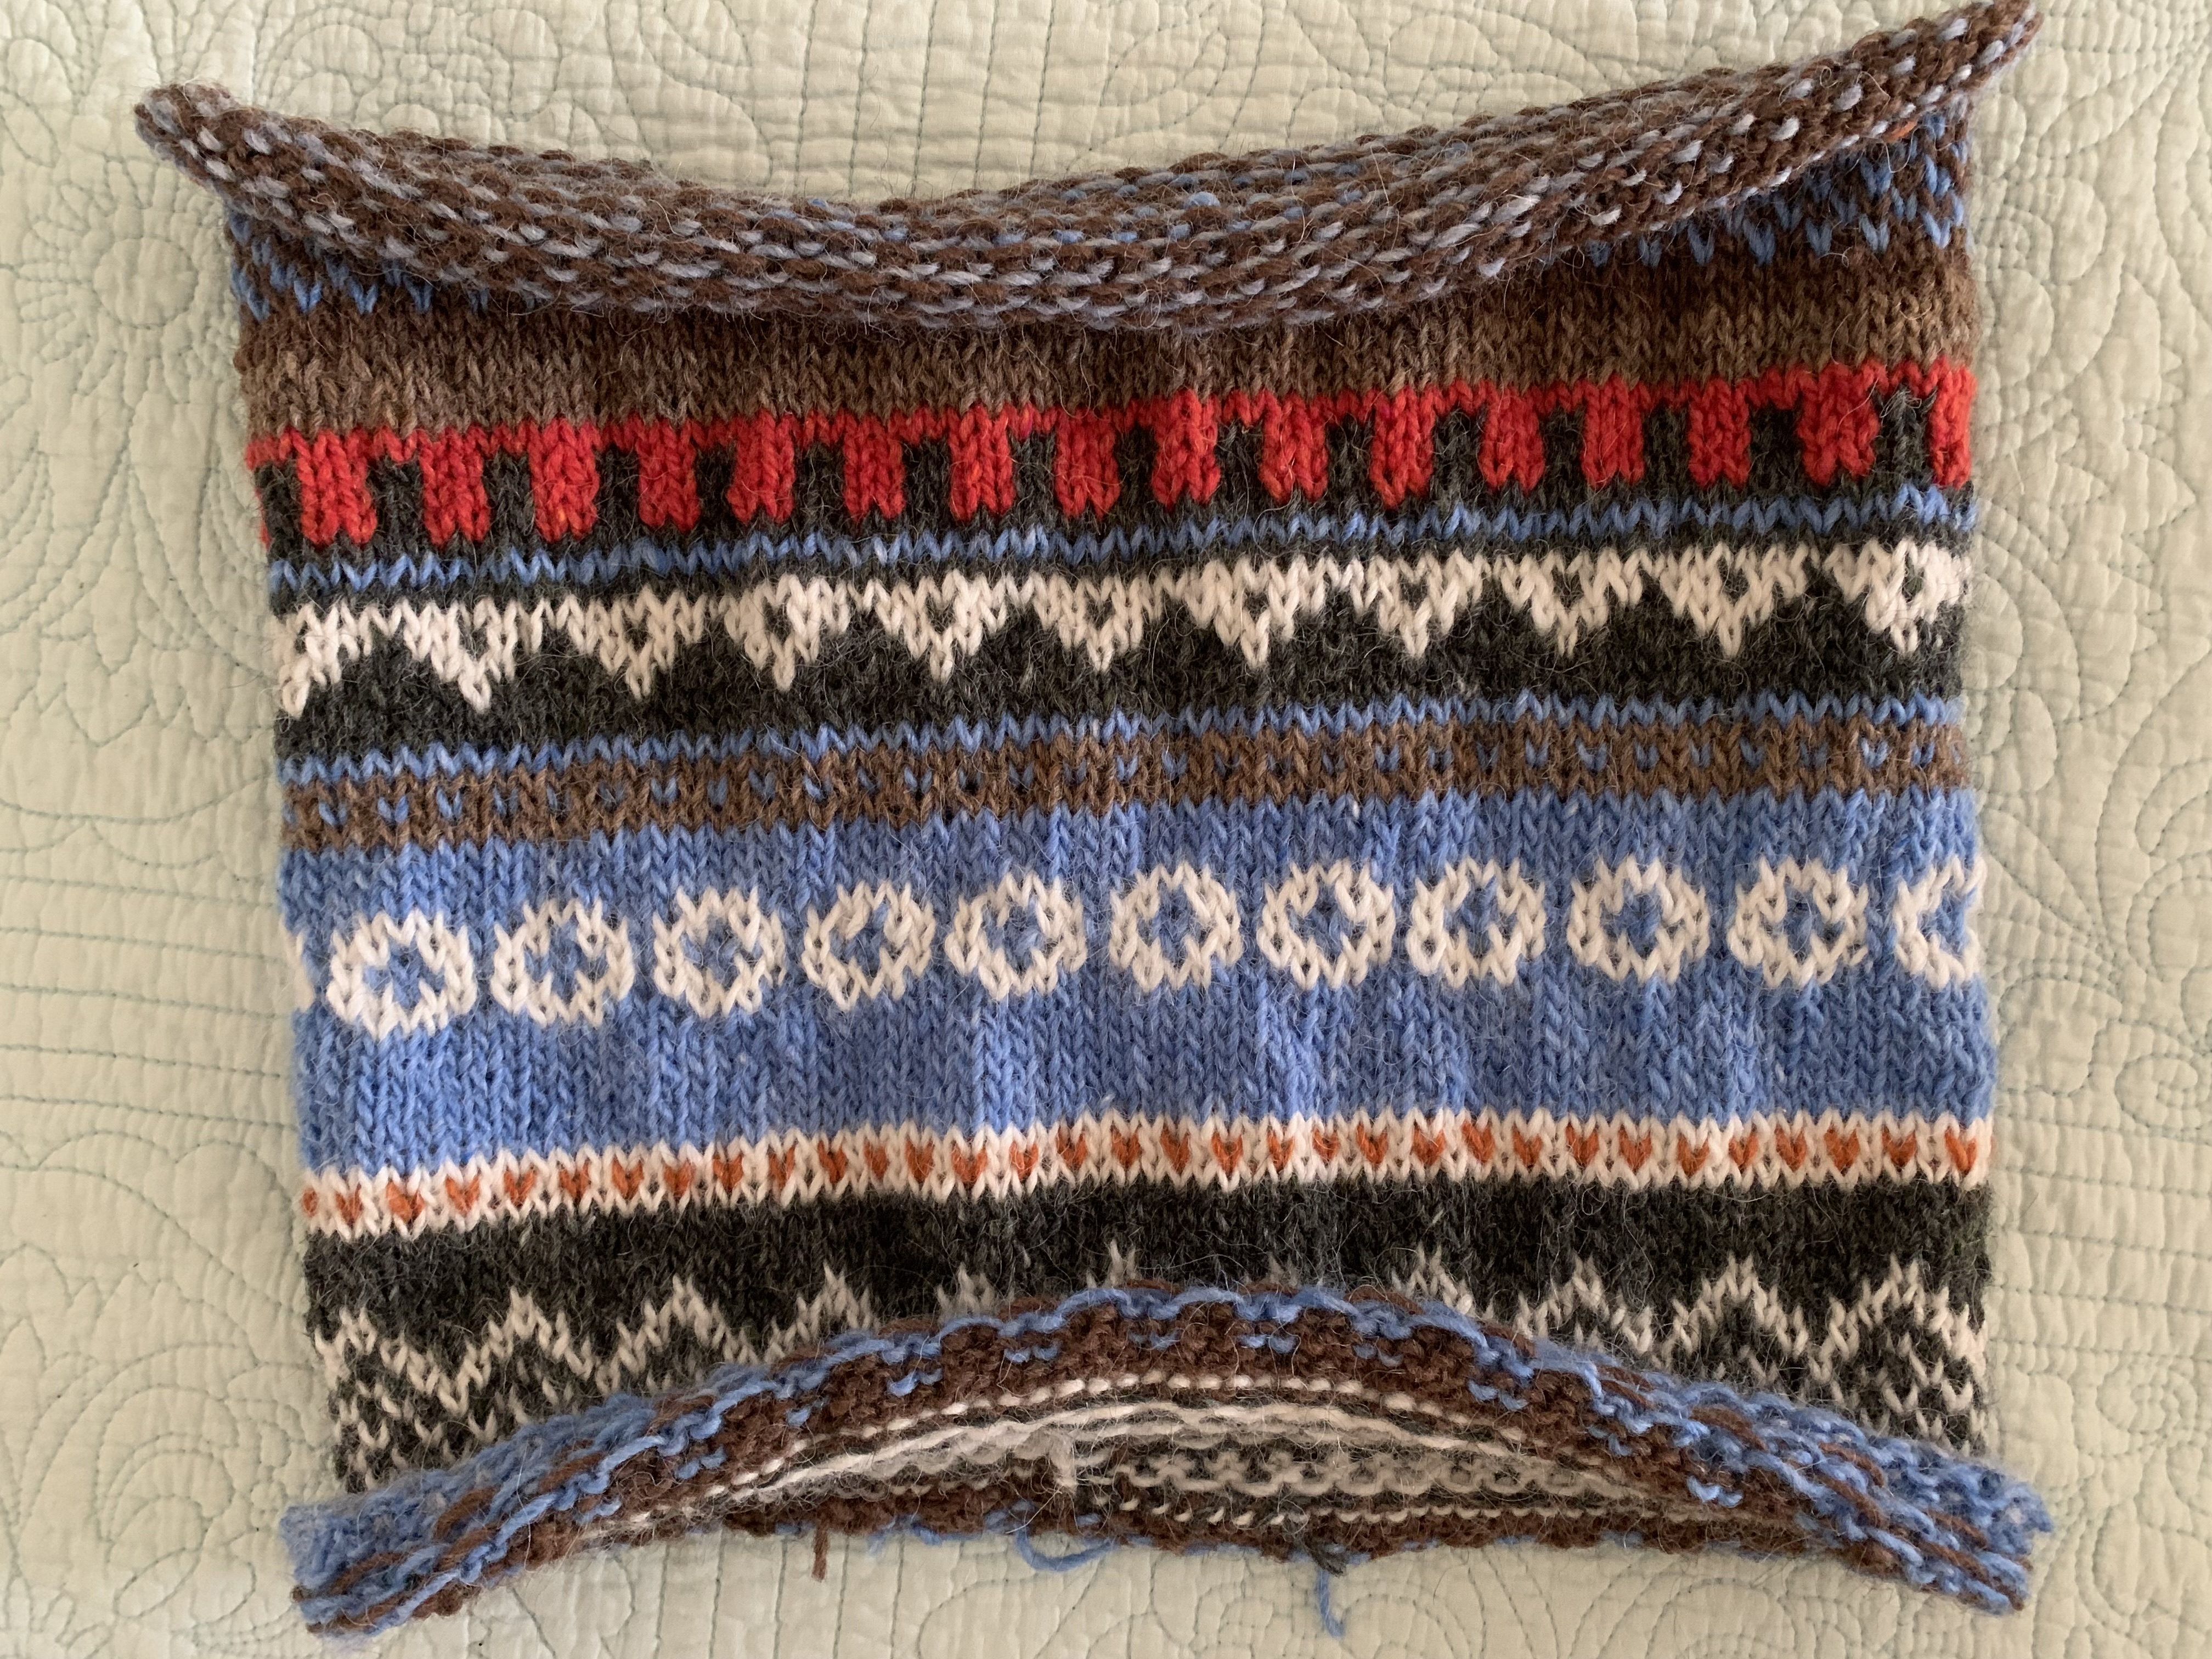
Once the sewing of the pad was completed, I needed to figure out how to sew up the ends. The pattern group that was formed seven years ago seems to be unavailable, and when I searched YouTube I didn’t find an answer.

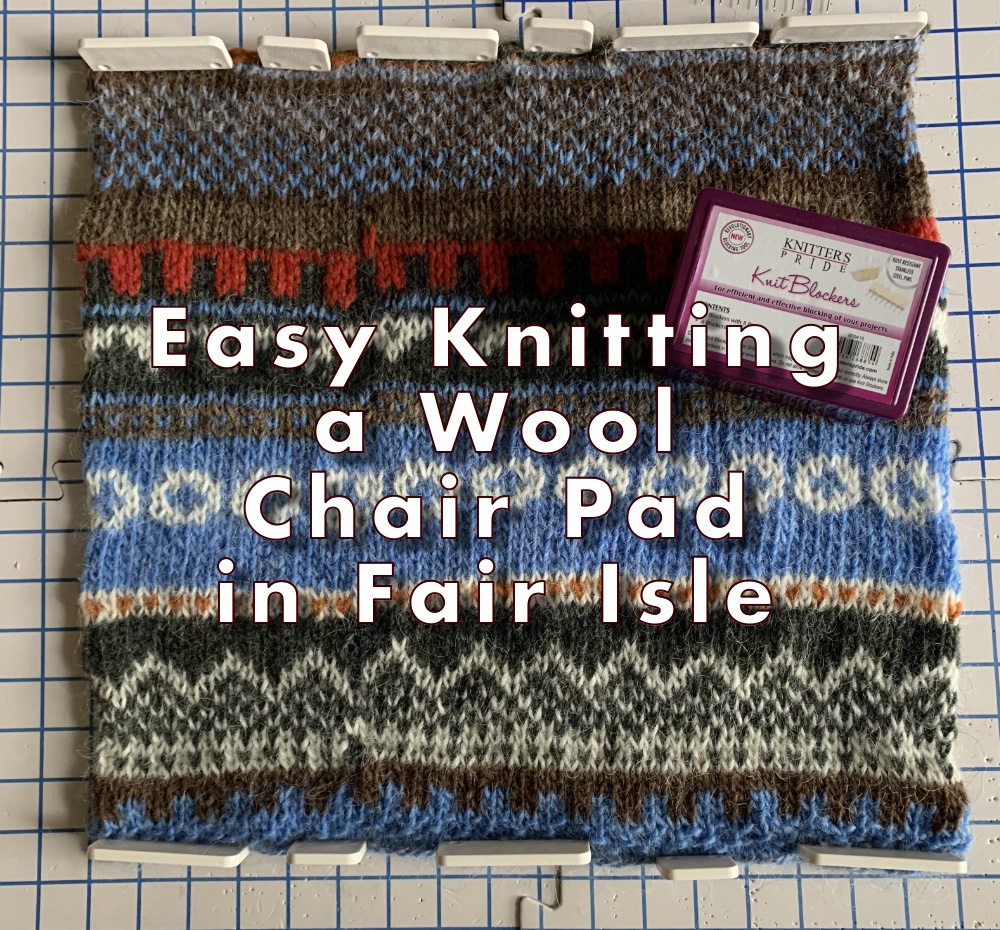
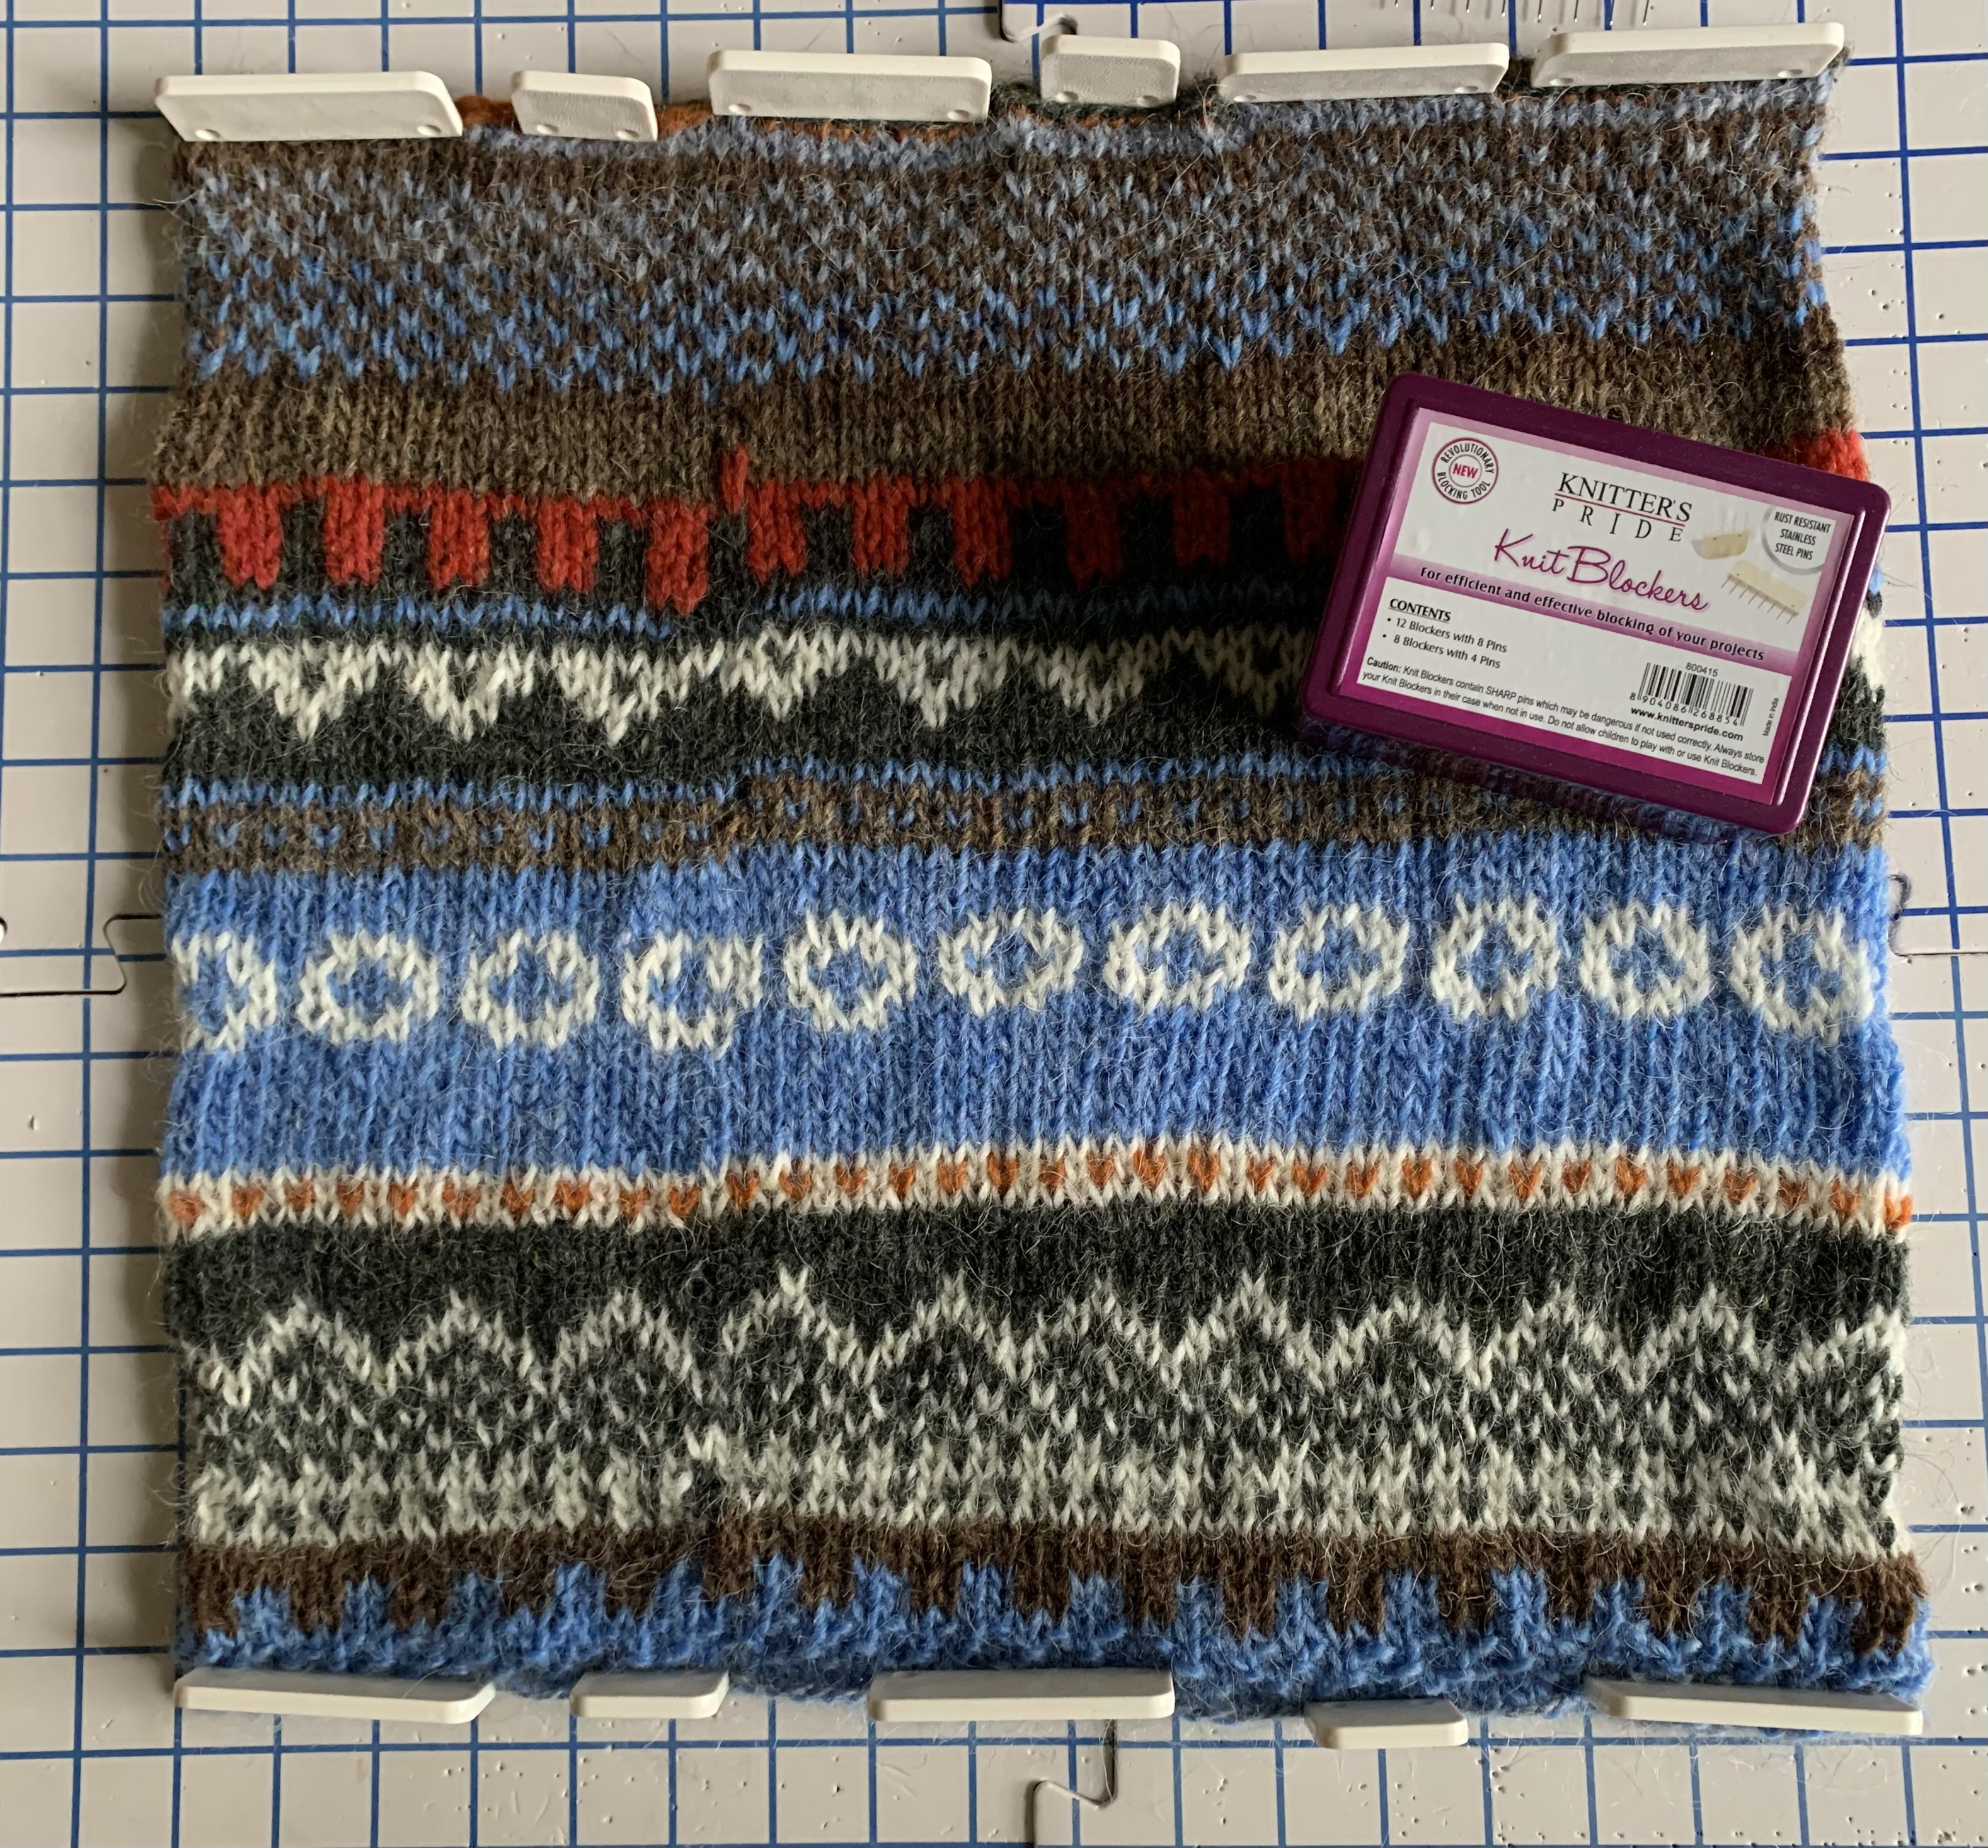
Because the edges were really curling, I decided to rinse the project and block it before attempting to close up the edges.

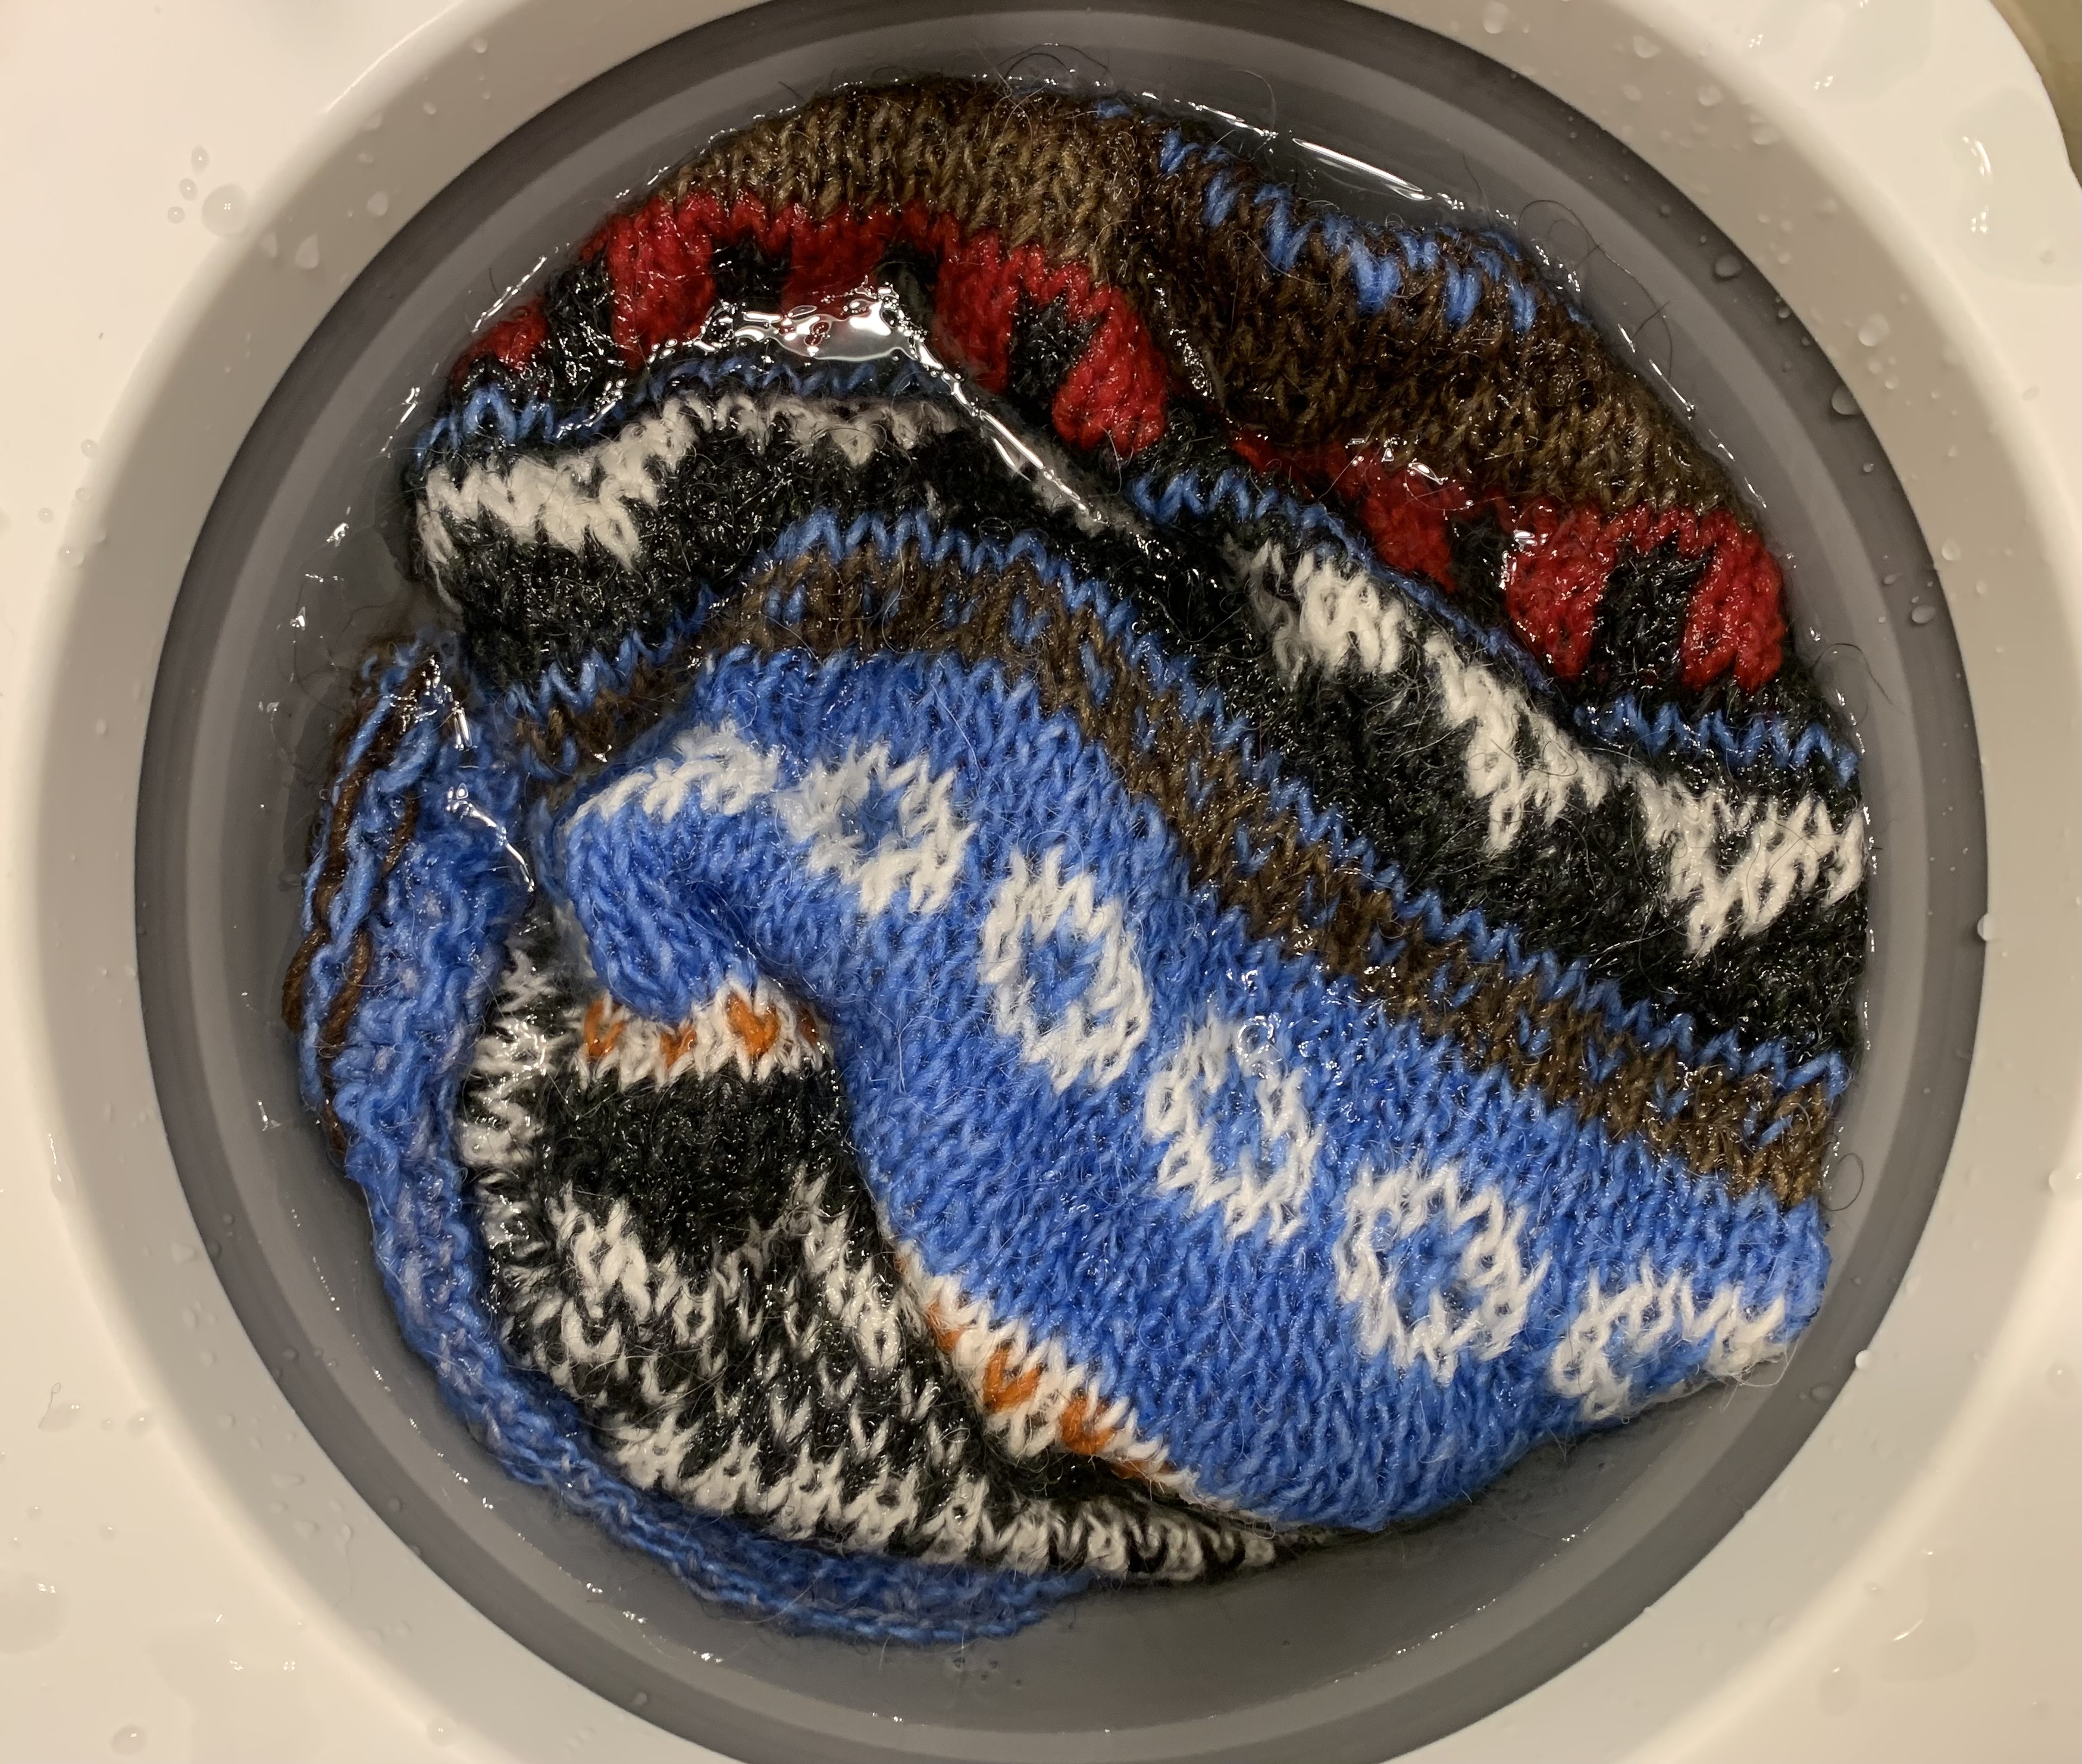
For the felting part, I washed the pad in warm water in the sink and alternated with cold. I continuously scrunched the fabric, swishing it, rinsing and re-doing. This pad did not felt a lot and maybe it needs to go into the washer. I might re-do it.

Questions and Answers

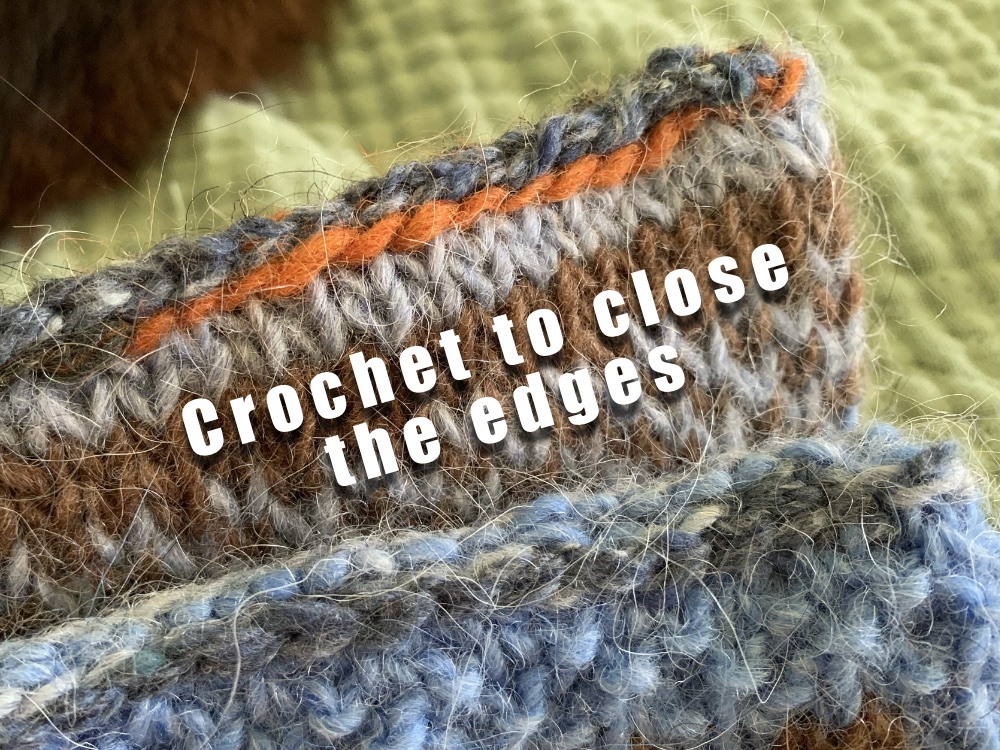
So how did I get those ends sewn up? I used a crochet hook. After the bind-off I left a long tail and simply pulled the yarn through each side of the flattened project until I reached the end. The stitch was like a single crochet and it was pretty easy with those larger stitches made by the heavy weight yarn. No need to be precise or too worried, it’s pretty easy. *I do suggest marking the halfway point (as you knit around) so the sides line up.

For the other end, I added a long piece of yarn and did the same thing.

Skibum edges after being closed up using a crochet hook.

Does this cushion need to be tacked down before felting? No. I was worried it would twist or felt to itself, but that didn’t happen. It might be a problem for another type of yarn, I don’t know.

Uses For the Chair Pad

This seating pad is named the SkiBum and is meant to keep your butt warm in winter. I don’t know much about that except I guess if you ski or hike and need a place to sit you would whip it out of your backpack and sit on top of the snow.

So what will I use it for here in Florida?

Right around the same time I found this pattern, I had been camping. It was December and although real winter never really reaches into Florida, we do get cold nights and mornings. It rarely remains cold all day, but it can.

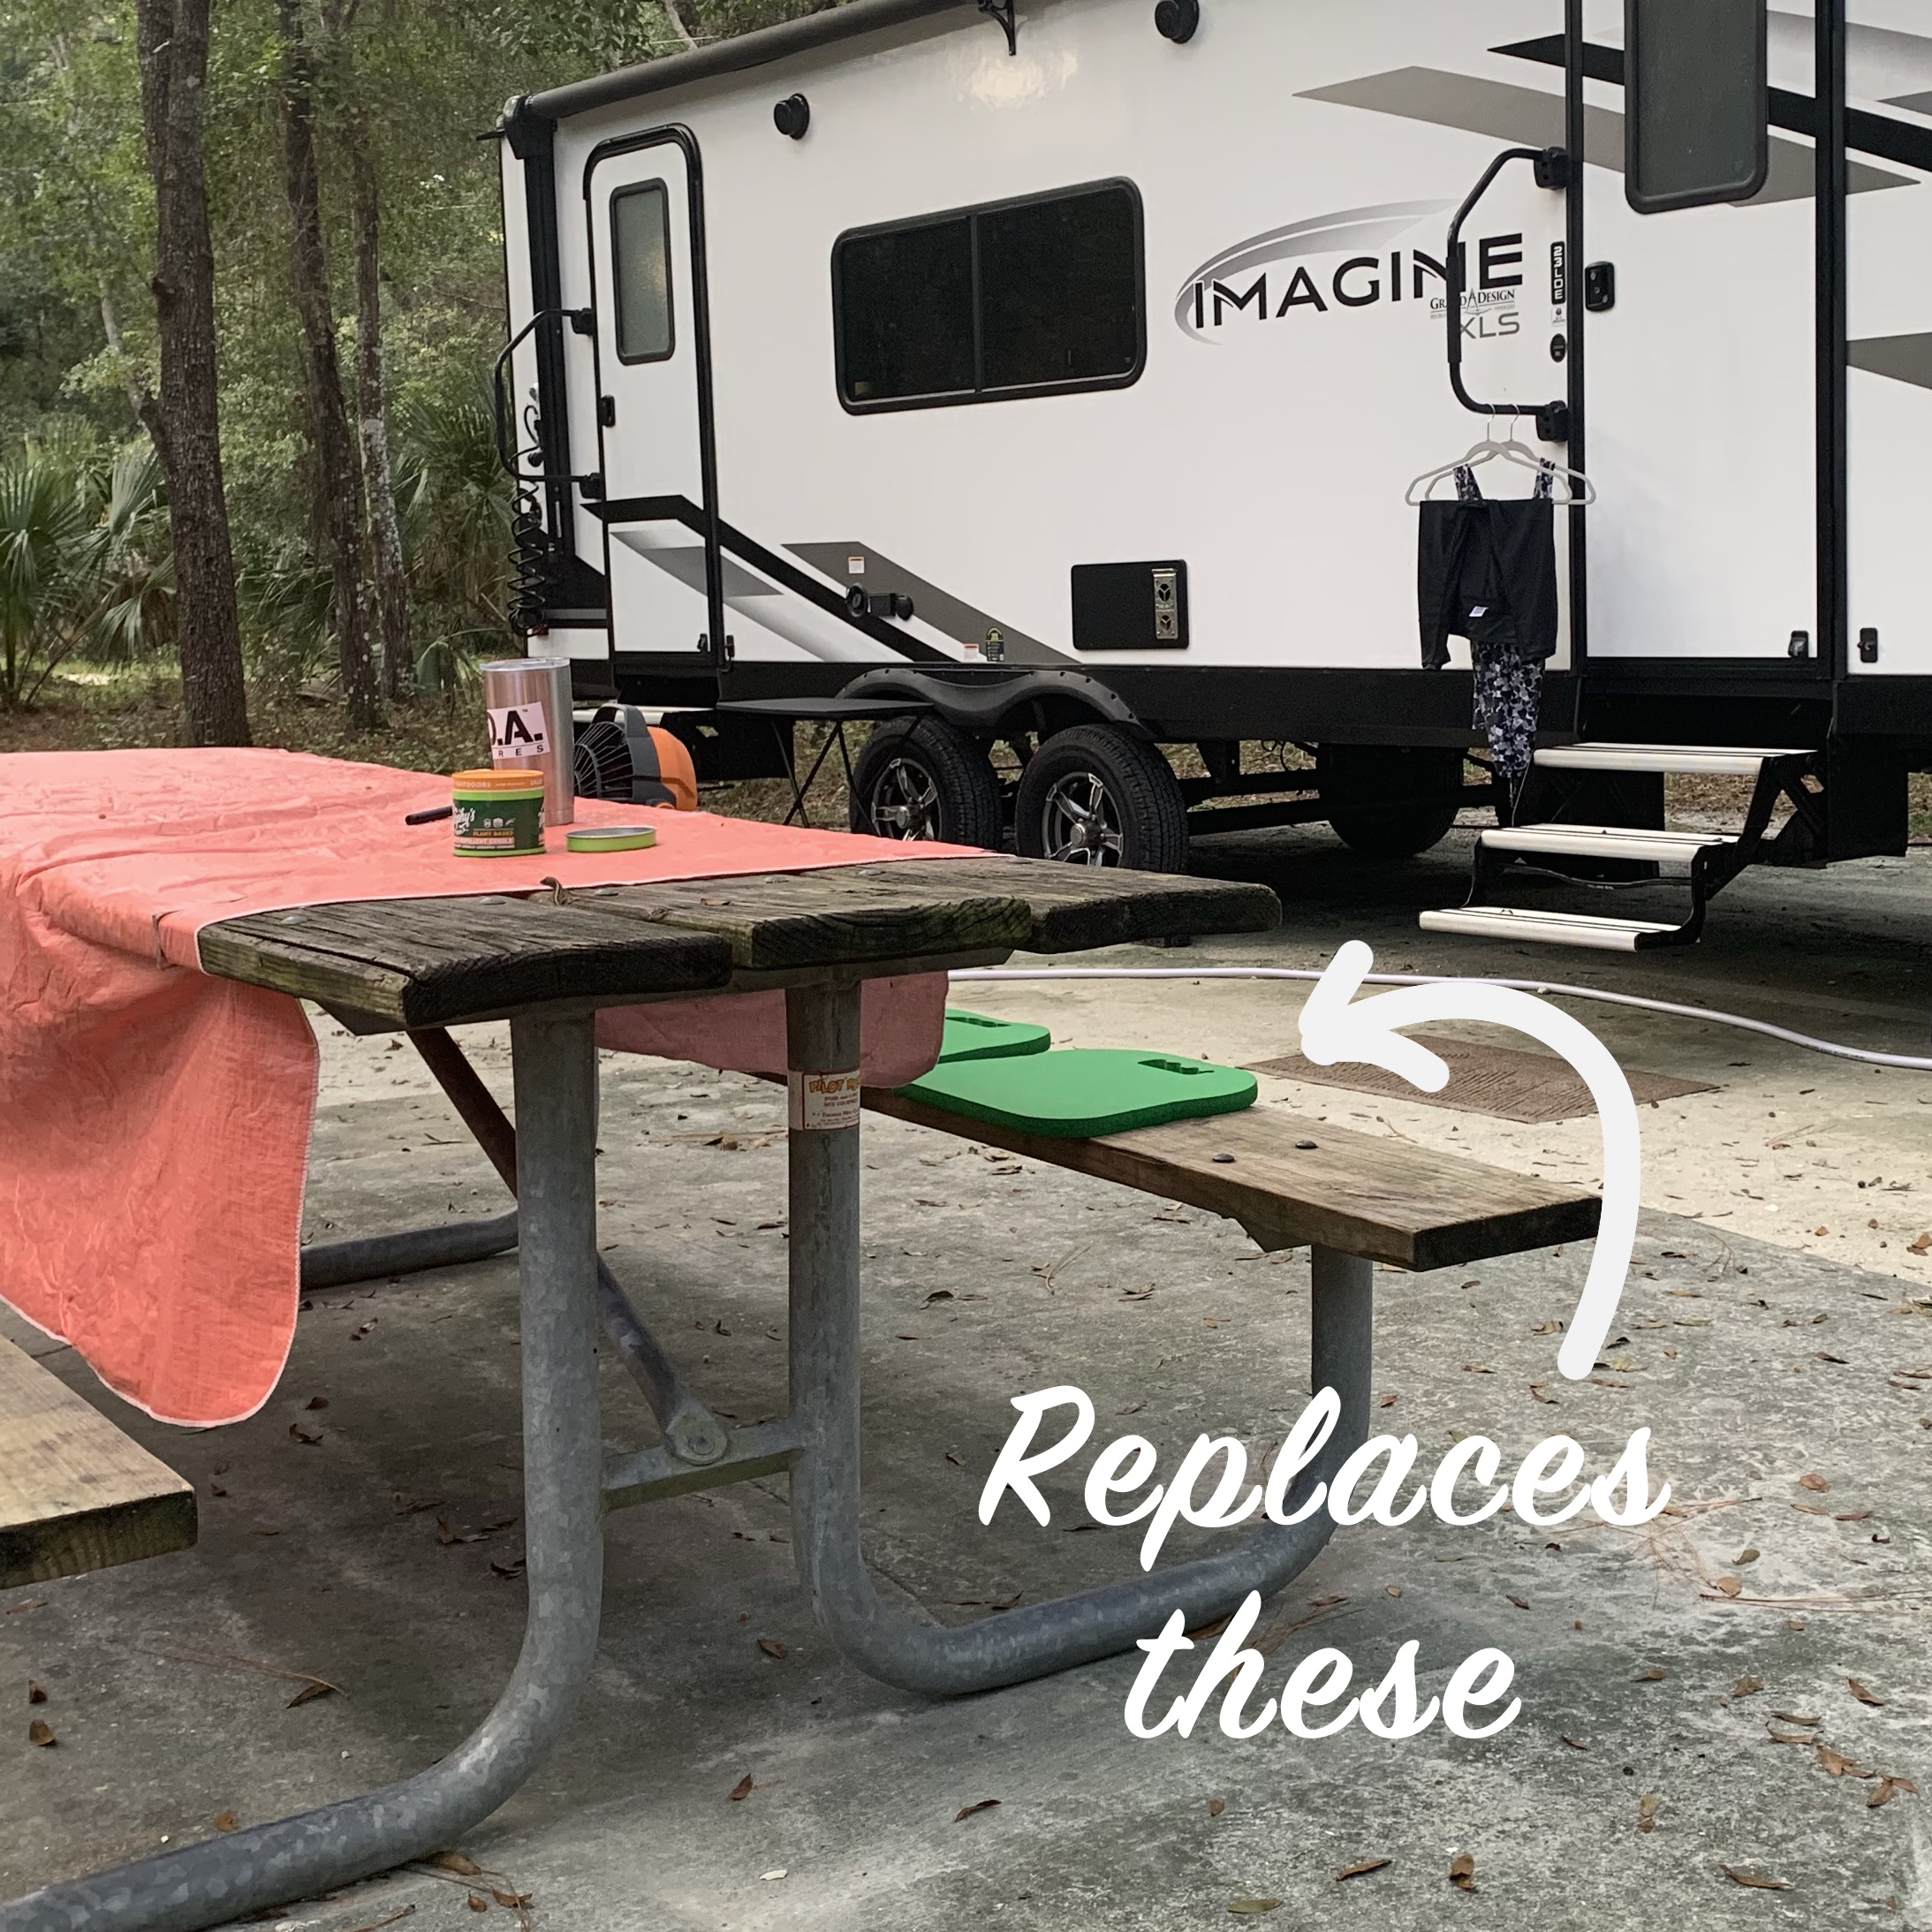
While camping, we sit around the fire at night. My folding chair is made of simple canvas, without padding, and my butt was cold. I grabbed the cheap foam pad (see photo below), which I use on the picnic table bench, and set it under my rear. When I found the SkiBUM pattern, it seemed like a great solution to this problem! I’d rather sit on wool.

Also, we always need something to use year round when sitting at the picnic tables.

camping chair pads on picnic table

Wool is usually thought of as being used to keep us warm. Wool is also great for staying dry. Think, wool hiking socks. A wool seating pad should be fine for year round outdoor seating at a campsite.

Finished Chair Pad

I followed the pattern directions for the cast on number and did some of the colorwork from the chart. Mostly I went off on my own and did simple Fair Isle knitting. It didn’t even matter if the count for the pattern was correct because it would be off at the side (the beginning / end point) – no one will really notice it.

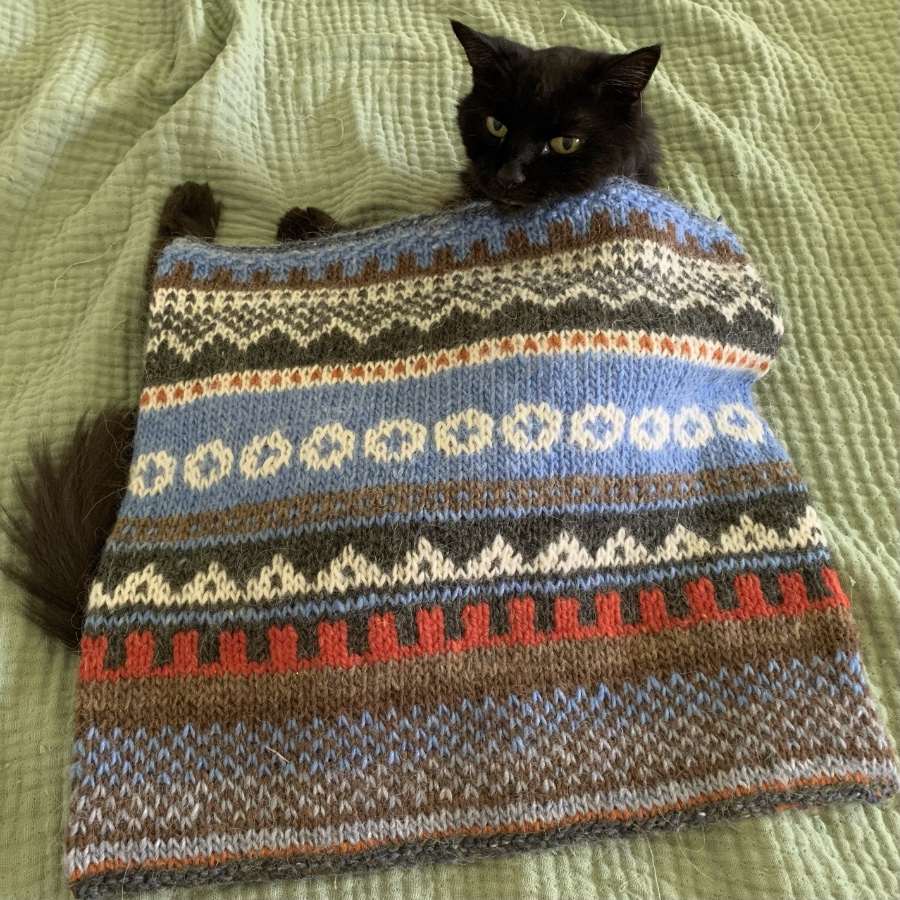
Hand knit Skibum chair pad on top of black cat
Fontana was in the way, so I left her in the shot!

I am now in the process of making more of these pads. It’s a nice way to make something useful and use up my yarn stash.

Thanks for reading…

Modeling Photos of the Doublemassa Hat

The Doublemassa massive hat knitting project is done. I have to model it for the full effect, so here goes.

Don’t get excited, no gorgeous models here. But the Doublemassa deserves to be photographed while worn. I’m the only one around to do it, so here goes.

I’m a little late posting this because life got busy! But I do need to share the final photos of this knitting project.

Tips For Finishing the Hat

First a note on finishing up this knitting project. One key thing I want to mention is to be sure and weave in your ends BEFORE you make decreases at the crown. I spit spliced my wool, and only had two ends to weave, but I had to pull that section up through the crown opening.

I ended up pulling the whole hat out just to check for ends. Maybe next time weave as I go, or at least keep track of how many ends there are. Wool makes yarn splicing easy, and this means fewer ends hanging.

As I began the crown decreases, the hat was finally long enough to fold the brim and try on. This hat is seriously cool! It fits like a charm too. I’m knitting it for my daughter and she has a small head. I hope she likes the fit. The Rauma wool is quite soft, so no itchy problem there. I highly recommend Rauma.

Photo below: At this point all I have left to knit is the crown decreases. I’ve swapped out the 16″ circular for DPNs. Once that is finished I need to make a fun tassel for the top.

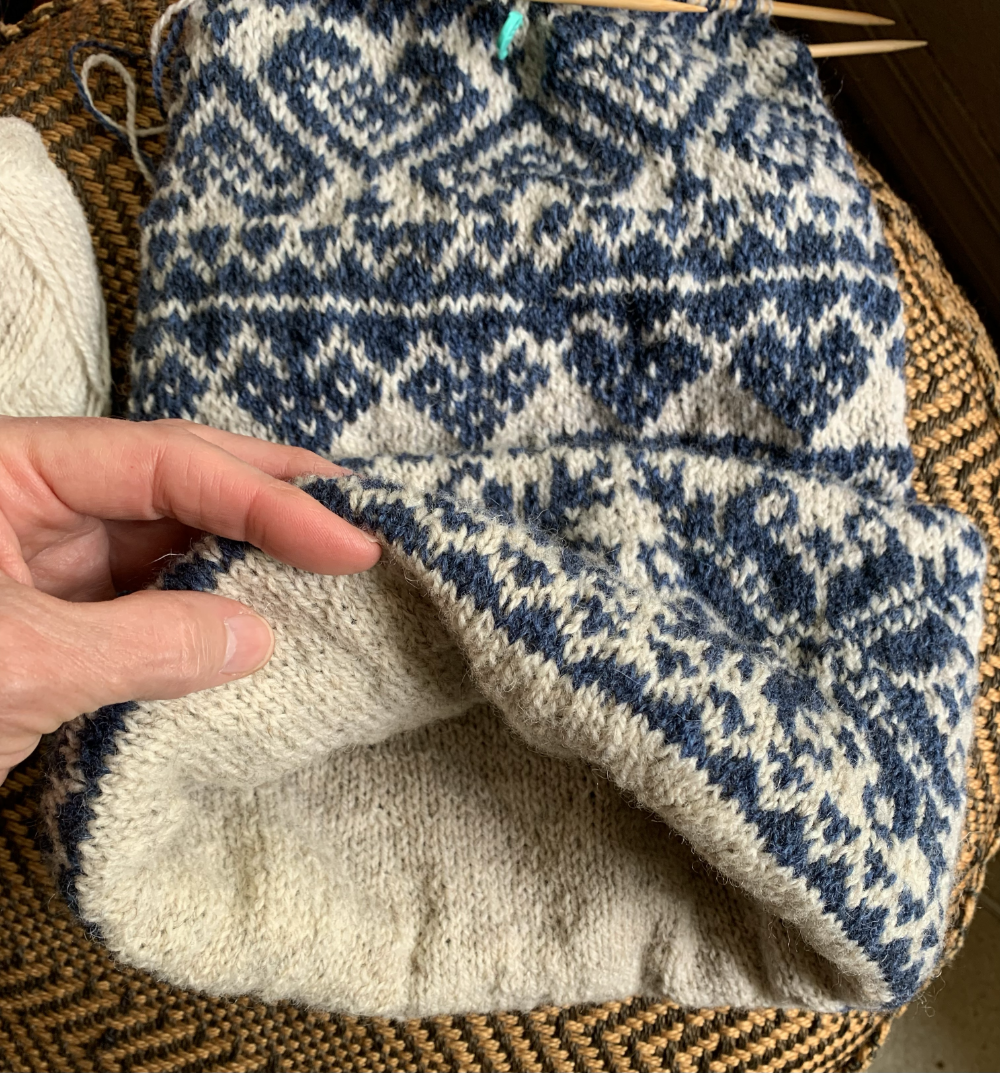
Doublemassa hat brim folded up

Making the Tassel

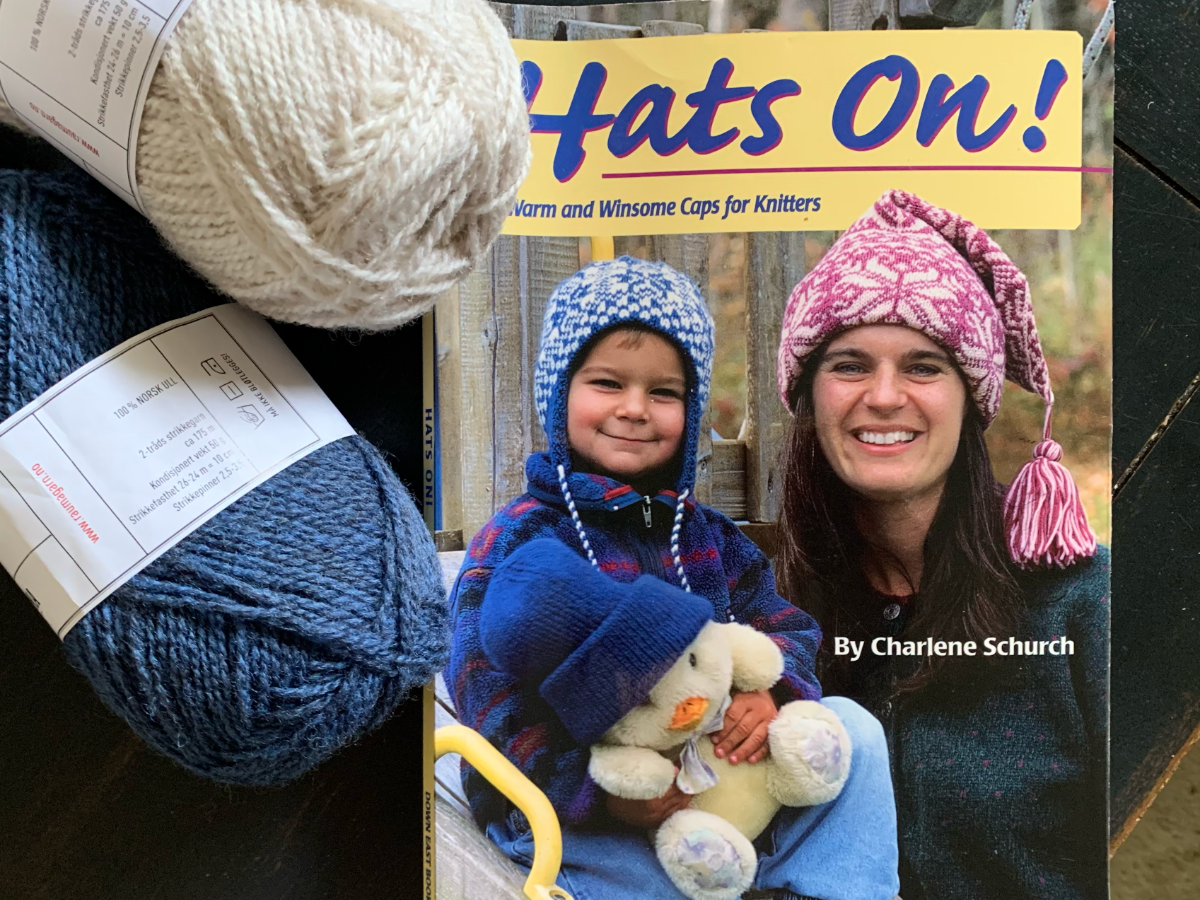
Tassel directions are included in the Hat’s On book. However, the directions are not great. I found a good video to follow, but the tassel must be attached to a hat without an inside access. I wrote a blog post about making and attaching the tassel.

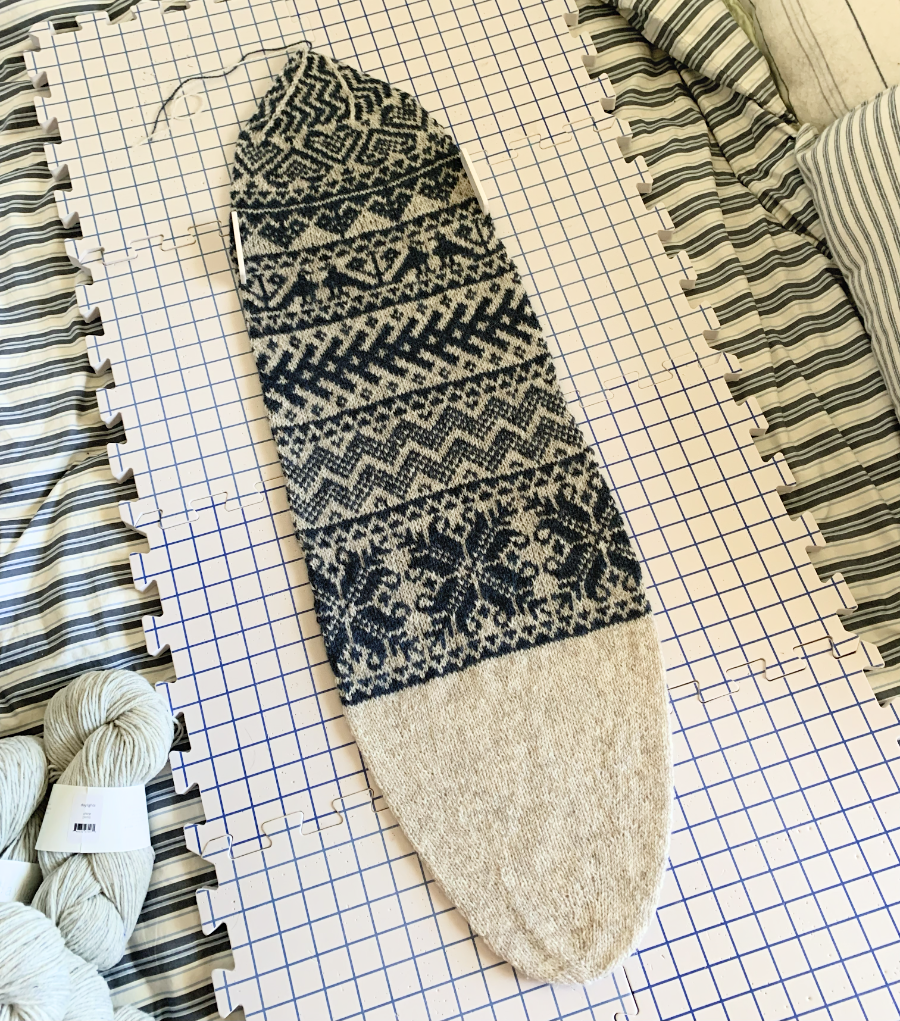
Washed and Blocked

Fontana immediately claimed the hat as her newest cat bed!

Modeling the Hat

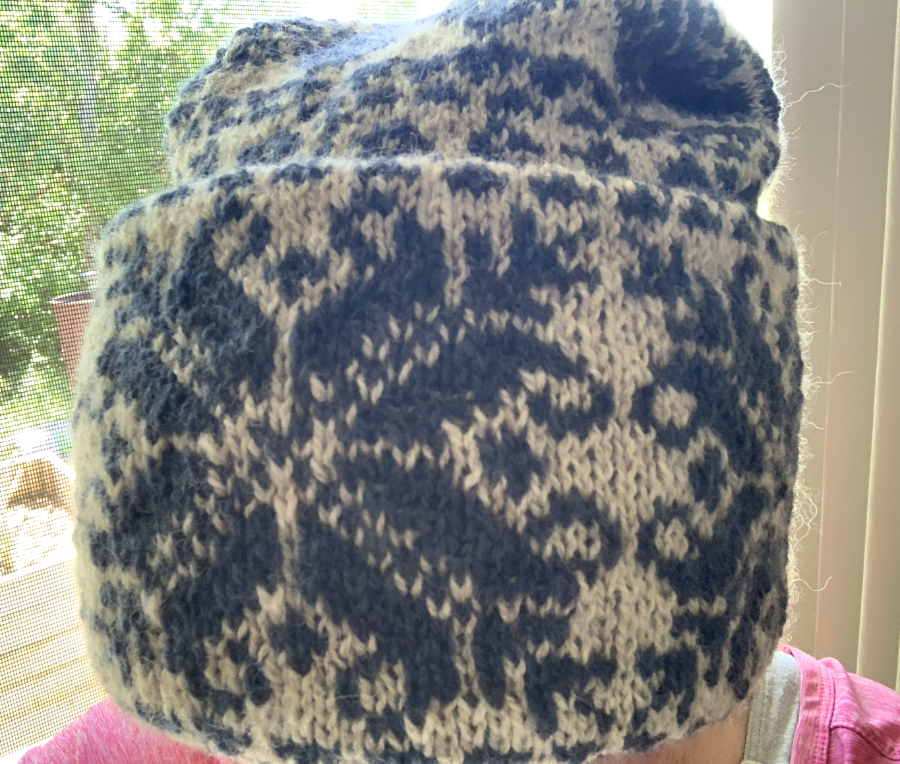
I hate to show too much of myself, but in this case the Doublemassa deserves to be shown on a head. My head was it, so here goes.

All my knitting photos are selfies. I prop the camera somewhere and use the 3, or 10 second delay. Usually I go outside, unless it’s too hot. Then I do a lot of cropping and fixing, … oh and deleting too!

These photos would look a lot better with a snowy background and me wearing a puffy winter coat. Instead it was a hot, cloudy morning.

The Doublemassa really is an impressive pattern. I used colors I already had, but this would be pretty in many combinations. The pattern is available in the Hat’s On book (paid link) by Charlene Schurch.

If, as a knitter, you get a request for a hat that is warm over the ears – this is it! I don’t know how you get much warmer than a 4-layer fold.

Knitting Stories continued…

Getting There on the Doublemassa Knitting Project

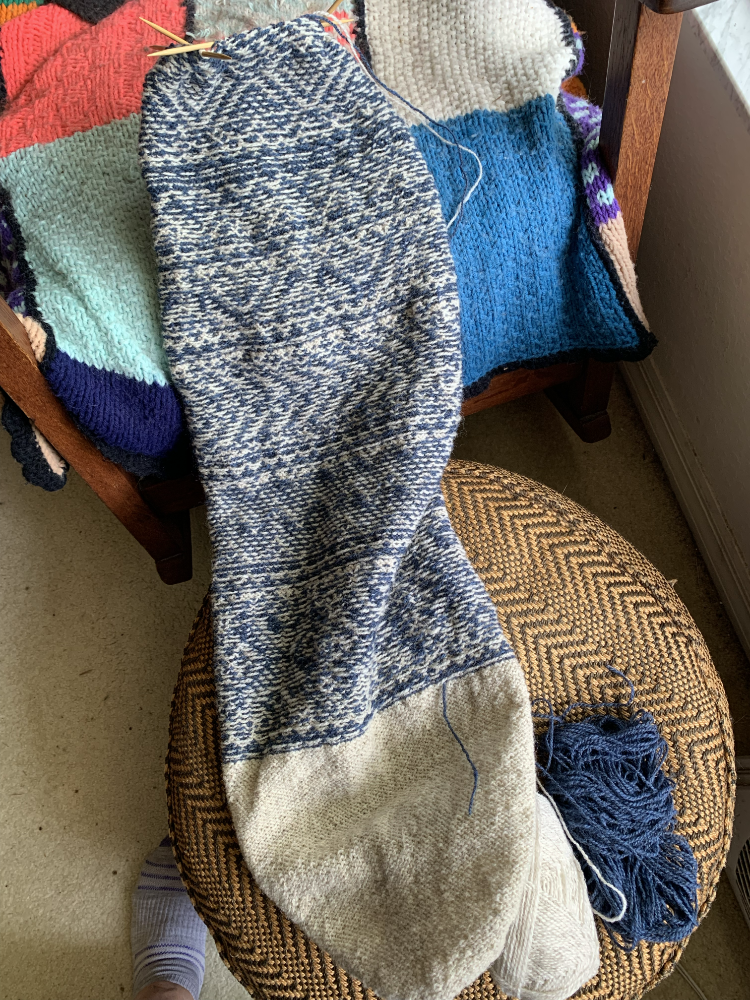
An update on my latest hat knitting project. This one is a very long hat called the Doublemassa.

The dark blue yarn skein is just about finished up. This morning was quite chilly for a March morning in Florida. I was bundled up in my newest Warm Up sweater, hat and mitts while I checked on the garden and filled the bird feeders. I decided to show my progress on the Doublemassa hat.

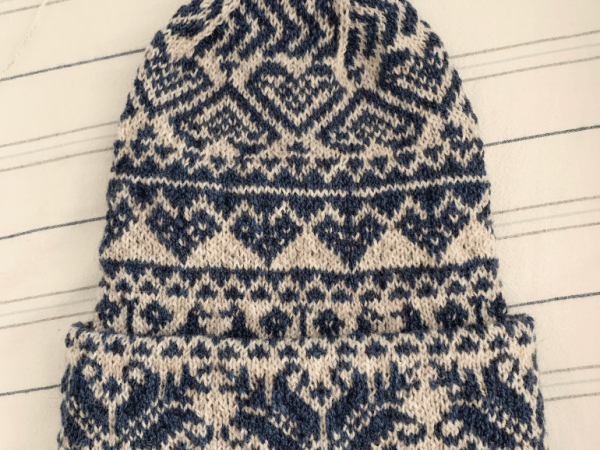
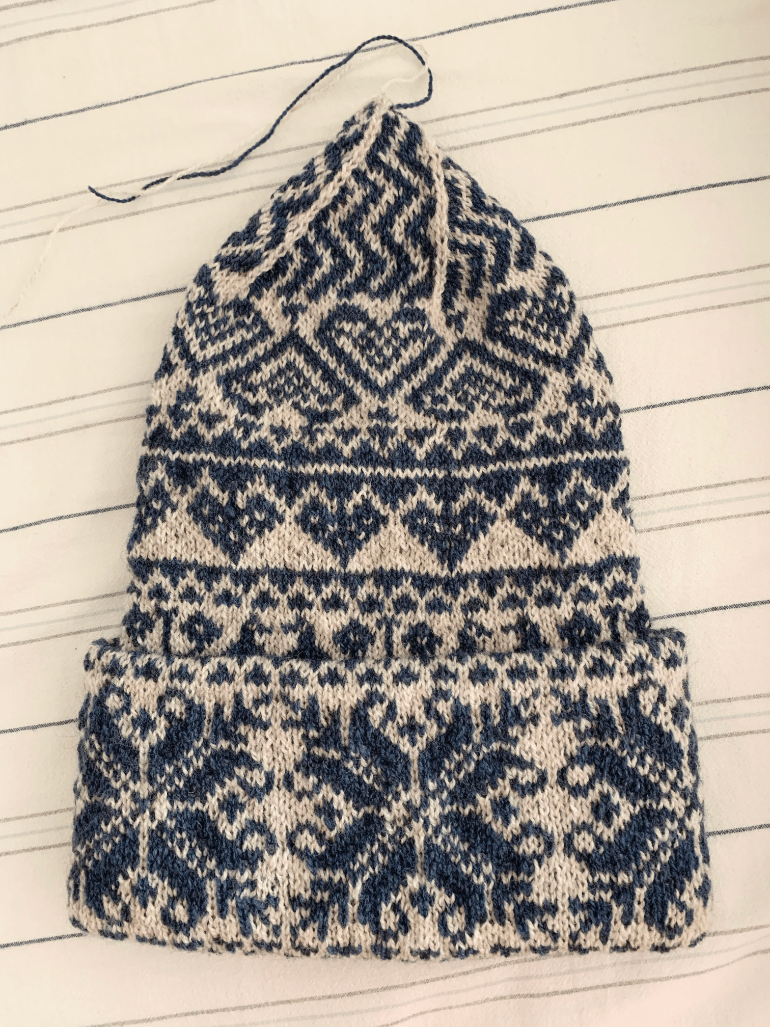
Fair Isle tube hat knitting in navy blue and off-white.

As you can see this is a very long hat! It looks huge, and I am hoping it will fit properly.

The colorwork designs are pretty cool, and I just finished up the birds rows. When looking at this hat finished, on Ravelry, the brim will fold up to either the birds or the hearts (which I have not even begun yet)!

Here is how the hat will fold: From the top of those snowflakes down, everything is tucked up inside. Then the snowflake brim part will be folded out and up. The snowflakes will cover most of those two colorwork sections above the snowflakes. This creates 4 layers of fabric at the brim. I’m not good at visualizing this and can’t wait to actually do it.

Even though this hat is already quite long, I have many rows of colorwork left to knit. It’s been a very fun pattern, as I love doing Fair Isle. The Rauma yarn is quite awesome as well.

As I knit more, I will be attaching a new skein of blue, and will probably need more of the natural color eventually.

If you have knit the Musselburgh hat, the Doublemassa hat style is very similar. It is more involved because of all the colorwork, but begins at one end and makes a tube to the other end. The Musselburgh can be worn inside out, as if it were two hats, but this one is worn on one side only. It will have a tassel too!


Let’s Keep Knitting!