How to Knit An Easy Cable Hat – Part 1

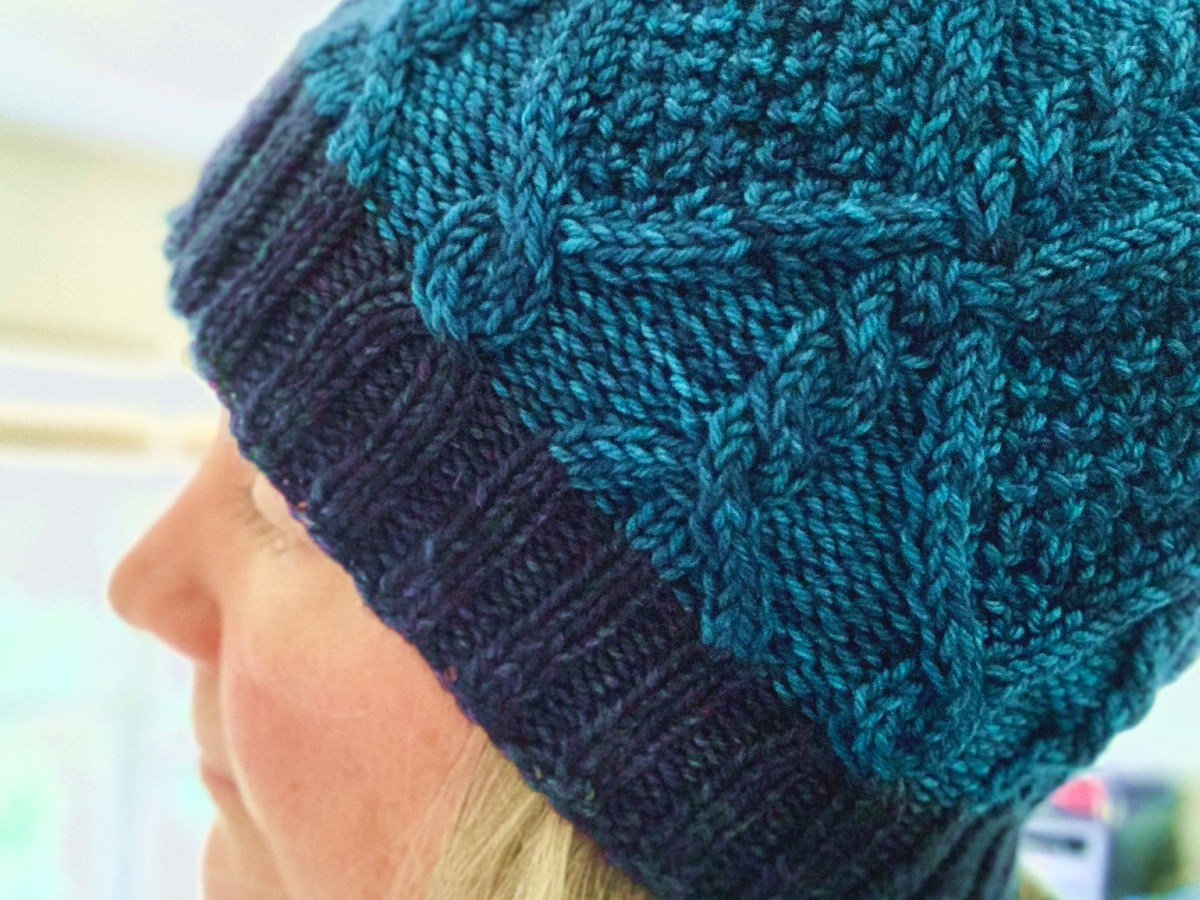
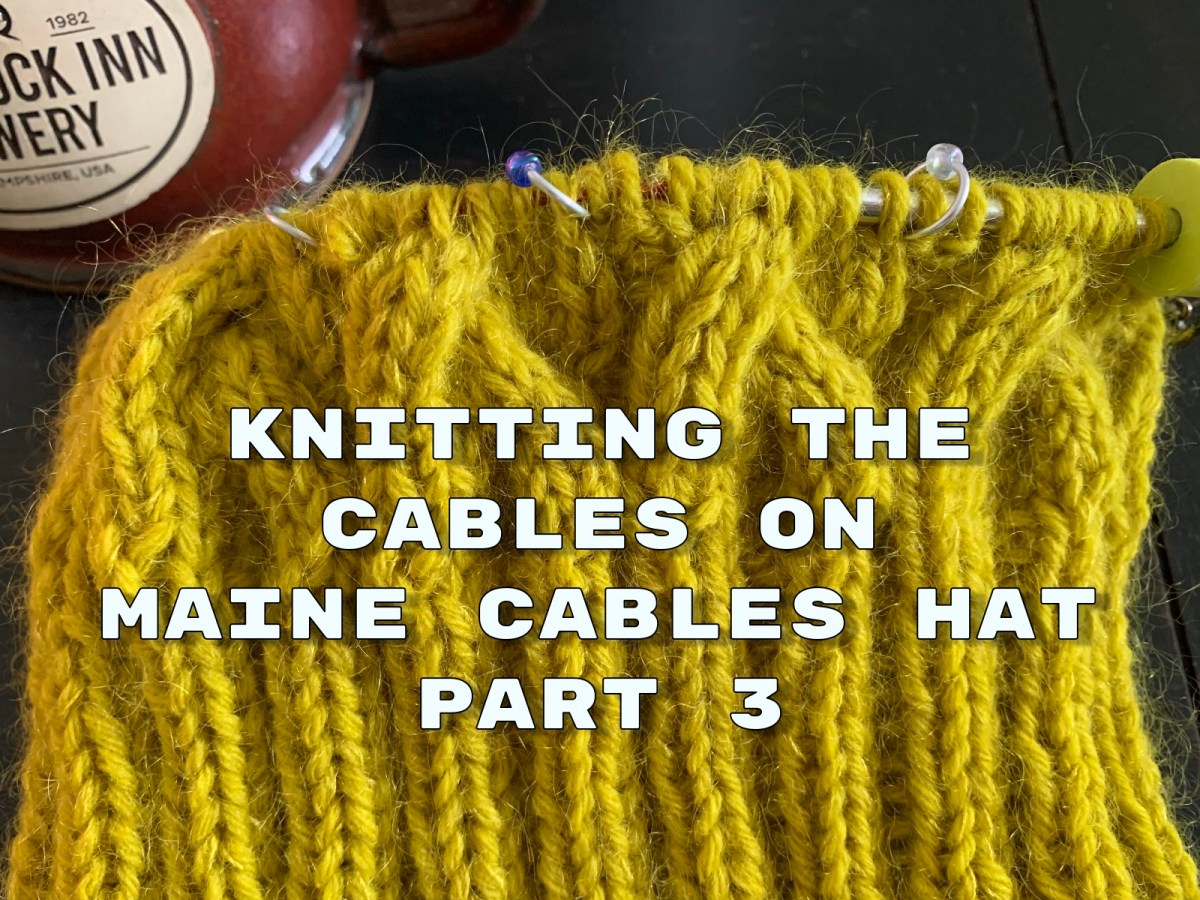
For my trip to New England this fall I want a new, warm hat. The free pattern Maine Cables Hat is what I chose and will document my knitting along the away to encourage first time cable knitters.

Would you like to knit along with me as I knit this easy cable hat? The pattern is free – yay! I’m knitting this hat for my trip to New England this Fall. This page will explain what is needed to accomplish the project. Part 2 will begin with a cast-on and knitting the ribbing.

A Hat Pattern for Experienced Beginner

If you can knit and purl, and if you like knitting hats, grab some nice yarn and let’s knit this beautiful beanie. I’ll list some videos that can help with everything from the cast-on to the switch to DPN’s or Magic Loop knitting for the decreases at the top.

Even if you’ve never knit a hat, if you have some experience in knitting, it might be the perfect time to branch out. Cables are not difficult to create, but you do need a smaller cable needle (link below) to hold the stitches. *If you don’t want to buy a cable needle, a DPN would also work. Wood is best so the stitches don’t slip.

This pattern is not suggested for a true beginner. You should have some knitting experience to make this project fun. *The pattern is written out and it includes a chart.

Ravelry knitters (219 at the time I’m writing this) have rated this pattern as quite easy to knit, and 4.9 of 5 rating for clarity. Overall, knitters loved this pattern and lots of them were first time cable makers!

Tools Needed to Knit This Hat

Here is a list of necessities for knitting this cable hat pattern. Also included are other things you may probably have.

Some links below will go to Amazon where you can find the item suggested. These links are affiliate links where I could make a small commission, at no cost to you, and are listed as (paid links).

  • The pattern, by Heather Anderson – Maine Cables Hat – download for free at Ravelry
  • Yarn – Worsted weight yarn, 175 – 210 yards (per pattern and size chosen) *If you choose to make a longer folded brim, I’m guessing you will need more yarn. The pattern doesn’t say, but the double brim in the pattern is only 3 inches. I’m making mine 4 inches.
  • Needles – circular 16″ in size 7 (paid link to ChiaoGoo brand) and also double-pointed needles (paid link)in same size. (For magic loop, you will need a longer circular – 32 inches at least- in the same size.)
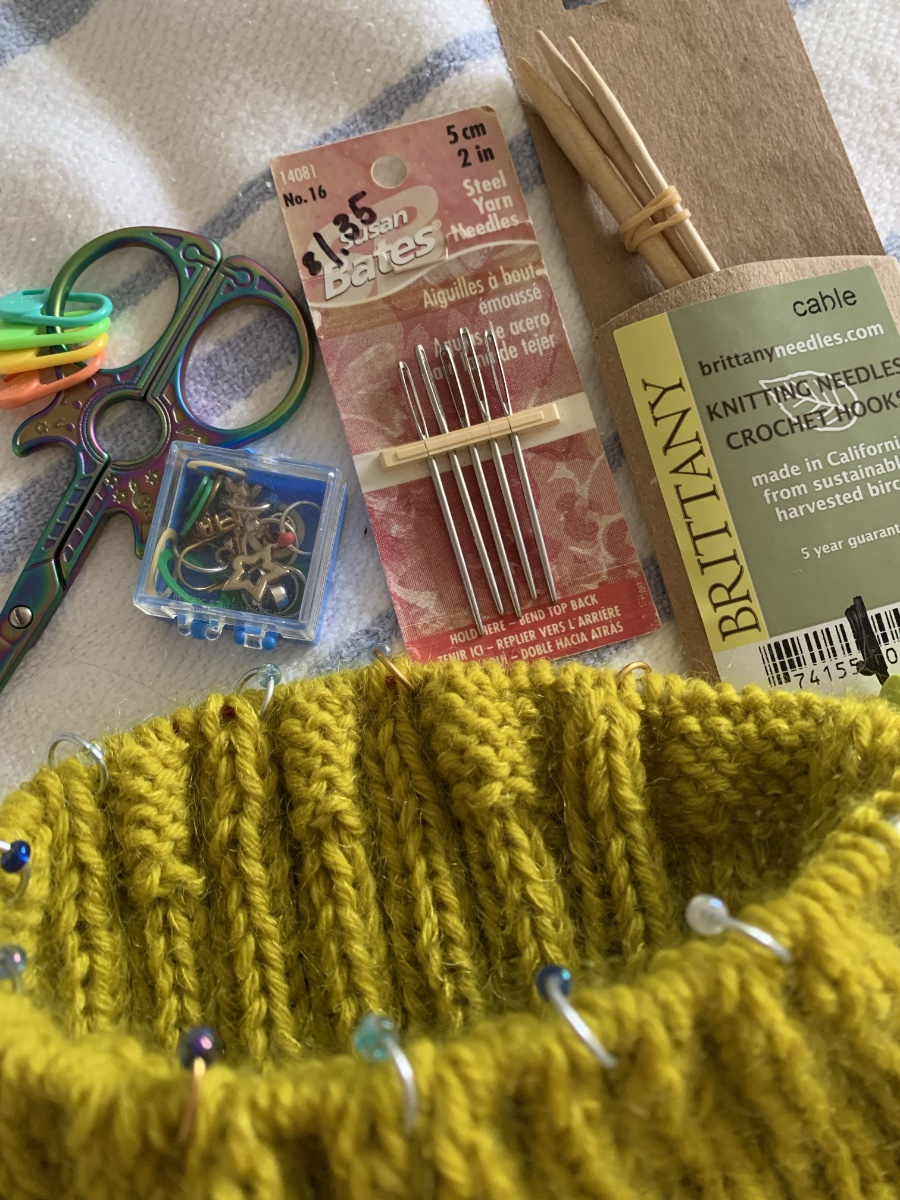
  • Cable needles – if you don’t have any I suggest the Brittany wood cable needles. (paid link) OR, if you have them, use a size 7 DPN (wood preferred).
  • Stitch markers – A special / different one for BOR (beginning of round) and 10 – 11 more to mark the cables. Clover 32 piece (paid link) larger size markers.
  • Stitch stoppers / point protectors – to keep work on the needles in the knitting project bag. There are many types, but something like this will work.
  • Embroidery needle to weave in the ends. (8 piece, large eye with wood case) – paid link.
  • Scissors
Knitting tools needed to complete the Maine Cables hat project

Getting Started

Once you have your yarn and needles and other necessities, read through your Maine Cables Hat pattern. Decide which size, Small or Large, (18 or 20 inches finished size) you will knit.

The pattern designer mentions that the smaller size hat “fits snugly” on her head, and the larger size is looser. The large size would work well for a man. She also says that the overall finished hat is very stretchy.

(The pattern does mention a gauge of 20 stitches to 4 inches in stockinette. I never knit a gauge for a hat, but the info is there is you like.)

*Keep in mind that the ribbing cast-on will be fewer stitches than the cable stitch total for the top of the hat. After the ribbing is done, increases will be made to bring the stitch count up to 121, or 132 total.

A fewer stitch count for the ribbing will make it a bit tighter, which I like. I hate when my finished hat fits too loosely! Cable stitches also pull inward to tighten the fabric, so more stitches are needed to account for that.

New Stitches to Know

The cable stitches will be the only stitches you may not be familiar with. Most other abbreviations should be familiar. They are all listed at the end of the pattern.

After the ribbing, increases will be made. This will be a backward loop increase, which is simple to accomplish. Purl two together (p2tog) is made just like a normal purl except purling two stitches at the same time. This decreases one stitch.

The cables are explained in the pattern, but in general this is what they mean: 3/3RC and 3/3LC are the cable stitches. 3/3RC means the next 3 stitches will be slipped to the cable needle and held in back while the next three stitches are knit. Then, knit the 3 stitches off the cable needle.

3/3LC means three stitches will be held in front, but done the same way.

My Choices For Size, Yarn, and Needles

Choose a worsted weight yarn for knitting this hat. I suggest you choose a solid color, or slightly marled. Any yarn with lots of changing colors will take away from the cables. This is my opinion, and you are free to knit as you wish!

I chose Knitting for Olive heavy merino yarn. I bought two balls to equal 274 yards and am combining it with one ball of Knitting for Olive mohair (246 yds.) I should have plenty of yarn, even with a longer rib.

For my hat, I am holding two yarns together. Both are from the company Knitting for Olive and both are color Umami Yellow. One is a heavy merino wool and the other is mohair. Because I’m using two yarns together, I went up a needle size to an 8US. I will be knitting the smaller size hat.
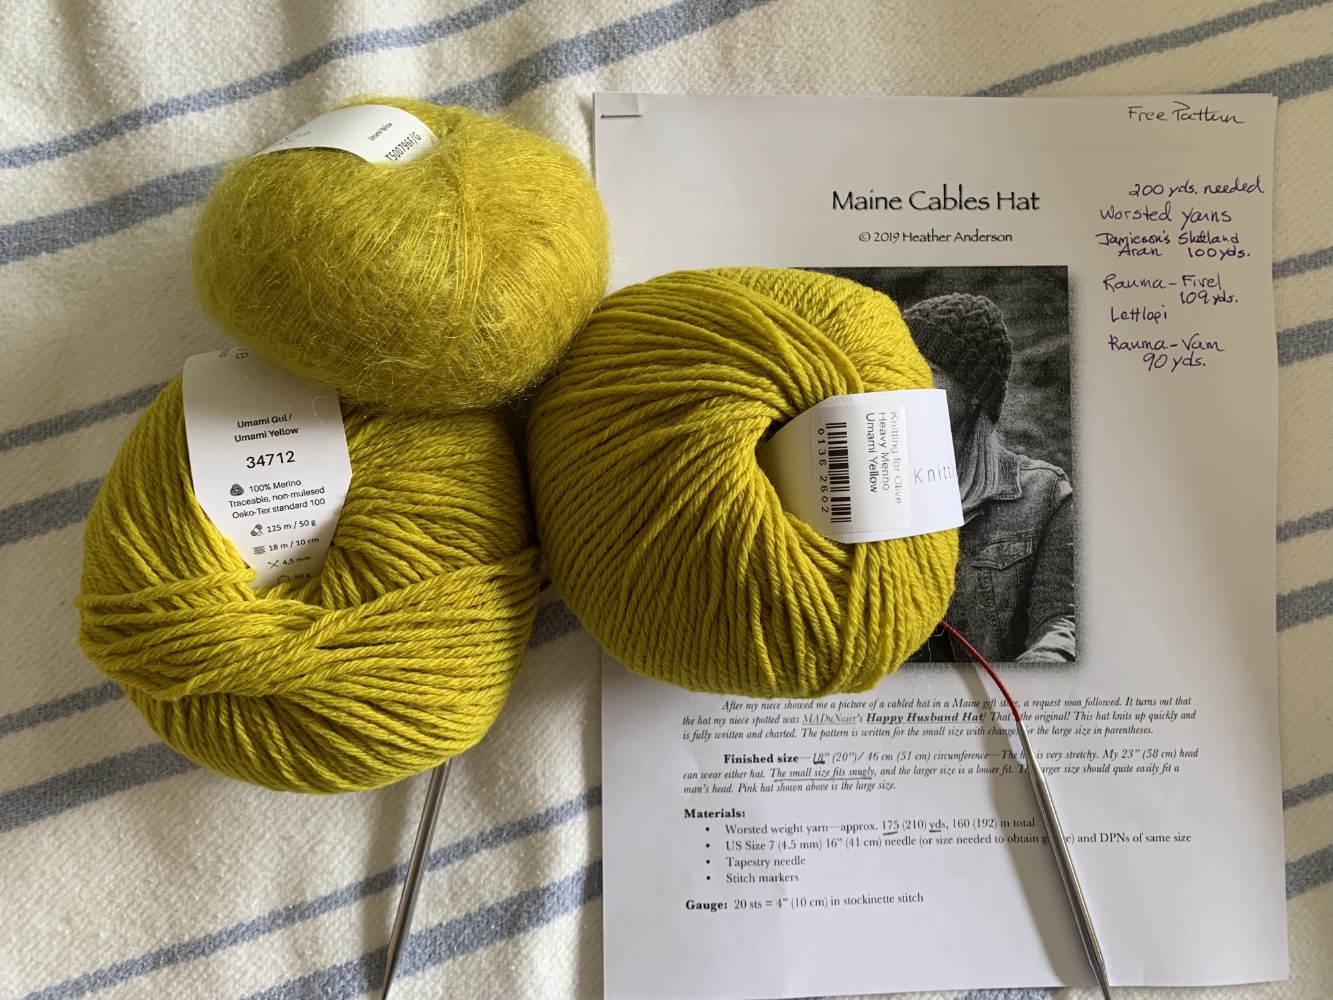
Maine Cables Hat knitting pattern and yellow yarn

More to come on the tutorial for knitting the Maine Cables Hat. Get your tools ready and follow along and knit yourself a beautiful new hat for this winter!

If you are ready, check out Knitting the Maine Cables Hat Part 2 where we will cast on and knit the ribbing.
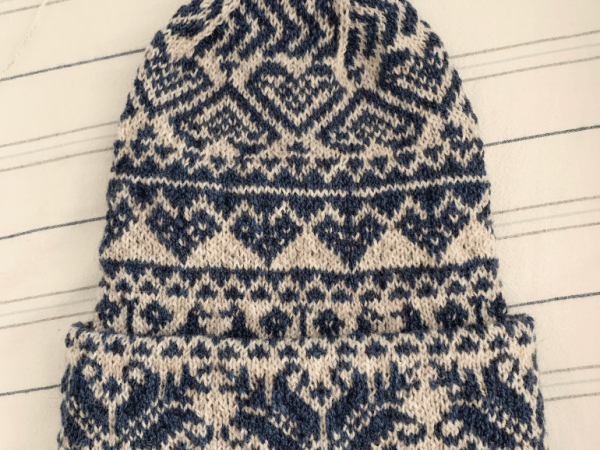
More about the hats I’ve knit.

Brioche Knitting For Beginners With Video Tutorials

When beginning to knit brioche, choose a simple pattern and get some practice. This post has video tutorials and easy pattern links for knitters who want to learn something new.

Let me admit right up front that I am not a brioche knitter. I have tried it numerous times and failed. I consider myself a brioche beginner. The basic stitch is not hard, but I think the trick is to knit a very easy project to become accustomed to the stitches. After that, if it seems like something to pursue further, go on to try two-color brioche, and pattern knitting.

A reader recently left a nice comment on my old post where I had given up on brioche after failing at it miserably. I was doing a more difficult two-color hat pattern. The comment reminded me to finish this post.

Back to Brioche, Simple Beginner Tutorial

I hadn’t planned to knit brioche. But, I was camping in Florida, and thunderstorms were all around us. I needed something to do while confined inside the camper. I had brought my cotton yarn to create new dishcloths because I had no other knitting project to bring. I’ve wanted to go back to Purl Soho and find some fun, new stitches to use for a dishcloth. It’s where I found them years ago and have been using the dishcloths ever since.

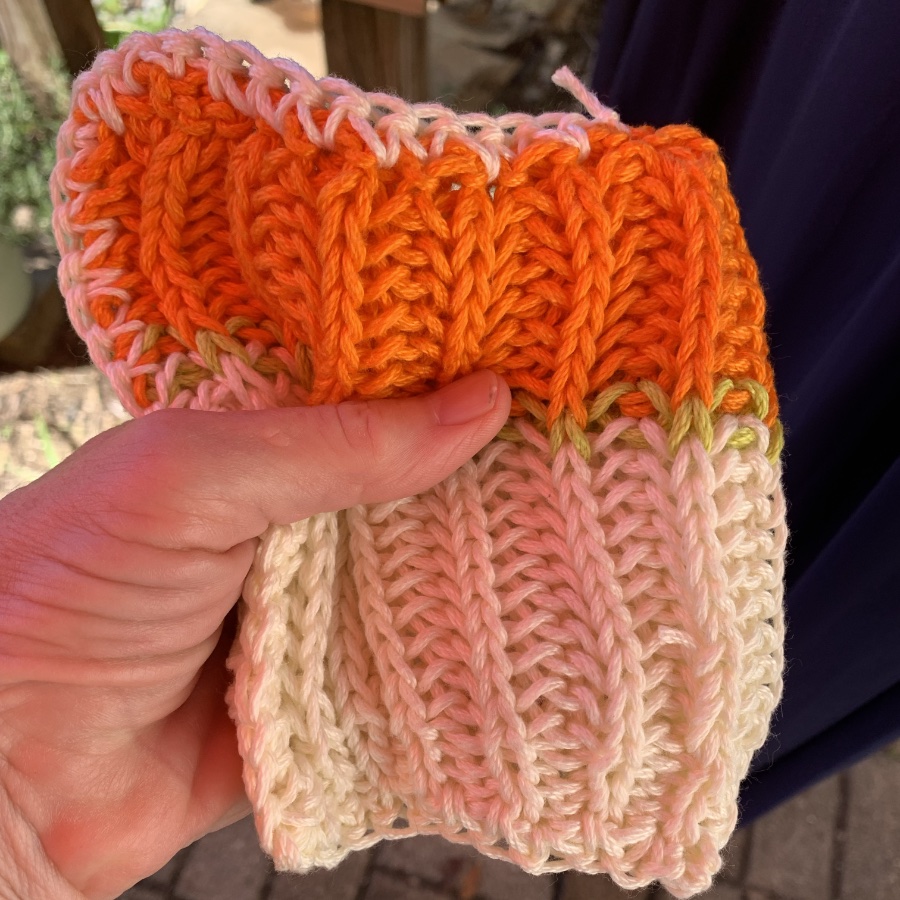
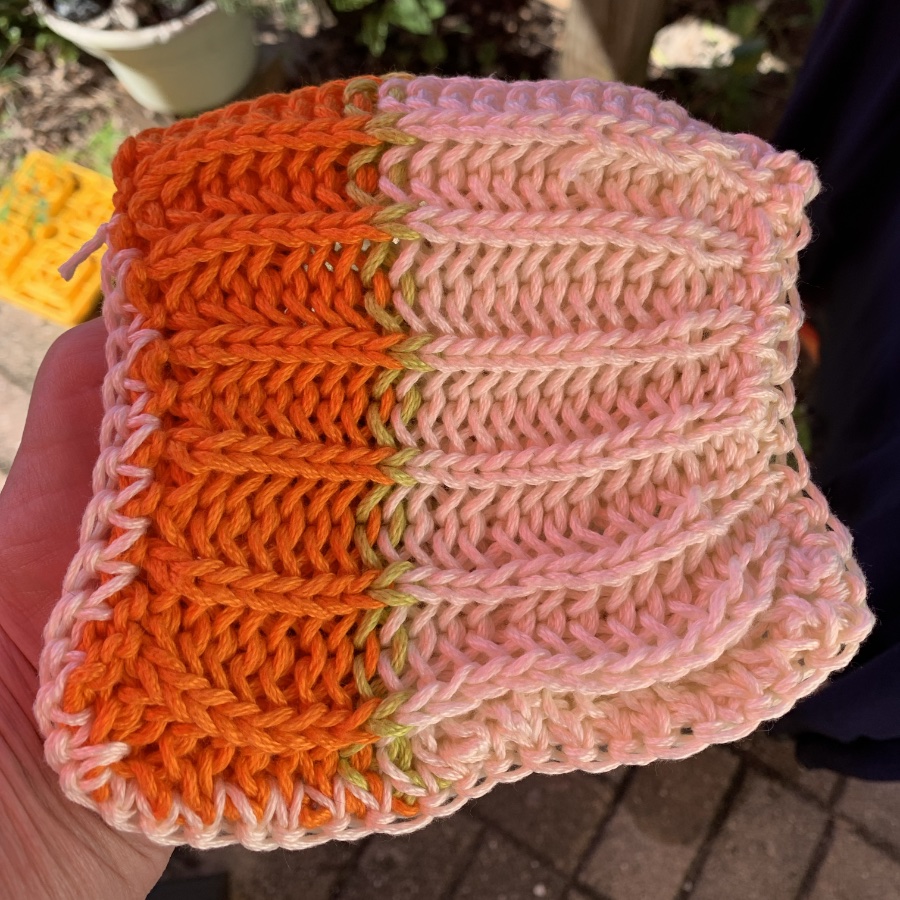
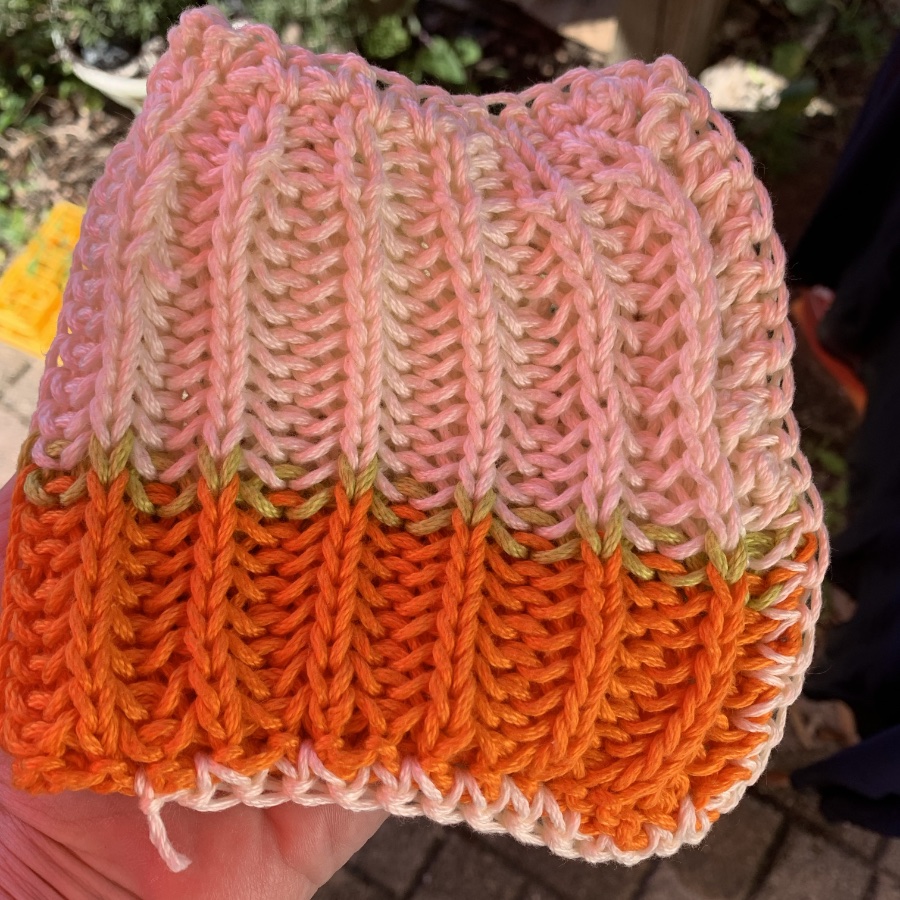
Knitting brioche in cotton for a dishcloth
Brioche cotton dishcloth using one yarn color at a time.

Purl Soho has always had some interesting tutorials on various stitches which I like to try out on simple, small projects. They also sell pretty yarn and have many helpful tutorials. I noticed that they include sewing, weaving and embroidery tutorials – in case you are interested. And I am! I will be checking out the embroidery.

What is Brioche Knitting?

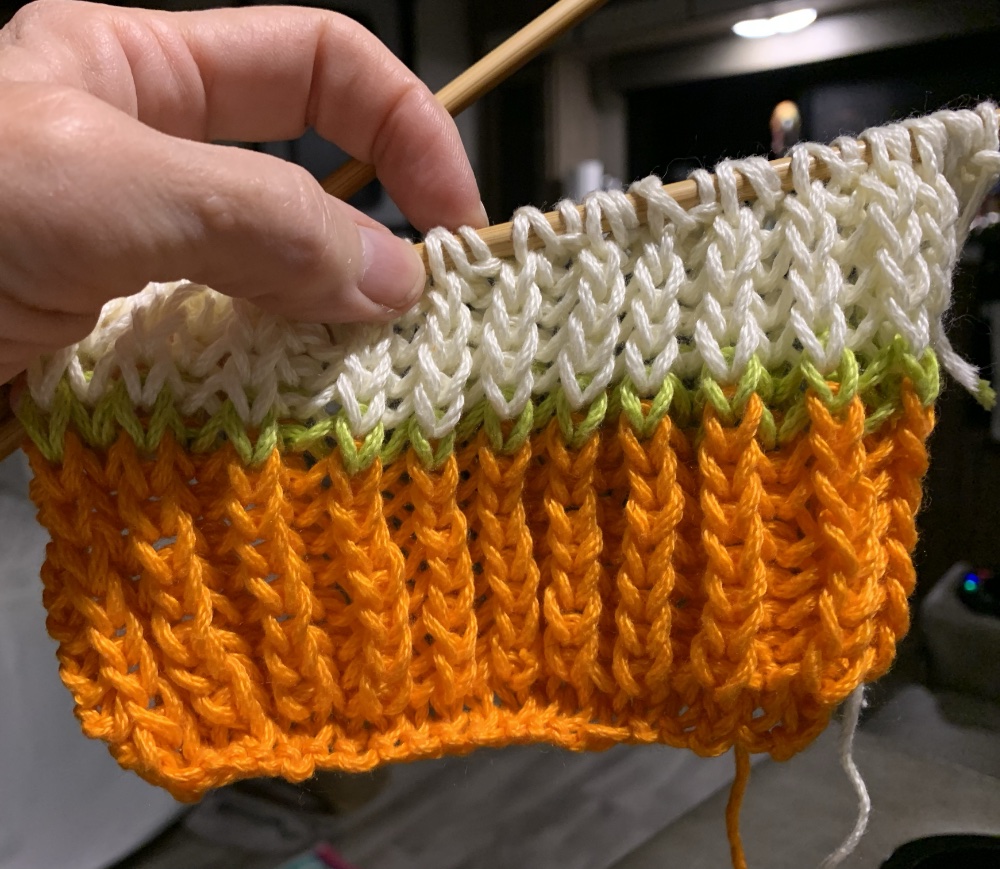
Brioche is using simple knitting stitches, yarn overs, and sometimes purls to create a ribbed, squishy, fabric. It is thick with detailed ribs on both sides which makes it reversible. It can be knit in a solid color, or using two colors. It’s very pretty for certain projects, but it is also tricky when it becomes advanced. This is my own opinion.

Basic Brioche Video: Knit Flat (Back and Forth)

A few Purl Soho tutorials cover brioche knitting. I have a bit of a negative response to “brioche” because it has been tough for me to complete a project. However, I reconsidered and watched their brioche knitting video tutorial. It is easy to follow and it perfect for a beginner brioche knitter. *Except that it was not clear to me that there is a knit stitch at the beginning and end of the row. In the video, she never finished a row!

In the video we are given the steps – cast on an even number of stitches, and do a set up row. After that the brioche stitch continues on row after row. So how do we end the project?

Purl Soho does have many helpful videos for knitters. They have many brioche videos; for making increases / decreases, fixing mistakes, and doing two-color brioche (flat). I see nothing for binding off in brioche.

Since brioche is made up of a doubled up stitch (BRK – brioche knit), it is counted as one stitch but looks like two. This is due to the yarn overs. When it comes time to the bind-off for brioche, check out this video by 10 Rows a Day.

I ended up doing a simple, regular bind off for my dishcloth because I don’t care how it looks. For a nicer project, I would follow the real brioche bind off tutorial.

After washing, my brioche cotton dishcloth became very wide so I folded it in half and crocheted the edges together. When you do a real brioche project, choose the correct yarn (wool!) and needle size and your brioche will look much nicer than this!

To Begin, Don’t Knit a Complicated Brioche Project

Here is my suggestion. Don’t pay for a brioche knitting project before trying out the stitch on free patterns. Do a simple, flat (back and forth) brioche stitch item. Maybe progress to a two-color flat project. Do some increases and decreases and then maybe knit in the round. I’m saying get the hang of the way brioche looks and works.

Basic Brioche Abbreviations – Only Two for Flat Brioche

To begin a simple brioche flat pattern, you only need to know a few abbreviations. For circular brioche, you need to know more. I’m not going there.

  • bk2tog – brioche knit two stitches together. You will see two wonky stitches side by side, and knit them together.
  • YOS – bring the yarn over – from back to front between the needles – and slip the next stitch which is a purl stitch, purl wise. Then, the yarn goes over the needle to the back (this is the yarn over – not between the needles, but over the top of the right needle). Now you are ready to bk2tog.
  • Continue with these two stitches. Watch the video.

Easy Brioche Patterns For Beginners

After all that practice (many dishcloths later) if you still want to try a pattern, buy one from a reputable designer who will supply good directions.

Purl Soho has a simple and FREE Brioche Scarf pattern knit in one color, at their website. After you watch their brioche video (linked above on this page), grab some of their nice yarn and knit a long scarf.

Look for a flat knitting project without a lot of anything (increases and decreases) but simple back and forth. One scarf I have had in my favorites for years is Westknits- Bundled in Brioche – it is a FREE scarf pattern that could be knit all in one color, or using many colors (two at a time). I want to knit it one day! This one would be great practice and a great way to use up leftover yarn.

Westknits has many brioche patterns. Many of them look very complicated, and also a bit bizarre. Stephen West also includes a lot of video tutorials for his patterns, which is so helpful. These are ideas for those who feel confident with brioche.

Free Hat Pattern in Brioche – for the brave beginner.

Purl Soho also has a FREE hat pattern for Two-color brioche hat which is knit in DK weight yarn. This circular project requires more knowledge. You will also have to decrease in brioche at the top of the hat. It is such a pretty hat, but I’m honestly afraid to try it. *Note also that Purl Soho’s 2-color brioche video tutorial is done flat, not in the round.

If I ever find a good tutorial that walks me through cast on, joining, knitting, decreasing, and everything that has to do with brioche in the round, I will let you know! If you have one, please share.

animals divider fox, mice, hamsters

More Knitting Stories here:

Landscape Lessons Scarf How to #2

Beginner knitters lesson #2 for knitting the Landscape Lessons scarf deals with purling, stockinette and seed stitch.

This is my second post about knitting a beginner scarf. Read Lesson #1 here. There is no written pattern for it, we are simply practicing knitting and purling in combinations that create interesting designs.

Anyone knitting the scarf is free to knit whichever stitches, for however many rows, as you’d like.

Along the way I will do some basic stitches that would be good for all knitters to know. If you feel willing to try them out, go for it.

We began by casting on 35 stitches with worsted weight yarn. My scarf measures 9 inches across. See Lesson #1.

Please ignore the fact that my yarn colors are changing. You should knit in one color – one skein. I am trying to use up some leftover yarn. I will help you learn to add a new skein, or color, in the next lesson. For now, as a beginner, just worry about learning the stitches.

What We’ve Done So Far

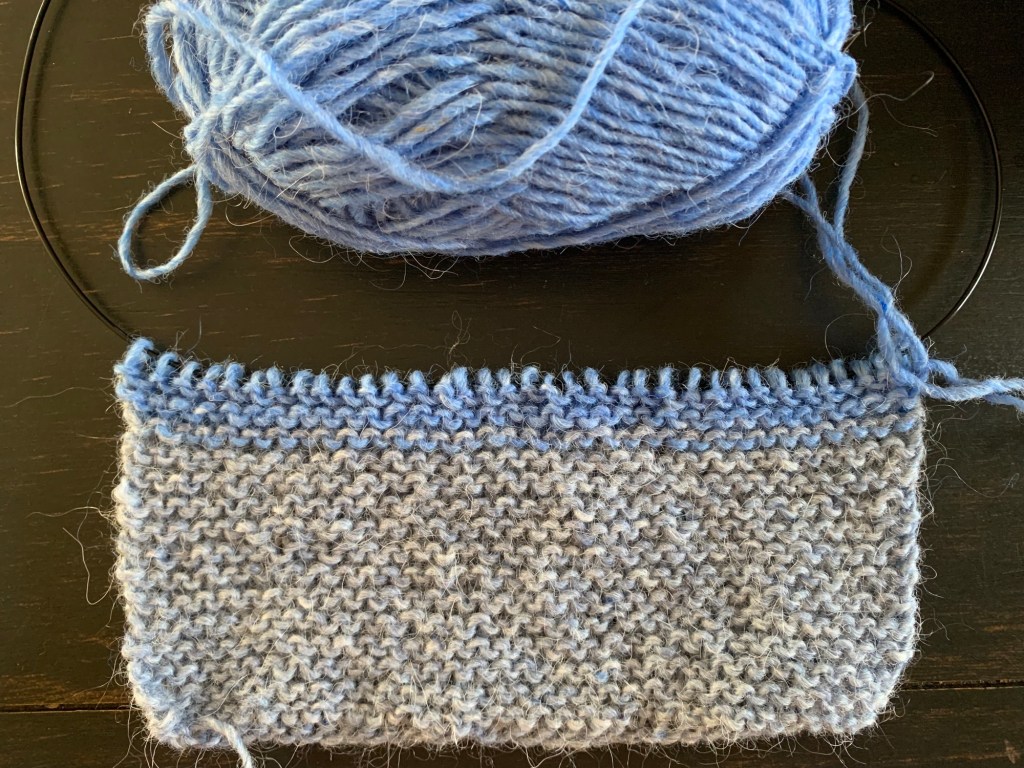
I knit back and forth for four inches. This is called Garter Stitch. Watch the video on the Lesson #1 page for help casting on and knitting back and forth. You should do as many rows as needed to get comfortable with holding the needles and creating the stitches.

You can knit your entire scarf in garter stitch if you want to!

For those who want to learn more, we will now do purl stitches. I’ll include good videos I’ve found to help with each step.

ALSO… don’t worry about making mistakes. The only way to fix a knitting mistake is to “un-knit” or Tink. This is quite difficult when you are first starting out. When I began knitting I simply left my mistakes to become part of the project! In fact, I sometimes still do that! Unless your mistake is horrendous, and you can’t stand it, leave it until you learn to un-knit. You can remove the yarn from the needles and unravel the whole thing is you want to begin again. That is up to you.

How to Purl

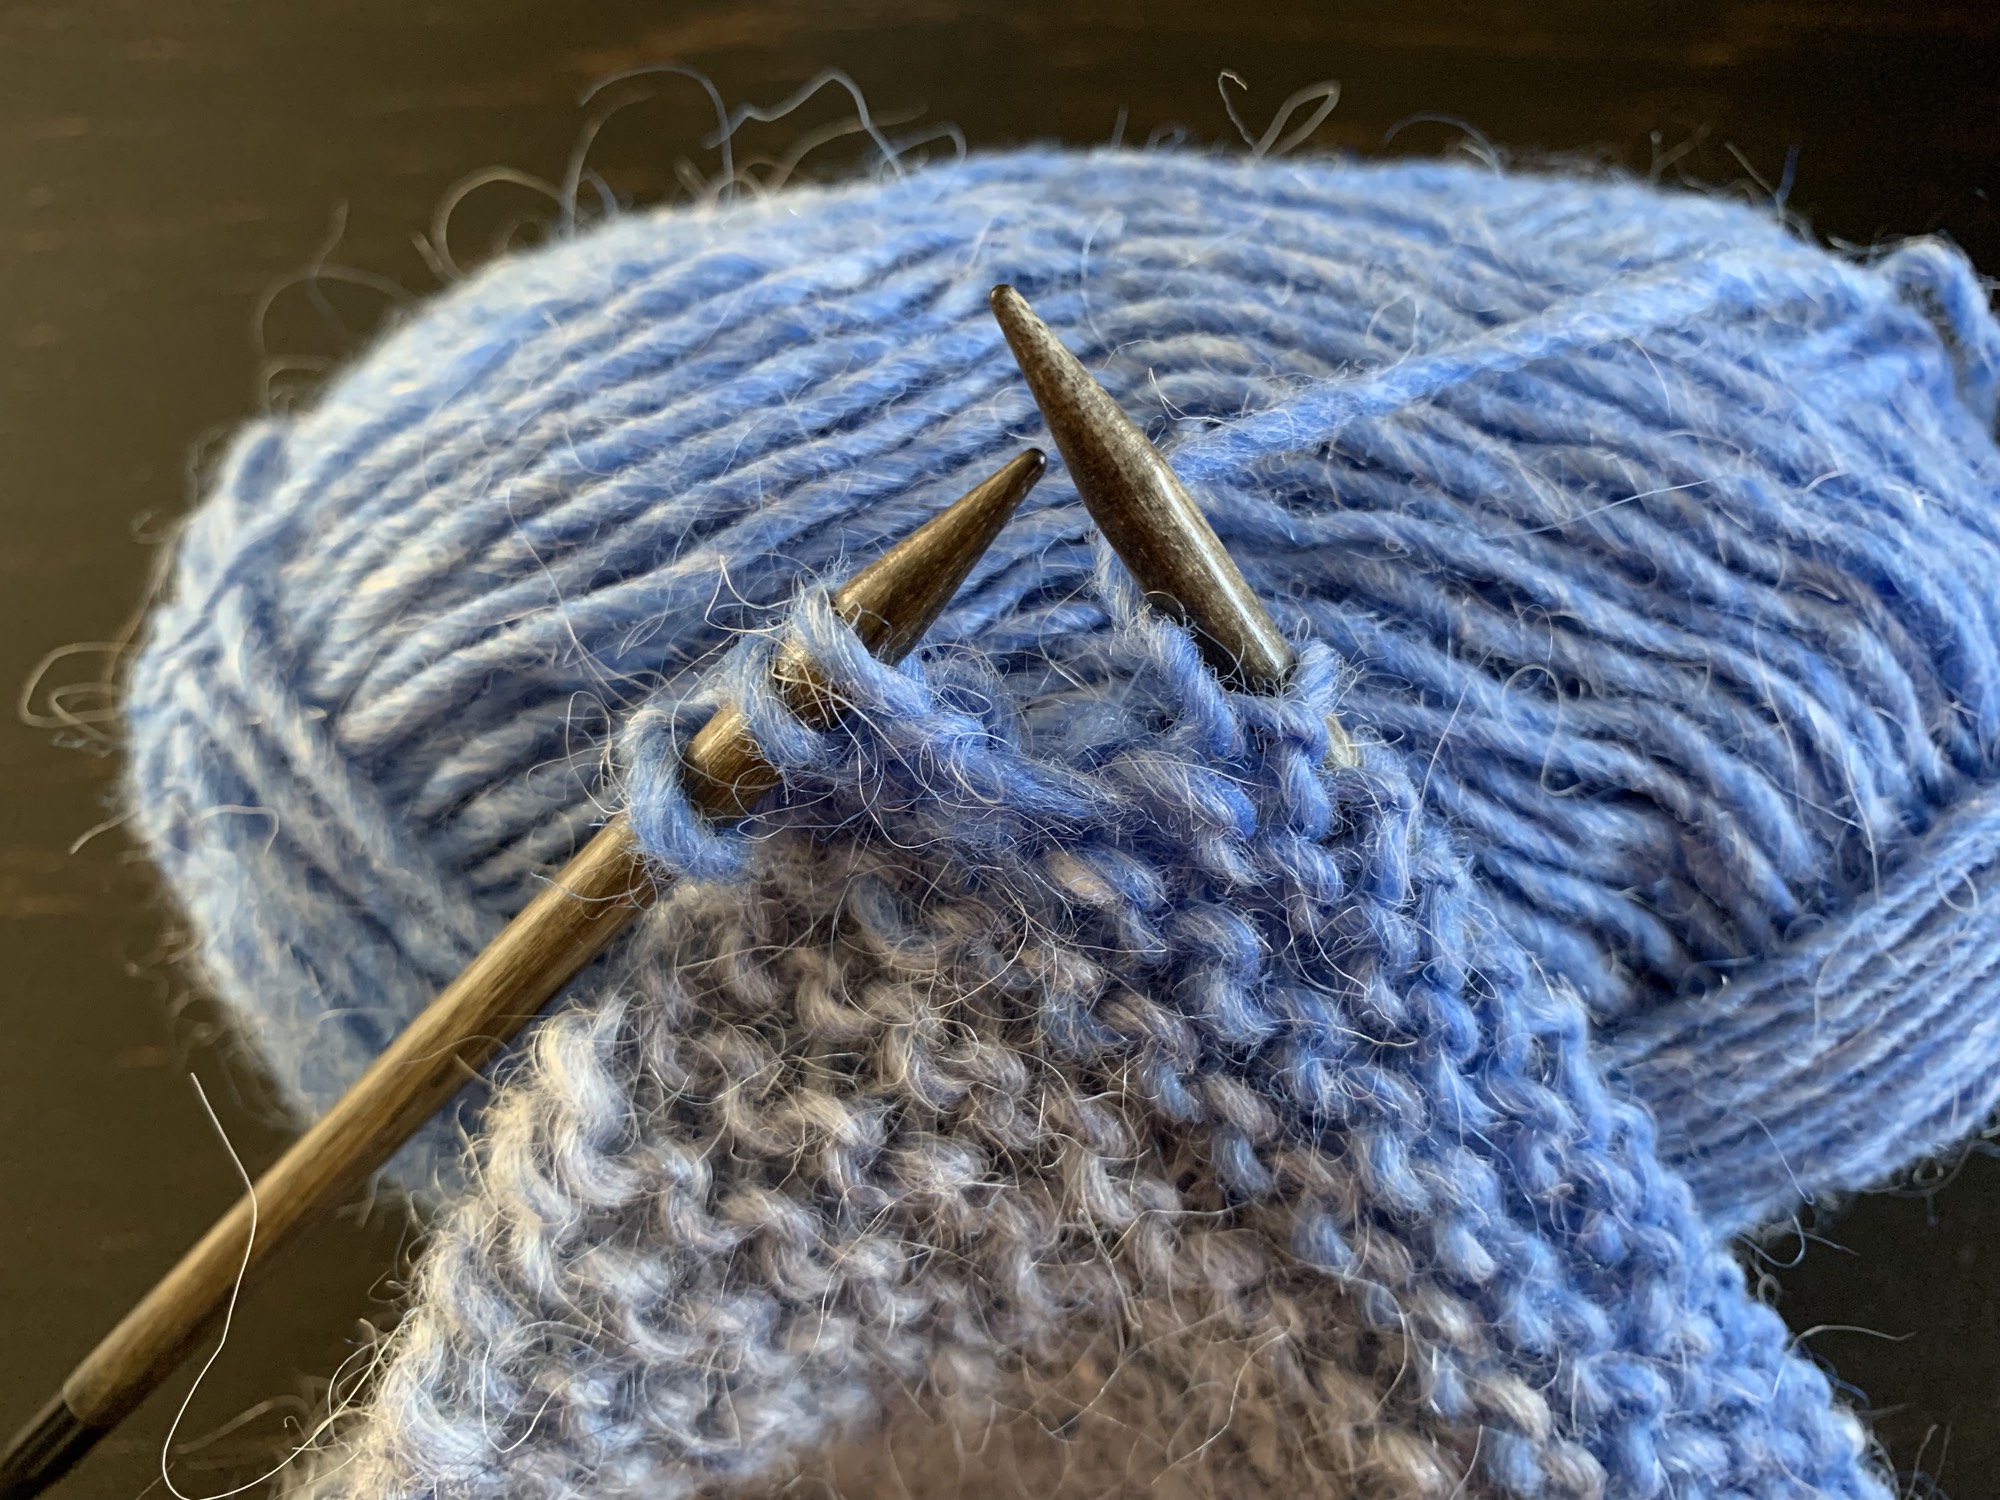
Besides knitting, you will want to know the purl stitch. It is very similar to the knit stitch except the yarn and needle come to the front. Your yarn has been coming around the needle from the back when you did your knitting rows. Now the yarn will be in front and your needle will go into the stitch as you see in my photo below. Forget about that strand, it just needs to be in front of your work before you insert the needle.

Here is an excellent purl stitch video.

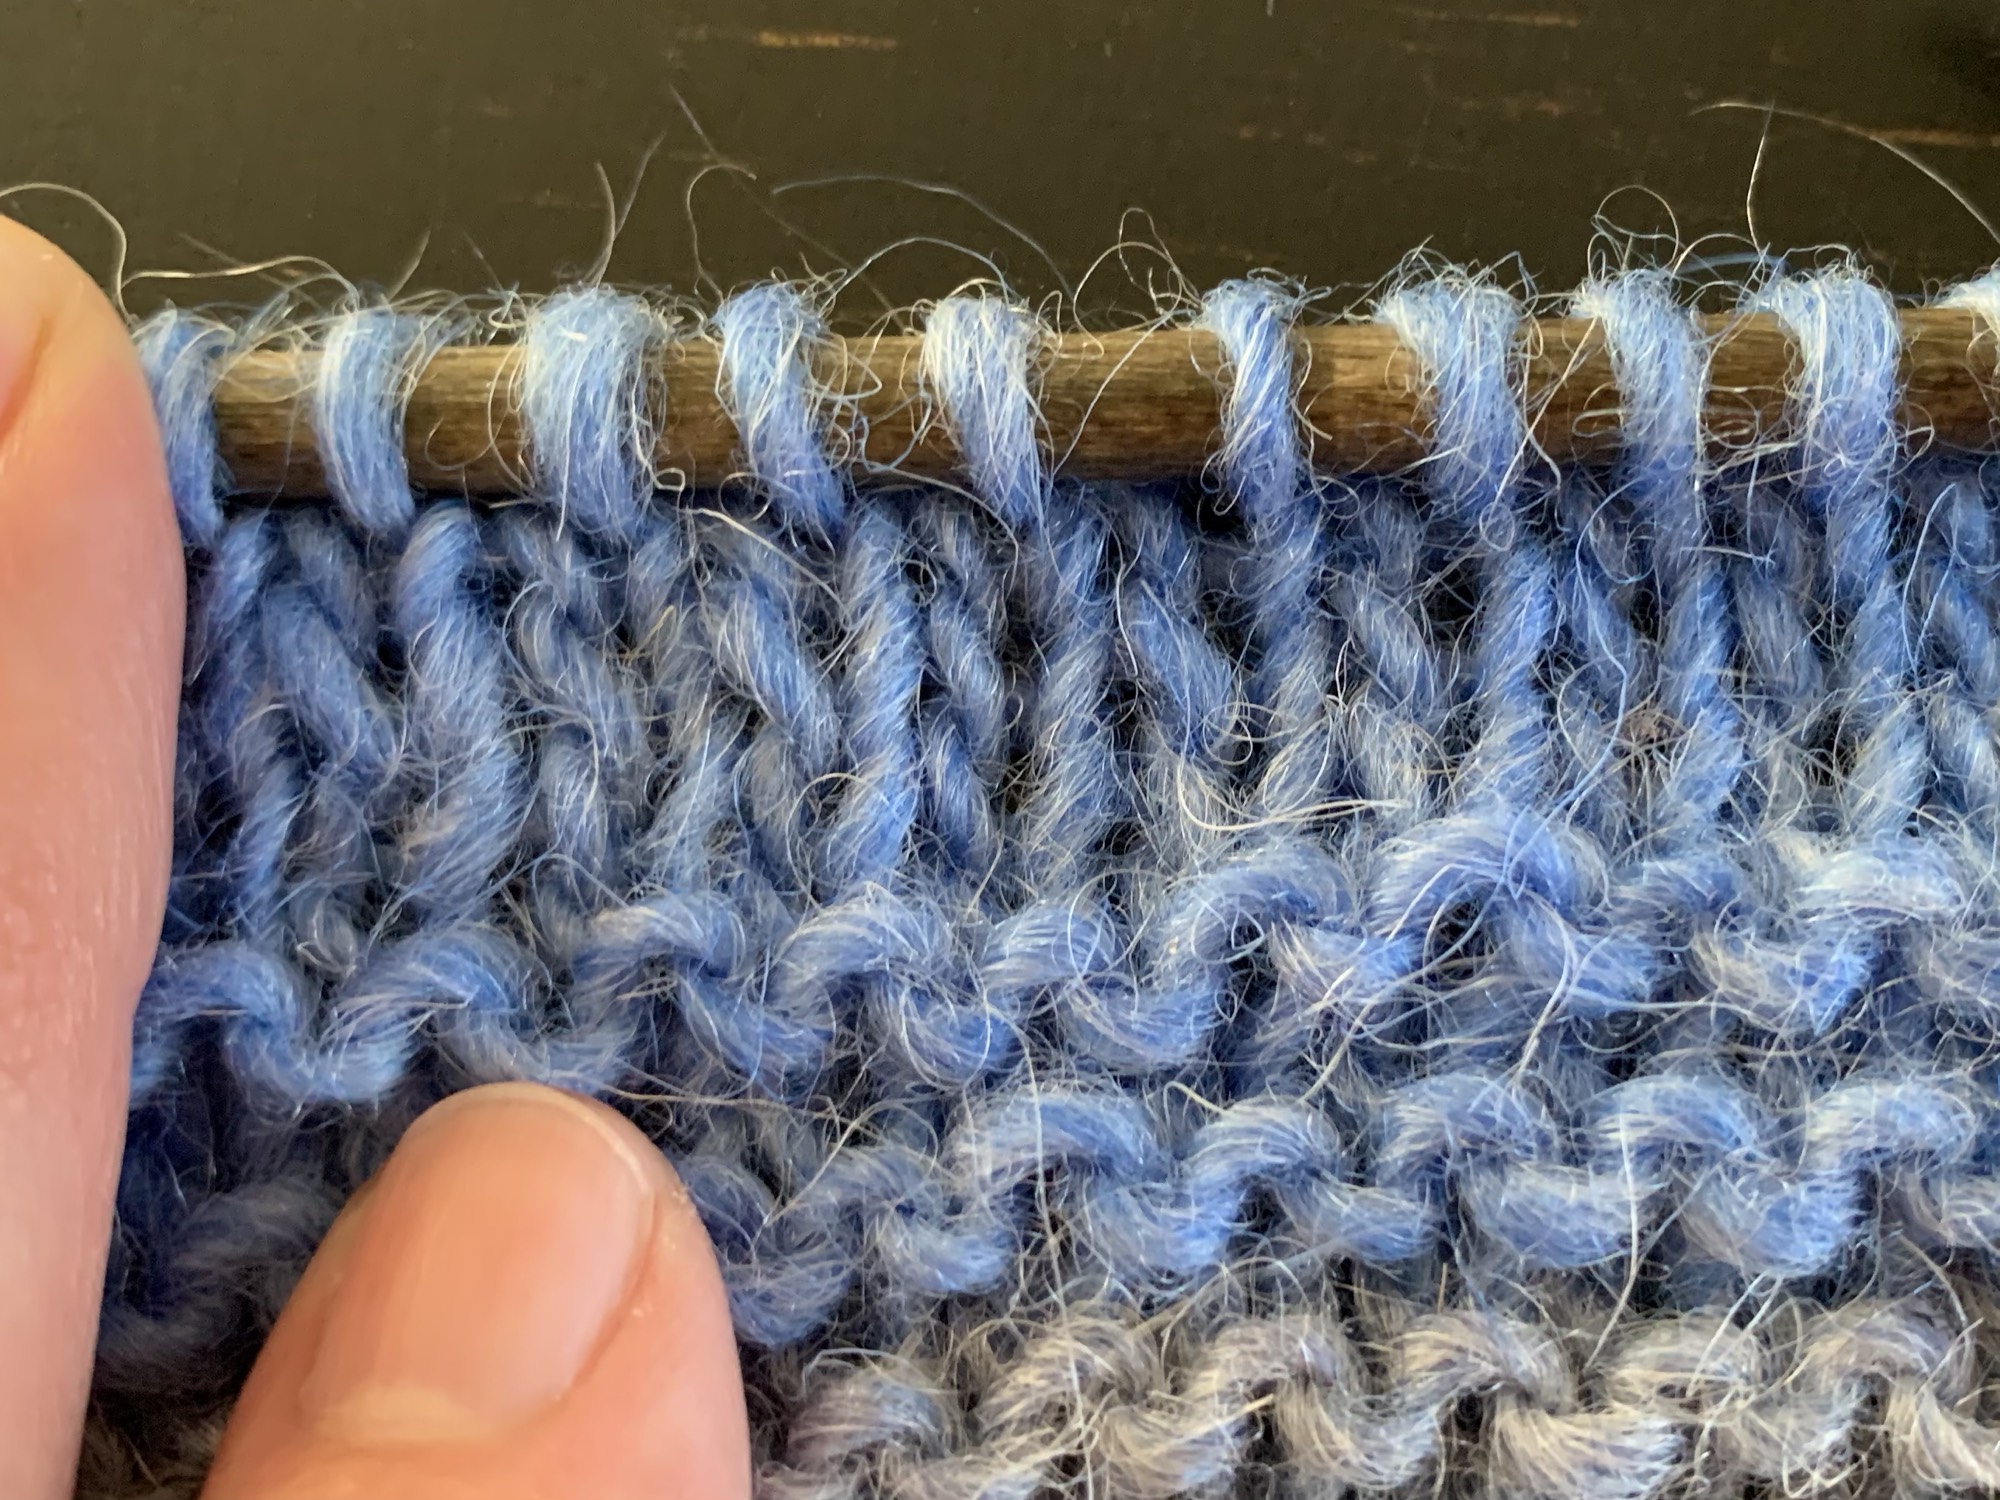
My photos below show the needle placement to purl, and how the purl stitch will look on your needles. These are known as purl bumps. It’s good to know what stitches look like. Once you can do knits and purls, you are well on your way in the knitting world. These stitches can combine in many ways to create all kinds of designs.

A Little About Knitting Stockinette

Stockinette creates a smooth looking fabric. You can see how your garter stitch section – the beginning of your scarf – is bumpy on both sides. Knitting one row and purling the next will create a more smooth fabric.

You should be able to see the difference. Stockinette is more flat and smooth. In fact, that is how I remember which is which. Think of stockings being smooth on the leg.

My photos below show the garter section, then my change to stockinette and last, the section in my knitting that is the stockinette. Above that, I did the seed stitch. More on that down the page.

Making Stockinette Rows on Our Scarf

Because stockinette tends to make a flat knitting project curl, I only did a few rows on my scarf. And I added garter stitch borders to our rows. For this reason, I suggest you only do a few rows of stockinette. This is our practice with making the purl stitch.

Our scarf will not have a “front” and “back” so don’t worry when – which end – you begin your stockinette knitting. After you finish knitting a row, turn the work and you are ready to begin the purl row.

The video link below is what we will be doing for the next few rows on our scarf, except that I have given our scarf a border of knitting only.

The Spruce Crafts page has a good video about doing stockinette.

Knitting the Landscape Lessons Scarf Stockinette Section

Row 1 of stockinette: We will knit three stitches, then begin to purl. Purl across to the last 3 stitches and knit the last three.

Remember to switch your yarn to the front for purling, and back again when you knit. Try to remember to knit those edge stitches at the beginning and end of the rows.

purl to knit
End with three knit stitches

Turn the work. Row 2: You will knit this row, just like you have been doing for the first part of your scarf. The edge stitches will always be knit, so you don’t have to do anything differently on this row… simple knitting across.

Row 3: same as Row 1 – Knit the first three stitches and then purl across to the last three. Knit those last 3.

I only made about five rows, and ended after knitting a purl row.

Now you will begin the next section with the knit side showing, like in my photo on the left below.

The Seed Stitch Section

If this all seems to be too much for you, please just knit along however makes you happy. Once you know how to do both the knit and purl stitch, these are just more options for practice. After the stockinette section, you can go back to knitting garter – knit every row. As you progress with your scarf, you may want to give this section a try.

The seed stitch is made by alternating knits and purls. That’s all. If you are interested in trying this, here is how I did my seed stitch section on the scarf.

Seed Stitch Section

Row 1: Knit the first three stitches (this is our border on both sides of the scarf). *Purl 1, knit 1, across the row alternating knits and purls, ending with a purl stitch (if your stitch count is 35 like mine). Knit the last three stitches.

Turn the work and do the same thing as row one. Because we are purling that last stitch on the previous row, it now looks like a knit when we turn the work over. Therefore we begin with the opposite – a purl.

For the seed stitch to work, we knit the stitches that had been purled on the previous row. We also purl the knit stitches. This alternates stitches to create a cool, bumpy look.

knitting seed stitch
Seed Stitch, alternating knits and purls and doing the opposite on the following row.

You really must become familiar with how knits and purls look. If you lose your place, or set your knitting down, knowing which stitch to do next is important. (Also remember your yarn comes off the right hand needle if you start in the middle of a row.)

In my photo below, can you see the purl “bumps” and knit stitches on my needle? I am knitting with a very woolly yarn and if your yarn is smoother, the stitches may stand out even more. If it’s hard to tell, pull down on the fabric to make those bumps and V’s clearer.

If you lose your place on the seed stitch section, look at what is on your needle. It will tell you which stitch to make next. If you mess up, fix it on the next row.

If you hate it, go back to knitting every row until you feel better. Knitting should be calming and not stressful. If you do a lot of knitting your hand may hurt, so don’t overdo it. Remember that every stitch you make gets you closer to becoming a great knitter!

knits and purls
Knits and purls

I hope my tutorial makes sense to a beginner knitter. Once we are familiar with all of this, it’s tough to remember exactly how it was when beginning to knit.

I am by no means an expert. There are many things I still have not accomplished in knitting. It takes practice, and this scarf is a very good way to get the practice you need with basic stitches.

One of my very first scarves was knit all in seed stitch. It was my favorite scarf when I lived in the north.

Landscape Lessons Scarf: Lessons by Number


More knitting stories from the blog…

Teaching a Friend How to Knit a Scarf, Landscape Lesson #1

Want to learn to knit? Come learn how to knit a scarf with us from beginning to end. A good friend wants to learn to knit but she lives far away, so I’m writing her lessons on my blog! Are you a beginner knitter? Come join us for the fun.

A scarf is a great beginner pattern when learning how to knit. It’s what I knit the most, before graduating to knitting hats. A long, straight (knitting back and forth) project that should give the beginner lots of practice with knits and purls. And you just may have a beautiful and unique item to wear around your neck next winter.

I’ve decided to knit my own scarf as I show a beginner how to start. I live in Florida and my friend lives in New York. So she will be learning online. I have learned many things about knitting from YouTube, so I’ll include some favorite YouTube knitting tutorials.

Yarn and Needles

My friend had some very good and basic questions such as, what needles should I use and what kind of yarn? Obviously you need both of those things!

First buy some yarn, and look at the yarn band info. It should say what size needle is needed to knit with this yarn. The weight, or thickness, of the yarn will determine the size (thickness) of the needles. In the example skeins below, knitting needle size suggestion is US 1-3 (needle size can also be in mm). This is a thin yarn called fingering, so it needs a small needle. 

Hot Shot Toes mini skeins of yarn
Miss Babs mini skeins of sock yarn

What is a circular needle?

Knitting can be done with either straight needles or circular. Circular needles allow the knitter to join their knitting and knit in the round. This is something you can’t do with straight needles. Think of a hat, cowl, or sweater that is circular. But this type of needle can also be used for plain old knitting – flat, like a scarf. Pretend the needles are not joined by a cable. Or, use a pair of normal, straight needles if it makes you feel better.

Read more about buying needles on my previous post.

What I Am Using To Knit My Landscape Lessons Scarf

I am naming this scarf so it will be easier to find and it will be “Landscape Lessons” because I plan to show you some very basic knit and purl combinations along the way. It’s all about practice and deciding which combinations you favor.

If you live near a yarn store, or craft store, go there and pick out some yarn you like. Otherwise, I can suggest Wool and Company, an online site that ships yarn for free – no minimum purchase required.

I am using Lykke brand wooden circular needles with Lettlopi wool yarn.

knitting with wool on circular needle
Size 8 circular needles and wool yarn

Some yarn skeins will need to be wound before using. If your skein is twisted – like the Miss Baby yarn in my photo above, it will have to be wound. Skeins, like the Lettlopi above, do not need winding.

Cast On

Once you have your yarn and needles, you will cast on. I have written a whole page about various cast on methods, but beginners can use the very simplest.

The video below is excellent, except that I would not suggest bulky yarn. Big needles and bulky yarn can make your hands tired after a while. You can do this same thing with worsted weight yarn and see the stitches fine.

In the video below, she shows how to make the slip knot, begin casting on, knitting back and forth, and binding off! Who needs me? Haha… She also knits right handed, and “throws” the yarn. This is exactly how I knit. (Some people knit continental, which is different, and I’m not getting into right now.)

Well, I do have one suggestion. When she casts on, she is putting her right-hand needle between the two strands and is using only one. This is also how you do the knit stitch – The right needle goes between the two on the needle (photo 2 below).

However, you can also put your needle under BOTH strands for the cast on (photo 1 below). Do the cast on the same way, just stick the needle right under the entire stitch. Either way will still make a nice cast on. Going under both strands makes a sturdier cast on, or something. I forget. Don’t do that while knitting… do it only for the cast on row.

This is a great video, but don’t do the cast off… if you want to knit a scarf, we must continue knitting. I have some changes in store, just in case you want to branch out and try something new along the way.

For my Landscape Lessons Scarf you will cast on, and knit back and forth for as many rows as you like. This will be one end of your scarf. By knitting back and forth, it will help you get a feel for the basic knit stitch.

A light color yarn makes stitches easier to see the stitches!

Do as the woman does in the video above and cast on your stitches. This will be the width of your scarf. If you are using worsted weight yarn with size 7 or 8 needles, cast on 35 stitches. This should make your scarf around 7 inches in width (after I began knitting, my scarf is more like 8.5 inches). Everyone knits differently, so width may be different. You won’t be able to see the actual width until you have knit quite a few rows. Don’t measure the cast on row!

Some people knit English style, and others prefer Continental. Here is a video explaining the difference.

Do as she does in the video and knit back and forth – she is knitting English style.

If you are using circular needles, do the exact same thing as she does using straight needles. Turn the work, and begin knitting again. Forget the cord is there attaching your needles.

The reason I suggest buying circular needles is that they can be used for more things later on if you find you really love knitting. I rarely ever use straight needles for anything these days.

Read This – a Helpful Hint

Let’s say you have to set your knitting down and you just plop it on the table, or into the basket. When you come back to continue knitting you must know where to begin.

I’ve made this mistake back when I began knitting. It’s easy to pick up the work and begin knitting in the wrong direction, unless you know this:

Don’t just pick up the project and flip the yarn to the back and begin knitting. Photo on the left shows the yarn in the wrong place. Turn the work around so that the yarn is coming off the right hand needle. Then begin.

This page should provide the start to an easy, beginner knitting project. Let me know how you do, or if there are question. When these skills are mastered, please proceed to Lesson #2.

Go On to Lesson #2


More Knitting Stories From the Blog

Knitters and Our Many Projects

How many projects do you have on your needles? It is not uncommon to find that fellow knitters have many things going at once.

Year-Round Camping in Florida; Enjoying Nature While I Knit

The peaceful days of camping in the wilderness go perfectly with knitting. What could be better than having coffee outside, with knitting on my lap? We camped twice in the last month and here is a look at the knitting projects I took along.