Let me admit right up front that I am not a brioche knitter. I have tried it numerous times and failed. I consider myself a brioche beginner. The basic stitch is not hard, but I think the trick is to knit a very easy project to become accustomed to the stitches. After that, if it seems like something to pursue further, go on to try two-color brioche, and pattern knitting.
A reader recently left a nice comment on my old post where I had given up on brioche after failing at it miserably. I was doing a more difficult two-color hat pattern. The comment reminded me to finish this post.
Back to Brioche, Simple Beginner Tutorial
I hadn’t planned to knit brioche. But, I was camping in Florida, and thunderstorms were all around us. I needed something to do while confined inside the camper. I had brought my cotton yarn to create new dishcloths because I had no other knitting project to bring. I’ve wanted to go back to Purl Soho and find some fun, new stitches to use for a dishcloth. It’s where I found them years ago and have been using the dishcloths ever since.
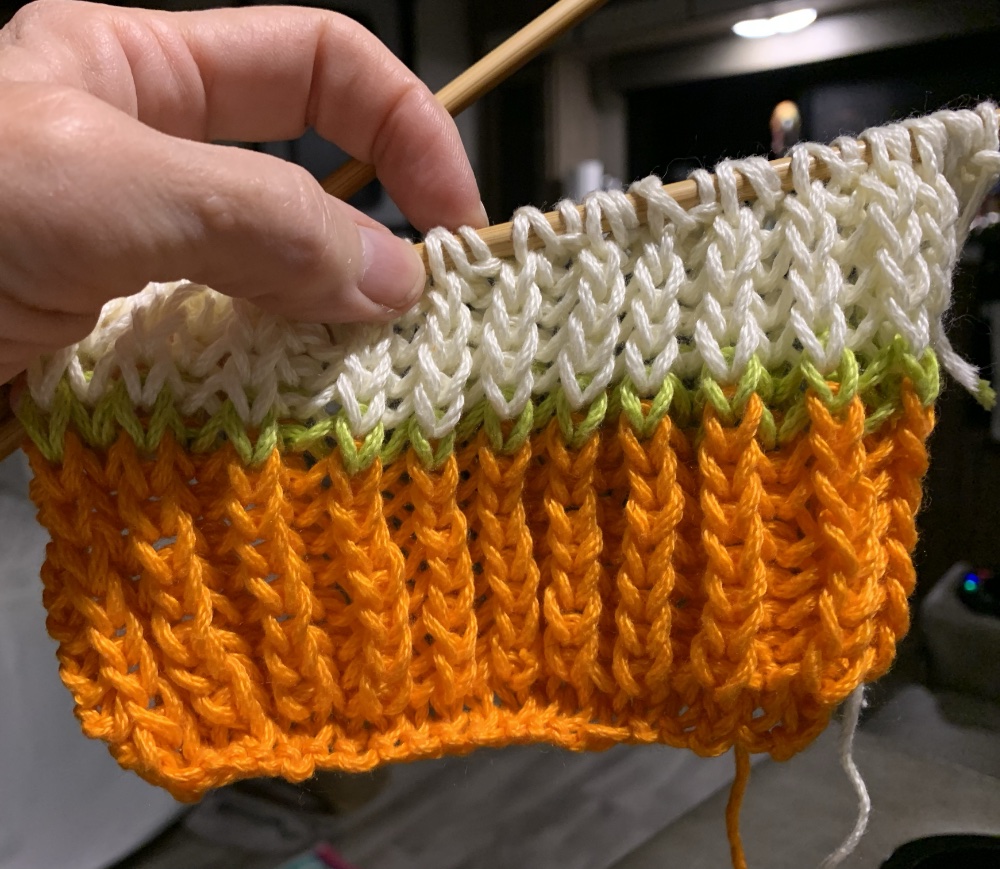
Purl Soho has always had some interesting tutorials on various stitches which I like to try out on simple, small projects. They also sell pretty yarn and have many helpful tutorials. I noticed that they include sewing, weaving and embroidery tutorials – in case you are interested. And I am! I will be checking out the embroidery.
What is Brioche Knitting?
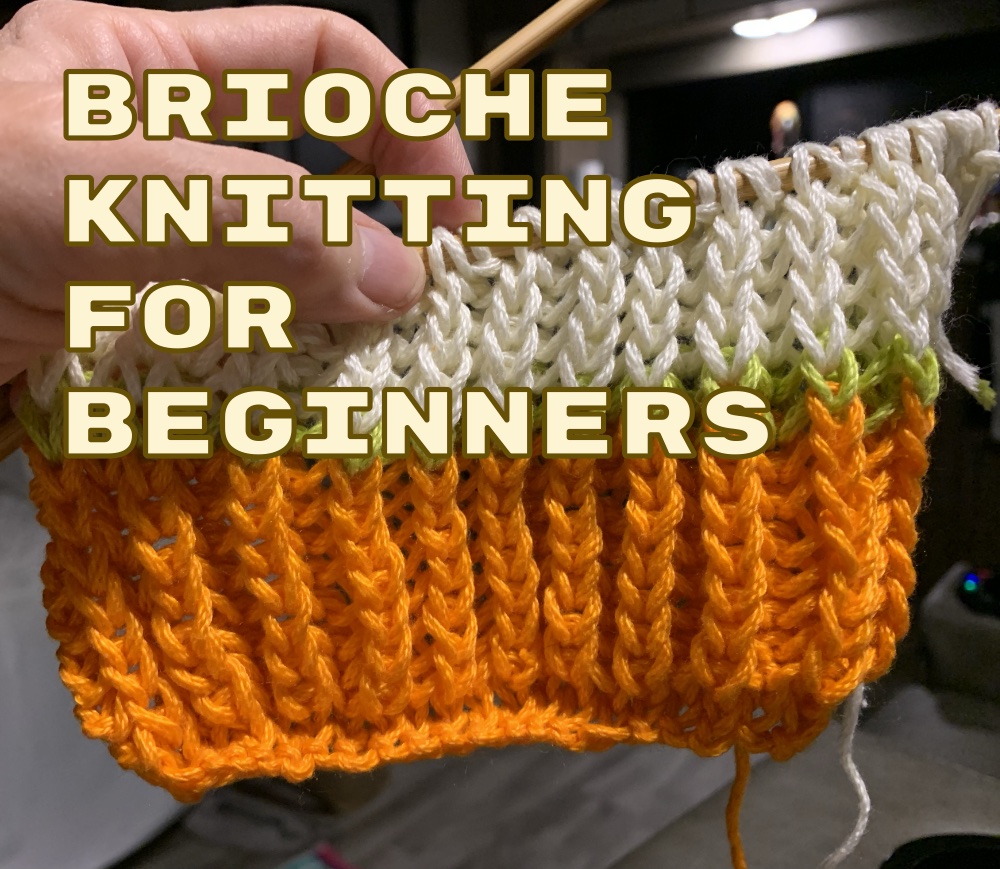
Brioche is using simple knitting stitches, yarn overs, and sometimes purls to create a ribbed, squishy, fabric. It is thick with detailed ribs on both sides which makes it reversible. It can be knit in a solid color, or using two colors. It’s very pretty for certain projects, but it is also tricky when it becomes advanced. This is my own opinion.
Basic Brioche Video: Knit Flat (Back and Forth)
A few Purl Soho tutorials cover brioche knitting. I have a bit of a negative response to “brioche” because it has been tough for me to complete a project. However, I reconsidered and watched their brioche knitting video tutorial. It is easy to follow and it perfect for a beginner brioche knitter. *Except that it was not clear to me that there is a knit stitch at the beginning and end of the row. In the video, she never finished a row!
In the video we are given the steps – cast on an even number of stitches, and do a set up row. After that the brioche stitch continues on row after row. So how do we end the project?
Purl Soho does have many helpful videos for knitters. They have many brioche videos; for making increases / decreases, fixing mistakes, and doing two-color brioche (flat). I see nothing for binding off in brioche.
Since brioche is made up of a doubled up stitch (BRK – brioche knit), it is counted as one stitch but looks like two. This is due to the yarn overs. When it comes time to the bind-off for brioche, check out this video by 10 Rows a Day.
I ended up doing a simple, regular bind off for my dishcloth because I don’t care how it looks. For a nicer project, I would follow the real brioche bind off tutorial.
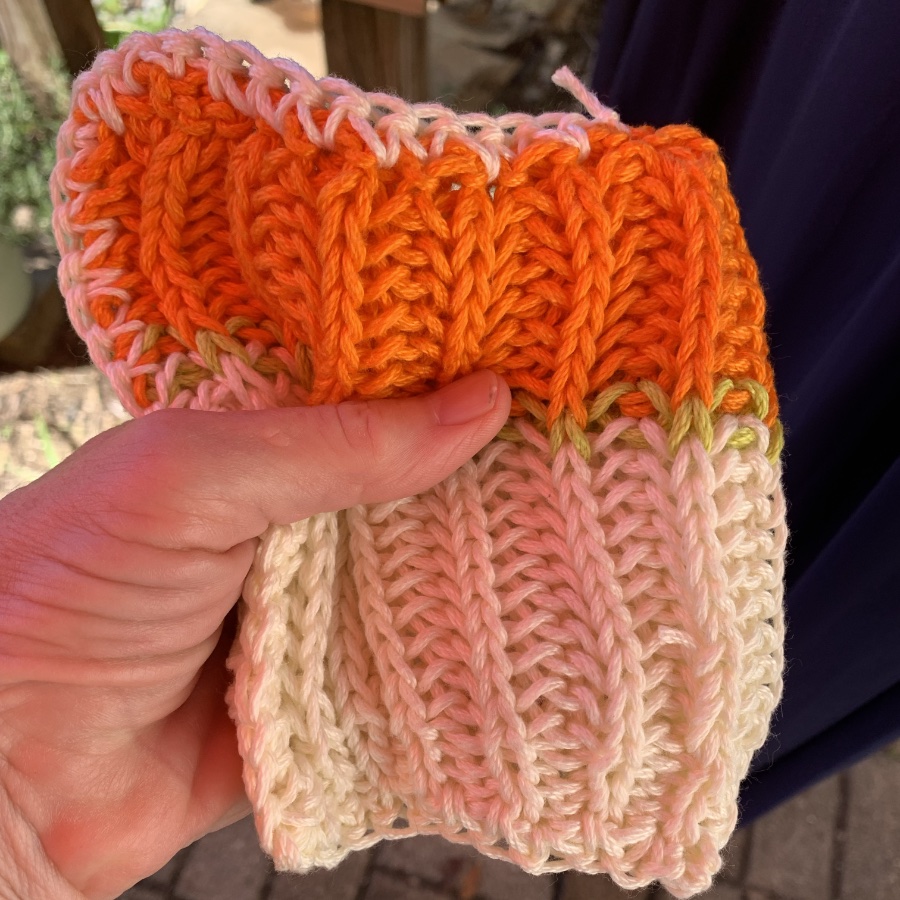
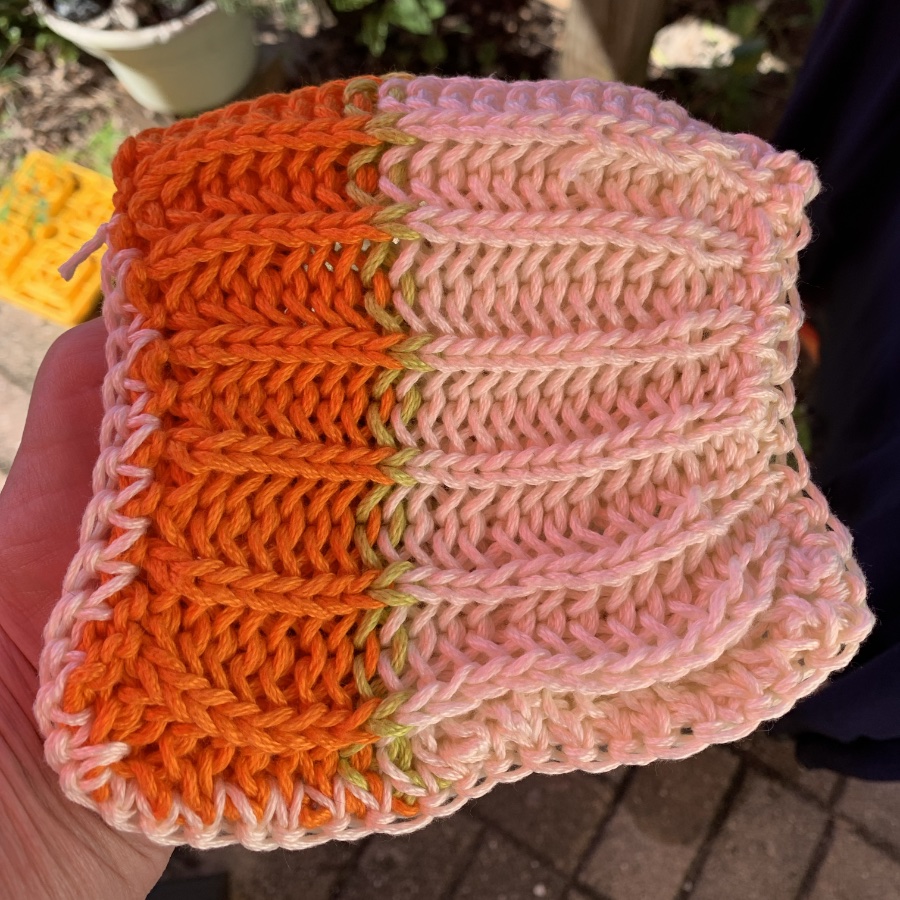
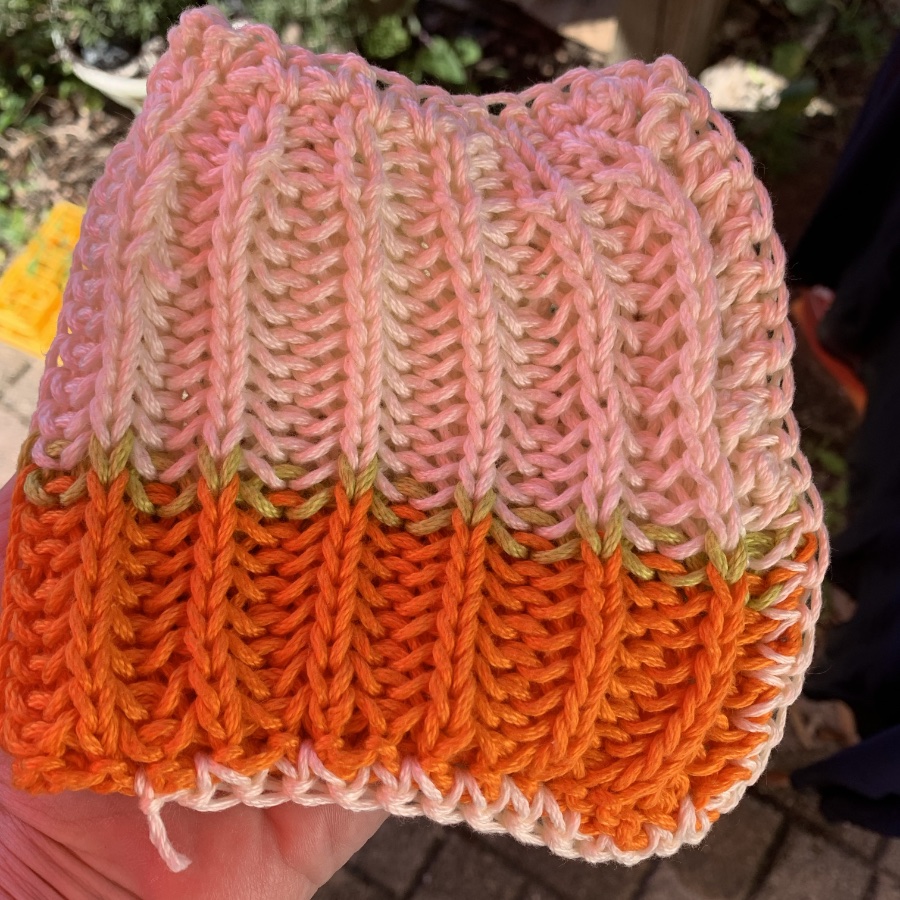
After washing, my brioche cotton dishcloth became very wide so I folded it in half and crocheted the edges together. When you do a real brioche project, choose the correct yarn (wool!) and needle size and your brioche will look much nicer than this!
To Begin, Don’t Knit a Complicated Brioche Project
Here is my suggestion. Don’t pay for a brioche knitting project before trying out the stitch on free patterns. Do a simple, flat (back and forth) brioche stitch item. Maybe progress to a two-color flat project. Do some increases and decreases and then maybe knit in the round. I’m saying get the hang of the way brioche looks and works.
Basic Brioche Abbreviations – Only Two for Flat Brioche
To begin a simple brioche flat pattern, you only need to know a few abbreviations. For circular brioche, you need to know more. I’m not going there.
- bk2tog – brioche knit two stitches together. You will see two wonky stitches side by side, and knit them together.
- YOS – bring the yarn over – from back to front between the needles – and slip the next stitch which is a purl stitch, purl wise. Then, the yarn goes over the needle to the back (this is the yarn over – not between the needles, but over the top of the right needle). Now you are ready to bk2tog.
- Continue with these two stitches. Watch the video.
Easy Brioche Patterns For Beginners
After all that practice (many dishcloths later) if you still want to try a pattern, buy one from a reputable designer who will supply good directions.
Purl Soho has a simple and FREE Brioche Scarf pattern knit in one color, at their website. After you watch their brioche video (linked above on this page), grab some of their nice yarn and knit a long scarf.
Look for a flat knitting project without a lot of anything (increases and decreases) but simple back and forth. One scarf I have had in my favorites for years is Westknits- Bundled in Brioche – it is a FREE scarf pattern that could be knit all in one color, or using many colors (two at a time). I want to knit it one day! This one would be great practice and a great way to use up leftover yarn.
Westknits has many brioche patterns. Many of them look very complicated, and also a bit bizarre. Stephen West also includes a lot of video tutorials for his patterns, which is so helpful. These are ideas for those who feel confident with brioche.
Free Hat Pattern in Brioche – for the brave beginner.
Purl Soho also has a FREE hat pattern for Two-color brioche hat which is knit in DK weight yarn. This circular project requires more knowledge. You will also have to decrease in brioche at the top of the hat. It is such a pretty hat, but I’m honestly afraid to try it. *Note also that Purl Soho’s 2-color brioche video tutorial is done flat, not in the round.
If I ever find a good tutorial that walks me through cast on, joining, knitting, decreasing, and everything that has to do with brioche in the round, I will let you know! If you have one, please share.