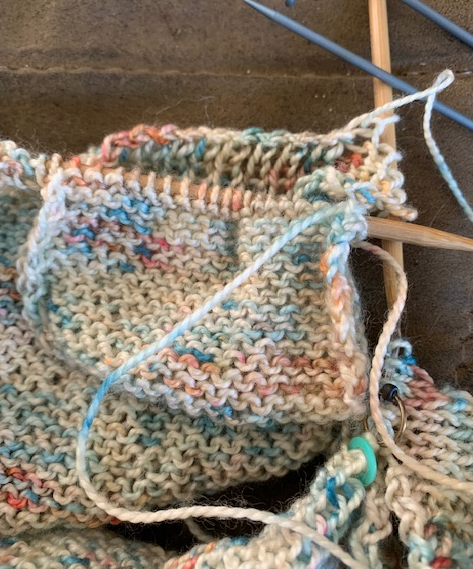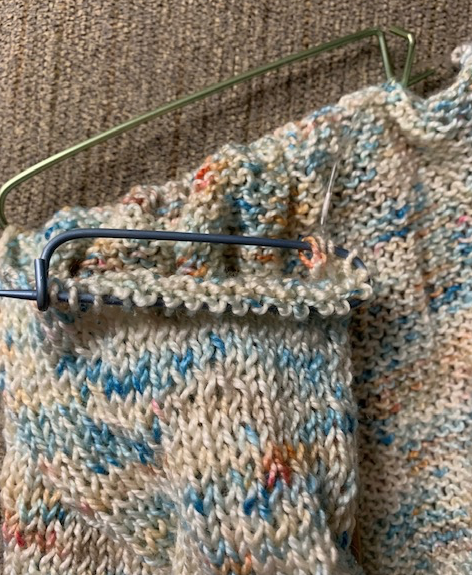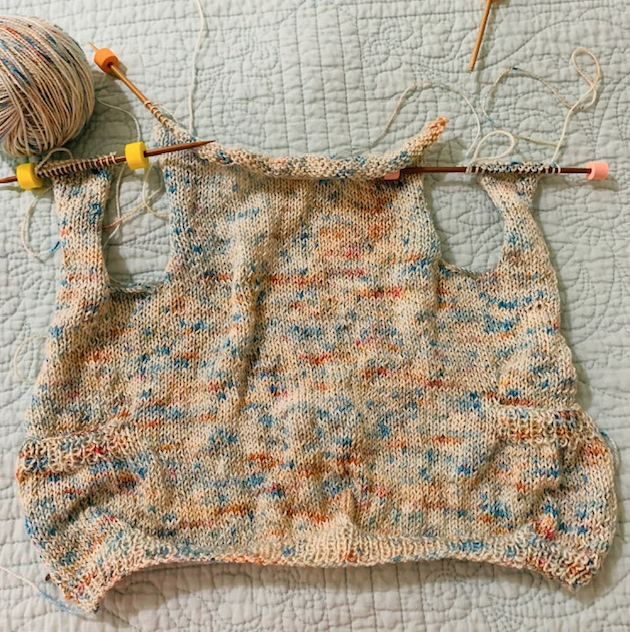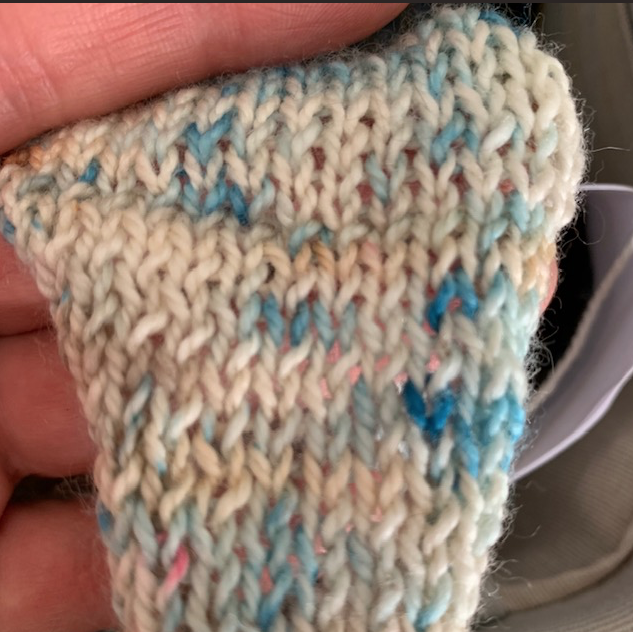
Added a Greek Key Design to World’s Simplest Mittens

I’ve begun knitting mittens before and always ended up ripping out the stitches. I don’t like to give up, and when I came across a free mitten pattern by Tin Can Knits, titled “The World’s Simplest Mittens” I tried once more. (The link goes to the download page at Ravelry.)

If I can’t knit the simplest mittens ever, then I should maybe give up for good.

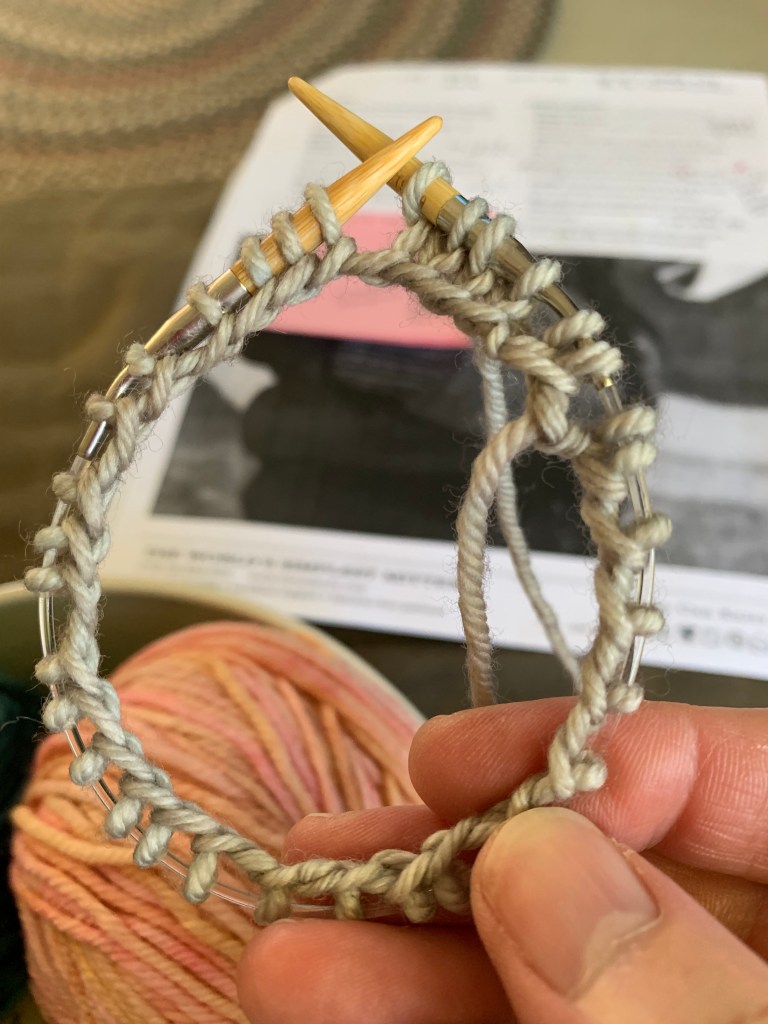
I dislike DPNs so I used my nine-inch circular needles to knit most of the mitten.. DPNs were used for the decreases at the top of the fingers and the thumb (and also on the second mitten for the colorwork). Both mittens are made the same, no right or left. Very easy.

casting onto 9 inch circular needles
Casting on and using 9 inch circular needles

Needles I Used

I began with a size 6, 9 inch circular needle (Clover brand) and used that for the entire cuff. Then I switched to a size 7 circular until the pattern where I used size 8 DPNs because I don’t have a 9-inch circular in that size.

The small circular needles work out well sometimes, but my hands can get tired. Recently I tried to knit baby booties and ended up switching back to DPNs.

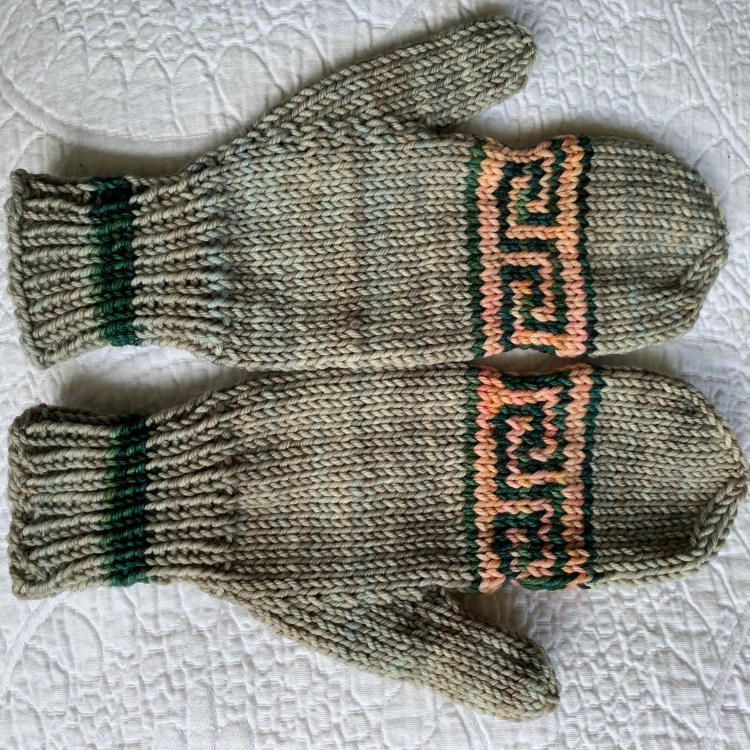
The yarn I used is Malabrigo Rios and was leftover from knitting my Umpqua sweater. I began with the gray / tan and added dark green in the cuff and pink with the green in the Greek Key design.

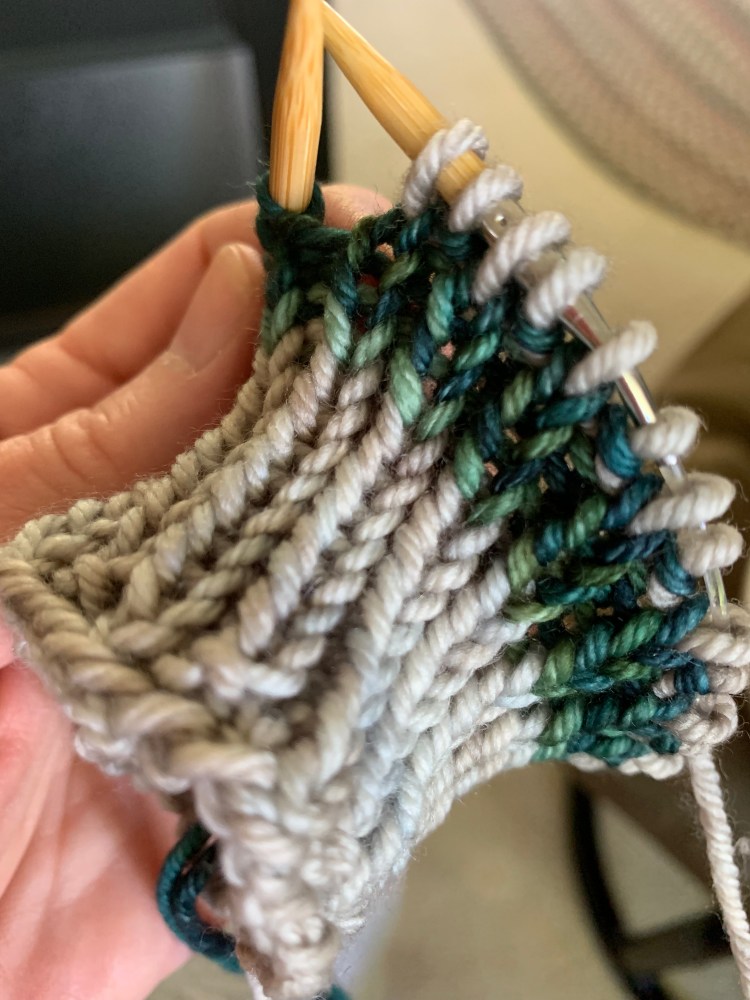
knitting mittens on 9 inch circular needle
Adding a band of green to the cuff

The design came from my 150 Scandinavian Motifs book and fit exactly into my stitch count. I began the design right after putting the thumb stitches on hold.

knitting mittens with thumb on hold with waste yarn to finish up fingers
The thumb is put on hold while I finish the finger section

For the second mitten I used a larger needle (size 8 US) while knitting the design and it seemed to work out a bit better and not as tight. It is not noticeable and now I know to do this when doing stranded colorwork.

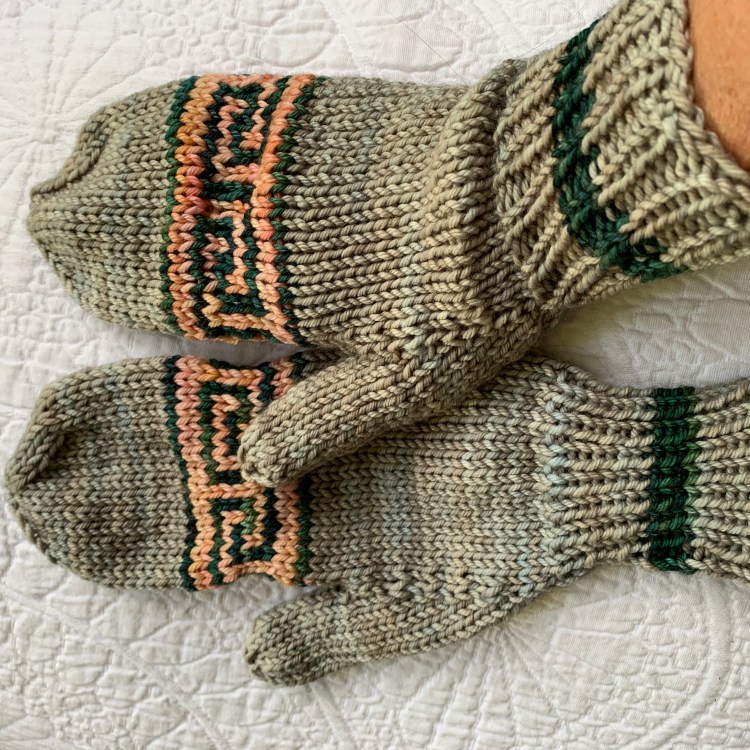
Pair of hand-knit mittens with Greek key pattern
Finished my first pair of mittens!

The mittens were washed in the washing machine inside a mesh laundry bag and then air-dried on the windowsill. First I did throw them into the dryer (while still in the bag) for a few minutes.

Now… if only it would snow in Florida because I am ready!

pair of mittens with greek key
Mittens

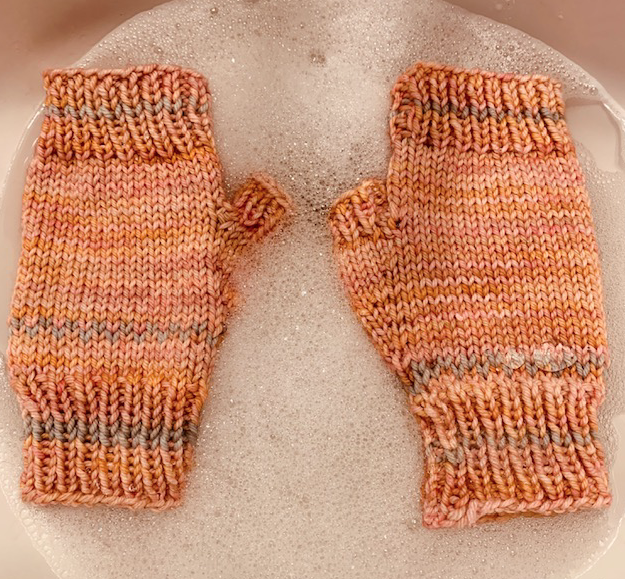
Next I made making fingerless mitts using this same pattern and the same yarn with the gray color as stripes.

Orange fingerless mitts in Malabrigo
Mittens pattern becomes fingerless mitts

Small projects are good for using up yarn, but I dislike knitting small things in the round. I made one pair of flip-flop socks for my daughter and will never make more..haha. I’ve given up on socks in general, but mittens are more fun and this pattern is super easy.

Quick Headband / Ear Warmer Knit in Washable Yarn

I found this free pattern called Winter Morning (Link goes to Ravelry) to knit a chunky / bulky yarn headband with a cable. So here are the results and tips I want to share. First of all, my grown daughter has shown interest in this type of accessory in the past, so I believe she will wear it. I’ll make one for myself too because my ears may get cold on early morning winter walks here in Florida.

This is an easy pattern which I knit in 2 hours, and I do like the way it came out. BUT… the cast on, and kitchener stitch took time because I had to look them both up. (See more about the Provisional cast-on and Kitchener stitch down the page.)

Washing: The Madeline Tosh yarn is machine washable so I put it into a zippered mesh bag and washed with my clothes. I took it out to air dry – and the yarn smelled awful… which sometimes happens with treated yarn – but once it was dry there was no smell. It’s ready to give away.

Winter Morning Cable Headband
Finished!

Finding the Right Bulky Yarn

I needed to find some good, yet machine washable, yarn because it will be a gift for my daughter. She is a busy woman so I wanted an easy-to-care-for gift. The yarns below are not cheap and come from Peru, South Africa, and Italy. I should get 2 ear-warmers out of each skein of the Mad Tosh. You can find other super bulky yarns for a bargain, but I wanted nice yarn. After I bought my yarn, I found Mirasol Yaya for $5.54 on sale at Wool Warehouse. It ships from England. This yarn is only around 50 yards, and would make one headband, but it’s affordable.

Bulky Yarn That is Machine Washable

After doing much searching online I ordered the yarn shown below and chose the Mad Tosh ASAP in “Cosompolitan” (far right below) to knit the first headband. (I’ve begun a second using the Wool Addicts “Fire” super bulky yarn, in dark gray, and I love it and think it works better for this project.)

bulky washable yarn brands
Bulky yarn by Mad Tosh, Spud & Chloe, and Wool Addicts

Because I want an idea of which yarn is best for this easy project, I will try all four of the yarns above and do a comparison, which I will share at some point!

Manos del Uruguay Franca yarn
“Franca” super bulky, washable yarn
Wool Addicts Fire super bulky yarn
Wool Addicts “Fire” super bulky yarn is very soft

Provisional Cast On to Needle Using Crochet Hook

A provisional cast on means using yarn that will be removed from the project – in this case, at the end of knitting the band. The stitches will be picked up onto the needle and the gray yarn here will be removed. That way both the end and beginning stitches can be knit together to create a nice-looking seam (hopefully).

I’ve included a video by Very Pink Knits to show how to do this because the pattern calls for it.

Provisional cast on with crochet hook
Casting right onto the needle using a crochet hook.

Once the provisional yarn is on the needle, knit one row. Then, begin the pattern.

first row of knitting on the provisional cast on
Knitting onto the provisional cast on

Finish With the Kitchener Stitch

The worst part of knitting this headband / ear-warmer was putting the held stitches back onto the needle from the cast-on. It has to be done in order to finish with the Kitchener stitch. Once you figure that out, both needles should have the same number of stitches. They will be sewn together.

The Kitchener stitch is something I can only do when watching a video. I still don’t know if the working yarn has to come from the back needle or not. In Purl Soho’s video (below) they use an unattached piece of yarn, so I assume it doesn’t matter. Hold right sides facing out and have the same number of stitches on both needles. Once I get to the end with only one stitch on each needle I wing it because I have yet to see what to do!

For the kitchener stitch you will need a darning needle and long bit of yarn left from the end of knitting the headband. All I can say is watch the video and pause it as you go. I could not tighten up my stitches because I couldn’t tell where my stitches were! Purl Soho is using red on white, but I am not. Just a note: In case you are wondering, it’s helpful to know this stitch if you knit socks and mittens because sometimes you end the toe / fingers section doing this stitch.

Kitchener stitch
In the middle of the kitchener stitch
kitchener stitch on headband
My kitchener stitch

Changes to Make Next Time

Honestly, I wasn’t too impressed with my stitching (kitchener stitch) and I decided I would knit my next headband with a regular long-tail cast-on and regular bind-off and stitch the ends together. It will be much easier. We’ll see how it looks.

Also, if you know how to do other types of cables, it would be easy to change that part of the pattern. This cable is very simple and I knit with size 13 wooden needles and used a DPN as a cable needle.

pink headband on gray head
Just so you can see that it fits!

Once the band measured around 18.5-19 inches (my daughter has a small head and for myself I would go another inch). I stopped and finished it off. As you can see in my photo above it fits on my gray-haired head. It will look much prettier on my daughter’s head. As I mentioned above, this yarn is not really bulky enough even though it is called “super bulky”. The skein is 90 yards long, so one skein should make 2 headbands.

Types and Cost of Yarn

Here is a list of the yarn I bought and the approximate price per skein (at the time of this writing). Remember that some skeins have enough yardage to make two headbands from this pattern.

  • Madeline Tosh ASAP – $27 (two different colors)
  • Wool Addicts “Fire”– $25 (soft, thick and squishy, made in Italy)
  • Spud & Chloe Outer- $18 (wool and organic cotton – 60 yds, will make one headband)
  • Manos del Uruguay “Franca” – $36 (114 yards) is super bulky (reminds me of Mad Tosh “Rasta”, except it’s washable) I found some at Richland Street Yarns on Etsy for $26.75 per skein – in limited colors.

Finished Knitting the Fine Sand Sweater

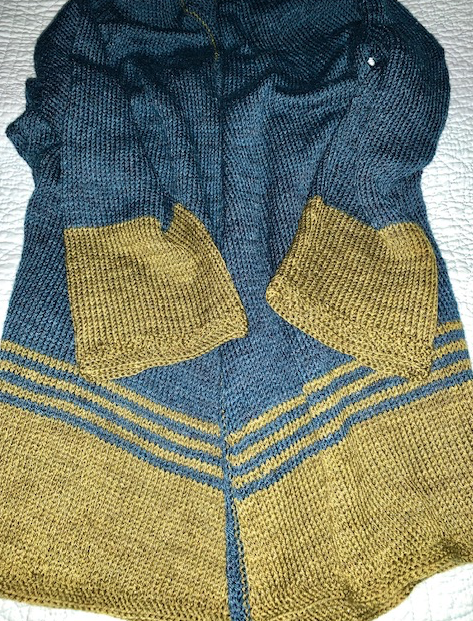
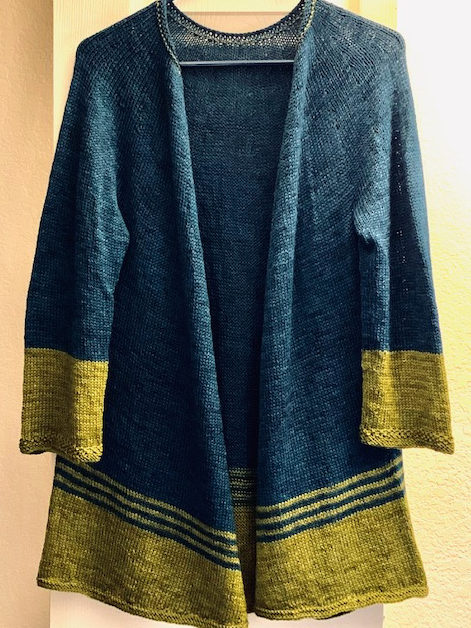
Here it is, part 2 of my journey through the knitting of the Fine Sand sweater. (To read Part 1, go here.) It came off the needles October 7th (2019) and has been washed and blocked.

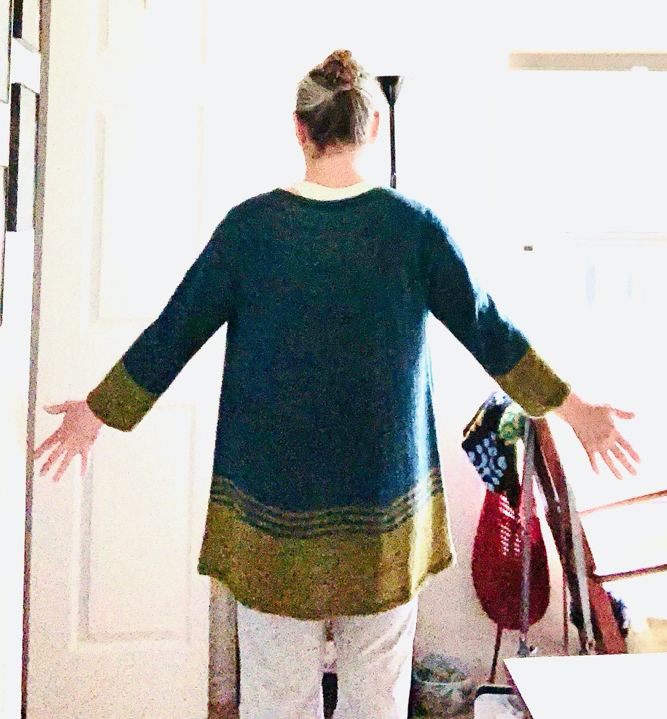
hand knit long-sleeve sweater in Miss Babs Tarte yarn

Overall I did like knitting this pattern. It’s only my second sweater, but with the exception of the short rows – wrap and turns, no part of the pattern really annoyed me. If you are familiar with knitting wrap-and-turn short rows, you would get by just fine. I have vowed to substitute German Short Rows in their place from now on.

Bottom Edge Finishing

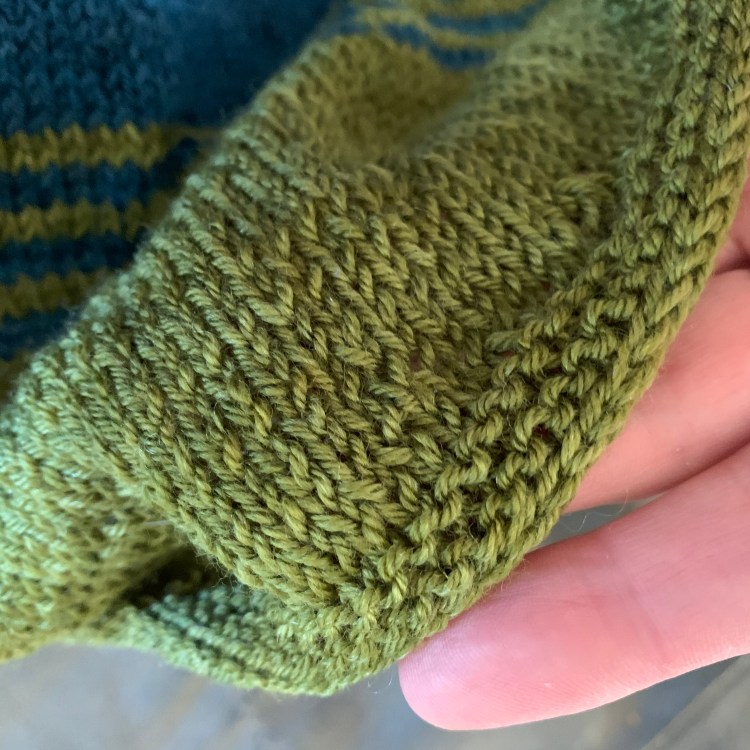
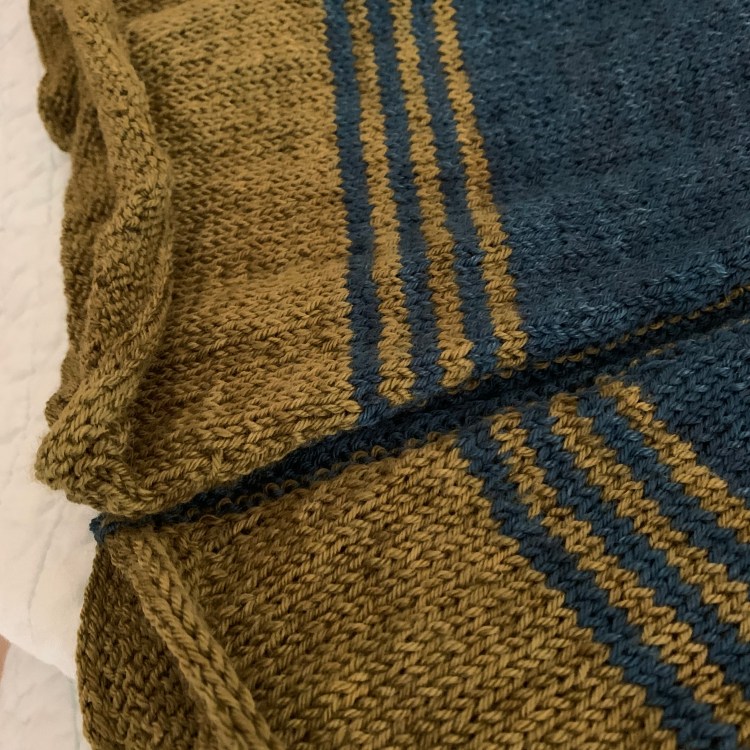
Here is a photo of the bottom edge of the sweater showing the rows of garter stitch and my i-cord bind-off. The pattern does not suggest this type of bind-off but I’ve used it before on my Scrappy Bias shawl and Bays Edge. It creates a smooth, rounded rib and looks very nice. (See the end of this post for links and notes to binding off with the i-cord.)

I-cord bind-off
Bottom edge with i-cord bind-off

This type of bind off takes a while, but it’s not difficult. The sweater bottom is curling like mad, but I assume washing and blocking will take care of that. Yes, it did! While knitting I couldn’t even try this on to see about length because it curled so badly.

hemline curling up
Curling hemline

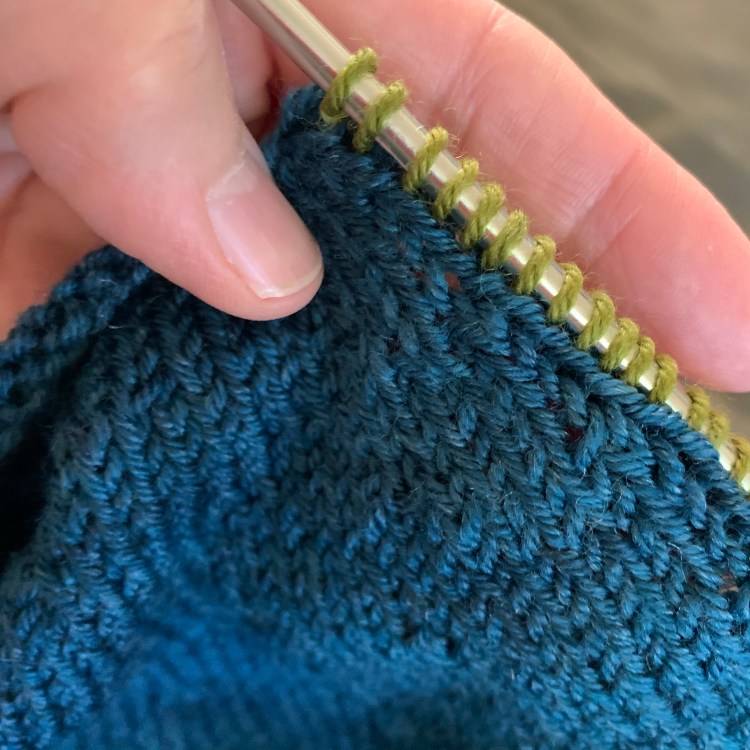
Once I finished binding off the green bottom section of the sweater, I had to begin picking up stitches along the front edge. I am not used to doing this. I’ve only ever picked up stitches when making socks (and I have not knit many socks because I dislike making them), or beginning a shawl, so I was feeling a little overwhelmed at this part of the pattern. There were a lot of stitches to pick up – all around both edges and neckline and I wasn’t sure if I was getting too many, or too few, but it turned out okay.

Picking up stitches along front edge of sweater
Picking up stitches along the front edge of sweater

Because I ended the bottom with green, I just kept right on using the green up the front edge. After I got part way along I realized that I was supposed to be using blue! It’s what I had planned to do, but I didn’t want to go back and begin again, so I kept on with the green, then switched to blue for the next few rounds of knitting and the bind off. I used the I-cord bind off here as well. In hindsight, I wish I had ripped out the green and done the edge in blue. The edges of this sweater tend to curl inward along the front so it really doesn’t show.

long-sleeve hand-knit sweater
Washed and blocked and ready to wear!

Finishing Up The Sleeves

Maybe it’s because I am a “new” knitter, but I really dislike making two of the same thing. Two socks, two mittens, two sleeves! But the sleeves knit up quickly and I didn’t have to use DPNs because I used a 16″ circular for the sleeves.

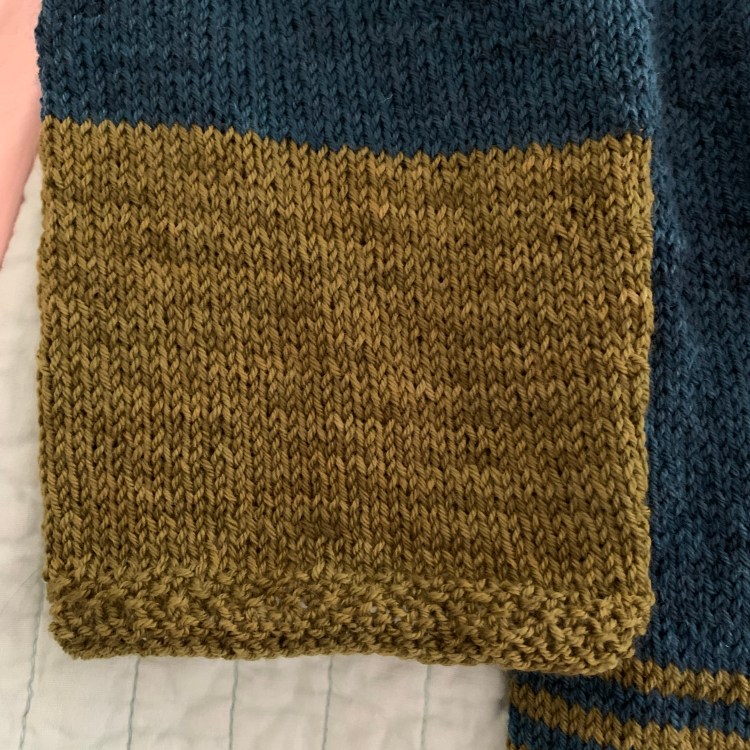
I messed up and followed the size M2 for the sleeves, when I should have been following the size L. But that worked out better because my sleeves are long enough. Before the garter rows I did four rows of seed stitch, which added a wider band of interest before the bind off. I did a regular bind-off here, not the i-cord.

End of sleeve
First sleeve done

Finished length is perfect – I knit just as the directions said, but added a second color. I knit the size L and three skeins of Tarte yarn would be plenty. I had very little blue color left, but lots of green.

Fine Sand sweater
Finished knitting my sweater!

Final Thoughts – This is a sweater I will wear!

It fits perfectly, and the light weight, flowing drape is comfortable and good-looking.

For much of the knitting of the Fine Sand you are doing straight knits and purls. I could easily watch TV and do those rows. If you hate to purl, don’t choose to knit this one!

Once I got the hang of the LLIs and RLIs they were no problem. I like to learn new things when knitting new patterns, and these increases were explained well in the directions.

I will not do short rows again because the pick ups on the purl side were impossible for me to figure out! I don’t have the experience.

I’m not crazy about the front edge of this sweater. It will be something to throw on to keep arms warm, but won’t do much for the front of me.

Love The Yarn!

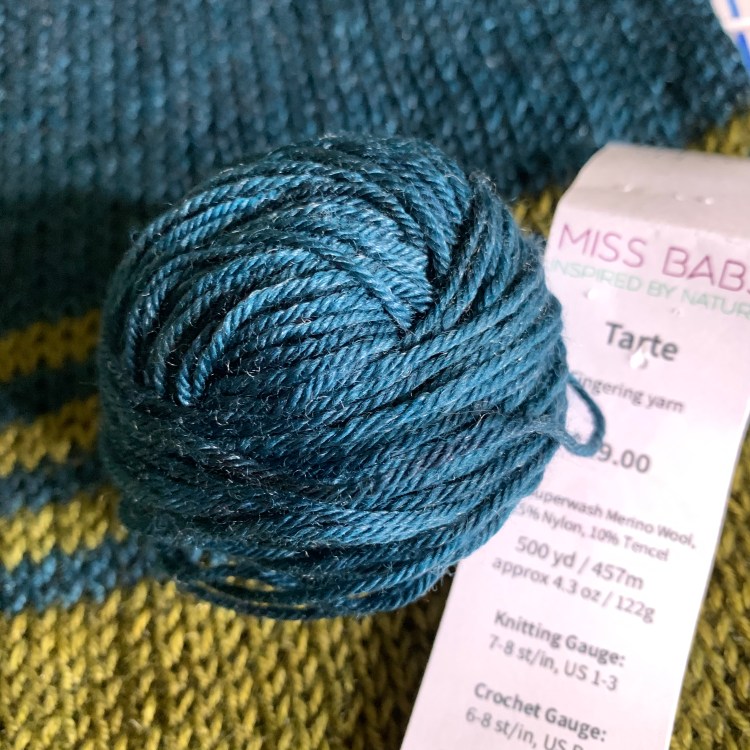
The yarn I used is Tarte, fingering yarn which is a 4-ply, superwash merino with added nylon and tencel. The skeins are large at 500 yards and it was purchased online at Miss Babs. I love the yarn and the finished feel after washing. That blue color is called “Franklin” and it’s beautiful. The darker color is also more forgiving of mistakes, but harder on the eyes to knit – especially at night. The green color is “Moss”.

I hand-washed the sweater and LOTS of color came out. I rinsed many times before it stopped bleeding color. The colors didn’t bleed together, just into the water. The sweater dried very quickly on the blocking mat – within a day – and it really is lovely and light weight as I’d hoped.

ball of blue yarn
All that is left of my blue yarn!

Tutorials and Notes For I-Cord Bind-off

Very Pink Knits has a video tutorial on how to do, the I-Cord Bind Off, but she does not say what to do at the end of the bind-off.

I have a pattern that says to slide the last three stitches to the opposite end of the circular needle and then pull the yarn through all three.

Or: when you get to the last 3 stitches on the needle, slip them to the left needle as you’ve been doing and then bind them off like regular – one at a time.

Or maybe bind-off one stitch and then the last 2 together. I’ve read that binding off the last 2 stitches together makes a neater ending.

This video does show the end, but the i-cord BO she does is different.

Below, I wore my sweater to the beach one morning in January.

Wearing my hand knit sweater on an early morning visit to the beach

Tried My Hand at Knitting Baby Booties

Knitting baby booties from a free pattern.

There are no babies in my family to knit for, but I love the look of cute little booties. When I came across a free booties pattern, I had to give it a try. This pattern is called Baby Hausschuhe and there is a link to the English version (and others) with good directions and photos included.

Sole of baby bootie
Picking up stitches around sole

One thing I couldn’t figure out was which types of needles to use. The beginning is simple with knitting back and forth row by row for the sole. Then you pick up stitches around the sole and it looks like the writer used a circular needle. I ended up using 2 DPNs and one small circular needle. Then I eventually got all my stitches onto the 9-inch circular and knit around.

Beginning the baby bootie
Ready to knit around

The bottom of the bootie above with needles ready to knit around.

baby bootie

Starting to take shape and looking pretty cute. If I’d had enough pink yarn I would have used it for the whole thing but I was using up leftover bits from other projects.

Baby bootie knit on small circular needles
Front of bootie

By the time I got to the ribbed cuff the stitches were pretty stretched over the circular needle so I switched to size 5 DPNs to finish. This was one size smaller than what I used to knit the foot. I switched one of my yarns to a tan color here.

baby bootie ribbing
I switched to DPNs for the cuff

I was using up some sock yarn (Miss Babs brand) and held two strands together, changing out one of the colors as I went. It’s not the prettiest outcome but I had no Aran weight yarn to use as the pattern calls for.

Knitting baby bootie with double pointed needles
Switched to DPNs to finish the ribbing

You will need two stitch markers. One is used for the front of the bootie to mark the decreases and one marks the beginning of the rounds at the back heel area.

Finished baby bootie
Finished!

By the time I finished one bootie I didn’t think I would attempt a second one. I probably will at some point just to have two. Finishing up a second (sock, mitten, slipper, etc.) is not something I enjoy. One bootie is worthless so it needs a partner. I may try a better yarn next time and see if it appeals to me.

A note about weaving in the ends: Remember that the ribbing will create a cuff and be flipped down. I neglected to remember this and you can see my weaving job on the outside of the cuff! For booties in one color this wouldn’t’ show as badly, but I made a note for myself on the pattern page.

weaving in at the top fold over
Should have caught this!

Here you can see my other single bootie (in bright pink) which was crocheted. It’s partner is partially finished and I made that one about a year ago. See how bad I am? Now I have two booties that don’t match.

two different baby booties
Now I have tried crocheted and knitted booties

The Final Word on This Bootie Pattern

The pattern was very easy to follow. Now that I have knit one, I will more easily be able to choose the needles needed as I go and the next one will be a breeze. I spent the day knitting to finish it and my hand did end up sore, so next time I’ll pace myself.

By the way, these bootie photos would look better stuffed with something. I noticed on the Ravelry pattern page that either babies had them on their feet (the cutest images) or the empty booties were filled out with stuffing!