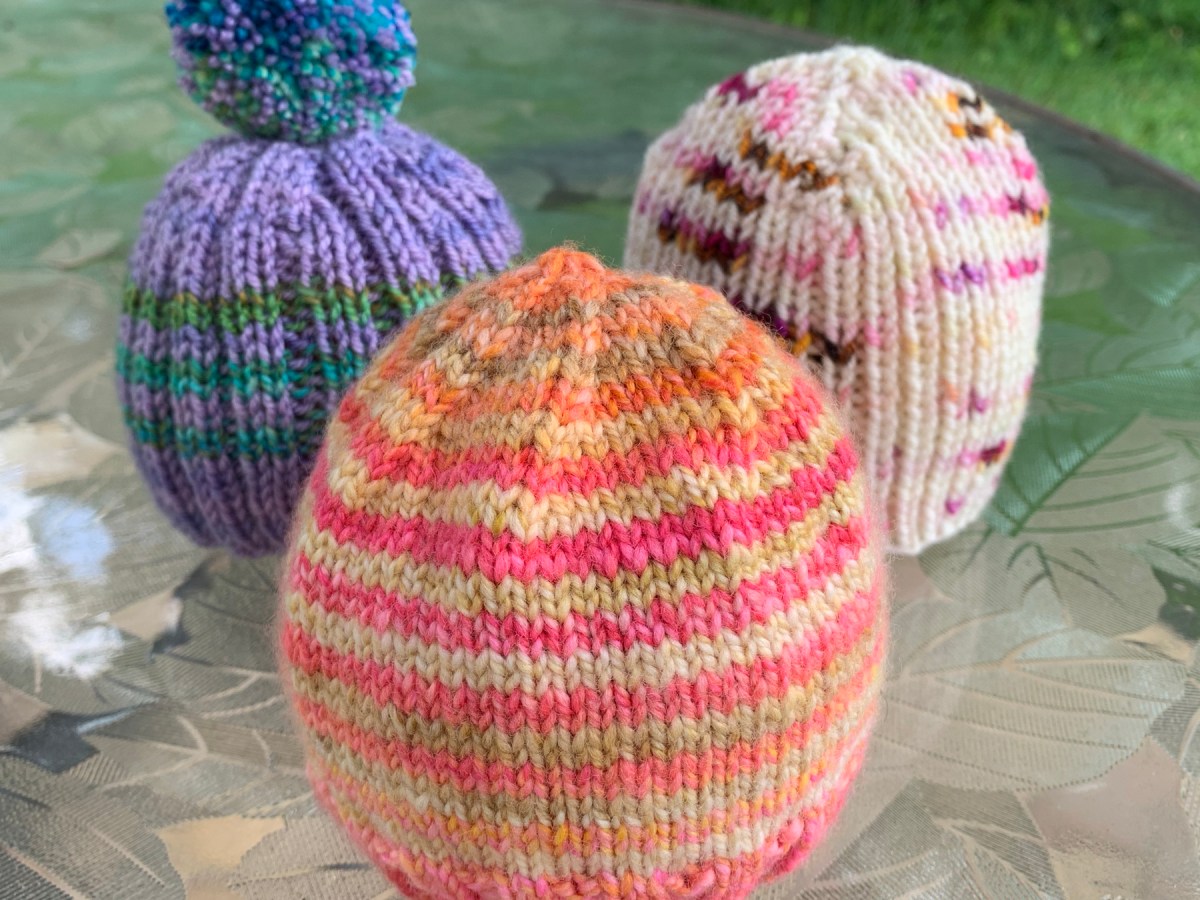
After knitting the Beloved baby bonnet pattern for a friend’s new granddaughter, I found this free baby sock pattern. The Perfect Newborn Socks pattern is offered for free by Tabitha Gandee and I got the pattern on the Ravelry site. I already had the CoBaSi machine washable yarn in color Bubblegum pink. (Pattern link below.)
Some knitters complained that the pattern did not make sense in areas and I would agree. For that reason, I would not recommend this pattern to a beginner knitter, unless you are knowledgable in the way socks are knit. It could be very frustrating if you try to follow the pattern exactly.
I have made notes below for anyone who needs a little advice along the way. I’m grateful to the people who offer us free patterns, but often those patterns can have mistakes or less clear directions than a designer who requires payment.
Places in the Pattern Where I Made Changes
First of all, I went up to a size 2 needle and knit with DPN’s, not magic loop. I am a relatively tight knitter and I didn’t want the socks to be too small. After washing and drying, the foot measures about 3 1/2 inches and the ribbed cuff is about 2 inches before folding.
These are top-down socks and I cast-on with the German Twisted cast-on. Then I did the more simple 2×2 rib without cabling.
I followed the pattern fine until the end of the Heel Turn section. For the last Row 3 knit, I did not do the SSK and simply knit across the 8 stitches, because the count was correct after Row 2. But, if you stop knitting after Row 2 you will be in the wrong place to continue.
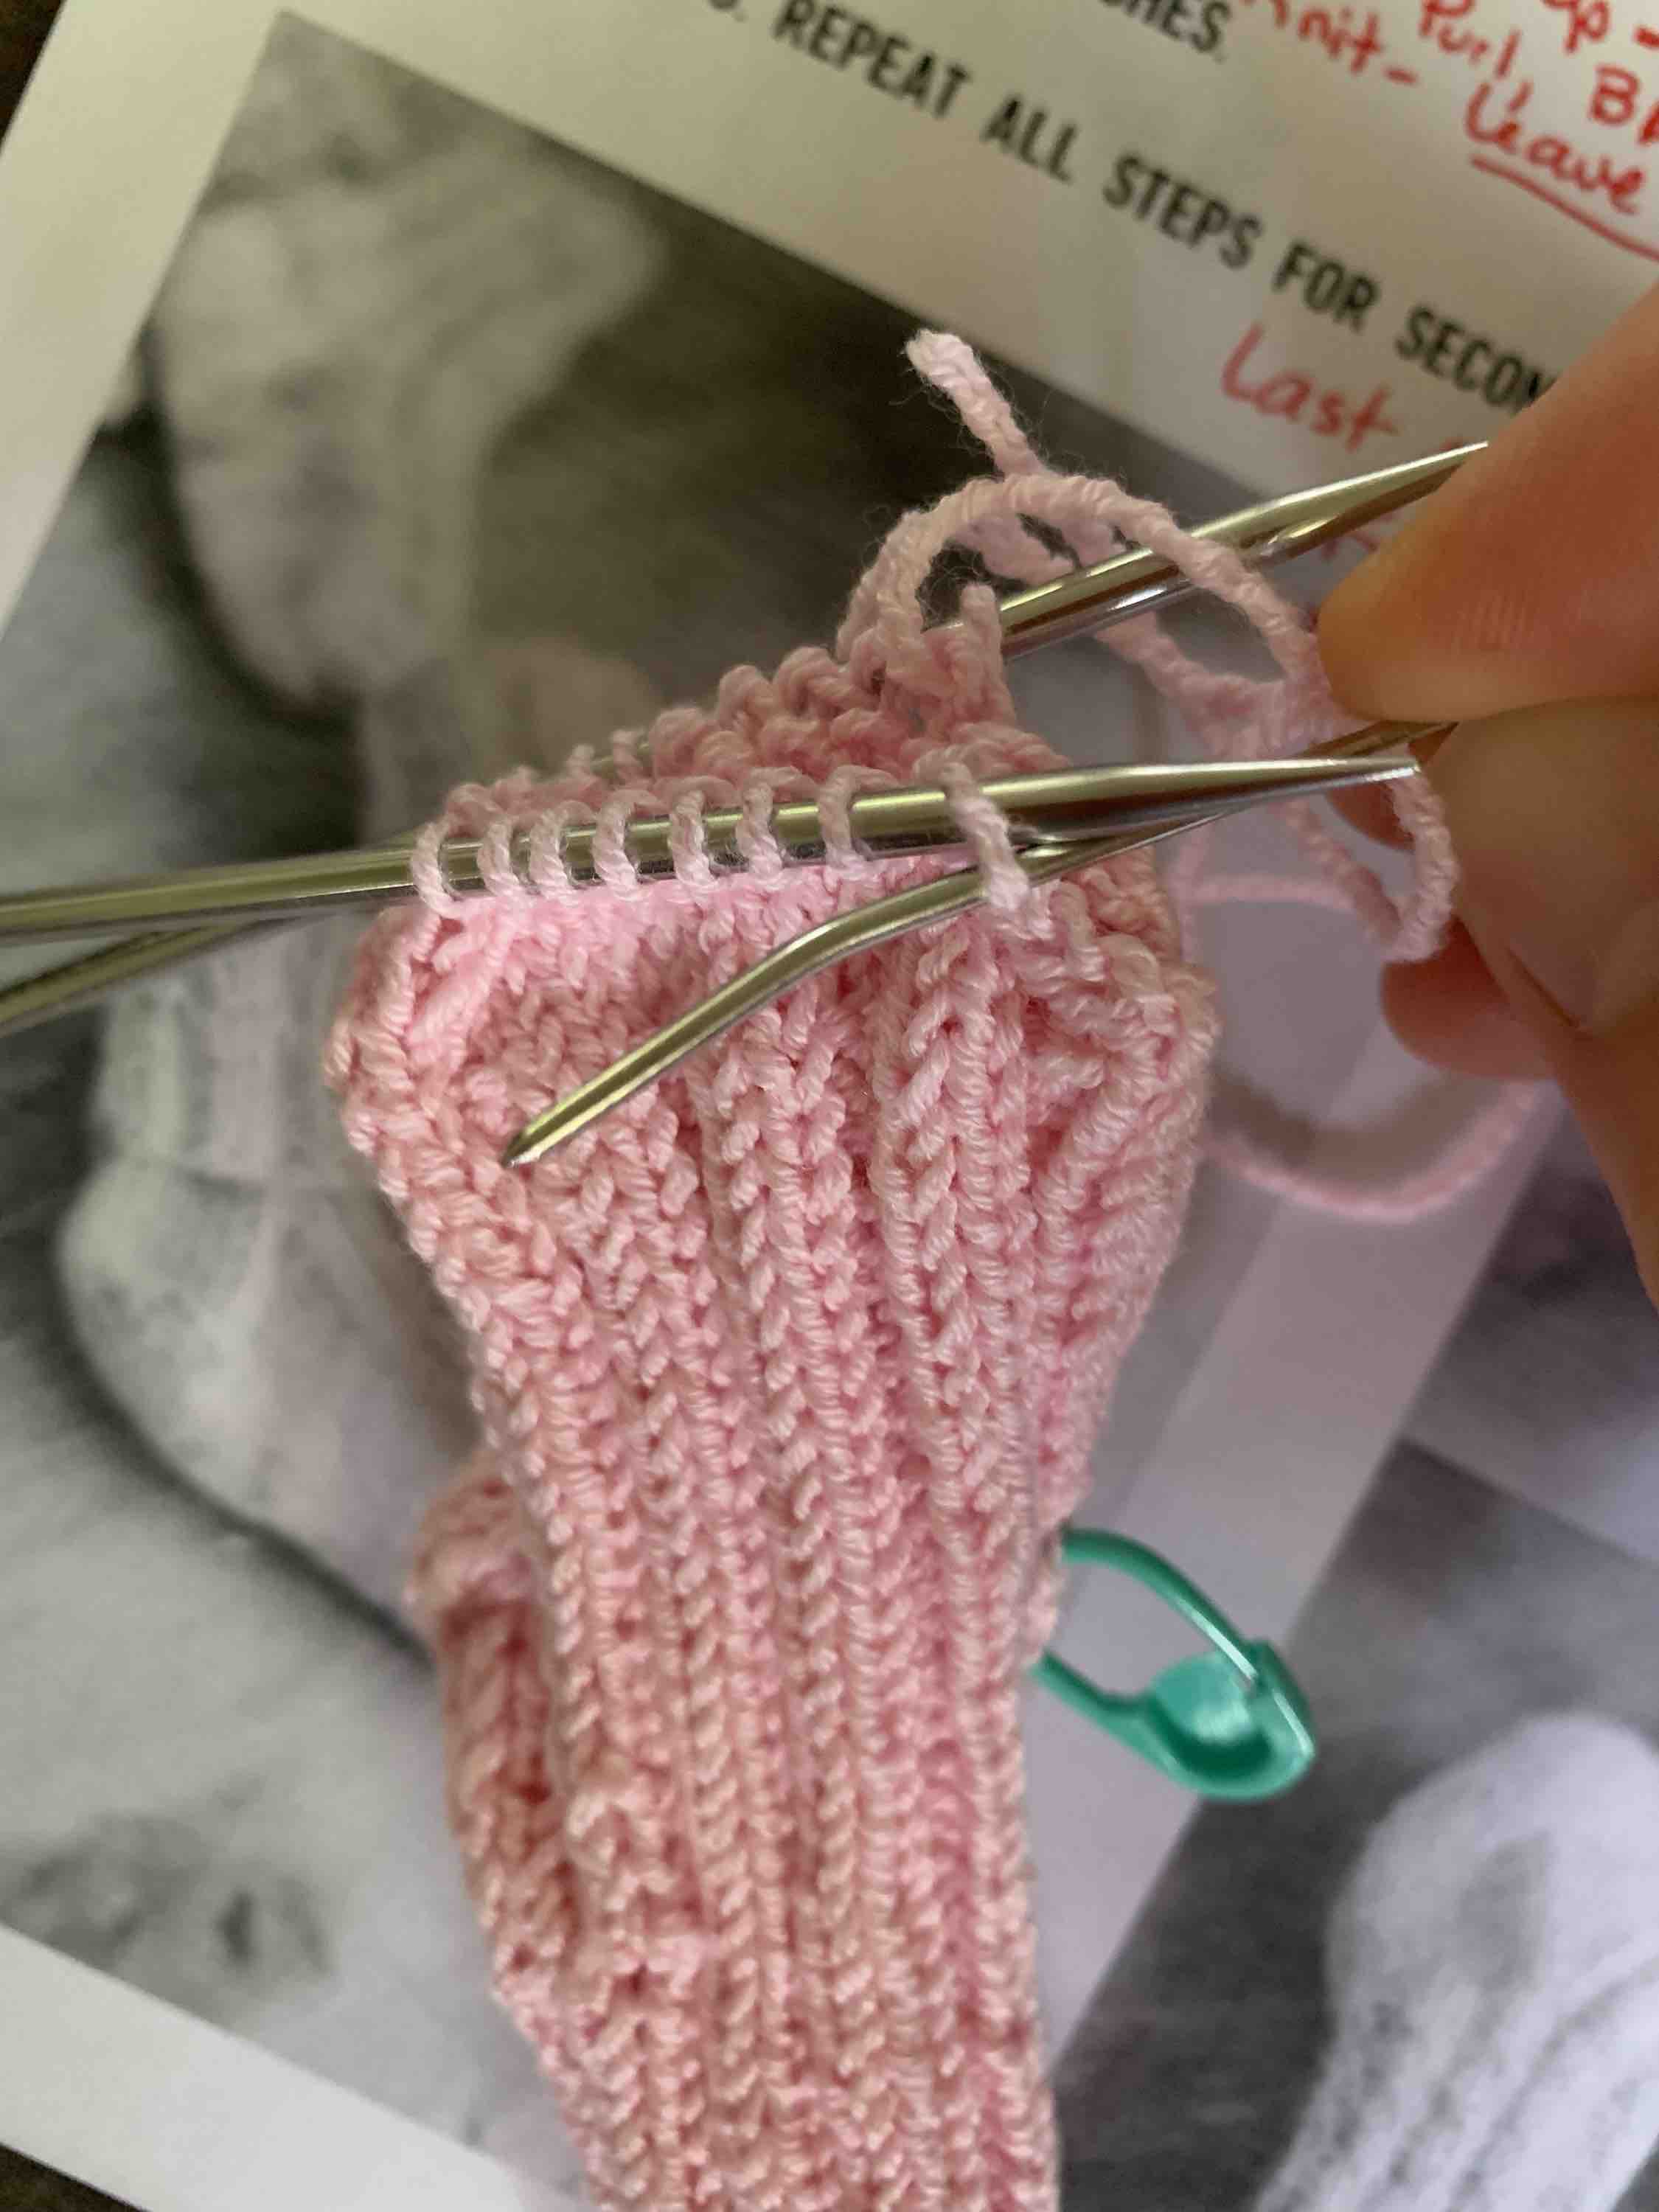
After knitting that last Row 3, I knit four more stitches onto that needle. Then, with a new needle I knit the next four stitches and began picking up the stitches for the Gusset.
With the next needle, knit across the top of the foot with 2×2 rib or the cable rib, whichever you are doing. After that, use a new needle pick up the nine stitches along the side and knit the four stitches left onto that third needle.
Now you will have three needles. Two needles are holding stitches for the Gusset and 1/2 of heel, and the other is holding the front / top of foot stitches. In the pattern, the writer has four needles being used, but all 16 top of foot stitches can easily be worked on one needle. The fewer DPN’s the better IMO.
Getting my stitches onto three needles to begin the decreases
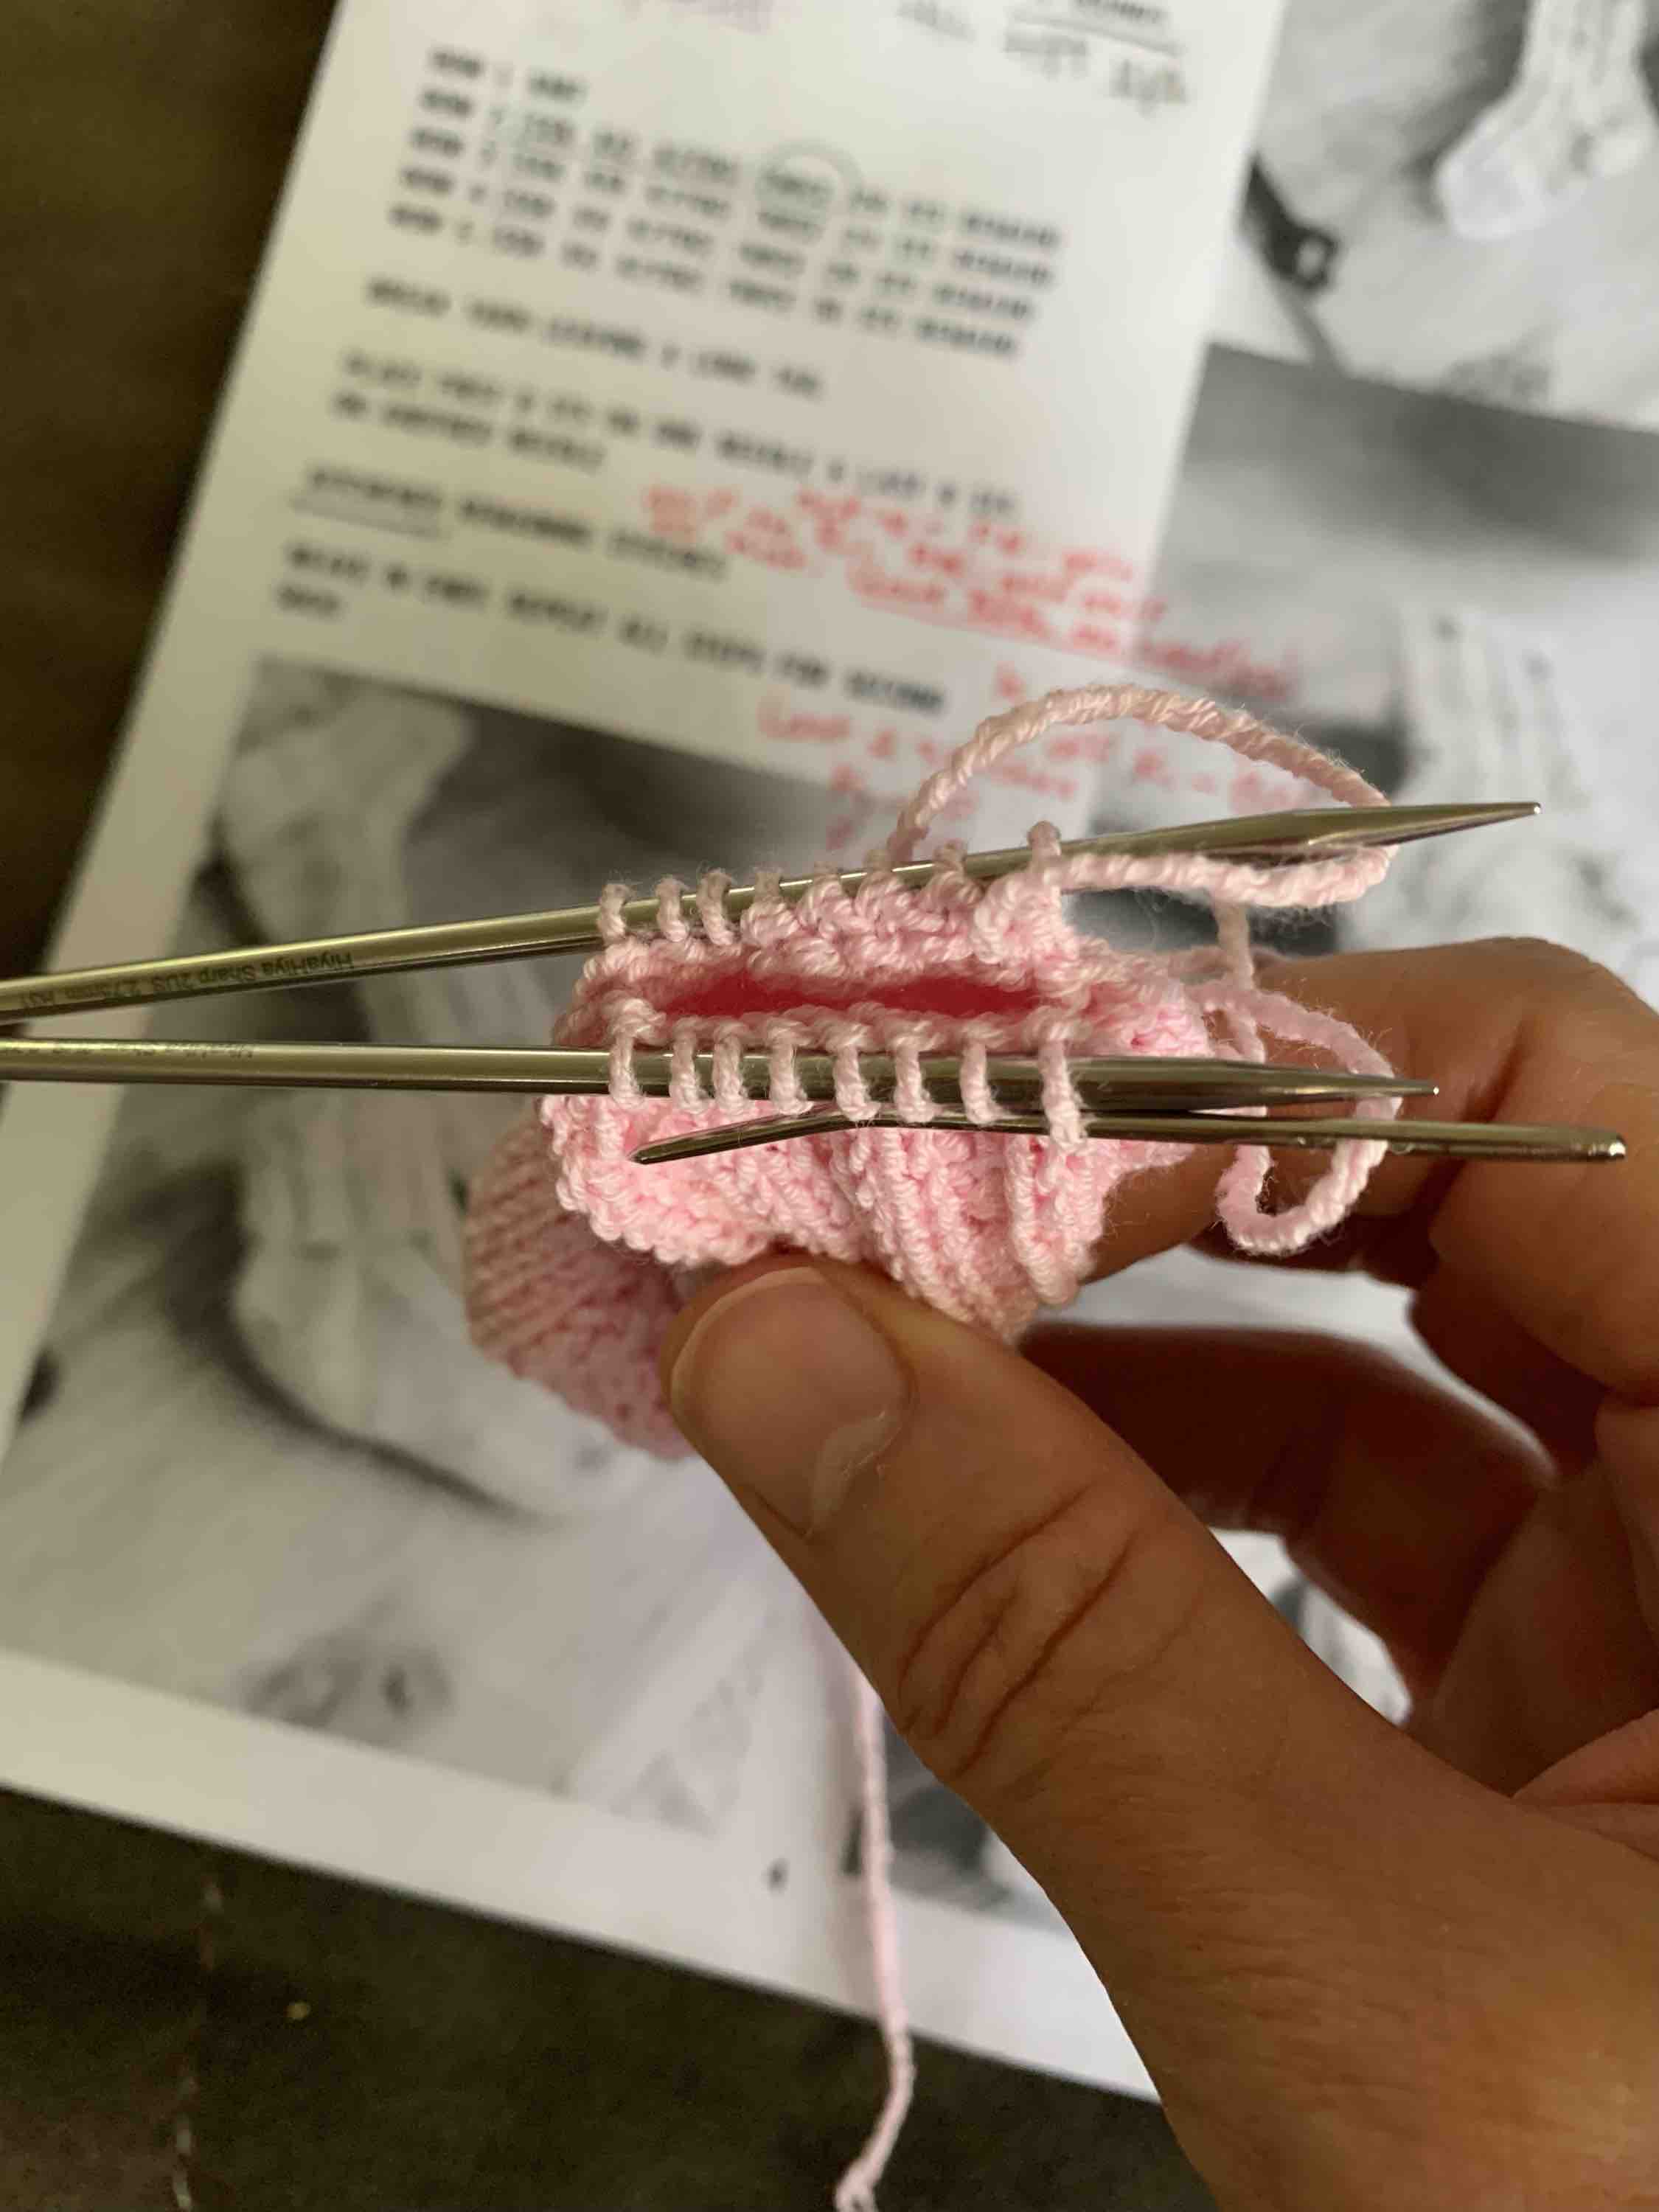
Doing the Kitchener Stitch at the Toe
After decreasing quickly at the toe area, the Kitchener Stitch will round out the toe. This stitch is done with a darning needle and is not terribly difficult, but it’s something I have to look up every time I do it. I also used it when I knit the Glissade colorwork mittens.
On YouTube I like the slow motion Kitchener Stitch video by Very Pink Knits which is easy to follow. She shows us what to do with the last two stitches on the needle as well. The yarn will be coming off the back needle to start, and you need a darning / embroidery needle to do it.
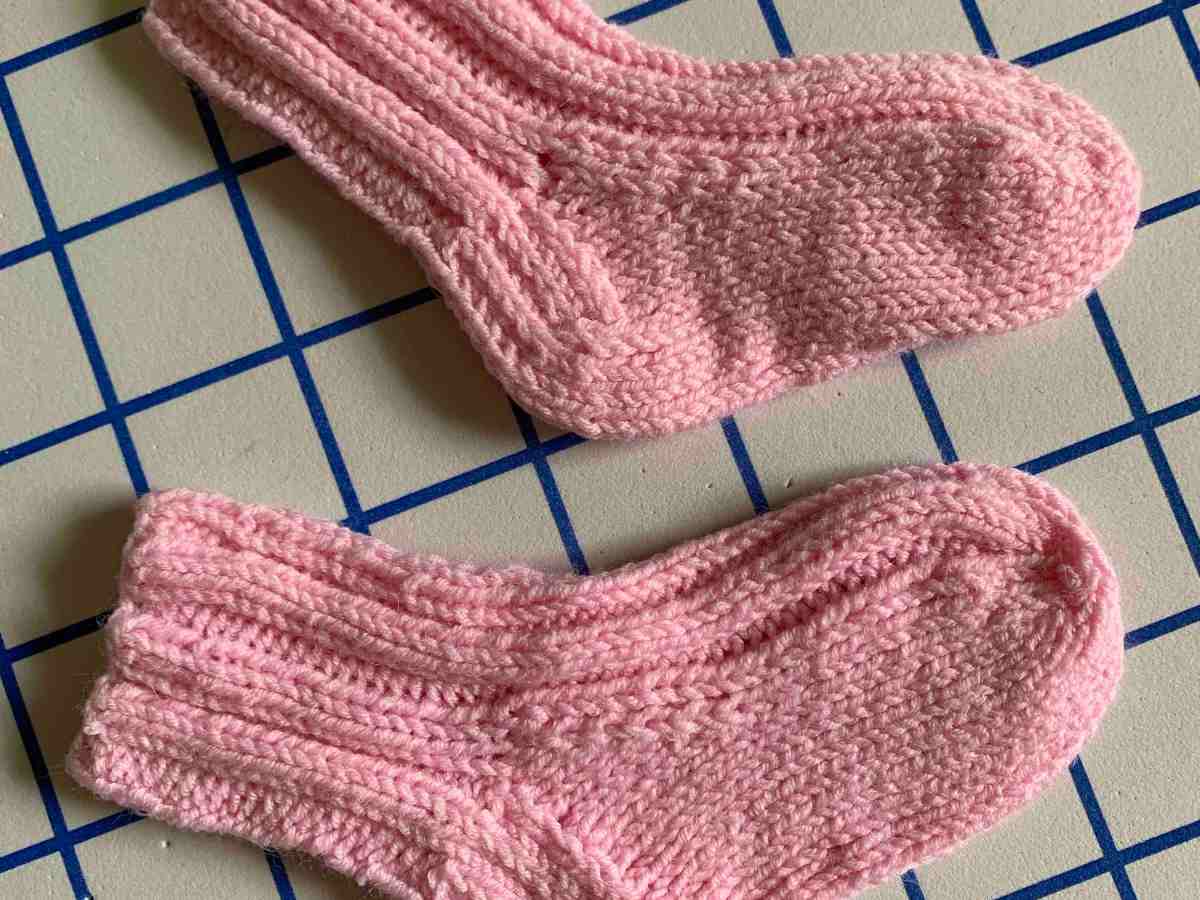
These ended up being cute little socks that will complete the Hat and Sock set for my friend’s granddaughter. I would make them again, and I also like the CoBaSi yarn for baby things. It washes and dries nicely – and can go in the washing machine and dryer! There is no wool in it which works well if a baby could be allergic. I washed them by hand, but it’s good to know that a new Mom won’t have to.
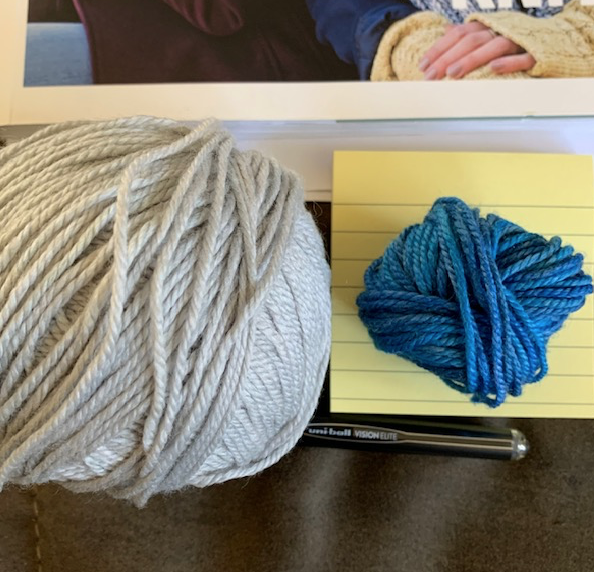
I have fallen in love with the washable Lorna’s Laces Sportmate yarn. I decided to knit the Polliwog Popover with the gray (Dobson) and blue (Cermak) colors I recently bought on sale. It’s a little sweater with a unique neckline for babies or young children. It is a great pattern for a little boy. The pattern is by Mary Lou Egan and I found it in my copy of “Drop Dead Easy Knits” (link to the book below).
The title mentions easy, so none of the patterns should be difficult – you would think. However, as I have been knitting this baby top, I’ve run into some difficulty.
Polliwog Troubles, Mistakes and My Personal Fixes
First of all let me suggest that whenever you choose to knit a pattern search for possible errata – or changes to a pattern due to direction corrections. A mistake here and there is understandable. No one is perfect. I’ve noticed that patterns often have an errata listed.
Most knitwear designers have test knitters, who will all knit up a pattern and give feedback, including catching pattern mistakes. So the fact that the Polliwog was included in a book, but contains numerous mistakes, is disappointing … and annoying.
IMPORTANT: If you plan to knit this PATTERN, go to the Ravelry Polliwog Popover pattern page where the designer lists the mistakes on the page. Take note of them and make fixes on the pages in the book before you begin knitting. The first mistake was the number of stripes to knit for the body.
But I had more troubles than just the ones listed, so I wanted to share my woes here. In the end, I really like the top. It is soft and cute and works well for a boy or girl. It would be a breeze to knit again now that I have made my changes to the pattern and provided notes to myself.
I may actually sew down those flaps on the front, but I’ll see how it looks after washing.
Polliwog Popover – done!
Check Your Gauge!
First, I strongly suggest you knit a swatch to find your gauge. Usually I have to go up a needle size to make my gauge correct. This time I did not knit a swatch and used the suggested size 4US needle, but I should have used a 3 or maybe even a 2.
The sweater is WAY bigger than even the measurements for the largest size (12-24 months), and now I fear I may run out of blue yarn (I didn’t – see my yarn photo below). I’m following the smallest size (6-9 months) directions. So my gauge is way off. I’m thinking it would fit a one-year old. This is my own fault, and not a fault with the pattern. I should have found the correct gauge before I began.
Knitting Stripes That Align
I was no expert at knitting stripes, but after making all the stripes on the body and sleeves of this sweater, I consider myself an accomplished stripe-knitter. And for the most part, my stripes align pretty well. This is how I did it.
Row 1 (of 3 knit in same color) – when adding / changing colors, bring the new color up behind the old to tug the little area closed.
Row 2 – when you reach the BOR (beginning of round) marker, and are ready to begin knitting row 2, lift the right side of the knit stitch below the row onto the LEFT needle and knit through both strands. This will make the first worked stitch of the row look like only 2 stitches when the rest of the row will have 3. This makes the rows of color line up nicely. You can see this in my photo below on the BOR seam of a sleeve.
Row 3 – knit around… begin again at row 1 when you change to the new color.
Aligning the rows of stripes
The Shaping
Once I had the front section shaping on the left shoulder completed, I felt pretty good. I had managed to do the short rows and then knit them up fine.
Shaping the front
My troubles began when I had to do a similar thing on the Right Shoulder. The stitches are opposite and the directions to “slip the stitch and pull the yarn over the needle to create a double stitch” did not work because you end with a purl stitch. Or maybe you just pull the lumpy thing over and call it two stitches ???, but it looked bad. I tried searching YouTube for help and found nothing that made sense.
After wasting lots of time trying to figure out what to do – after all this was going to be the neckline of the sweater – I used my notes from a little scarf I began a while ago. On the Ruffle scarf you create a number of short rows, or wrap and turns. I could do that simple thing when knitting the scarf, so I simply did the same thing for the Popover. I did the same when working the back sections as well.
Short Rows on Right Side Shoulder
Here is how I did my turns on that right side – front and back sections of the sweater.
When I got to the end of the row the yarn was forward because I ended with a purl stitch. I kept the yarn forward, in front, and slipped a stitch from the Left needle to the Right needle. Then I turned the work and brought the yarn forward again. Slipped a stitch once more from left to right and began knitting in pattern back to the end of the row.
Super easy, looked fine, and easy to pick up each knit and purl on the finishing row. No stitches needed to be knit together.
The Neckline Bind-Off
Here is where my blood pressure rose once again. First of all the patterns says, “work a sewn bind-off … as described in the Techniques section”. So I flipped to the back and found the page for Techniques. None of the technique titles were for a “sewn bind-off”. I finally decided it must be the “K1, P1 Bind Off” because it called for using a tapestry needle. I didn’t like the sounds of that.
Reading through the long directions for this type of bind-off I began to have serious doubts about my ability to not mess it up! So I knit up a little swatch in the knit 1, purl 1 ribbing to try it out. I couldn’t figure it out. It was a disaster. So I looked on YouTube. Even watching videos describing this sewn bind-off, and following along on my swatch, I gave up after making a complete mess of it. This was not easy, even after watching a video.
Jeny’s Surprisingly Stretchy Bind-off
I really didn’t want to have to use a tapestry needle, but I knew I would need a stretchy bind off for the neckline. I’d heard of Jeny’s Surprisingly Stretchy bind off, but never bothered to look into what it entailed. Now I decided to see if I could handle it. I’m so glad I did. And yes, it is VERY stretchy, and EASY!
This is a very easy bind-off to use for anyone. Once it was done, I believe it looks just fine. See my photo below.
As is usually the case, I had to watch a couple of videos to find one I liked. Here is a link to the YouTube video for Jeny’s bind off that helped me – she goes super slow considering it’s super simple to knit.
As I’ve read some notes by knitters of this garment, a few have said that the neckline is too loose and flaps open. Now I am wondering if a normal bind-off would work because of the way the neckline overlaps to make an extra large opening anyway. I don’t have a baby to try it out on.
Finished look of Jeny’s bind off
Jeny’s Bind-Off Written Directions
You don’t need to watch the video because it is easy to explain how to do Jeny’s bind-off. And at least now I know how to do it.
Do This: You are ready to bind off – on the right side – and are holding an empty RH needle. Begin by first wrapping the yarn around the RH needle clockwise. This is opposite of how you would make a Yarn Over. Then, knit the first stitch and pass that wrapped stitch over the knit – like a regular bind-off.
Now, wrap yarn clockwise again, which will give you 2 stitches on the RH needle. Knit the next stitch – giving you 3 stitches (my image below). Bind off by passing the first two stitches over the one recently knit. (I did not deal with alternating knits and purls. Honestly I don’t know if I should have. I was so fed up at this point I just wanted to be done!)
With three stiches on the RH needle, slip the first 2 over the last – as in a regular bind-off
Continue to wrap clockwise before knitting, passing two stitches over one, and so forth. Super EASY! And yes, it is also super stretchy. I guess lots of people use this bind off for toe-up socks so the cuff is not tight. Believe me, it works. I think I could get my big head through this neckline!
The Polliwog Sleeves
To begin the sleeve, first the two sections of the shoulder have to be overlapped. Then stitches have to be picked up, sometimes going through two layers of knitting. I used a crochet hook to pick up stitches through two layers.
Also, pick up through nearly every stitch, or the count will be short. I had to re-do my pick ups for this reason. I used DPN’s but quickly became fed up with them and ordered a 9-inch circular needle to finish the sleeve.
First sleeve transferred to new 9 inch circular needle.
I have a few small circular needles for knitting small round things like mittens, so this new size five, nine-inch circular has been added to my collection. They are totally worth it if you hate using DPNs. I was able to knit all the way to the sleeve cuff and bind-off using the small circular needle. (I did a regular bind-off here, not the “sewn bind off”.)
Knitting the sleeve
I will say that I love Lorna’s Laces yarn. The blue color is slightly variegated and looks really nice. I will be washing it in my machine and throwing it into the dryer for a little bit to see how it ends up. (Directions for washing this yarn are: Machine wash cold with like colors. Machine dry until just damp. Lay flat to finish.)
I did not have a lot of blue yarn left, but as I said, the garment turned out large. After washing (and drying) it seems that either the sleeves should be longer or the body should be shorter. It’s hard to tell.
How Much Yarn is Needed?
Once I finished knitting, below you can see how much yarn was left of the 2 skeins I used. Each skein has 270 yards and I had leftover yarn. The pattern sample uses Swan’s Island washable wool which contains even more yarn per skein (360 yards) and the pattern calls for 2 skeins of the Main Color – which in my case was the blue. So I used less than 270 yards altogether (blue) – less than one skein. And remember that my sweater came out extra large.
Used up nearly all my blue yarn.
Drop Dead Easy? Not This One
The Drop Dead Easy Knits book contains a wide variety of projects. As others have also noted, in comments on Amazon, they are not all that easy! “Easy” is relative. To a fairly experienced knitter, yes, they would probably be easy. To a beginner, not so much. And maybe the writers meant this when putting the book together.
I don’t consider myself a beginner, as I have knit lots of various items in the last couple of years including two sweaters for myself, but the problems I had knitting this one made it unenjoyable. This Polliwog Popover should be simple, but with the mistakes and issues I’ve had with it, I would not label it as so. It was a headache. However, if decided to knit it again, it will be easier, thanks to all my notes!
More From the Drop Dead Easy Book
If you don’t expect all patterns to be easy, the book is still a good one. When I first searched through I was disappointed to find sweater and sock patterns. I don’t consider sweaters to be easy, and I dislike knitting socks. But then again some knitters may consider these items to be “easy”. And lots of people knit socks. The book offers a very wide variety of items to try, from blankets and shawls, to mitts, hats, bags, and even a dog jacket!
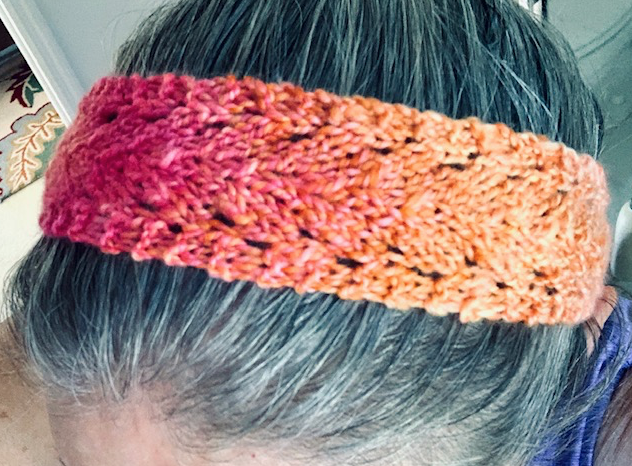
I’ve already knit the very easy Shandy Headband (my photo below). Along with the baby sweater I just wrote all about, these two items are my only experience with the patterns in the book. I will be trying more. It’s a very nice book.
The little Playdate cardigan by Tin Can Knits is a wonderful pattern with excellent directions that will broaden a beginner knitter’s horizons!
The Playdate Cardigan pattern comes from Tin Can Knits. I bought and printed out the pattern a few days ago and have since been working my way through this cute sweater. The pattern has size adjustments from 0-3 months to 4XL…. so you can knit it for just about anyone.
I chose to knit the 6-12 months size. I’m using a 16-inch circular and 5 double-points in the same size. Another smaller needle (with same size dpn’s) is needed for the ribbing. My yarn is Emma’s Yarn, fingering weight, Super Silky in “Malibu”. I would not have chosen silky yarn if I was buying a skein to knit a sweater, but I wanted to use stash yarn for this first attempt. I would choose a favorite baby sweater yarn next time.
Creating Pockets
This is a bottom up pattern, but it begins with pocket sections. As I read through the pattern, the pockets were confusing to me. I’ve never done pockets. HINT: To knit a 2-color sweater begin the ribbing with the contrast color. But the pre-made pocket sections will be behind the work, so the main color can be used.
First thing to do was to knit two little rectangles which would become part of the pockets. I almost decided not to add pockets just in case I couldn’t figure it out, but I’m glad I used them. Because first, they are easy to add, and second, they make the sweater look cute!
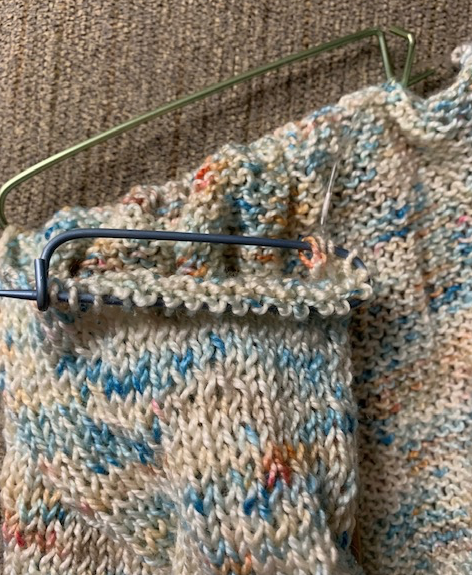
Getting started on “Playdate” baby sweater
Once the bottom of the sweater is begun, the little rectangles will be added to the long needles and create the backing. The top stitches will be knit into the regular line of knitting.
Placing stitches of pocket onto long needles
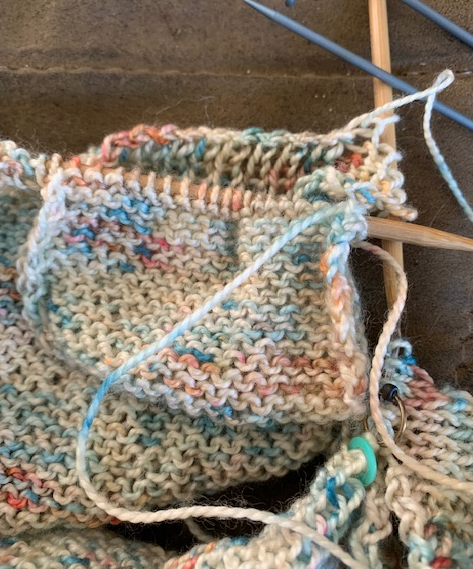
The K1P1 ribbing for the top front of the pockets is created first, then bound off. See the back of the pocket above and the front below. The little rectangular backs will later need to be sewn down to actually create the pocket.
Ribbed edge of pocket with backing added to needles
The Back and Shoulders
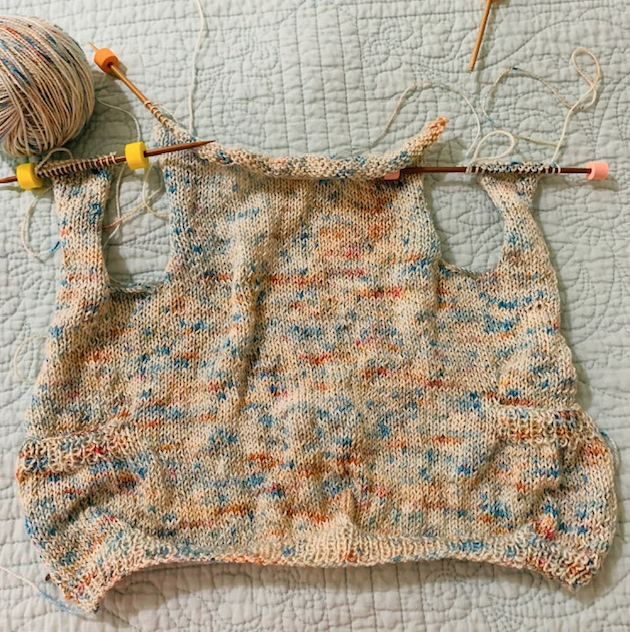
Once the front is knit to length, the back stitches and one shoulder will go on hold. I used some metal stitch-holders (they were my grandmothers) which work well for holding small amounts of stitches. I always have trouble picking up my stitches when I hold them using yarn. From here, each shoulder area will be knit, along with the back – separately.
Shoulder and back stitches on hold while knitting other shoulder stitches
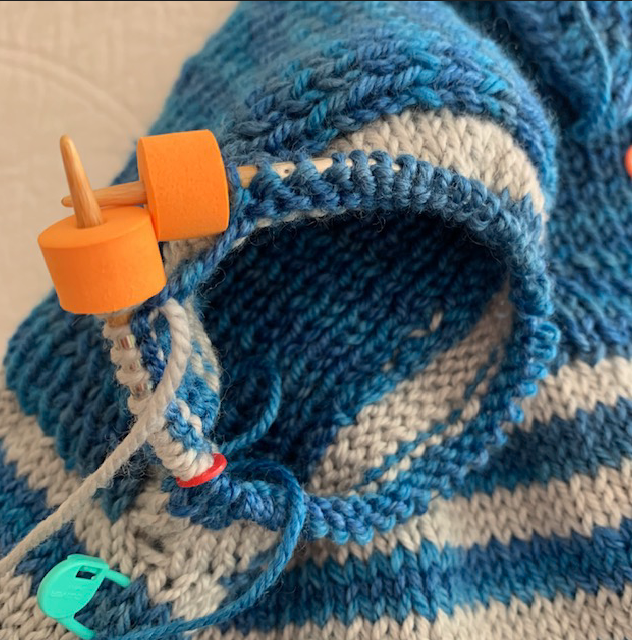
I used DPNs to hold the shoulder stitches because my sweater is so small. The pattern directions say to work the stitches, ending with a RS row and then “break the yarn leaving a long tail”. I guess they figure you will know enough to keep those stitches on hold, but you need an extra needle for that (or yarn). So it helps to have double-points handy with good stitch stoppers(Mine are by Cocoknits and they work great). The same thing happens for the neck and I left my stitches on the main circular needle for that longer section of knitting. I used 2 double-points for straight knitting the first shoulder section.
Shoulder parts of Playdate on hold using three needles
Once the back and shoulders are the correct length, they will be stitched together. I tried 2 different methods here, and decided I liked the Kitchener stitch – as shown in slow motion by Very Pink Knits – which came out pretty smooth. I sat in front of the computer while I did it so I could watch her video.
Ready to connect at shoulder seams
Kitchener stitch joining back and front at shoulder
Shoulder seem, wrong side of kitchener
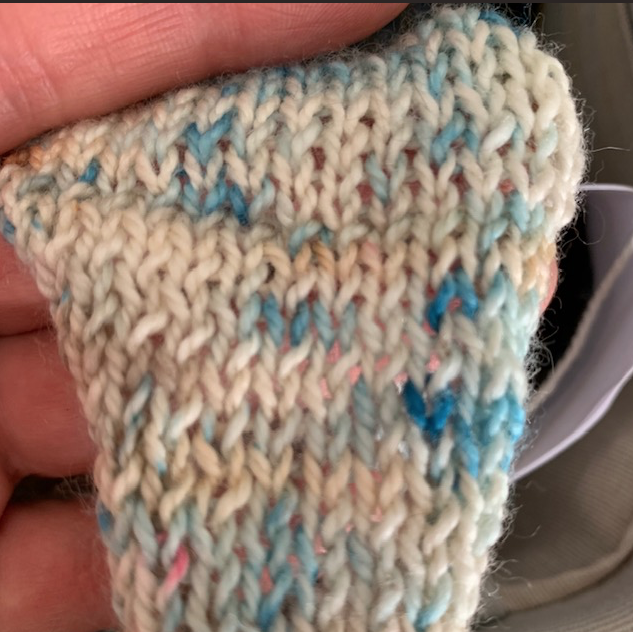
All the edges are curling up badly, which is par for the course when knitting stockinette. I had the same problem on the Fine Sand sweater, but after washing and blocking it looked great.
My front and back knitted sections are now attached at the shoulders
On To The Sleeves
As I went around the armholes picking up stitches, I picked up a few more than was suggested just so there would be no holes. On the next couple of rows I decreased back to the correct number. I was able to knit one sleeve within a few hours time. I think I like making this little sweater. It’s finishing up fast and looking pretty cute!
Getting there!
A long, circular #3 needle was used to pick up the required stitches around the sweater front opening. A #3 was suggested for the bottom ribbing and sleeve cuffs, but I used a #4. The rest was knit on a #5. I didn’t check gauge because the end size did not matter to me.
Knitting a Button Band and Doing Buttons
This is my first attempt at doing a button band around a cardigan. It means placing the buttonholes evenly and making each hole the correct size for a button. Thanks so much to Tin Can Knits and their excellent page all about knitting a button band. I will definitely be referencing it during this phase of knitting. My buttons are on order from an Etsy shop (Ginger Mint Collection) because I have no place local (that I know of) to buy buttons.
In the meantime, I decided to knit a little swatch and try out a couple of buttonhole sizes. Once my buttons come from Australia I can see which of the sizes to knit on this cardigan. I’m not sure which set of buttons I will use, but hopefully one of the button designs will match well.
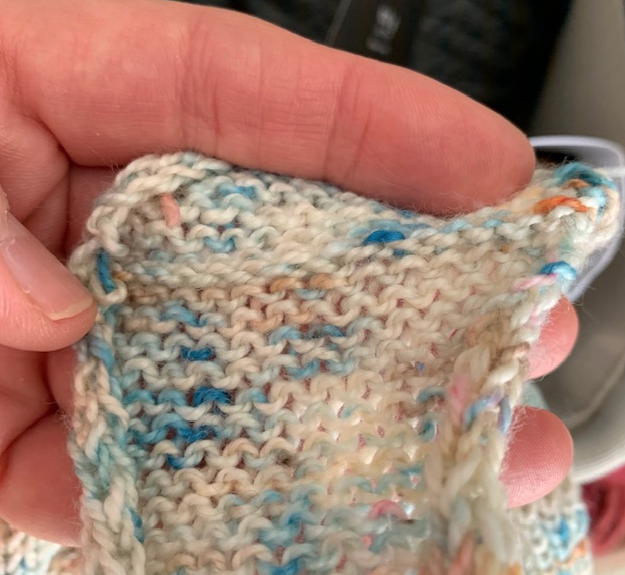
I’ll keep this swatch for reference and have added a tag with info as a reminder. I did the 2-stitch buttonholes because a good size button will fit through.
Measuring buttons
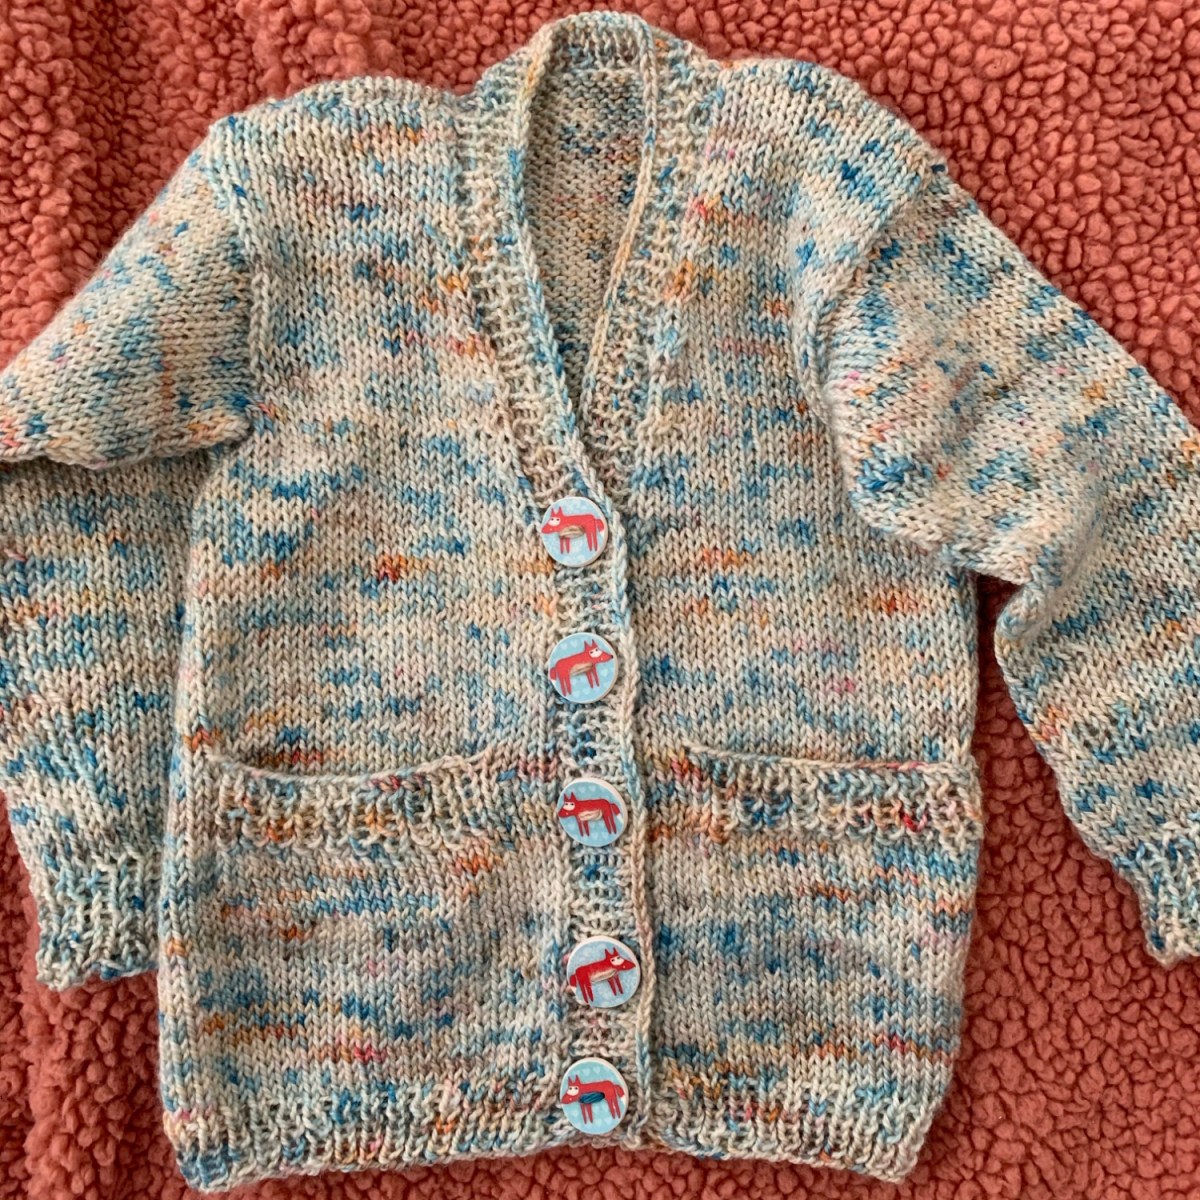
Until my buttons come, and I’m sure they will fit the size holes I make, this sweater will be on hold…. changed my mind. I decided to add 5 buttonholes and continue to finish the band. Today I washed the sweater and when the buttons arrive I will pick the ones I like and add them. *Update: chose the fox buttons!
My experience knitting the Playdate cardiganFox buttons on the Playdate cardigan
Finished! My Thoughts on Knitting the Playdate
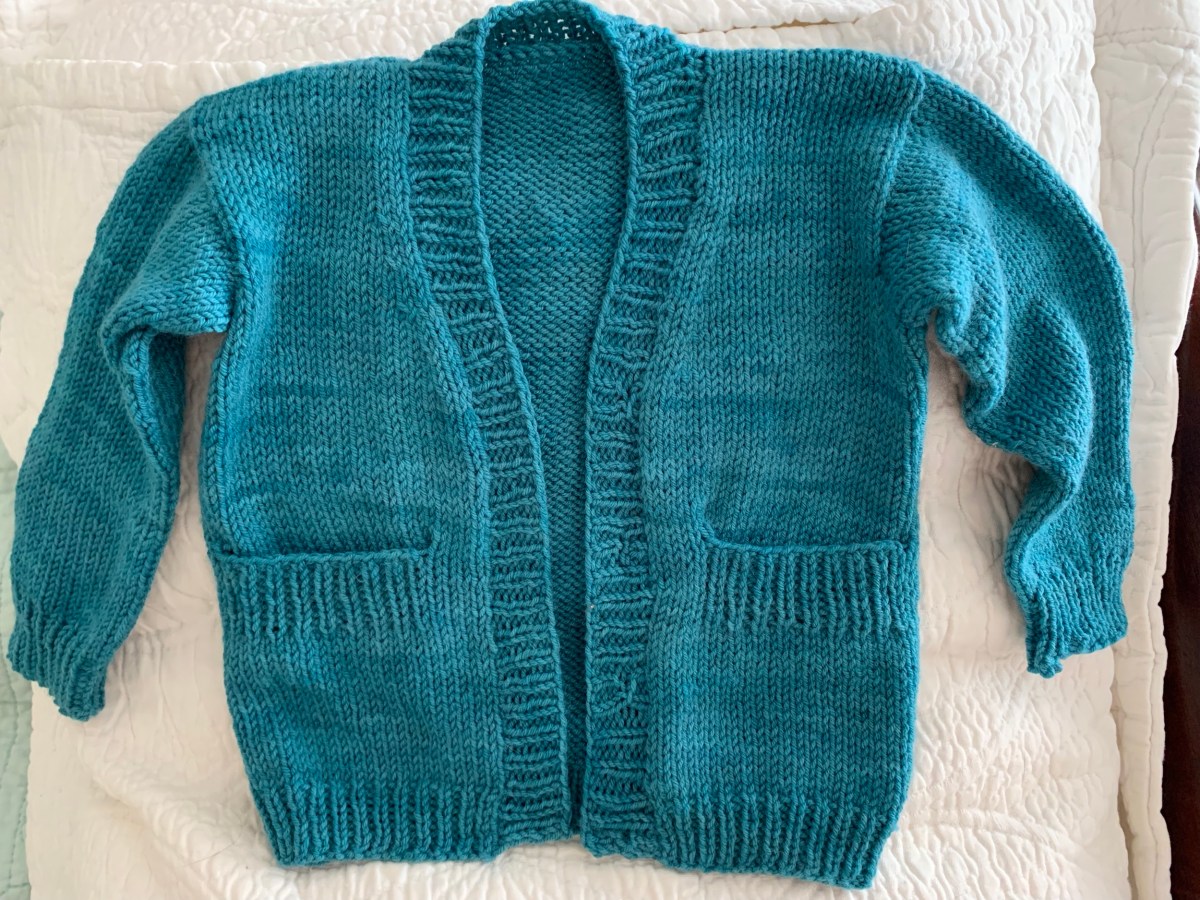
This was a fun sweater to knit and I got it done quickly. Here is a link to the pattern once again: Playdate by Tin Can Knits. I learned to make buttonholes and pockets, so that was nice. It’s good to learn new things. I would love to knit this one again – and in October / November 2022 I am, using blue yarn this time.
Tin Can Knits has a book out called Strange Brew with loads of options for knitting pullovers and maybe other things. I just found it for sale at Jimmy Beans Wool and ordered a copy.