Woolfolk Tynd Yarn Stranded Motifs Cowl

Knitting a small cowl using Woolfolk Tynd yarn in colorwork motifs

This small wool cowl was a spur of the moment knitting project decision. I do not have a pattern to share as I made it up as I went along.

The idea bloomed when I came across the Glacier Park Cowl pattern by Caitlin Hunter at Ravelry and saw that she had used Woolfolk yarn in two colors to create it. I knew I had stashed away two skeins of that same yarn. My cowl is not in her pattern, but I did use up (nearly) my Woolfolk Tynd yarn!

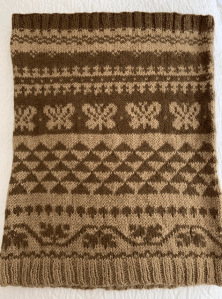
stranded colorwork cowl
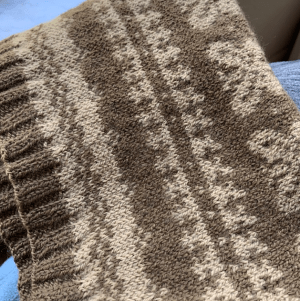
I used Woolfolk Tynd yarn in brown and tan to make this knit cowl

My two skeins of the super-soft Tynd are dark and light brown colors, and I’m not sure of the numbers (Tynd colors are numbered, not named). Probably this was on sale somewhere at some point and I bought it not knowing what I’d use it for. The yarn is so very soft that a cowl is the perfect project.

A recent purchase of the book 150 Scandinavian Motifs gave me the incentive to do some math and find designs that would fit my cast on numbers. Then I screwed up and forgot my cast on, or counted the first row incorrectly, and messed up some of the rows.

I began with the lighter color as my main color and switched just before the butterfly row and made the dark color my main color. I did this to use up the yarn more equally. I can’t locate my leftover yarn, but I did use most of each skein to finish this cowl.

stranded colorwork cowl
Motif spacing error

I do love the Glacier Park cowl pattern (click the link above to see that beauty), but not for these duller colors. So I made up my own design which was really good practice doing stranded colorwork. And I did make a lot of mistakes! No biggie… a cowl hides mistakes well.

In the image above you can see where my butterfly row did not line up exactly with the stitches I (thought) I had counted, so I had to add a little wavy section to carry the yarn.

Below I am showing my goof up on the row above the butterflies where somehow my counts were off. Most of these motifs came from the book, but I did make some up myself.

two color stranded knit cowl in Tynd yarn

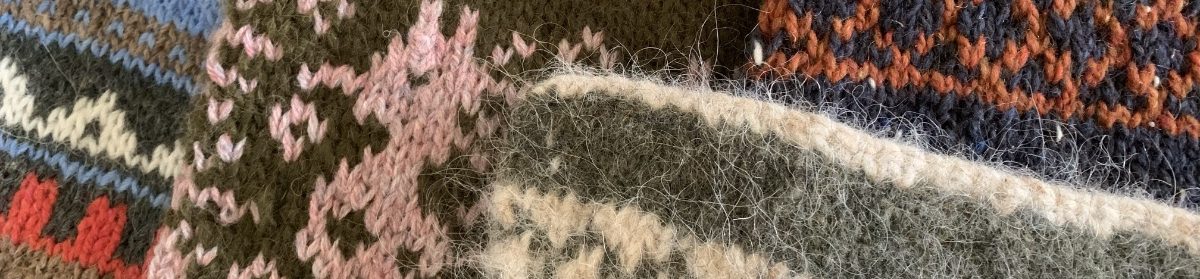
Just thought I’d share the stranding that went on inside the cowl. I didn’t have many ends to weave in because all the yarn was carried up inside the cowl.

Fun Selfies Wearing the Cowl!

I have no one to ask to take photos of me, so I did the best I could getting pictures of the cowl around my neck. My messy gray-hair braid kept getting in the way!

wearing the cowl
knitted cowl

Knitting this cowl was a little sidestep from knitting my Fine Sand sweater and finishing up my Quince Wrap. It was a quick knit and a brain challenge (although not too tough) to figure out which designs would fit around the cowl. Sometimes I need something different on the needles.

Knitting the Quince Wrap Pattern

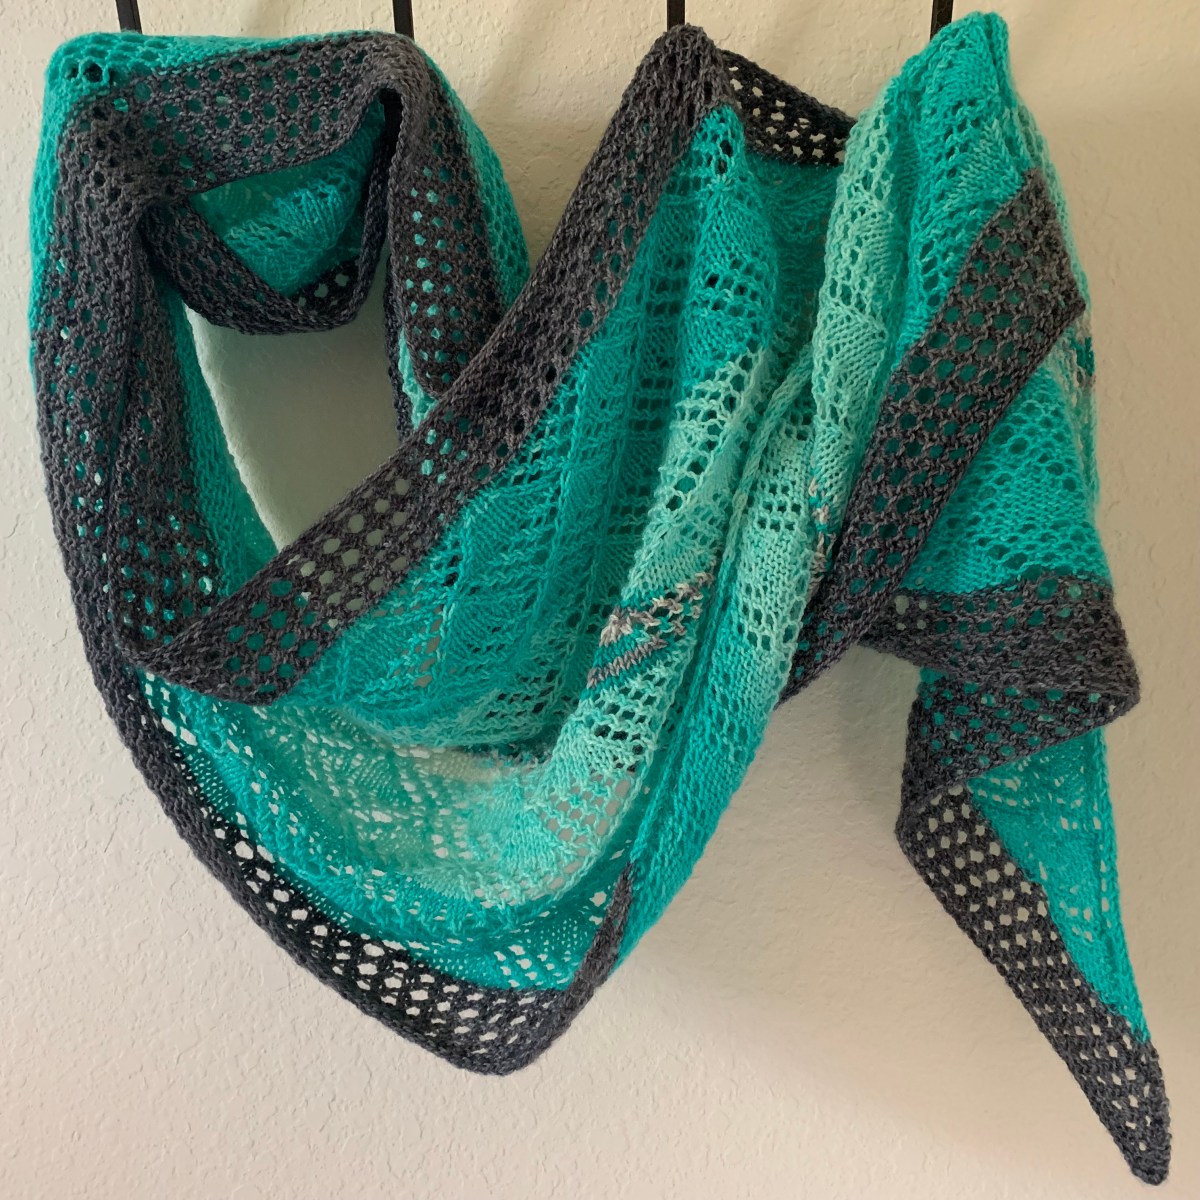
Ambah O’Brien’s Quince Wrap caught my eye because I liked the shape. I’m not big on those triangular wraps because I never know just how to wear them – if I could even wear them here in Florida!

But a long wrap is more like a scarf, and that is easier to deal with.

Aqua blue Emma's Yarn
Practically Perfect Sock yarn by Emma’s Yarn in two tropical blue colors

Choosing colors was very tough for me. The pattern designer used color sets from Miss Babs and knit the shawl in rows of color. I decided to save money and knit using some yarn I already had.

Yarn I Used

Because I am in Florida and that means I love tropical colors, so why not use them in the Quince wrap? I used my two aqua blue skeins of yarn from a local Florida yarn store called Four Purls. These skeins of Emma’s Yarn were purchased when the Four Purls Yarn Truck visited my area of the state.

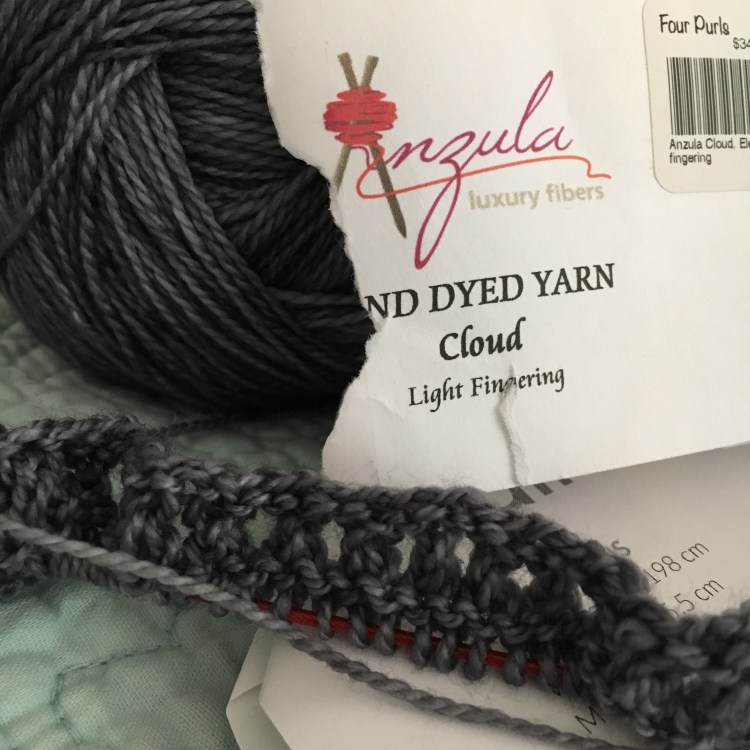
I had purchased a big skein of Anzula light fingering in gray (Elephant) and had no idea what to do with it. The gray color became my border for the wrap. The other colors I used are listed here and can be found under Emma’s Yarn Beautifully Basic at Four Purls online.

  • Ice Ice Baby (aqua blue)
  • Zuni (aqua blue)
  • Juneau (mix of blue, gray and white) used for center rows
Gray Anzula yarn
Beginning the shawl with Anzula Cloud in “Elephant” gray.

All of this yarn was wonderful to work with, and I discovered the joy of Anzula which I had never knit with before. It’s definitely a favorite.

Beginning the Quince shawl pattern
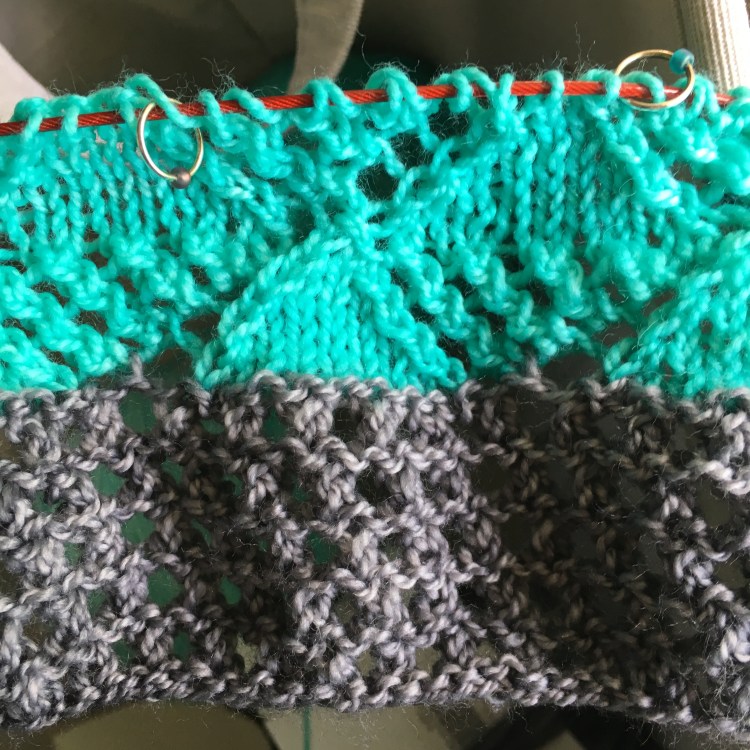
Beginning the lace section of the Quince Shawl

Figuring Out My Color Placement

I was a bit afraid that I might run out of yarn so I ordered the Juneau color way which I used for the 10 center rows. It contained similar colors to what I was using!

Aqua blue Quince Shawl knitting
Rows of aqua in my Quince Wrap knitted shawl.

The pattern was fun to knit, but it did seem to take me a very long time to finish. I used stitch markers between the repeats on the lace rows and that was super helpful.

Click on the link to the Quince Wrap at the top of this page to see more like this at the Ravelry website.

Quince Wrap knitting project
Quince Wrap in aqua blue

Knitting the Fine Sand Sweater Pattern

After knitting my first pullover sweater Umpqua by Caitlin Hunter, I decided to try a cardigan. I chose Fine Sand, by Heidi Kirrmaier because I could knit it in a light weight yarn suitable for my Florida climate. At least, that is my hope. Also it is knit top-down, so that is something new for me to try.

Part 1 (of 2)

This post has photos and comments about beginning the sweater and knitting to the short rows. I’ll finish up on the sleeves and bind-off on another post (Part 2).

Miss Babs was having a sale on the Tarte fingering weight yarn, which is made up of washable merino wool, nylon and tercel. Sounds sturdy and washable, which should make a nice sweater. (Yes, I love this yarn, and the color is wonderful!) The pattern called for DK or Sport yarn, so I knit up a swatch using a needle two sizes larger and I got close to the gauge. I’m hoping the sweater will be a bit large in the end. I don’t wear tight clothing.

Casting on a top-down sweater pattern "Fine Sand"
Center back marker of Fine Sand cast on

This is the Franklin blue, and it’s very close in these photos to the actual color. And I have never been disappointed with any Miss Babs yarn. I knit a Mystery KAL Shawl with Miss Babs “Woodbury” yarn, which was soft and pretty.

Dark yarn is not as fun to knit due to difficulty in seeing stitches (my eyesight is not great), but I love this dark blue. Also the pattern is fairly simple, with no crazy lace stitches, so it shouldn’t be a problem. I can only knit dark colors during the daylight when stitches are easy to see.

Miss Babs Tarte yarn in "Franklin" colorway.

What I’ve Learned From This Pattern

First of all this pattern is written very differently than any other I’ve followed (ya, that ONE other… hahaha). Charts are substituted for complete written directions. These are not knitting charts, like in colorwork, but charts with letters which are used to take the place of changing repeats / number of stitches for each row.

I always read through a pattern and highlight the parts I will need to pay attention to, such as repeats in a row, or info for my chosen size. I’ll admit that when I saw the first page of instructions, I had to spend a few minutes figuring it out.

Right off the bat I had to learn how to do the RLI (right lifted increase) and LLI (left lifted increase). Specific instructions for how to do those are included in the pattern and links to video help are included too. The LLI gave me a bit of trouble at first and I lost count on one row, but every row contains stitch counts (thank you!) so I was able to easily add those stitches back in.

Separating The Body and Sleeves, How To

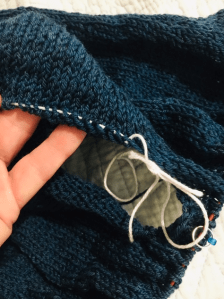
To separate the sleeves a bunch of stitches must be moved to waste yarn. That was easy enough to do using a darning needle and white yarn to be a contrast to the dark blue. The pattern called for a cast on of stitches and that threw me for a bit. Here’s what I did:

Turn the work to the wrong side. Yarn will be coming from the L needle. Use the R needle to begin a knit stitch but when it comes off the needle pick it up with the L needle (from the bottom) and let it stay there. Do this for the number of stitches called for in the pattern. For this sweater in my size I had to cast on 6, place marker, and cast on 6 more.

The video below is the one I followed. Begin it around 2 minutes for this type of knitted cast on. As he points out in his video, this is how to make a buttonhole!

Ridge of extra cast on stitches which became part of the armhole
The cast on edge at the armhole
Armhole stitches are on hold while I continue working the body.
Armhole stitches on hold

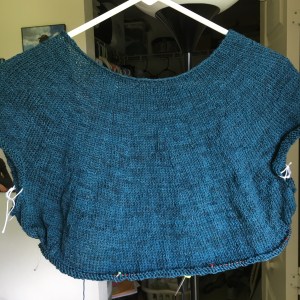
As of the beginning of July, 2019 here is where I am on my Fine Sand (photo below). I’ve passed the tricky armhole area and now the knitting will be pretty straightforward for a while. Next I will have to reacquaint myself with short rows. I love the yarn. I would definitely buy Tarte from Miss Babs again.

Along with this project I am also working on the Quince Wrap and Moon Sisters Shawl.

My first sweater was a bottom-up project and this is a top-down. With my cool new needle tips – those things that keep the knitting on the needles – I can try on my sweater as I go.

Fine Sand sweater knitting
Fine Sand sweater knitting with armholes on hold
Fine Sand sweater knitting project
Front of Fine Sand sweater in progress

Adding a Contrast Color at The Bottom

When I reached the last few rounds (rows 1-6) toward the bottom, I began adding the moss green color. Although it looks more gold in my photo, it really is green. The blue is also more teal.

Now that I am finishing up the repeats the short rows come next to create a longer back section. I think I am going to change that and do a longer squared off back leaving slits between the front sections and back of the sweater bottom. I can picture it in my head but not sure I should try it. I may chicken out and follow the pattern. (Yup, I chickened out!)

Once the sweater bottom edge is done, I will go back and finish the sleeves. The other day I began to knit one of the sleeves with the blue color I was using for the bottom. This pattern calls for 3/4 sleeves which I like. In the photo below one sleeve is still on the white place-holder yarn and the other is in the knitting stage.

By the way, I love those stitch stoppers! Mine are by Cocoknits and I bought them at Webs (that is where the link goes). I can easily try on this sweater as I go without worry about losing my stitches.

Finishing the Sweater With Edging

The Fine Sand pattern gives directions for finishing the sweater with a knit edging. The edge is curling so it does need something. As I looked through the finished Fine Sand sweaters at Ravelry, I have found a couple that had really pretty edging. I’ll be there soon, so I need to decide.

Knitting Flip-Flop Socks

Until just the other day I hadn’t heard of flip-flop socks. I had begun to try my hand at knitting socks, and asked my daughter if she would like a pair. She said instead she would love a pair of flip-flop socks.

(When I first wrote this page, I followed a pattern that no longer exists. I have linked to other patterns for my readers, but I did not knit those. I hope you will still find my notes interesting and helpful.)

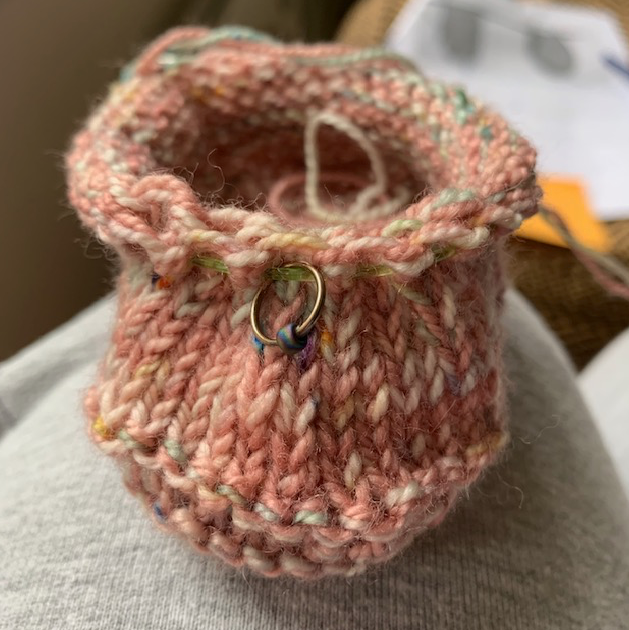
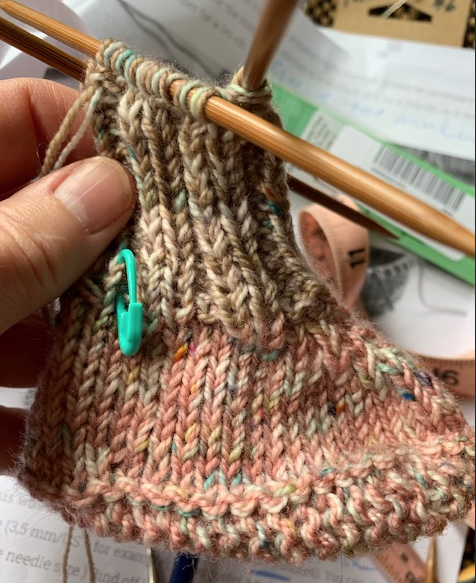
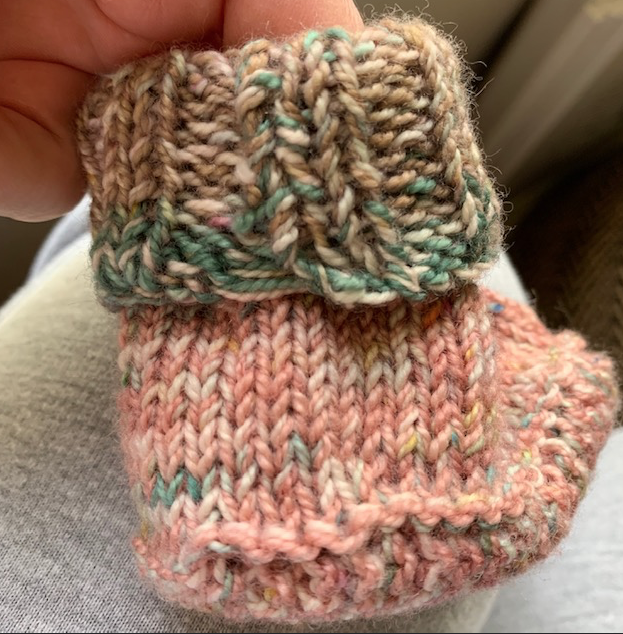
Flip flop socks in aqua blue variegated yarn with open toes and no heel.

My next question, which I thought was pretty logical, was “Why?”. Flip flops are to be worn in hot weather so why would you add socks? As someone who has outgrown flat, floppy shoes and now needs arch support in my sandals, I was obviously out of touch with the flip-flop wearers.

Who Wears Flip-flop Socks, and Why?

It appears that many people who love flip-flopping so much they will also wear their favorite comfy footwear in cooler weather. Because there must be compensation for the toe split, special socks are needed. People of all ages love these socks, and even men will wear them… who knew?

Choosing Yarn For Your Socks

It will not be difficult to find yarn to knit flip-flop socks. Any “sock yarn” will work fine as long as it is washable. I prefer natural, animal fiber, but cheaper acrylic yarn can be used. I knit my socks in DK weight, 100% merino wool. My yarn is Madeline Tosh DK, Hydroponic. I believe this colorway is discontinued, but you still may be able to find it.

knitting flip flop socks
Beginning to knit the second sock

This Pattern is Gone – So….

The FREE pattern I closely followed is called the Arizona Flip Flop Sock, but that pattern is no longer available for some reason. Maybe the sharer was not the original designer, or maybe they no longer have the website, or ??? For whatever reason I can’t give you the link.

SO…. here is a link to another Flip Flop sock pattern which is a free Ravelry download. It is not the one I knit, which changes things. I’ve also listed more socks like this at the bottom of the page. Some are free, and some are to purchase.

Joining in the Round – Switch Stitches

I used US size 2 addi Flexi Flip needles. I had never used this type of short needle before so I had to wing it. I prefer the 9 inch circular needles, but didn’t have any at the time.

Cast on however you like and join in the round as you prefer. Or you can do as I do.

Once all stitches are facing the right way – no twists, and working yarn is coming off the Right needle – drop the first stitch on the L needle and let it hang. Move the first stitch on the R needle over onto the L needle (use the spare needle to do this). Pick up the dropped stitch and put it onto the R needle. Place marker here to mark the beginning of the round (BOR). I used the cast-on tail as my marker.

How to do the flip flop sock pattern cast on with flexi-flips
flip flop sock pattern cast on

Once the stitches are joined, begin knitting the pattern using the free / empty needle. I’m using Flexi-Flips here, but DPN’s, 9inch, or Magic Loop would work.

Joining in the round using Flexi-flip needles

Making the Toe Opening

Most likely at some point, the big toe area will be separated from the other stitches. In the pattern I knit, I had to cast on 3 stitches. The video below helped me do that.

Flip flop socks with big toe separate from other toes

BE SURE TO BIND OFF LOOSELY !!! Or your toe openings will be too tight.

Wearing flip flop socks knit by me.

Here are my finished socks after being washed (below). Now I will pack them up and mail them to my daughter.

Flip flop socks after washing

The photo above was taken after the socks were washed in the washing machine. I let them air dry and they got a tiny bit fuzzy, but remain nice and soft and did not shrink. I had a few ends to re-tuck, but that was all.

I will admit that I dislike knitting socks. I’ve tried various patterns and have never fell in love with knitting them. Many, many people knit loads of socks, and sock patterns seem to be very popular. Knitting one sock can be sort of fun, but then you have to start again and knit the same thing all over again!

The nice thing about the flip-flop sock is that it is a much quicker knit because you are only knitting the sole and toe holders. There is no cuff or dreaded heel to deal with like regular socks. But you still must make two! By the time I finished the second sock, I was ready to celebrate.

I choose this free pattern because I have made socks and I thought I could figure this one out. You should be careful of knitting free patterns because they can end up being incorrect – (share them and then they disappear!). Read my next post about that.

More Flip Flop Sock Patterns

Not all patterns will be the same when you search for “flip flop socks”. Some designers will have you knit the whole sock and separate the big toe. Some have the heel included with the sole / instep area. Other socks are very short and cover only part of the foot.

Here are some patterns I have found and want to share. I have not knit any of these myself.