Catching Floats and Carrying Yarn, MC and CC

This post is specifically for catching floats while doing Fair Isle, or stranded colorwork knitting.

Fair Isle knitting is when two colors are used to knit across one row. For this example, the Main Color (MC) is held in the right hand, and the Contrast Color (CC) is held in the left hand – you may change that, but it’s how I did it. By using two hands the project is knit using both English and Continental style.

If you haven’t mastered two-handed knitting, you can still knit colorwork if you keep each yarn in the correct position. But keep trying to learn two-handed knitting because it’s a lot of fun.

The Triple-patterned Watchcap

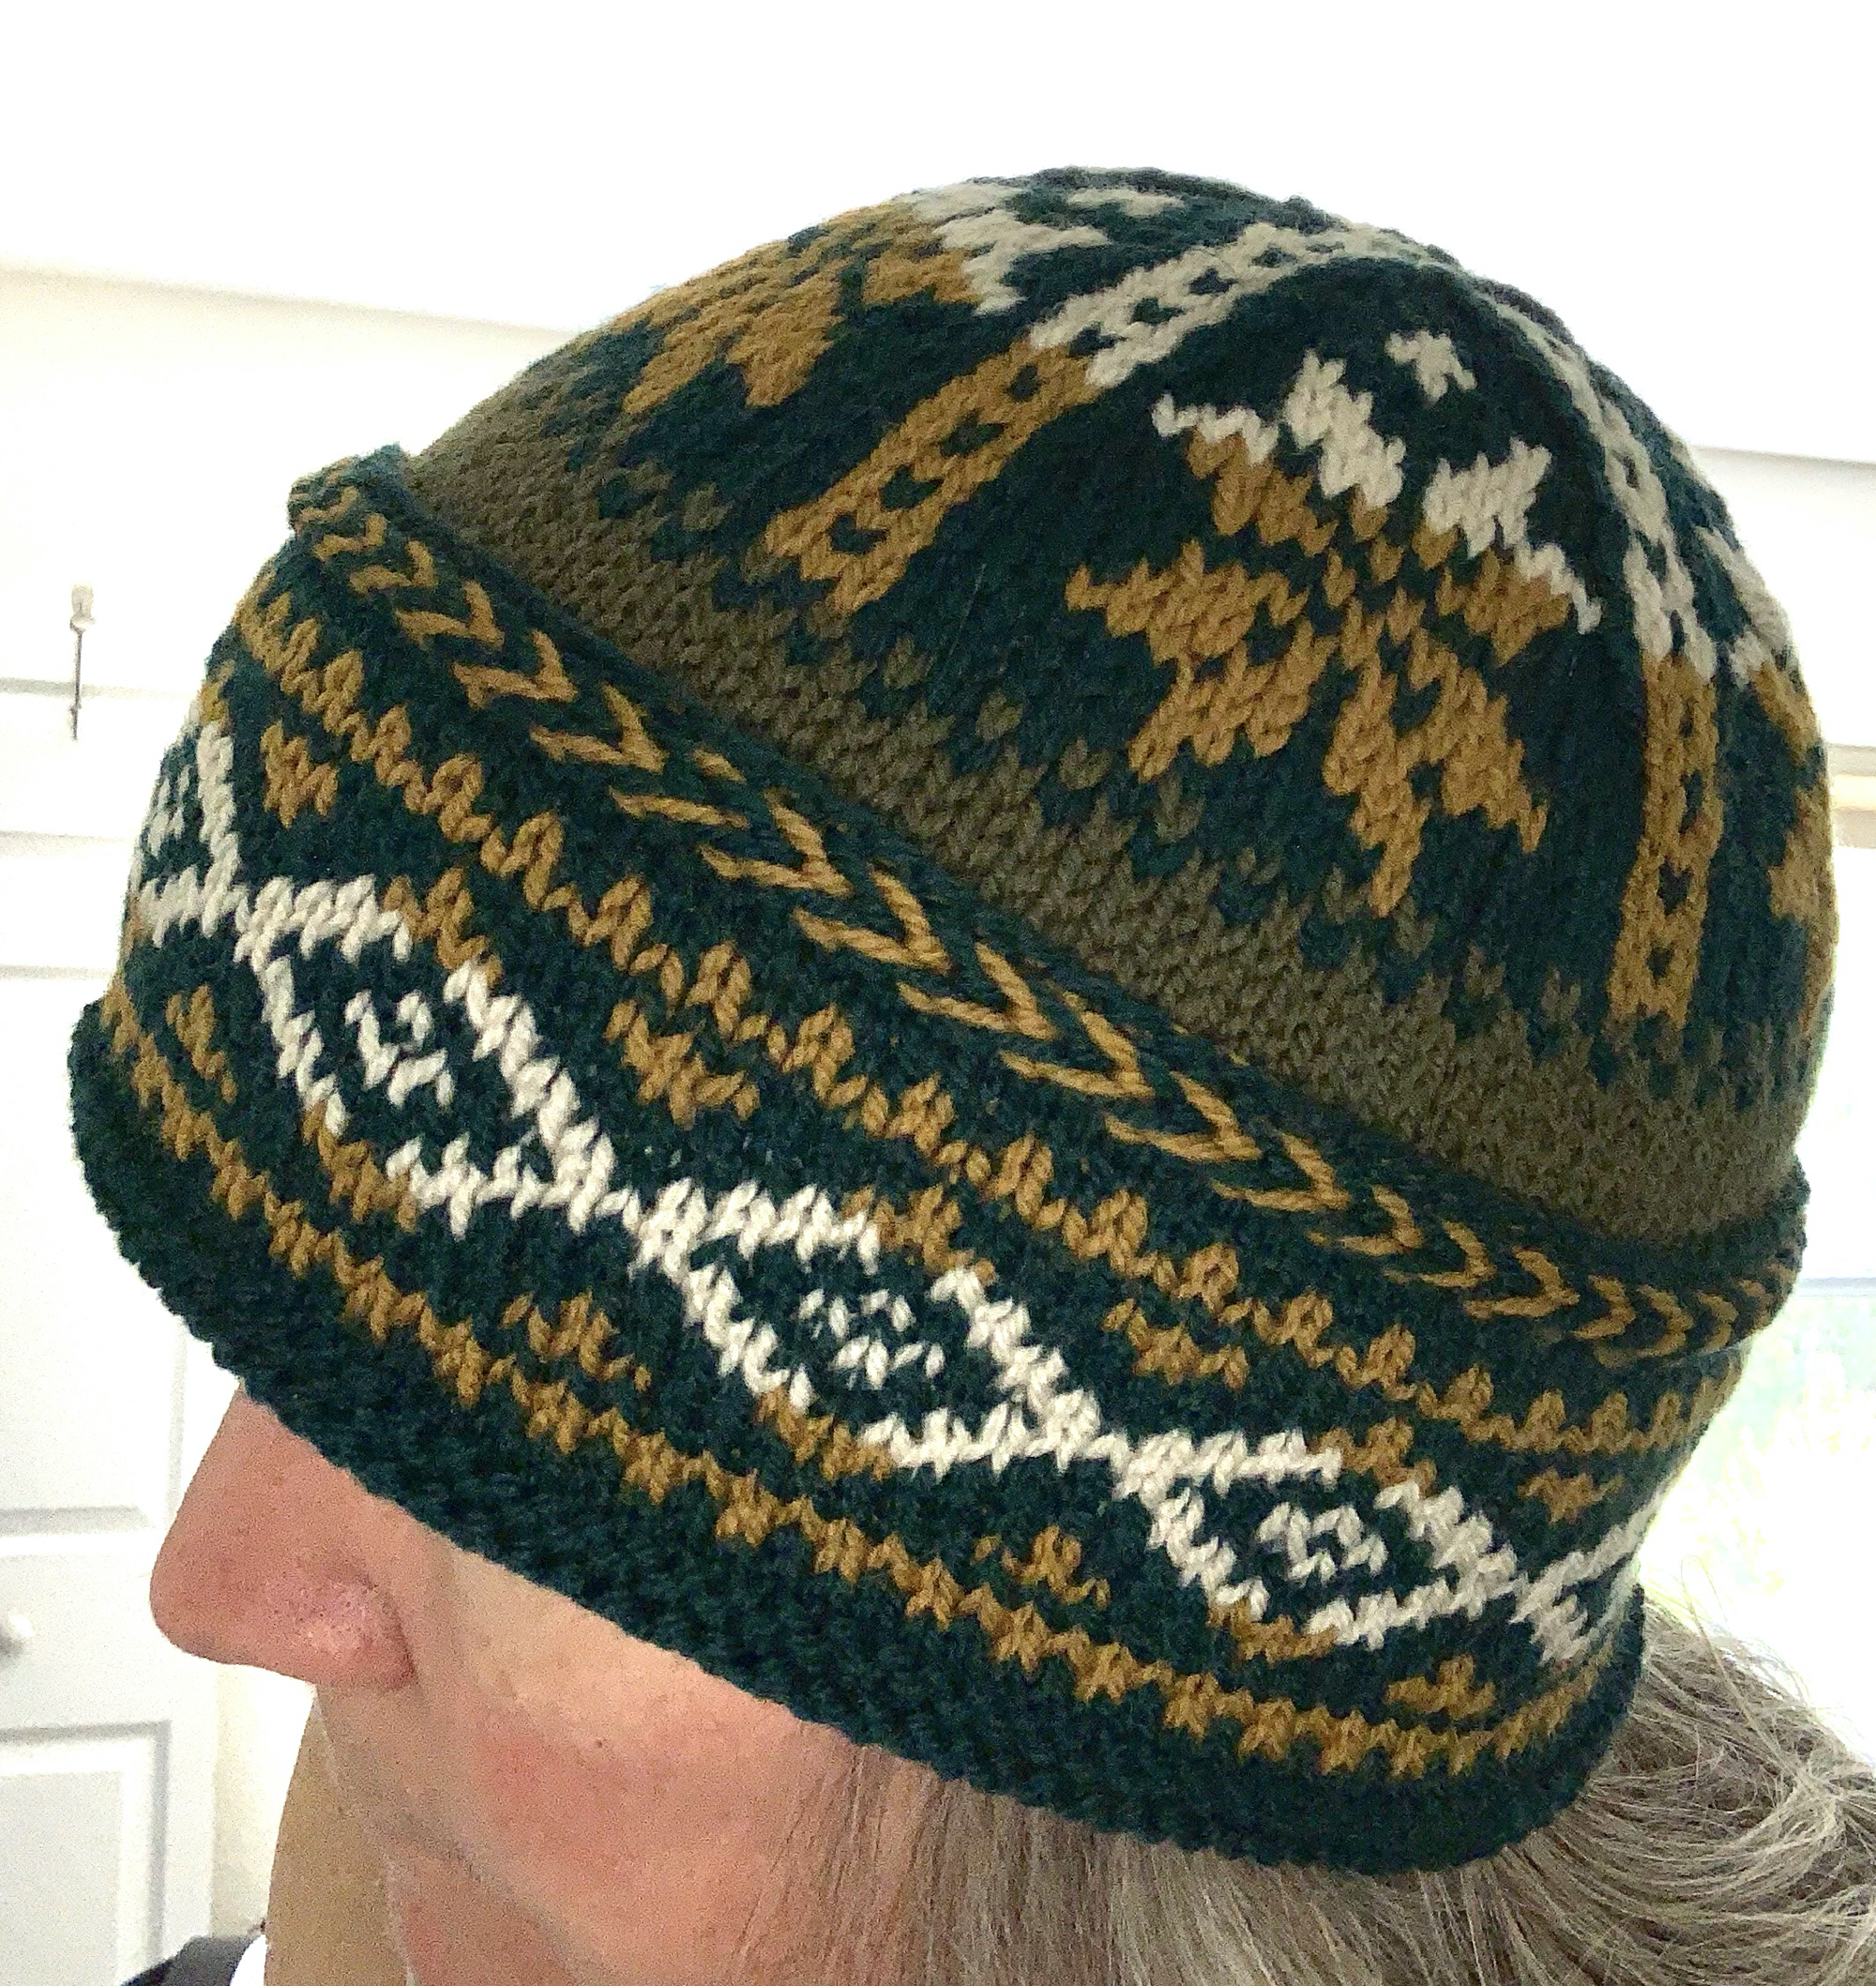
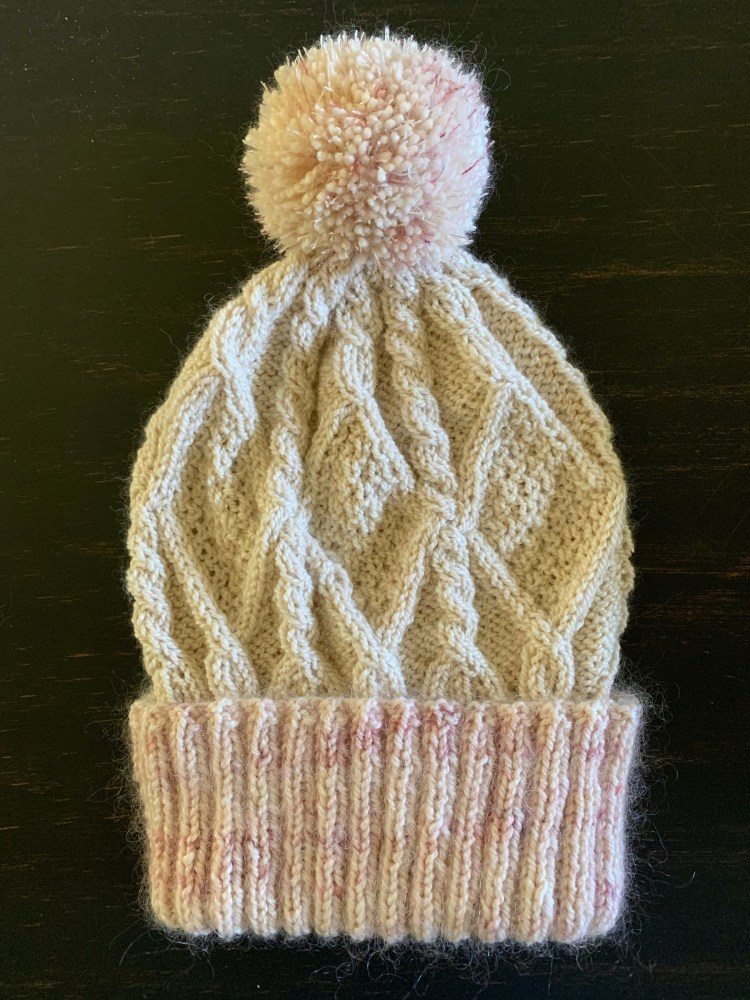
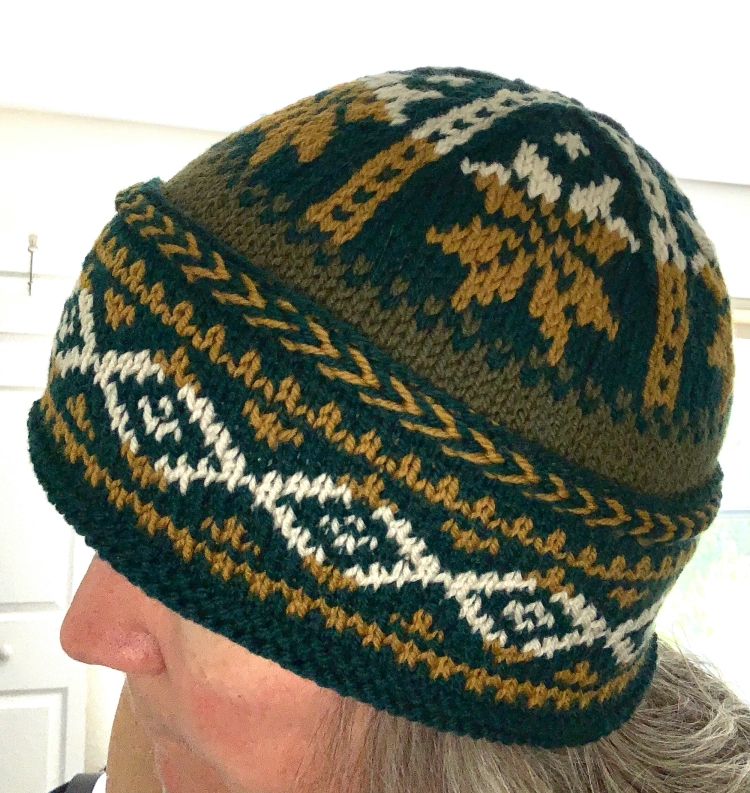
My example here is my second knitting of the Triple-patterned Watchcap from the “Hat’s On” book. The first hat was made in pink and off-white. It is a small size and won’t fit me, so I wanted one that would.

I decided to use up some of my Brooklyn Tweed Arbor yarn in greens and gold, which I bought to knit some mittens a few months ago.

Triple-patterned watchcap hat drying
Finished and drying

This watchcap has three sections of colorwork (hence the name). However, this time I changed the second section of colorwork and made hearts. That section of the hat will not be seen while being worn because the brim flips up over it – see image below.

The pattern begins with a braid, then the first section of colorwork is knit. The work is turned, and the rest of the hat is knit.

Layed out flat, the first section is inside-out.

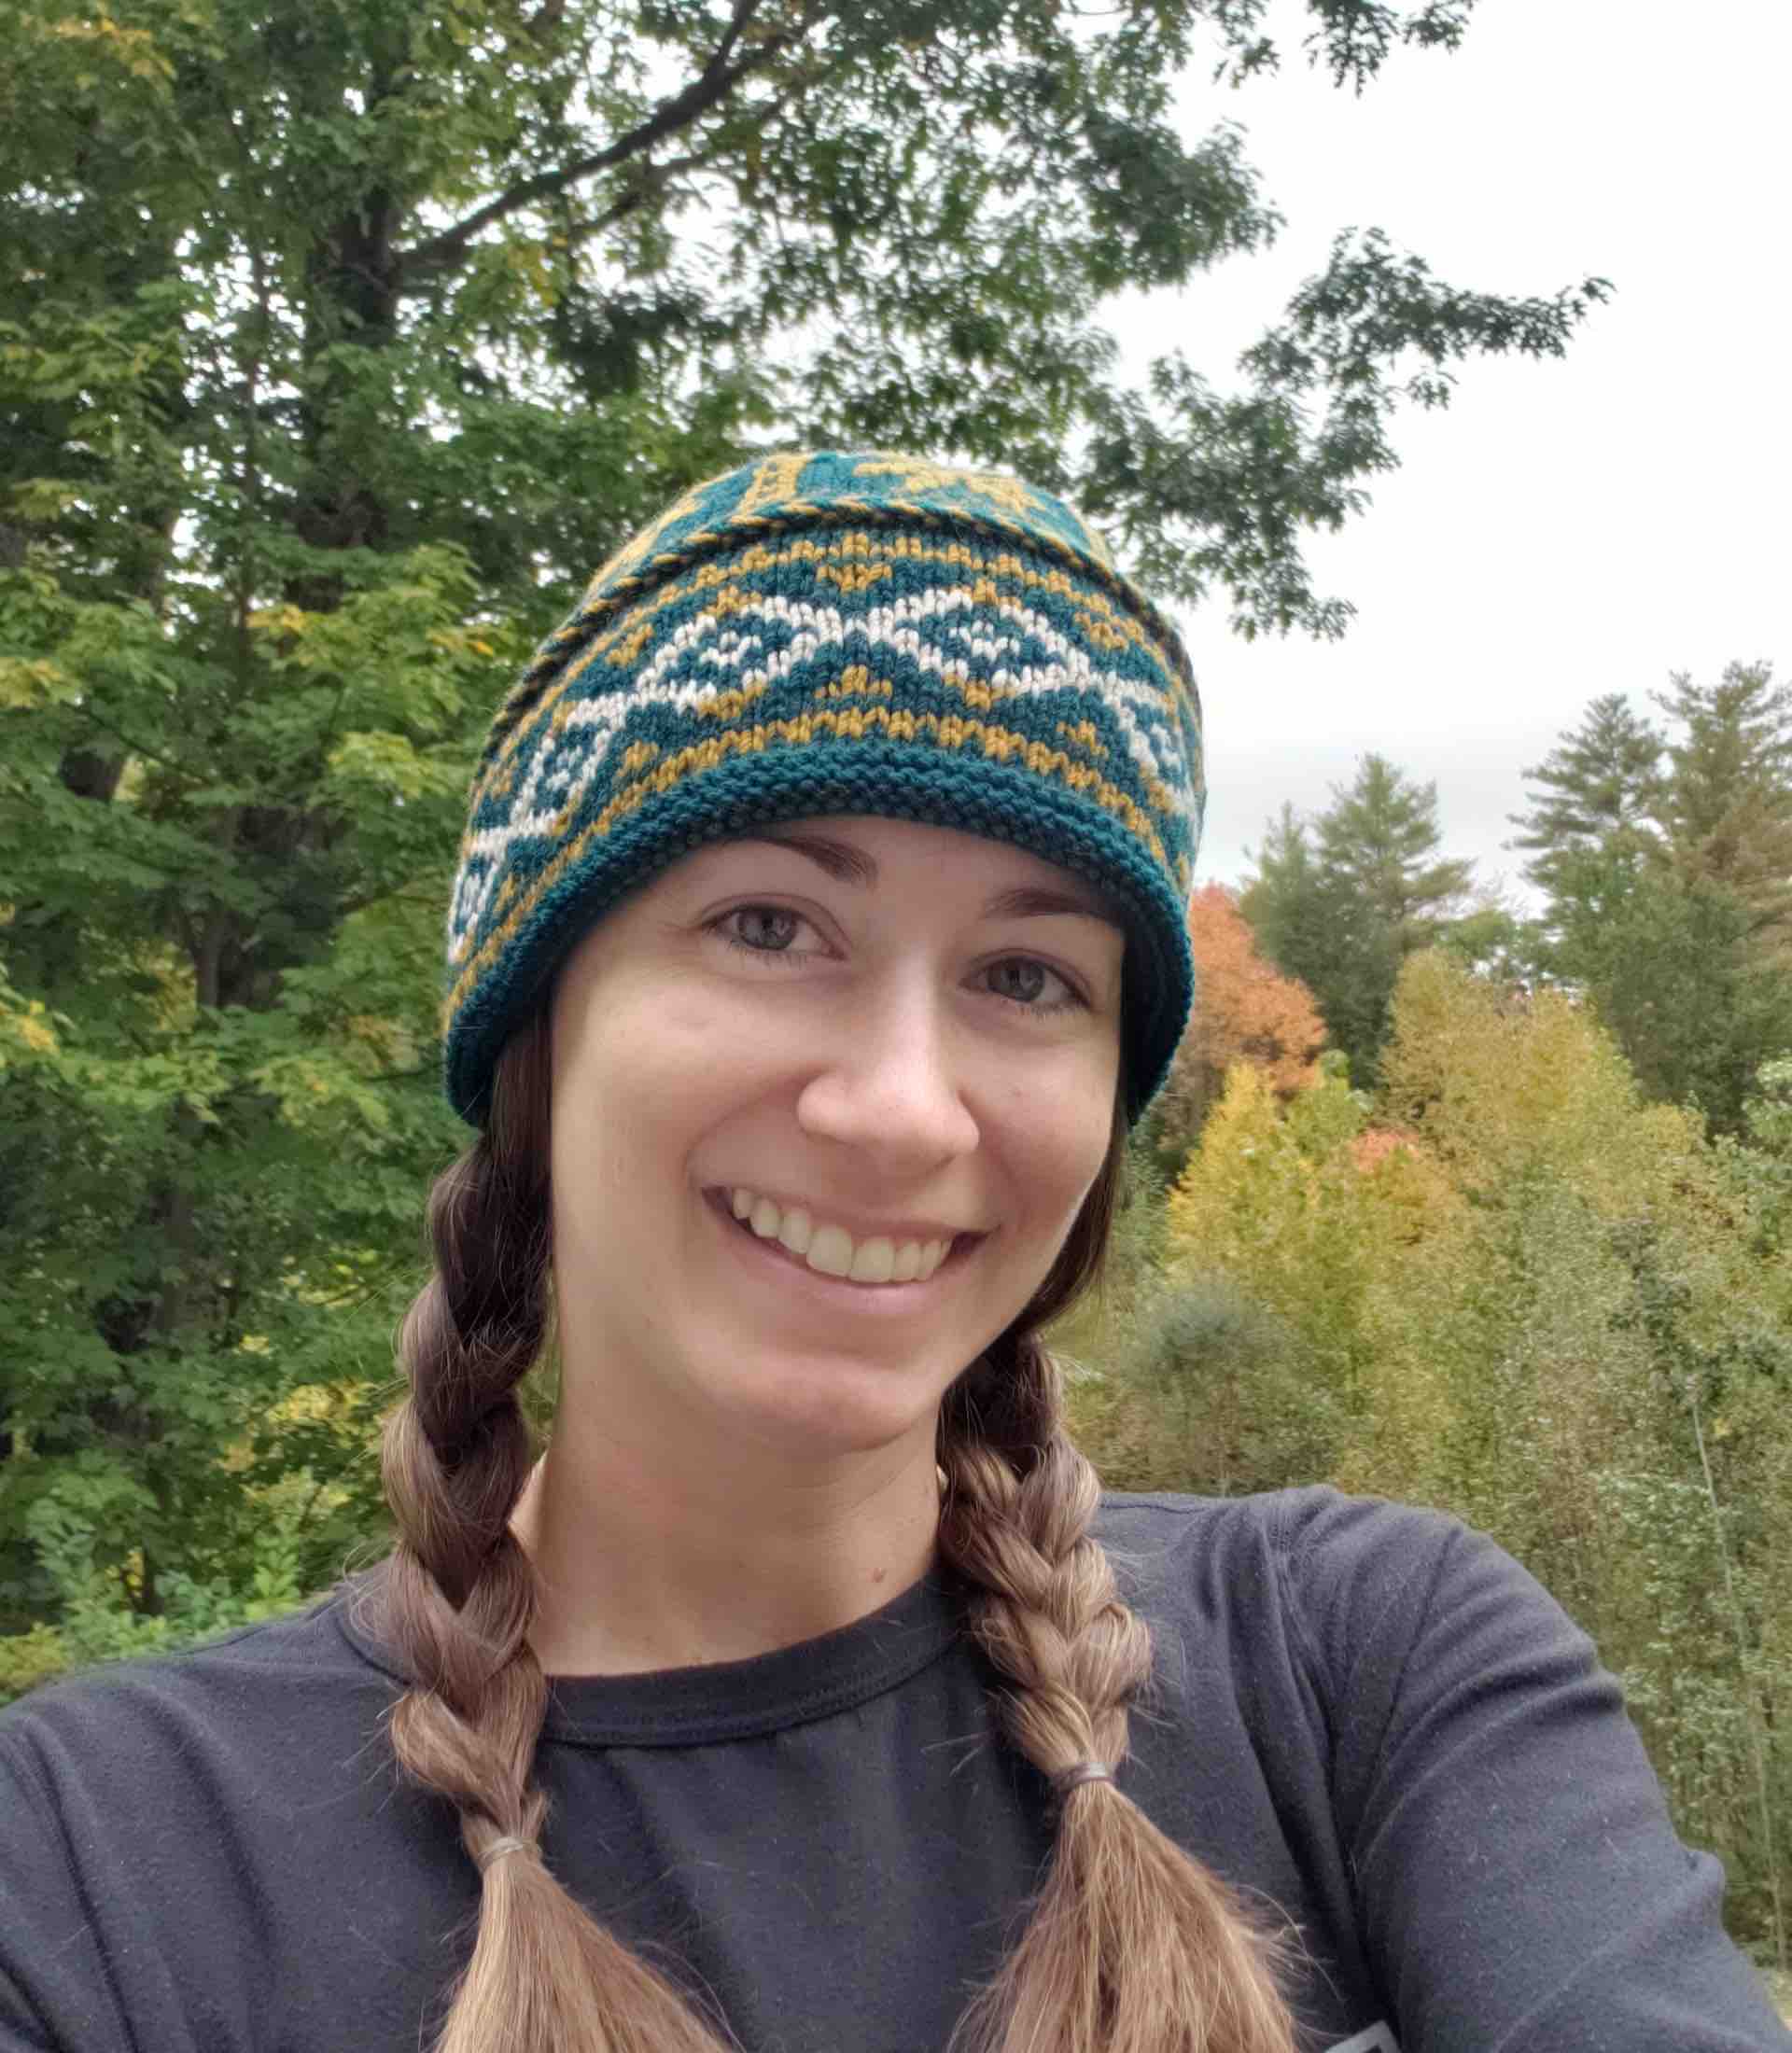
Colorwork brim of the Triple-patterned watchcap
The brim folds up over the second section of colorwork

You may wonder why I would bother, but I love doing colorwork and I wanted to try that heart pattern. I will use it again at a later time on another hat where it will be seen. The pattern calls for colorwork at this area.

Managing the Floats

When one of the yarns (either MC or CC) has to be carried along behind the work for more than a few stitches, while the opposite yarn is being used, those yarn strands – called “floats” – need to be caught. If they are not, there will be long strands of yarn on the wrong side of the garment.

Some people say five stitches are the max before catching a float. I think it’s really the knitter’s preference, but long floats are not advisable. Once you know how, it’s simple to do, so just catch them often.

My photo below is of the back of the knitting (that hearts section in the hat) and shows how it will look when the floats are caught. There are no long loose bits, and it makes a “fabric” of it’s own.

carrying floats in colorwork
Wrong side, showing carried floats

Carrying the Left Hand Yarn (CC)

This is the easy yarn to carry. As you get ready to do the stitch, slip the LH yarn over the needle from back to front. Then knit with the RH yarn – do not pull the LH yarn off, just let it get caught up with the MC yarn as you finish the stitch.

See it done on Suzanne Bryan’s tutorial around 4:10 into the video. Also, below I mention that she wraps the other – RH yarn – around 3:20.

Carrying the Right Hand Yarn (MC)

Here is where I had my trouble. I learned it correctly and then forgot the next time I knit. When the CC yarn (or RH yarn) is being used for four, or more, stitches at a time, carry the MC by doing this:

For the next CC stitch, bring up the MC yarn (held in the right hand) and wrap around the needle (as if to knit with it – my dark green yarn below). Then, wrap the CC yarn from FRONT TO BACK over the needle (blue yarn).

picture image of how to catch floats
Wrapping the yarn correctly

Now, pull the MC yarn (dark green) up over the needle and it will be caught by the CC at the back of the work. A tug on the carried yarn keeps it from showing through to the front.

If the CC (LH yarn) is not wrapped front to back, the stitch will twist and on the next round of knitting will have to be corrected before knitting. I was, on my second Katie’s Kep, and kept wrapping my left-hand yarn from back to front and couldn’t figure out why my stitches looked wrong on the next round. I was wrapping that CC yarn the wrong way!

Suzanne Bryan’s video is good, but you have to look closely at time 3:20 + to see how she wraps the LH yarn front to back and then pulls up the RH yarn so it won’t show through.

I like to knit colorwork hats for winter because they are naturally heavier because of the two yarns. Those floats create a wrong side design of their own.

A Hat That Fits

My newest Triple-patterned Watchcap fits my head – yay! It is snug, and I could probably wear the XL size. This one is a large and measures 20 inches around. A hat knit like this does not have much “give” because of the colorwork designs.

I do love this design and it has become one of my favorites to knit. I see one in the future that will be full of hearts!
See the pattern at Ravelry, but it is not for sale alone. It’s part of a book full of great hat patterns. I highly recommend the Hat’s On! book.

Here are some of the other hats I’ve knit from the same book.

Photos of My Turtle Dove Sweater / Poncho

The Turtle Dove sweater pattern was at the time, a free pattern from Espace Tricot. The company has since begun to charge for their patterns.

I knit mine using bulky Brooklyn Tweed Quarry yarn because it was on hand.

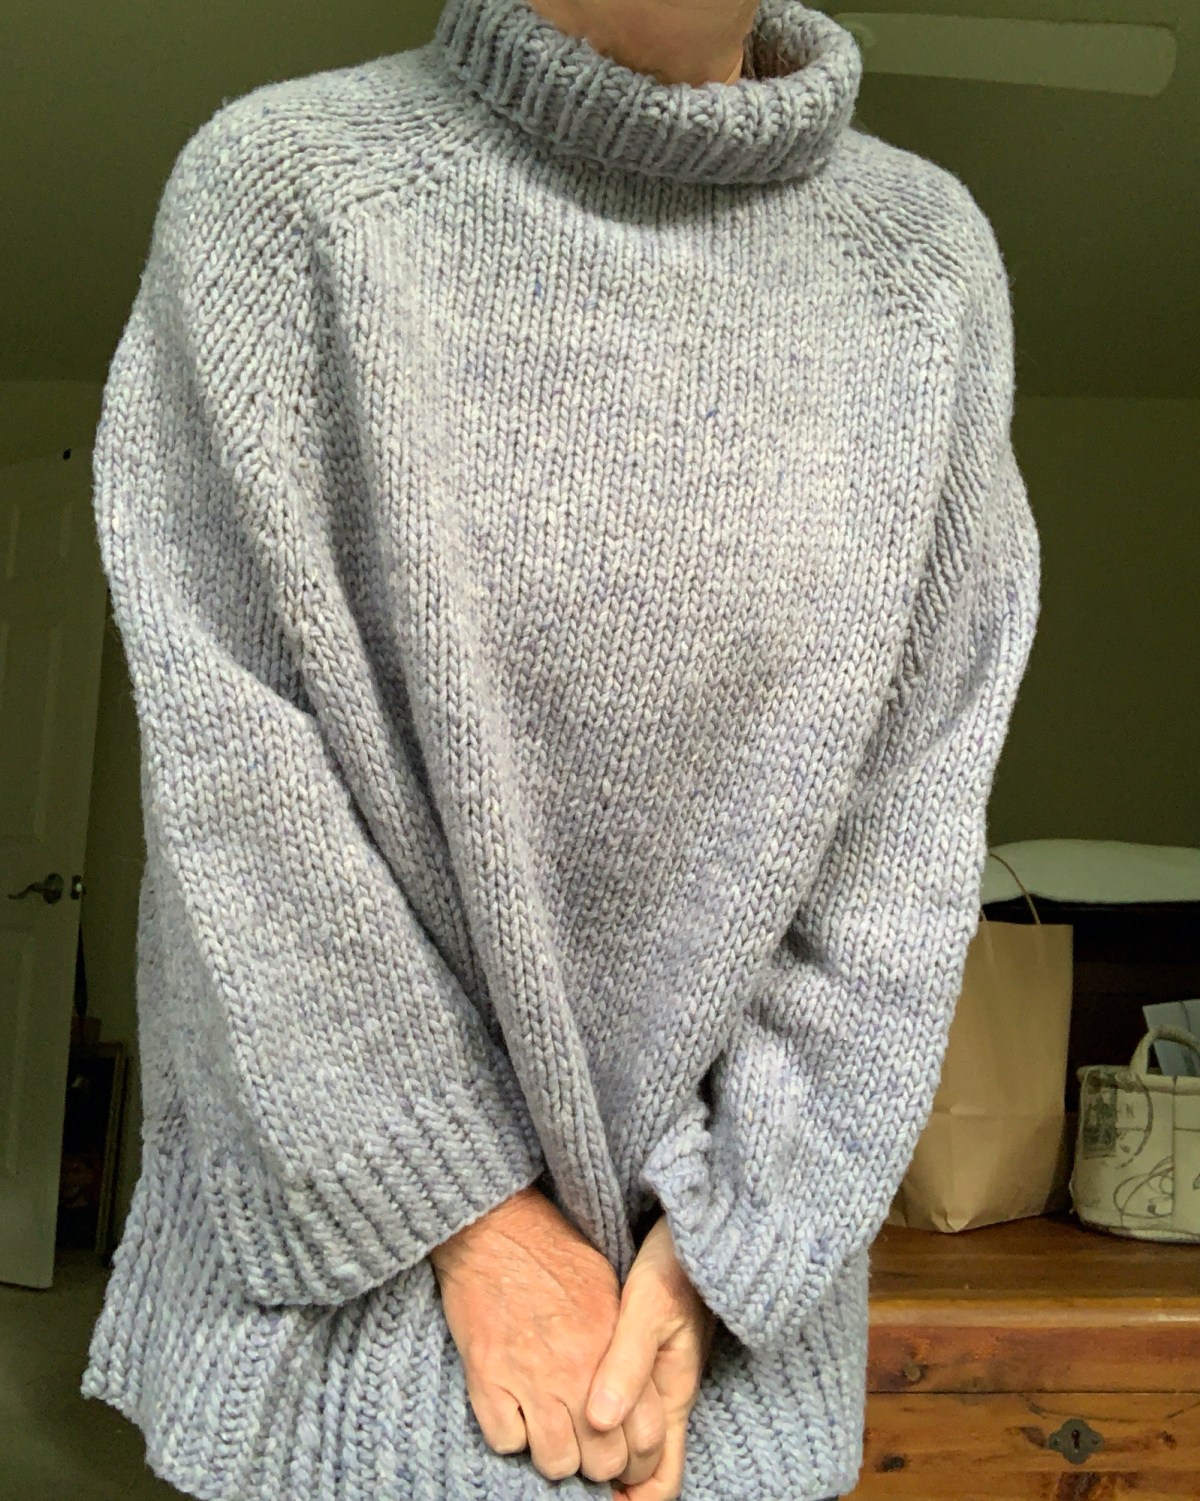
Turtle Dove hand-knit sweater in Quarry yarn
The front

The Size

Even though I knit the size Medium, it came out huge! But really, that is okay because now it is my sweater / poncho. My yarn was thicker than the pattern calls for and my needle size was larger. I expected it to be big.

I used about 1,000 yards of yarn, or 5 skeins. I had to frog the Oxbow cardigan, which is why I bought this yarn to begin with.

The color used for the back ribbing is Granite. I changed the color at that part of the knitting so I could easily tell the back from the front. There are short rows near the neck cuff for the back, so even though it may not look it, there is a Back and Front to this thing. Having a different color hem in the back just makes things easy.

Turtle Dove hand-knit sweater in Quarry yarn, color Geode
I chose the split hem option

The pattern offers two types of bottom hem options. I knit the split hem version. Although I planned to have 3/4 sleeves as the pattern is written, they ended up long.

The Pattern – Good for Beginners

The Turtle Dove pattern is one of many free patterns (no longer free) offered by Espace Tricot, a Canadian yarn shop. The link here goes the pattern on Ravelry.

I also just want to mention that as I began this pattern I had a hard time figuring out where the back, front and sleeve sections were located. I’d never knit a raglan sleeve sweater. I wrote a blog post about that, just in case other’s have this problem.

Once I got past that, the pattern was very easy to follow. I would say it really would be good for any beginner knitter to try.

The Yarn

I loved working with the Quarry yarn. I had no problem with it pulling apart, and came across one knot where I cut the yarn. Because the needles were size 11 and the yarn is bulky, the sweater worked up quickly.

Brooklyn Tweed Quarry yarn in color Geode
Quarry yarn leftover

The one personal problem I had was that as the project grew, it became hot in my lap. It was summer in Florida as I knit this, and even with the AC on, it became uncomfortable to knit.

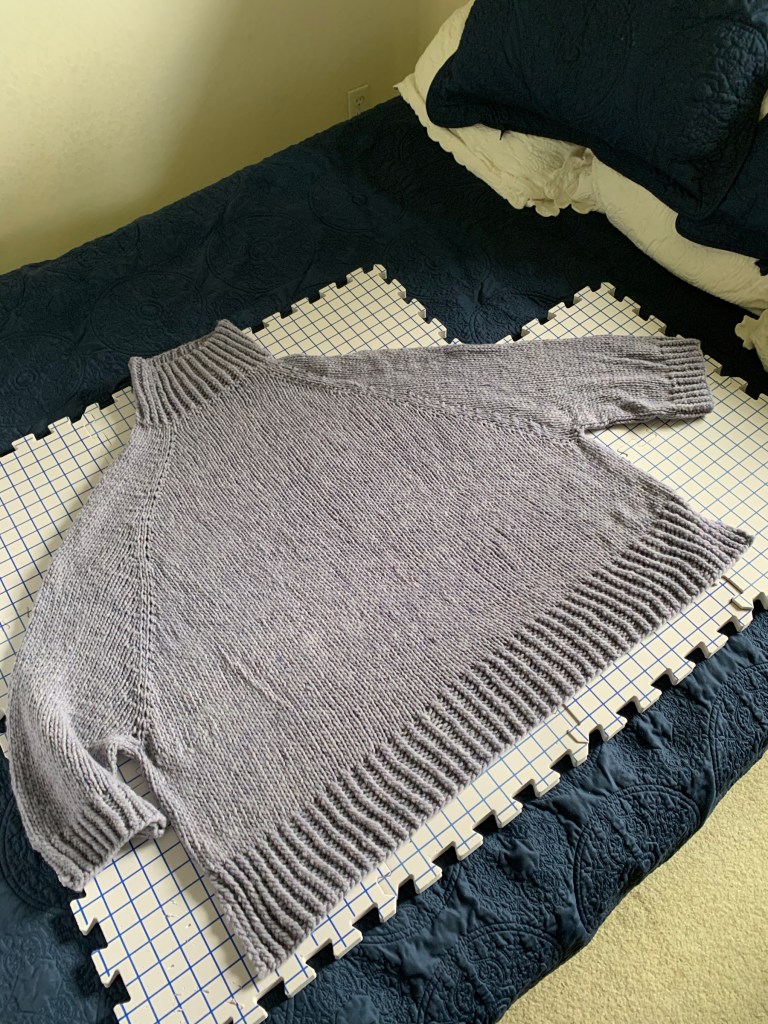
I washed the finished sweater in my kitchen sink with Eucalan wool wash that doesn’t need to be rinsed out. I wrapped it in a towel to remove excess water and put it in the spare bedroom, on a queen size bed, to dry. It could almost be a bedspread… LOL. This yarn dries fast.

Turtle Dove sweater drying
The sweater was dry in about a day’s time

I bought my yarn at Wool and Company when it was on sale. I like to order from this place because shipping (US) is free always, no matter the amount you buy, and they will wind skeins for free also. I’ve never found any other company who does that. They have a great selection of yarn as well.

Turtle Dove hand-knit sweater in Quarry yarn, back view
This thing is massive!

Currently I live in Florida, but I picture myself in my (future dream) New Hampshire home snuggled up in my poncho on a cold evening.

More Skiffs On The Needles Using a New Yarn

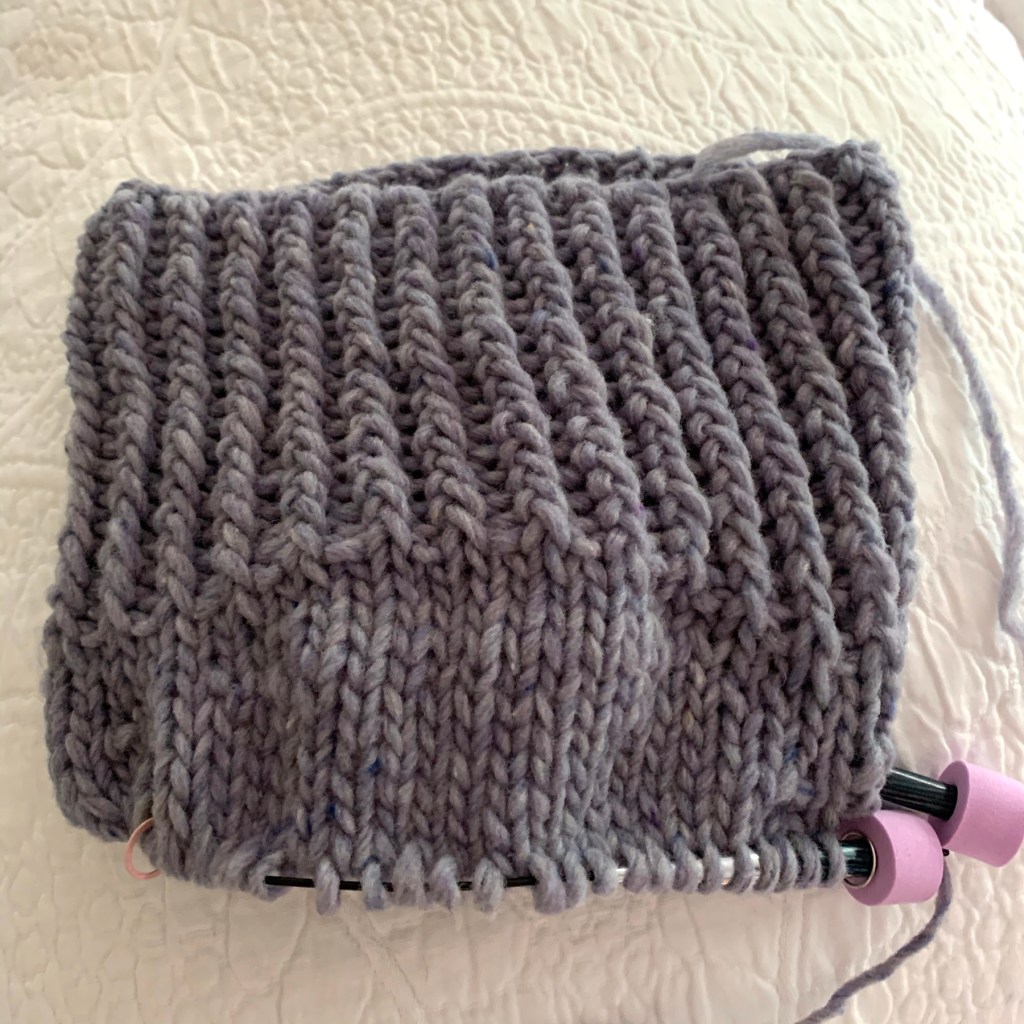
My yarn order of The Fibre Co.’s Acadia DK arrived the other day. I’ve been planning to knit the Skiff hat pattern in Watch Cap form (already did the Beanie version) and I just needed the right yarn to get started. I began writing this as I began knitting, so be sure to read my final thoughts at the end.

Mohair held with Acadia DK for the brim
Just beginning the second half of the brim

After beginning the pattern with some gray yarn from Quince & Co., but not liking the color (for this pattern), I used that yarn to knit my Curly Snowflake Hat. The Q&C yarn is nice, but the color was not right for gifting a “Skiff” to my daughter.

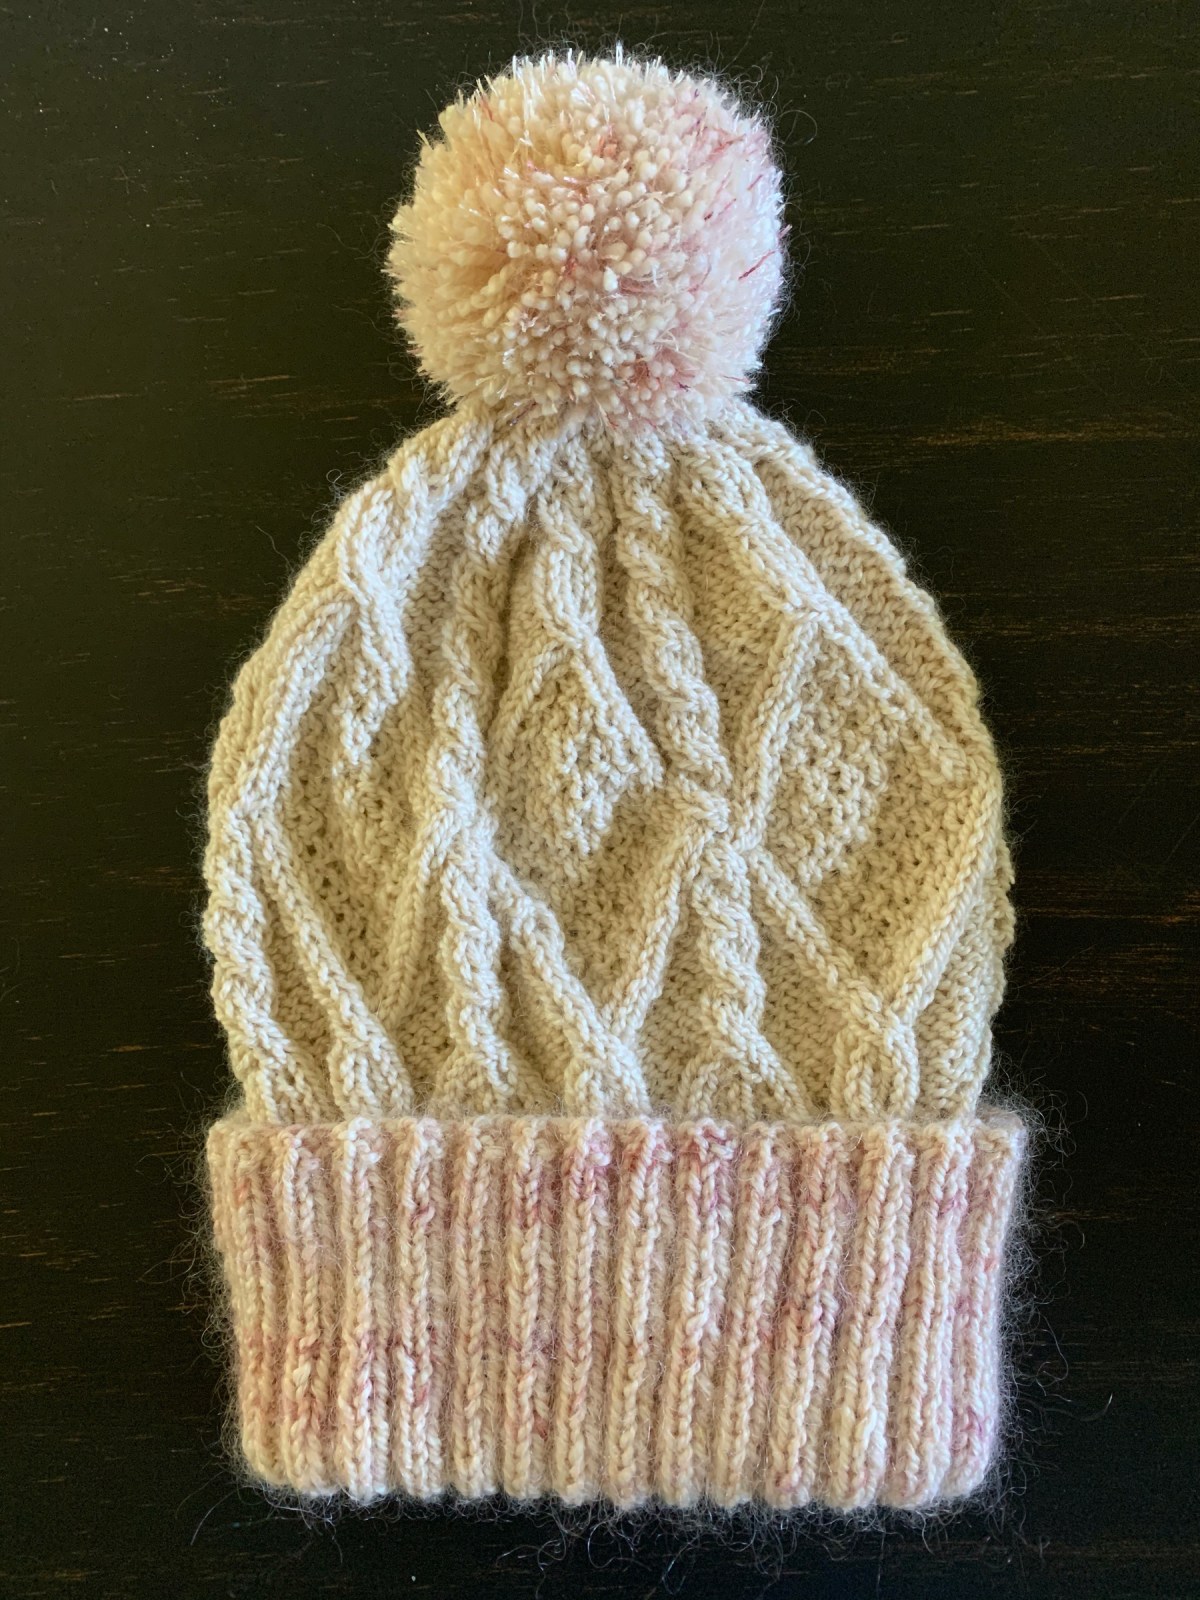
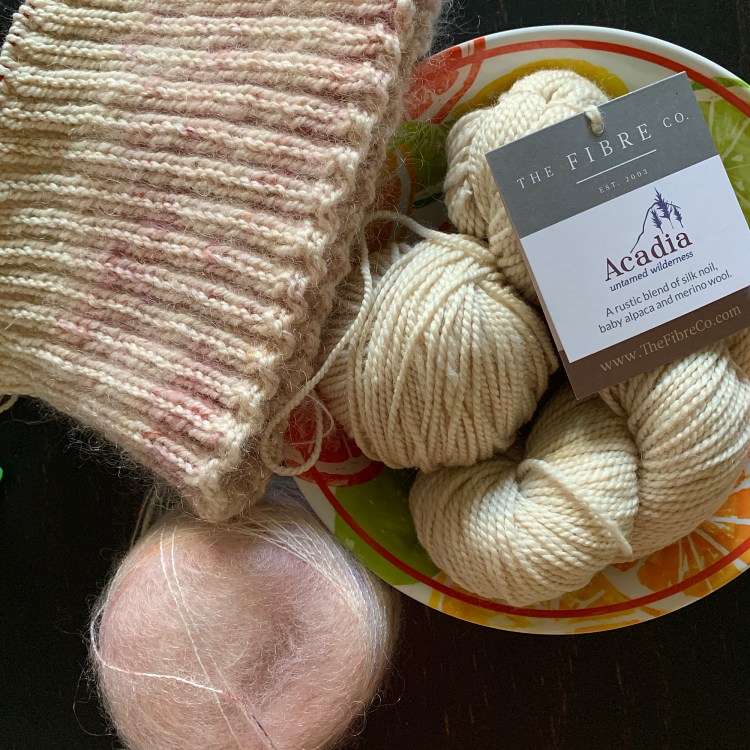
My new choice of yarn is from The Fibre Company. The Acadia yarn I ordered is off-white (Egret) and dark green-blue (Blueleaf Birch). They are great colors, but I still thought the white cap needed a bit of variation.

I got the notion to add some mohair to the lower portion of this long (over six inches) rolled brim. All I had was this pale pink mohair, and I can’t even remember why or where I bought it. Once I hit the “turning point”, where the brim would roll up, I dropped the mohair. I plan to add some mohair to the pompom as well, but the remainder of the hat will be solid off-white.

As a side note about this pattern, the brim takes three different needle sizes, according to the directions (which are not at all clear about this). Personally, I’ve made many roll brim hats and knit the brim in ONE size. So, I don’t see why I couldn’t do that with this hat. And… cast on about 10 fewer stitches so the cuff is tighter. The stitches will have to be added back on before the cables, but that is doable.

Knitting the Skiff Watchcap brim with two yarns
First part of the brim has mohair with Acadia “Egret” yarn.

My First Time Knitting With Acadia Yarn

So, I cast on for the watch cap version of the Skiff pattern, using a size 6 needle, and holding mohair and Acadia DK together. The Fibre Company made this “Acadia” yarn which is “A rustic blend of silk noil (20%), baby alpaca (20%), and merino wool (60%).” It is made in Peru and comes in 145 yard skeins. I’ll tell you, it is very soft.

The one issue I have with this yarn is that every so often I get a lump of thicker yarn in the strand. I know this is due to the creation of a heathered look by combining the various yarns. But some of these “lumps” seem to be loose, almost like they are coming apart.

It may just be this skein, because I’ve begun using the Blueleaf Birch color and don’t seem to have the same issue.

Two by two ribbing with Acadia yarn
Not crazy about the weird lumps in this yarn

Continuing to The Cables

I am now knitting with the Acadia only for the rest of the hat, which includes some pretty cable patterns. See (and buy) the Skiff Pattern here. The directions for the long brim of the watchcap are complicated – only because you must figure out needle sizes (there are 5 possible needle sizes used depending on which cast-on and hat version chosen), and find ribbing directions on two different pages – READ THROUGH THE ENTIRE SET OF DIRECTIONS CAREFULLY.

The most complicated part of the pattern is this long brim, which changes needle size three times – if I am doing it correctly. As I mentioned above, for another Watch cap I would cast on fewer stitches, and use one needle size – probably a 5 or 6US.

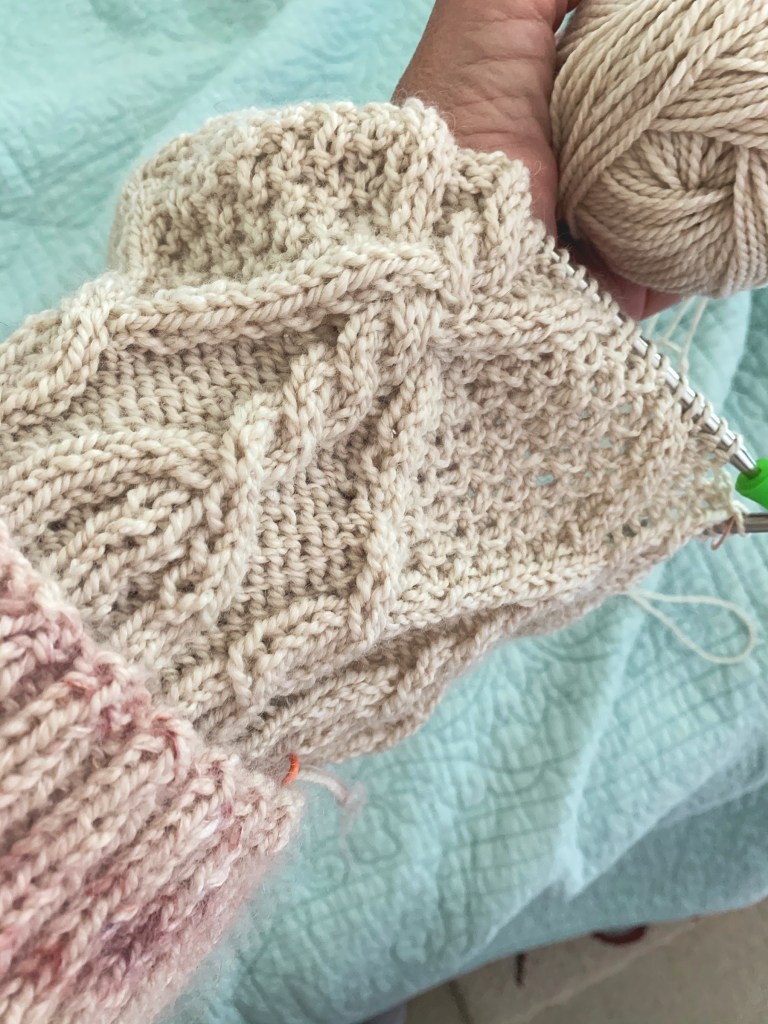
The part I love about this hat is the cables (chart only, but each is explained well). They are fun and a challenge at the same time. Yes, the hat gets tall, but that is to give it the slouch, which is especially needed for the Watch cap version.

Knitting the Skiff hat pattern
Making progress!

Because the cast-on needle size changes part way through the brim knitting (for the watch cap only), I began a second Watch Cap with the Blueleaf Birch yarn. My photo below shows the dark blue-green color pretty well, and it is slightly variegated and super soft.

UPDATE: Since I was not happy with the white hat, I am ripping out the progress I made in Blueleaf Birch.

Acadia yarn
True color of Blueleaf Birch – A beauty!

Buying The Yarn

The yarn is not hard to find, but Webs / Yarn.com offers a discount and I saved over $20 on my seven skeins (3 white, 4 blue-green) of yarn! For the Skiff Watch Cap you will need 2-3 skeins (I ended up using 2 complete skeins), especially if you will add a pompom. If you knit loosely, you might need more. I don’t know why I bought four skeins of the Blueleaf Birch, but I will use it someplace because it’s gorgeous.

Just a note on the Webs photos: they don’t show yarn colors very well. What I did was search for the Acadia yarn to see better images of the colors on other sites, but Webs had the best price (that I could find).

Jared Flood's Skiff Watch cap hat knit with Acadia yarn
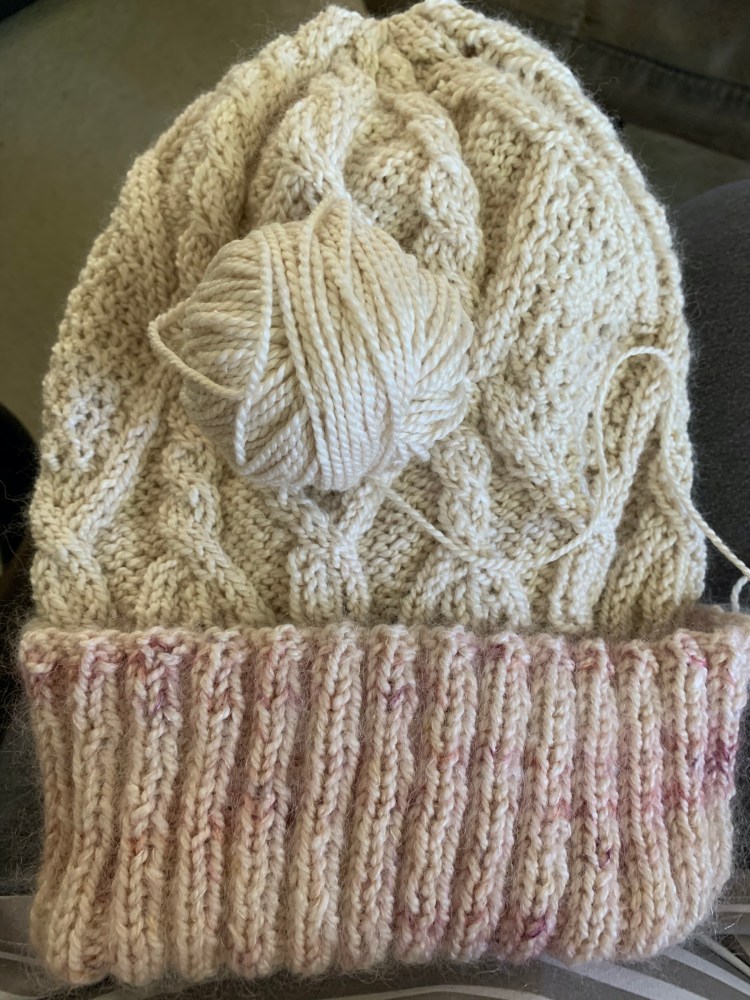
Amount of white yarn leftover from knitting the Skiff hat, and used up for the pompom.

Other yarn to use for this pattern would be Madeline Tosh DK or worsted, which I used for my son’s Skiff Beanie. The variation in colors looks very nice and the yarn is a bit heavier. The Skiff pattern calls for Brooklyn Tweed Shelter, a worsted weight yarn.

I wouldn’t choose a yarn with a lot of colors as that will take away from the lovely cabling on top, but slight variations can make this hat very beautiful. The Beanie version has no pompom, but the watchcap needs one. I used my largest pompom maker and wrapped it in both the Egret and mohair. I had just enough of the white yarn to make it work.

UPDATE: I love the pompom, but it is pretty heavy for this hat. If I had used sturdier yarn for the cables, it would have worked.

Skiff Watch Cap in Fibre Company Acadia yarn
Finished the Skiff Watch Cap

Final Results and Remarks

I wrote this post as I was knitting. Now that the hat has been hand-washed and dried, I think this yarn was too thin and silky for this pattern. The overall look is pretty, but the pompom weighs the hat down the the cabling is too airy to be warm.

The Acadia yarn would be nice for a baby blanket, shawl or cowl. I will definitely use the one skein of Egret and four skeins of Blueleaf Birch somewhere.

Overall, the brim of this hat is still too loose! I will cast on fewer stitches whenever I make it again. The pattern could definitely have been written easier to understand, but I do love the look of the cables. I just need to find the right yarn – still. Perhaps the suggested Brooklyn tweed Shelter is what it needs.

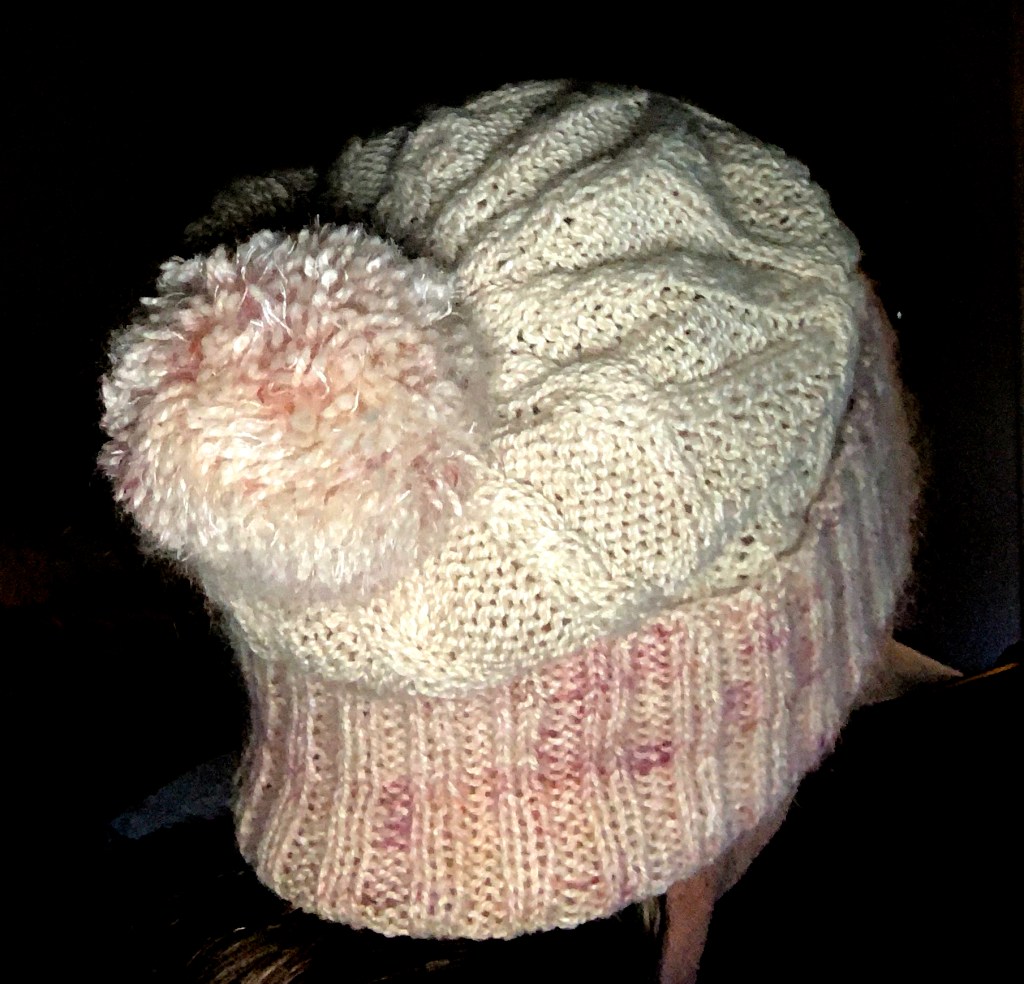
White and pink Skiff Watch cap on my head
Wearing the Skiff

This hat was meant to be a gift to my daughter, but it is way too large for her head. I live in Florida, so I will never wear it. At this point it will go into storage.

Understanding the Turtle Dove Sweater Pattern Increases

Twice I’ve bought sweater patterns and lots of yarn to knit them, and both times I’ve not been able to accomplish the patterns. Since I have all this yarn to use up, I’ve kept an eye out for a simple sweater to knit.

The Turtle Dove sweater pattern has raglan sleeves and also droopy underarms. What is that called? Bat wing? Anyway the armpit area is long. It’s not my favorite type of sweater, but the finished projects, knit by others, look quite nice. You can see them at Ravelry. It also looks comfortable. And, oh ya, it is a FREE pattern..!! Yes, that drew me in.

I’m not an experienced sweater knitter, and after my last two tries at knitting were flops – the Oxbow disaster really turned me off – I swore I wouldn’t knit a sweater this year. But all that yarn, stacked up in my spare bedroom, kept stressing me out. I needed to use it for something.

Beginning Sweater – #1

My first attempt at knitting the Turtle Dove sweater, which I had to frog.

I used Arranmore yarn for my first attempt. This was frogged because I did the short row shaping in the wrong place. I didn’t understand the marker placement.

I ripped out the yellow knitting and began again with Brooklyn Tweed’s Quarry. (My photos on this page are of the same yarn, but the color “Geode” photographs very differently.)

First, I researched “how to knit a raglan sleeve sweater”. I discovered that raglan sweaters are supposedly the easiest type to knit. You mark out your sleeves and make increases. The pattern began to make sense when I realized this.

I’m writing this page because I couldn’t find answers to my questions about this pattern. And, I’m not the only one who had questions.

Sketching Out the Pattern Increases

The marker set up row is separating out the sleeves, and marking the front of the sweater and the back. The markers DO NOT show the center of these areas, which was my mistake. The pattern does say that the markers denote the “divisions” between the areas. For some reason this did not click with me. Duh.

I had to draw out the directions. When I sketched out the marker placements and where the increases would be, I first thought that the right and left sleeves were mixed up. Then, it occurred to me that I am knitting the sweater upside-down, so the R and L labels were correct, of course.

sketch of how to knit the Turtle Dove sweater
Knitting the Turtle Dove

On the “marker setup row” first you knit the smaller amount of stitches, and place the marker – those stitches are the sleeve stitches, also called raglan stitches in this pattern.

Knitting around and placing four markers gives you both sleeve placements – the sleeves are within that smaller number of stitches. Knowing this, gives you a feel for the back and front areas of the sweater, which you need to know for placement of the German short rows at the back of the neck.

German Short Rows and Video Help

To begin the short row shaping, the pattern directions say to “knit across the right sleeve, front, and left sleeve, and then begin short rows. The short rows will go between that last sleeve marker and the BOR / back stitch marker. This area is the back of the sweater.

Neck and short rows done
Neck knitting will become a fold-over turtleneck, and those are my short rows.

I’ve never knit German Short Rows before, but after watching the Purl Soho video I did them just fine. The pattern suggests watching Very Pink Knits video, and it may be the one I list here, but I preferred the Purl Soho video.

These links go to YouTube: Very Pink Knits and Purl Soho. Very Pink Knits also has a slow motion video.

Raglan Increases

Now that I can “see” the pattern, when I get to the section where I will “Begin raglan increases” the rounds make sense. On Round 1 increases will be made before and after every marker. In the pattern they are called “raglan markers”. On Round 3 the increases are made at the front and back sections only – next to the markers.

Turtle Dove sweater knitting
Sweater front

Needles and Sizes I Used

This is my info, and you will use the needle sizes to get gauge for your project – it will depend on the yarn and how you knit. Gauge is listed in the pattern.

The pattern suggests using a smaller needle size for the ribbing to begin, but I used a size 11, which I am also using for the sweater. I tend to be a tight knitter and I did not want a tight rib around my neck. I knit the rib for 5 inches, to have a good roll down. I decided that I didn’t want the neck to stick up. I’ve tried it on and the neck is fine.

I cast-onto a 16 inch needle, following the directions for a size Medium, using the Old Norwegian cast-on – or something like it. (By the way, if you do change needle sizes after the neck, continue to use a 16 inch length needle – once the stitches get crowded, switch to a 32 inch length.)

When my stitches became crowded again, I bought a longer (40 inch) circular needle. I am knitting with yarn that is quite bulky.

Turtle Dove hand-knit sweater in Quarry yarn
The front

See photos of my finished Turtle Dove Sweater.

Discovery!

This is a pattern by Espace Tricot, which offers all their patterns for free! What? That is what their Ravelry page says. Based in Canada, they have a YouTube Podcast, website (for their yarn store), Ravelry page and forum, and a blog. Yay, a new designer to follow! I will be looking into all this further because I see that they offer some really nice FREE patterns!

More Free Sweater Patterns by Espace Tricot

  • Gingerbread Sweater – new raglan pattern that uses two yarns held together, or use a heavier single yarn for knitting.
  • Bright Side – also a classic raglan pattern knit with fingering weight yarn.
  • Calliope – Raglan with expanding rib at neck and long rib on sleeves. I have knit this sweater and you can see the Calliope page here.

Read More on My Blog