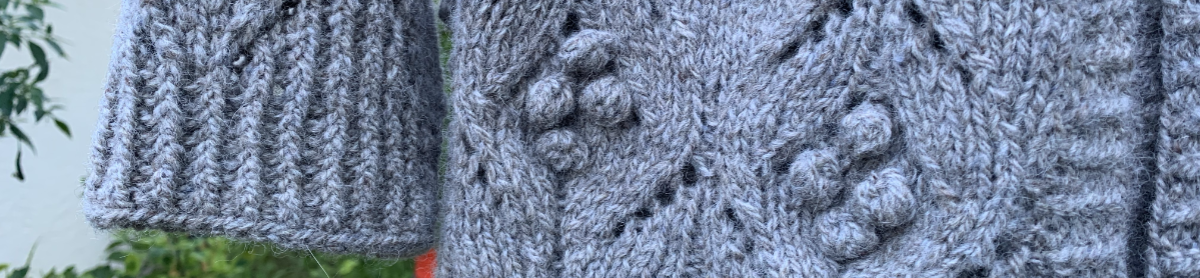

In need of a hat pattern that was fun to knit, I began to search my favorite patterns which are saved at Ravelry. Many hat patterns are simple enough to knit up quickly. The Colorado Chic(k!) Beanie looked interesting, and it could be knit in a heavy weight yarn – and it’s free!
Continue reading “Free Hat Pattern Knit in “Mad Hatter””
How to Knit Corrugated Ribbing For Colorwork Hats
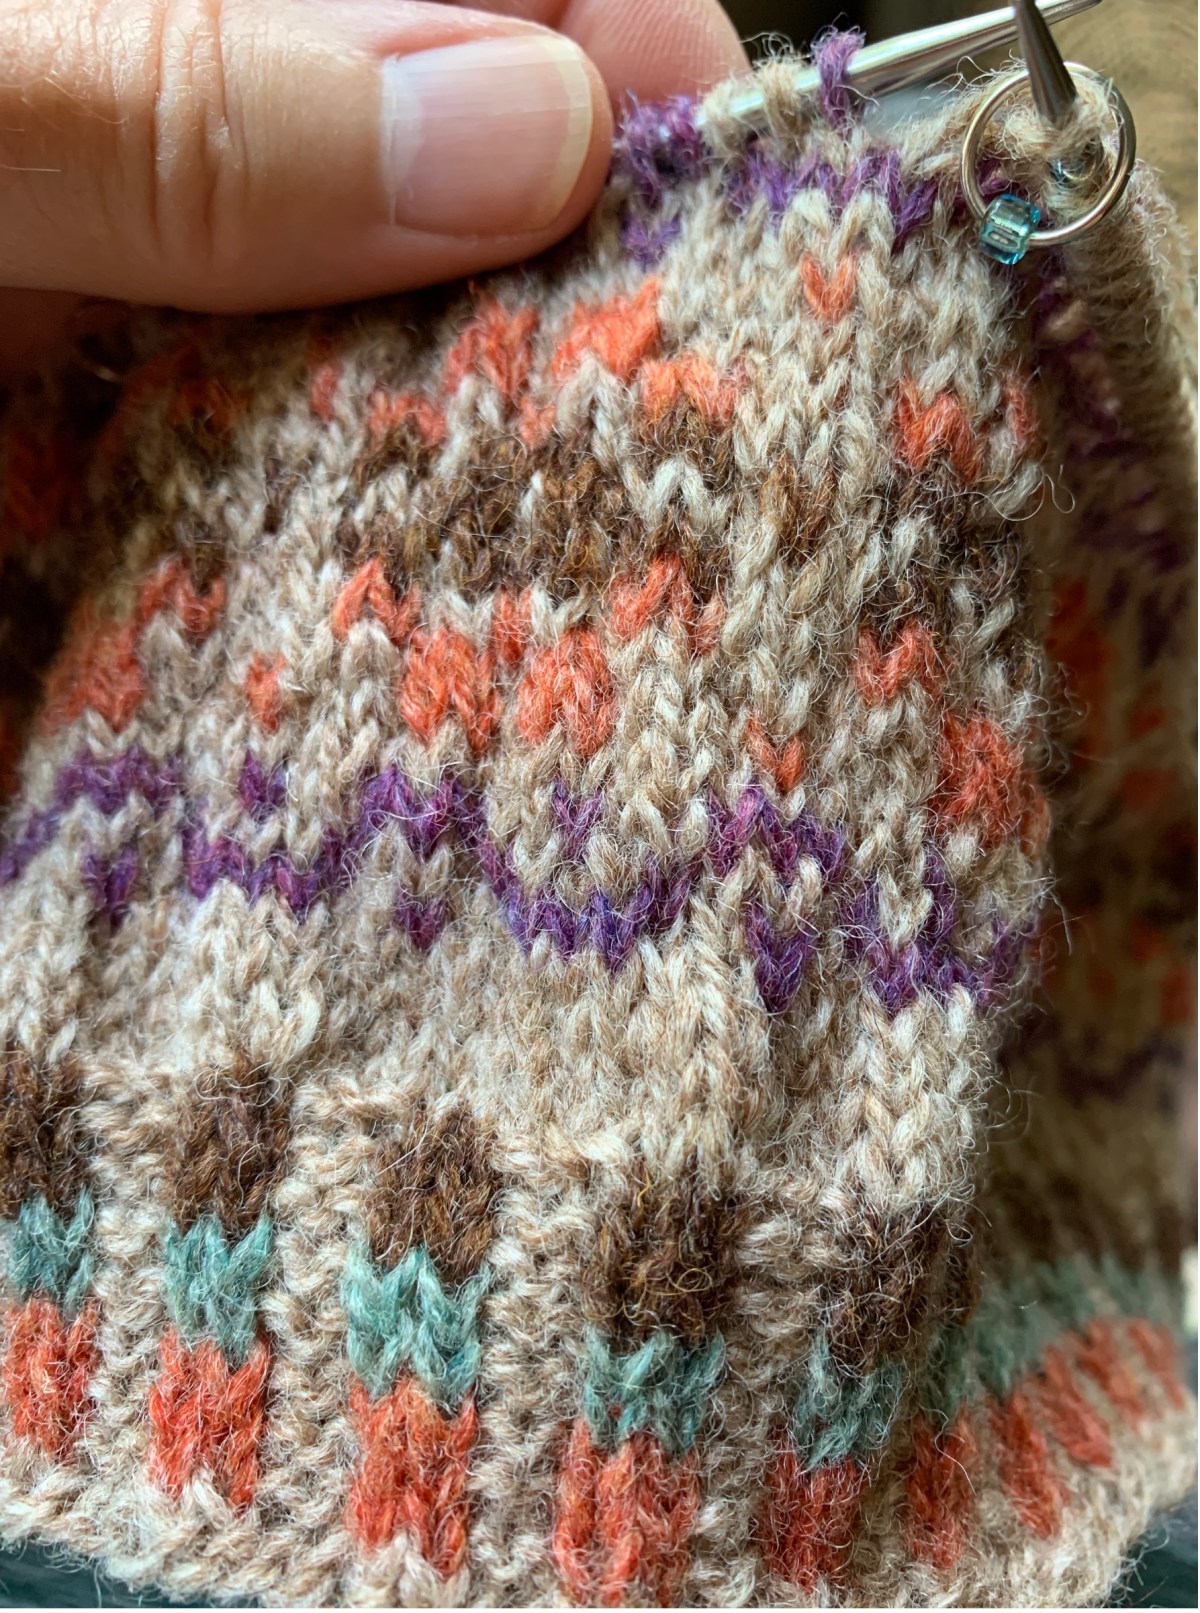
The last few hats I have knit have had brims with corrugated ribbing. You can see it on this page in the Katie’s Kep and Tettegouche (links to pattern below too). This type of rib is worked as a purl 2, knit 2 around, switching colors between the knits and purls. It is often used in Fair Isle, stranded knitting designs and the yarn is held in two hands.
Begin by Making a Nice Cast-on
When I began knitting, I hurried through my cast-ons so I could get started with the project. I only knew one simple cast-on, and it was not a good one for hats. Now I use the Old Norwegian, or German Twisted, cast-on, which is the same thing as far as I can tell. It makes a loose, stretchy first row so the hat won’t be tight around the forehead. It’s also a fast cast-on once you get the hang of it.
A good wool such as Rauma or Shetland (Jamieson & Smith), in fingering weight is suggested for this type of hat knitting.
Once the stitches are cast onto a 16 inch circular needle, in the size your pattern calls for, join them with the stitches straight and even, making sure there is no twist. I use the drop and switch method of joining, where each stitch at the end of the needles are swapped. Then, place a marker to remember this is the beginning of the round – BOR.
Since I first wrote this page I have found a helpful page at TECHknitting: Corrugated ribbing tricks and tips. They explain corrugated ribbing and it’s uses and potential curling problem. Also they have an interesting section about how to handle purling the colors.
Begin the Rib – this is how I chose to do it.
Once the cast on is complete DO NOT KNIT AROUND – go right into the knits and purls. Doing a solid knit row before the ribbing will cause the edge to curl up.
For the first round, begin with the main color (it was tan for my hat) held in the right hand (for knitting English style) and purl two stitches. Move the yarn to the back of the work. Now add the new color (orange in the hat pictured) and knit two stitches while the yarn is held in your left hand, Continental style. Bring the MC, (tan yarn) to the front and purl two – and so on. I will be using those two colors for the entire round.

Don’t forget to move the yarn to the back of the work once the two purl stitches are made! ….I made this mistake and had to begin over.
For my Katie’s Kep #2 (above), my first CC (contrast color) is orange and I did three rows before I added the second contrast color, which is light blue. Every row is knit the same way with the MC (tan) held in my right hand and the CC in the left. I do it like this because I can’t purl using my left hand.
Holding the yarn correctly is important in colorwork knitting. Using two hands becomes quite easy with practice. Using two hands means the yarn will stay on top (right hand yarn, or Main Color) and on bottom (left, Contrast Color). Doing this makes the CC stand out. Sometimes a pattern will ask you to knit the main color and then purl the contrast color – which keeps the main color prominent.
See it below in the first Katie’s Kep I knit which has a dark blue background (MC).

Learn to Knit Using Two Hands
If you don’t know how to do this type of knitting using two hands, look for a good video that shows you how. And then practice! Colorwork is easiest when knit in the round. In fact, personally, I don’t know how to do it any other way.
Then, you will just need to know how to carry those floats when colors become more spaced apart in a row – but you won’t have to do (much of) that on these hats!
Colorwork is in chart form, FYI.
Love Katie’s Kep? Download the pattern for free here.
The hat below is called Tettegouche, and the pattern for this one can be purchased at Ravelry. Believe me, the other hats look a lot better than mine. I used colors on hand and they are not the greatest combination. You can see the use of the corrugated rib again.

My last word on the corrugated rib is that it is less stretchy than a 1×1 or 2×2 regular hat rib. It’s meant to be sturdy and pretty at the same time. Often a smaller needle is used for this type of brim and then you switch over to a larger size for the top of the hat. A wool yarn in fingering weight is suggested.
Share this:

Knitting Brioche, Cast-on Ideas
At first, I was not interested in learning the brioche stitch. Most patterns I saw kind of turned me off. In fact, I considered brioche to be a bit ugly sometimes. Then again, some brioche patterns are stunning! This type of knitting can create hats that are reversible, with a different look on each side.
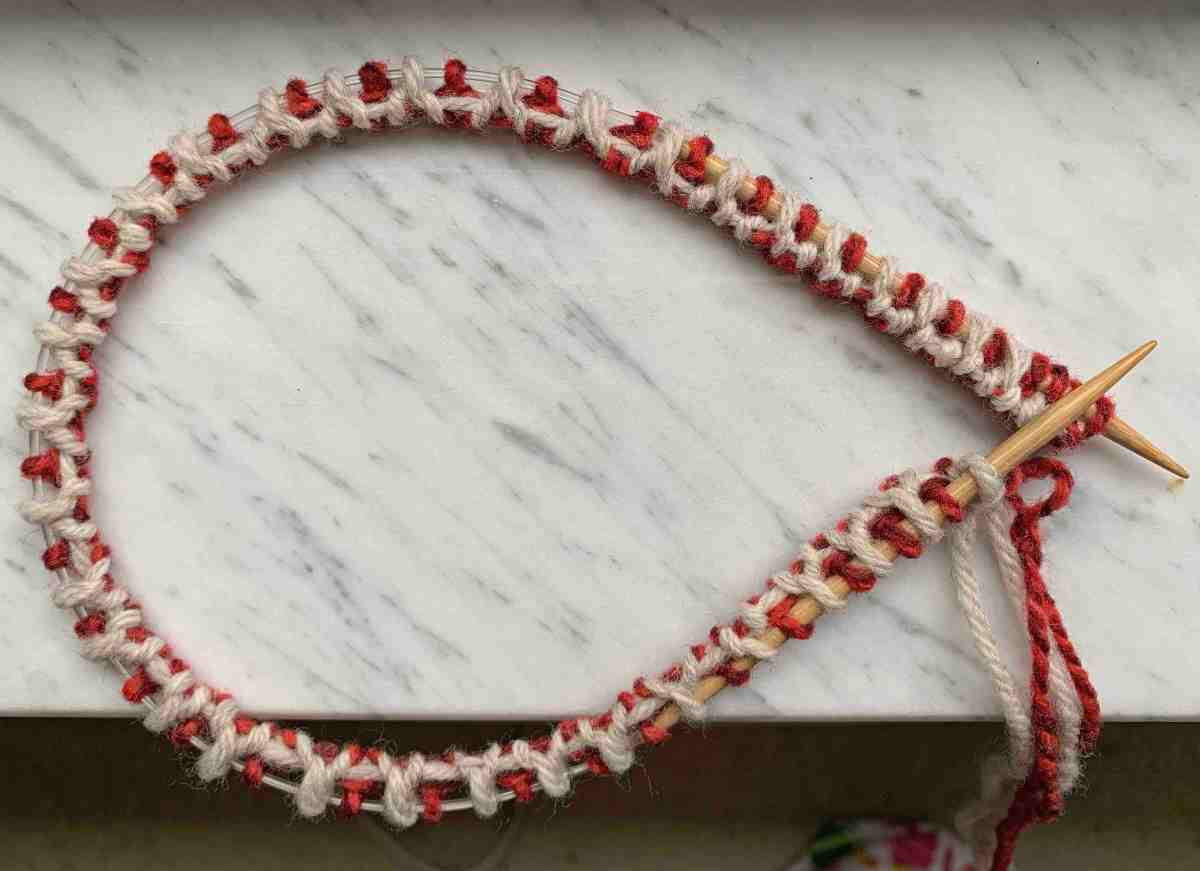
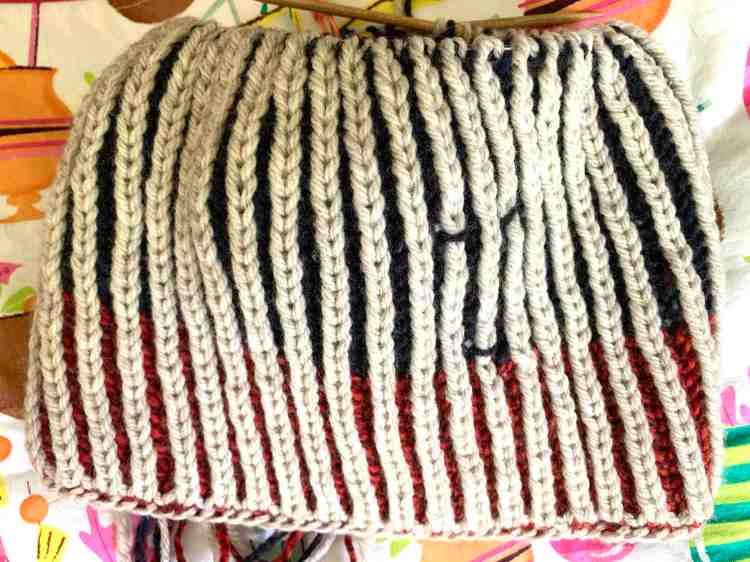
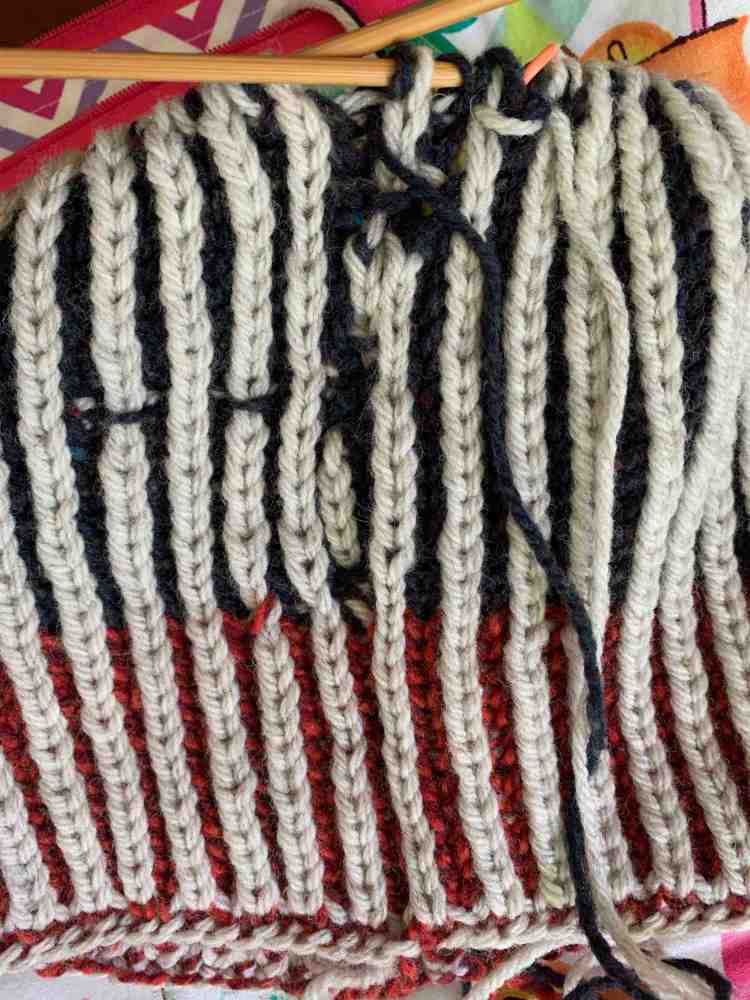
Here is the beginning of a hat with brioche in three colors. First I used red and white, then added some blue. If I had been able to knit this correctly, the hat could be worn with the white (gray) mostly showing, or the color side. It could have ended up being a nice hat – if I hadn’t failed so miserably at knitting it!

My attempt at brioche knitting 
Brioche is reversible
Brioche Hat – “Skipp” by Brooklyn Tweed
I love to knit hats and I’ve knit a few BT patterns. Hats are my favorite knitting projects because they are quick and use DPNs for only a short time. After I knit the Habitat hat in bright orange cables for my daughter, I wanted to knit more hats. Why not learn some new things while doing so? And let’s try some brioche.
My son had given me a Brooklyn Tweed gift certificate for Mother’s Day and I needed to use it. I decided to buy some patterns because my yarn stash is already large. One of the hat patterns I purchased is called “Skipp” and it’s done in brioche stitch.
The idea of creating a reversible hat appealed to me, and brioche creates a reversible fabric. Yippee… onward. But first I would have to learn a new kind of cast-on to create a nice hat edging.
Hat’s can’t be knit until a good cast-on is completed. These special cast-on directions will create a tidy edge for a brioche knit hat. As I note on this page, I did a few different cast-ons but then had lots of trouble jumping in and beginning the pattern.
#1. Rib Cabled Cast-on
The cast on for the Skipp beanie is called a Rib Cabled Cast On. It’s not that difficult to accomplish, but I needed to use two yarns held together (notes for this pattern). I can’t go into the list of all the mistakes I made because there were too many, but in general the stitches in my rounds didn’t line up at the join. There are no directions for joining in the round – and this is the problem.

Hint: To learn brioche use two contrasting colors of yarn. Don’t use variegated. Make the stitches easy to tell apart by color. Also, try a pattern that calls for a heavy weight yarn. This will make that difficult cast-on progress faster!
Grrrrrrr…..
So I decided to try again with a single yarn color and I began that looooong cast-on again. I needed two yarns, so I had to cut a length from my skein hoping it would be enough – it wasn’t – only made it to 60 stitches and needed 96.
Hint: This type of cast-on uses lots of yarn. More than a normal cast on.
Ripped out again and cut a longer length – I needed about double (if you try this, double what you’d use for a normal long-tail cast on). Got finished with that cast on, joined and began the purl using both yarns – but I was only supposed to use one… when I went to un-purl that stitch the join fell apart… I don’t even know what happened, but at that point I gave up for the day and ripped it out.
Knitting Skipp Video Reference
I found THIS VIDEO of a woman who is actually knitting the Skipp hat… at about 5:47 minutes she shows how to join the cast-on, which is to simply purl into the first stitch for the set up round. What? Could it really be this easy??
The video is not great, but at least it tells how to join after the cast on. So, I tried it – just began with a purl like she did. And my join was not really a join… I discovered this after a couple more rounds. It looked like crap. This was another waste of time. (However, if I ever get past the cast-on, this video shows the crown shaping for Skipp, which I might need.)
#2. The Italian Tubular Cast-on
In Jared Flood’s tutorial for the Italian Cast On, he says it’s perfect for brioche. He knits a small, flat brioche sample. This is a good video but there are no directions for joining in the round because it’s back and forth knitting...! So, no help there.
#3. Italian Tubular Cast-on in Two Colors
In Jared Flood’s tutorial for the Italian Tubular Cast On in Two Colors, he does a little flat swatch. This is not helpful for hat knitting.
Andrea Mowry has a tutorial for Two Color Tubular cast-on which is pretty good. She slowly (thank-you) shows and explains the cast-on and set up rows. See my examples below from following her video. Notice my circle is not joined because there were no directions for that – OF COURSE…!!! But this video is a good one.
Her video is for her “Harlow” brioche hat pattern. The cast-on and two set up rows are knit before joining in the round. If I could get to this point, join in the round, and begin brioche knitting, I think I would be okay.
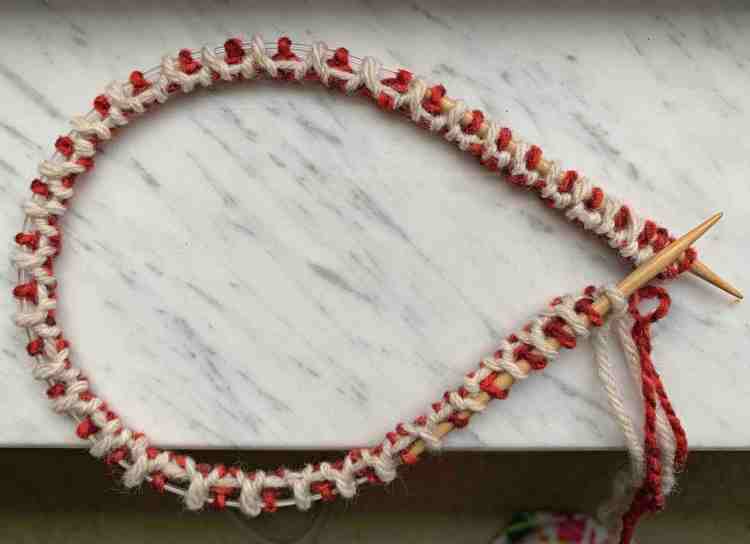

The Italian tubular cast-on is not easy, in my opinion. As the stitches are put onto the needle, they are loose and if you stop or take your hand away, the stitches fall off the needle! I suggest using two colors because it’s easier to see where you are in the cast on, and in the video.
I never figured out how to do any new “brioche” cast-ons, but began the Skipp hat using a normal cast-on. Then, I kept messing up my knitting and ripped the whole thing out. I hate brioche.
So What is My Problem?
I’ll tell you where I keep getting stuck – it’s at the BOR (beginning of round). Once the cast-on is finished I can’t join correctly because the knitting of brioche requires different BOR stitches. I guess maybe adding one extra stitch to combine with a regular stitch might work. Usually I transfer the two end stitches on my needles to join in the round, but that won’t work for brioche. Am I just making this more difficult than it needs to be?
#4. Long-tail Cast-on Over Two Needles
Maybe another designer can explain all this better. So I went looking for a new pattern to try.
The free hat pattern called BriocheStarter Hat (link below) is listed as using worsted yarn. But, the cast on number is the same as Skipp’s (fingering weight) at 96 stitches. This is confusing, and must be wrong. I noticed that many knitters using worsted cast-on fewer stitches (80).
And what type of cast on does this free pattern call for? A long-tail cast on over two needles. The tutorial does not show how this cast-on looks once it’s finished. One needle gets pulled out, and I’m not sure I would like the looks of this cast on. It sounds a little odd but what do I know. My Vogue Knitting book also says to do the brioche cast-on in this manner. (Truthfully this is one I did not try myself.)
For a free pattern, this one is very well written with charted and written directions for knitting brioche. The designer does mention knitting the first couple rows flat and then to join… AGAIN…no directions for how to make that join and then begin the pattern.
Please, someone help me get my cast-on joined!
Brioche Knitting Patterns
I have not knit any of these projects, but if I ever decide to try brioche again – and get it right – I will probably try one of these.
- Brioche Knots – beautiful hat by Katrin Shubert, done in DK yarn in two colors.
- Magic Brioche – also by Katrin Shubert.
- Brioche Loop – FREE cowl pattern
- BriocheStarter Hat – This is a FREE brioche hat pattern.
- Gina’s Brioche Hat and Cowl – FREE pattern by Purl Soho – This pattern uses a rolled brim cast on which means after a normal cast on, simple rows of knitting are done to create the roll. The second color is added after that.
Failing at Brioche in Photos
Once I began to knit brioche, I loved it – when things were going well – but most of my knitting was a BIG FAT FAIL.
For the “hat” below I did a normal long-tail cast-on, because I gave up on the special brioche cast-ons. Although I had many mistakes – which mainly began at the beginning of each round – I kept knitting for the practice. Finally, I took photos and ripped out the project.
I will NOT be attempting to knit brioche again anytime soon, but will post this page for future reference. If you have any tips for brioche knitting, or have a favorite cast-on, I’d love to hear from you in the comments.
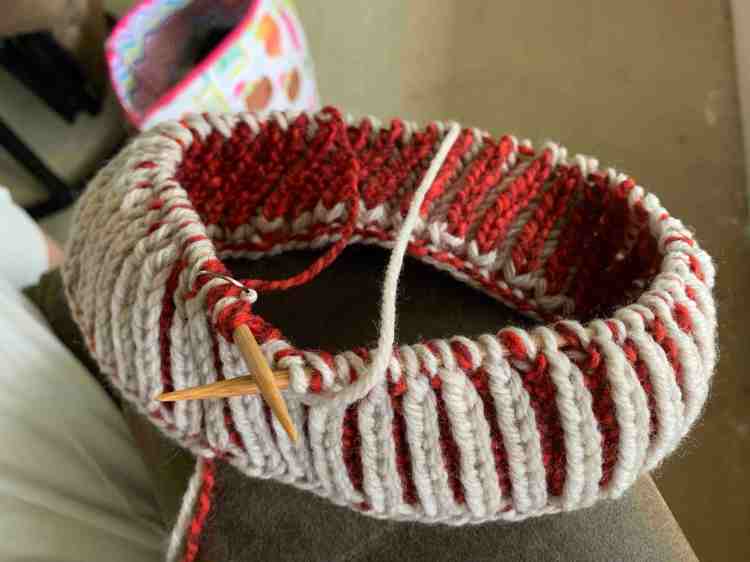
Brioche knitting Dark blue yarn added 
BOR, a slipped purl stitch begins this round so I am knitting this row using gray yarn. 

Keep Reading More Knitting Pages

How to Read a Knitting Colorwork Chart
How to read colorwork charts for Fair Isle and mosaic knitting.
Keep reading
DIY Felted Wool Seating Pad Knitting Pattern
Knitting a simple wool chair pad to use up some heavy weight and worsted wool. This DIY pattern uses Fair Isle, colorwork that is simple…
Keep reading
Five Cozy Scarf Knitting Projects For Fall
Five cozy scarf patterns to begin knitting this Fall. Keep for yourself or give to friends and family. The selection has small and long scarves,…
Keep reading
Lots of Changes This Year
Writing a blog, sharing photos, and doing research and making links takes time. Lately I don’t think the time spent doing all that is worth…
Keep reading
Knitters and Our Many Projects
How many projects do you have on your needles? It is not uncommon to find that fellow knitters have many things going at once.
Keep reading
Happy New Year 2026 and Time to Cast On
A new year means a brand new knitting project to begin. What will you be making?
Keep readingShare this:

Washable Watch Cap Knit Inside-out

A watch cap is pretty simple to make, and can be quite boring once the casing on is done. Any knit one, purl one, pattern can take ages to finish. But it is good and easy enough for evening knitting, when no pattern has to be followed … and I could be drinking wine.
Sometimes I begin a hat with one pattern in mind and switch to another once I get going. I must have some type of ADD or something, but I am doing that a lot recently. (See the Curly Snowflake Hat)
I’m getting a start on some hand-knit Christmas presents for my kids and have wanted to knit a hat for my youngest son. I have some washable Lorna’s Laces yarn so I got started.

I have tried to do a Tubular Cast-on, but I failed to pull it off. So, now I stick to the Old Norwegian / German Twisted cast-on, which is stretchy and nice for a hat.
I cast on 144 stitches to a size 4 needle. I’m not sure where I got that number or which hat specifically I planned to knit. I have Churchmouse Classics, Ribbed Watch Cap and Beanie pattern, which I have wanted to try, and also a Stockinette Wachcap in my Hat’s On book. Both are similar but the Churchmouse hat has a different decrease at the top, and it’s knit inside out. Neither pattern suggests that number for a cast-on, but I ended up doing the Churchmouse crown decreases. Since my stitch numbers were different I had to do some figuring.
This is “sock” yarn, and the Churchmouse cap calls for fingering yarn also, but in smaller needle sizes, with a larger number cast on. So my hat is looser. But I didn’t begin with this pattern in mind!

The Decreases at the Crown
I was curious as to how this type of inside-out knitting and decreasing would look. Well, if you were curious too, there you have it. In my photo above, which is the wrong side – but knit as the right side until the end – you can see the four decrease sections.

The photo above is how the hat looks when it’s turned rightside out. As I was knitting on my DPN’s I had such trouble trying to keep the yarn tight to prevent “ladders”. You can see my difficulty in the finished product. Between each decrease section there is a weird row that doesn’t look right. That is the change between DPN’s where the yarn was looser. I pulled the yarn tight to try to prevent this, but it didn’t work.
I have never had ladder problems before, and I blame the stretchiness of this yarn. I bought my Lorna’s Laces Grand Street Ink color a while ago on sale somewhere, and it’s not cheap. This yarn is nice for making washable items which can also go in the dryer. This hat is for my son who will not be washing anything by hand!
Notes and Observations
I was glad to be done knitting this hat! Haha… But, I would like to try the actual Churchmouse pattern – correct cast-on with the correct yarn – maybe in the “beanie” without the long, rolled brim. It would mean less knitting before the decreases.
Next time I would use something like Rauma Finull wool, which I use for colorwork hats. I think that would turn out very nice, but then it would need hand-washing, so couldn’t give it to my son!
There is the dilemma. Knitting for boys is tough.


 New England's Narrow Road