Knitting projects I have completed or have in progress. My thoughts and review of the pattern, yarn, and outcome. Also knitting project ideas to consider or find for free.
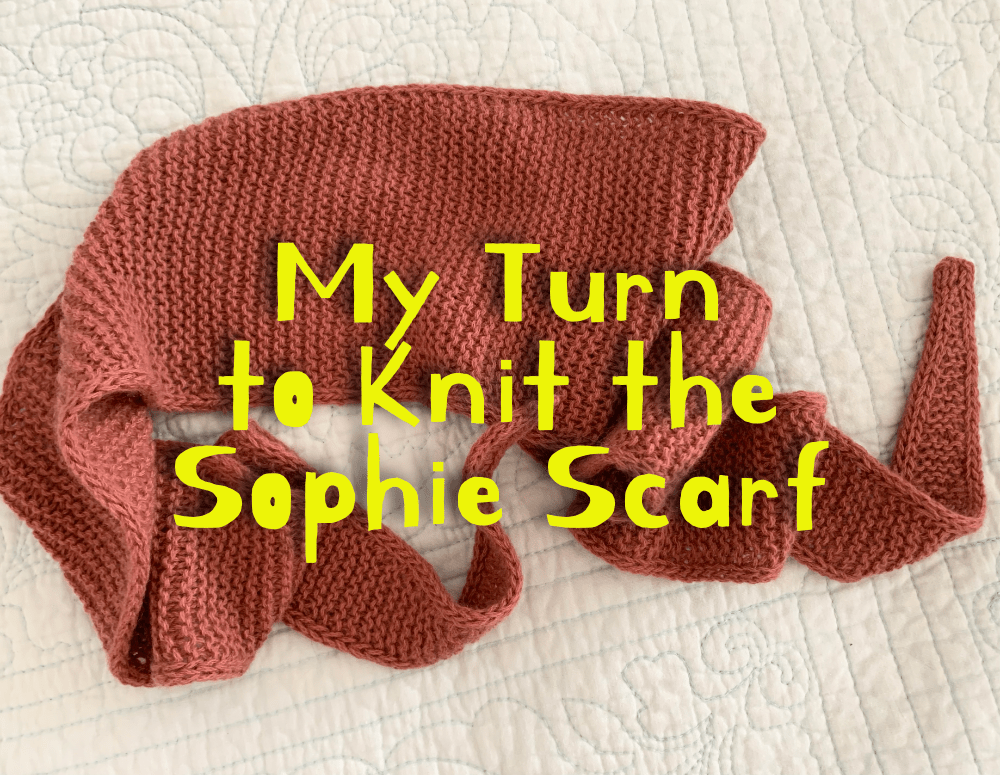
I splurged and bought two skeins of Cashmere yarn to knit the large size Sophie Scarf. But first, I knit it using some yarn from my stash. This pattern is quite popular and requires a next-to-the-skin softness. Read on to see how the yarns compare.
Sophie #1 – The First Try
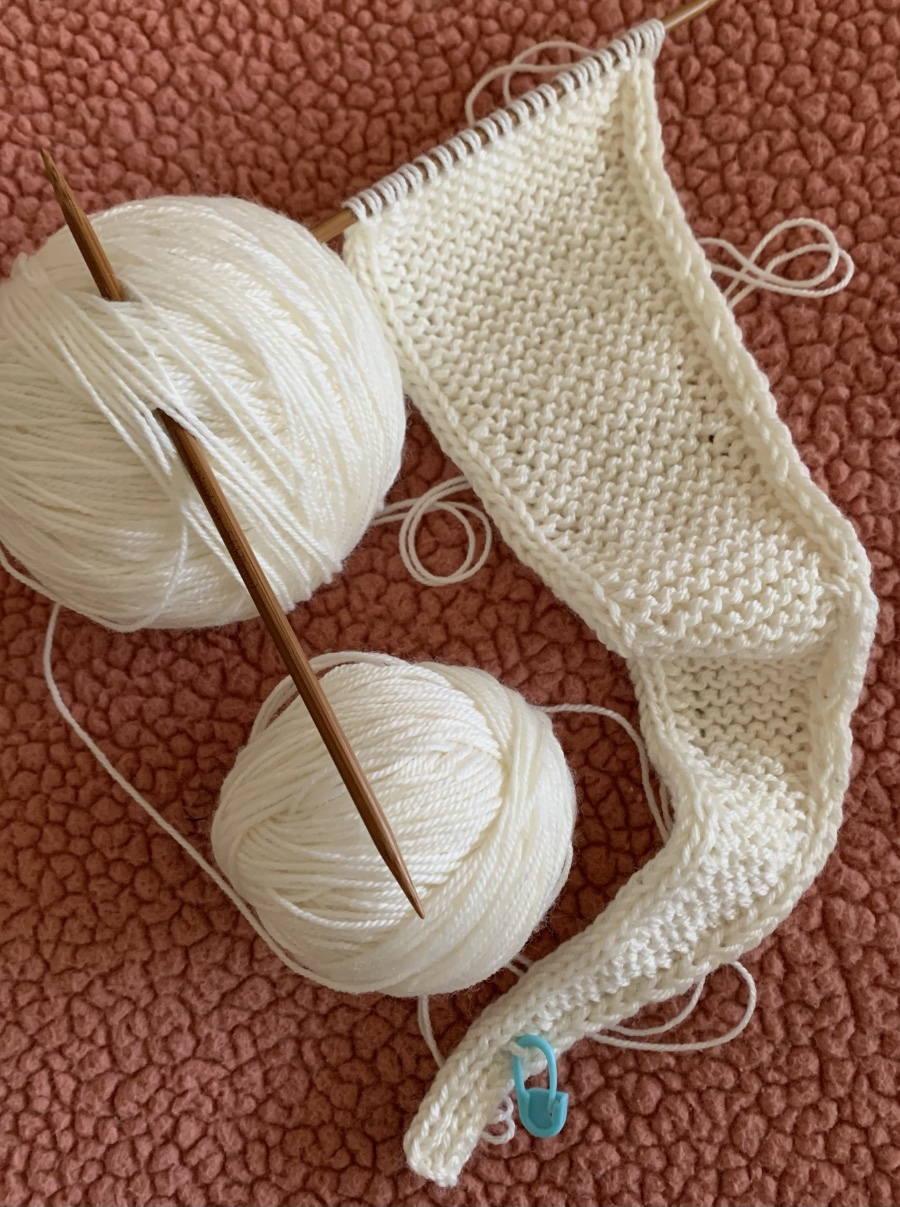
I’ve already knit one Sophie in off-white, Lorna’s Laces Soulmate yarn. I believe this yarn is discontinued, and I’ve had the skein for years. I split the skein in half, to knit with two strands held together. I knit it on a size 5 needle.
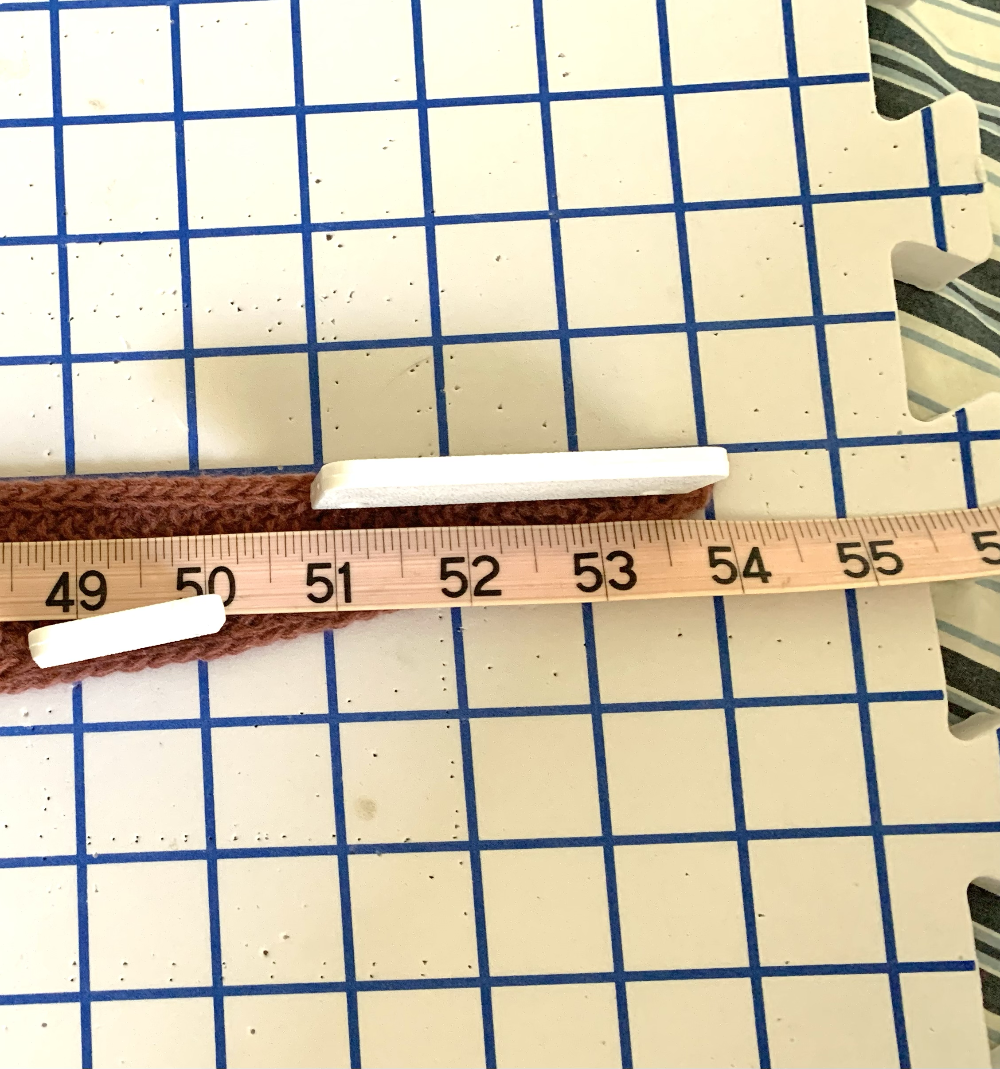
The scarf ended up 51 inches long and 5 inches wide. (Pattern measurements are 41 inches long and 5 inches wide.). Although my scarf is 10 inches longer, it is just long enough for my liking. I’ve read that quite a few knitters decided to make their large size scarves longer.
51 inches long
Sophie #2 in Cashmere Yarn
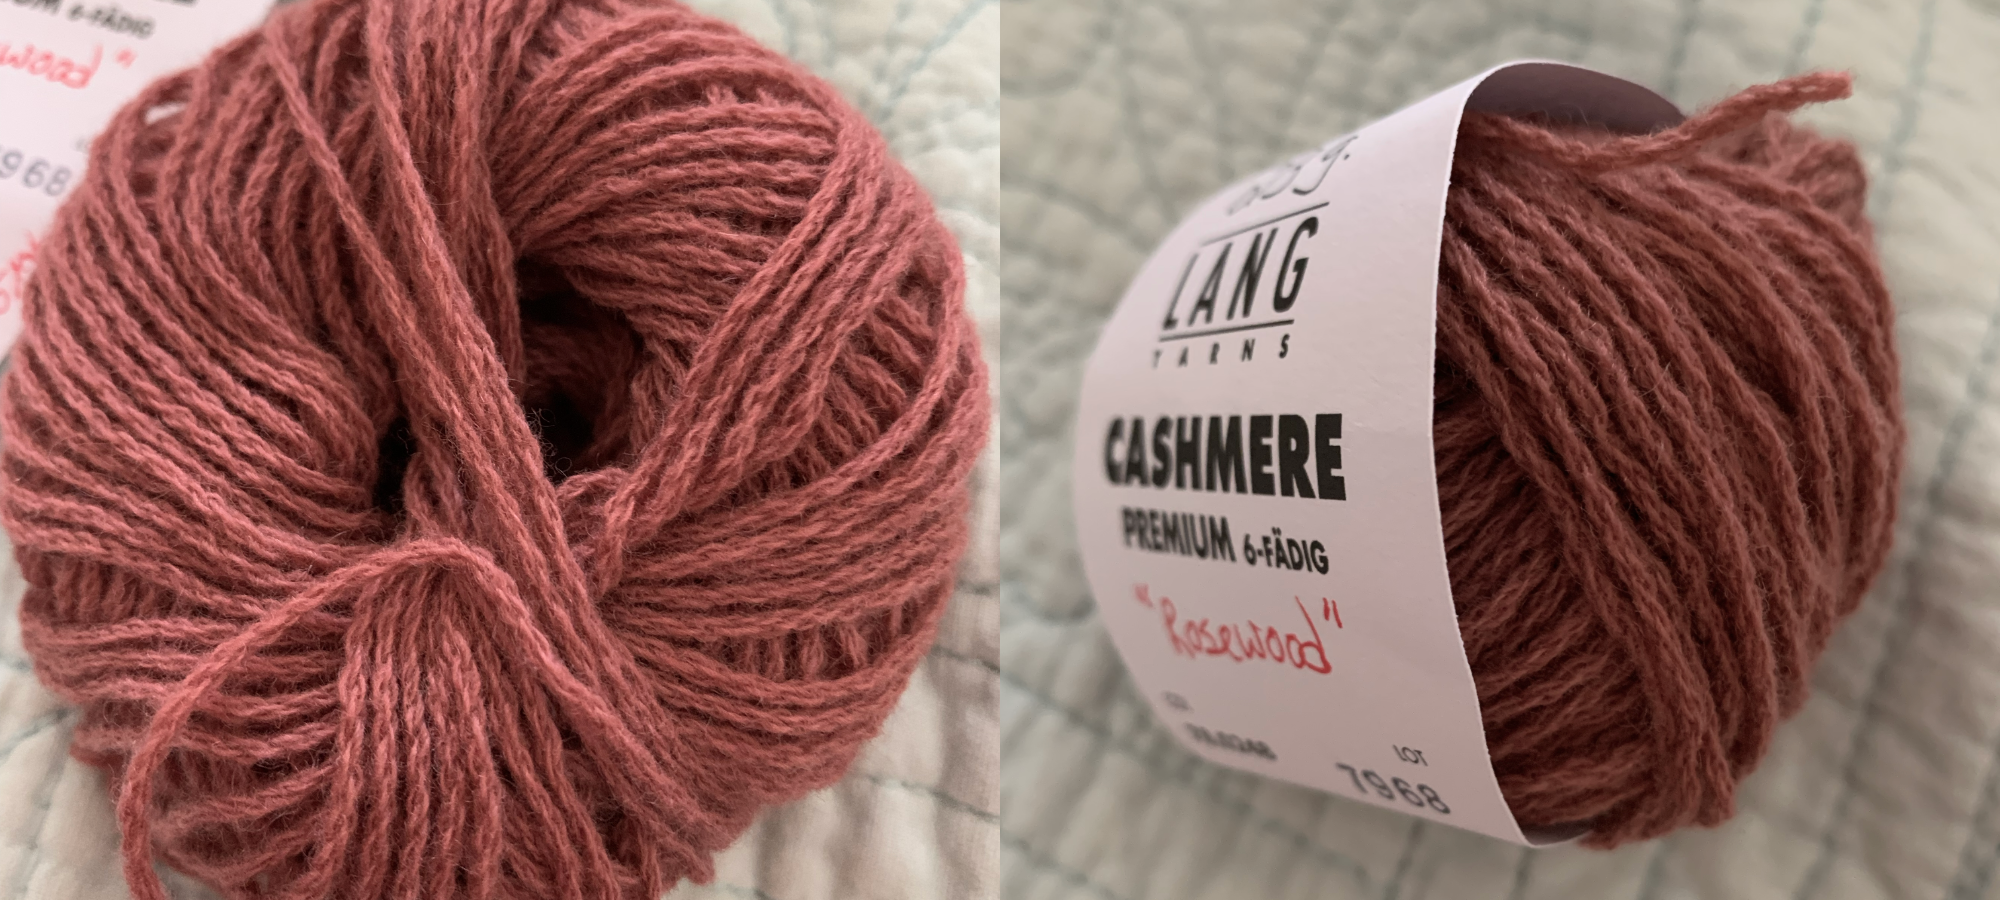
After scouring three little scarf patterns, I purchased three sets of cashmere yarn. Two sets are Lang Cashmere Premium, and one set is Pascuali Cashmere Charis (knitting another scarf with this).
The Lang yarn is sold in 25 gram balls, but each of them weigh 23 grams. the Charis is sold in 50 gram balls, but each of those weigh only 48 grams. Is there a reason that all six balls are not weighing in correctly? Do I have less yarn than advertised? Does all cashmere end up this way?
I’m going to start knitting and hope that my two balls of yarn will complete one, large size, longer, Sophie Scarf.
Lang Cashmere
Cashmere yarn is pretty expensive. Two balls of this yarn cost me around $50 and I will probably use just about all of two balls to complete the scarf. It makes a very soft and pretty fabric but, after knitting with one ball, I am not too happy with the yarn.
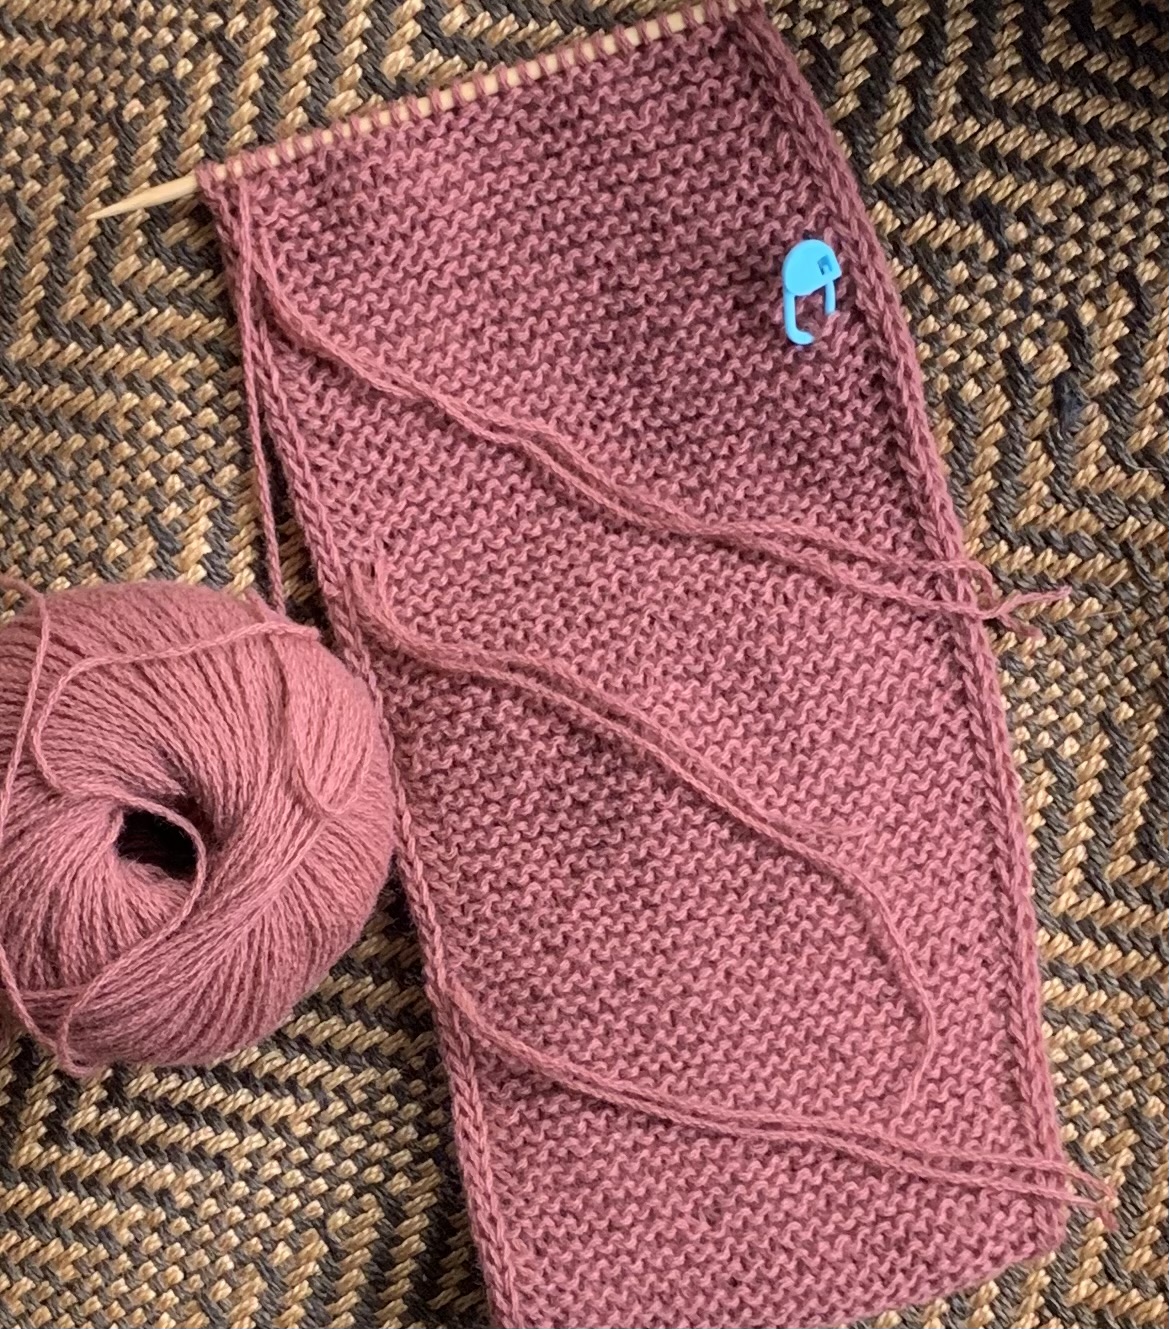
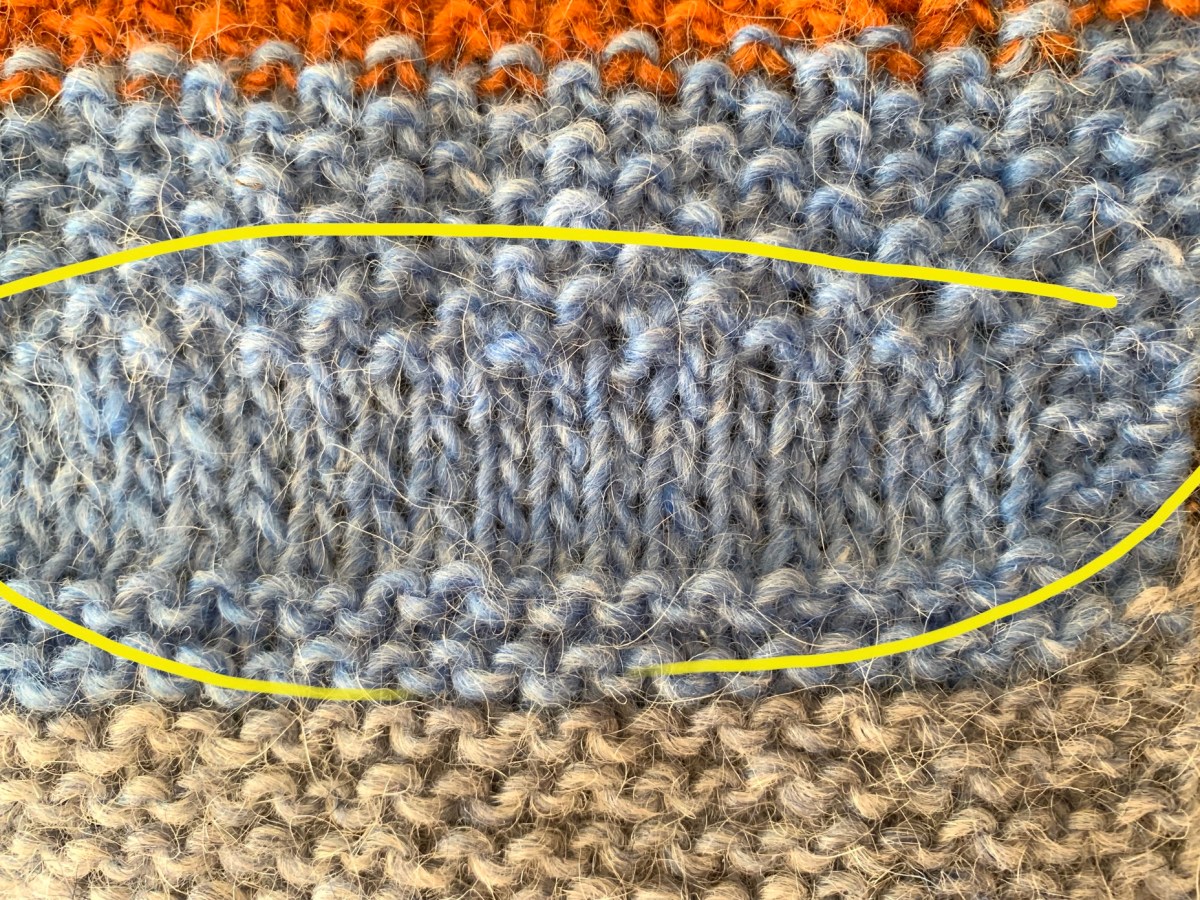
First, I had a knot that needed to be cut out. Knots are annoying, but they happen. Then, further along the first ball, I had an annoying split. The yarn strand was unraveling (see photo below). That had to be cut and reattached. This yarn does not splice and that means I have two tails, for each time I do this. The Sophie Scarf is double-sided, meaning that there is no good place (wrong side) to weave in the ends….!! I’m a bit perturbed.
A split in the yarn strandAll those ends…
The designer has a suggestion for attaching a new strand, and that is to do so along the edge. I had planned to only have to attach a new ball – leaving 2 strands somewhere along the middle of the scarf. I now have 6 tails, and that is thanks to the faults in this ball of Cashmere yarn!
I had to dip into the second ball, and discovered that it was perfect. Ravelry reviewers, who have knit with Lang Cashmere Premium have complained of the same things, so my bad ball is not all that rare it seems. I have two more balls of this same yarn brand, in another color. We’ll see how that goes.
Loose tieSophie in RosewoodTighter tie
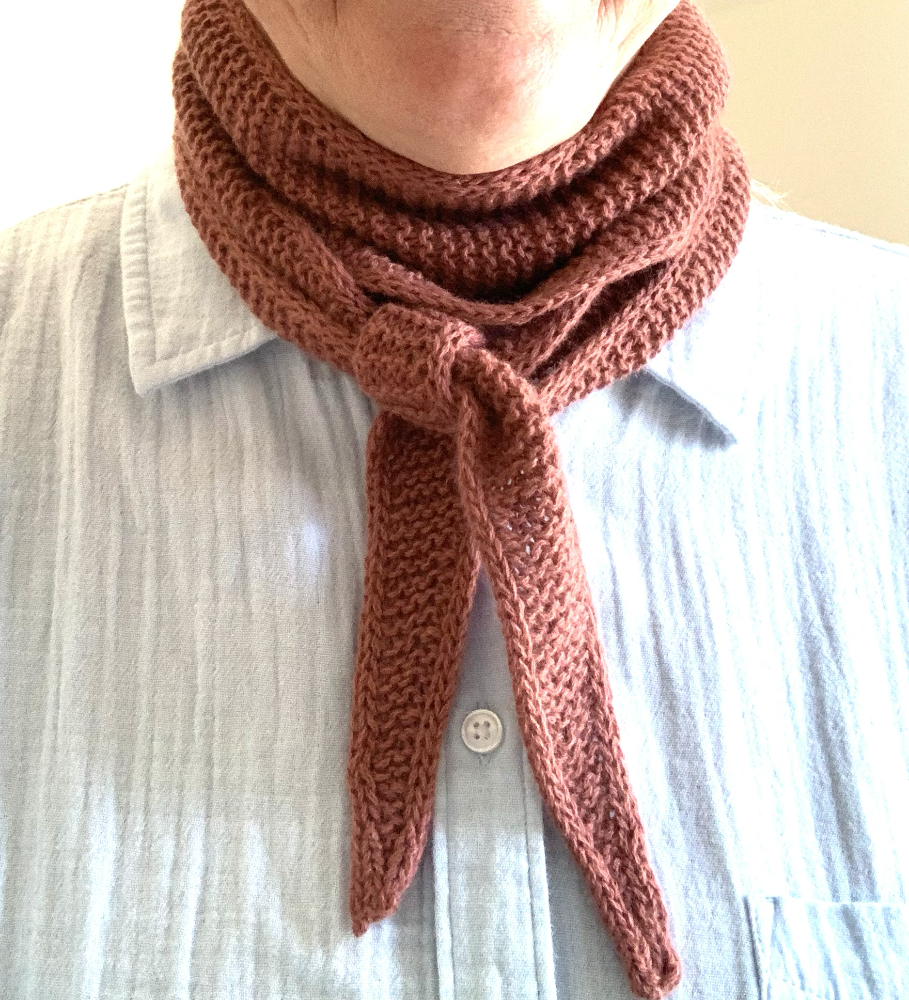
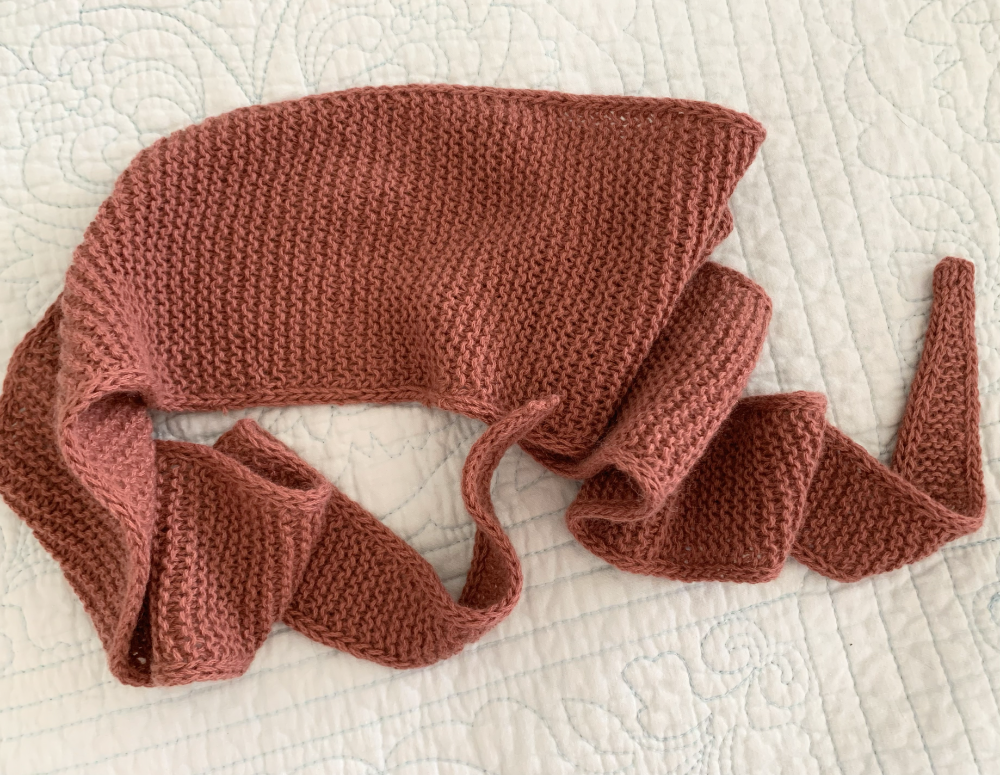
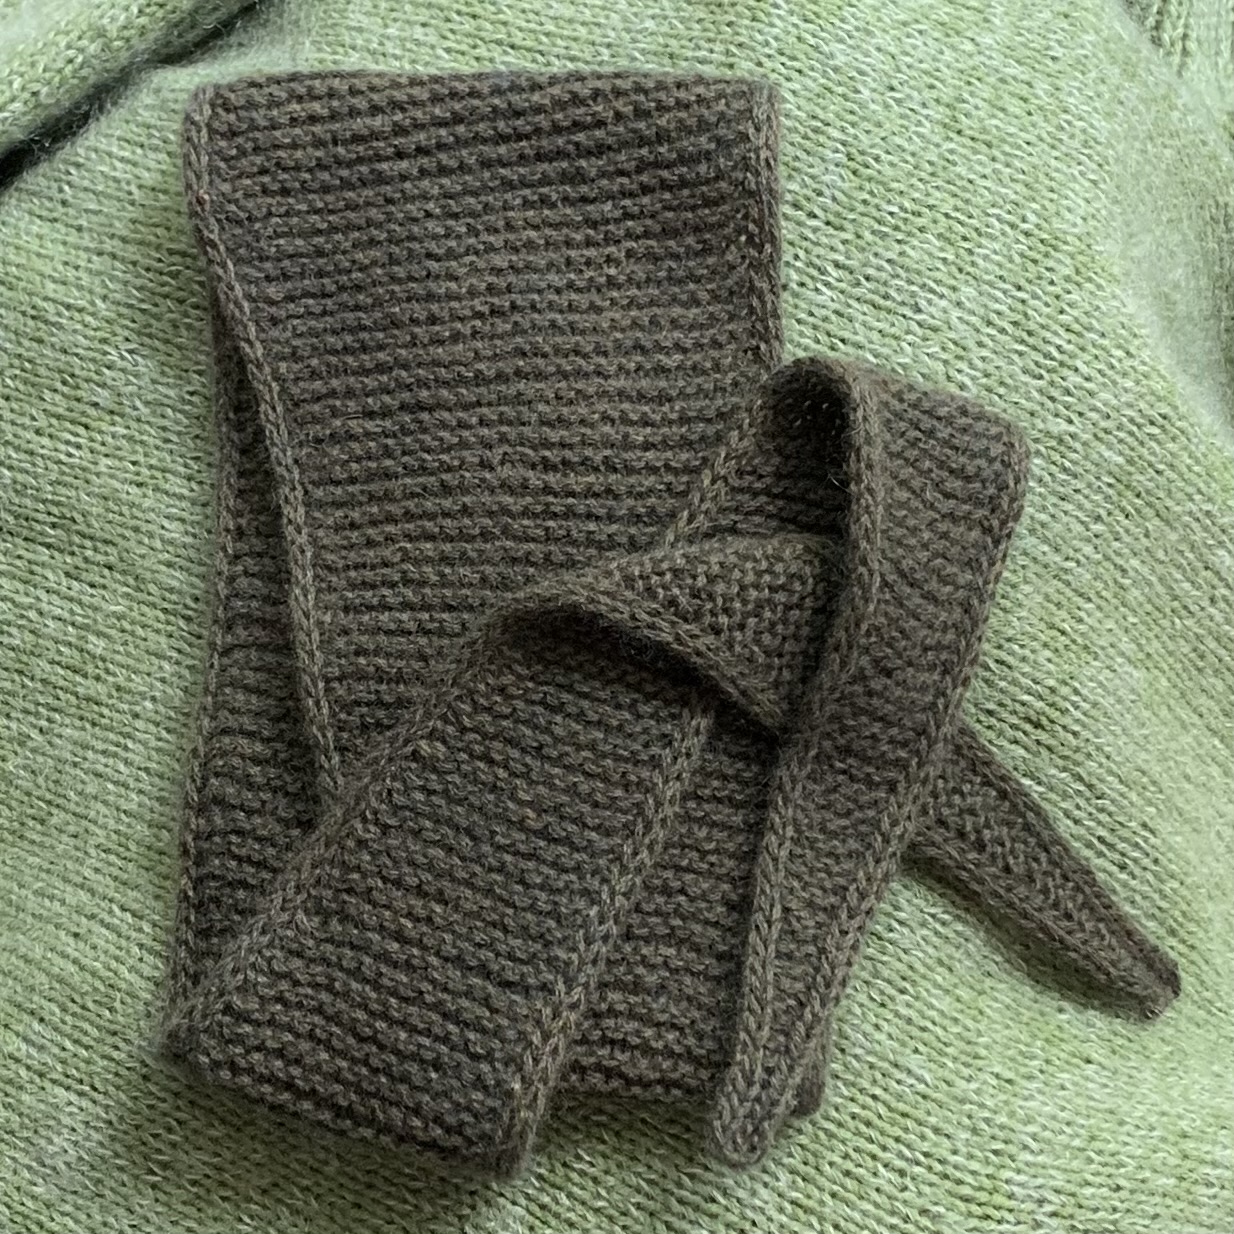
My finished Sophie scarf ended up being 54 inches long. I like to have the option to tie my scarf loosely. The length is perfect for me and it’s a very pretty color.
Now that Sophie is finished, I must get my next scarf done. I’m on a little scarf kick it seems.
The Warm Up sweater pattern is a simple raglan design. Although the sample is knit in one solid color, I like making wide stripes. I also like a rustic wool for more of a sweatshirt feel.
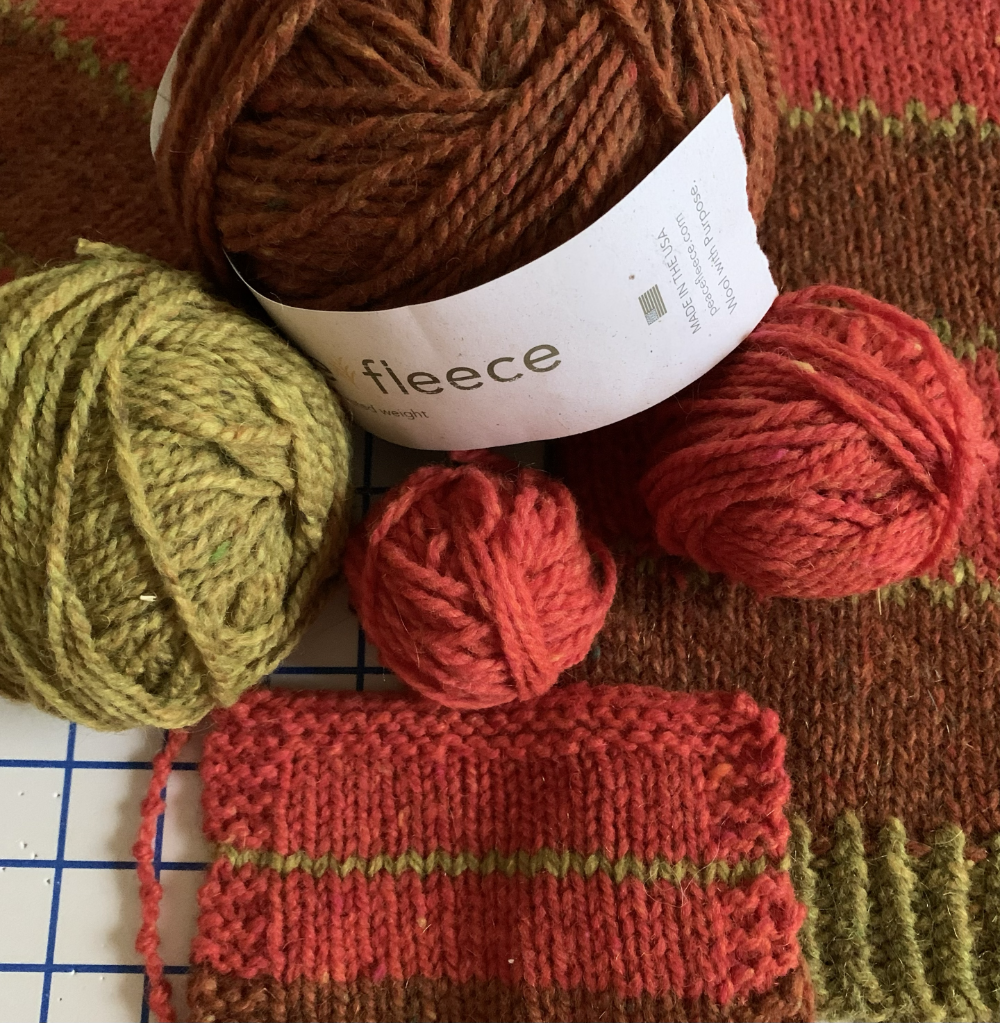
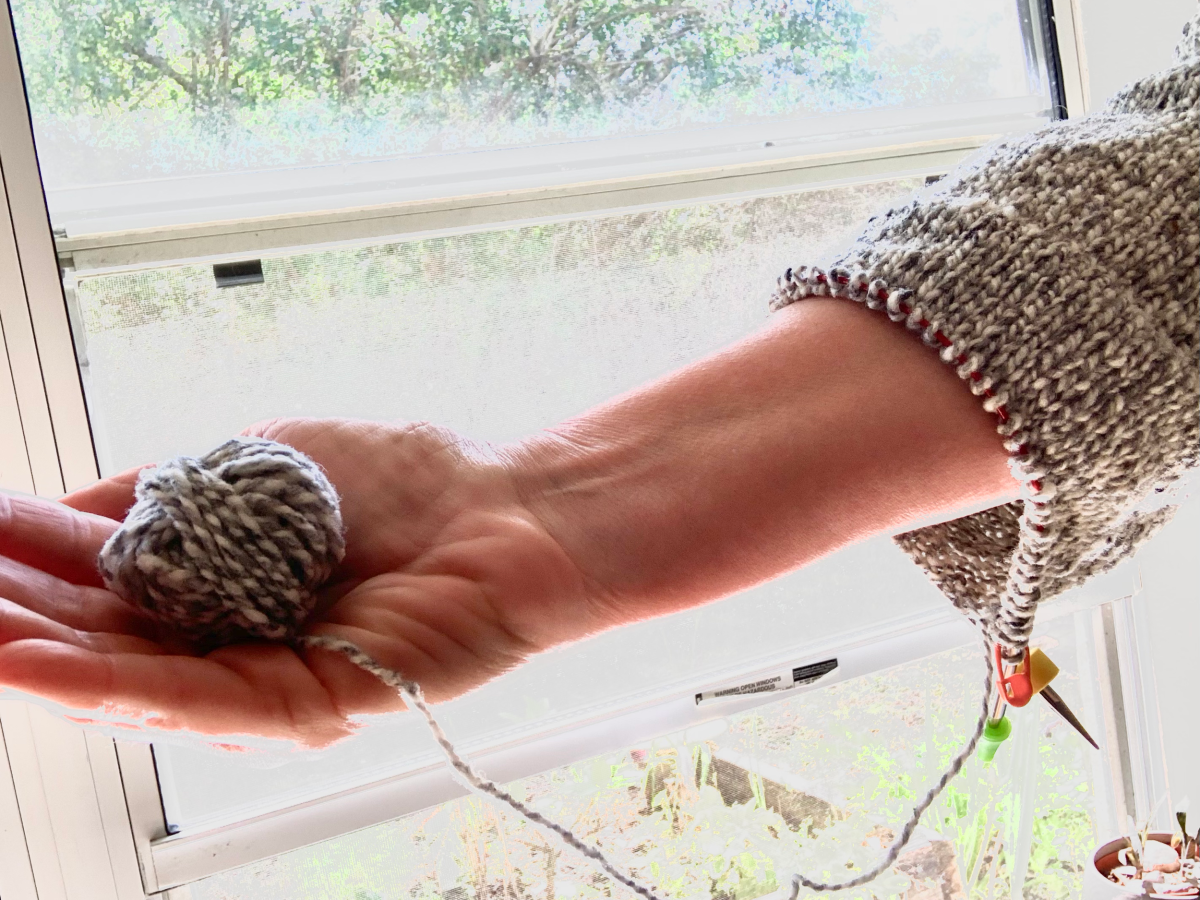
The Warm Up pullover is a pattern I have knit before. It is a basic raglan style sweater. The pattern does not include color changes, but I like it with wide stripes. I also like it in a nice, rustic wool. This time I chose Peace Fleece. (Pattern buying option is linked down the page.)
Pattern Mods
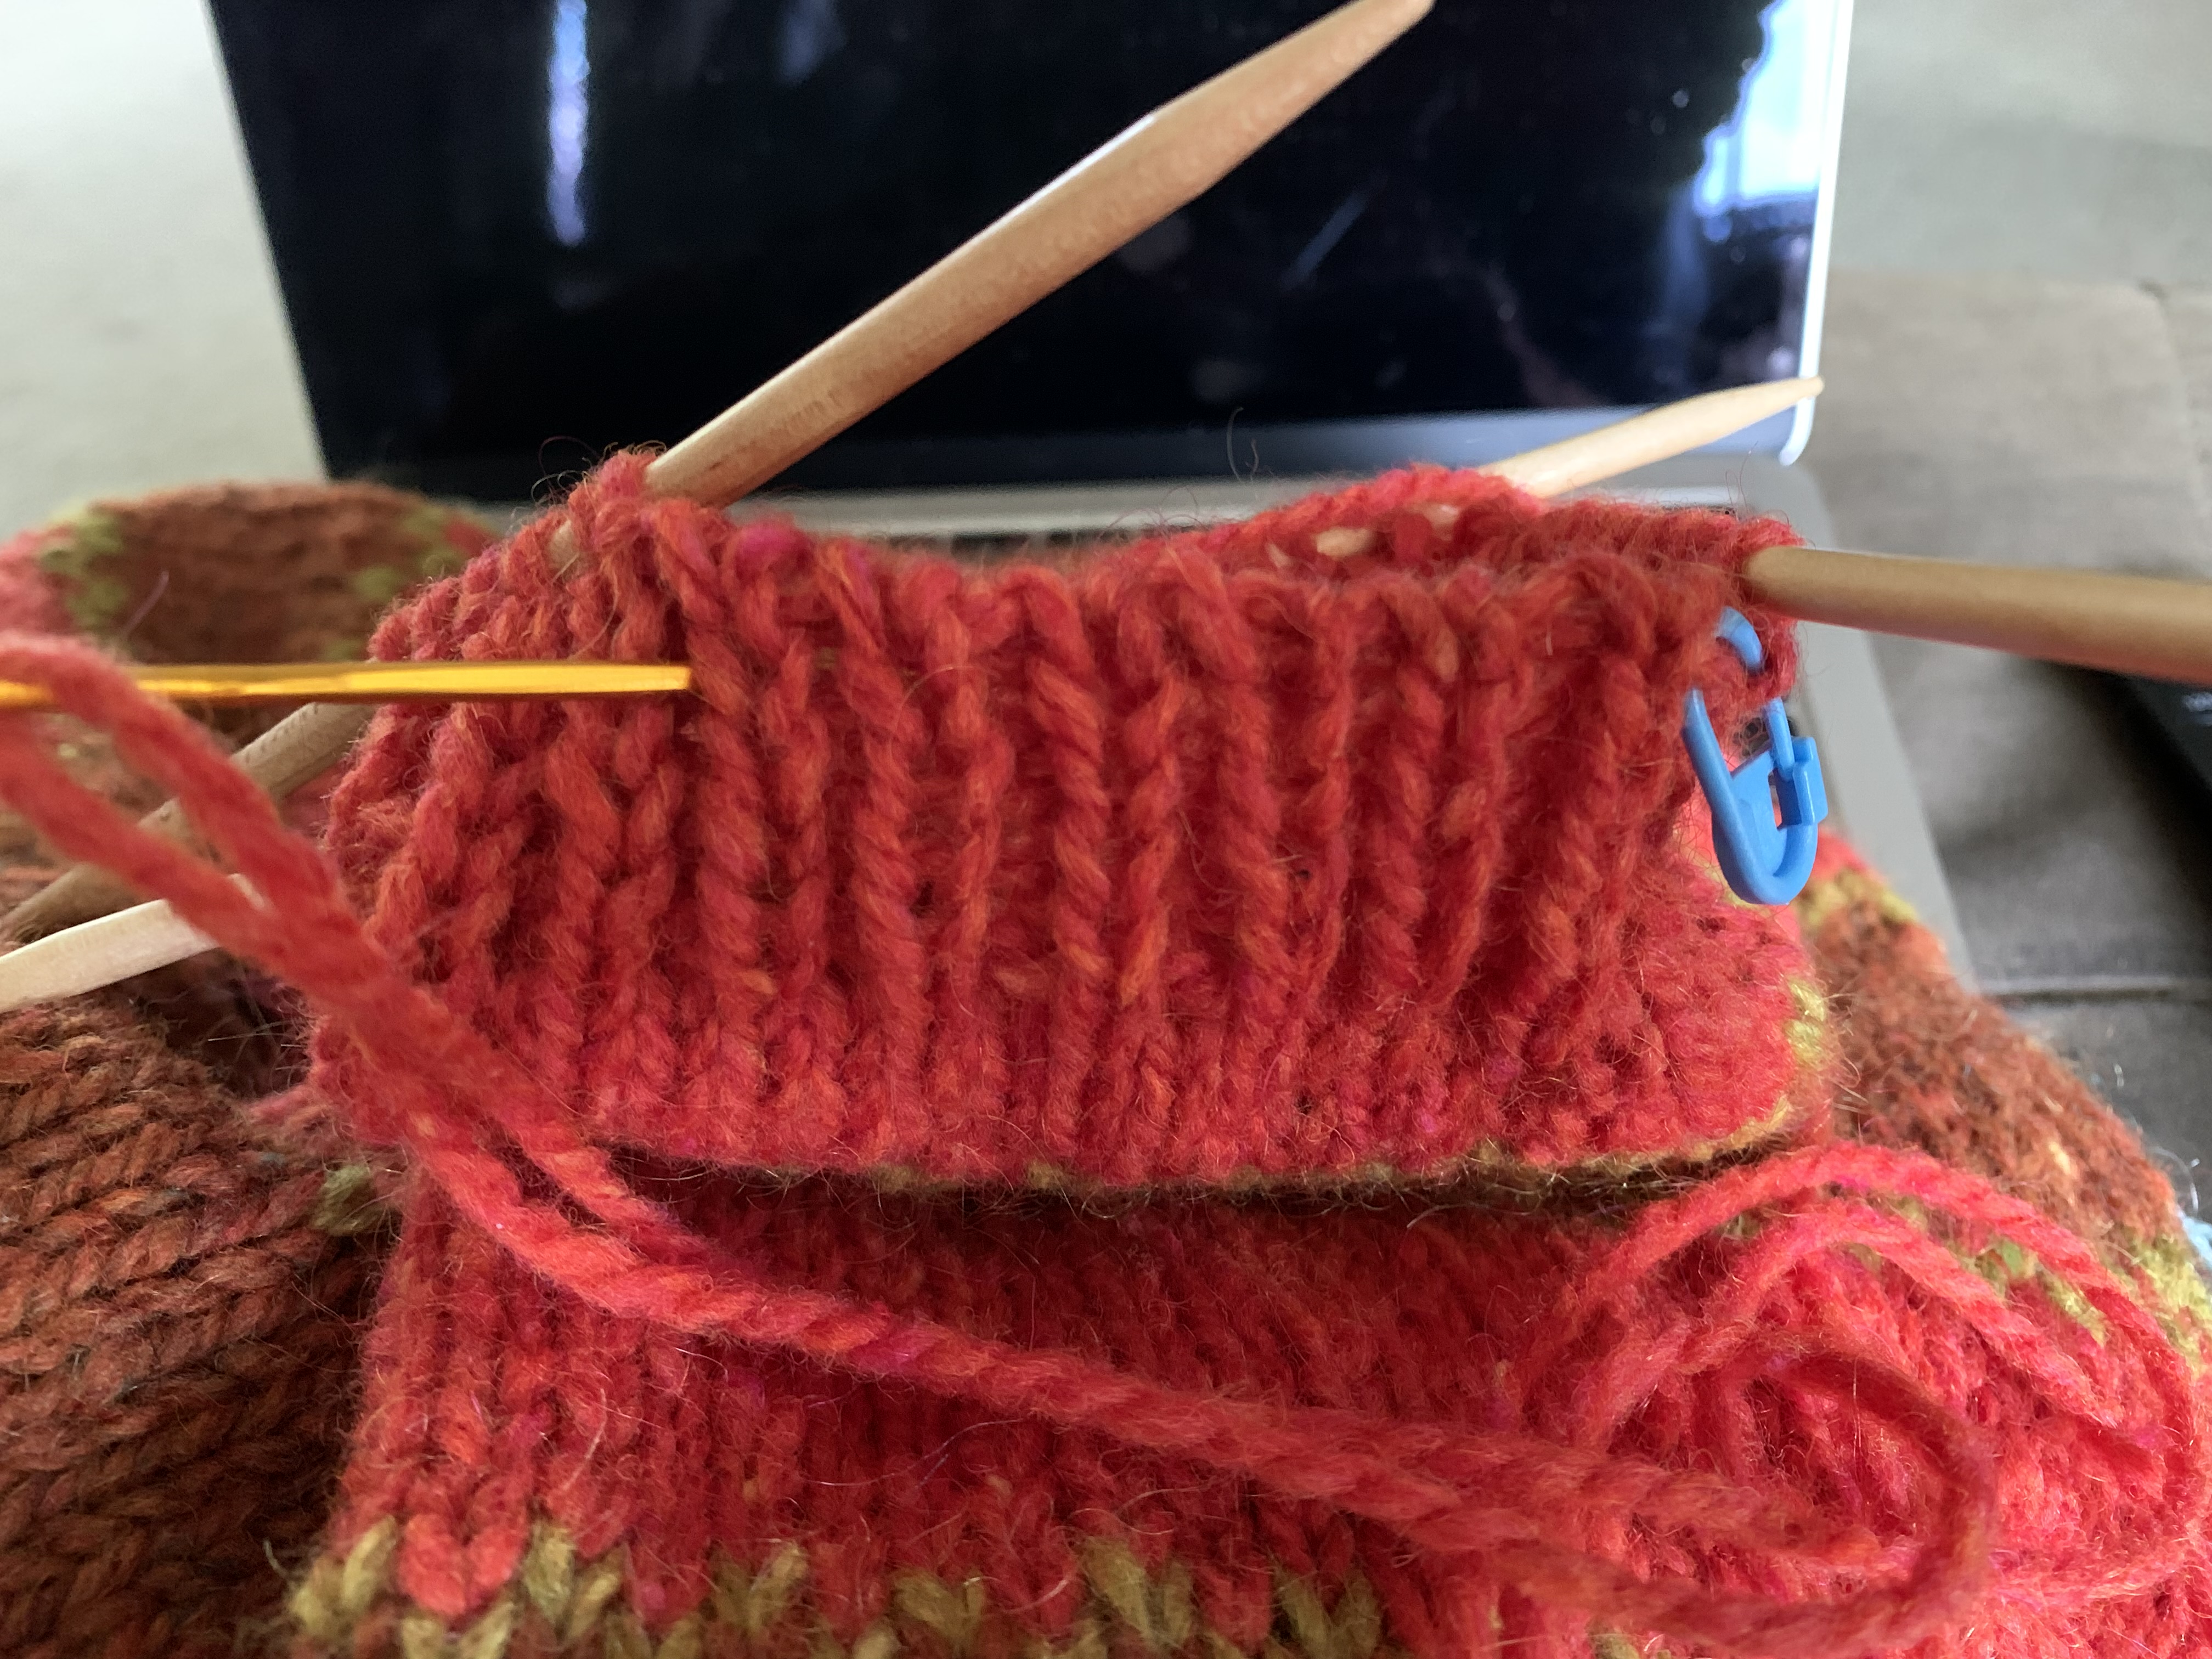
A basic sweater offers a blank palette for trying new things. I liked the wide stripes on Warm Up #1 and kept them on Warm Up #2. This time I added a little border pattern between them using a contrast color. Because this yarn splices very nicely, I changed the main colors (red and brown) by spit splicing.
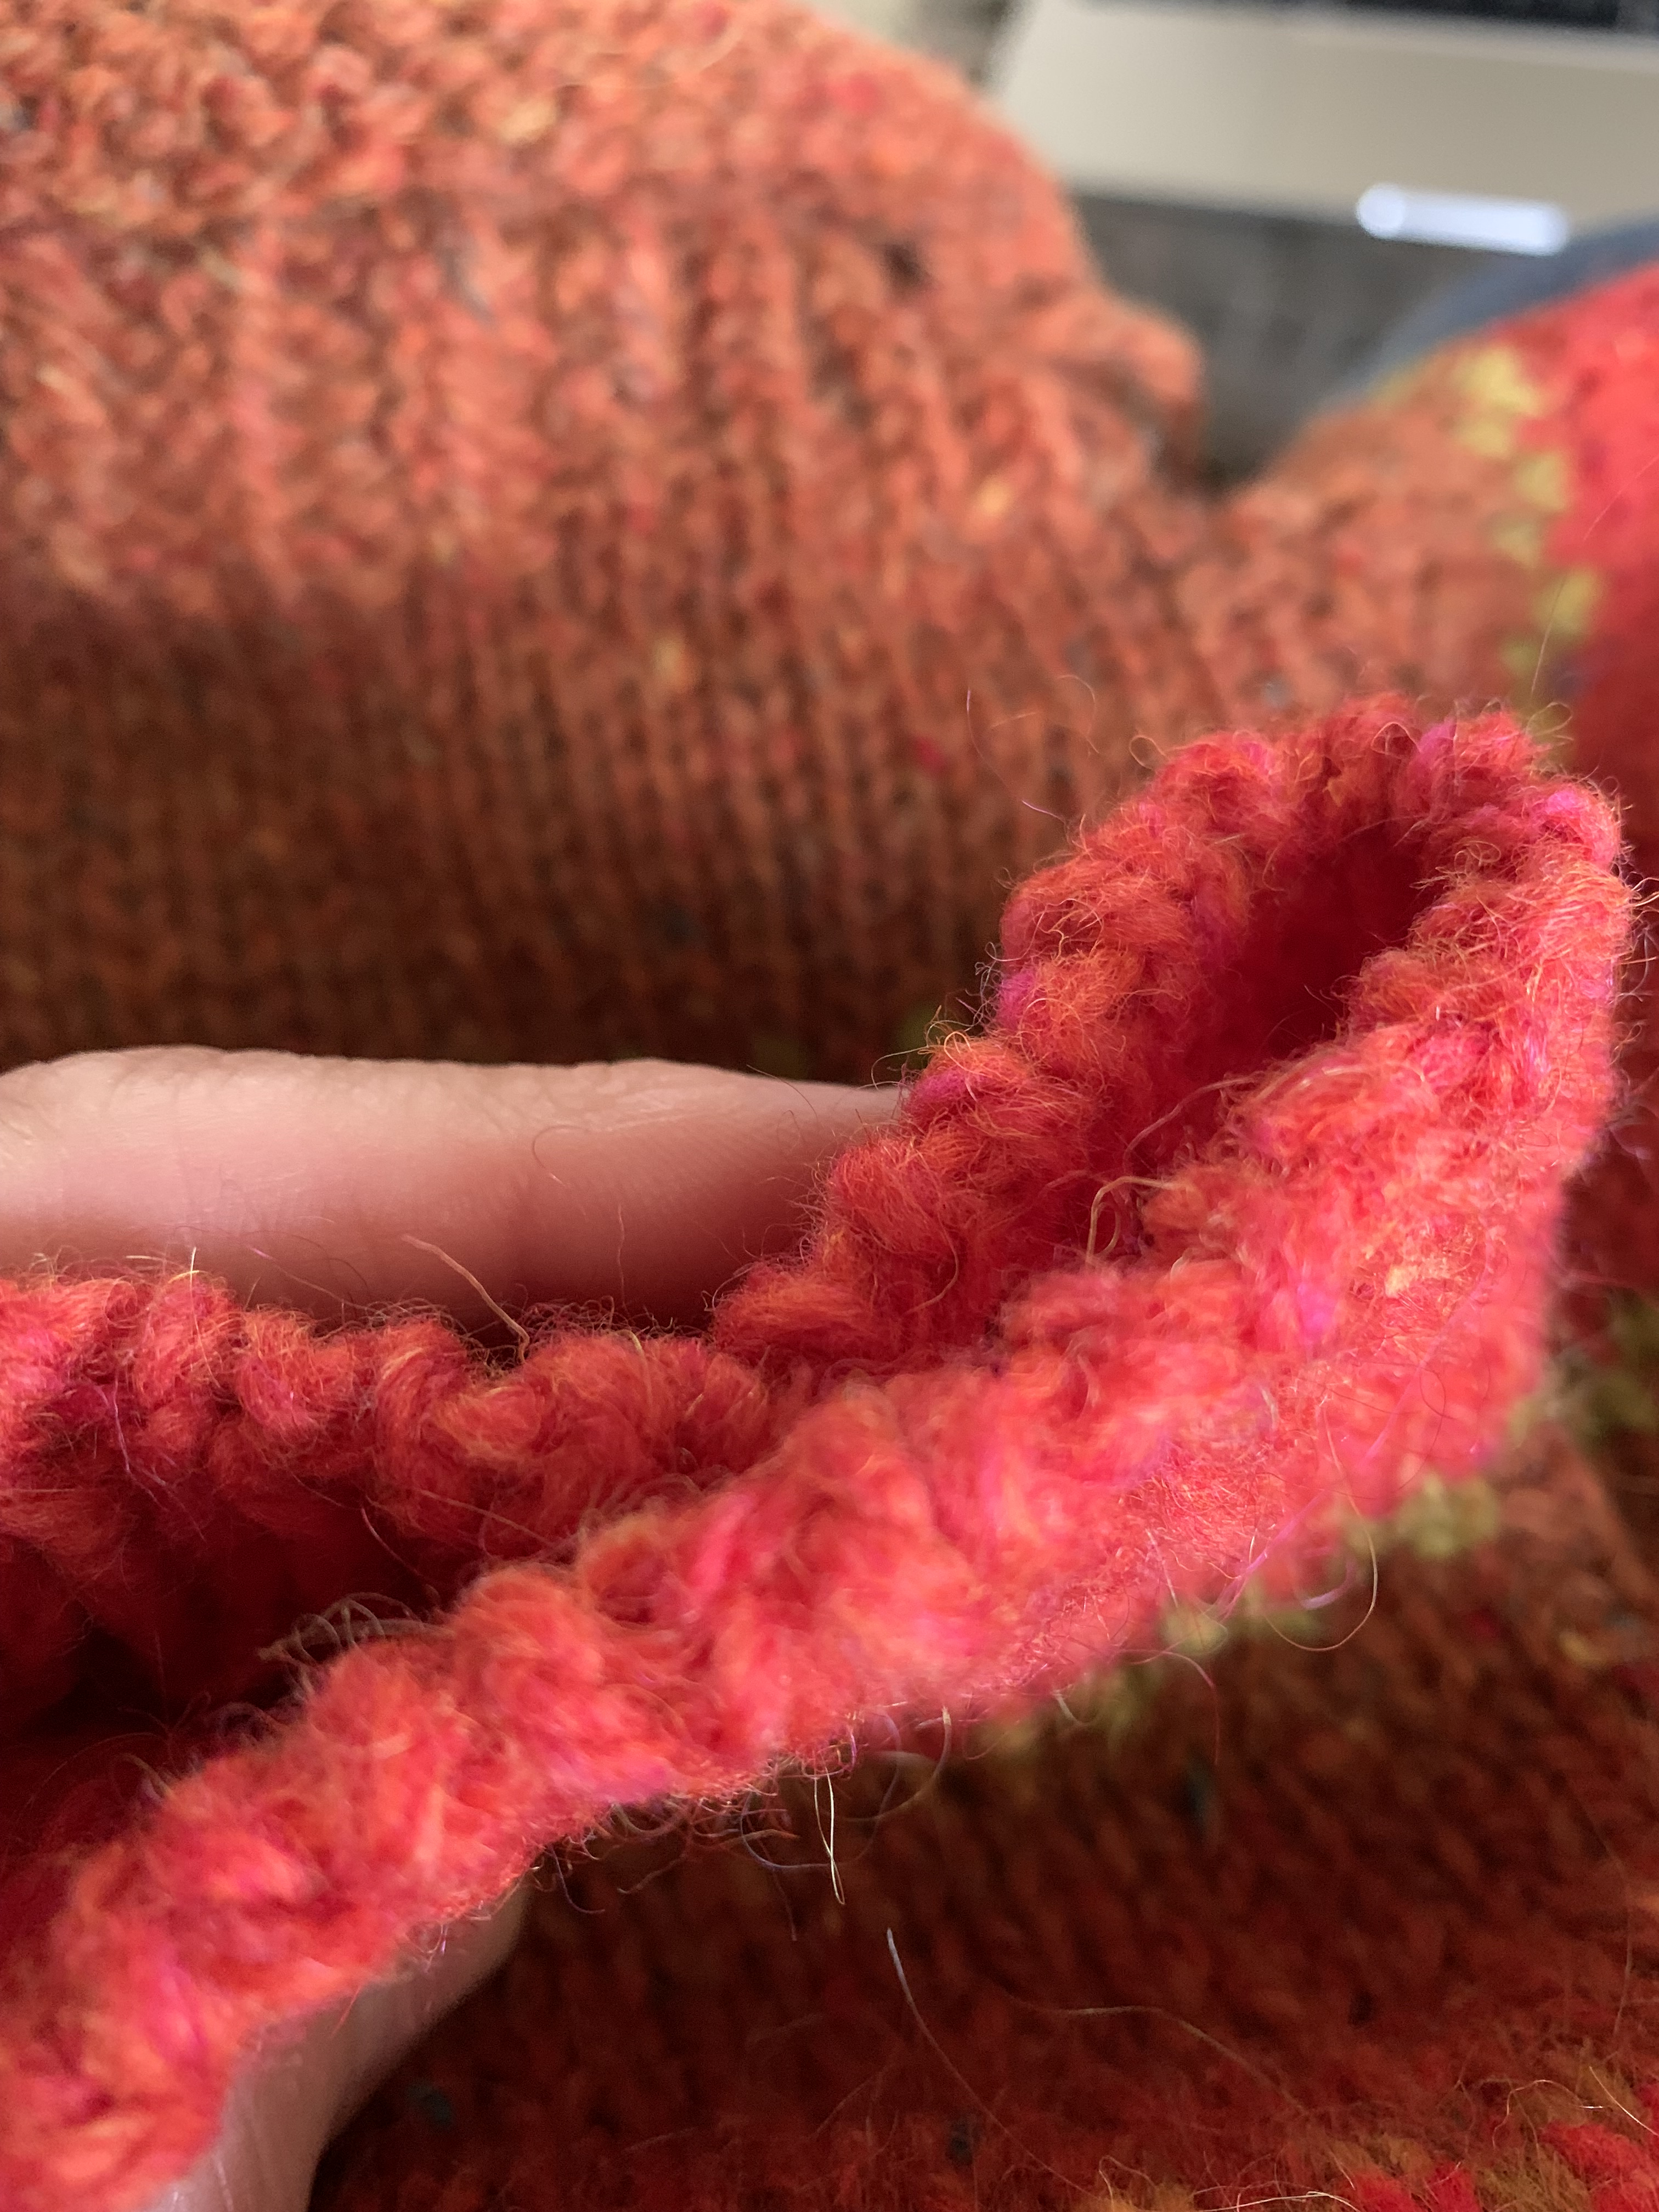
The neck was the only part of the original sweater that I didn’t like. My neckline choice for this new sweater has a little roll and then a rib. I hope I will like it better.
The pattern suggests a twisted rib for the neck, cuffs and bottom. By the time I did the sleeves, some time had passed and I did a regular rib. Mostly because I simply forgot. I forgot to go down a needle size for the ribbing, so it was done with a size 8.
Sleeves are done! On to the body.
The sleeves were knit before the body. I was not sure on the yarn color amounts. While knitting the sleeves, I had a feeling that the whole sweater would be way too big. I was wrong! Once the sleeves were finished, I tried it on. The fit was good. The bulky nature of the yarn makes the pullover seem big.
Tubular Knit Bind Off For Sleeves
If you feel inclined to knit a tubular bind off, please watch this video. The Chilly Dog channel has made an excellent video. It explains, and shows, how to bind off with a needle for 1×1 ribbing in the round. The example is a pair of socks, but it works for any in-the-round 1×1 bind off. I have linked it here for myself as a reminder for when I knit my second sleeve.
This bind off is done with a sewing needle and because the cuff is small around, it is very manageable.
This pullover pattern is from Espace Tricot. It was a free pattern back when I got it. Now it must be paid for, but it’s only around $5.50 US currency at the present time. It is a well explained pattern and a good one for beginner sweater knitters.
Warm Up #1, Brown LettlopiWarm Up #2 Peace Fleece (in progress)
I will update with a finished photo when I’m done. The hot weather is coming. Now that February is here, we are having some very warm days. I won’t be wearing sweaters for much longer. I need to get this heavy, wool project off my lap!
finished knitting and gave it a soak in Eucalyn. Now it’s drying on the mats. I have nearly a whole skein of the brown left. There is quite a bit of yellow, and not enough red to complete the last ribbing.
Three little scarf patterns to knit with cashmere or other soft yarn. These are quick knits, and might be perfect practice for beginner knitters.
Here I am sharing some fun and cute scarf patterns that have recently caught my eye. These patterns seem easy enough for a beginner, if you’ve had some knitting practice, but want to branch out.
If you have mastered casting on and basic knits and purls, choose Sophie. If you can follow knitting and purling by sight to accomplish ribbing, choose Alex. The third scarf, called Scarf No. 4, seems a bit harder, but not much.
The thing about knitting a little scarf, is having a finished project fast. These are not your regular, long rectangle shapes. Each of the scarves on this page are much smaller, and take less yarn to complete. Consider a specialty, soft Cashmere yarn. I have some listed on this page.
Scarf Preview
I’ve begun knitting two of the three scarves listed on this page.
Sophie Scarf garter stitch
Alex Scarf 2×2 ribbing
I’ve begun knitting two of them, Sophie and Alex. That way I can give you first hand accounts of what I think. If you are somewhat of a beginner knitter, I believe you could knit them all. In fact, they would be good practice.
Scarf Style
The patterns are knit from one end to the other. They begin with a cast on and expand to the center width. Then they decrease for the other side. To use up one skein, use the weighing method.
Weighing Method
If you have one skein to use, it should have double the length needed (and then some). Begin by weighing the yarn. This step is crucial if it’s very close to the amount of yarn needed. Find the mid point of the pattern, and begin decreasing when you are just less than halfway through your skein. How do you know? Buy a scale that shows grams and ounces (Amazon paid link). Weigh the skein before you begin, and then along the way.
Choosing Yarn
The patterns on this page are for small scarves. They take one or two smaller skeins of yarn. (Please go to each pattern’s page – I provide links – for more information on yarn needed.) Cashmere, or a cashmere combo, is recommended by all three designers, but any soft yarn would work. These scarves will be wrapped right against the neck, like a fun little accessory. Choose a yarn that will be soft and comfortable right on your skin.
Percentages next to yarn names below are for Merino wool to Cashmere in the yarn. Read this page for information about the reason for combining the two yarns. In short, it is for sturdiness.
Yarn Amounts
Check each pattern for yardage needed for your type of yarn and needle size. In my list below I have tried to figure, in general, yarn amounts needed for the longer scarves.
Alex: Size M: 49 inches = 273 yard ball listed. (219 yards on project page.) BUT this changes according to yarn weight and needle used!
Scarf #4: One size: 49 inches = 219 yards (or more) of yarn total.
Honestly, all three scarves gave me a headache while trying to figure out how much yarn I needed for each. “Alex” lists grams and yards, but uses three different weights and needle sizes for each of the three scarves. “Sophie” says 35g. needed of Compatable Cashmere @ 25g. balls. (so 2 are needed, if I use this specific yarn). “Scarf No.4” lists everything in grams and meters and I had to figure the yards.
We all knit a little differently. Also, remember that if you prefer a longer scarf, the yardage will be more. It is always better to have a little more yarn than needed.
Prices are listed here, but remember that they will no doubt change over time. I’ve listed them to give you an idea of the cost of knitting with a special – in this case Cashmere – yarn. Please note that when I purchased some of these Cashmere yarns, the skeins weighed in at less.
Lang Yarn Cashmere Premium – 100% Cashmere with chainette construction for holding shape. -Around $28 per skein for 125 yards. (two skeins needed for longer scarf) – save 10% at WoolandCompany on $100 or more & they have free shipping in the US ❤️ for all orders. * I ordered some of this and the 25 gram ball weighs in at 23 grams.
Pascuali Cashmere Charis 70%/30% Mongolian Cashmere– cost around $30 for 122 yards (50g.) – you need 2 for the longer scarves – More for Alex. *My balls each weigh 48 grams, not 50.
The Alex Scarf (link to pattern below) is a pattern by Pernille Larson, aka Knitting for Olive. This is her page at Ravelry. The business is run by her and her daughter. They sell yarn that is not mulesed (look that up). They use only pure natural fibers. They also create really lovely patterns of all kinds, and have lots of knitting patterns for babies and children.
I thought that some new Knitting for Olive yarn would be nice to have. I wanted to make the scarf with their Merino held with Cashmere. Then I looked in my spare bedroom at all the yarn just sitting there….. I passed on the new order (boo hoo)and chose to use up some old Miss Babs yarns.
Miss Babs Tarte & MohairBeginning Alex Scarf
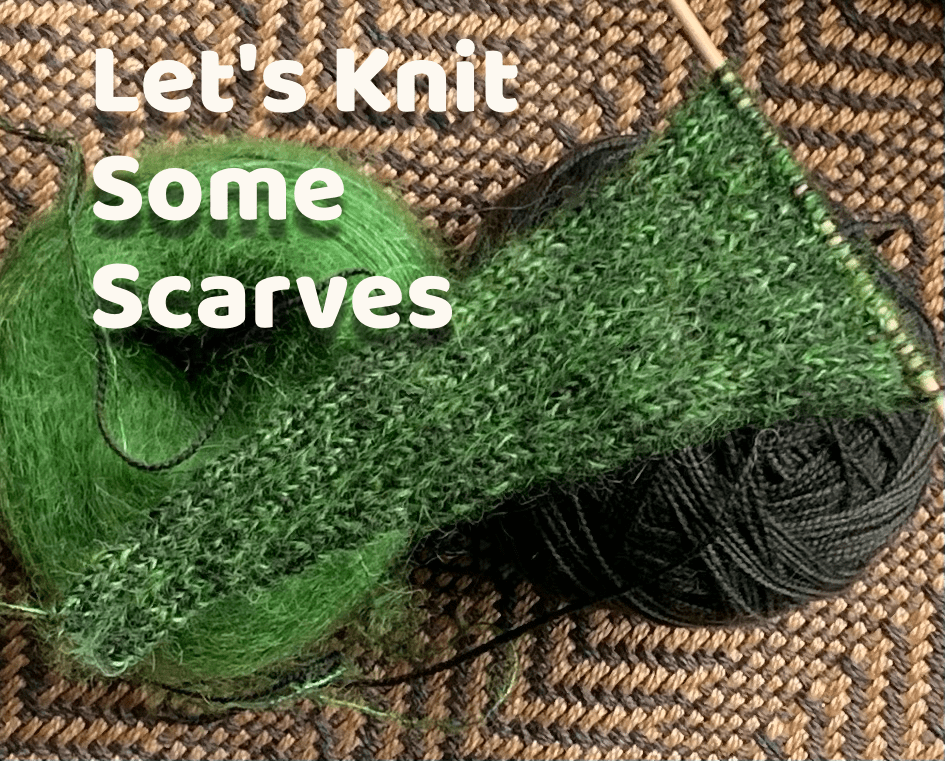
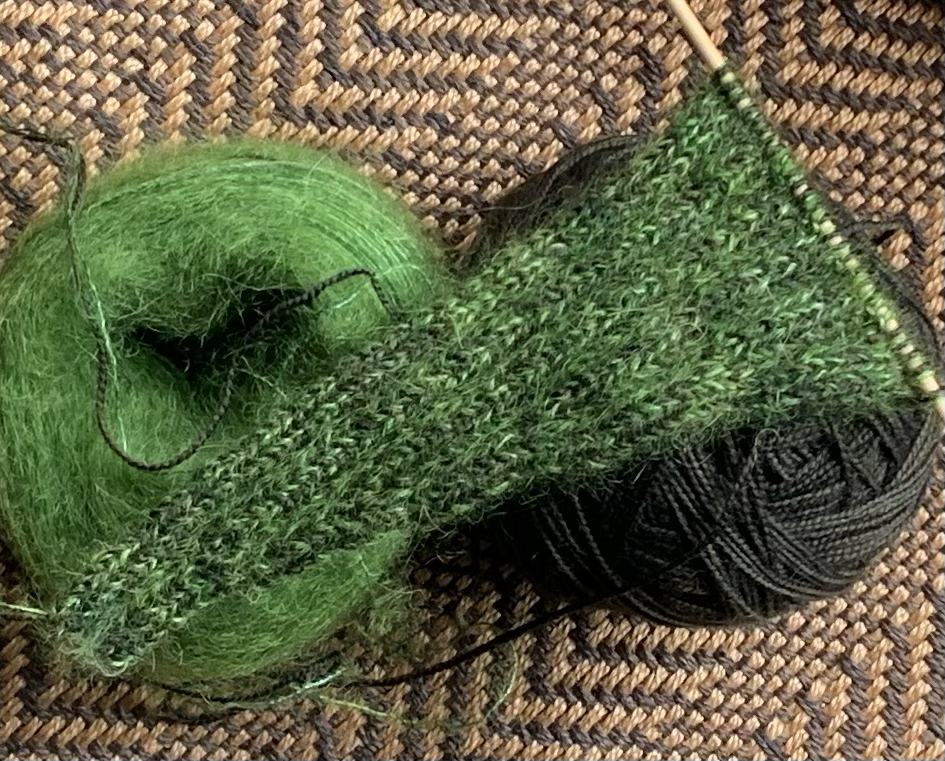
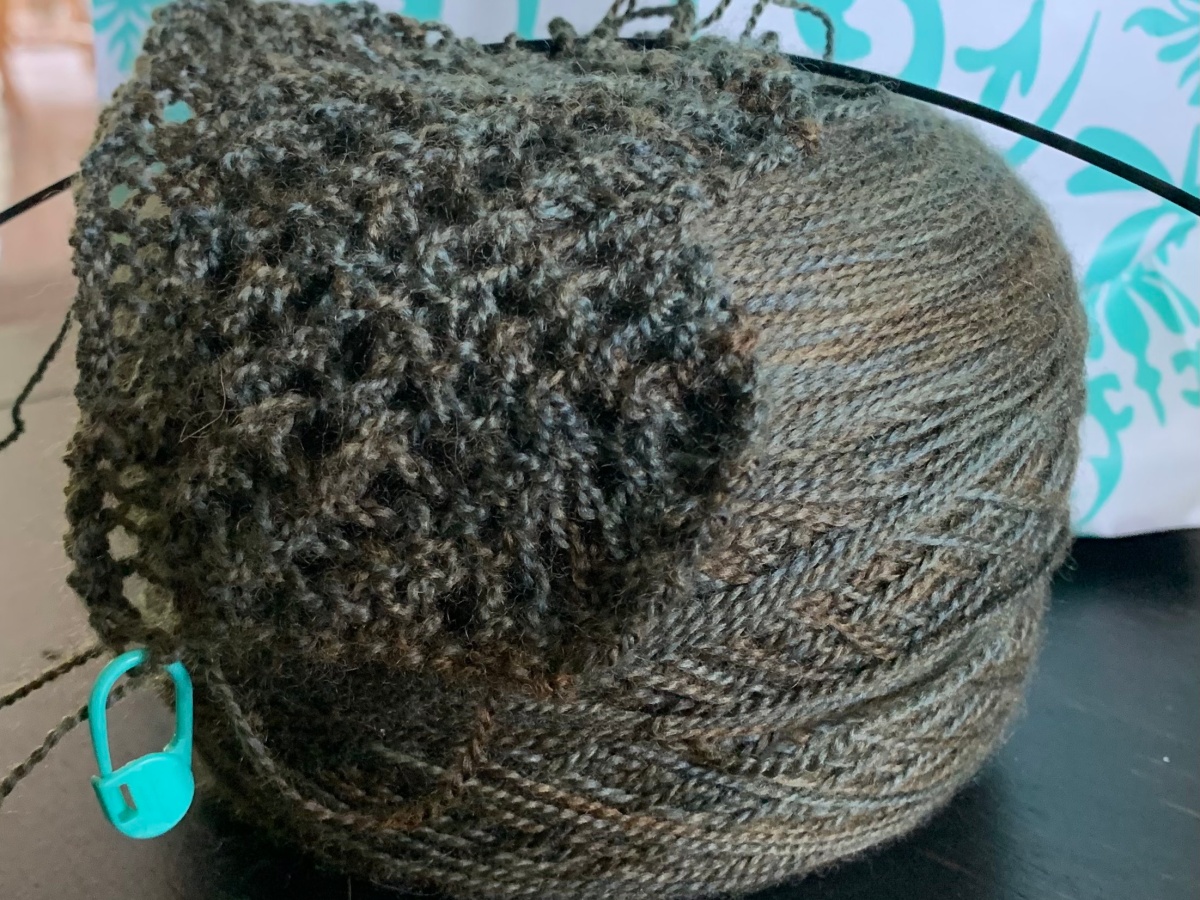
From my stash I chose a dark brown-green “Lobster Legs” colorway, in Superwash. The skein contains 400 yards, which is plenty for the Medium size scarf. I also have some green mohair to use up, so I combined the two. The color was nice, and the pattern is great. But as I knit on, I am wondering if the Mohair will be too scratchy.
One ball of Knitting For Olive Merino with 273 yards, held with 2 balls of KFO Cashmere is suggested.
Mohair is not really a good choice when something is worn near the skin. I’m not super sensitive to wool, but mohair – especially certain types of mohair – can be itchy and uncomfortable. This scarf is turning out to feel that way, so I may not continue with this yarn. I do love the pattern.
The Alex Scarf pattern can be purchased at Ravelry. The pattern includes three sizes and various yarn weight options. Only Knitting for Olive yarns and amounts are used in the yarn section. One ball of KFO merino is 273 yds. Only one ball is used for the Medium size scarf.
2. The “Sophie Scarf” by PetiteKnit
The Sophie Scarf (Ravelry pattern page) is everywhere it seems! According to the pattern page, 25,000+ knitters are knitting, or have knit, this scarf. It’s a cute, and easy, pattern that takes DK yarn. Size 4 needles are suggested, and the pattern is for 2 lengths. It is done in garter stitch (knitting back and forth) with I-cord edges. The designer gives it a 2 of 5 difficulty rating. Knitting this scarf is addictive!
You will need to: Knit front and back for increases, and manage the decrease stitches. This is not difficult. The edging is I-cord, which is also easy. As you knit along, the edge is created. Keep good track of the rows when you begin so know when to increase and decrease. Those should all be made along the same edge. Use a marker to designate the “front” of the work.
Yarn required for the Sophie Scarf is 101 yds. (small size) or 140 yds. (large size) in DK weight.
The Sophie Scarf pattern offers two sizes. I am knitting the longer version. The shorter scarf will come around from the back and tie in the front, more like an accessory, or accent. The longer version will wrap twice for warmth.
To show you the scarf as it is knit, I cast on using some stash yarn. This is Lorna’s Laces Solemate, and it is a very soft, machine washable merino, nylon and Outlast. I believe it is fingering weight, and I am holding it double. I went up to a size 5 needle. I really want to use up this yarn.
Sophie in white, 2 strands held together
Lang Yarn, Cashmere Premium in color Olive Melange
3. Pattern For “Scarf No. 4”
The third scarf, from “My Favorite Things knitwear” is named Scarf No. 4. It is also knit from end to end like the others. It is a long, triangle shape with a textured pattern. I have not knit this one.
Nice texture using simple stitches
Yarn needed is approx. 219 yards DK weight.
Yarn suggestions for this scarf are pretty much the same as the others. The cashmere mentioned is Lang Cashmere Premium, Compatible Cashmere lace (use two strands together). Or search for yarn that contains cashmere along with merino, silk, or other soft fibers.
This scarf has a different type of edging called “distitch”. It is not difficult to do. There is a YouTube video link included with the pattern. When I search “distitch edging” then I can see it here.
Scarf No. 4 is written for one size. Approximate length will be 49 inches. Yarn amounts are listed in grams and meters, but on the Ravelry page I see 219 yards.
Skills to know are yarn overs, knitting through the back loop, increases and decreases and distitch edging. Also knitting and purling in pattern. The directions seem easy to understand. When you see “est” in the pattern it means “edge stitches”. This is explained, but I missed it at first.
The Three Scarves Links List
In closing, I’m adding the links to all three scarves once more. Each link goes to the Ravelry page where the pattern is for sale. Also, find more information from the designer about yarn ideas and amount needed. Read reviews by knitters, and find out what types of yarn they used.
My goal is to use up some nice yarn in my stash. Have only one skein? See if you can use it to knit a comfy and usable neck warmer. These fun, cute projects make excellent take-along, travel knits. They are perfect for gift giving to special people too.
Last year, in 2024, I completed three sweater patterns that I absolutely love.
During 2024 there were a few hand knits that have become my favorites. I knit four sweater patterns and a couple of hats. The hats are not worth mentioning. Three of the sweaters turned out to be favorite knits of mine. The links go to my pattern review blog pages.
Calliope 2
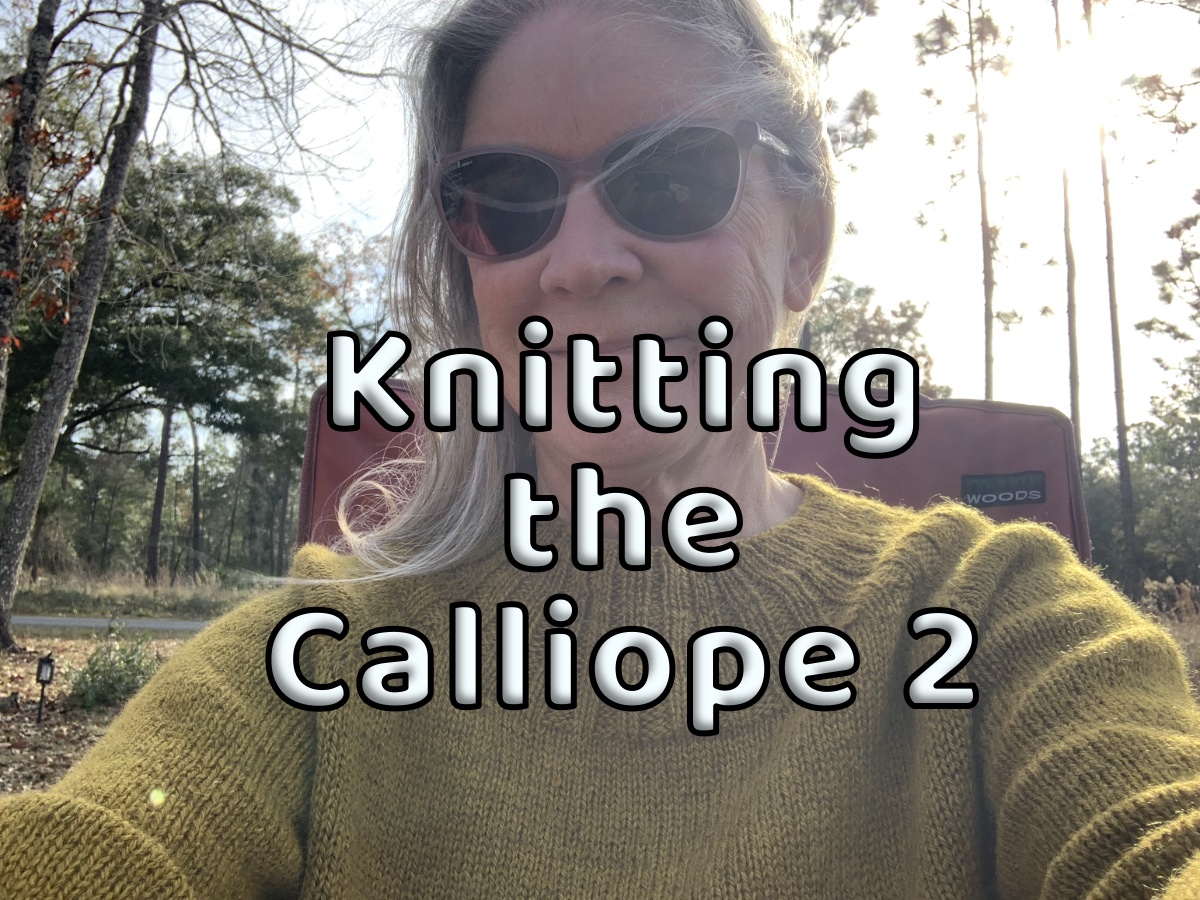
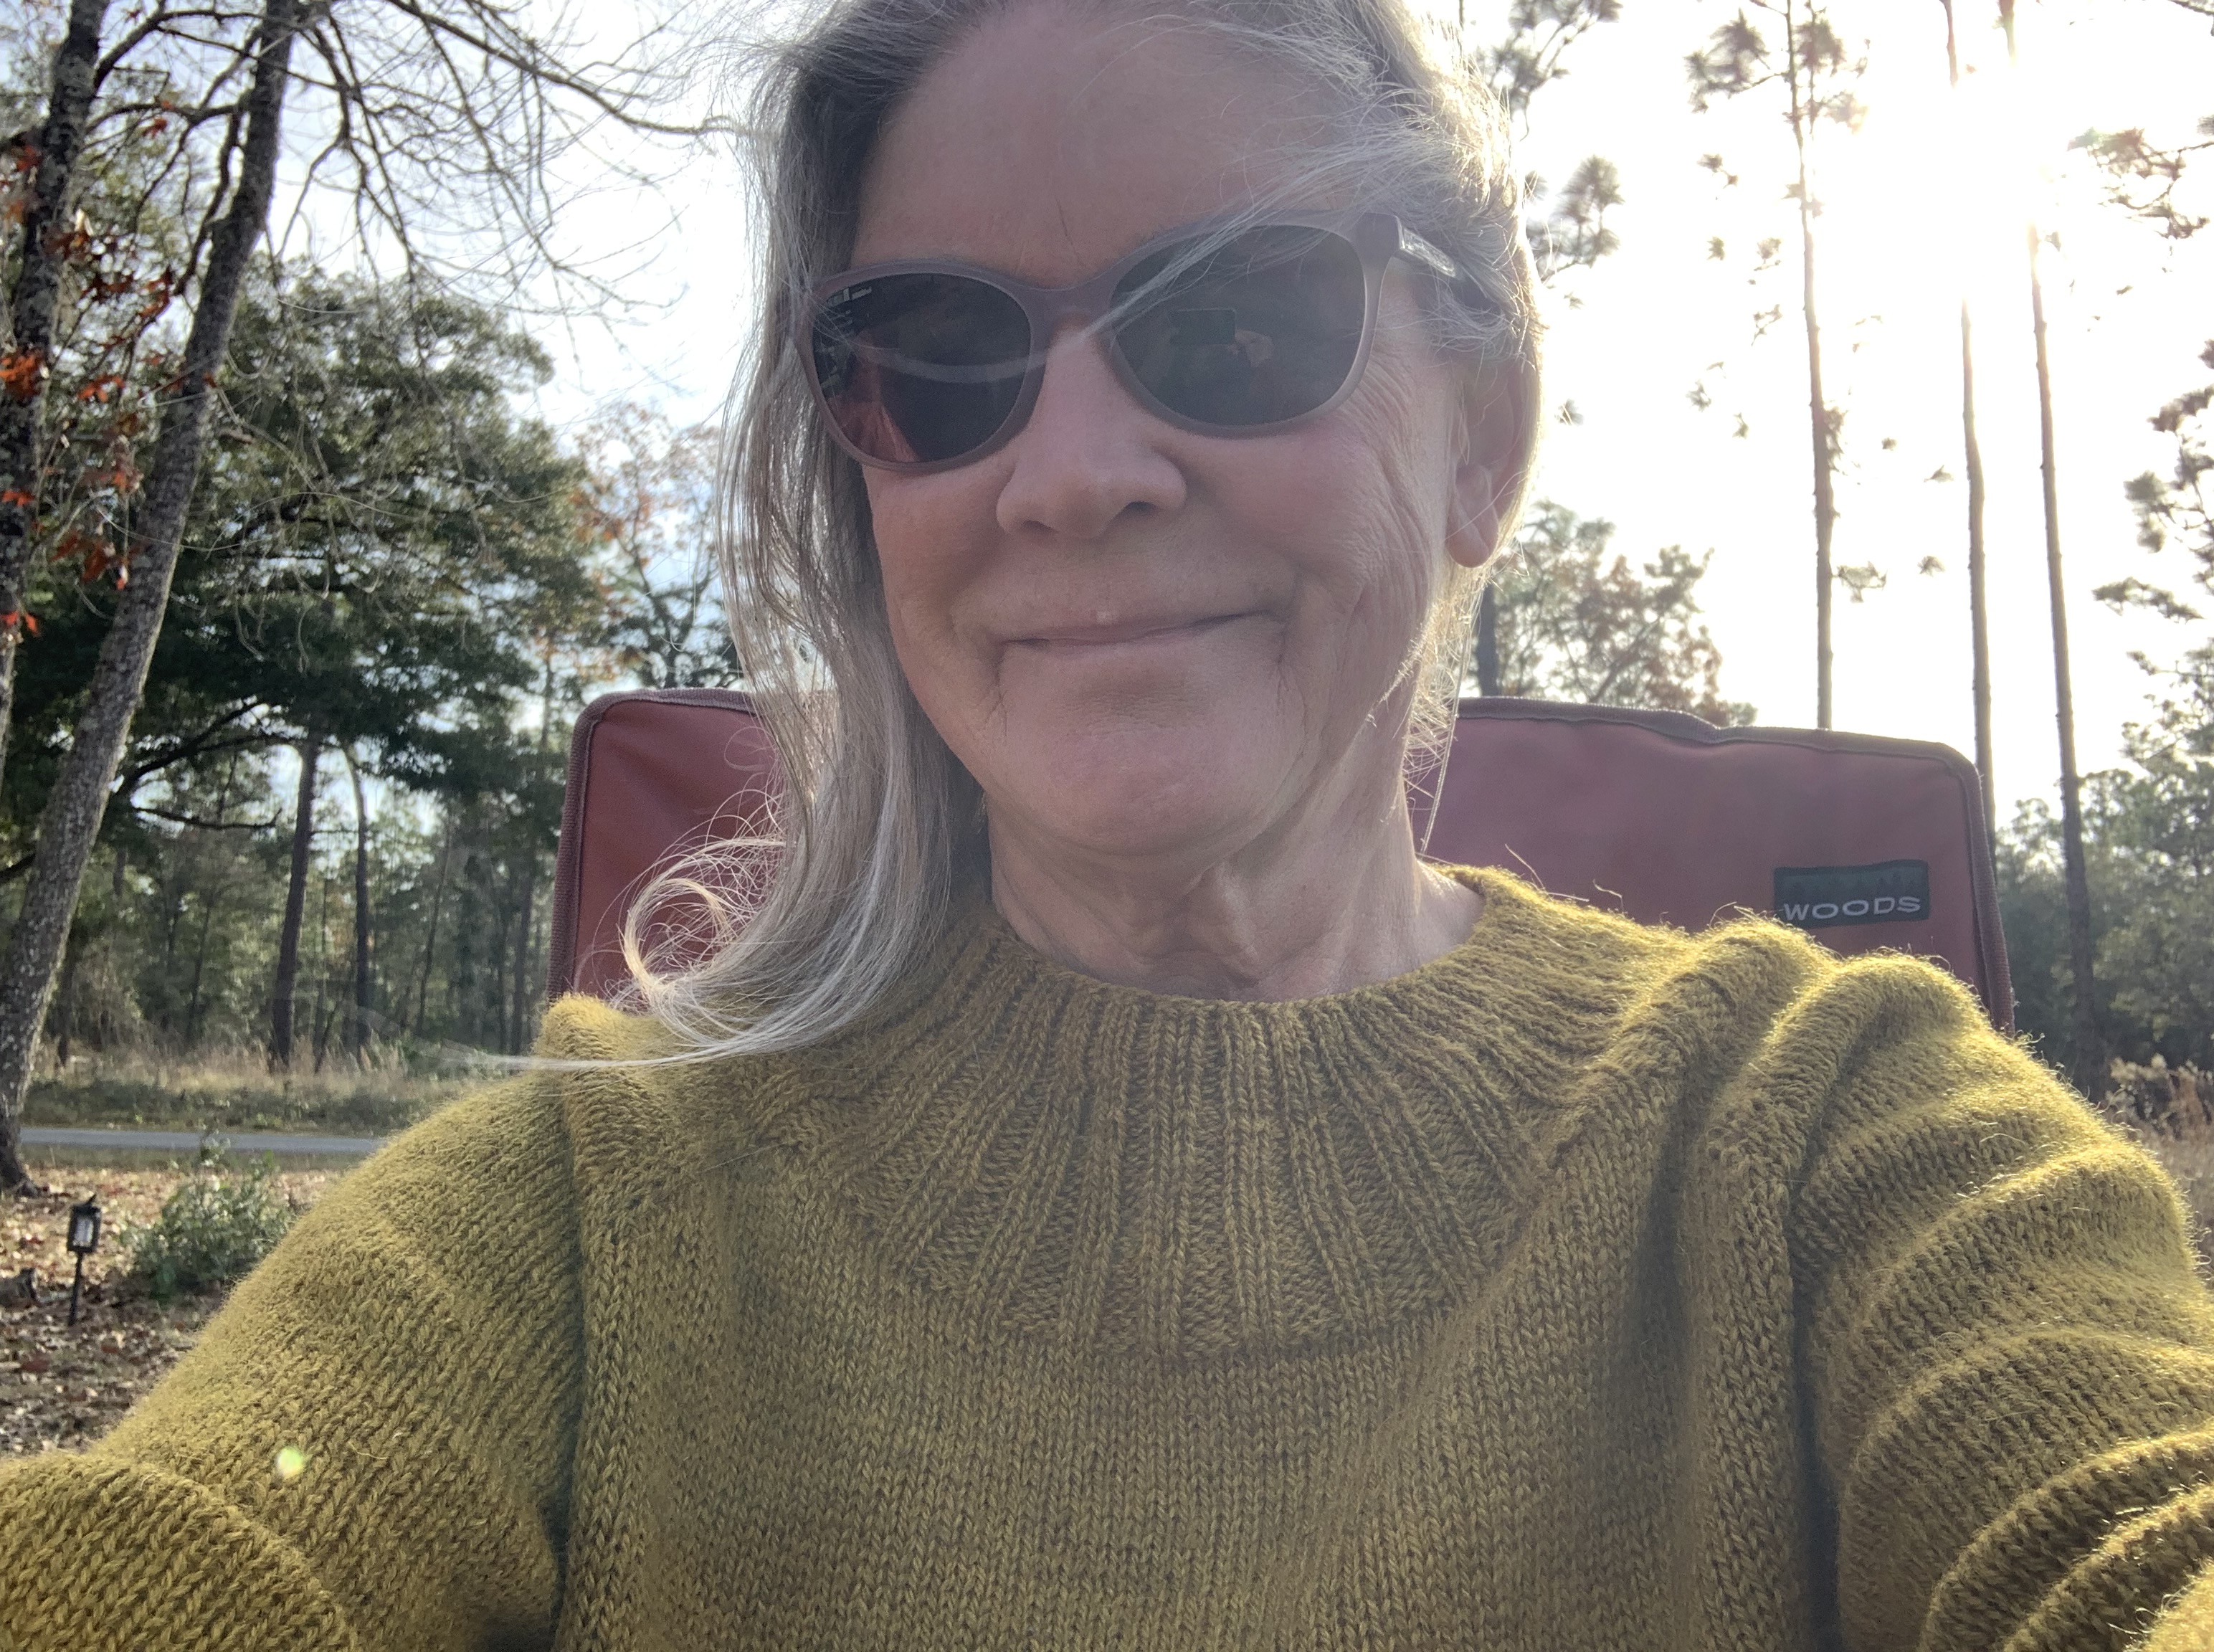
The Calliope pullover is so nice. This was my second time using this pattern. I love the gold color and the yarn makes a really nice fabric. It was my first time using Sunday Morning yarn by Sonder Yarn Co. and I ended up loving the result. I did make some pattern changes on the sleeves and hem.
Cool camping dayCalliope
Rebel Cardigan
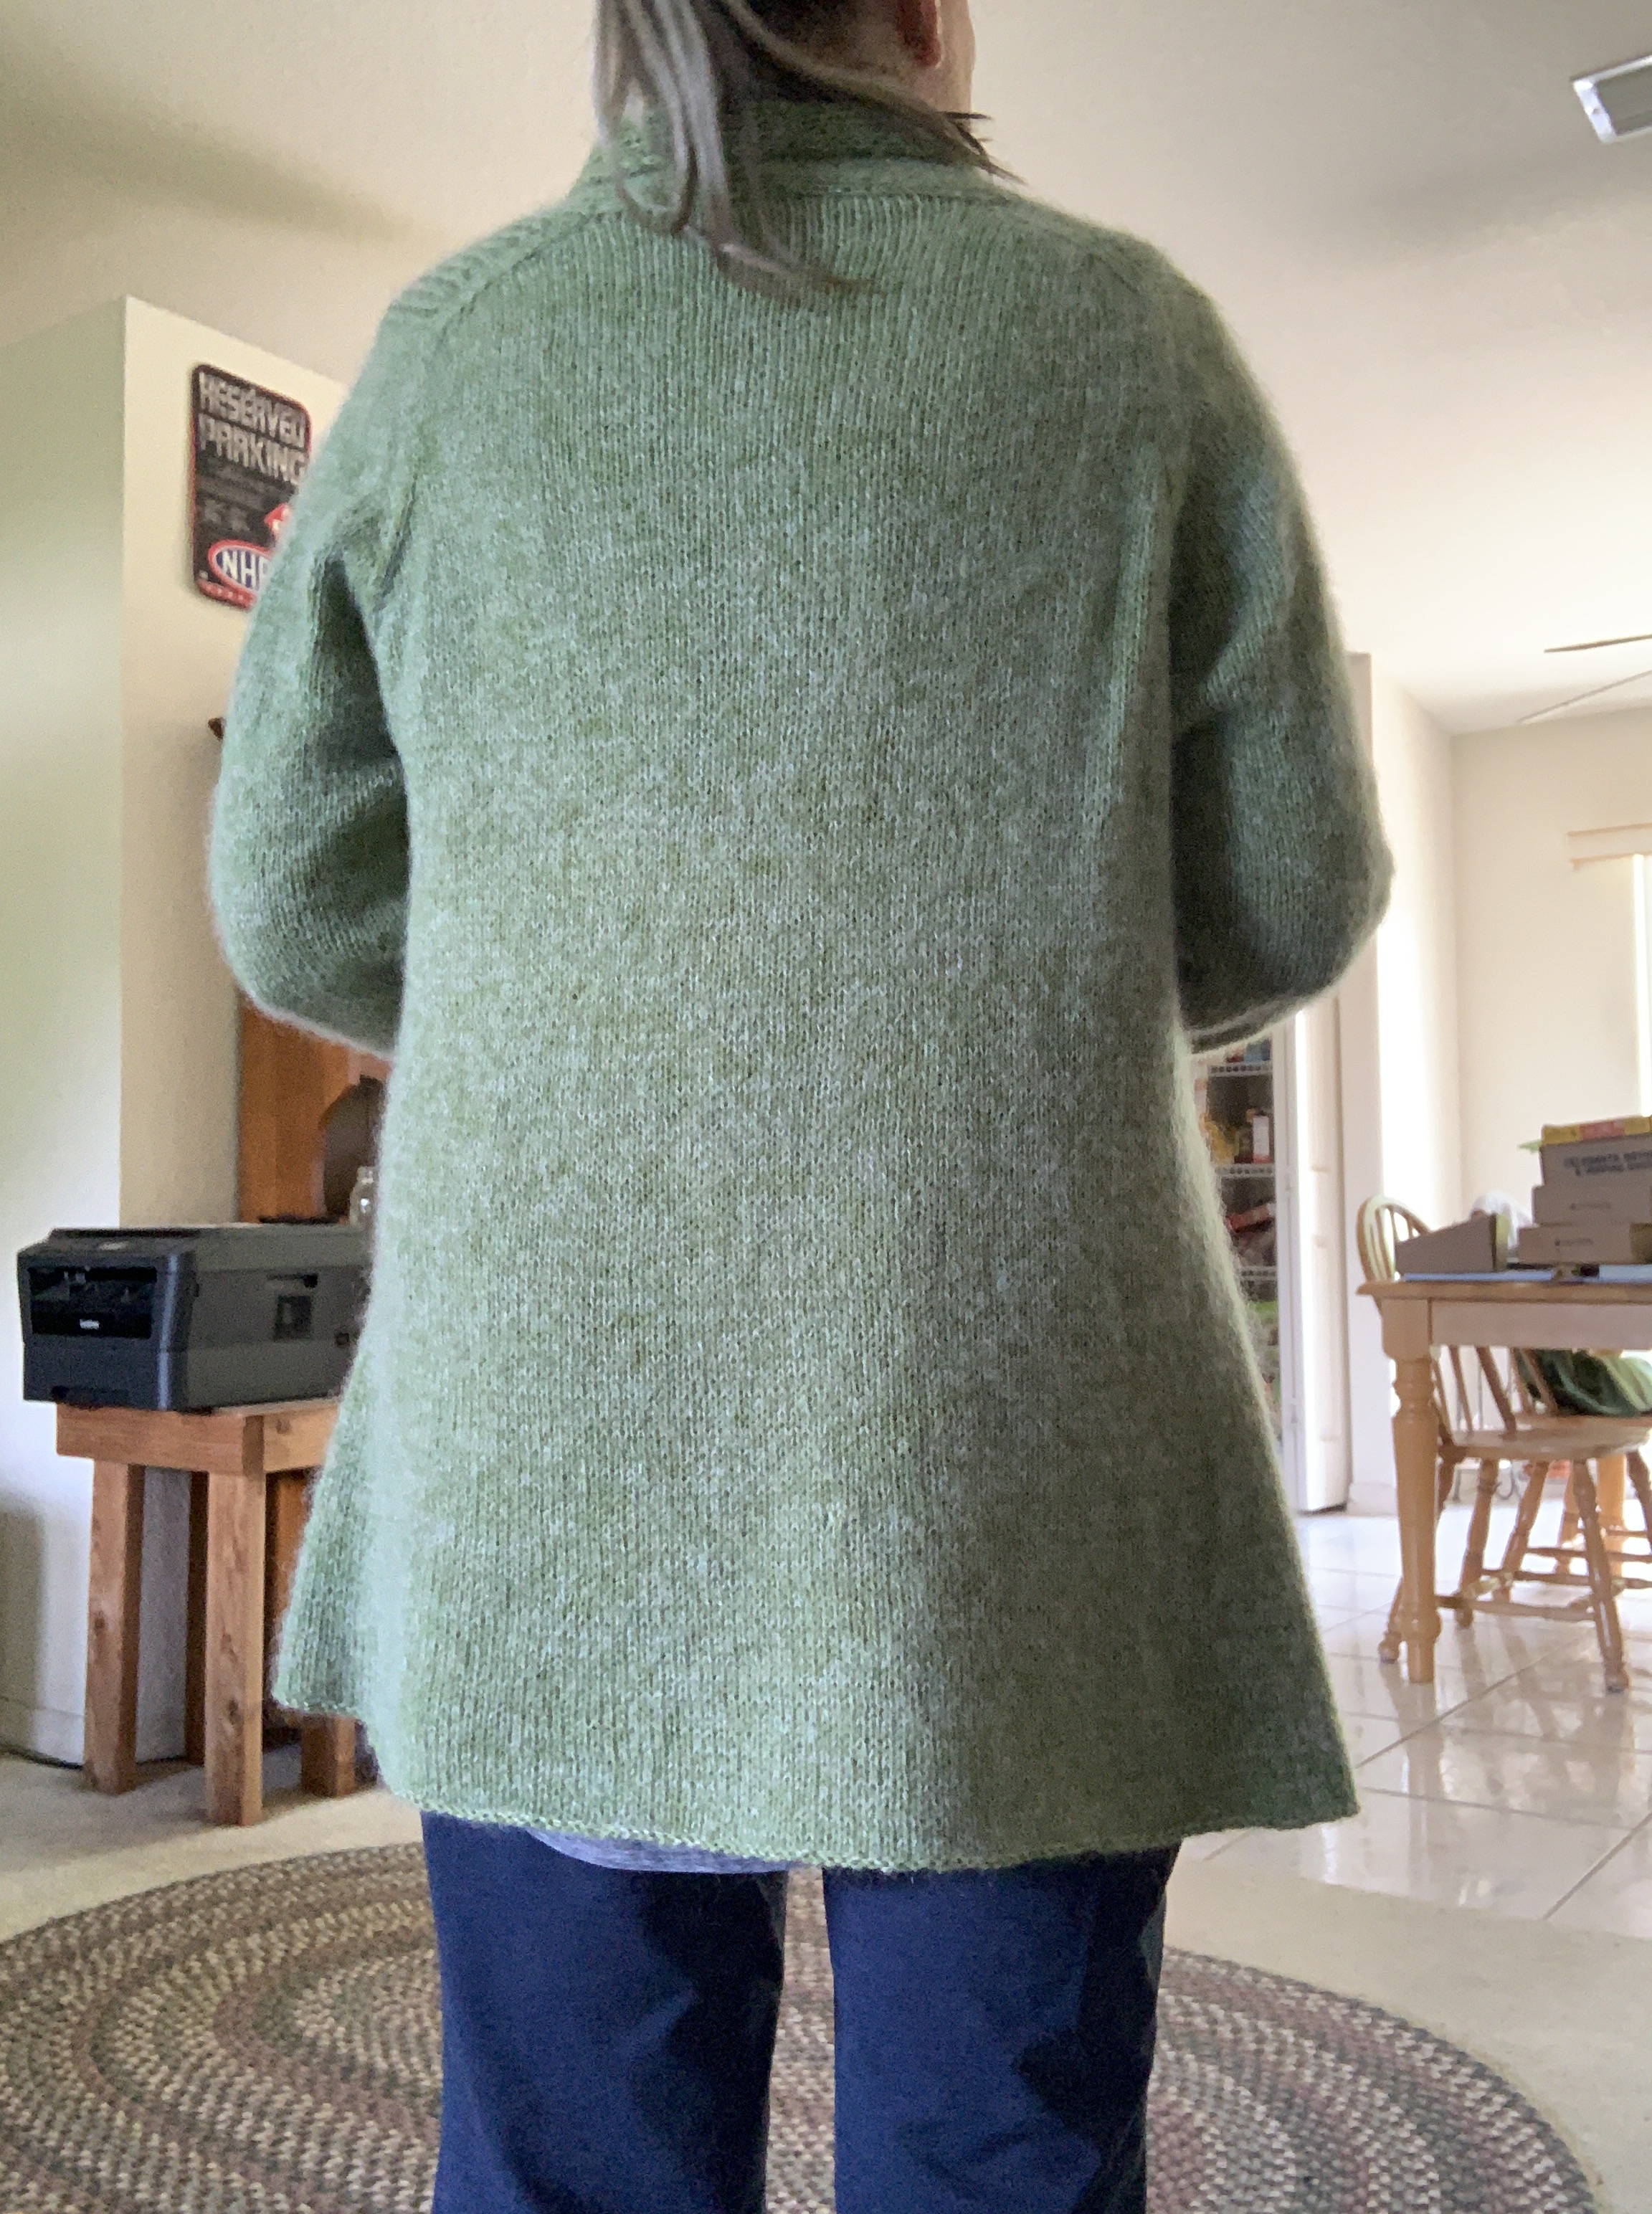
This cardigan pattern by Ankestrick is definitely a favorite. I finished knitting the beautiful sweater in August. Once the weather turned cool in November (a few days at least) I pulled it out. I’ve been wearing it all winter. The Rebel Cardigan is very cozy and warm.
The Field Sweater
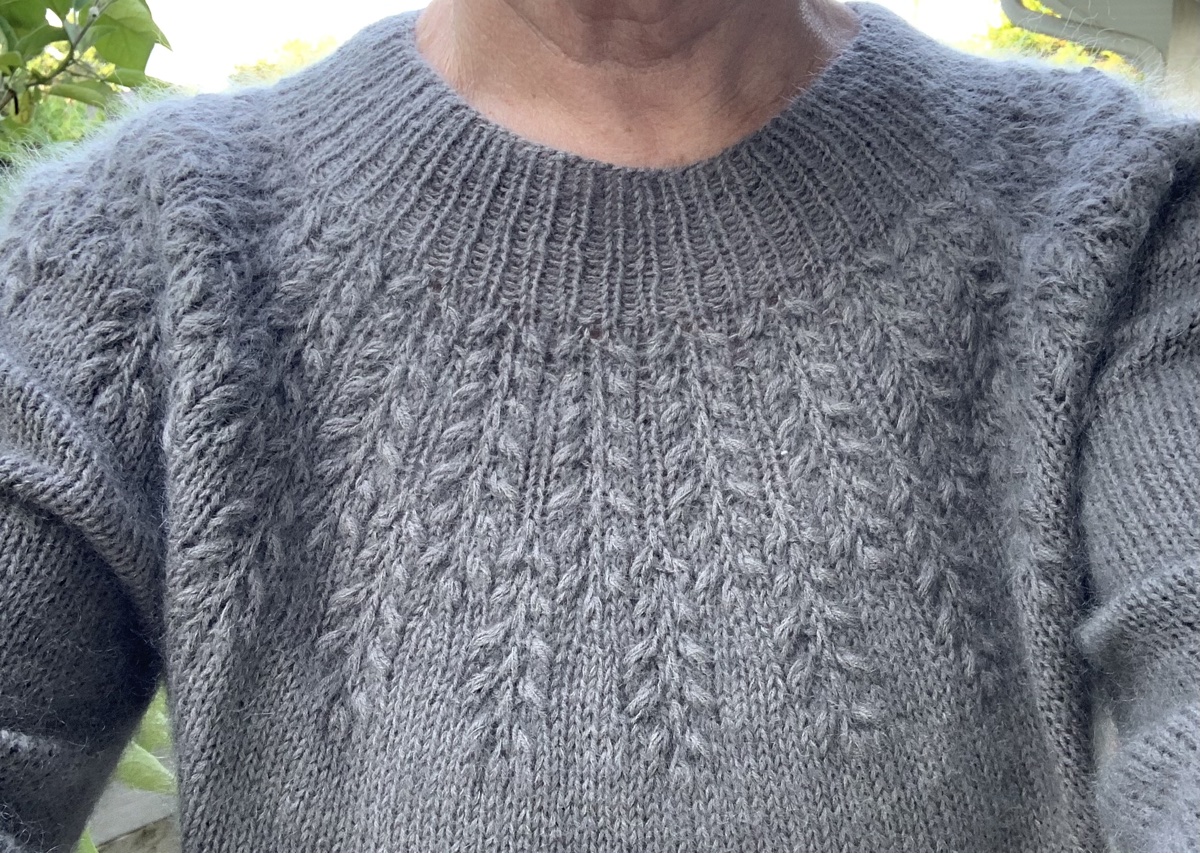
When it came to the Field sweater, I loved the look, but was unsure I could accomplish it. This was probably the most difficult pattern I have knit so far. The whole yoke was made up of special stitches that took a lot of time to complete. It turned out so lovely and it is a sweater I am proud of. The fit is perfect.
Field sweater
New Techniques and New Yarns
In 2024 I knit two sweaters that used double yarns. I held mohair with merino for the Rebel cardigan and Field sweater. I also learned some new techniques and met some challenges. Each of these sweaters took a while to finish.
I did knit one other sweater called the Autumn Alpine. I am not super happy with it. The neckline wasn’t good, and I tried to fix it, without much luck. I ended up doing short sleeves just to be finished. I’ve never worn it.
Autumn Alpine
Sweaters begun in 2024
The sweaters I have on my needles now, that were begun in 2024, are as follows. The links to my Ravelry pages for each. These sweaters should be finished in 2025.
Birthday61 – Size 1 needle, half-fisherman’s rib. A long project.
How did your knitting go in 2024? Have you made anything special, or learned any new knitting techniques? Maybe you have knit these same sweater patterns. I’d love to hear about what you made.