Fall Knitting Projects to Inspire Your Creativity

I can only imagine the cool, crisp Fall air swirling about my head and filling my lungs. I miss New England always, but especially at this time of year. Knitting season has arrived, and I know my fellow knitters are excited. I am excited also to see all the new patterns.

Prospective Projects On My Fall Knitting List

I’ve been a bit down on knitting lately, and it has nothing to do with the summer season. In Florida, it’s either hot or less hot, so I’m pretty much always knitting during non-sweater weather.

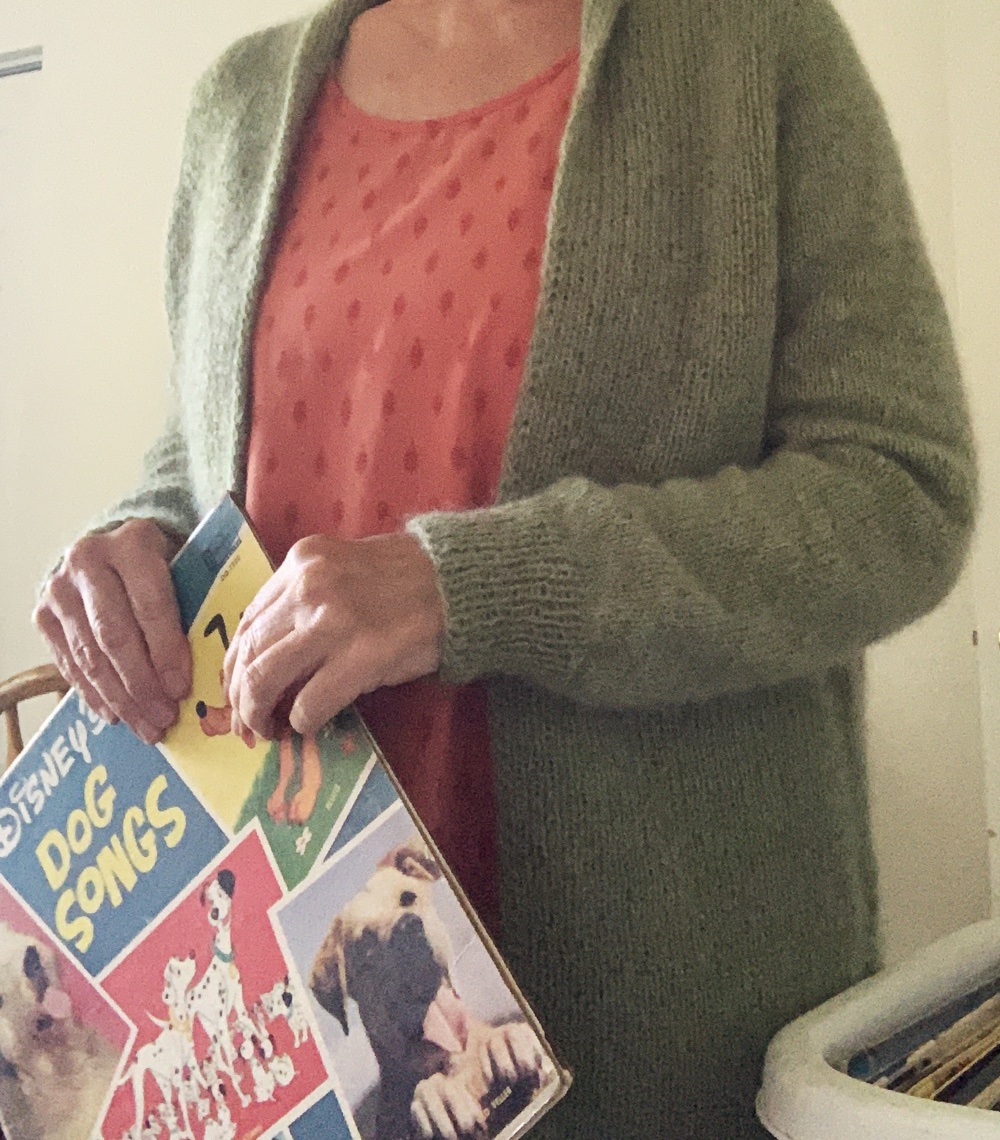
My last few finished knitting projects have not thrilled me. I’m currently knitting a big, over-sized sweater (it’s really big) that has lost my interest. The recently finished Rebel Cardigan is very nice, and I do look forward to being able to wear it.

For the sake of having something to do while I watch TV, I’m doing some colorwork on a tube scarf. I’m making the designs up as I go, which is fun.

Tube colorwork scarf
Fun colorwork tube scarf.

Little Projects to Consider

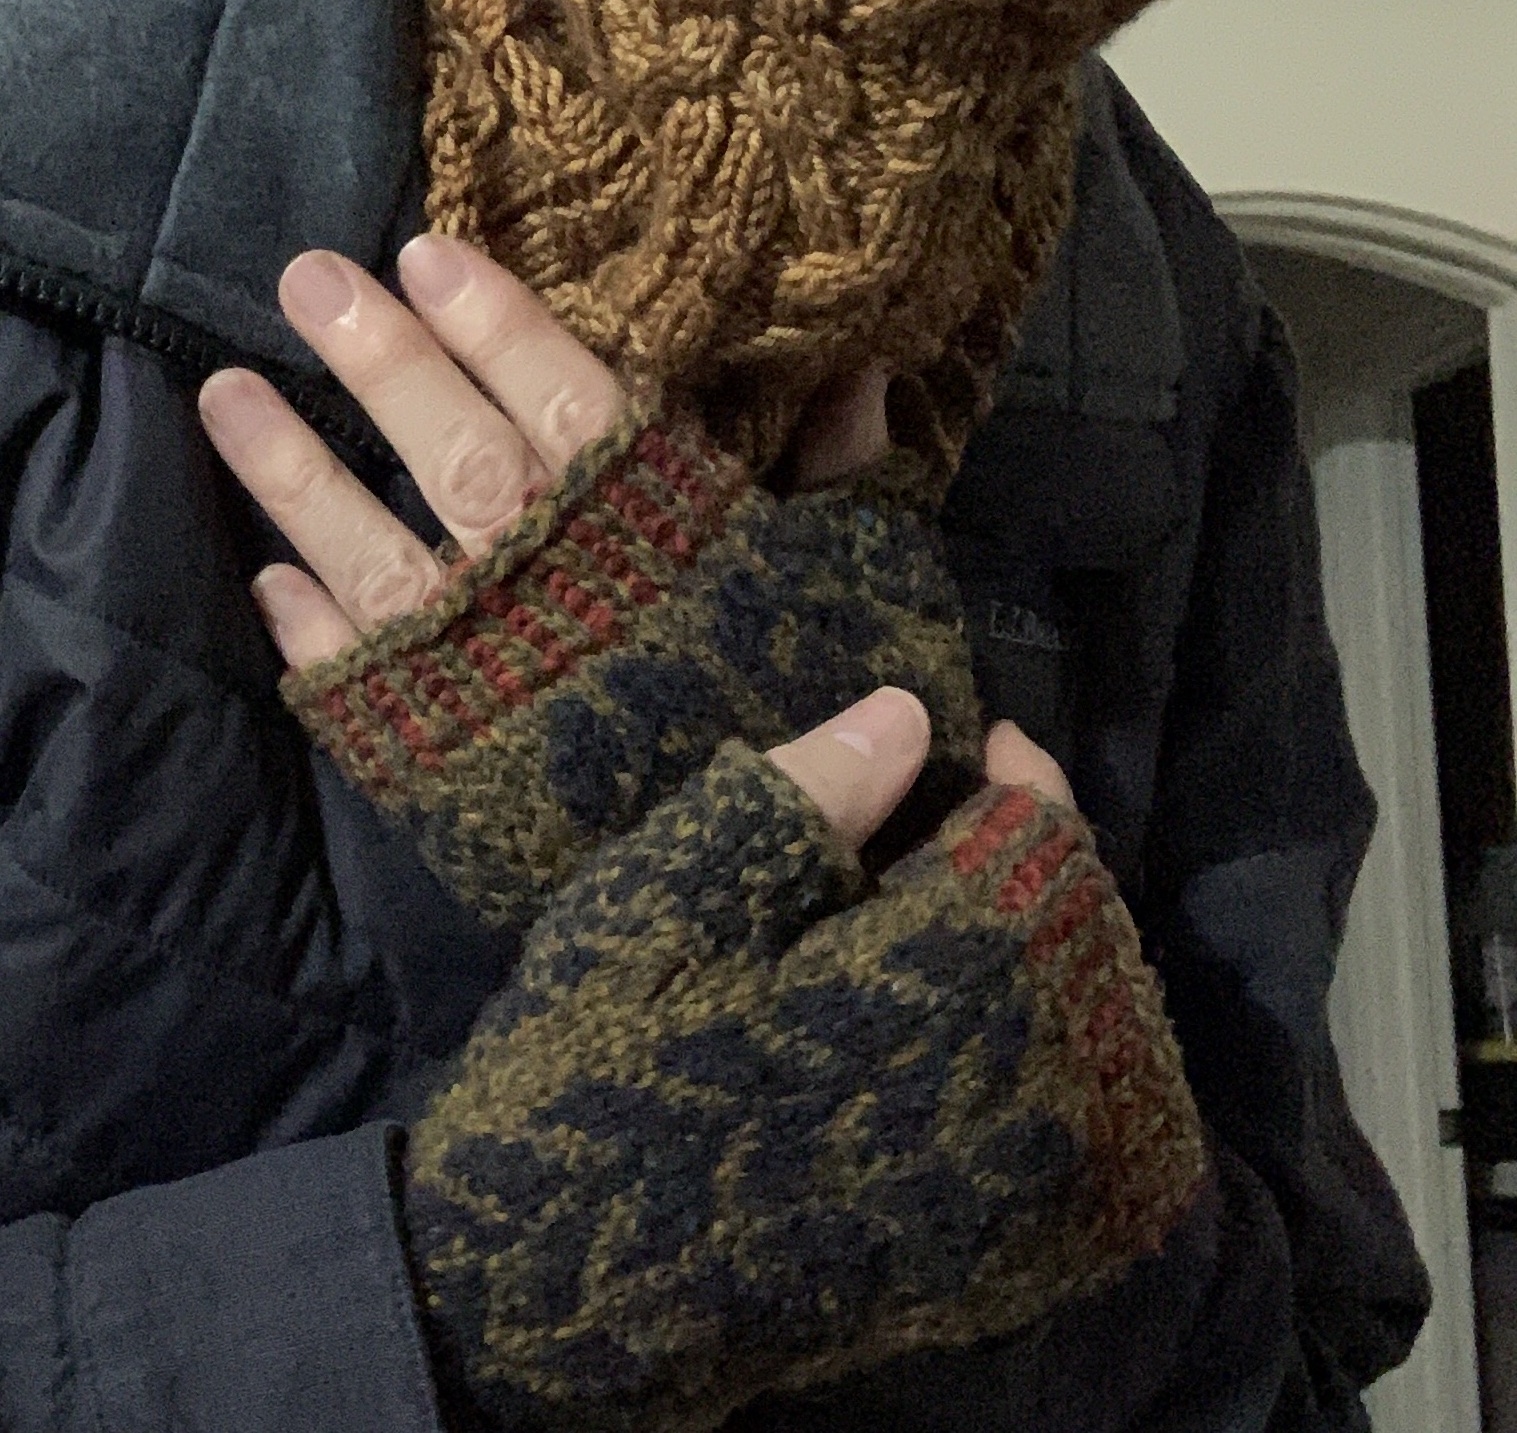
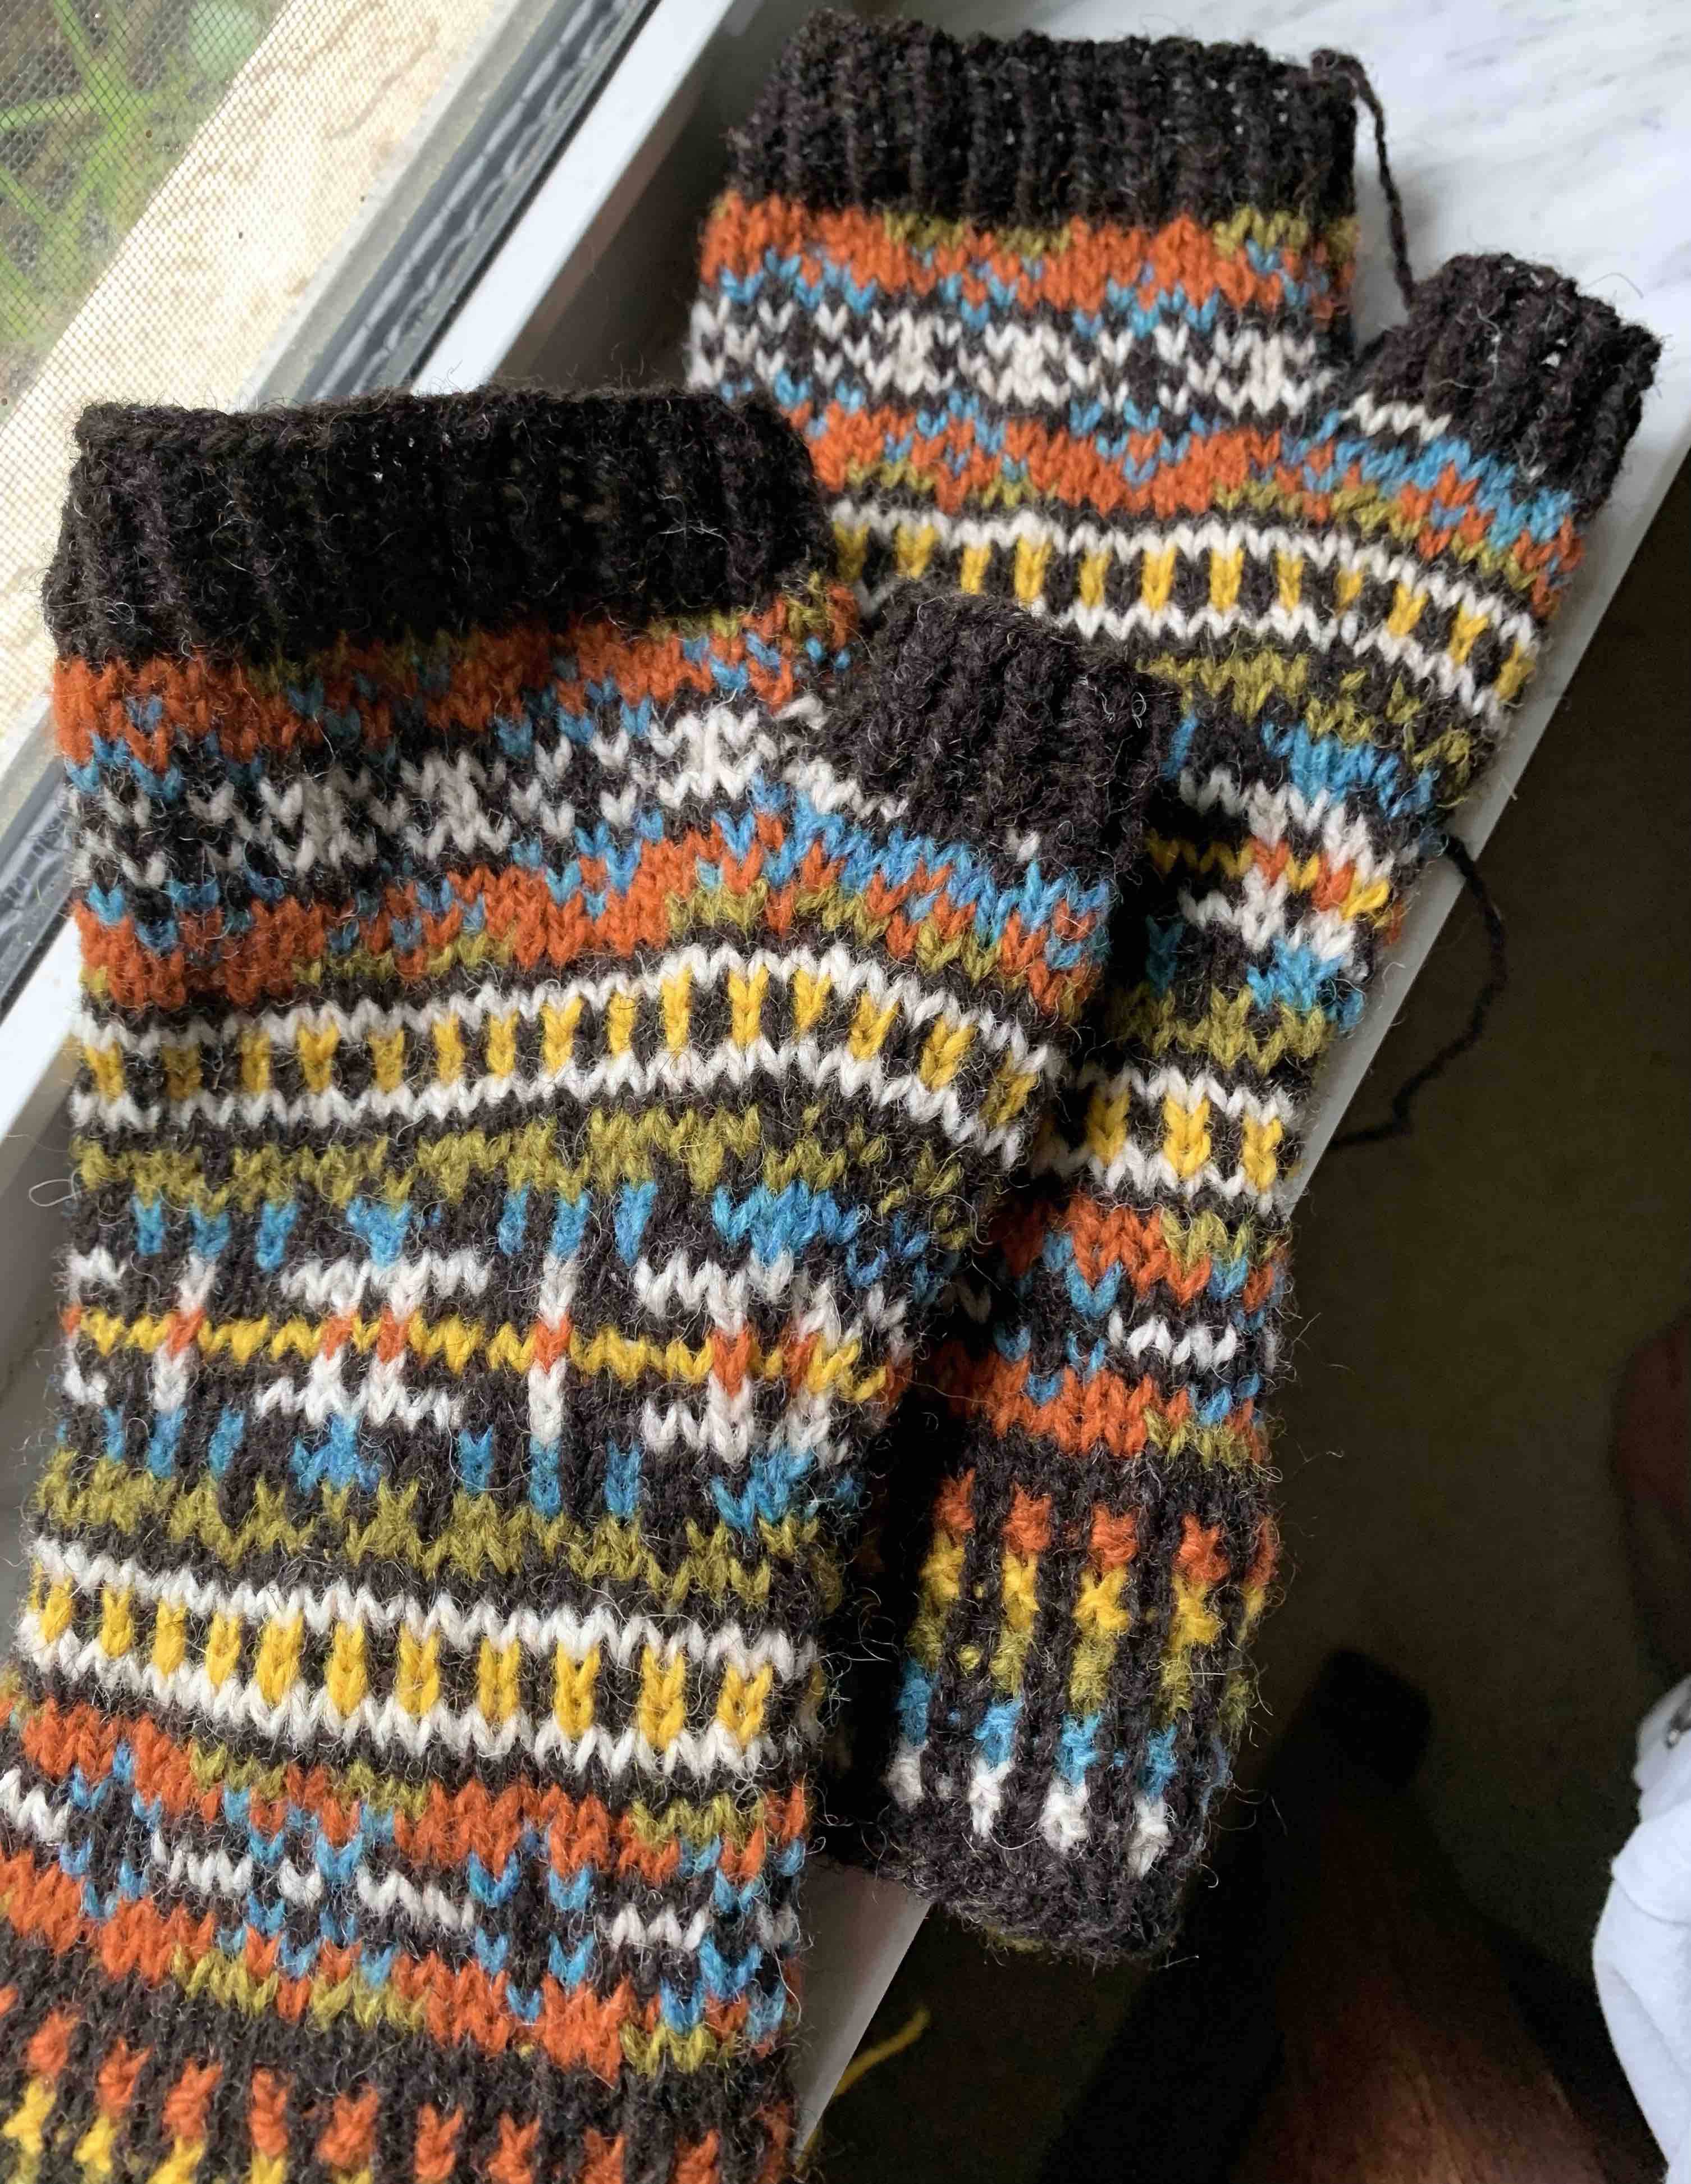
Mittens can be fun to knit but they need to be gifts in my case, because no one wears mittens where I live. Fingerless mitts, or fingerless gloves, are more likely to be on hands here. I would wear them early in the day, before the temps creep up. I’ve already knit some of these patterns, and others look interesting.

Mittens and Fingerless Mitts

If you know how to finish off mittens – any mitts pattern could become mittens.

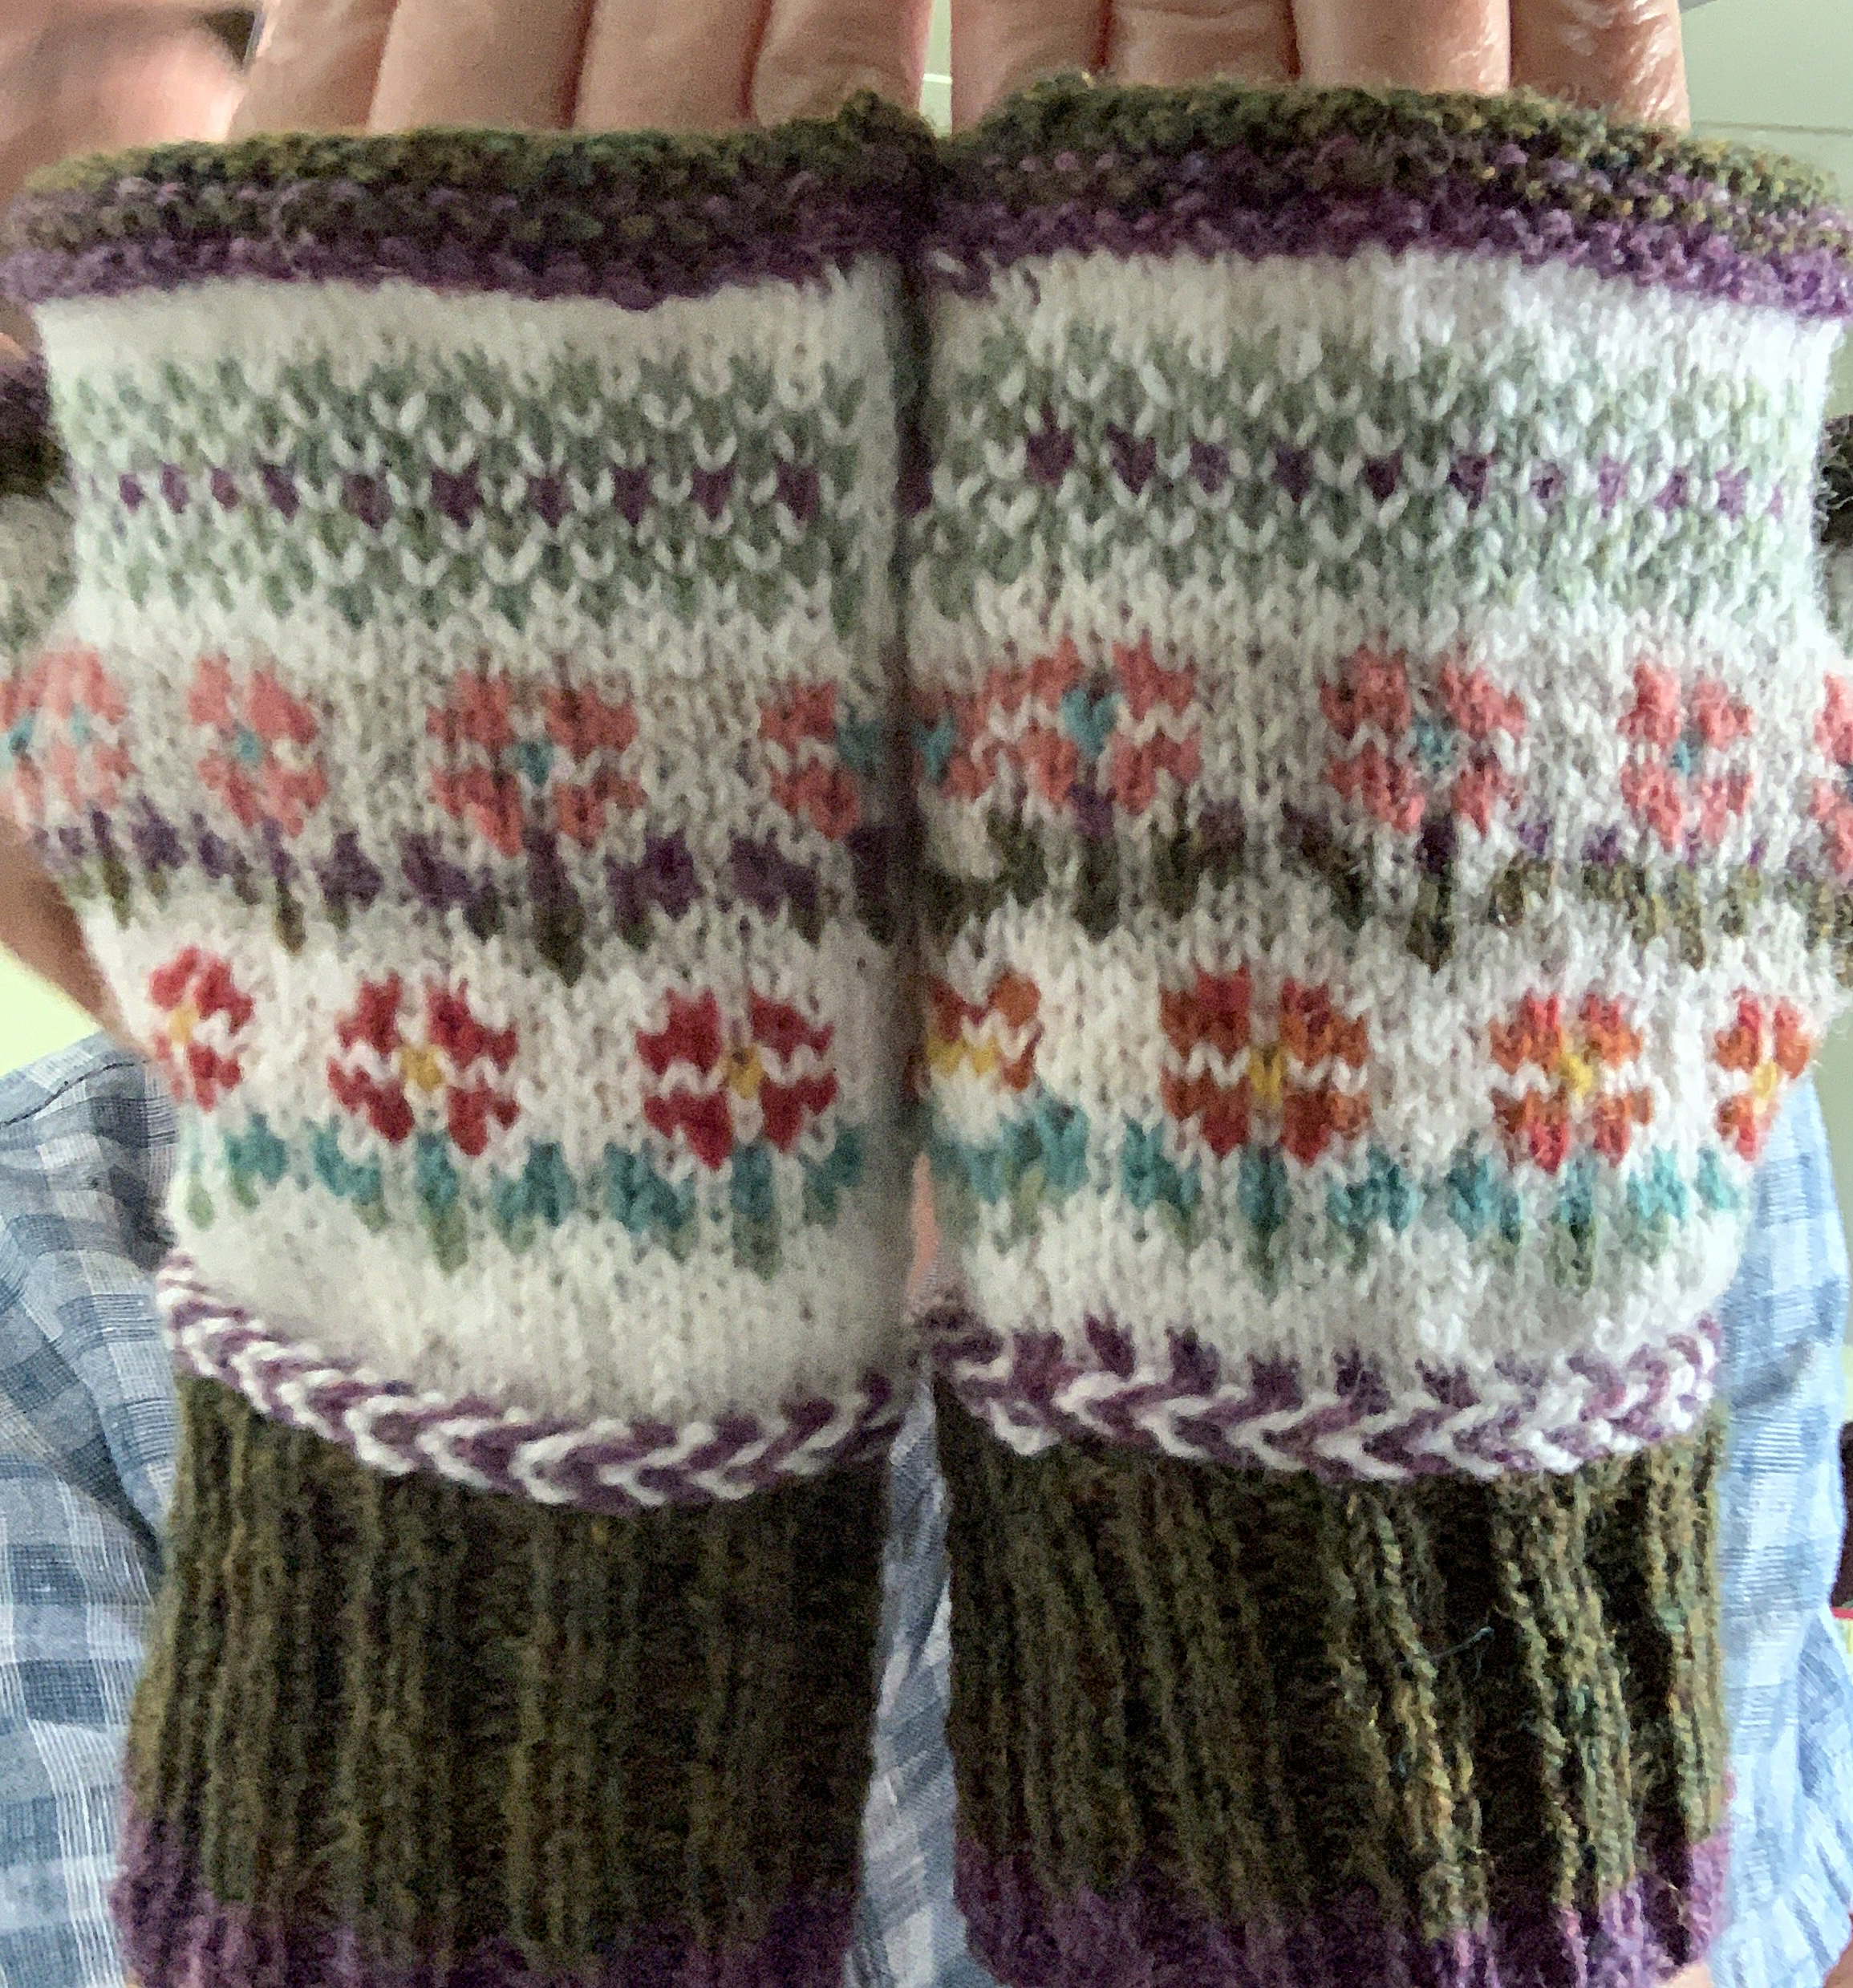
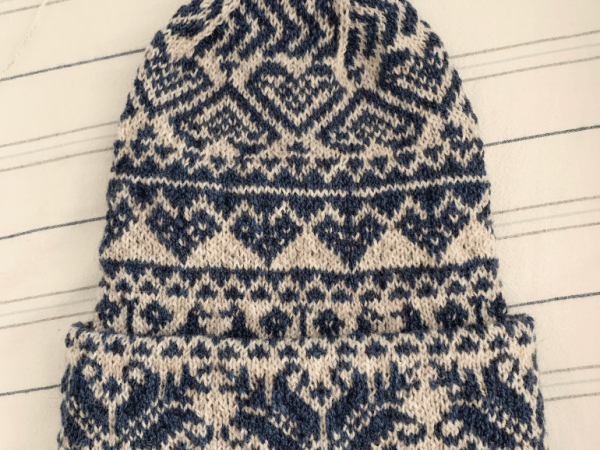
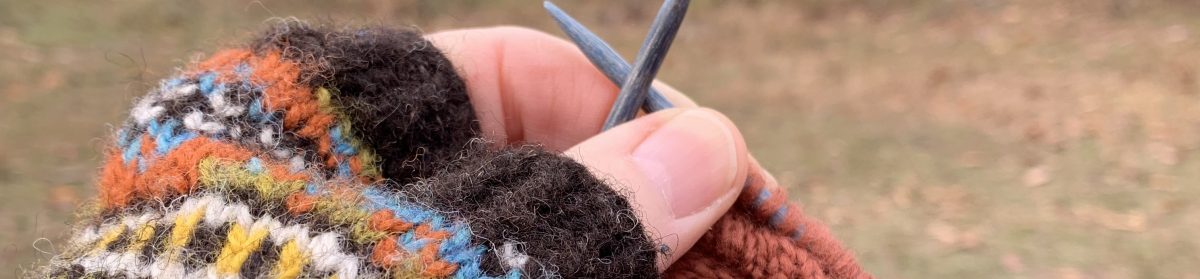
  • Fair Isle Mitts – FREE colorwork pattern, using Fingering weight yarn. I have knit these – see my page (and photo below)- and love them.
  • Hiedra Mitts – Solid color, using DK weight yarn. These are in my Ravelry favorites, and would make a nice gift.
  • Bee Creative Mittens – or fingerless mitts done in colorwork. Who doesn’t love bees? As a gardener, I am drawn to this pattern.
  • Simple Fingerless Mitts – FREE pattern! Has some optional colorwork for a beginner, which could be skipped. Very simple knitting project.

Mitts I’ve Knit

Just a word of advice here about knitting with wool. Mittens and mitts should be knit in wool, IMO, because of the warmth factor. Choose a good wool too – like Jamieson, Shetland, or Rauma come to mind. These brands have nice, consistent yarn, basically without knots. The wool creates a lovely project.

Shawlettes

A simple little “shawlette” works perfectly for keeping a neck warm. Knit it in warm wool, and keep it handy for the southern winter season. A small shawl will work up quickly and may use only one skein of yarn.

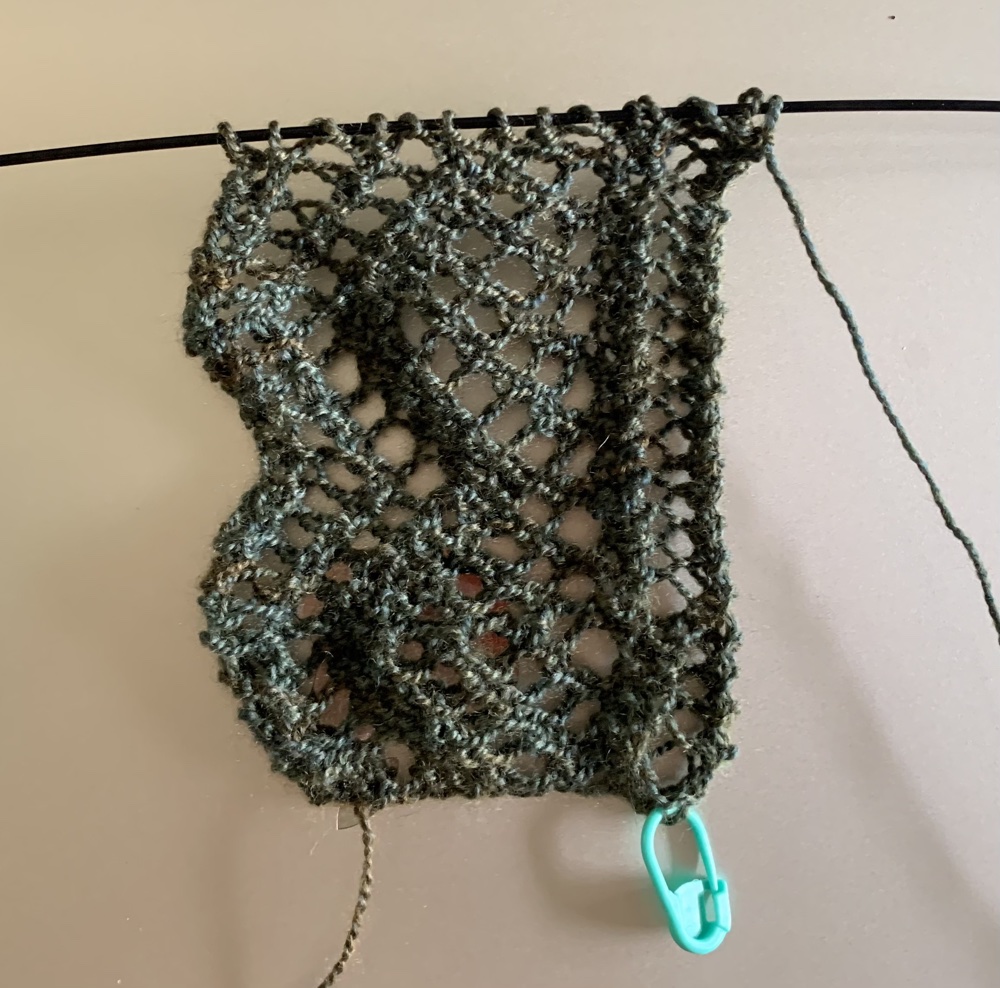
  • Interisland Shawl – this one is on my needles, but has been neglected. It begins with the lace edging and I’m not a big lace knitter. I do plan to finish it!
knitting lace
Lace edging of Interisland Shawl.

Bigger Projects: Namely Sweaters

  • Fallow – Yoke colorwork with deer / woodland design. This one is at the top of my sweater knitting list because it is so cute.
  • Schneeflocken – lots of pretty colorwork on this pullover.
  • Shake a Tail Feather – Colorwork pullover
  • Low Tide – a new pattern by Rachel Illsley is absolutely stunning! It’s on my list, but I’m not sure I can handle all the lace knitting.

That’s about it for my list, and it changes all the time! There is a new yarn (new to me) that I’d love to try. It can be machine washed on a delicate cycle. This would be a game changer for gift giving. Schachenmayr Regia Premium Merino Yak (link goest to the Ravelry yarn page) is the name of the yarn, and it is not cheap. People don’t like it for knitting socks apparently because it pills. But, I read a review by a test knitter who uses it often and recommends it. I plan to buy it at some point and see for myself.

What do you have on your knitting roster for this Fall and coming year?
cat and yarn image

Something went wrong. Please refresh the page and/or try again.

Rebel Cardigan Completed and Here is The Review

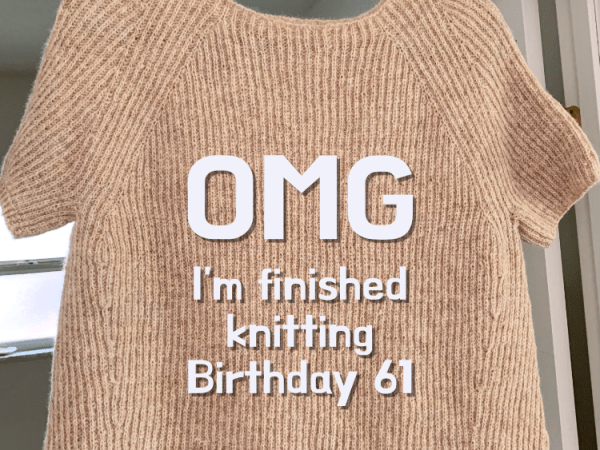
The Rebel Cardigan pattern is a newer design by knitwear designer Ankestrick. While knitting the Rebel Cardigan, I closely followed the pattern. The only modifications made were on the sleeves, which I left a bit looser as I knit to the cuff. I also did not do a tubular bind off.
On this page:
  • Knitting Sleeves, my mod for the cuff decrease.
  • Knitting the body
  • Hip width increases
  • Binding off, hmmm?
  • Finished Photos
My Decrease Row For Sleeve Cuff Ribbing

I stopped doing decreases when the stitch count was 58. For my size (4), decreases were to continue to 48 stitches. I like some width to the sleeve in case I wear something long-sleeve underneath.

The ribbing for the cuff is done on 48 stitches for my sweater size. I needed to decrease, in one row, to get from 58 stitches to 48 before doing the 1×1 ribbing. Here’s how I knit that decrease row to end up with 48 stitches:

On the next round I began the ribbing. I had been using DPNs for the sleeve but changed to a 9 inch circular for the rib. I really don’t know which way I like less – haha.

Once both sleeves were finished, I put the body stitches back onto my longer needle. I then kept knitting until I ran out of yarn.

Knitting the Body

The body of the rebel cardigan is back and forth knitting, while creating a very nice edging down the front. Panels of 1×1 rib on each side, while stockinette makes up the back. I usually knit my sleeves first and then finish up the body with the remaining yarn.

Making Increases for Hips

I decided to do some hip area increasing, which is mentioned in the pattern. At about 10 inches (body length measured under arm) I began to follow the increase suggestion. This means doing increases at front and back after 14 rows, then increases for the back only at the next 14 row mark. At least, that is how I figured it.

Not Doing a Tubular Bind Off, But What Are the Choices?

This sweater pattern calls for a Tubular BO (bind off) which is done with a sewing needle and not knitting needles. I don’t mind doing this bind off on a small sleeve circumference, but don’t really like it for an entire body bind off. It entails pulling yarn – long enough to do the whole hem – with a needle. I’m not super familiar with it, and didn’t want to mess up my bind off.

Also, the 1×1 rib is on two edges (front sections) with regular stockinette between, so how would I manage that? I guess there are tubular bind-offs for stockinette, but I’m not sure.

Bind Off Options to Consider

So I searched and found a “sewn bind off” shown here by Brooklyn Tweed. I suppose this is how you do it. Tubular to the stockinette, then sewn, and back to tubular for the other side.

It would have been nice to have been given other bind-off options and suggestions in the pattern. And would it be possible to do the sewn / tubular bind off in sections? I don’t think so.

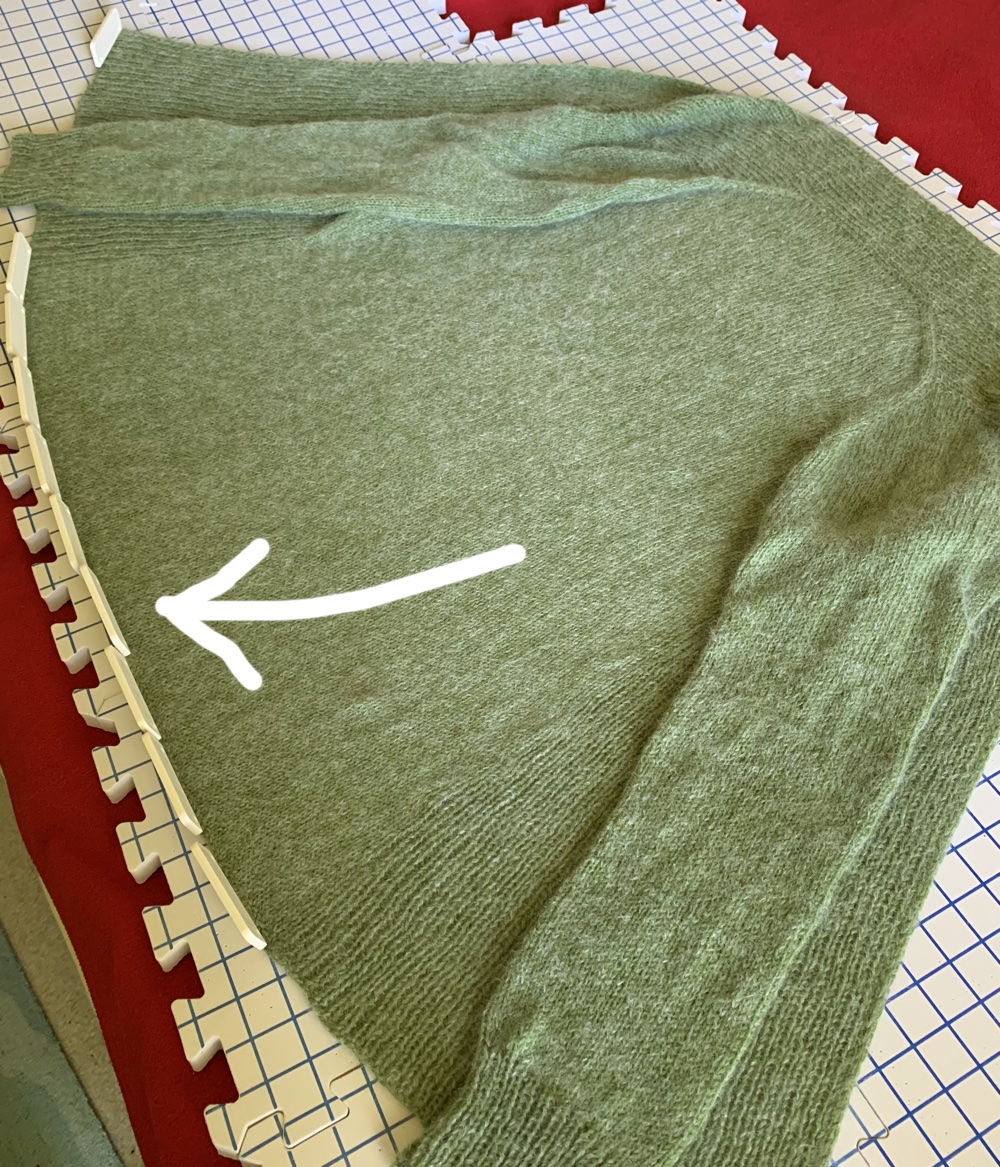
As it ended up I did a normal bind off in pattern (k1,p1) until I got to the stockinette section (the back). Then, I did an Icelandic bind off for the stockinette. This has caused the back section to curl.

Rebel Cardigan bind off with curling edge at stockinette section.

I’m using my blocking pins to hold down the stockinette hem. Now that it is mostly dry, the hem is flat (yay)! You can see, in my photo above, the shaping where the increases were made further down the body.

Like most people, I am naturally a bit bigger in the hips than the waist, so I recommend doing these increases for the longer version.

Knitting For Olive Yarn

I chose to knit the Rebel using two yarns held together. I had just finished up knitting the Field Sweater pullover and used the same types of yarn (Knitting for Olive). I am very happy with the outcome, and do love this yarn. The Mohair is not as fly-away as some others I’ve used.

The Knitting For Olive company is RAF certified, and that means they create their yarn in an “ethical and responsible” way.

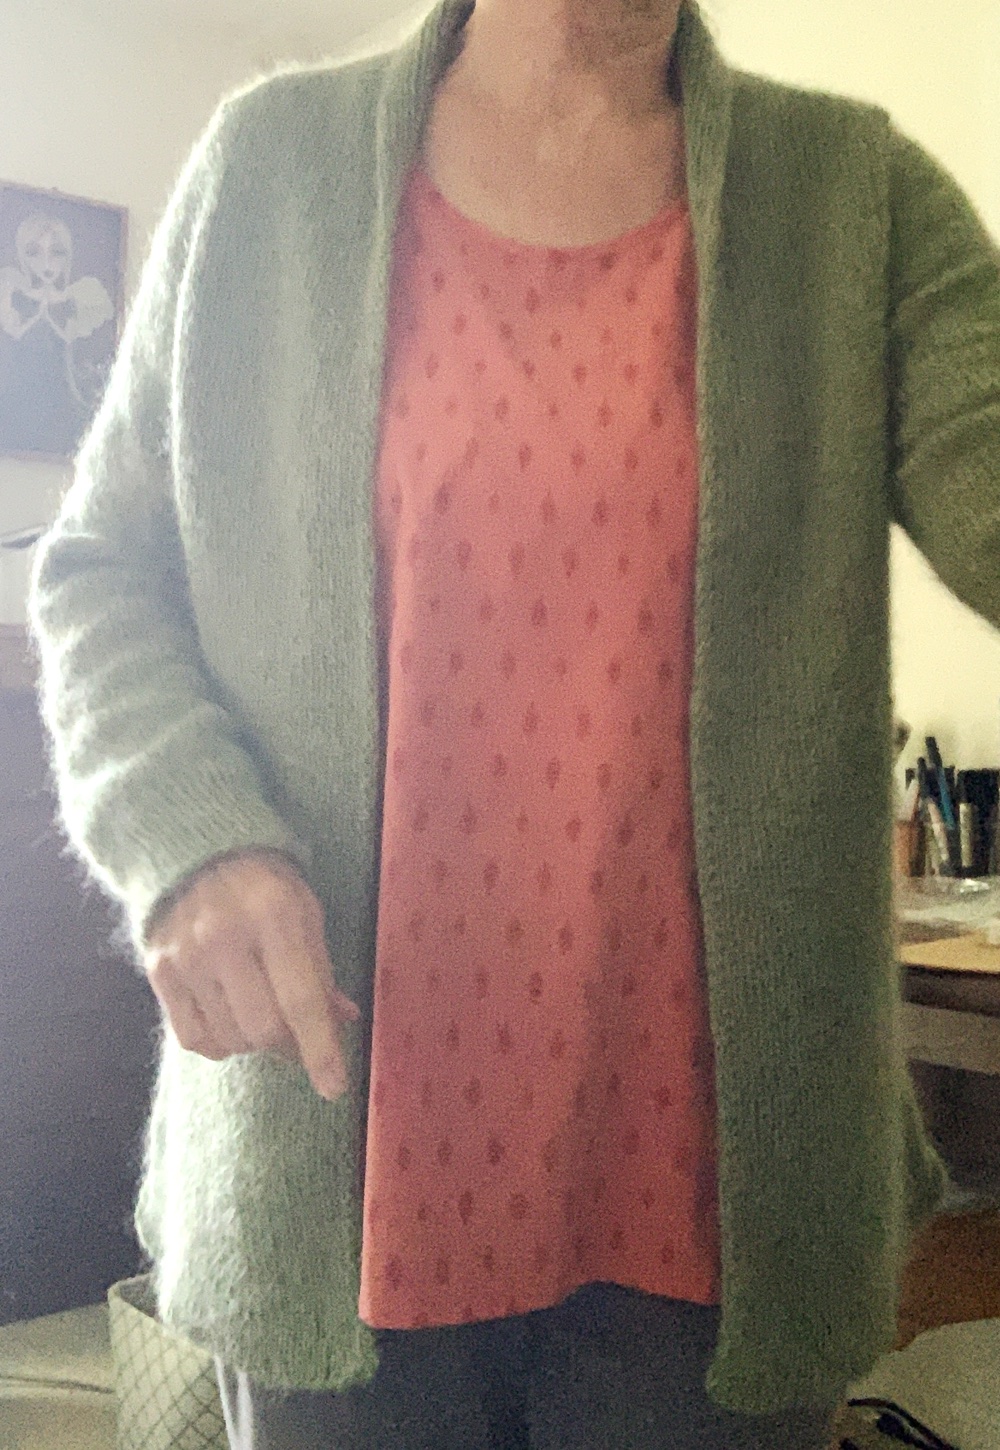
Finished Knitting Sweater Photos

The washing and blocking to dry has not been done yet. See that little bump on my shoulder? That happened when picking up stitches, so be careful and take your time to make the seam look smooth.

Please keep reading!

Re-Knitting the Autumn Alpine Neck

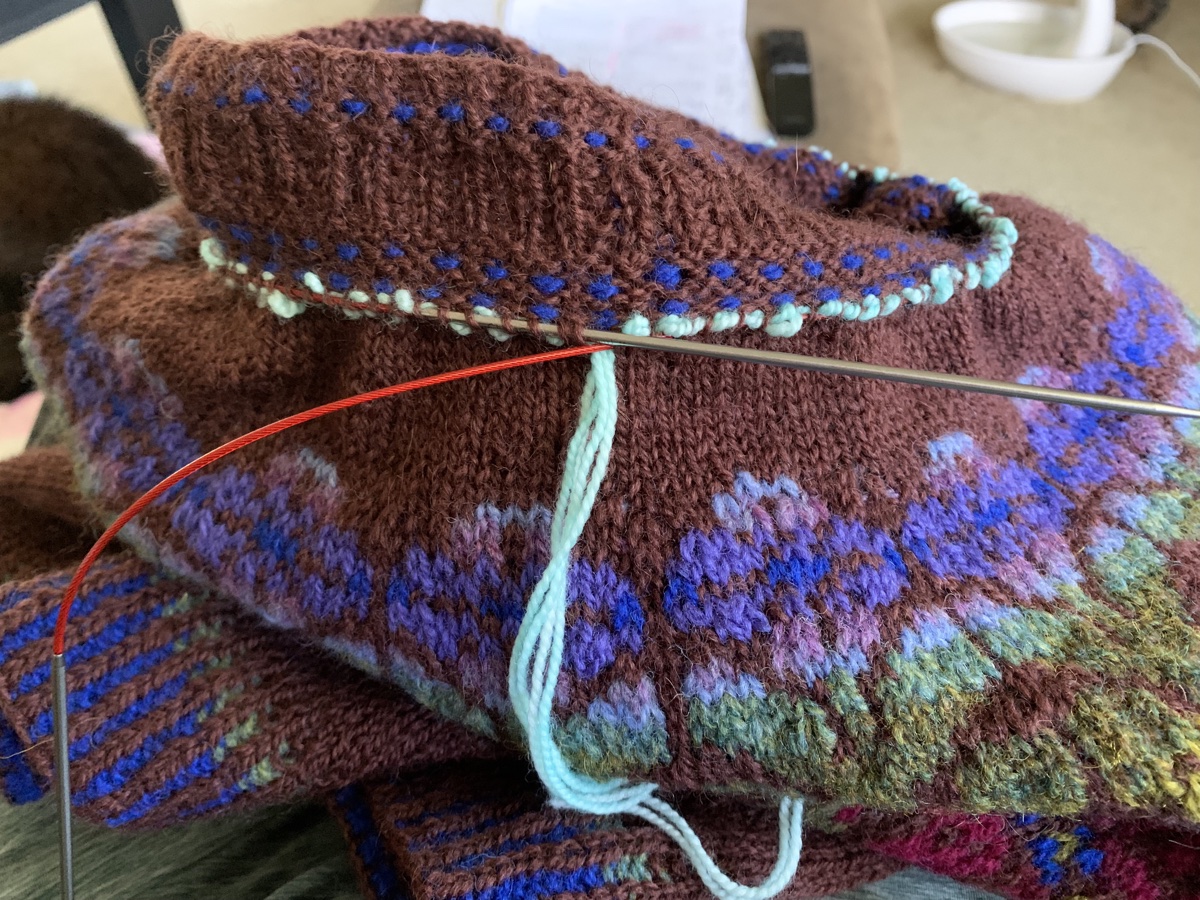
After the Autumn Alpine sweater was done – washed and blocked – I was not happy with the neck. It alternates with some colorwork and ribbing and for me, it ended up floppy and IMO ugly.

I began picking up stitches to rip back, but couldn’t find a good row. I began this 5 or 6 times. Unfortunately, as the sweater is knit top down, there are few places to pick up stitches from a simple knit around row. My choice of yarn was also not helpful.

Just below the colorwork knits and purls is some 1×1 ribbing. I found this video by Very Pink Knits showing how to pick up stitches to hold them while ripping back.

I did not follow this video, but I’m keeping it here because it’s useful.

I didn’t want to do this type of pick up. A simple knitting row would be best. But, beyond the neck stitches the knitting rows include increases and then short rows. In my opinion there was no good place to pick up knit stitches easily. My dark color yarn didn’t help either. My stitches were difficult to see, even on the knit rows.

I am not exaggerating when I say I tried to find a good row – picked up stitches part way around – and gave up —-So many times!

Knitting needle picking up held stitches

This was a big fat pain in my butt. I probably should have left the thing alone, and simply been unhappy, but I wanted to try. It became an obsession.

After many tries, I found my way around with yarn and completed a row of stitches. I inserted a smaller needle, and then needed to rip the collar back.

HA! That did not work at all. I couldn’t get the yarn to unravel, so I ended up having to cut the collar off —- and I tacked it down when the neck was done. This was becoming a complete disaster..!!!!!

In the photo below I had begun knitting around and around to make the rolled collar. See the old collar turned under?

I’m not going to go on and on about this because it’s too depressing. The end result is not great either and this sweater has so many bad knitting memories, I don’t know if I will ever wear it, but I do like that colorwork.

Autumn Alpine sweater pattern changed the neckline.

This one might make a nice topper over a long sleeve to wear one of the very few cold mornings we have here in Florida.

The nicest thing about this sweater is that it is now IN MY PAST, and it’s time to move on…. YAY.

Knitters welcome to continue reading

Considering a Cable Knitting Project

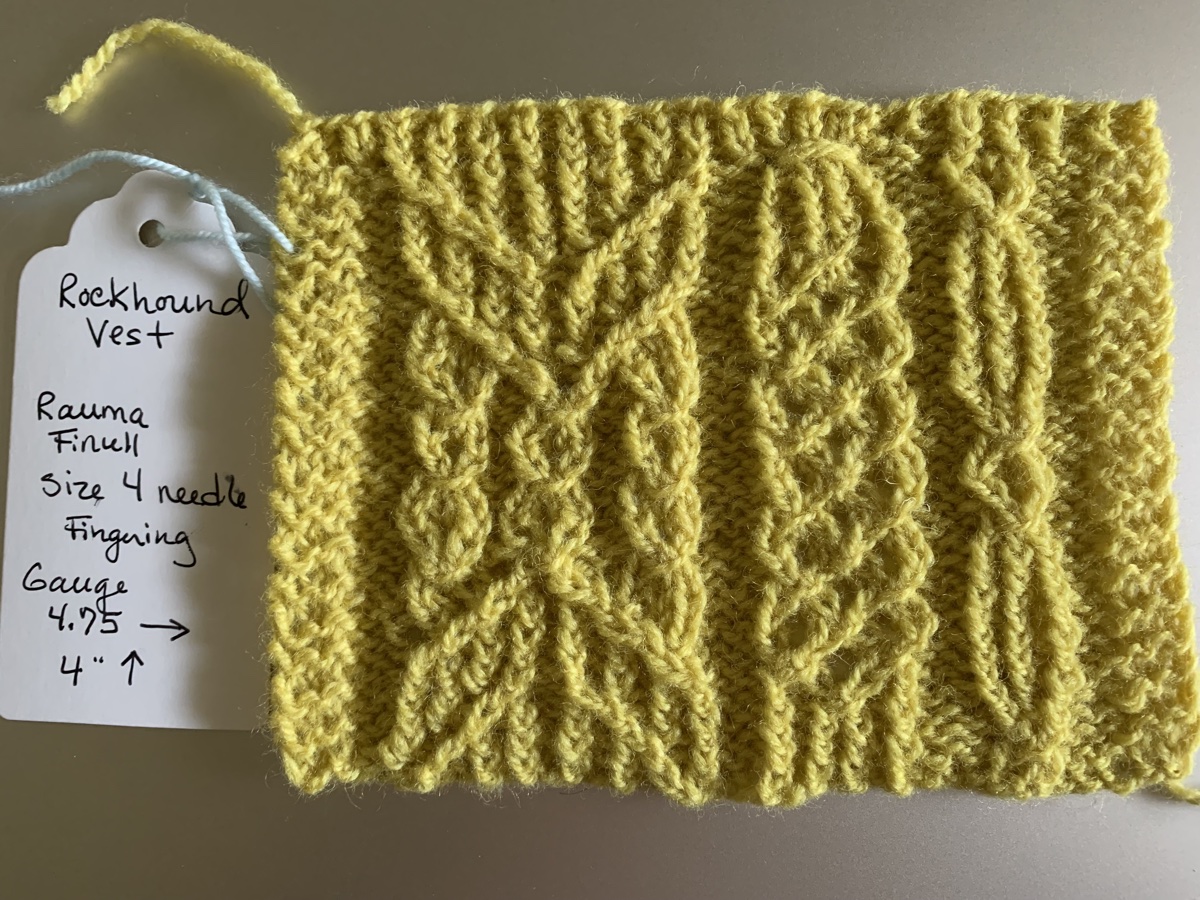
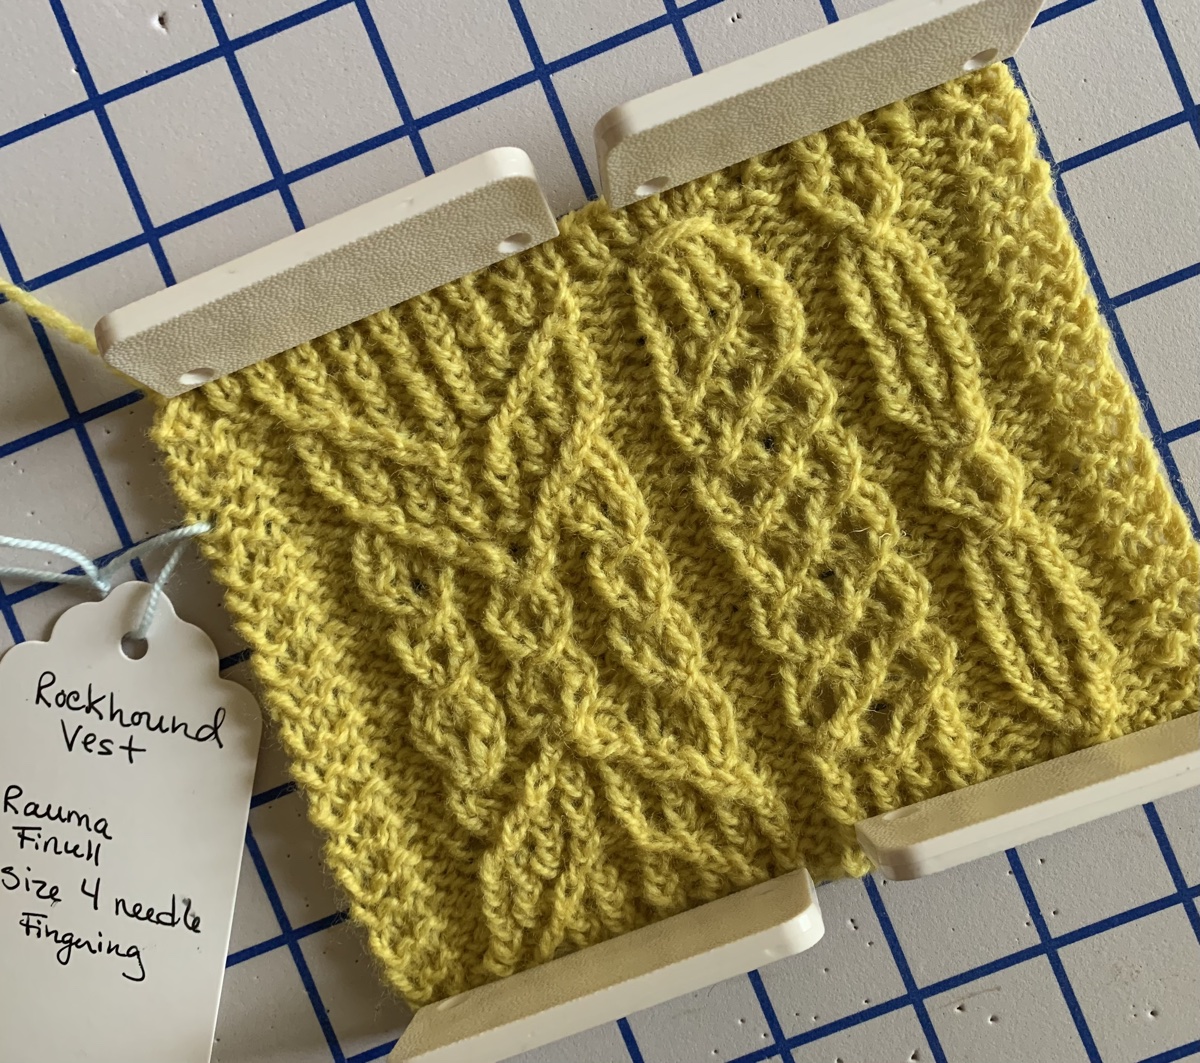
Knitting a cable vest swatch for size reference and cable chart practice. The Rockhound Vest is a beautiful cabled knitting project.

Cable knitting is not something I have much experience with. I tend to buy cable patterns and then file them away thinking “maybe one day”.

The biggest cable projects I have done were hats (Skiff and Habitat). Now I am looking at knitting a vest with cables on the front and back.

The Rockhound Vest is a pattern by Wool and Pine designs. The company was offering a discount on their patterns and I thought I would see what they had to offer.

You would think that a vest would be a simple and quick knit. This one has a section of cables that comes down from the shoulders and goes down the front. Cabling takes time, but it can be so pretty.

The V-neck and armholes have to be picked up and knit after, and I’m not looking forward to that. Also, the charts look a bit intimidating.

Knitting a Cable Swatch

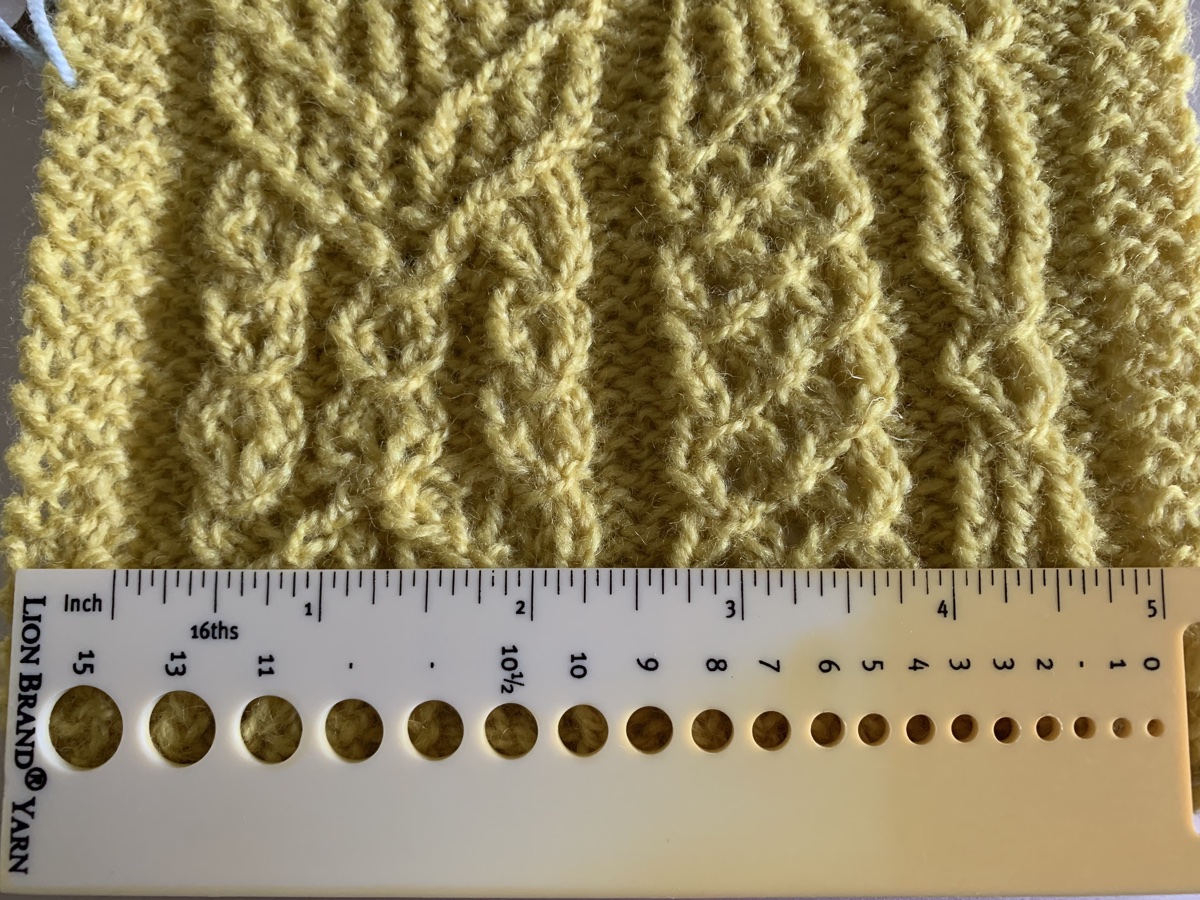
The Rockhound Vest pattern (link at the bottom of this page) comes with a Swatch Chart, which is a section of cable that needs to be knit, washed, blocked and measured as a swatch – both flat and in the round.

I decided to knit the swatch using Rauma Finull yarn because I had a skein, and I already know I love this fingering wool.

Helpful

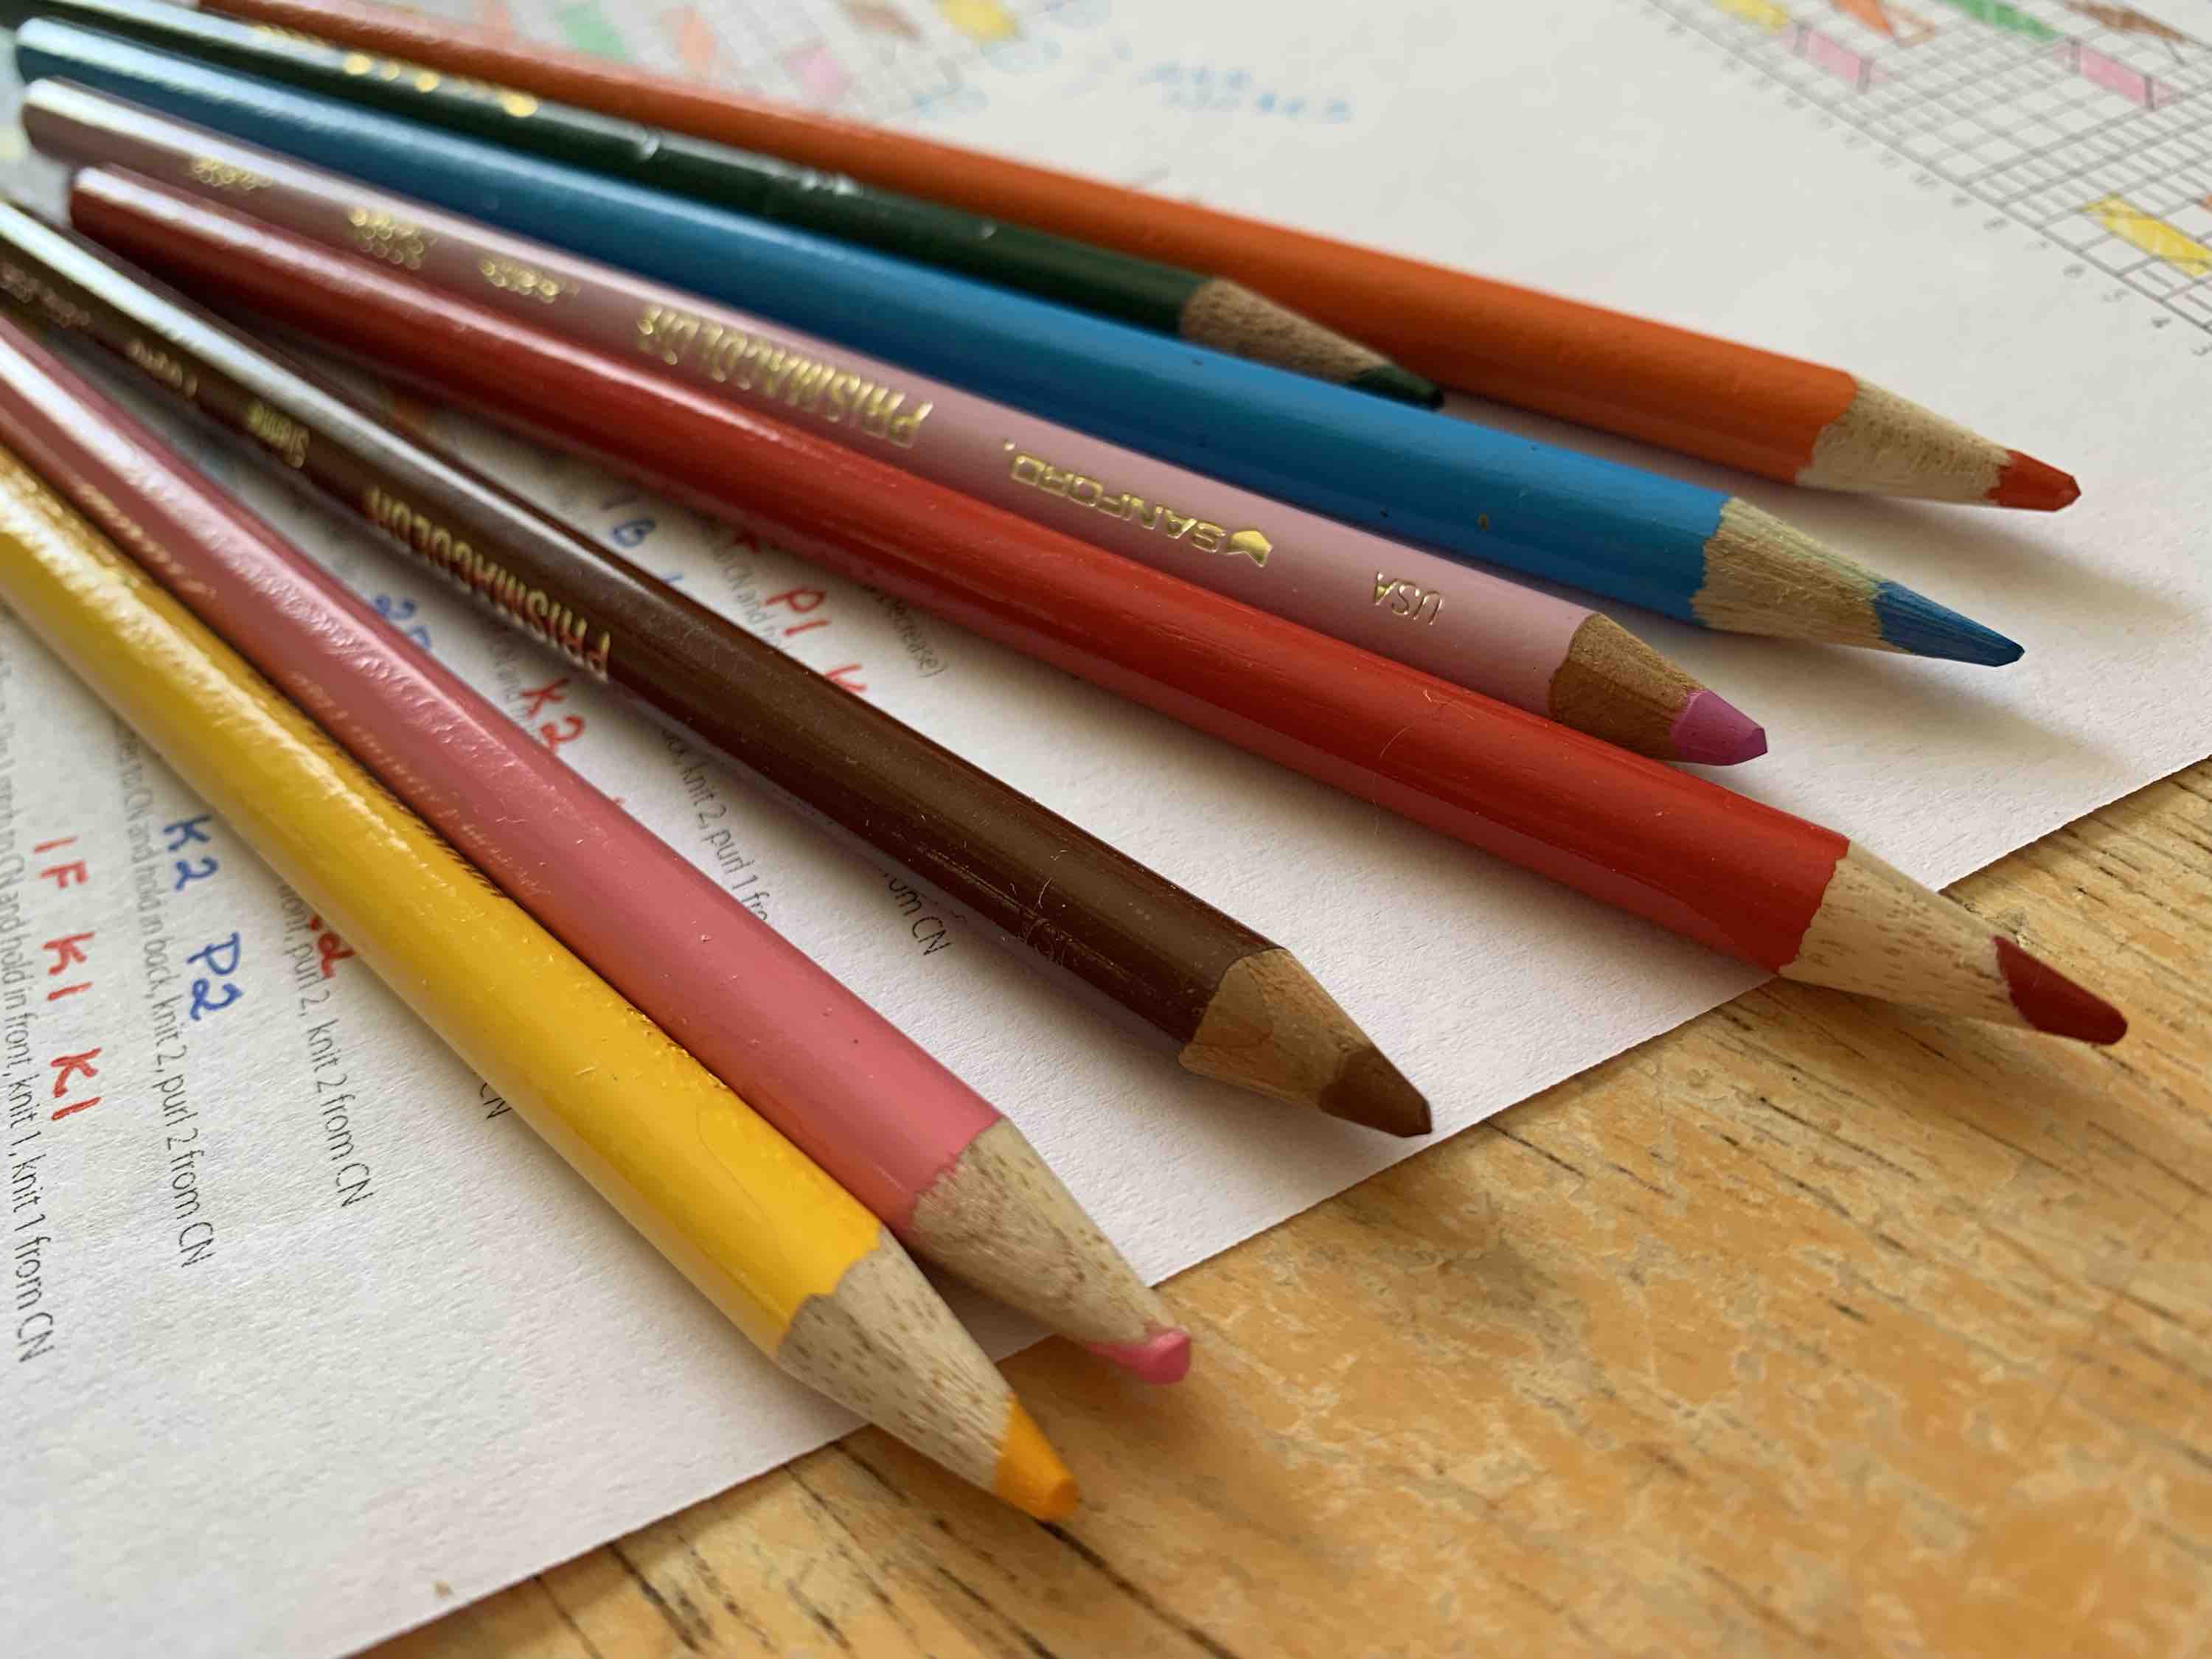
First thing I do when knitting cables is color code them! I also write a short description of each cable next to each cable diagram. I have no idea how to read a cable stitch, so the color helps me find the description quicker.

colored pencils

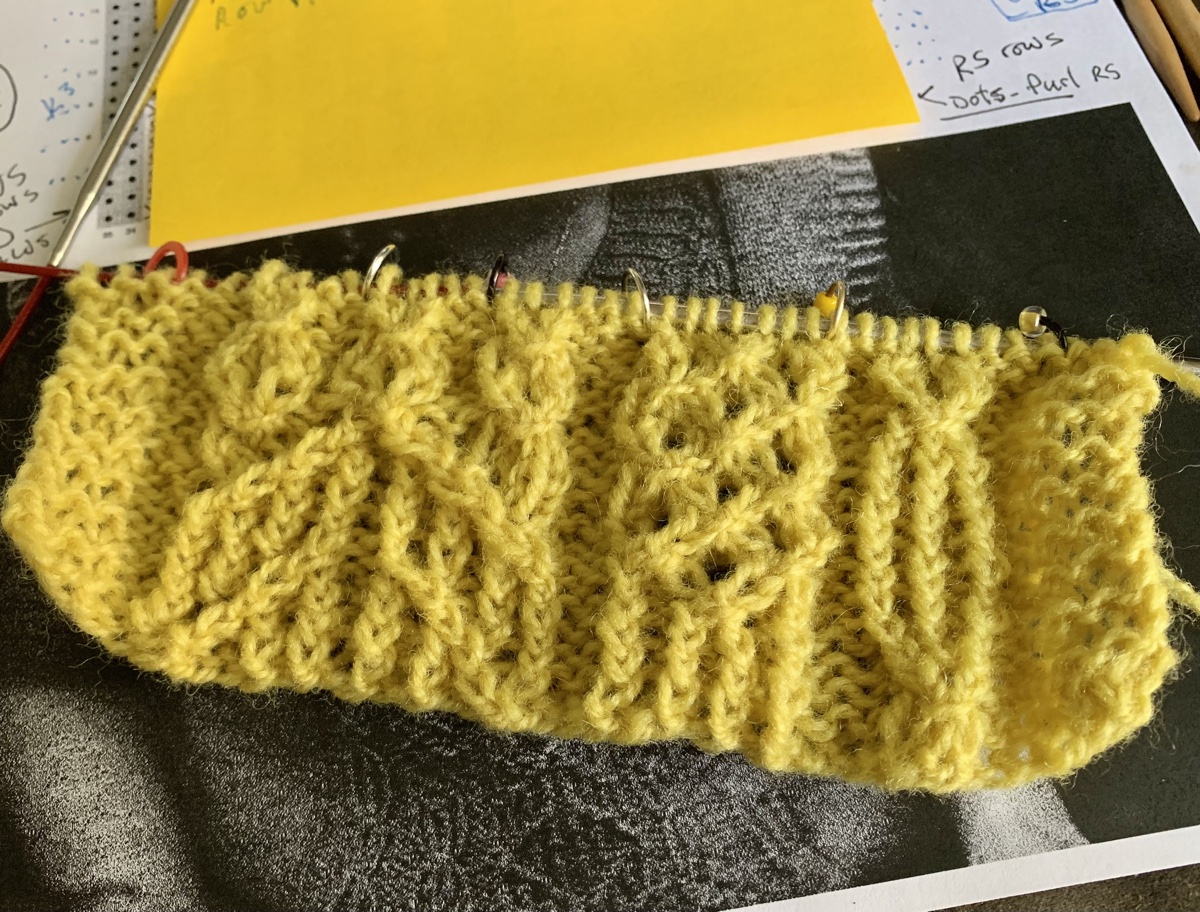
Use stitch markers!!! This helped me a great deal, even though I had to keep moving some of them because the cable section would move. I made small sections on the row to prevent a lot of ripping back.

cable knitting with stitch markers
Use stitch markers to knit a flat cable swatch

Get a better cable needle!!! I was trying to knit using my old, metal cable needle and had my usual problems. The thing would slip out and leave my stitches hanging, or I had to clumsily hold it to be sure that didn’t happen.

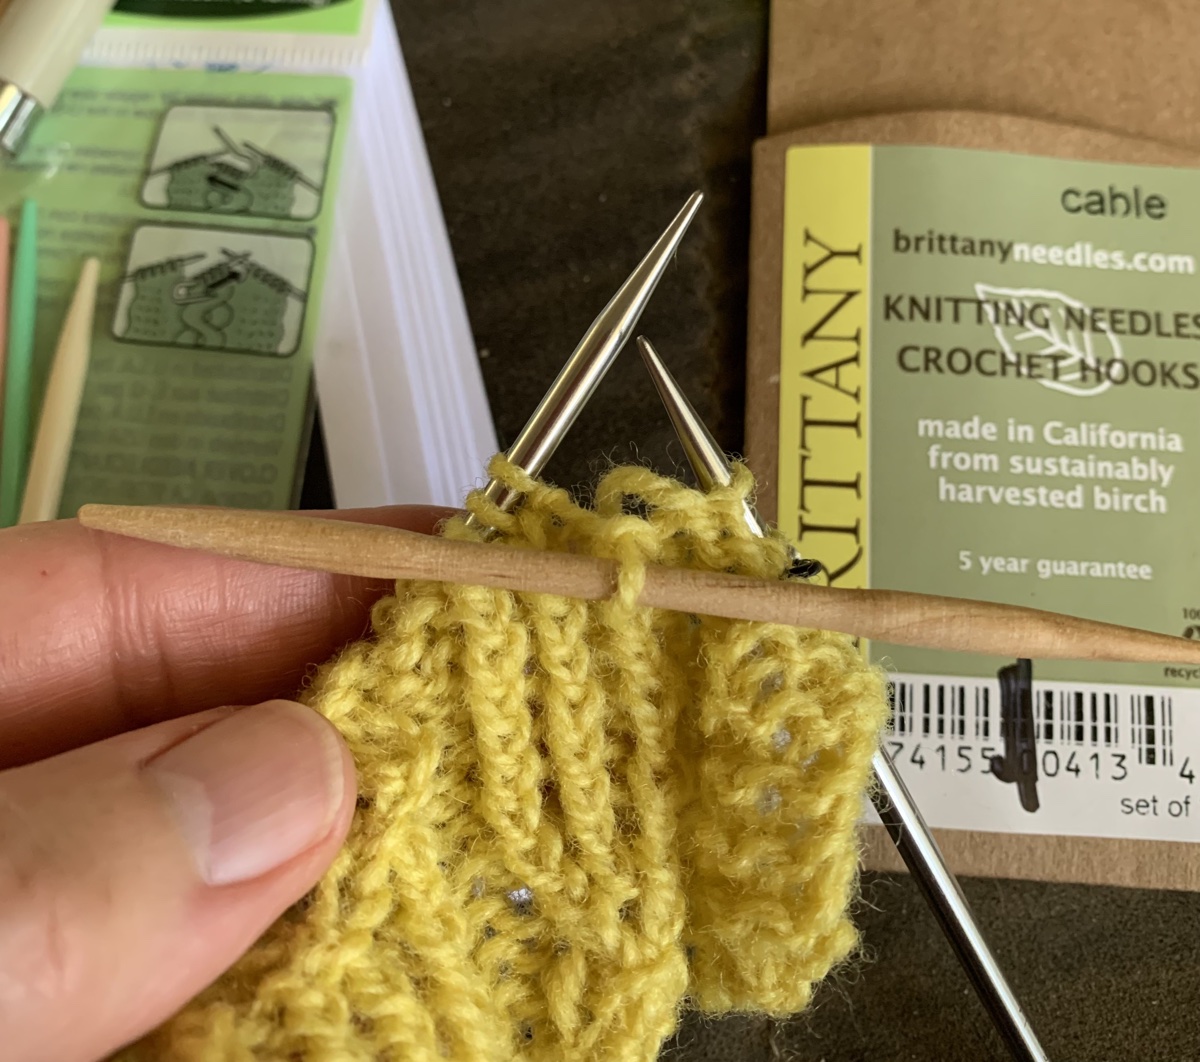
Then, I searched for new types of cable needles. I just couldn’t understand why cable needles couldn’t work better! Low and behold… I discovered the Brittany short wooden cable needles (Amazon paid link). Amazing!

short wood cable needle
New Brittany wood cable needle – LOVE!

This set of cable needles comes in three sizes, and I used the middle size for this project, which is fingering yarn (picture above). The short, wooden needle is thinner in the center so the stitches stay put. The shortness also helps when knitting off the cable needle. This has made cabling a lot easier for me. I highly recommend them.

Swatch and Sizing

After looking over reviews, at Ravelry, written by previous knitters of this vest pattern, I see that many finished projects have turned out to be too tight. Even when a seemingly larger size was chosen, the vest seems to end up with a smaller circumference than planned. Maybe knitters did not do a swatch in the round???

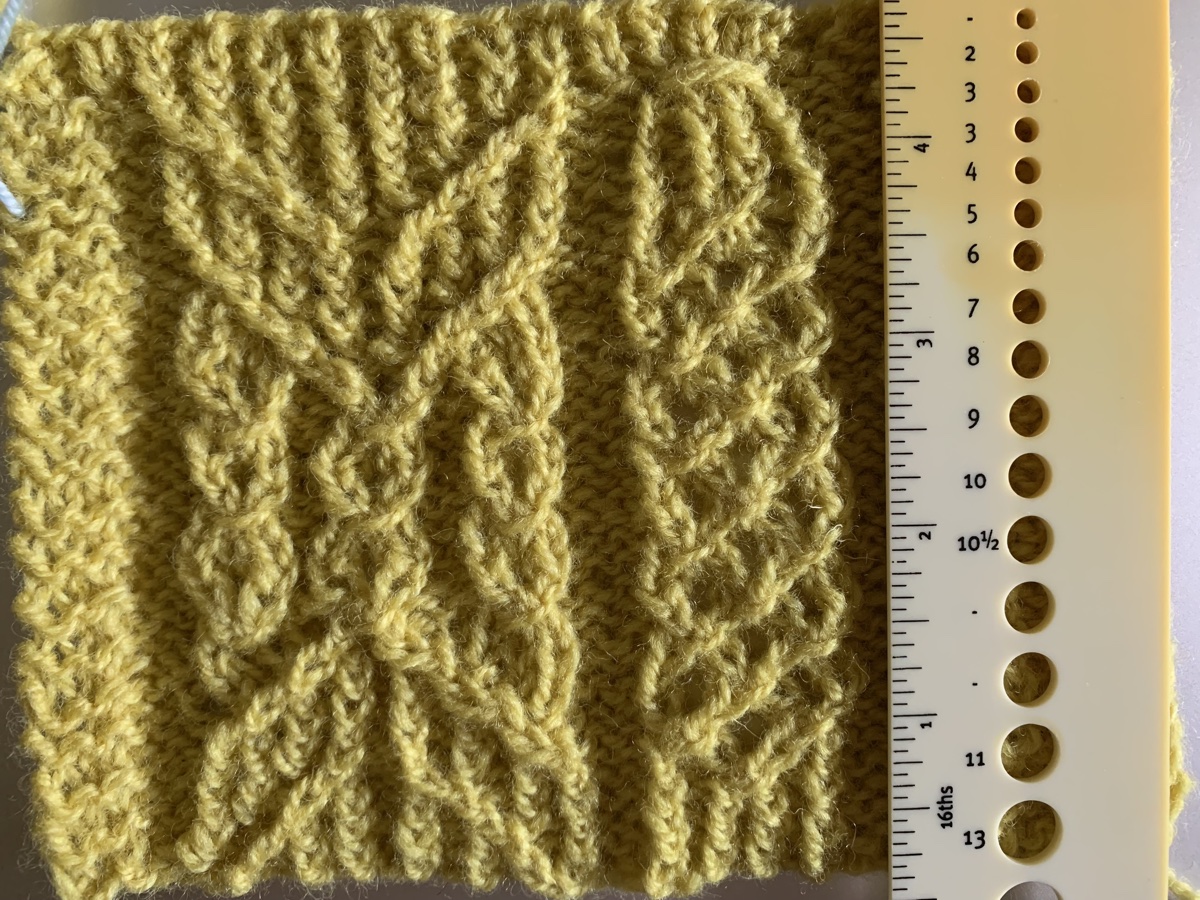
I have added six extra stitches (3 on each side) to my swatch. Those stitches are not part of my gauge.

Knitting a swatch is very important and swatches should be knit flat and in the round, because that is how they are knit in the pattern. I’ve only done the flat swatch. The finished swatch size will be larger than normal 4×4 inches- according to the pattern. My swatch was nearly exact, but a tiny bit larger. Going down a needle size would most likely make this too small, and having things a little larger might be good with this pattern.

If I decide to knit this pattern, I need to buy the same kind of yarn, in a different color. I may knit a swatch in the round with my new yarn and see how that turns out. It is possible that the gauge is tighter in the round. That would explain why knitters were getting tighter vests. Maybe they never checked gauge in the round.

I definitely made some mistakes in this cable swatch, but it wasn’t that bad to knit. This swatch shows only part of the cable pattern which goes down the middle of the front and back. If nothing else, it was good practice at knitting from a cable chart.

More Knitting From Me