
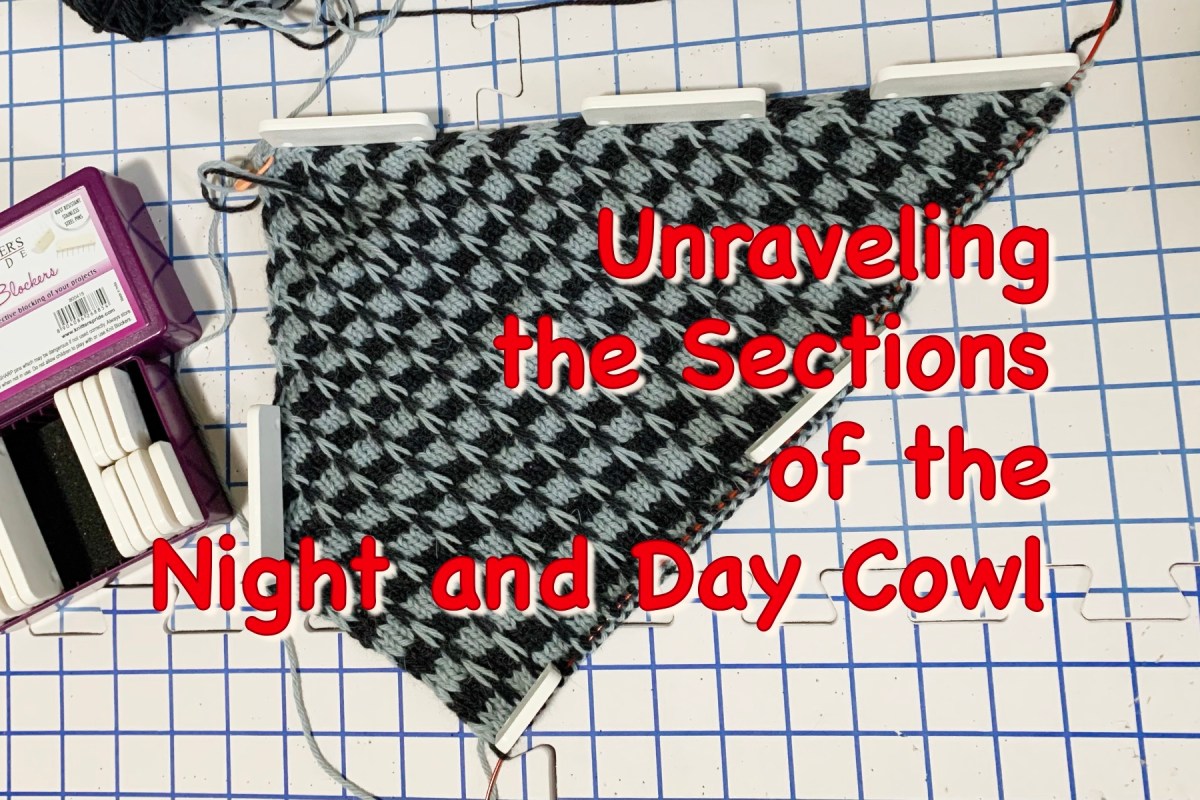
Here are some notes I made as I knit along on the Night and Day Cowl pattern. This page covers the first two Sections listed in the pattern. I also figured out where the sections are located.
Knitting Section One
This pattern is divided into Sections. Section One and Section Two have set up rows. Once the set up row section is done, we move on to the Pattern Repeat for that respective section. The amount of repeats will depend on which size cowl is being knit.
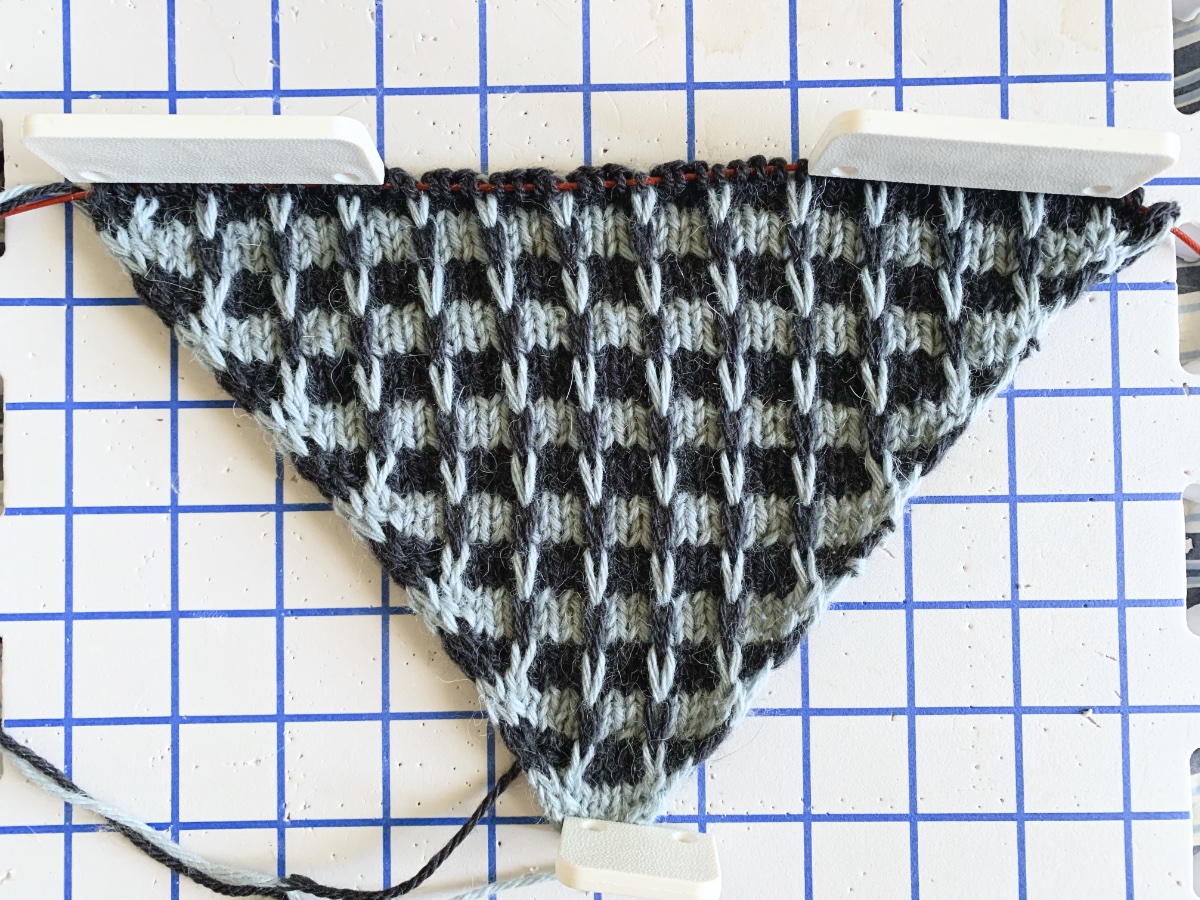
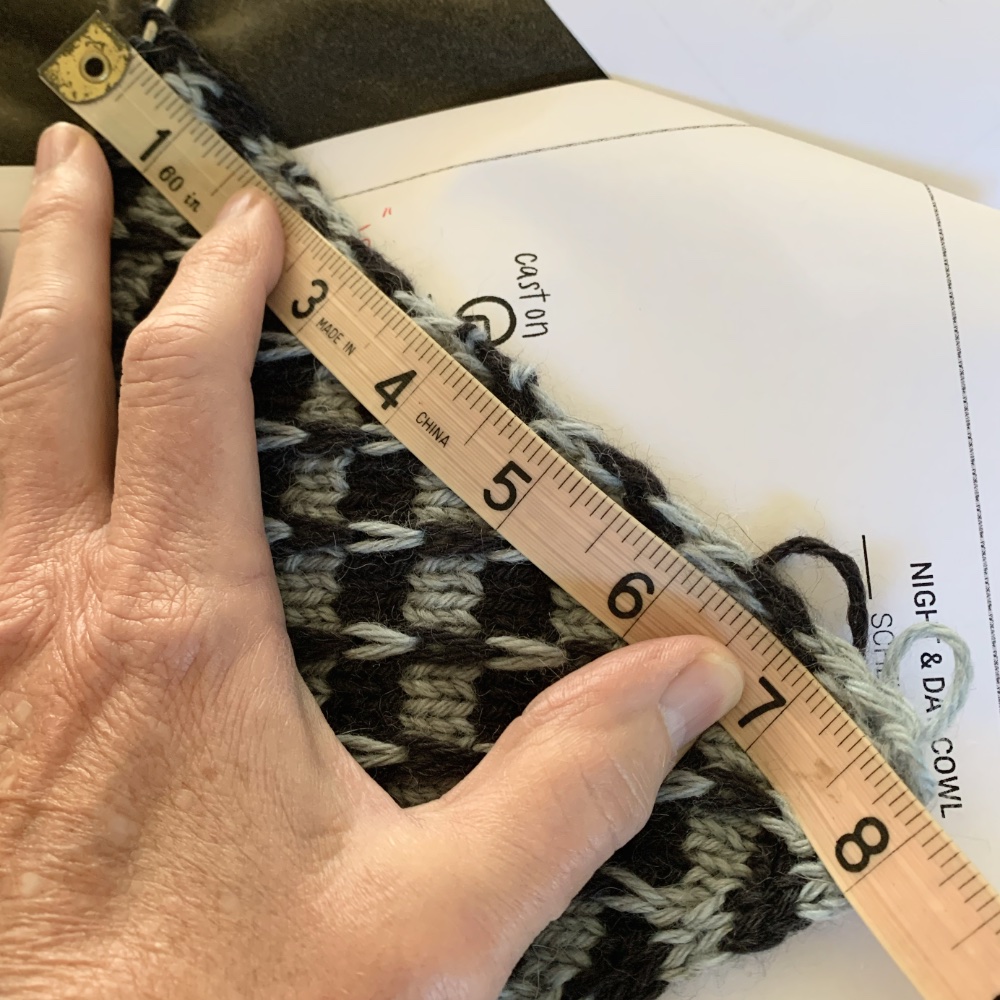
I am knitting the adult size Small. (Cowl sizes are child, teen, adult small, and adult large). After Section One – both parts – are finished, I measured the edge of the knitting. Looking at the schematic, the finished “back neck seam” length for my size should be 8.5 inches. My measurement is about 8 inches – unblocked.
When I finished knitting Section One repeats, I am measuring the edges of a triangle. Below, see my photo measuring the edge that will be seamed with the other side. So eight inches will be the height at the neck. I am happy with this although it is 1/2 inch short according to the schematic. It may grow with blocking so I am not worried about that one-half inch.
This measurement is not as important as the cowl circumference measurement which ends up becoming the opening for the neck.
Figuring the Cowl Circumference
This triangle of knitting I just finished, makes the I-cord edge equal 8 inches as well. That edge will be part of the finished neck circumference. This final number will be important as it must be large enough, once it is seamed, to go over the head.
For the size Small, the total length of that circumference is 24 inches (see the schematic for this number). I am already at eight inches. This means that I must have a measurement of 24 inches along the top edge by the time I complete Section Two.
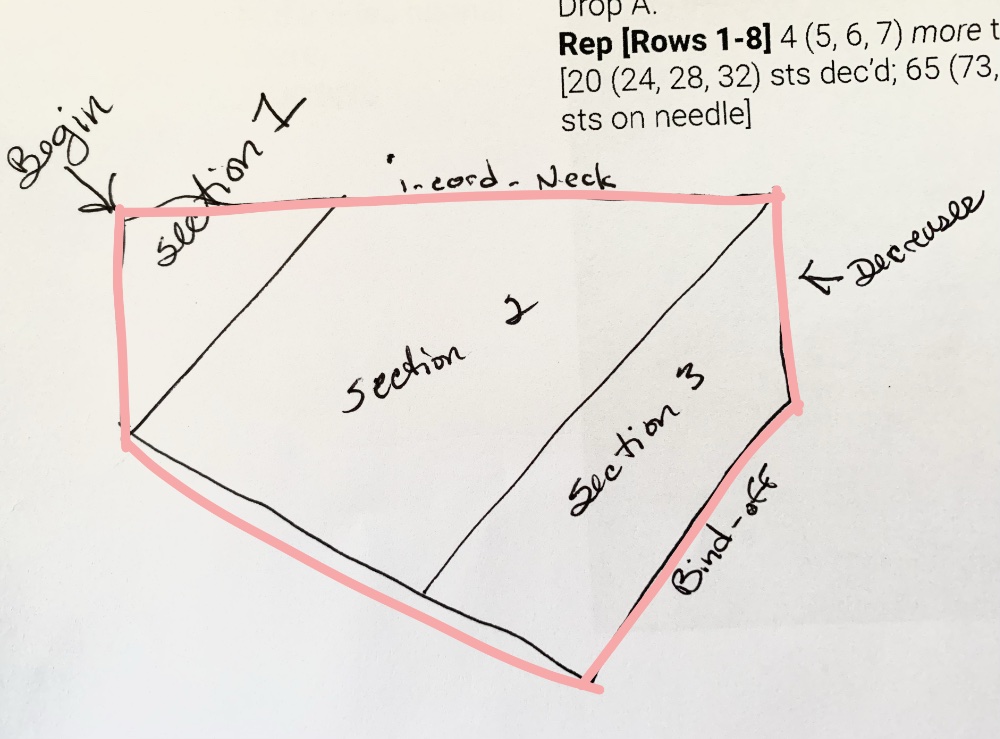
Until I searched through completed Night and Day Cowl project images at Ravelry, I could not picture these sections! These are important parts of this design, so why are they not shown on the schematic page? This is a big issue I have with this designer – not enough simple information that would make the pattern easier to understand.
The pink outline, in my drawing below, is what the designer gives us in her schematic (along with some measurements). It is just the general shape of the cowl after the knitting is done.
The section lines are what I added. After I figured that out, the pattern makes more sense to me.
I also know that after I finish knitting Section Two – that edge measurement will be my neck circumference. *DO NOT start knitting section three if your edge is too short – add more rows until the measurement, when connected, will go over your head!
The Curling
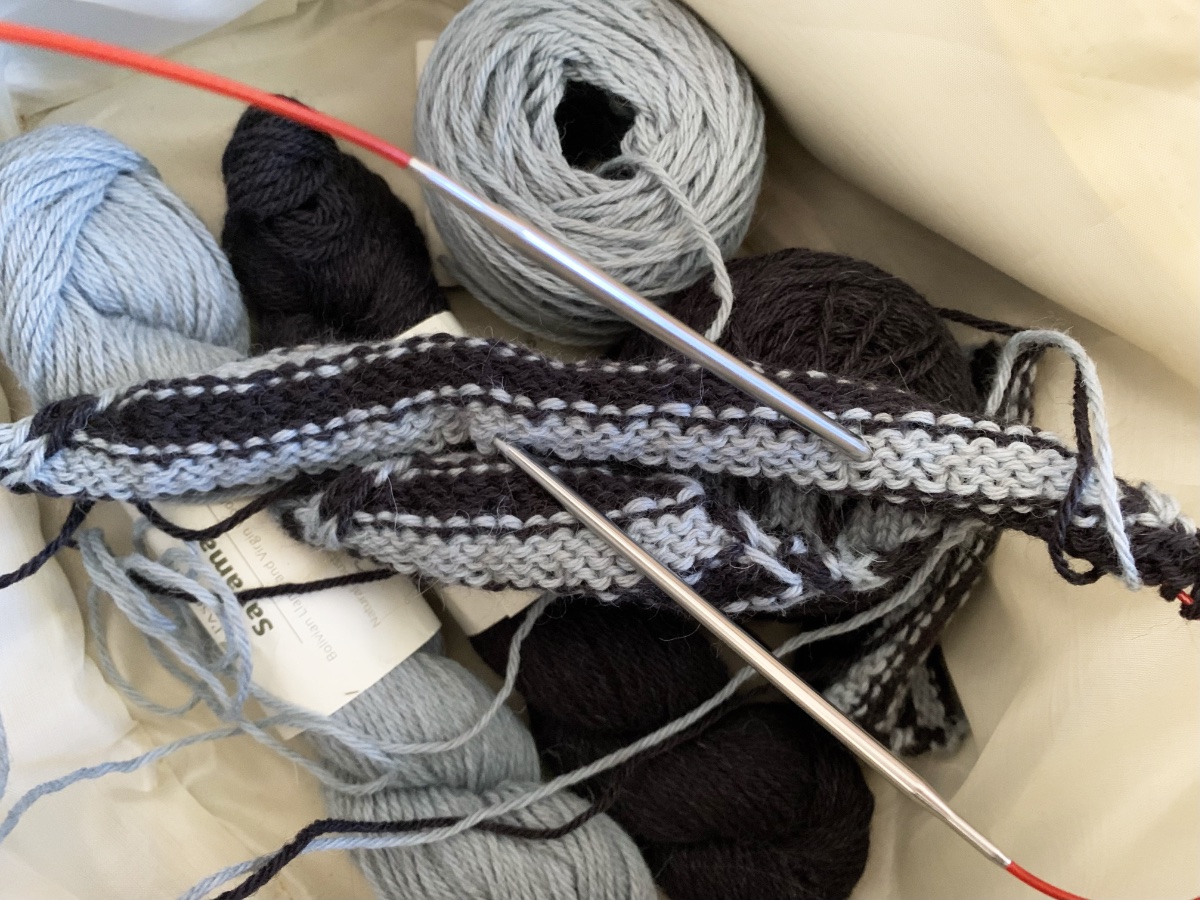
Many knitters complained about how the project curls up. You can see in my photo above how tightly it folds up on itself. I had to use blocking pins just to get the opened-up photo. *Don’t worry, this all fixes itself with the final wash and blocking – so they say.
How to Carry the Yarn Up the Edge in Section One
The two colors of yarn will be carried up the edge of the cowl. In Section One, the increases are sometimes being made along with a color change. This can be a little tricky as you are holding a slipped stitch in one color and doing a “make one” with a new color.
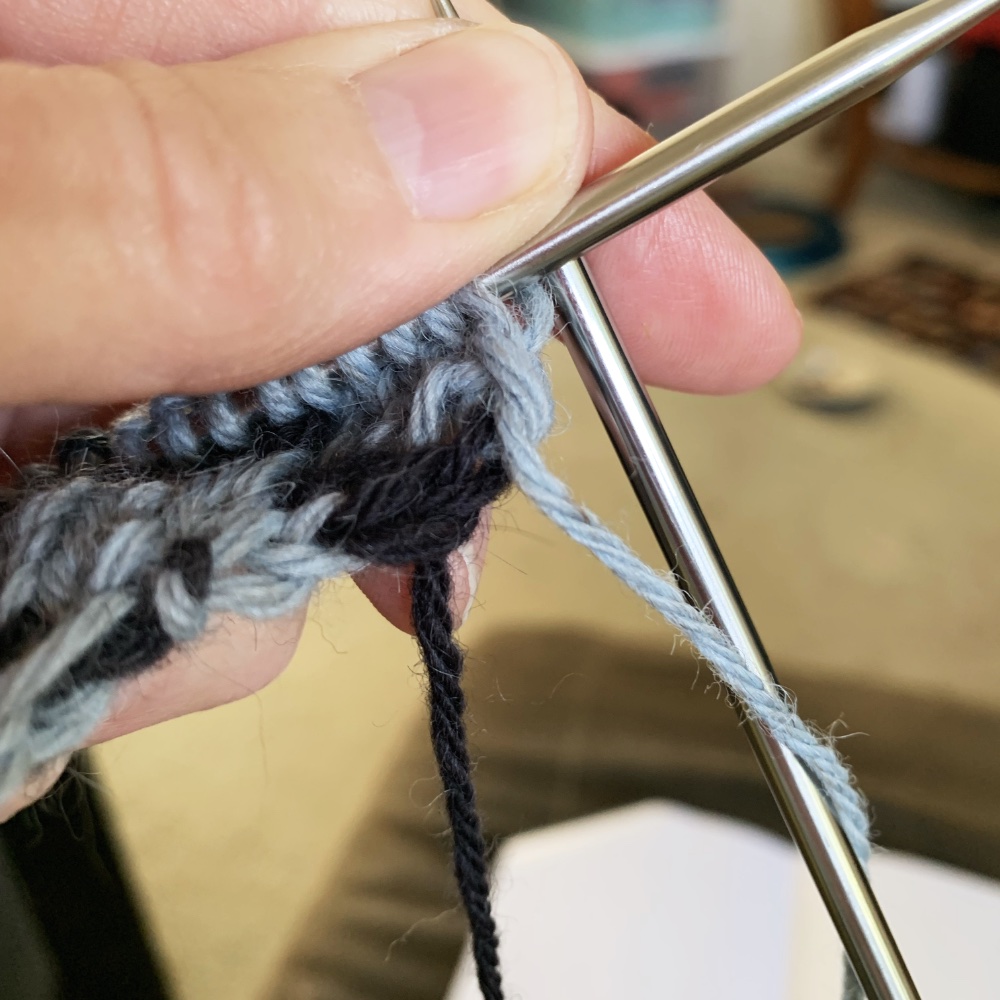
When beginning an increase row where the colors change, hold the “old” yarn in front of the needle, with the “new” yarn in the back. (See below where I am changing yarn from gray-blue to black.). This puts both yarns in the correct position to knit the row.
Once that first stitch is slipped, lift the old yarn up and over to the back, and forget about it. Lift the strand to do the “make one” and pull up the black (other color) to knit into the make-one stitch. Now you have added the new color. This helped me keep the yarn from tangling and getting caught inside the circular needles. I hate when that happens.
In all honesty, this edge is not going to show in the end. If you carry the yarn and it looks funky, which a few of my edge stitches do, it will be hidden when this edge is seamed. Don’t stress about it.
FYI: Here is how I remember M1L and M1R by picturing the similarity of the letters. L=Front, L & F are made up of straight lines, so they go together. Therefore a M1L means go into the stitch through the Front. R=Back, R & B are made up of rounded parts, so they go together. Therefore, a M1R means go in from the Back.
Knitter Complaints About Night and Day
A quick note here about problems knitters have had with the finished cowl. Many complain that their finished cowl is not symmetrical – but I don’t think it is supposed to be. The schematic is not symmetrical, with one edge being slightly longer coming to the point. The designer could have mentioned this, but maybe at the time she didn’t see it as a problem.
Other knitters complained that the circumference was not big enough to easily go over her head. Is this because they didn’t realize that it should be measured after Section Two? It is possible.
Nowhere does the designer say to do this. How hard would that be, to put a little line of text at the end of Section Two: “Check your cowl neck circumference measurement now!” and, “If it is too short, knit more rows before doing Section 3.”
Knitting Section Two
Once I read through Section Two, I could see that now we are making the I-cord on both edges of our knitting. One edge is adding to the circumference (top edge around the neck) and the other will become the lower edge.
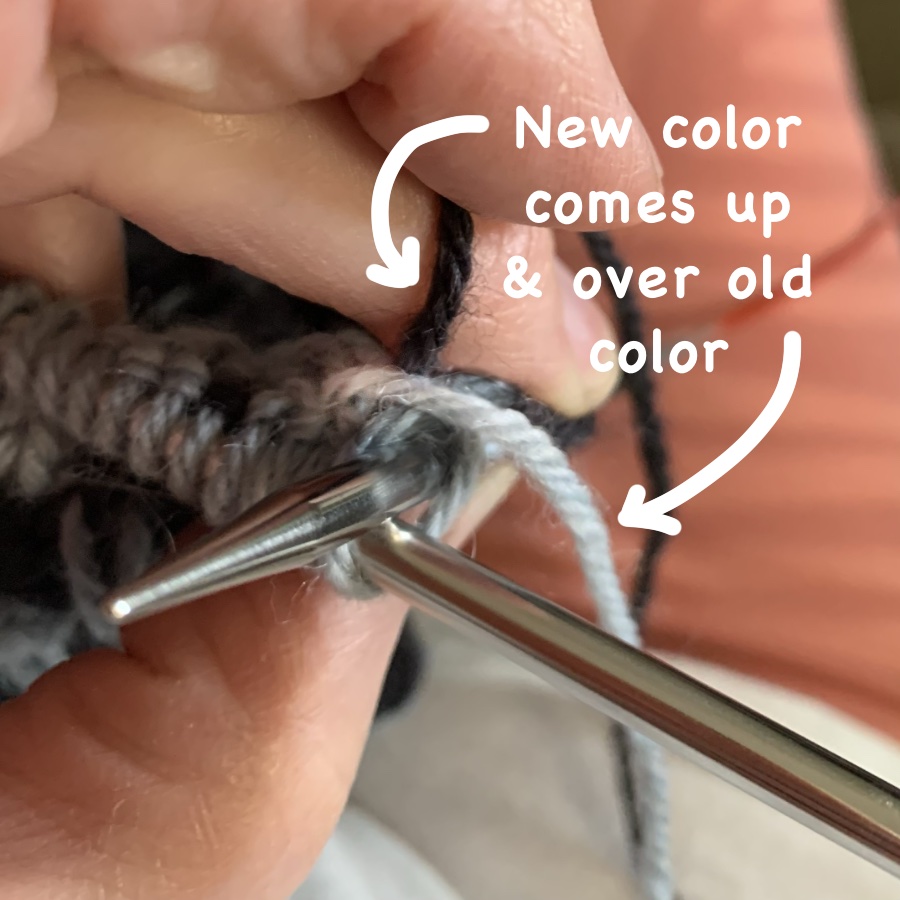
When carrying the yarn not being used, simply toss it over the edge and bring up the new color. This catches the strand. In my photo below I am putting the blue yarn across to the edge while bringing up the black (new yarn being used) to do a knit stitch. Once I make the stitch, the blue strand will be held in place.
I’m still knitting on Section Two and finding that it is easy going. I do have to look at the pattern because “make one’s” are still being done on certain rows. The main knitting is easy and repetitive and moves right along.
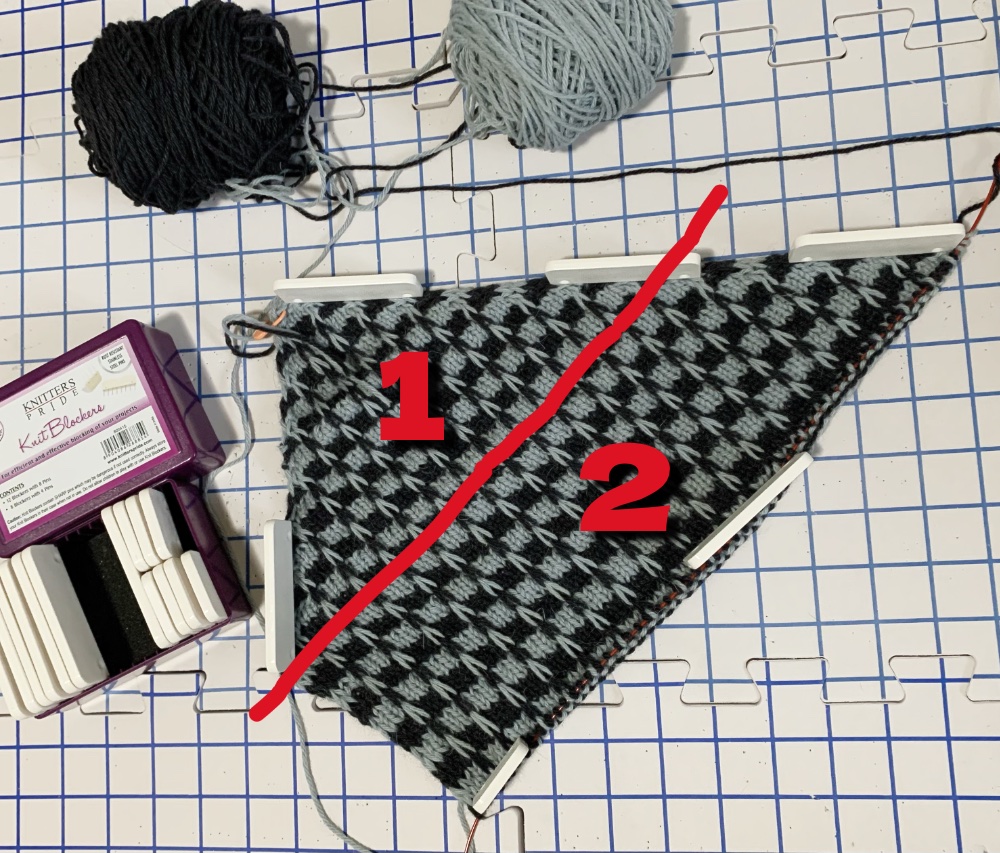
I got out my Knitter’s Pride knit blockers (paid link) to flatten the project and show my progress on the cowl. I clearly marked Section One, which is complete, and Section 2 which I am still knitting. I blocked it to match the schematic image.
I have some knitting to do before I reach Section Three, so my notes on that will come later.
Once Section Two is completed, we are on the homestretch. The remaining rows in Section Three will be made up of decreases on one edge. That edge should measure the same as the edge in Section One. That would be 8 inches for me.
More to come. Please leave questions and comments if you are knitting / have knit this Cowl. Your information could help other knitters, including me. Thanks!
More stories on this blog…


Share this:


