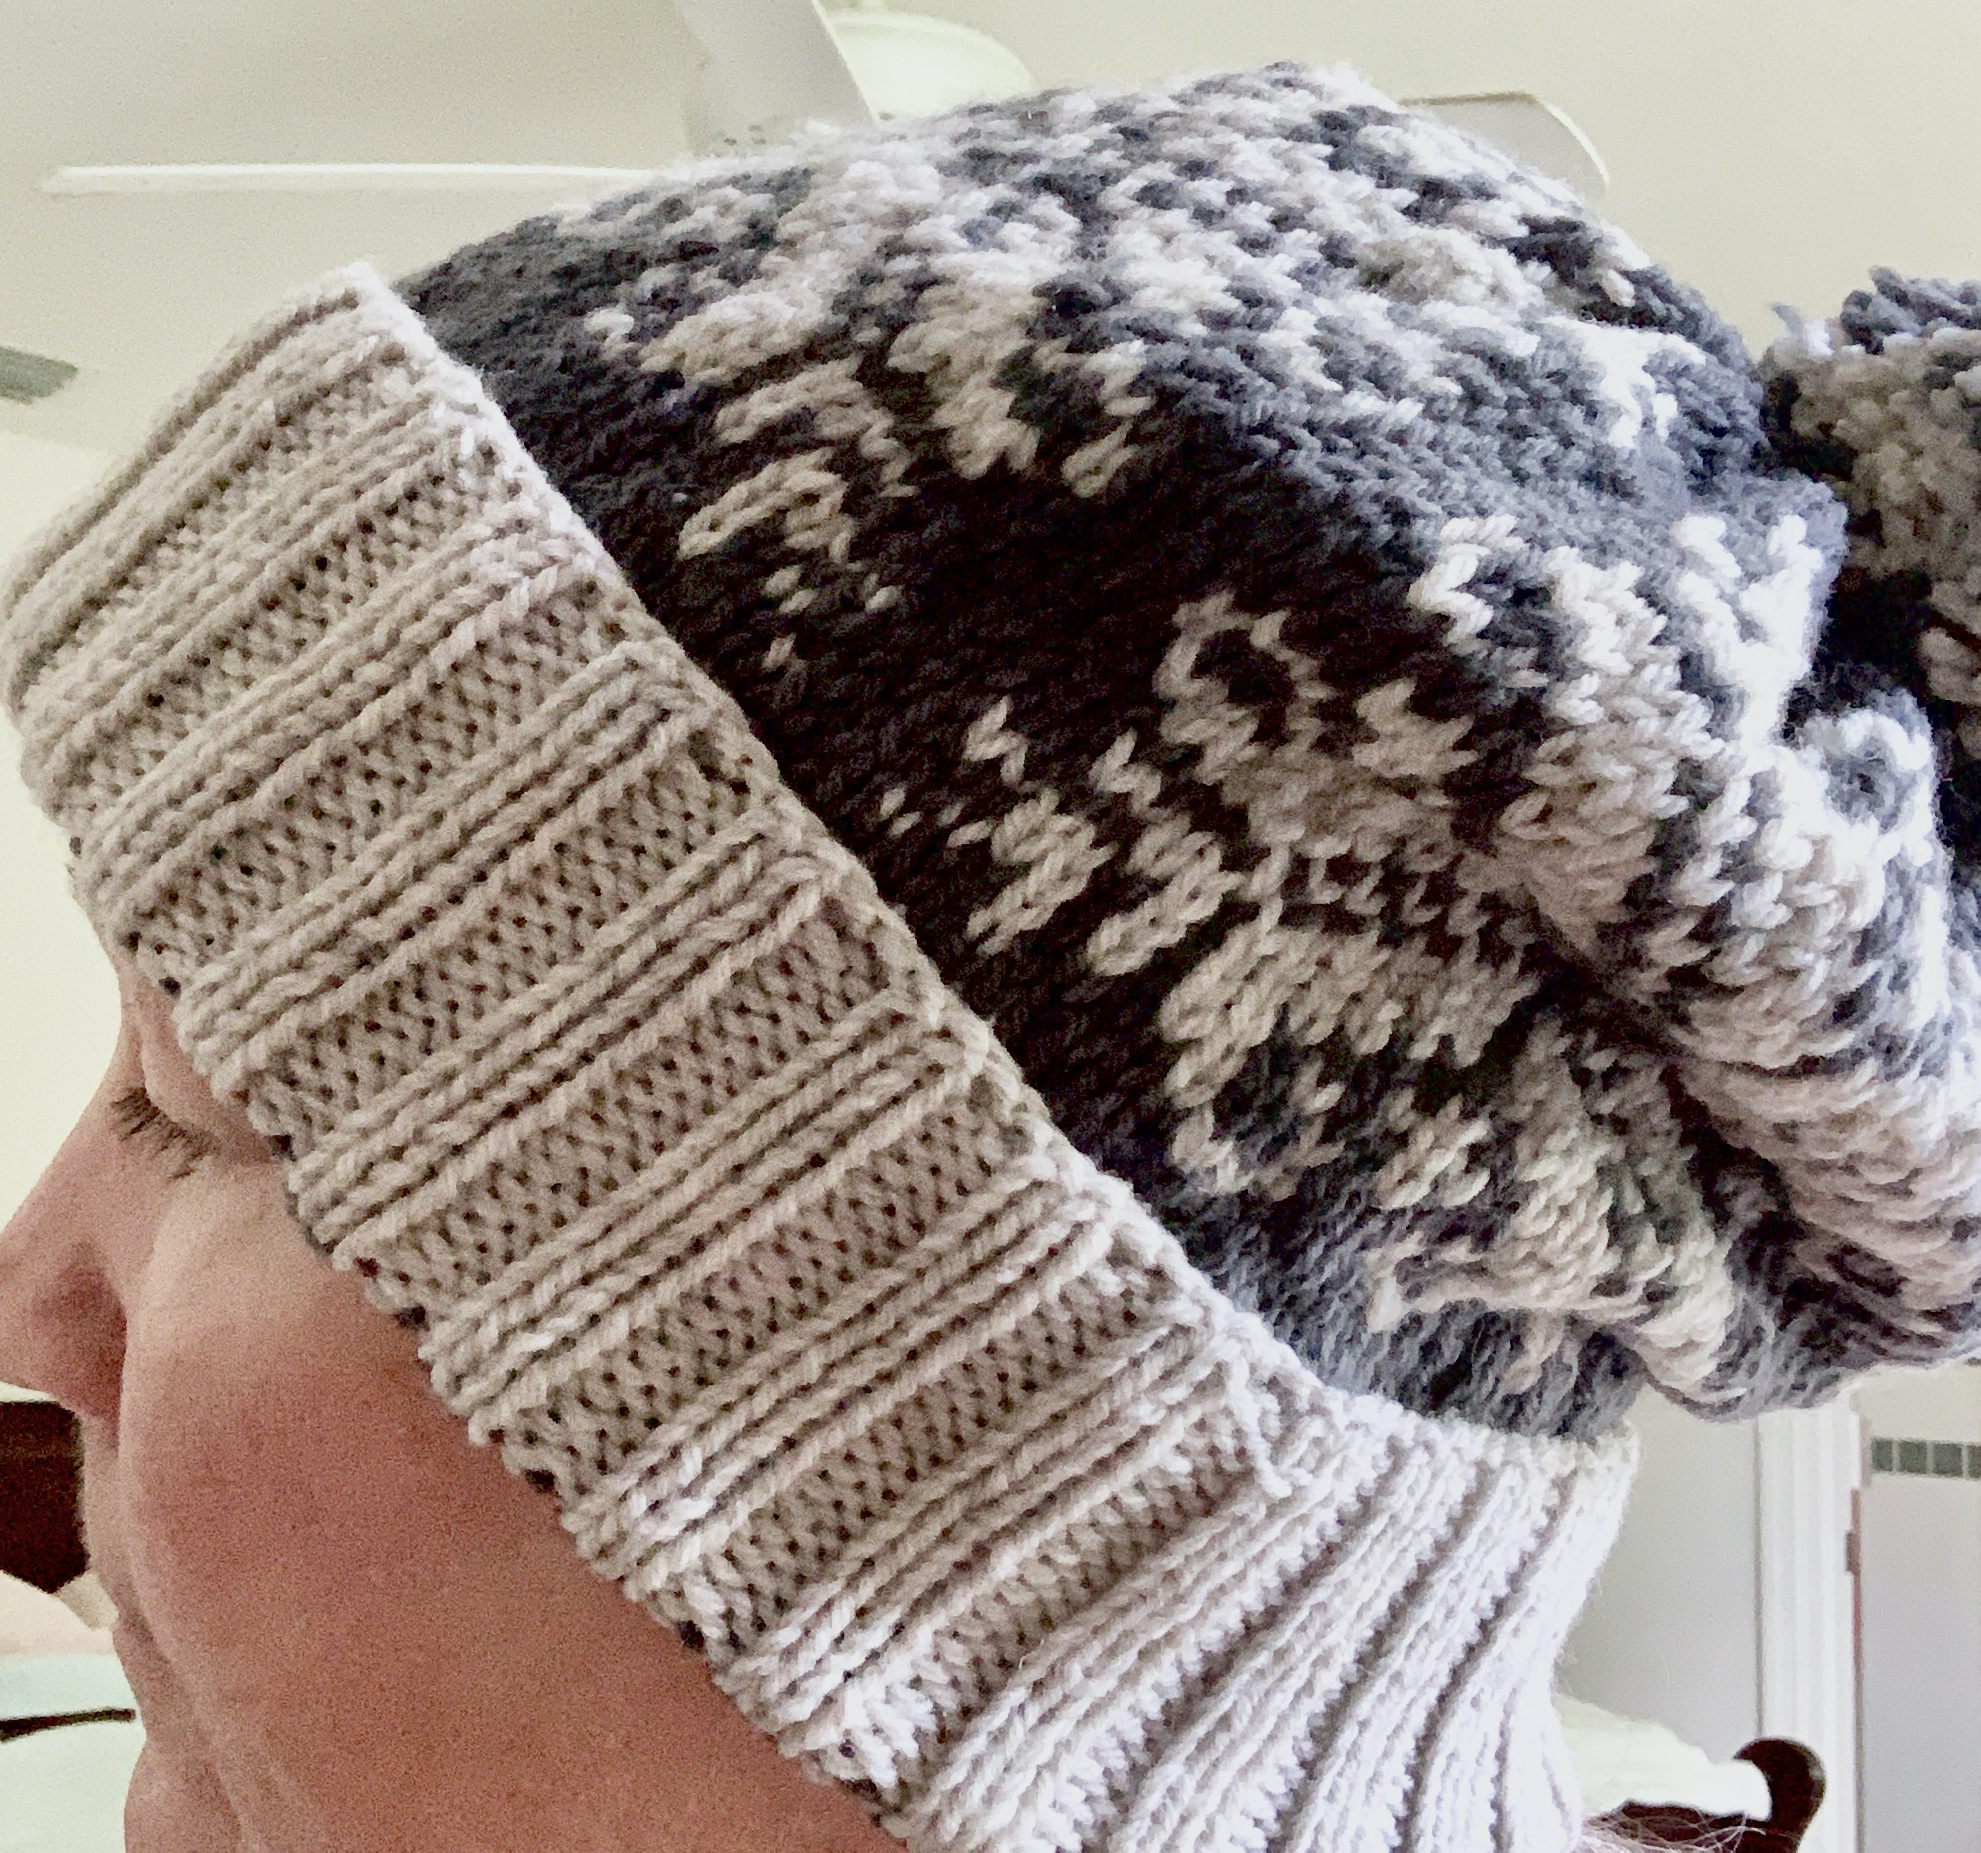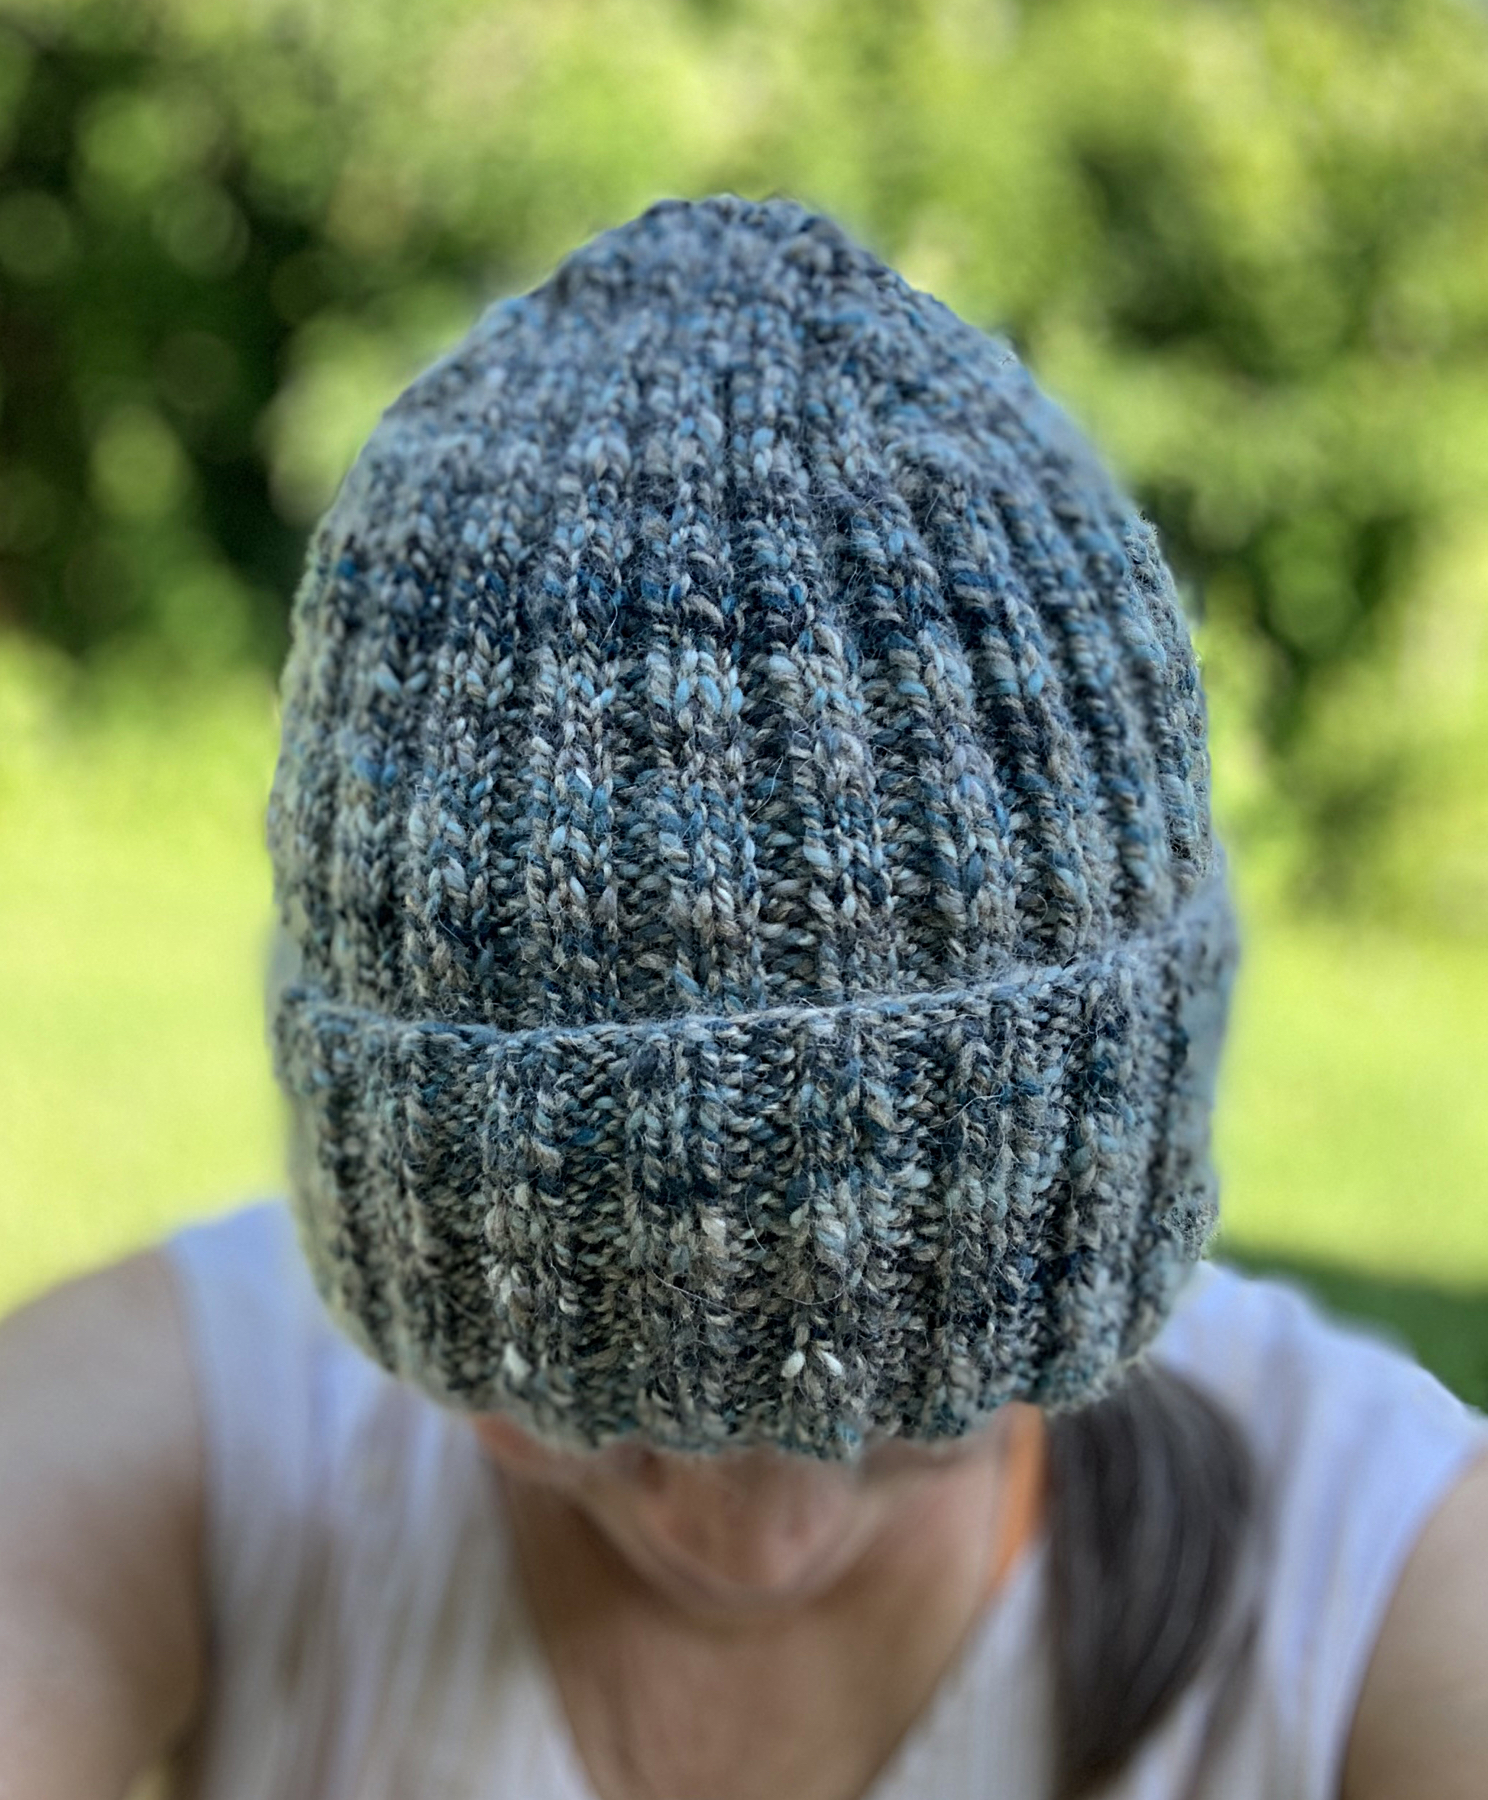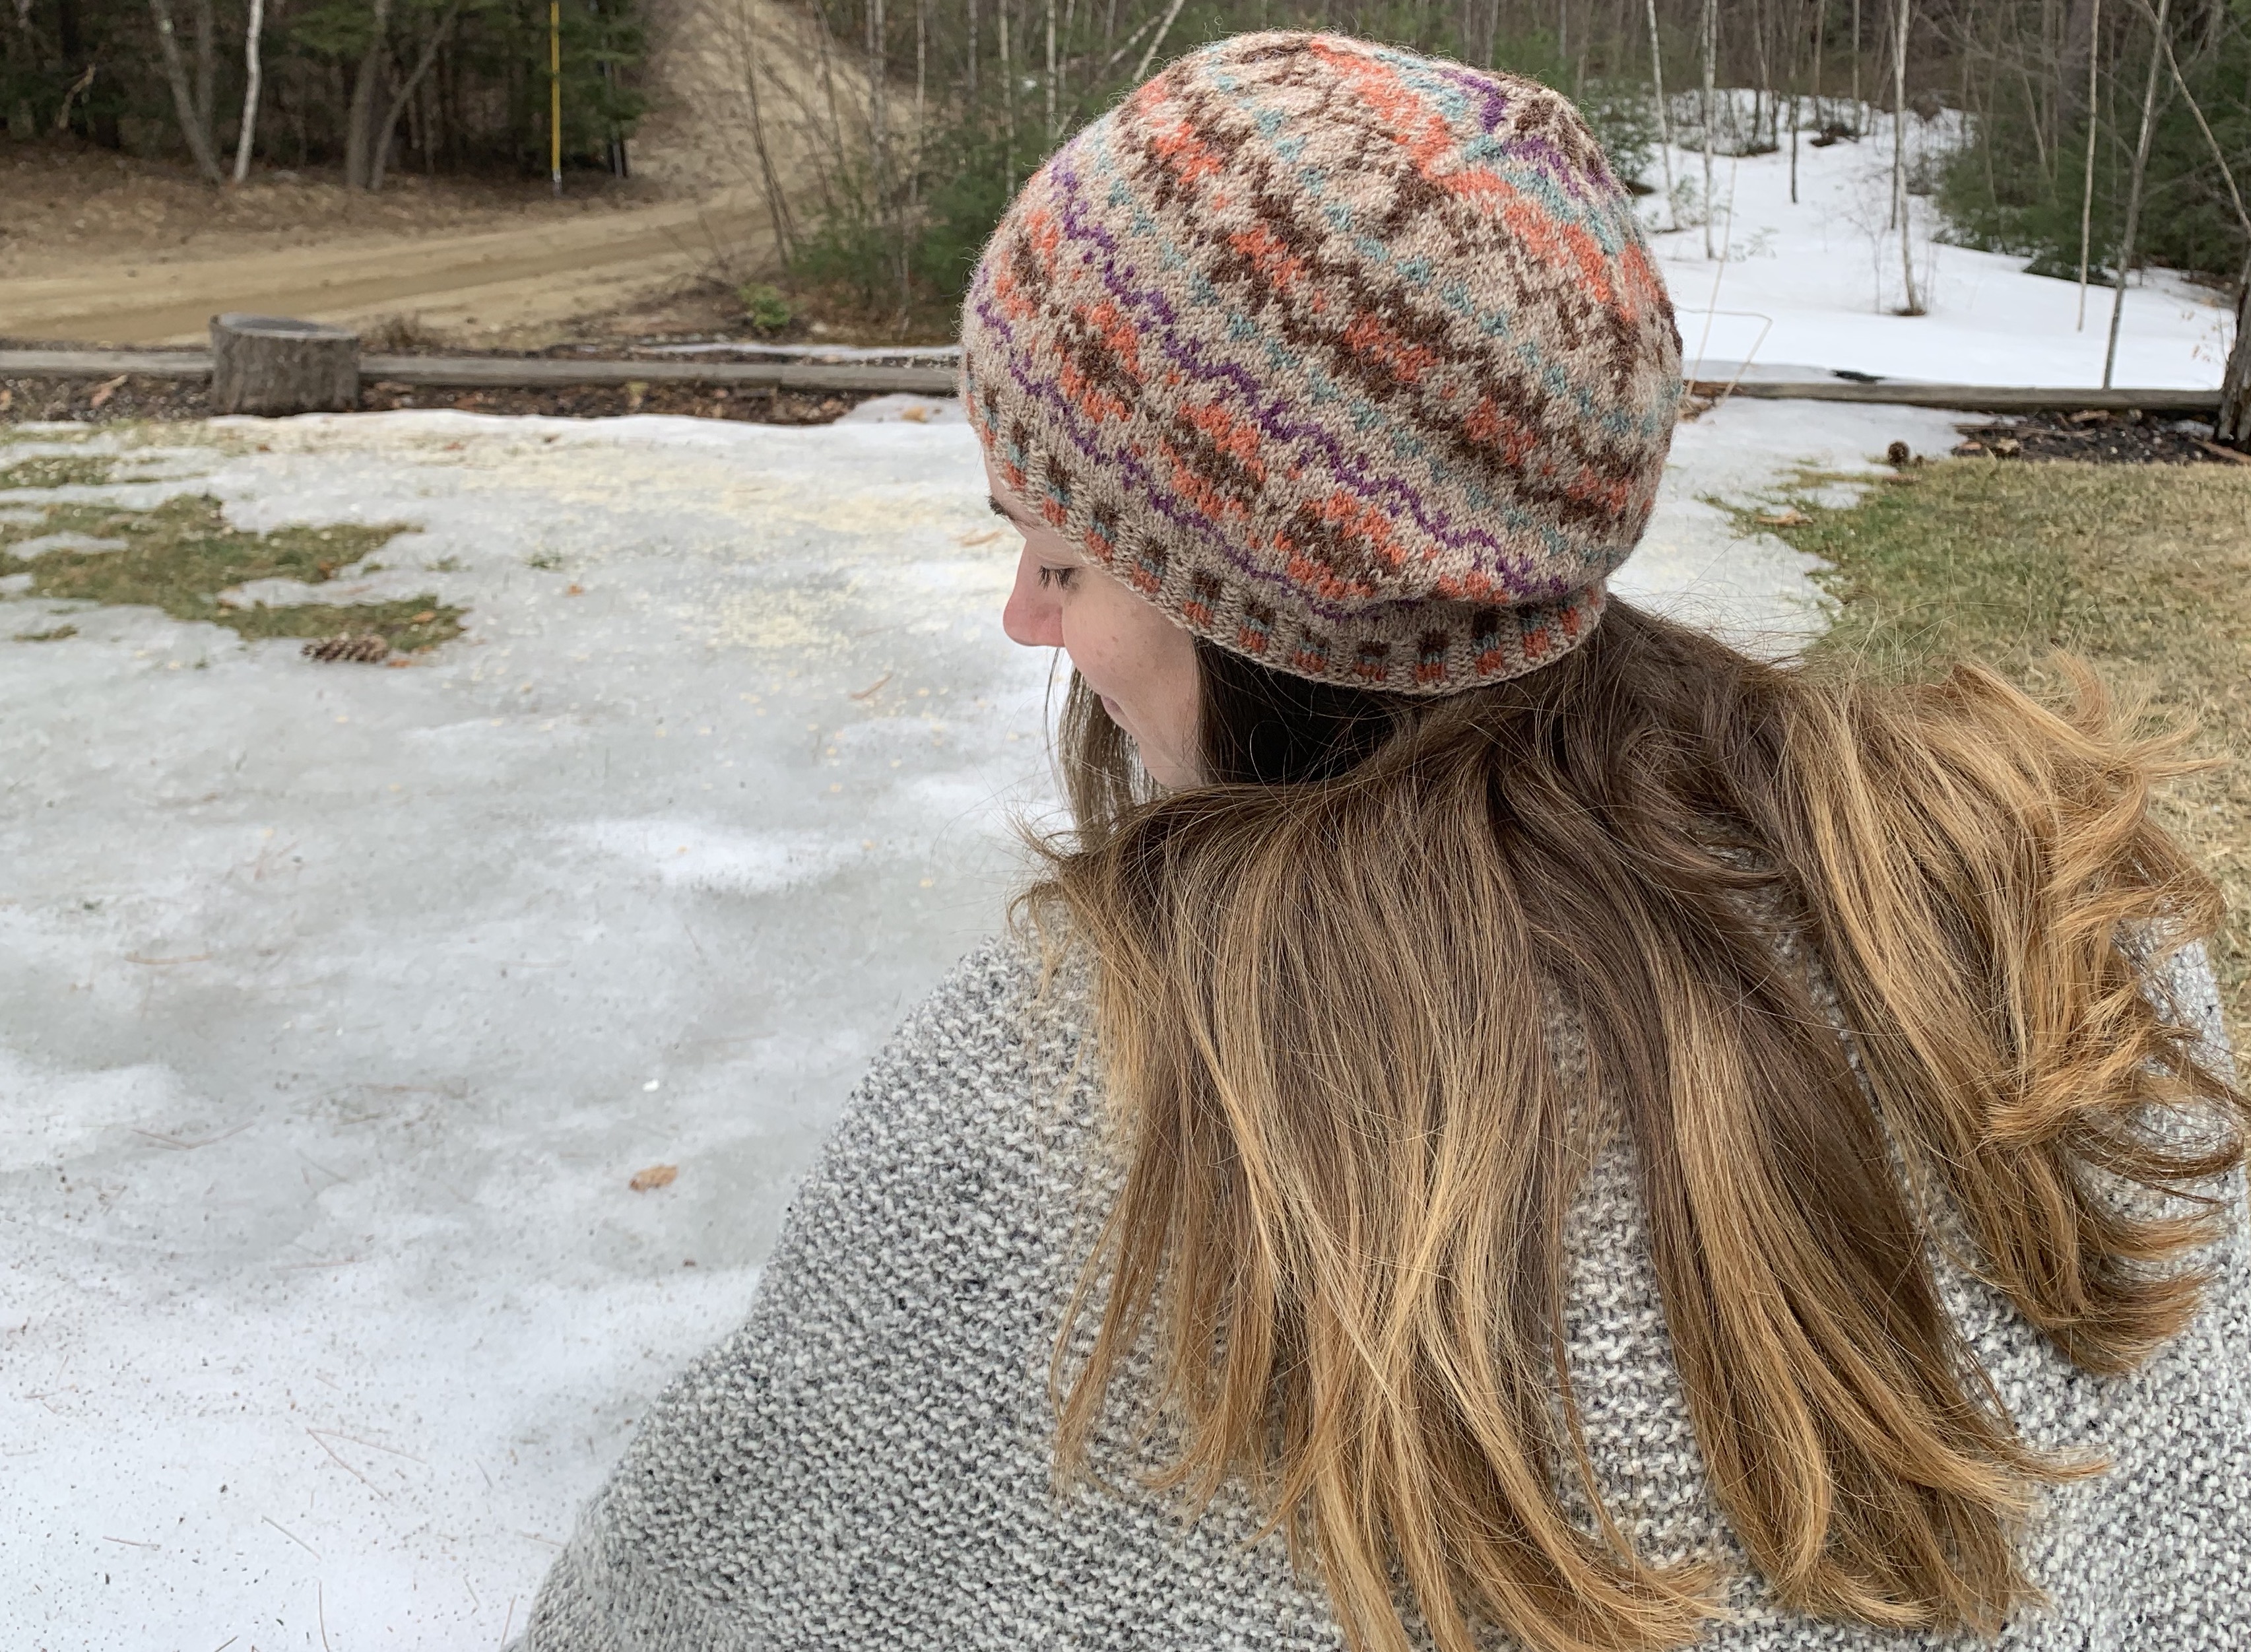
Meadow Moon is My First Jennifer Steingass Pattern

A while ago I decided to make 2021 a year for knitting sweaters. Now we’ve entered 2022 and I am finishing up my projects on the needles.

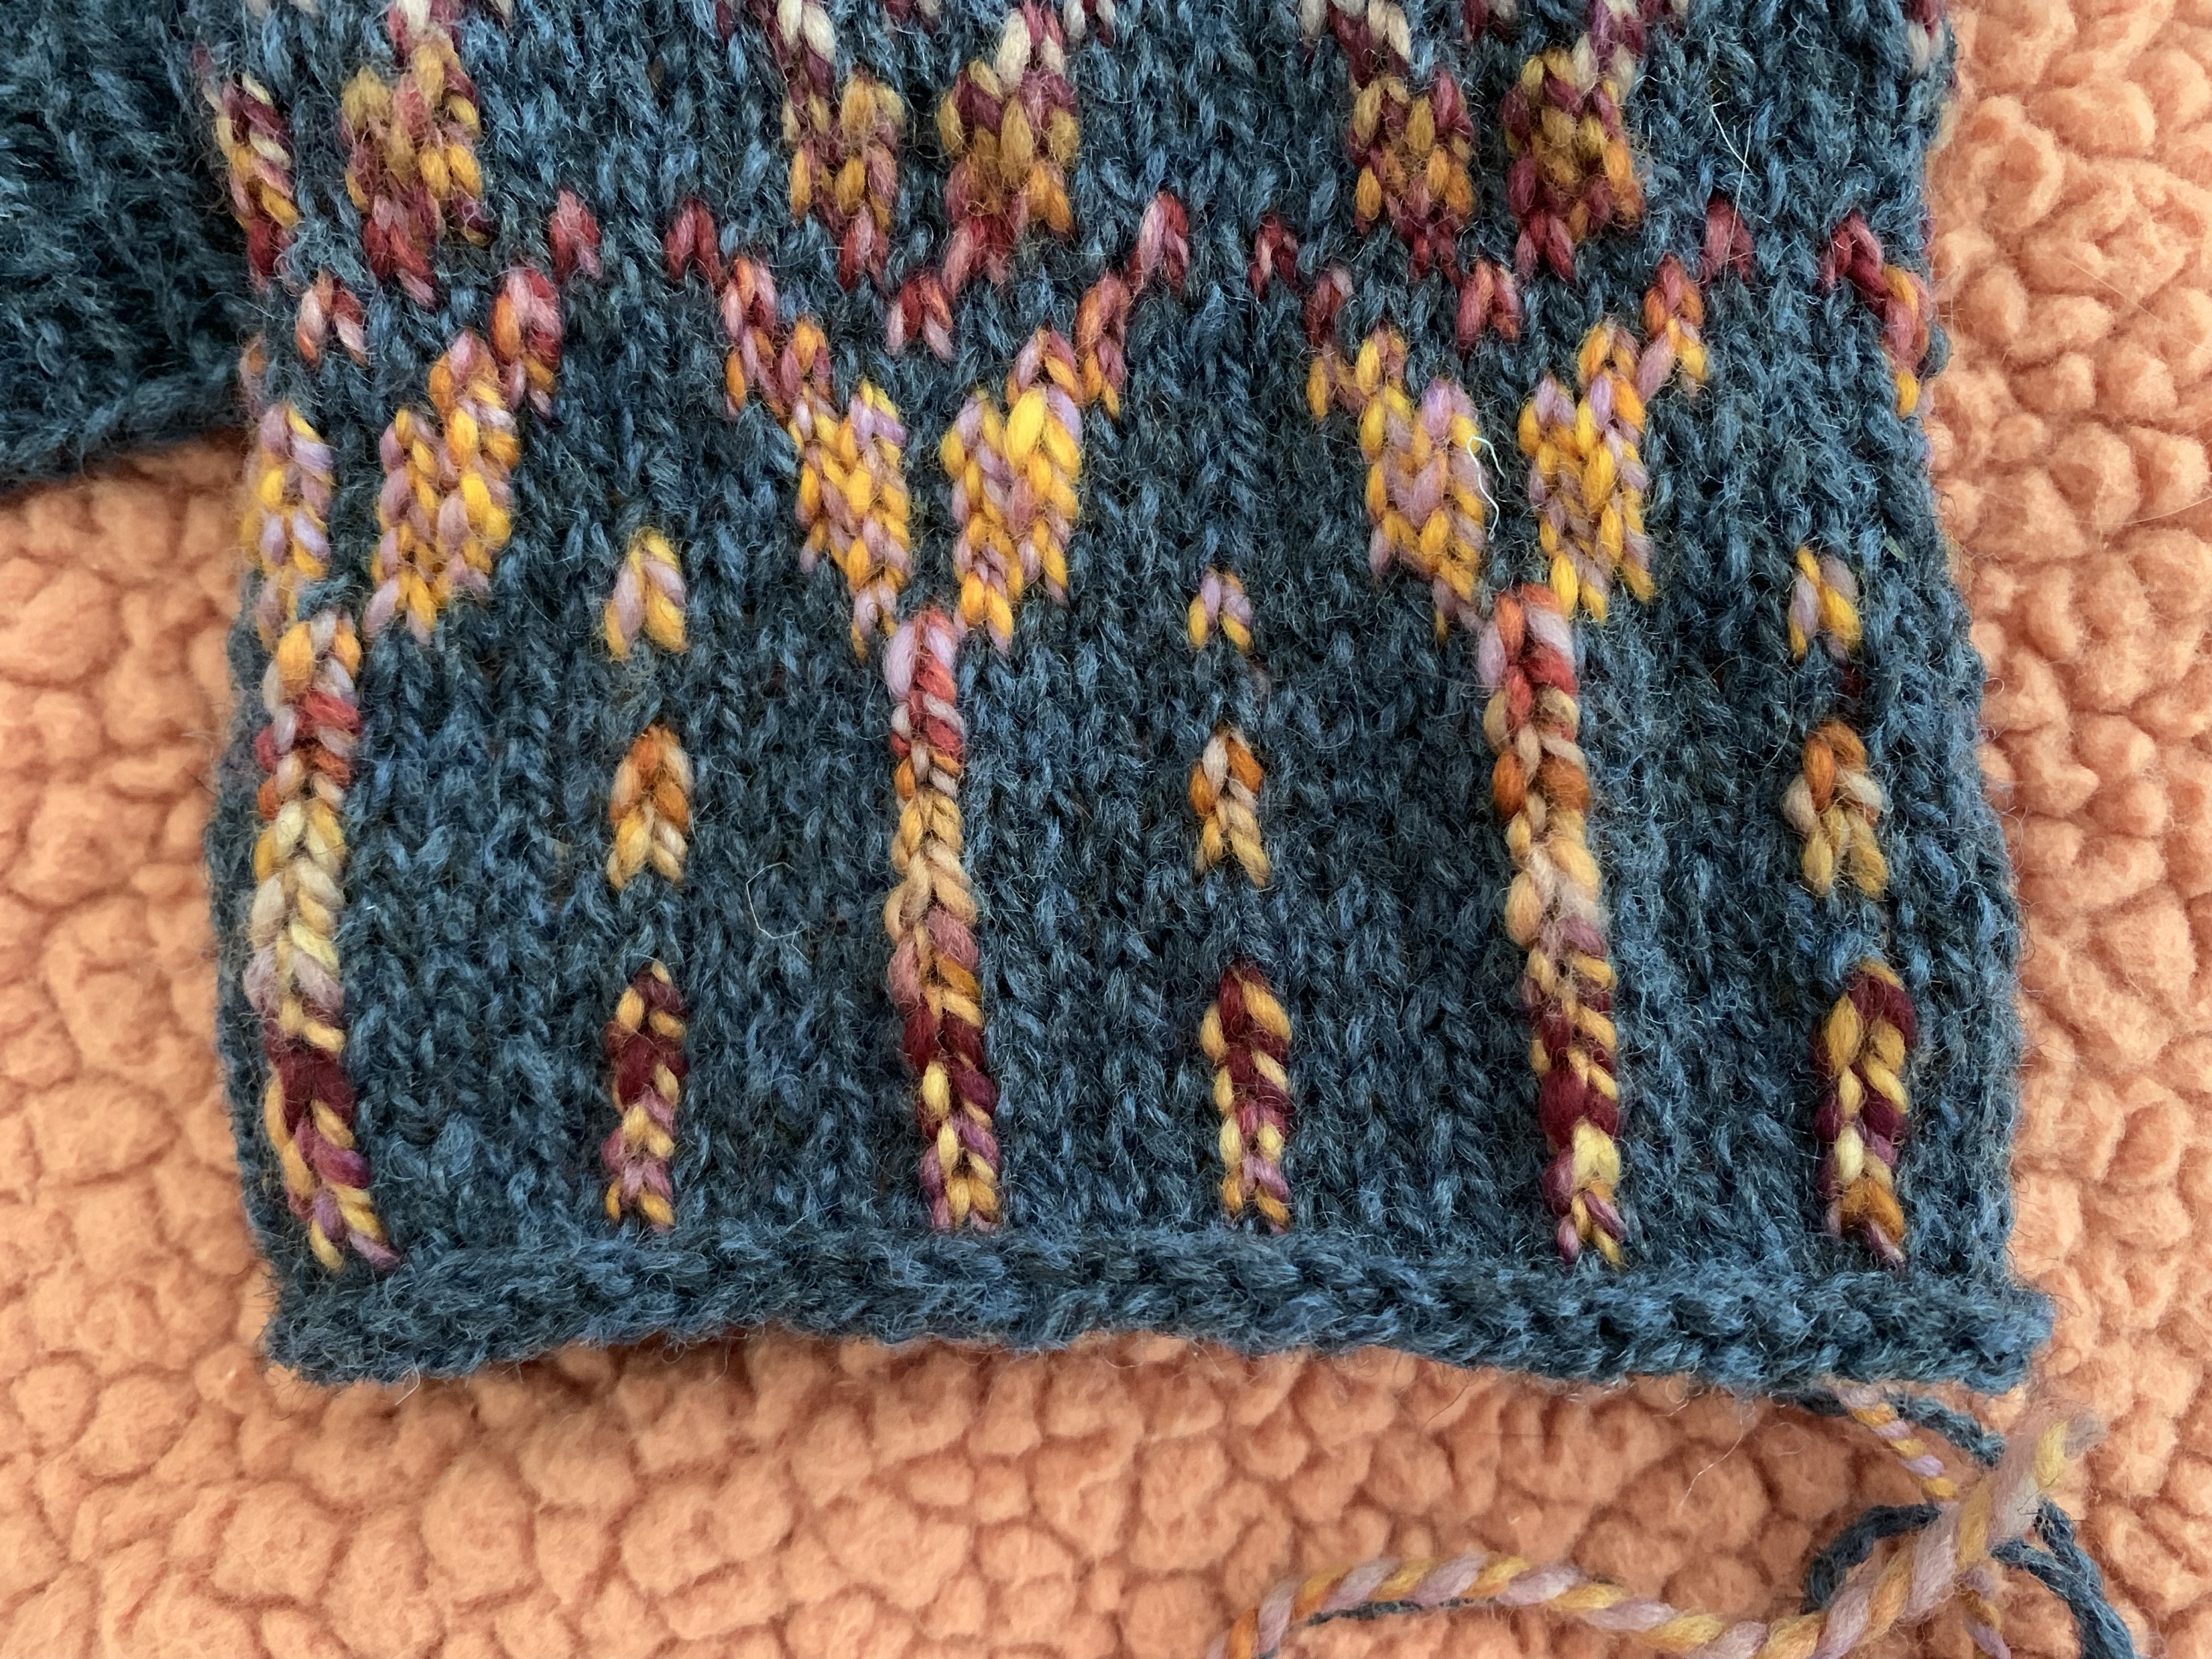
I’ve seen the Jennifer Steingass patterns around and love many of them. Her Ravelry store is Knit.Love.Wool and her sweaters have colorwork yokes, cuffs, and bottom hems. Many of her designs look to be nature inspired with patterns that resemble leaves, stems, and feathers. The pattern I chose looks like stems of wheat coming down from the neckline.

Sweater Knitting is an Investment

Choosing to knit a sweater means an investment of money as well as time. The sweaters I have knit have generally required around 1200 yards of yarn. Depending on the type of yarn purchased, it can be over $100 in material. Choosing a good quality (non-superwash) yarn is worth it. Wool will hold it’s shape and the sweater won’t stretch like crazy when it’s washed.

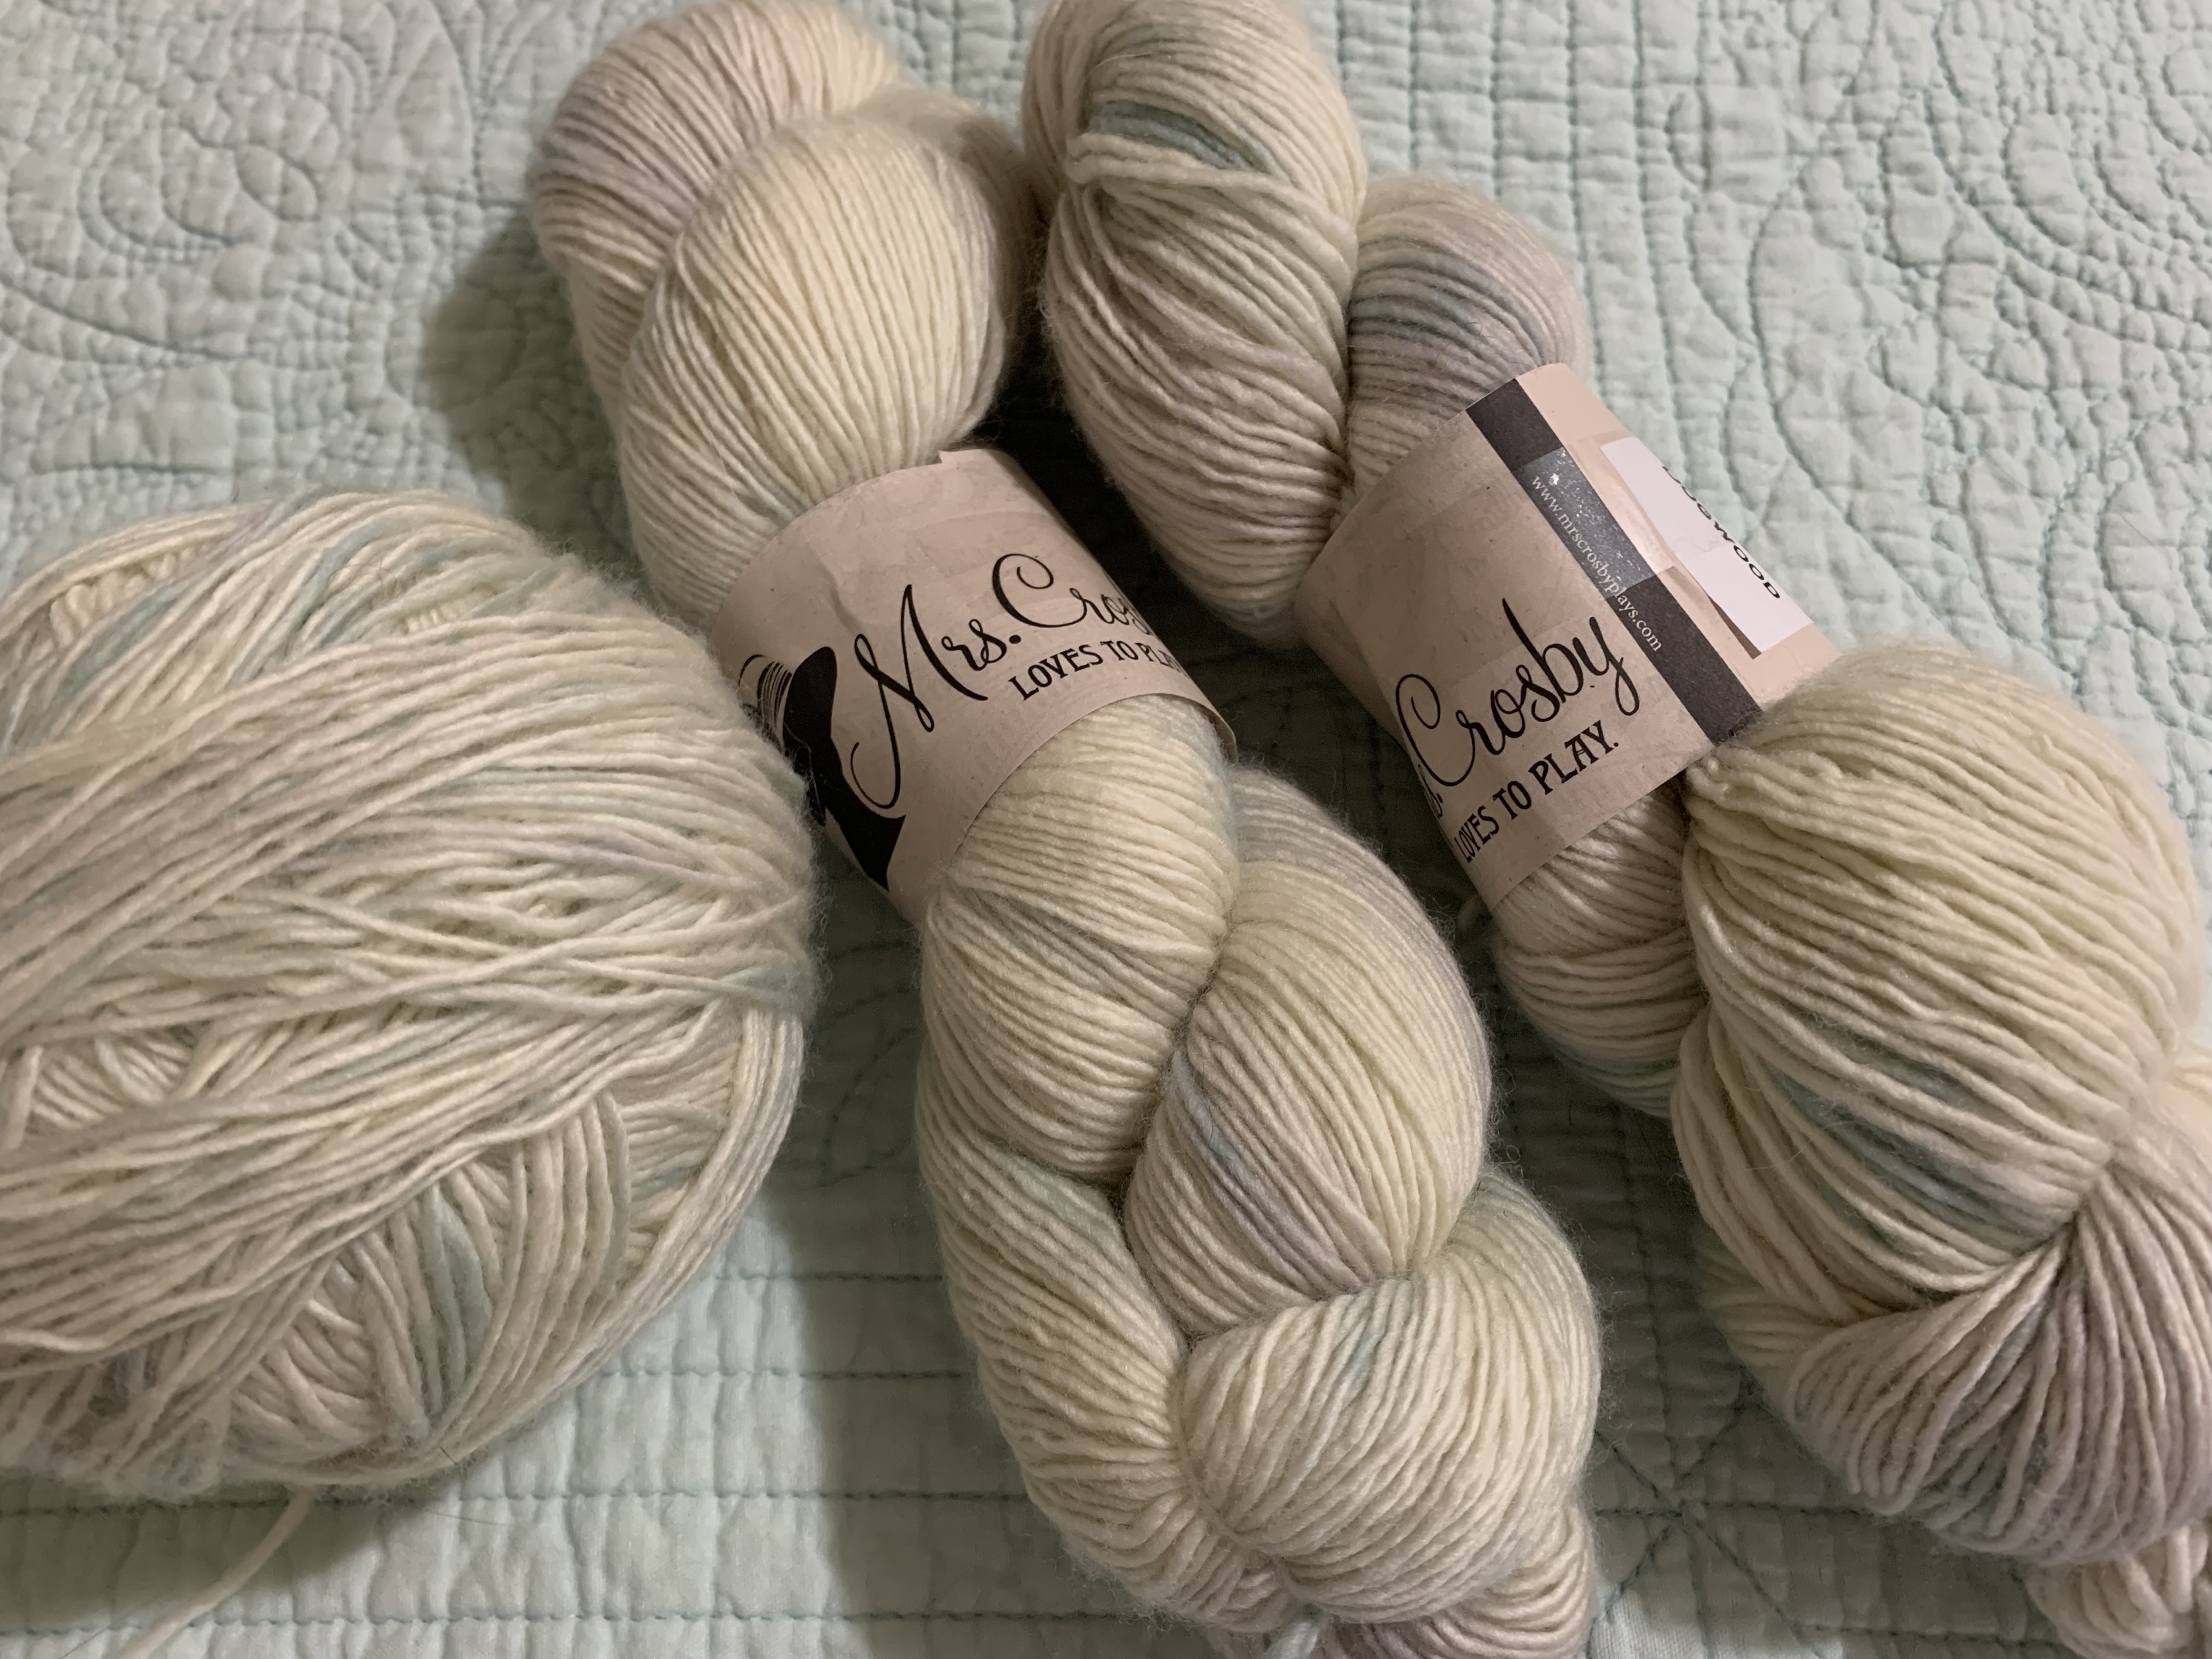
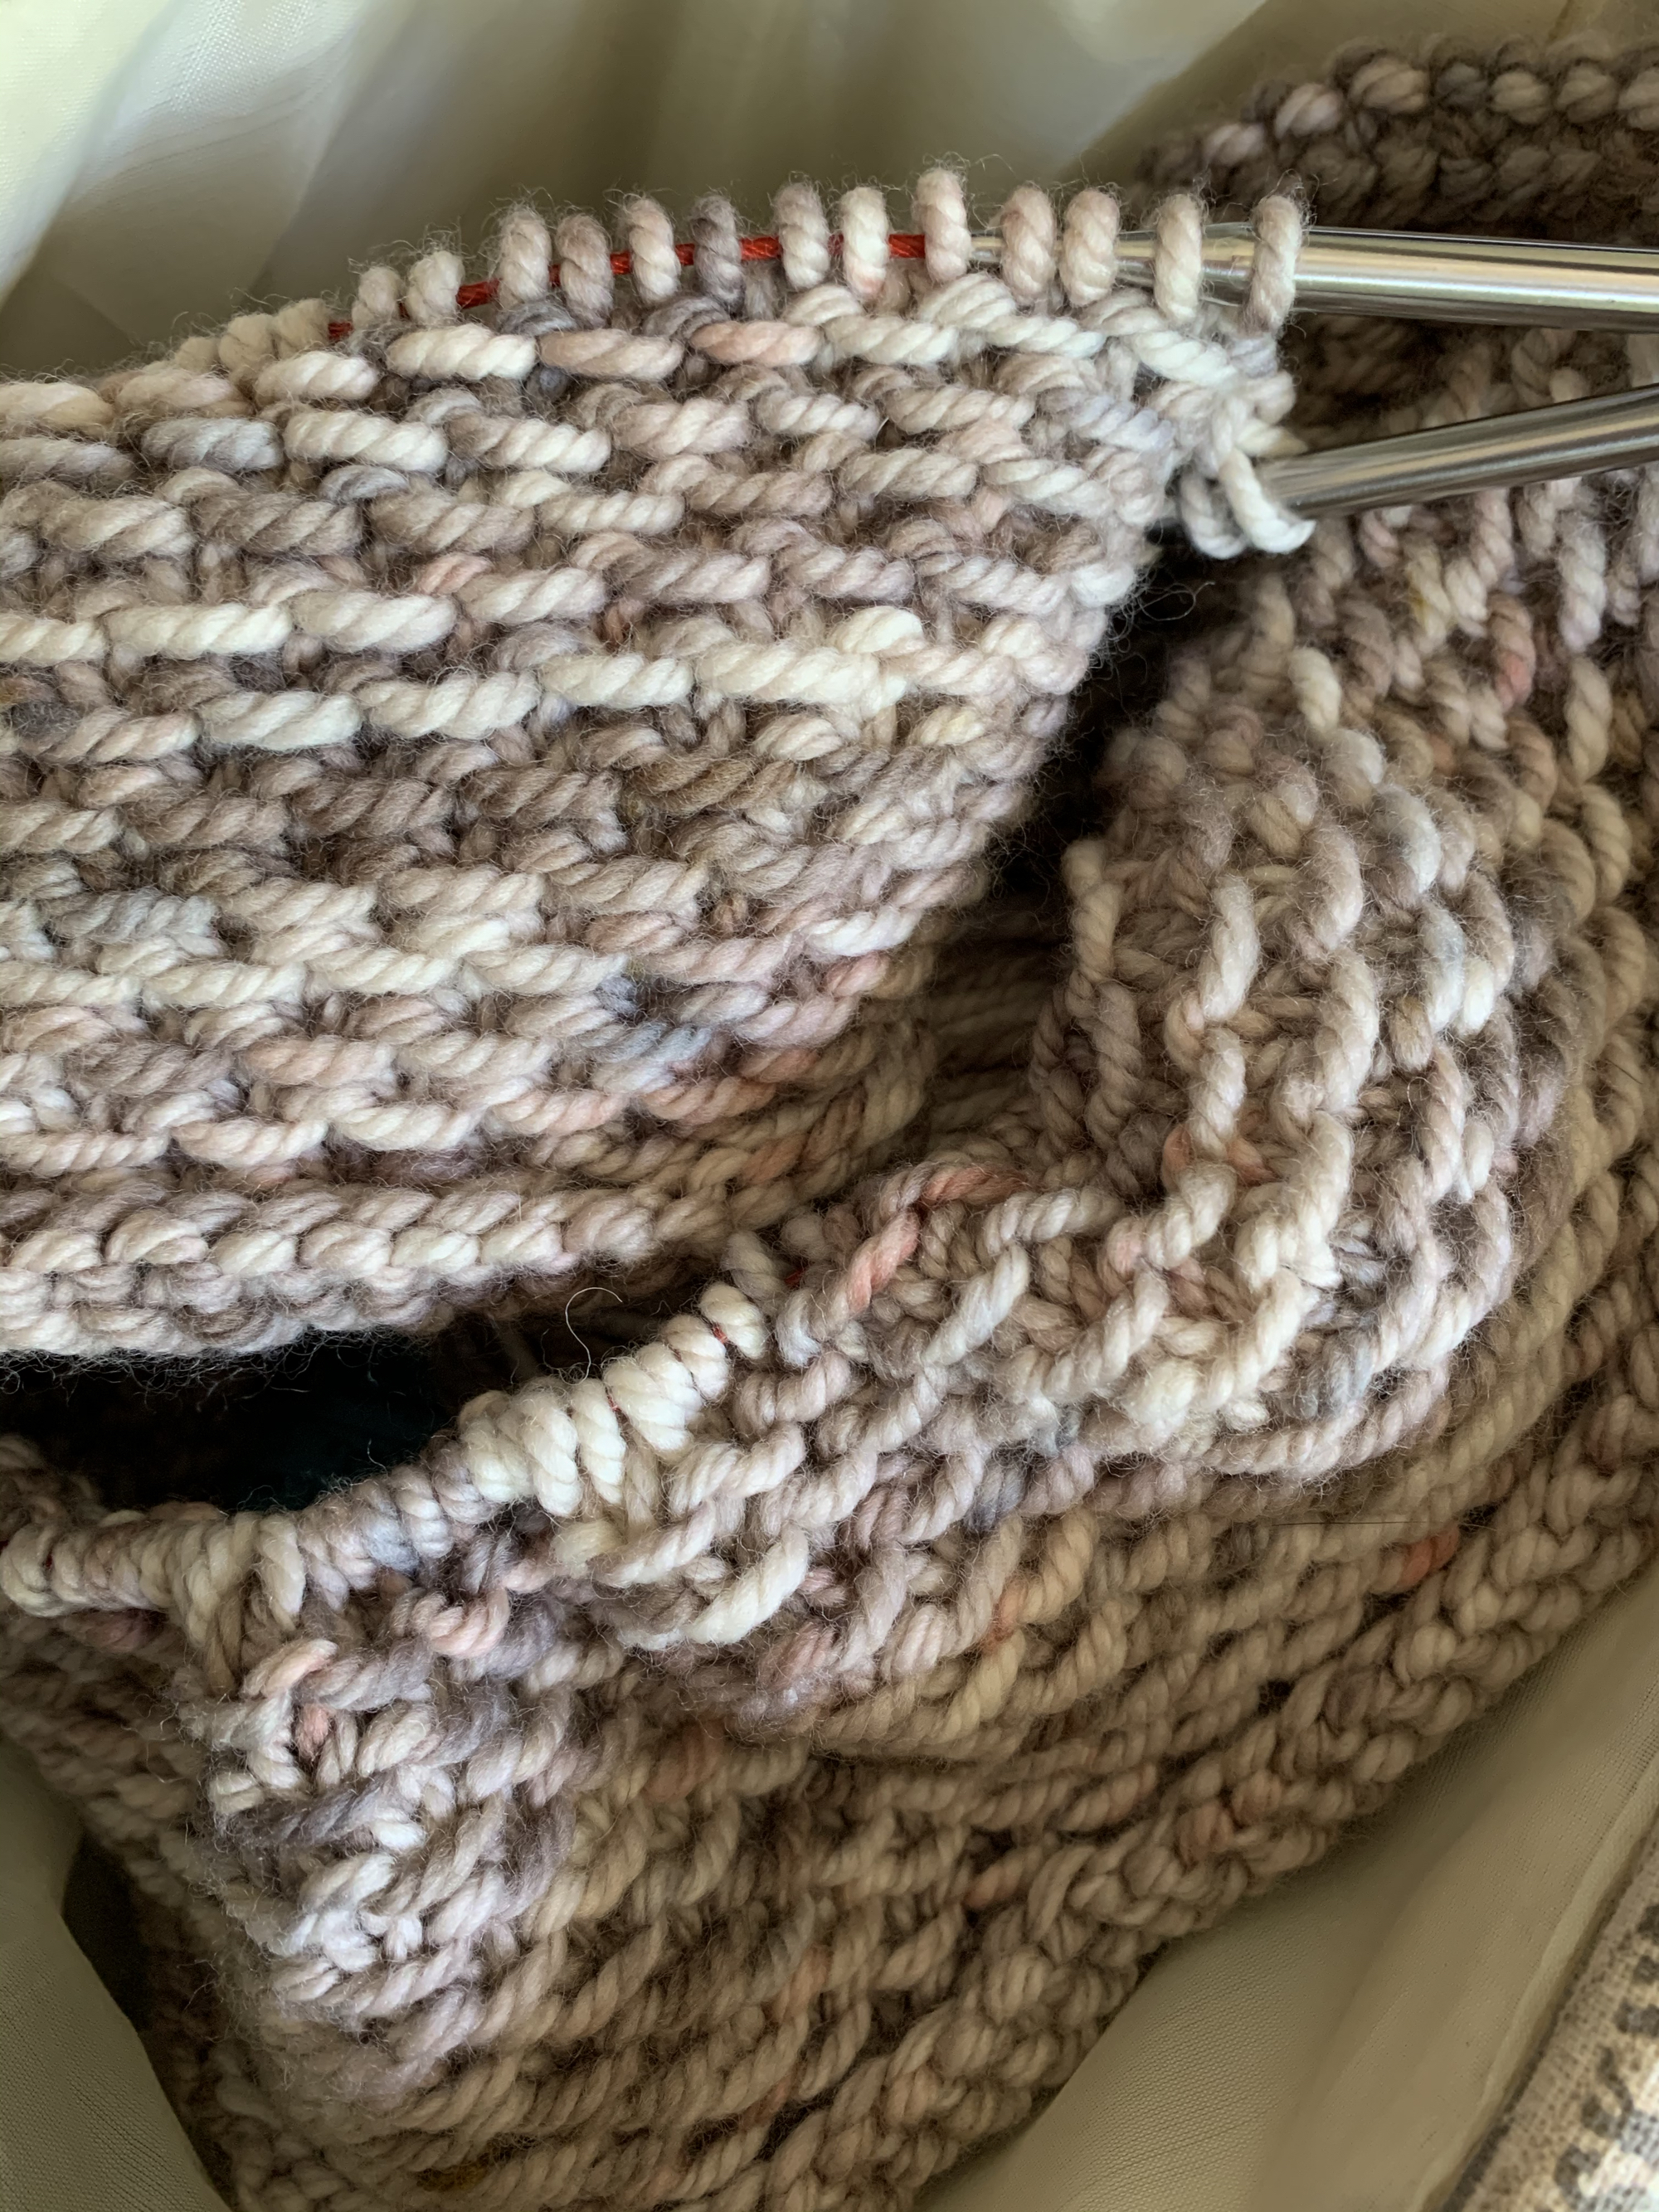
I purchased seven skeins of Rauma Finull wool in blue and decided on a hand-spun skein I already had as my contrast color. I had no idea how this variegated yarn would look when combined with the dark blue. So far, I think it’s looking quite good. I did not want a completely opposite yarn color for the contrast. With this yarn I have no control over what colors are coming up on the skein. It’s fun to see the colors emerge.

The Meadow Moon pattern is well-written and very easy to follow. This is big. I’m also knitting another sweater and the directions are difficult. Some designers go the extra mile to help knitters and some don’t. I’m learning to avoid some popular designers who have made me unhappy by not going that extra mile.

After the Fun Colorwork…

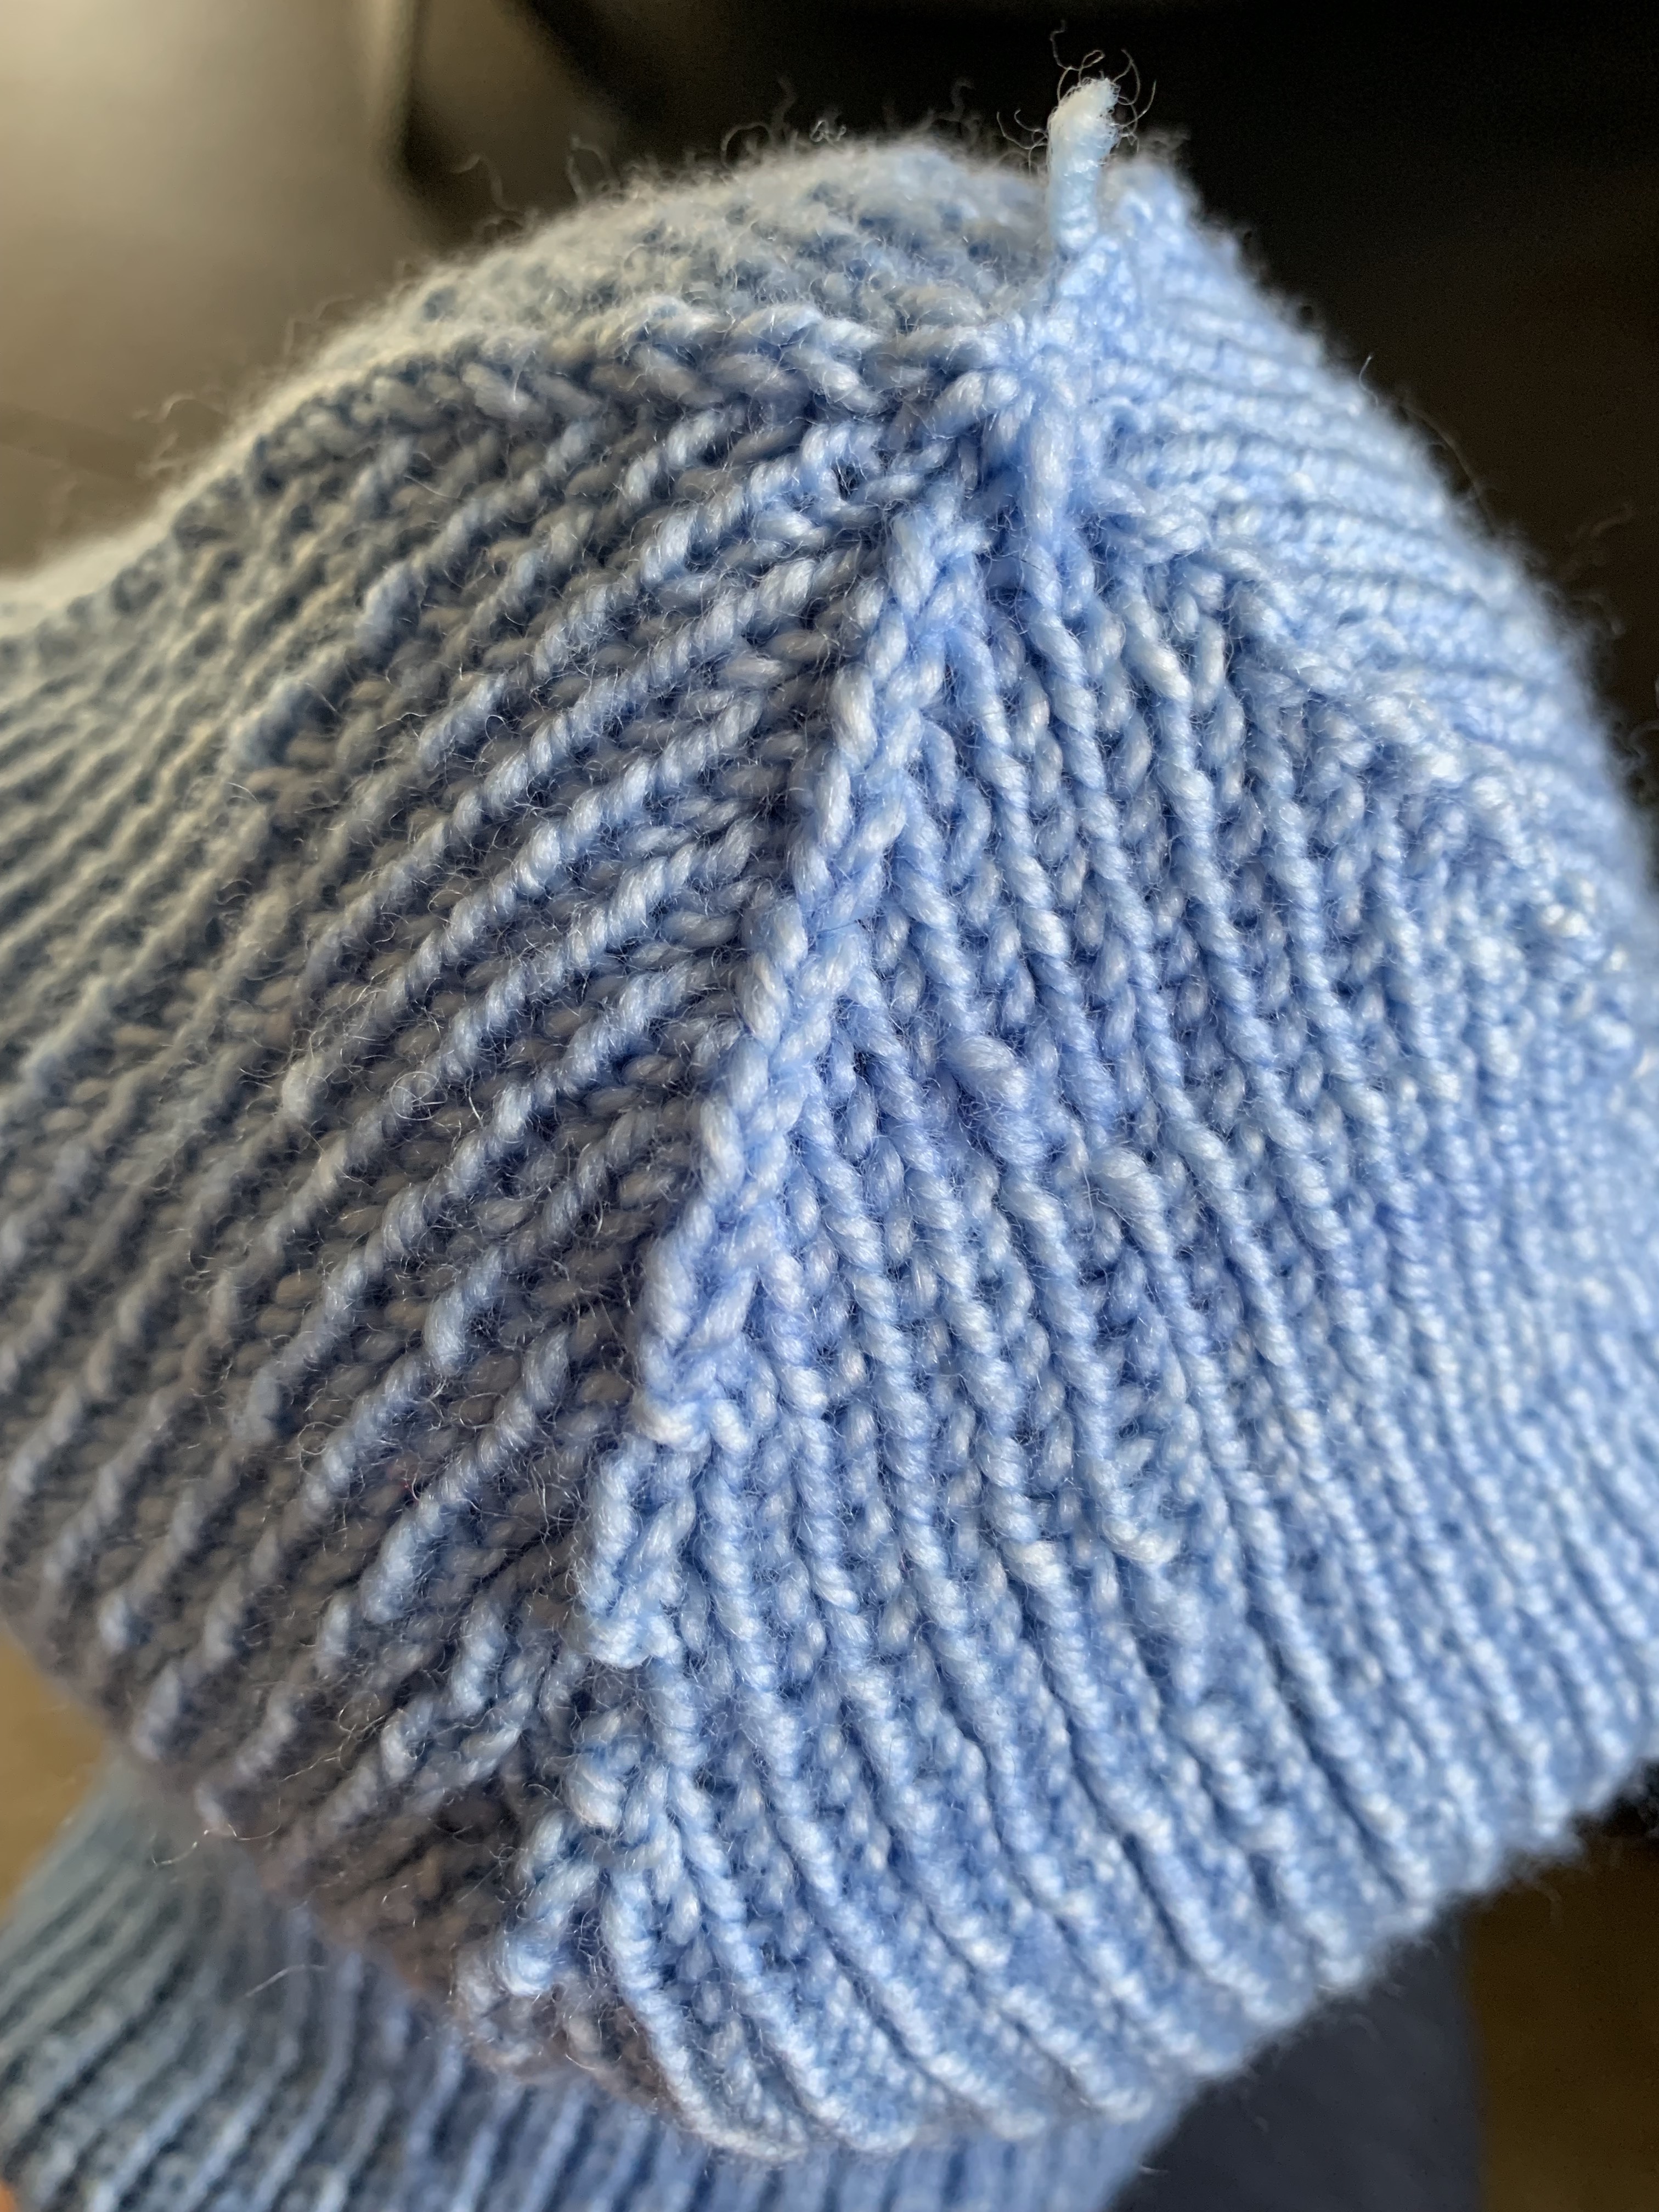
The body is a slog… it has taken a while for me to complete. Finally I bound off the ribbing and tried it on. Fit seems perfect. On to knitting the sleeves. At least there will be colorwork at the ends.

Although round and round knitting can be tiresome, it is great for car trips, late night television knitting, and knitting outdoors and soaking up the sun. I like the fabric being created, and would probably knit more sweaters like this one.

Meadow moon sweater knit
Body is done!

The first sleeve is finished. The decreasing was easy and looks nice and I followed the directions for length, which seems to be perfect.

One thing I changed was the bind off. I found the i-cord bind off directions in the pattern to be difficult. I began with it, but it didn’t look good. Possibly, I was doing it wrong. So I did it my way.

My i-cord bind-off resembles the one Stephen West shows in his video here. Except, I only cast on 2 – to the left needle, not 3, which follows my sweater pattern more closely. Then, *knit one, k2tog tbl, slip both stitches back to the left needle. Repeat from the star.

This bind-off takes some time to do, but it does leave a nice rounded edge.

With one sleeve to go I can see the light at the end of the tunnel

Finishing Up My Sweater Knit

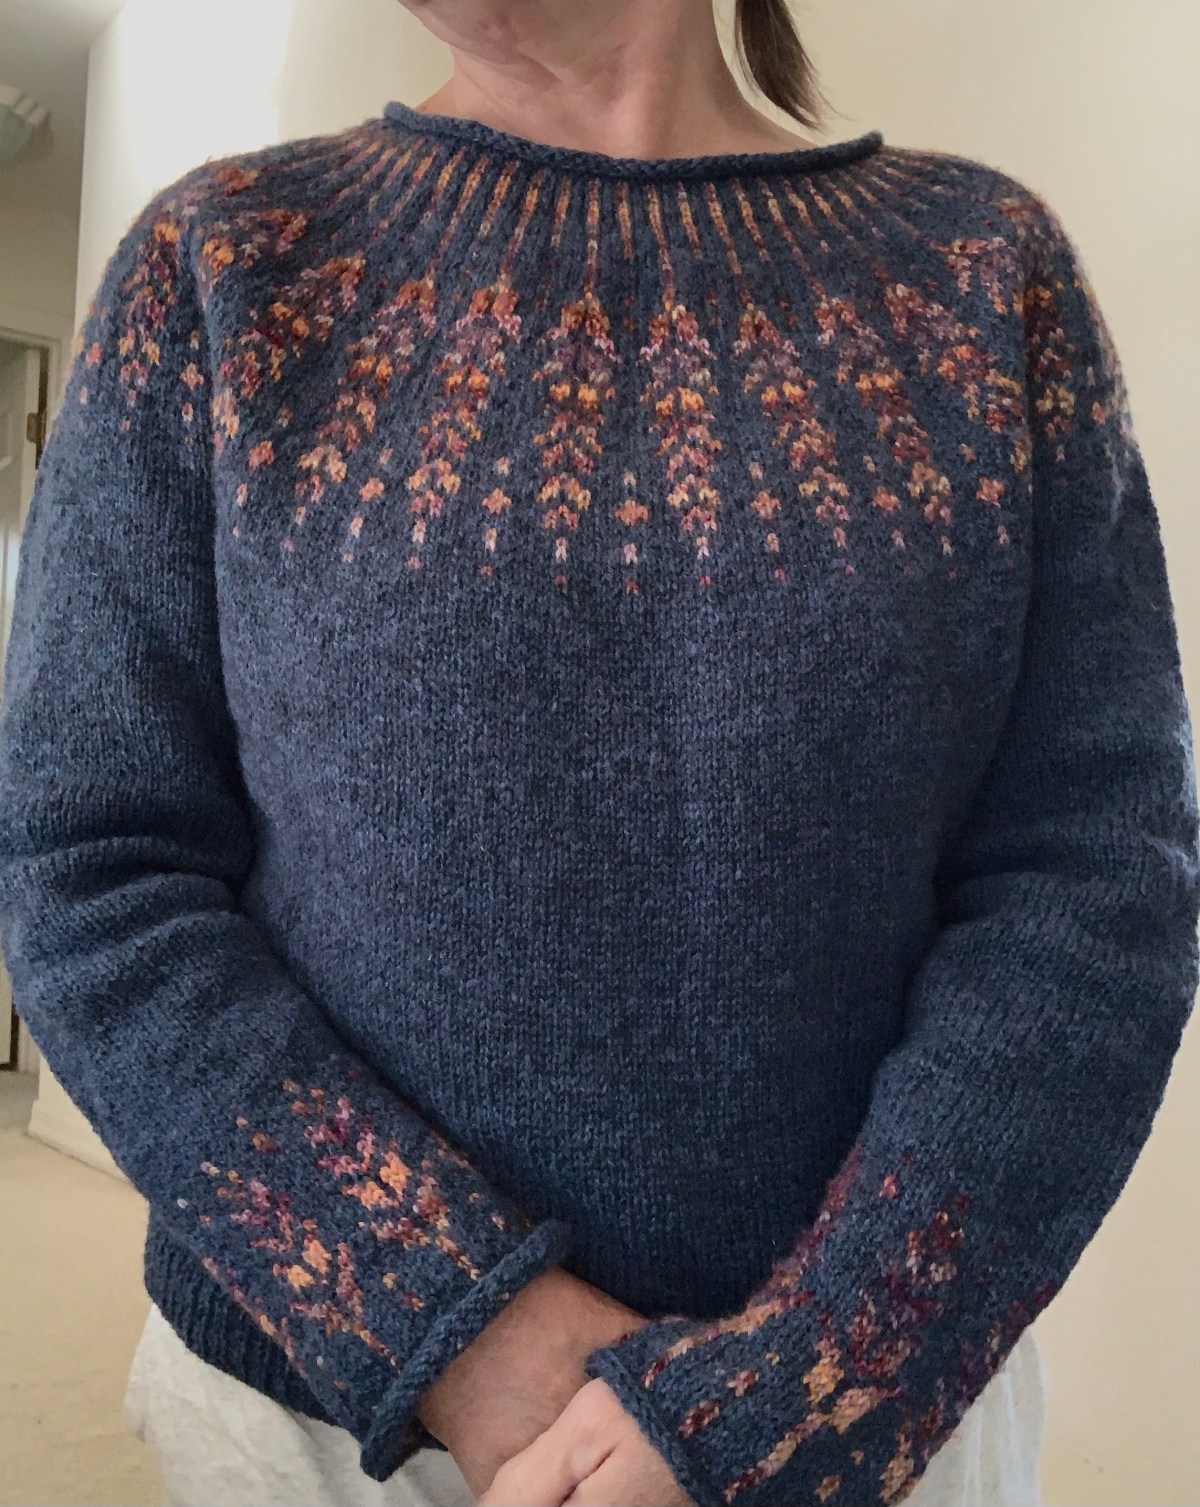
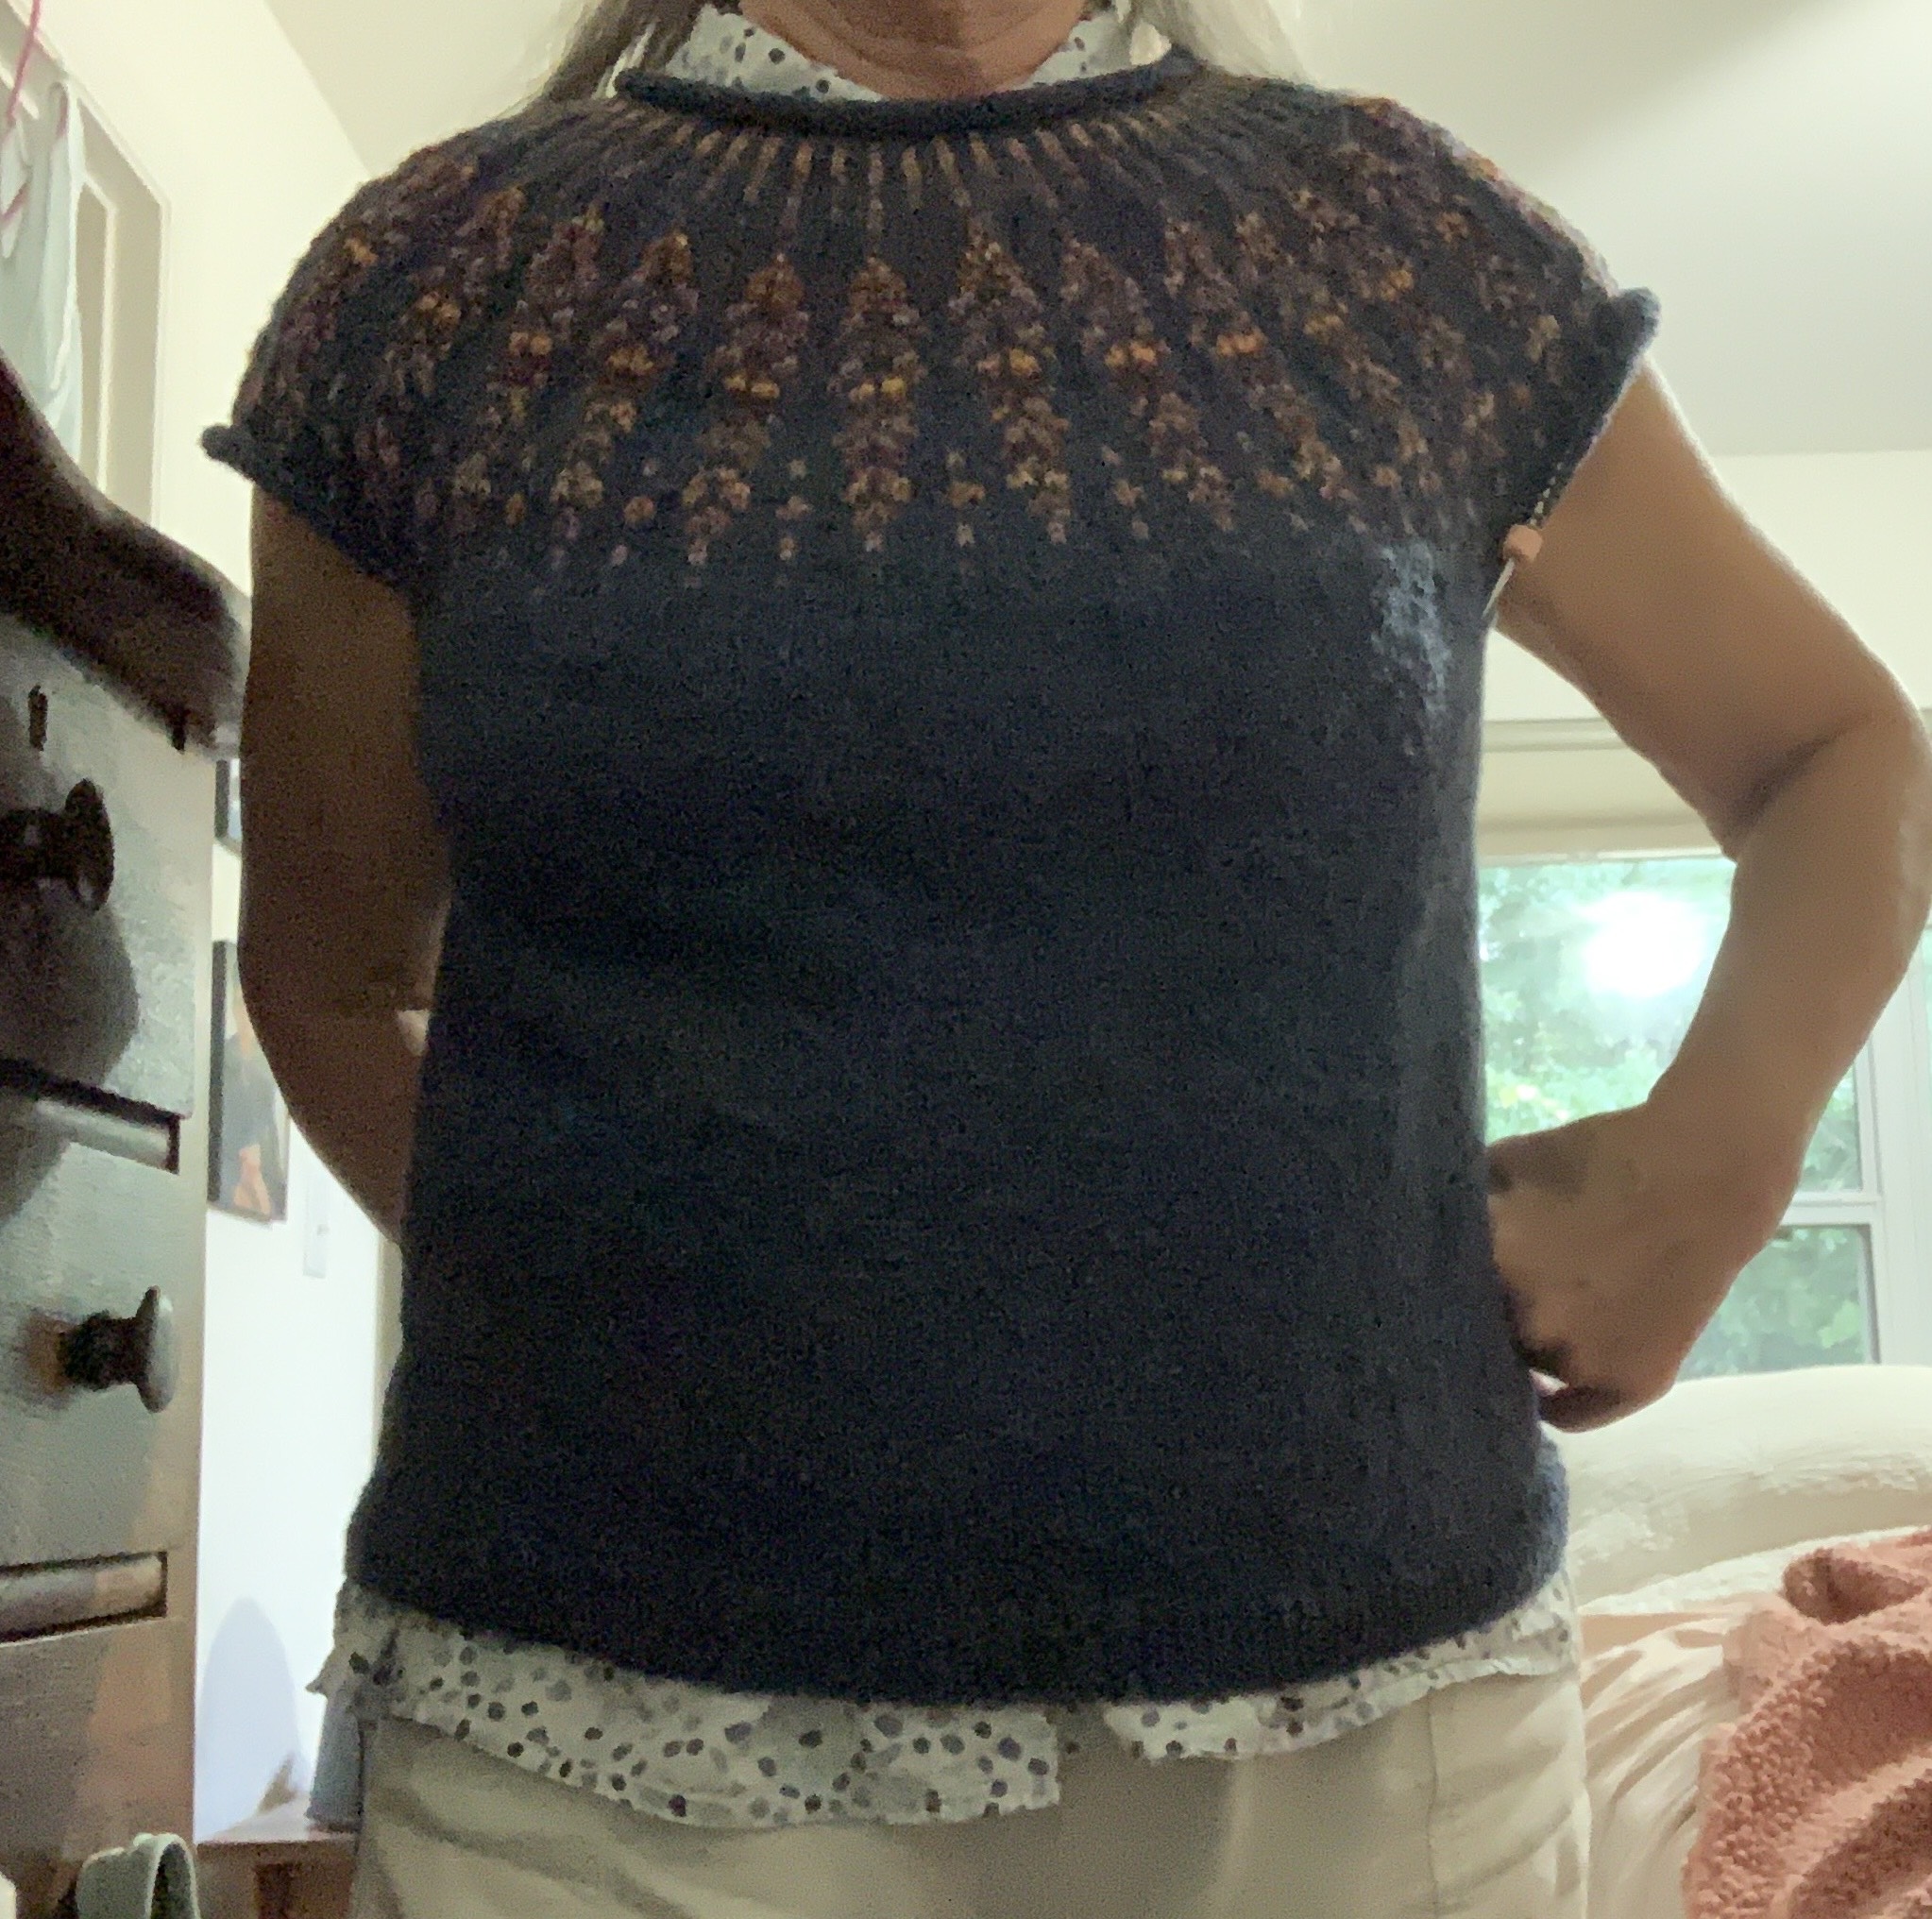
None of these photos are great, but here I am wearing the sweater BEFORE washing and blocking. The middle photo is AFTER the wash, and taken in the sun to show the colors of the contrast colorwork. All the bunching of the colorwork became flat once it was washed. Sleeve length is perfect for me.

The sweater is a perfect fit. I would do more short rows because I have a hard time figuring out which is the front / back!

The yarn has created a lovely, lightweight fabric. I think this is one of my favorite knits so far. *Also, it has become the most worn hand-knit sweater I’ve knit so far. It fits perfectly and is very light weight and comfy.


Read about what else I’ve been up to in my knitting world…

Fair Isle Wrist Warmer Knitting

Some knitter I was admiring mentioned that she liked to knit wrist warmers to match her sweaters. She used some of the leftover yarn so the warmers would match. I thought this was a wonderful idea! That is all it took for me to search for wrist warmer patterns.

The design is just a tube to fit the lower arm, so how difficult can it be? I wanted to knit colorwork, because I enjoy it. This type of accessory would be perfect for when I wear my Cobblestone cardigan. The sleeves are very wide which allows cool air to go right up my arm.

With quite a few projects unfinished at the present time, I really hate to begin something new, but Fair Isle pulls at me. There is great fun in combining colors and patterns to see how they turn out.

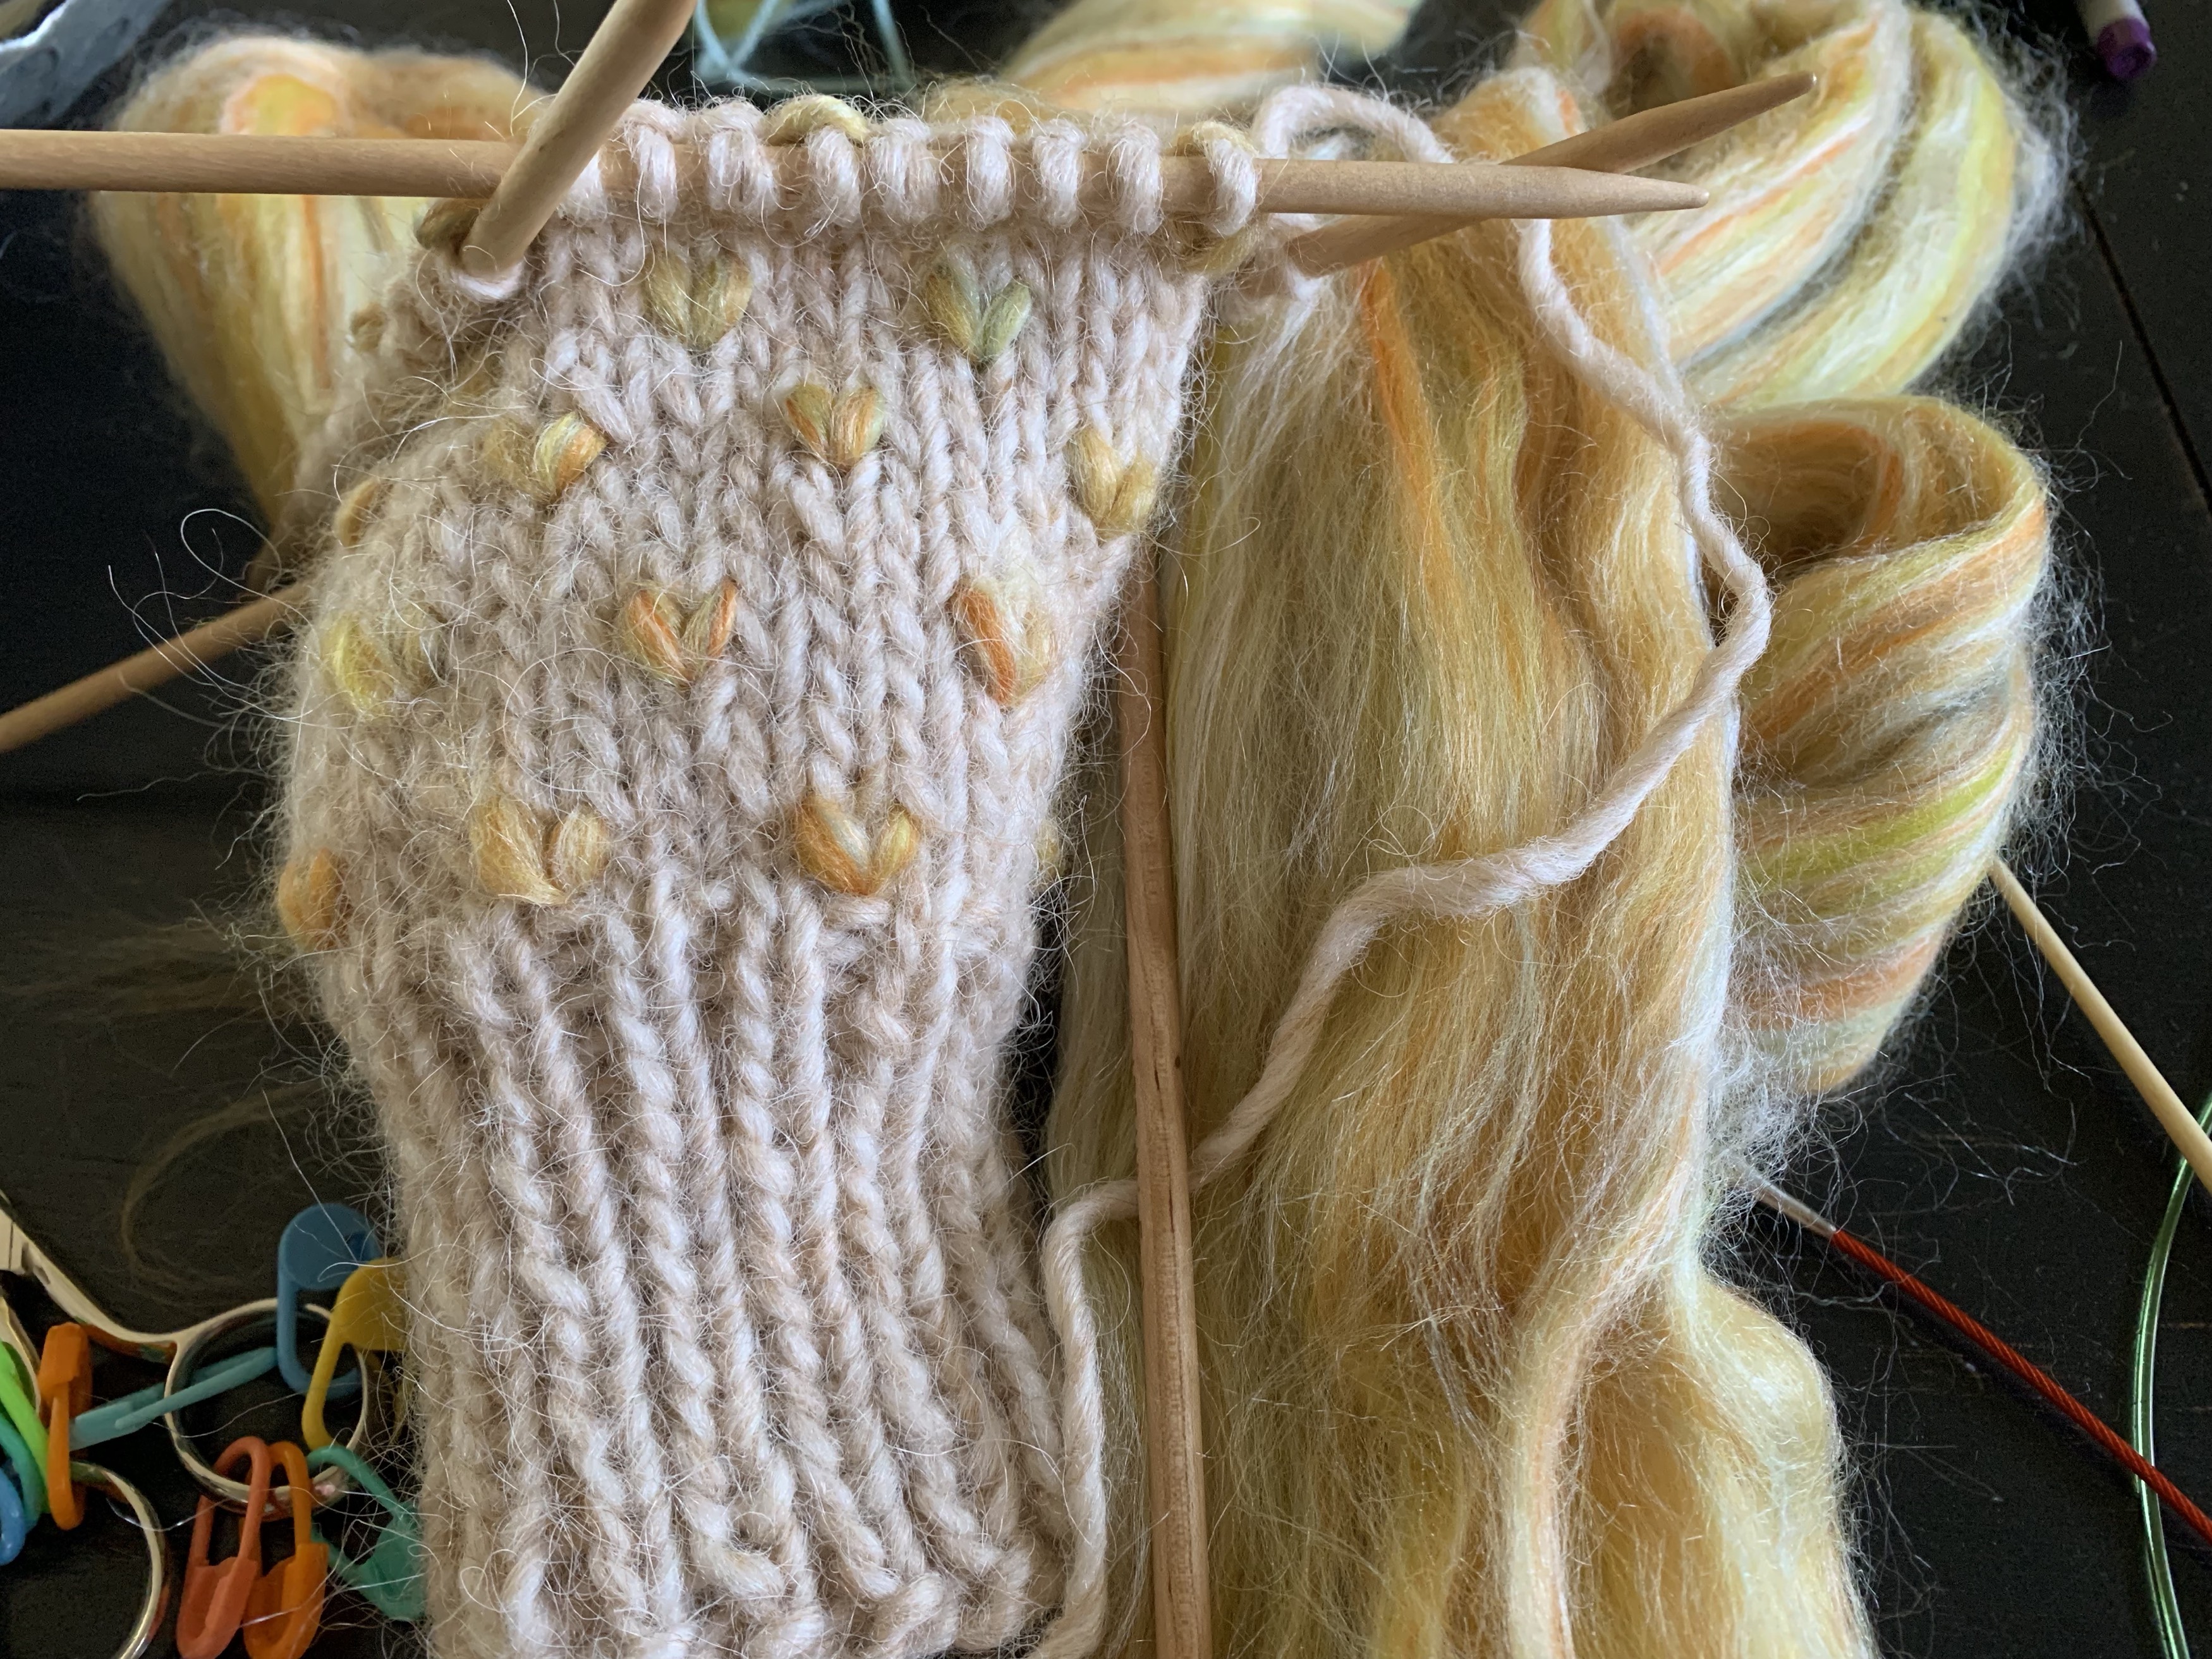
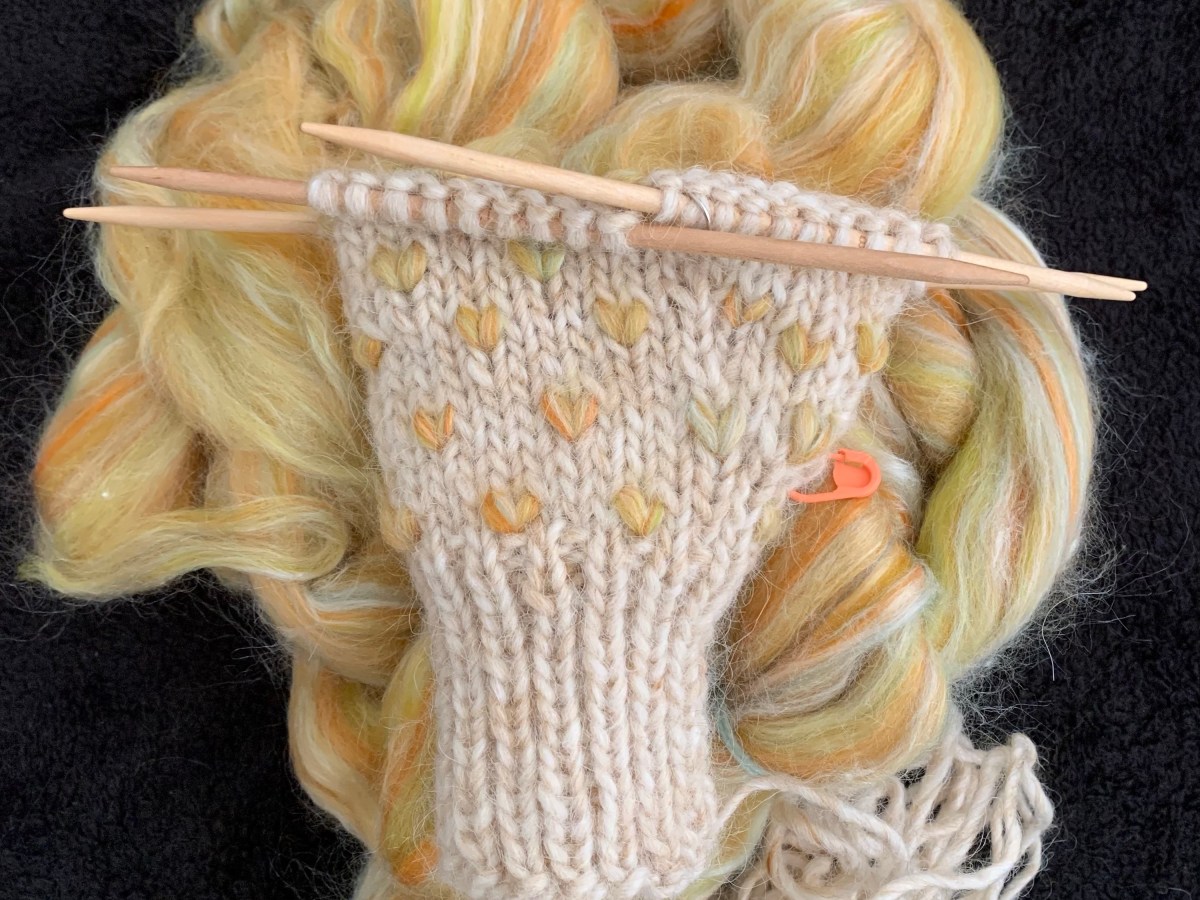
I began the wrist warmers by following a free pattern (Fair Isle Cuffs). It is written to knit flat (hmmmm?) but I wanted to knit around. My plan was to follow the designer’s chart to make things easy. Of course, things changed, as they usually do.

Yarn Colors Chosen

I decided to use many colors in this pattern – 12 to be exact! Most of the yarn is from Jamieson & Smith, but two skeins are Rauma wool and one is Tukuwool (the dark rust color). My only real plan was to mirror the colors on each end when knitting the corrugated rib.

Knitting Fair Isle wrist warmers

I began with a cast on of 64 and used a size 2 US needle. I love my 9-inch circular needles and use them as often as I can. No DPNs are needed! Yay…! About halfway in, I reduced the stitches to 60 by doing a couple of k2tog’s on two rows. I wanted a 60 count because it is divisible by many numbers.

The pattern says to discount the first and last stitch if knitting in the round. For some reason pattern chart ended up not matching evenly for me, so I gave up following the chart provided and went rogue…! I have a lot of good books that contain charts and began using those.

With a final count of 60 stitches, I could knit any chart that contains a repeat number that divides evenly into 60, and there are a lot of them.

BOR and All Those Ends

Here is a look at the join, or beginning of round stitches. Once the massive amount of ends are woven in, this will look better. I’ll close any gaps. Washing and blocking will even it all out better too.

Anyone who does a lot of colorwork knitting must learn to love (or at least like) weaving in ends.

  • Knitting Fair Isle wrist warmers
  • Knitting Fair Isle wrist warmers
  • Weaving in ends on Fair Isle wrist warmers

Making Wrist Warmer Number Two

My plans for knitting the second wrist warmer include using the same twelve yarn colors and matching the ribbing. Other than that, all I can say for sure is that the patterning will be different – at least in places.

Wrist-warmers are now done and washed. The pattern at the wider end (arm end) begins the same but then takes it’s own course. I enjoyed trying out different color combos and love that no DPNs are required.

Please Read On

I have a lot more to say about my knitting, so please keep reading!

Lots of Changes This Year

Writing a blog, sharing photos, and doing research and making links takes time. Lately I don’t think the time spent doing all…

Something went wrong. Please refresh the page and/or try again.

Empty Needles Just in Time for The New Year

January first means getting organized for the new year, and planning for new knitting projects.

Happy new year! It’s January first, 2022 and first thing this morning – before the sun was up – I had old and new knitting patterns scattered all over my bed.

Yesterday, I finally got the Carbeth Cardigan off the needles – just in time for the new year!

I was looking for information about my Lopi wool order, to see how much yarn I used, and ended up with this mess! So I went with it, and continued to organize my printed knitting patterns.

organizing knitting patterns
Getting organized!

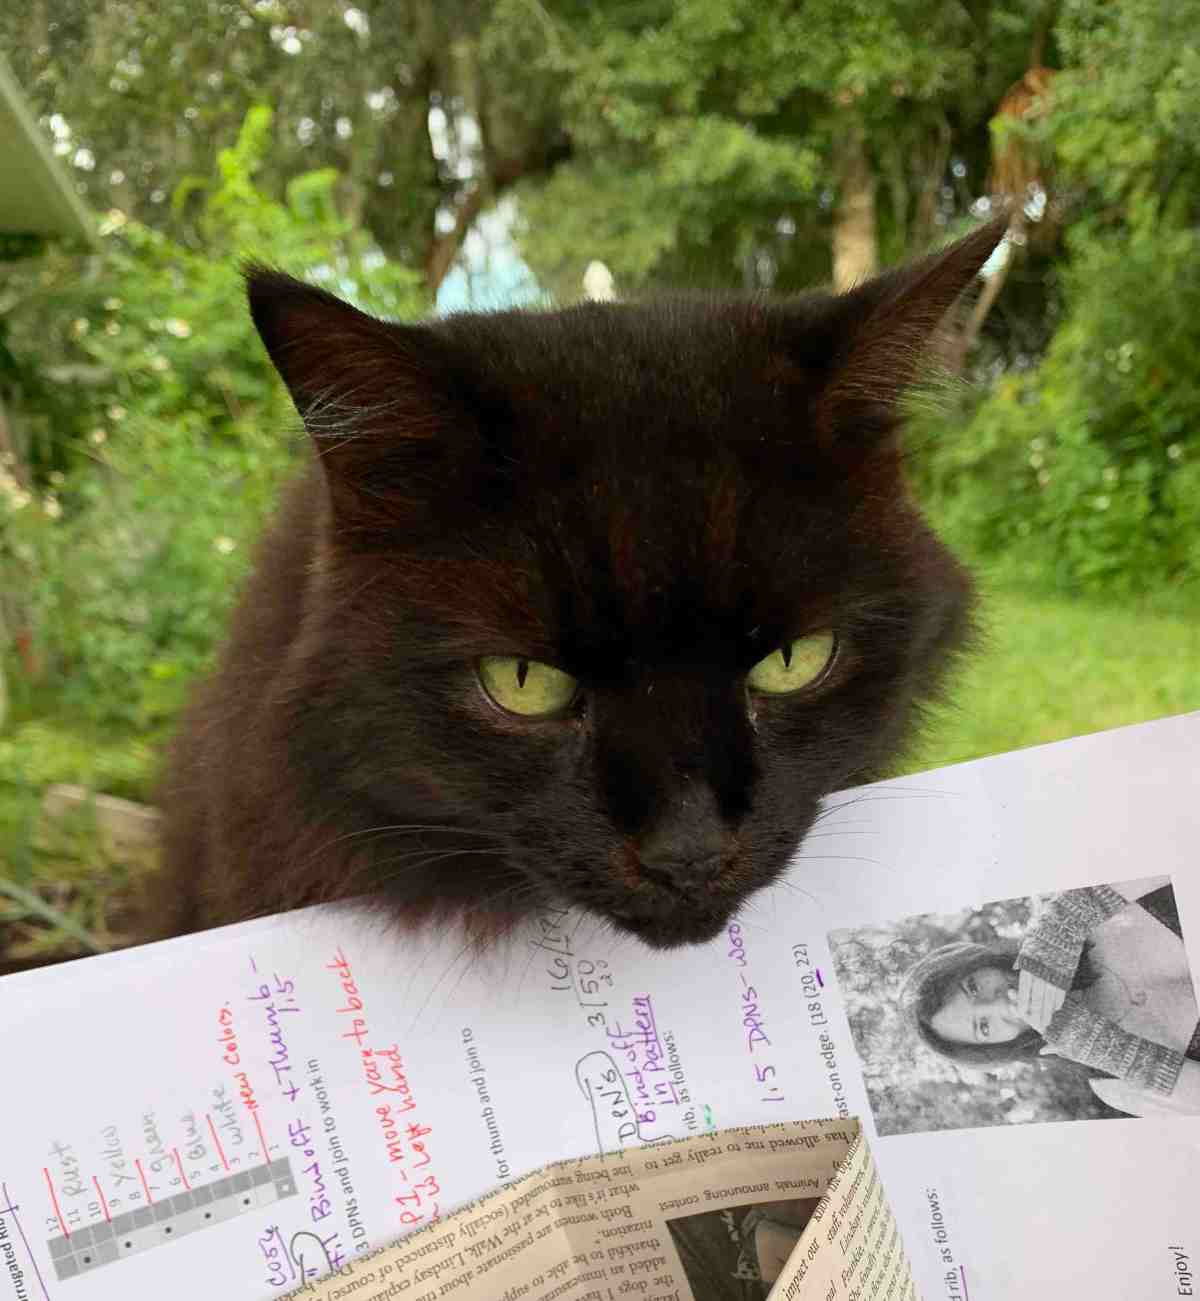
Although all patterns are kept on file on Ravelry, I like to print them out. If the power goes out, or the internet is down, I won’t have access. I also like to make notes on my printed patterns, like the date I began and ended the project. Also, what I changed, liked or disliked about the pattern itself. Sometimes I make a note of which yarn I’m planning to use on patterns not knit yet.

Today, I left old patterns in my big sheep binder and put newer patterns in a green file folder. They are organized by project, such as “hats”, “cowls”, “sweaters”, etc. I threw some old patterns away because I decided I would never knit them.

My sheep binder (Zazzle affiliate link) is something I created and put up for sale in my Zazzle shop. The wording on the front is customizable. Then I bought plastic expandable folders (this is an Amazon affiliate link) to fit inside where I slid my printed patterns. They were filling up and expanding to the point of overflowing.

organizing knitting patterns

A few weeks ago we took boxes of things to Goodwill. My bookshelf is now more sparse and I can more readily find my knitting books. With my patterns sorted out, I am ready to knit new things!

Knitting Project Plans for 2022

I also had the chance to group my most recent pattern printouts into a folder “to be knit”. Sometimes I will buy and print a pattern and it gets lost in the shuffle. As I sifted through my patterns I came across some Brooklyn Tweed hats which had been filed and forgotten.

The Tillage cabled beanie, by Jared Flood, would be perfect for my daughter. Also Solstice Glow hat, a chicken beanie by Bunnymuff (Mona Zillah) is a must because my daughter plans to raise chickens this year…!

For the boys (maybe for next Christmas) Hirombe and Treefolds, also by Jared Flood. Both are solid color hats with interesting designs. I’ve missed knitting hats.

Last year I knit 4 sweaters, 5 hats, 2 pair mittens, 2 pair fingerless mitts, 4 socks, 2 boot cuffs and 1 cowl. How do I know all this? If you have a Ravelry account, go to your account projects page and click on “challenge” in the top bar. It’s where you choose to challenge yourself with an amount of projects to complete, but then it lists all the crafts that were completed in each year.

Decided: My January 1 cast-on was for the Solstice Glow Chickens Hat.

Swatching Colorwork Knitting in the Round is Yukky

It’s a bit embarrassing to show this swatch of colorwork because I messed up big time. But I don’t plan to do this again.

A while ago I watched a video about swatching colorwork knitting in the round using this method, so I thought I’d try it.

swatching in the round colorwork

When swatching for a sweater, I always make my swatches flat, or sometimes I will begin knitting a sleeve to measure the gauge. But, if the gauge is off, the sleeve has to be knit over again.

Sometimes people will carry the yarn around the back of the swatch and begin knitting again. See an explanation of this at the Quince & Co. blog post and watch the video below made by Webs. A long, circular needle is used to knit the swatch and the project is slid back to the other side of the needle when finished. Straight needles will not work.
This is how I made my swatch, except that I did not carry the yarn, but cut my yarn at the end of each row. I did my swatch this way after watching a YouTube video and decided I would try it.

I’ll never do that again…!

The swatch curled up on me terribly (which is bound to happen, but was annoying) and I didn’t know how to keep borders on the edges while knitting the pattern. My second colorwork section in my swatch is horribly messed up, not that it matters because this is a swatch, but I couldn’t wait to bind off. Then, I had all these loose ends which I tied up using 2 strands each. It took forever.
The swatch will be a good reference for needle size 3 Fair Isle in the round, but it wasn’t fun to make. It’s much better to carry the yarn around the back – just make sure the strands are long and wont pull on the front – because no ends need to be dealt with! Just wash and dry leaving those strands in the back. Will this be okay? I don’t know.

All Knits and No Purls Mimics “in the round” Knitting

The reason for knitting this way is that every row is a knit row – no purling – and that mimics “in the round” knitting. This is supposed to give you a more accurate gauge measurement. It wastes a lot of yarn though, and it’s knit in a way that you can’t unravel and use the yarn after.

See more in another video (below) with colorwork swatching in the round. However, there is no advice on how to end this. Cut the strands? Or don’t cut the strands? If they are cut, then you have ends to deal with. If I wash it first, can I then cut the ends and be safe? Maybe that would work with wooly yarn, but won’t for all types.

I’m not saying that swatching in the round is not a good idea, but just know what you are in for when you do it. Keep the swatch as a reference and be sure to label it with yarn type used and needle size.

Read More About My Knitting Reviews and Projects