Knitting a New Little Crescent Shawl

I think I first saw the Interisland Shawl, and pattern information, on Instagram. The shawl caught my eye because it is small, and crescent shaped. (Link to pattern down the page.)

Usually I have more than one knitting project going at a time. Many knitters do. For me, it’s because I like one simple project and one that needs more attention. Mornings are good for knitting more complicated things. Evenings call for simple knits and purls while watching a TV show. Even though I am still working on the Rebel Cardigan, I wanted something else to do. Also, I’m attempting to use us some old yarn.

Crescent Shaped Shawls

Shawls can be knit in many ways. They can be large or small, knit in fine or heavy yarn. I prefer a crescent shape that is not very wide. The Interisland Shawl is shaped like that.

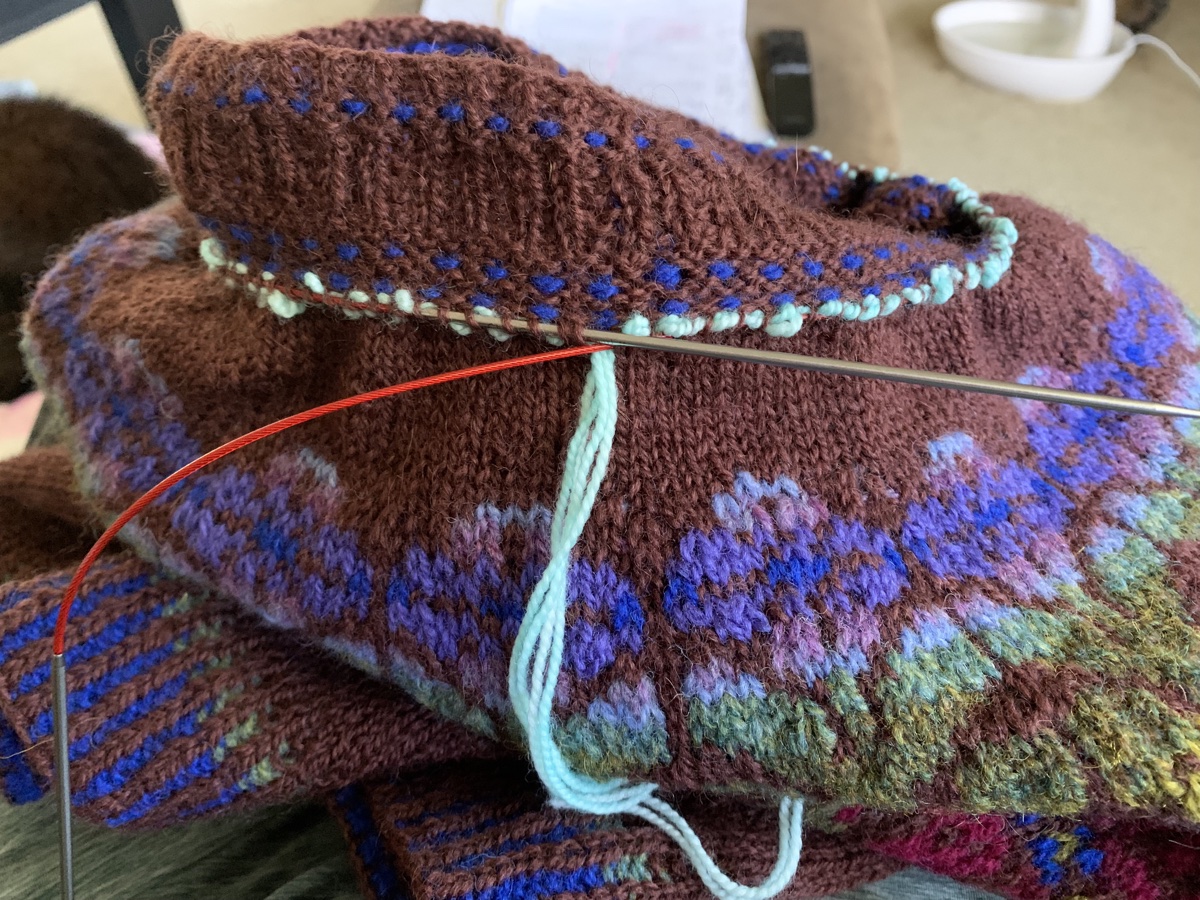
Often a shawl begins by casting on at the top center. Knitting then expands outward to create the long, curved shape. This one is knit differently. The pattern begins by knitting the border, which is a repeating lace pattern.

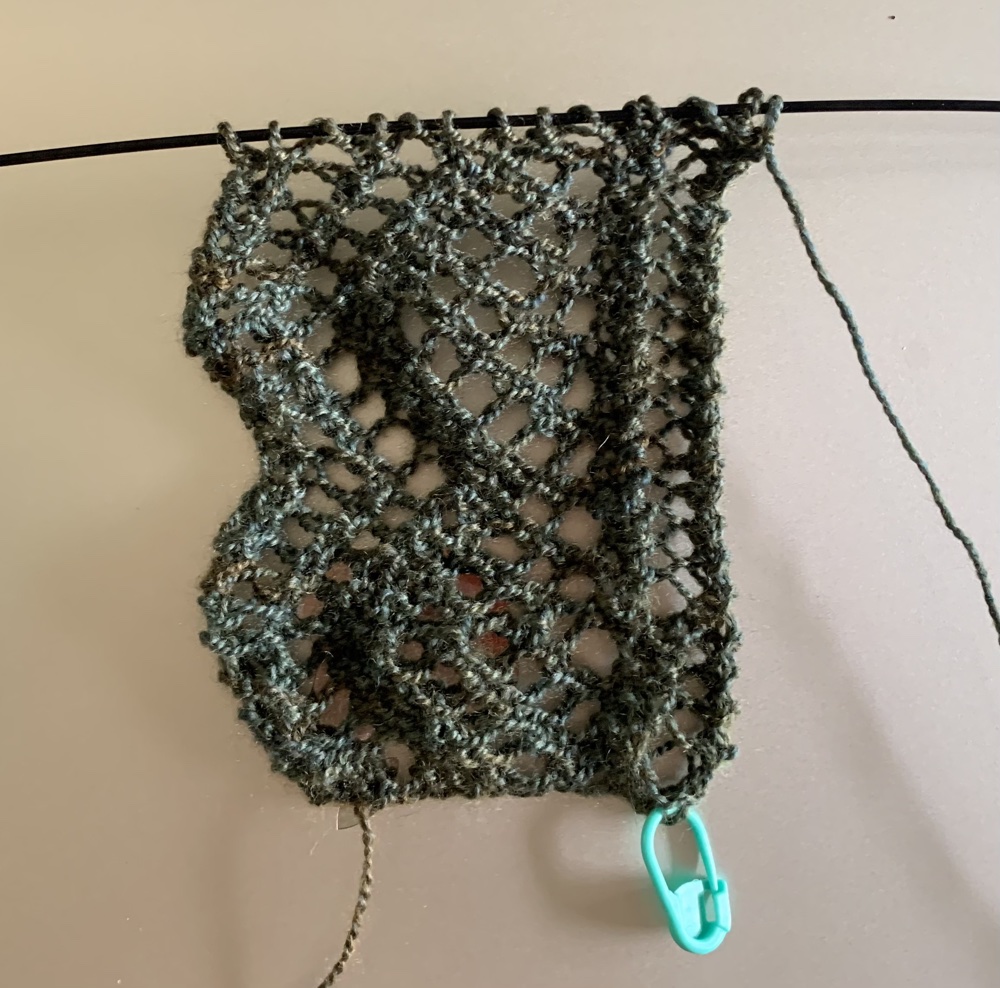
I have completed the lace pattern, for the border, twice – see my picture. And, I did make a goof, but I am not good at fixing lace. In fact, I rarely knit lace. It’s a bunch of yarn-overs and knit 2 togethers. I don’t find it especially fun, but it looks nice. Because it’s not a wide border, the pattern’s lace rows are manageable. I look at this knitting project as good practice. And I expect to have a wearable, lightweight scarf when done.

knitting lace
Lace edging

Knitters Need to Know

Here’s what knitters should know about this pattern.

The lacework is charted and written out line by line. I’m following the chart. After the entire lacework border is finished, all stitches will be picked up along the edge and the remainder of the shawl is knit. Short rows are involved to create the rounded shape.

The name for the shawl is explained on the designer’s pattern page. Or check out more of Donna Smith’s Shetland designs – Ravelry page.

Please keep reading…

Cast On For the Rebel Cardigan

Some info here on beginning the Rebel cardigan. This is a top down sweater with a very unique construction at the beginning, which sets up the remainder of the knitting.

The Rebel Cardigan has been on my list of “to knit” items for a few weeks now. I had to finish knitting the Field Sweater, which I did, and immediately cast on this new pattern. (Pattern link at the bottom of this page.)

I’ve never begun a sweater like this. It’s begun in small sections, putting stitches on hold, and then knitting in another direction. It honestly looks a little weird.

This will be a long-sleeve sweater with an open front and no buttons or button-band to knit separately. This greatly appeals to me! I love the look of it.

Getting Started

The yarn I chose is by Knitting For Olive. I’m holding two strands, merino and mohair, together. The colors are Pea Shoots and Dusty Artichoke.

I’m knitting the Rebel sweater size 4, using needles size 6US.

Knitting for Olive yarn in green
Pea Shoots and Dusty Artichoke colors by Knitting for Olive.

The Rebel Cardigan pattern is written very well. Schematics are included so we are sure to know exactly where to begin knitting each of the sections. This is very helpful.

While knitting, we are putting stitches on hold (waste yarn), picking up stitches from edges and from waste yarn. All this is forming the collar, back, and right and left front. Soon it will all come together and make more sense, I’m sure.

Rebel cardigan knit in sections to form the collar, back and sides.

Below is my photo after all sections of the Rebel cardigan are attached. Now knitting is done back and forth – knitting on the right side and purling on the wrong side, while increases are made for the sleeves and the back / body.

knitting Rebel cardigan
All section attached

The sweater will end up with a wide 1×1 ribbing down both sides of the front. The sleeves and remainder of body are knit in smooth stockinette. It’s a pretty clever design. One reason for doing the knitting this way is to help keep the sweater sitting correctly on the shoulders, and not slipping off as some cardigans have a tendency to do.

If you are interested in knitting this unique sweater, I have provided a link to the pattern here, which goes to the designer’s Ravelry page.

Read the Blog

Travel Knitting Project Ideas

Pattern ideas for take along knitting projects, including hats, socks and more.

Knitting can become an addiction. Avid knitters will agree that the repetitive movements are soothing and relaxing. And what better place to pass the time by knitting than during travel?

I have not had a car for almost three years. My son drives me around when I need to get to the store. My Subaru was traded in so we could get a big truck to pull our camper. The truck is huge, and I don’t drive it. So I am always the one in the passenger seat, and often I take along a small knitting project.

Hats are perfect for travel knitting. My knitting journey began by knitting hats and they are still one of my favorite things to knit.

bright orange yarn knitting slouchy watchcap

This ribbed beanie takes a long time to knit! It is a 1×1 rib all the way up to the decreases and top, using a size 1 needle. I have knit two hats from this pattern and love wearing them during Florida winter months. This slow and steady project is worth the time spent. Both of my hats were mostly knit while riding.

Keep it Simple

I like to keep it simple when knitting while riding. If I am making a hat, I like to have the cast on completed. That way I can do the knits, or knits and purls, while traveling. Of course you can knit any way you choose, but we are usually pulling the camper and the road is a bit bumpy because I am riding in a truck. Simple stitches are best for me. Choose what you can handle.

Any type of knitting that is round and round, without any guidance needed, is my preferred way to travel knit. If I had something more complicated – like a chart or colorwork – to follow, I’d use Knit Companion on my iPad.

I recently jumped on board the Musselburgh knitting bandwagon and knit this unique hat. My goal was to use up some stash yarn. This pattern begins with a tough cast on – it is knit from the center / top out. Get that over with and then it becomes a great take-along project. See my notes on knitting the Musselburgh on this page.

Plan For Mistake Fixing – Bring the Tools

For a short trip to the grocery store a simple project with yarn, stuffed into a small bag, is fine. But for a longer trip, be sure to have the tools that may be needed to cut, mark, and fix mistakes.

A crochet hook is one thing a knitter should always have close by. If a stitch is dropped, the crochet hook (how to fix a dropped stitch video link) is needed for this fix. I’ve gone on short trips and dropped a stitch and had to wait until I got home to use my crochet hook.

Also take a project bag, all needles needed, scissors, stitch markers, measuring tape, the pattern, and enough yarn!

Socks Projects

I’m not much of a sock knitter, but I have made a few pair. Socks are the perfect take-along item because they are small.

A link to my review page (and pattern links) is at the bottom of each photo here.

Make Your Own Pattern

Sometimes it’s nice to take some yarn and wing it. Make some new dishcloths, or begin a simple scarf. Just cast on and knit. It’s a good way to use up stash yarn. (Hint: choose the right type of yarn for the project, cotton for dishcloths, etc.)

Key West Kotton yarn and Anzula "For Better or Worsted"

Caution – Avoid the Sun!

One thing I have to be careful of where I live is to keep the knitting out of the sun. My little take along project must be kept in a bag, and especially if I am away from the vehicle for a while.

sun, sunshine

The sun can fade and damage the yarn. The Florida sun is very strong, but I don’t think any project should be sitting in a sunny car. I think it’s risky. So be sure the garment is packed away in case the sun shifts.

More Pattern Ideas For Take-along Knitting

Do you have any suggestions for good patterns to knit while traveling?

See what I’ve been up to…

Something went wrong. Please refresh the page and/or try again.

The Field Sweater Knitting Notes and Outcome

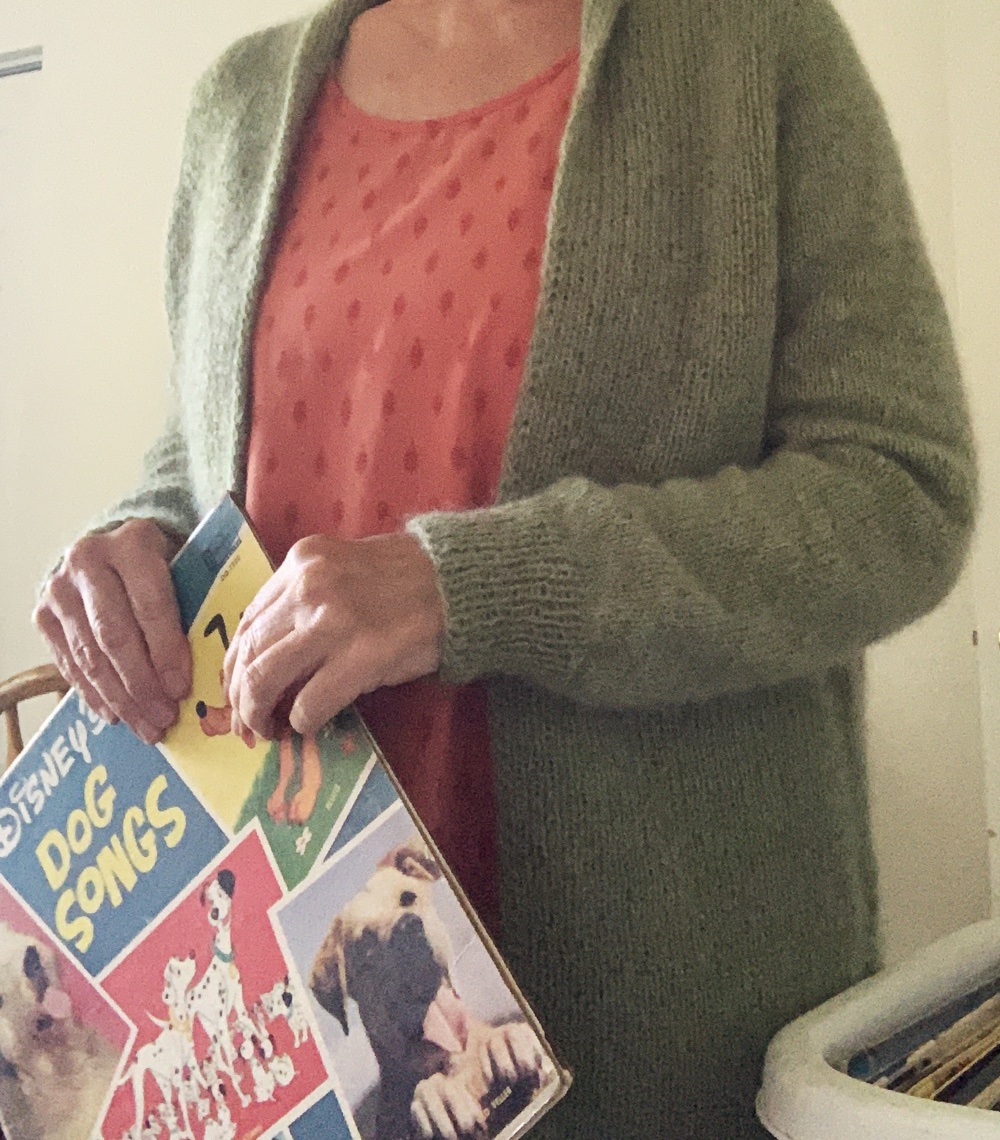
My experience knitting the Field Sweater pattern was a good one and I am very happy with the finished project.

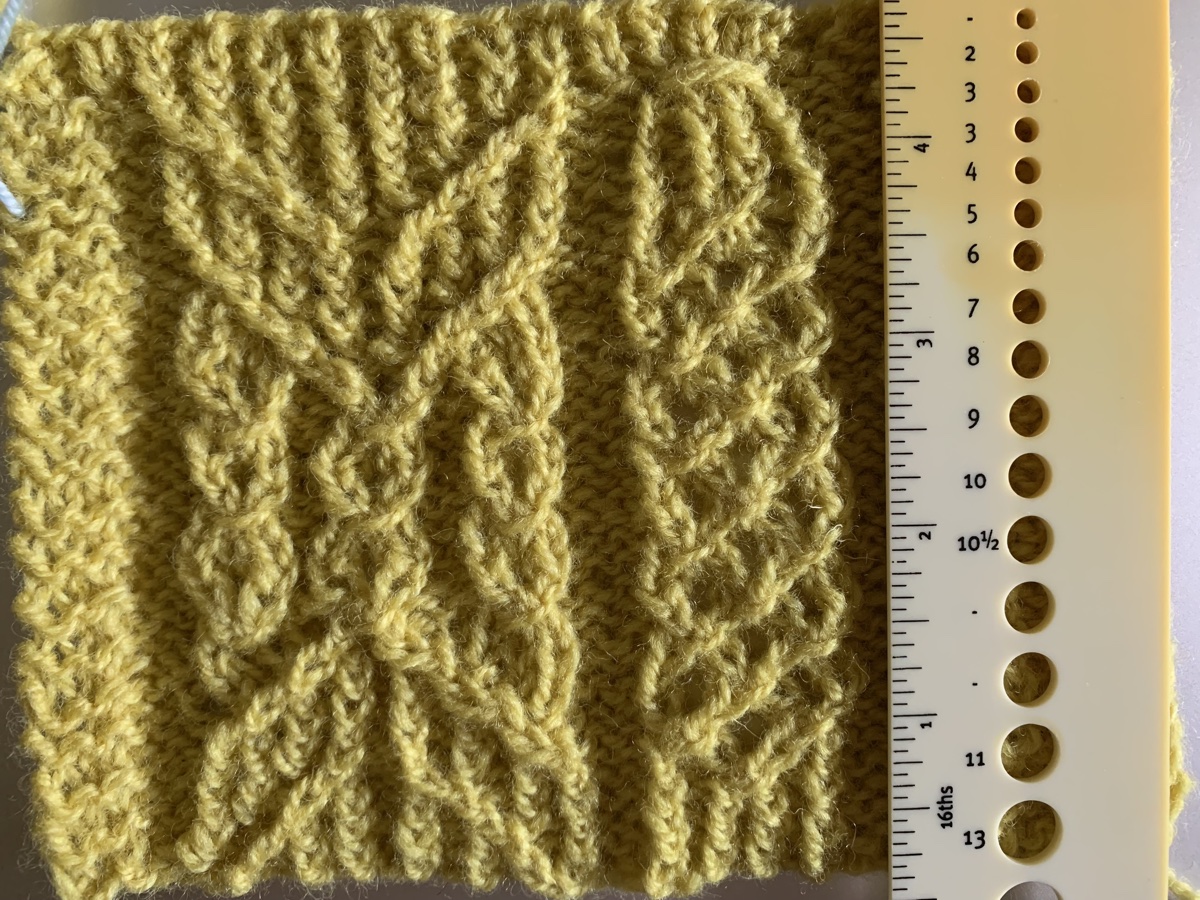
The Field Sweater knitting pattern has a beautiful textured yoke. The “grains” can be a bit daunting to knit, at first. A kind knitter has shared informational tutorials on her YouTube channel, and these helped me a lot. I wrote a whole page about beginning this sweater project and knitting the grains.

The Pattern

I found the pattern to be very easy to follow, but a few things were not as well explained as they could have been. The description of the M1L increase was different, but each row of the entire grain section was written out. I did find the grains easier to knit after watching the videos that were made by another knitter.
Changes

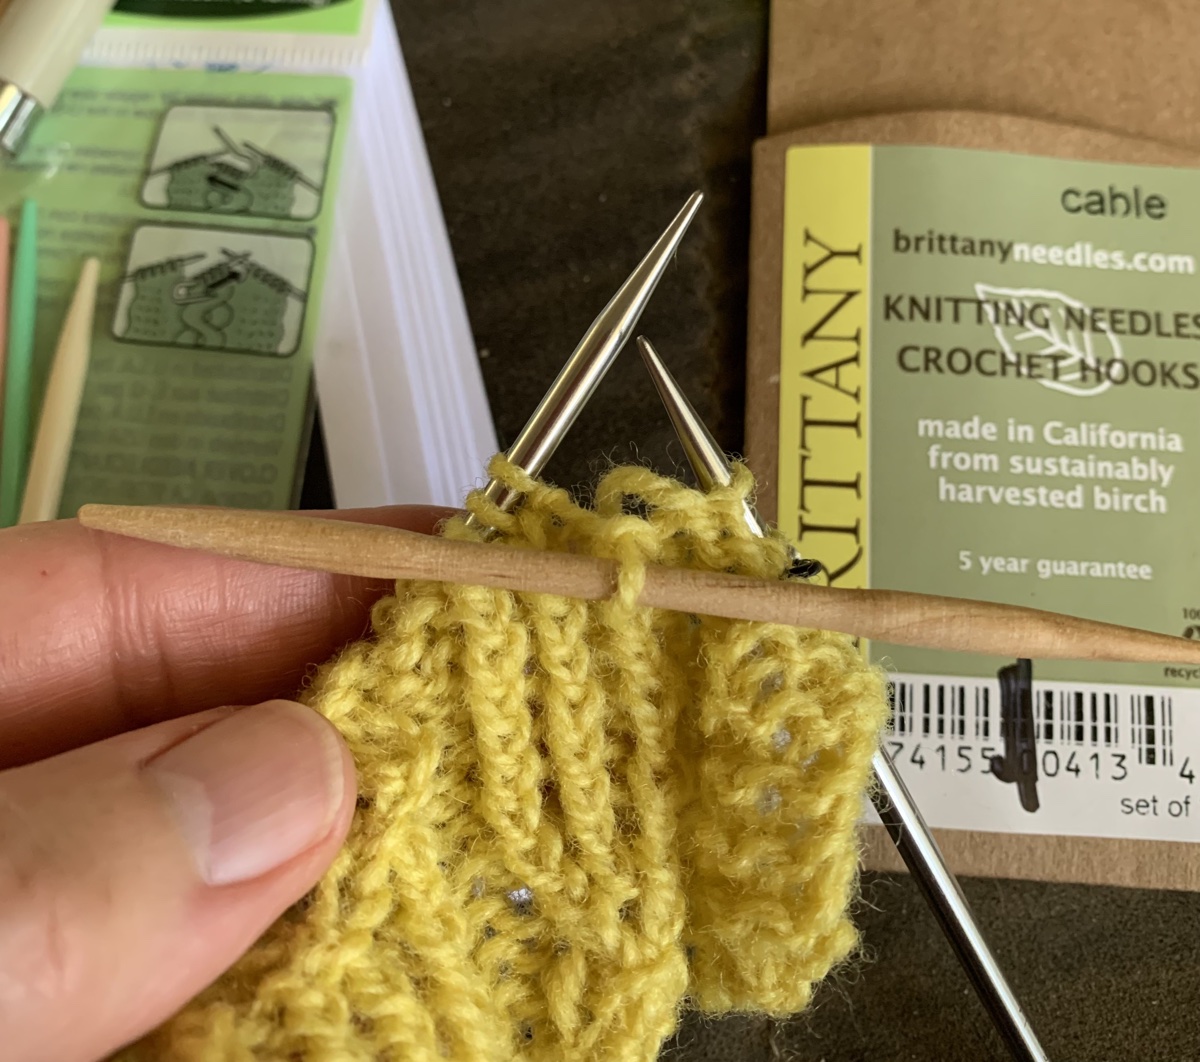
The only change made by me, was to knit a wider sleeve. Once the sleeve stitches were picked up, I decreased only enough to come to the 70 stitches that begin the top of the sleeve, for the size I knit.

I continued knitting, using a 16 inch circular needle, all the way to the cuff. For the row before the ribbing began, I decreased to the suggested number (50) for the cuff.

Sleeve Decrease Round

Just before the cuff ribbing, I did one round and decreased from 70 to 50 stitches. After much contemplation (and exasperation!)… I finally figured it out and did the round like this:

To decrease from 70 to 50 stitches all at once: *k1,k2tog,k1,k2tog,k1 – Repeat to end of row.

Hey, I have come across this page / site by Mimi Codd where she shares a calculator for this very thing! You can try it out HERE. In fact when I put the numbers in (70 stitches to decrease to 50) this is what I get: K5, k2tog, [k1, k2tog] until last 6 stitches, K6. This would have saved me loads of time. I’m linking it in my top of page menu under knitting.

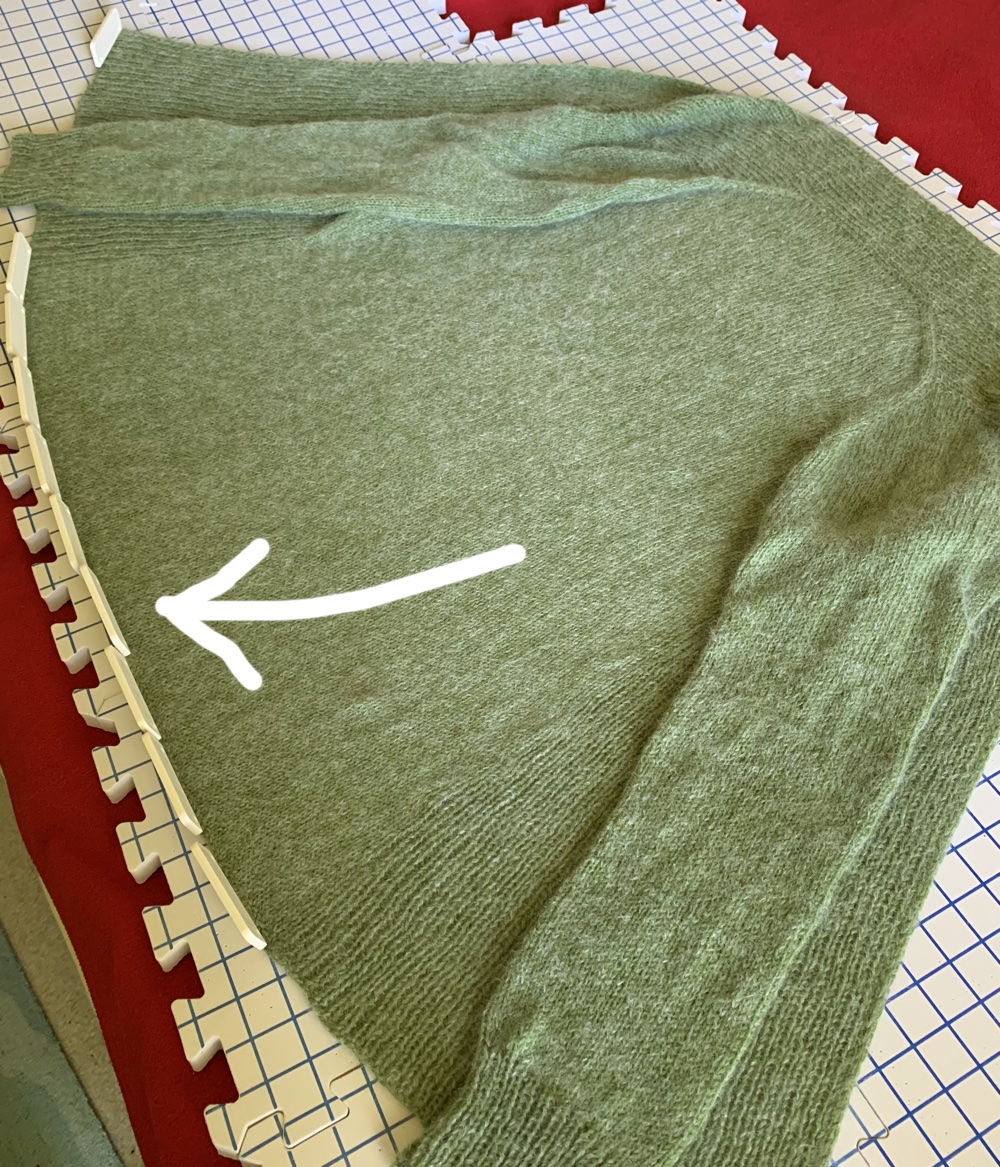
The sleeve ended up being loose, as I’d hoped, and was knit to the length suggested in the pattern. With a wider sleeve, it is possible to wear this over a top.

I did my bind off a little differently with a k1, p1tbl. Someone on Instagram had mentioned doing this as a bind off and I do like it.

Finished and Happy

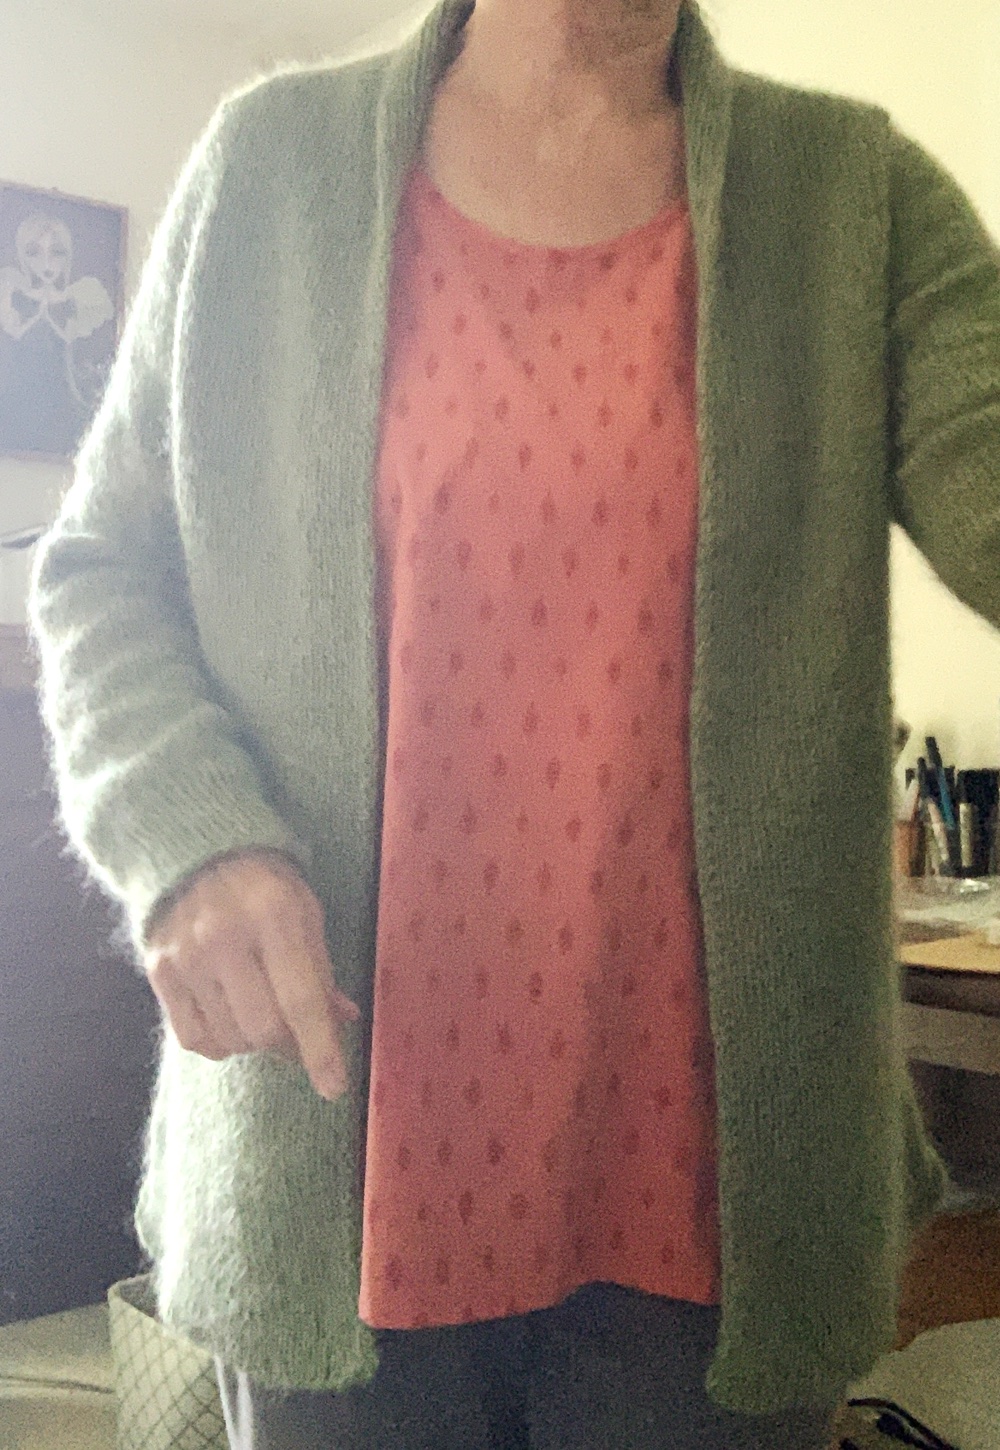
Now, I have finished knitting this pretty pattern. The sweater fits me perfectly. It still needs a wash, but I’m already in love with it. It won’t be the last time I use this yarn.

More Knitting Ideas and Stories…

Something went wrong. Please refresh the page and/or try again.