Blue Playdate Cardigan for Baby Boy

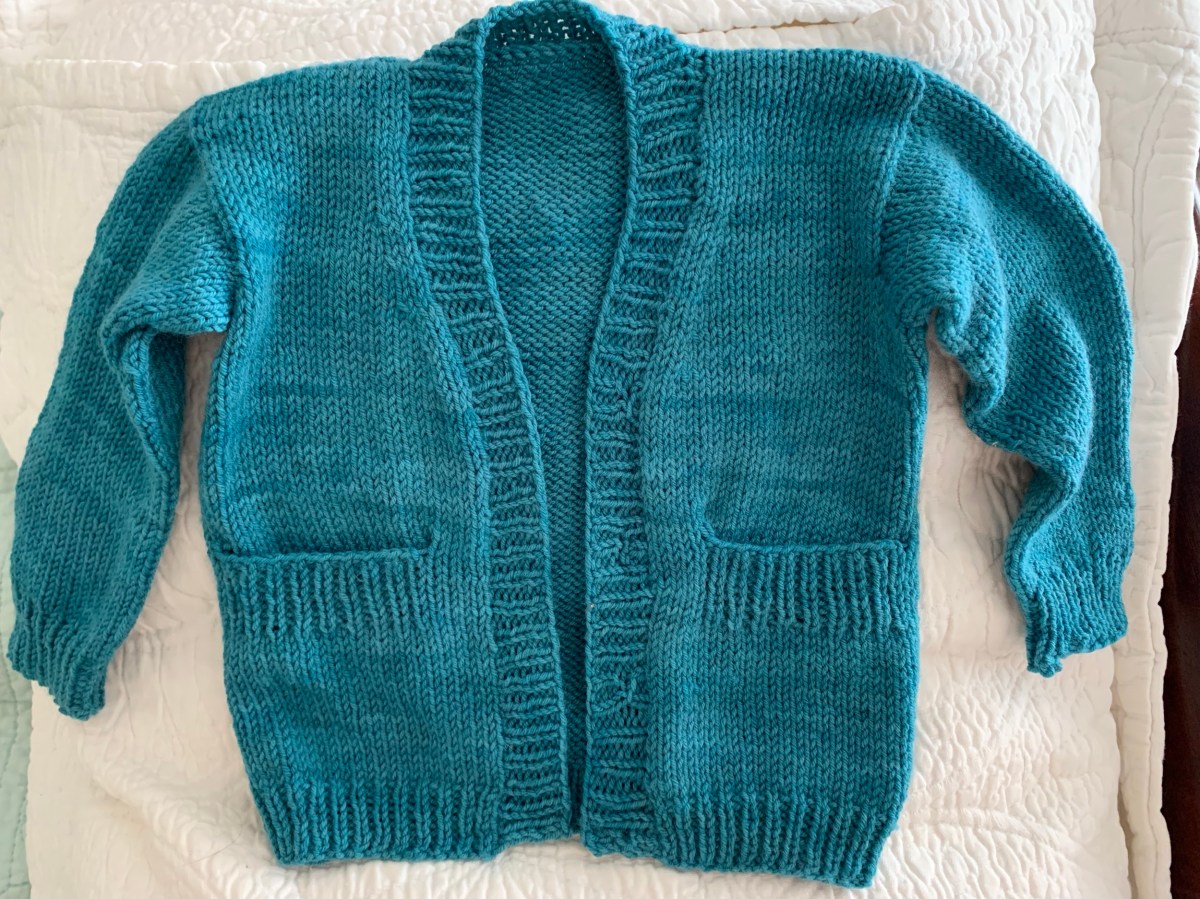
Knitting a little Playdate cardigan for a new baby boy. Blue “Putnam” yarn from Miss Babs is perfect for this little gift knit.

I’m so happy to have a reason to knit the Playdate Cardigan again! This is such an awesome pattern, with very good instructions from Tin Can Knits. The first Playdate I knit taught me about pockets and button bands. I think it was also one of the first times I did the Kitchener stitch.

Now, I am knitting this cute pattern again for a baby boy. The first Playdate (pattern linked down the page) was not for any particular child and I still have the little sweater. This time a good friend’s little boy grand-baby is arriving in December and he will be the recipeint.

The Yarn

I chose blue Putnam yarn, in color “Coos Bay”, from Miss Babs. The yarn is made up of 75% merino wool and 25% nylon, and is machine washable. Skein yardage is 400 and this size (3-6 months) sweater uses 350. (If you want to knit with some nice yarn, check out Miss Babs.)

October 21st, I began the project using the Old Norwegian cast-on. First, I had to knit the two pocket liners and then I began the body.

When I knit this sweater before, I used some merino wool with silk in it and the yarn was very slippery. This yarn is more suitable for a sweater. Playdate #1 page.

The more I knit with this yarn, the more I really like it! The shoulders of the Playdate sweater have been grafted using the Kitchener stitch. One sleeve is nearly complete.

I dislike using DPNs and began the sleeve with a 9-inch circular. Eventually I had to switch to wood DPNs but it is not a problem as there is plenty of room on each needle for the stitches.

Button Selection

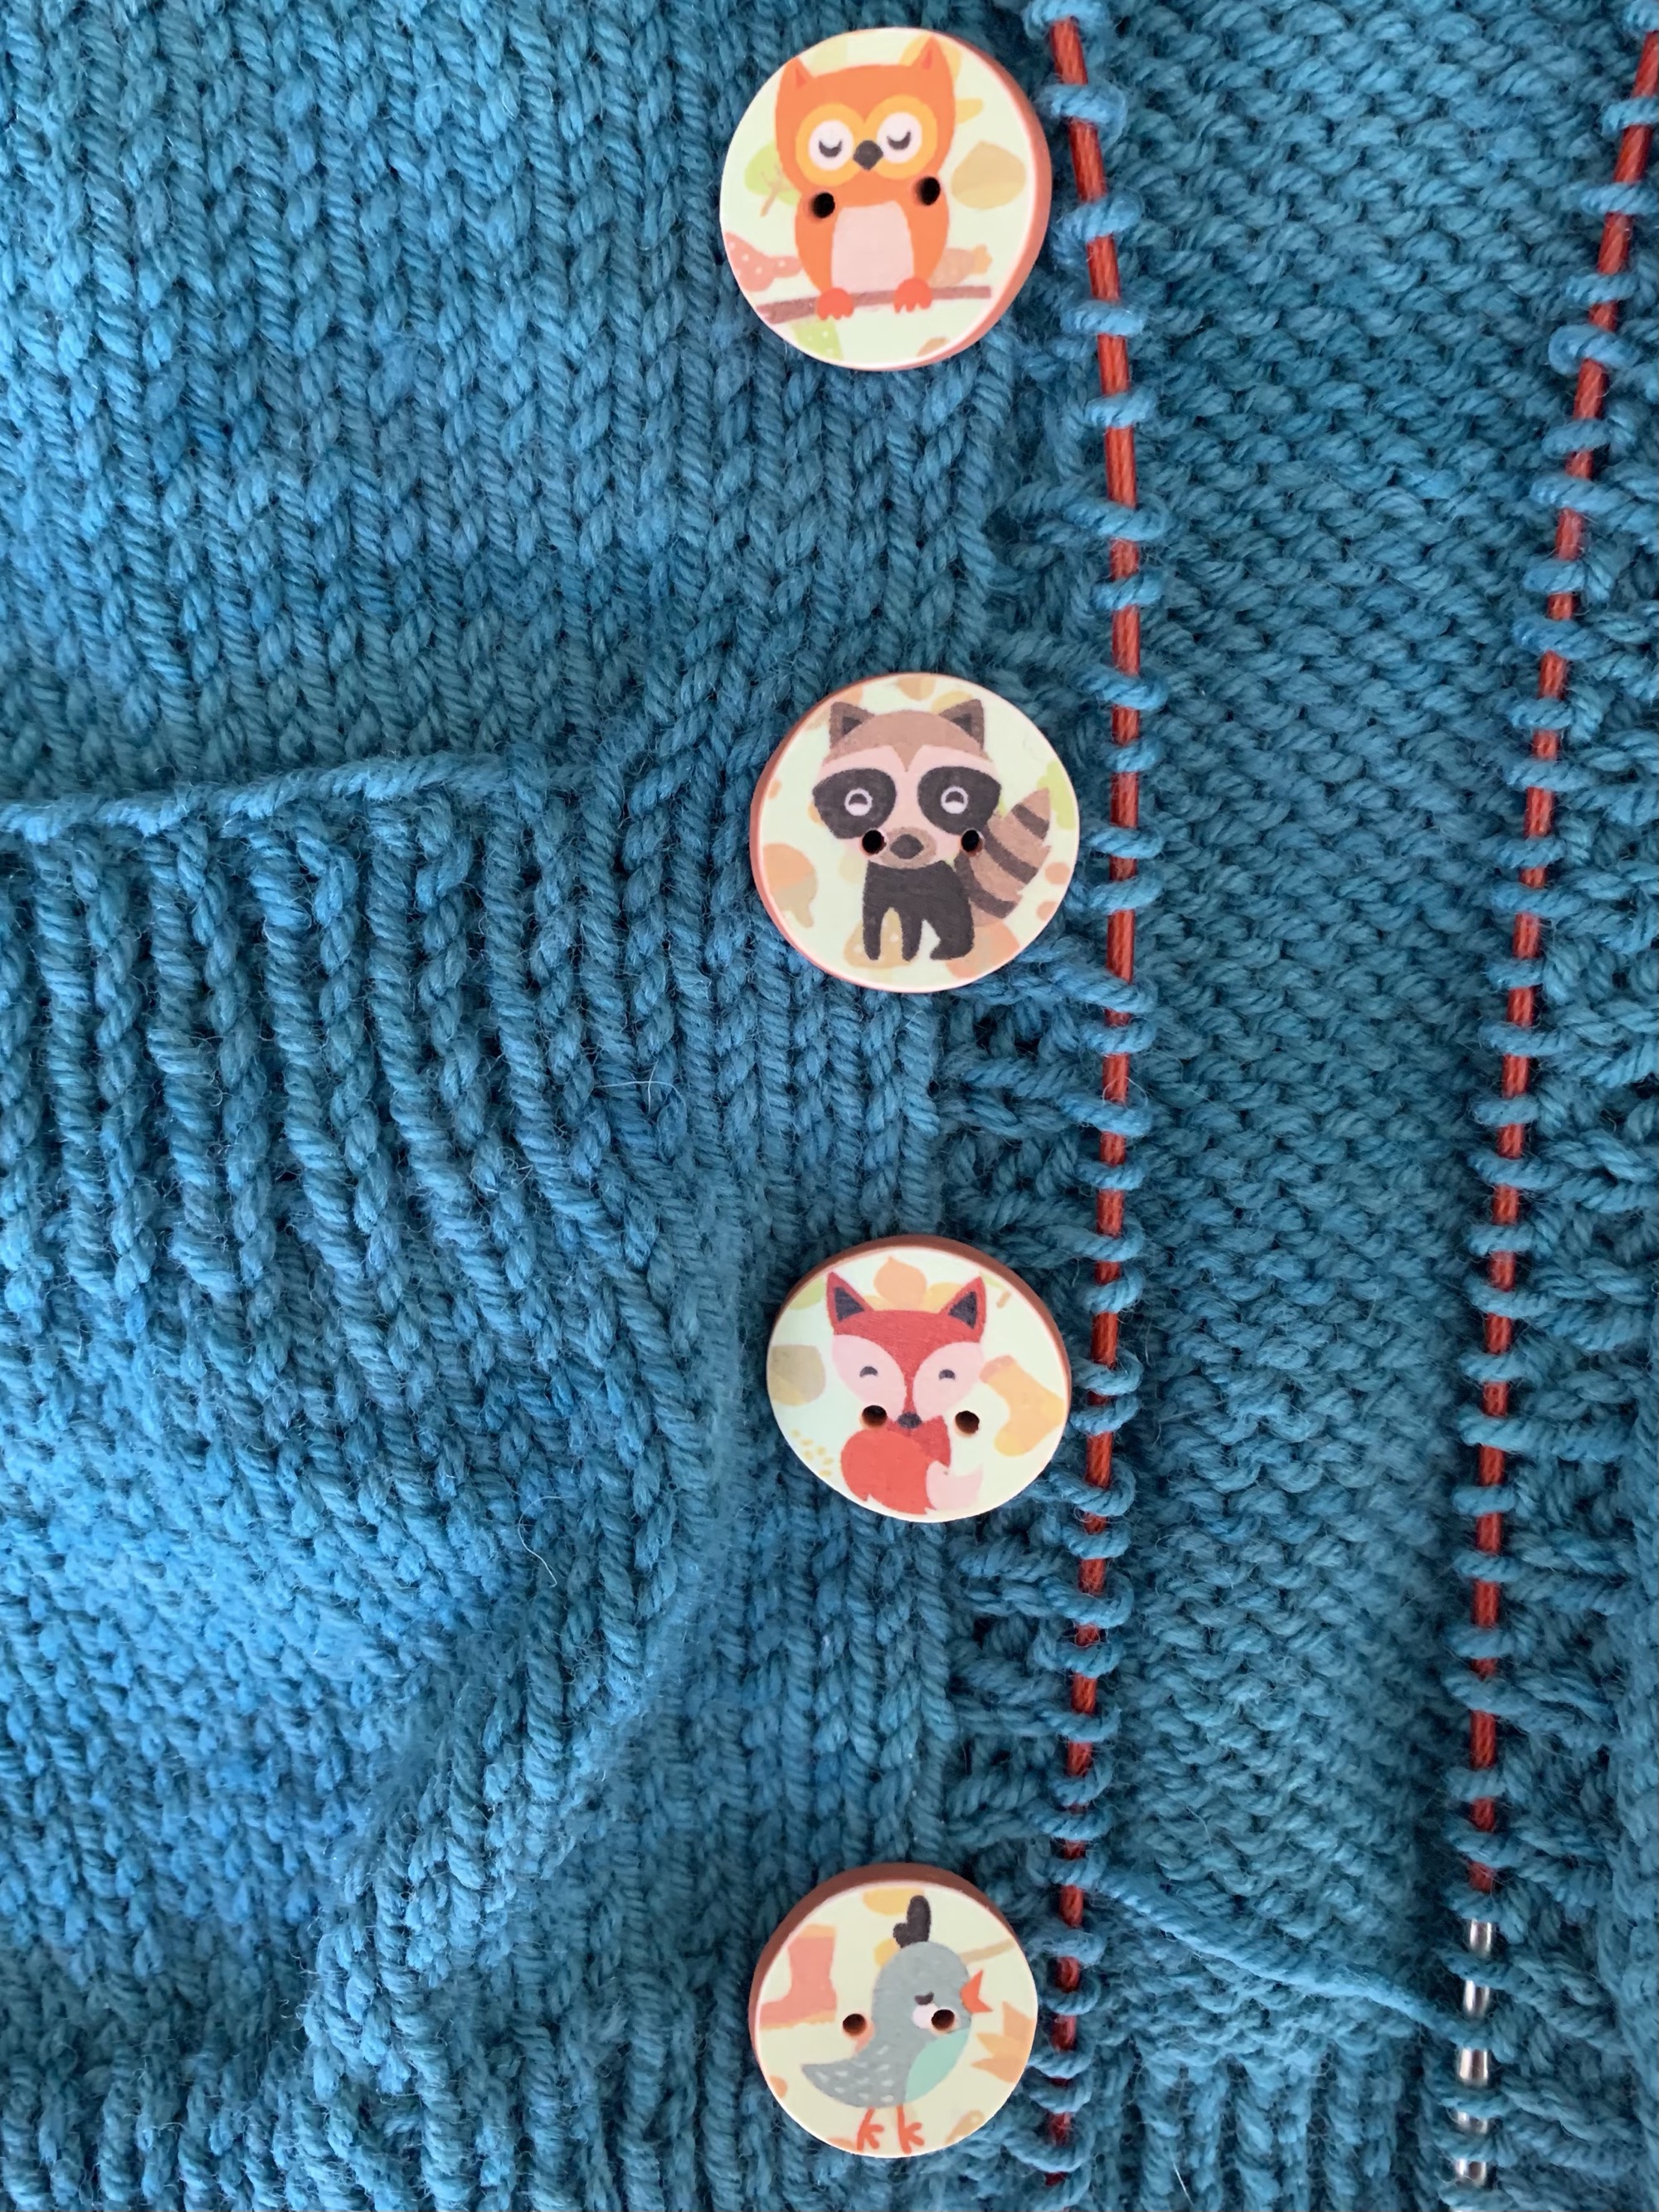
Because of the small sweater size, I plan to do only four buttons. My choices are nautical designs, little tractors, or cute animals. I’m leaning toward the animals.
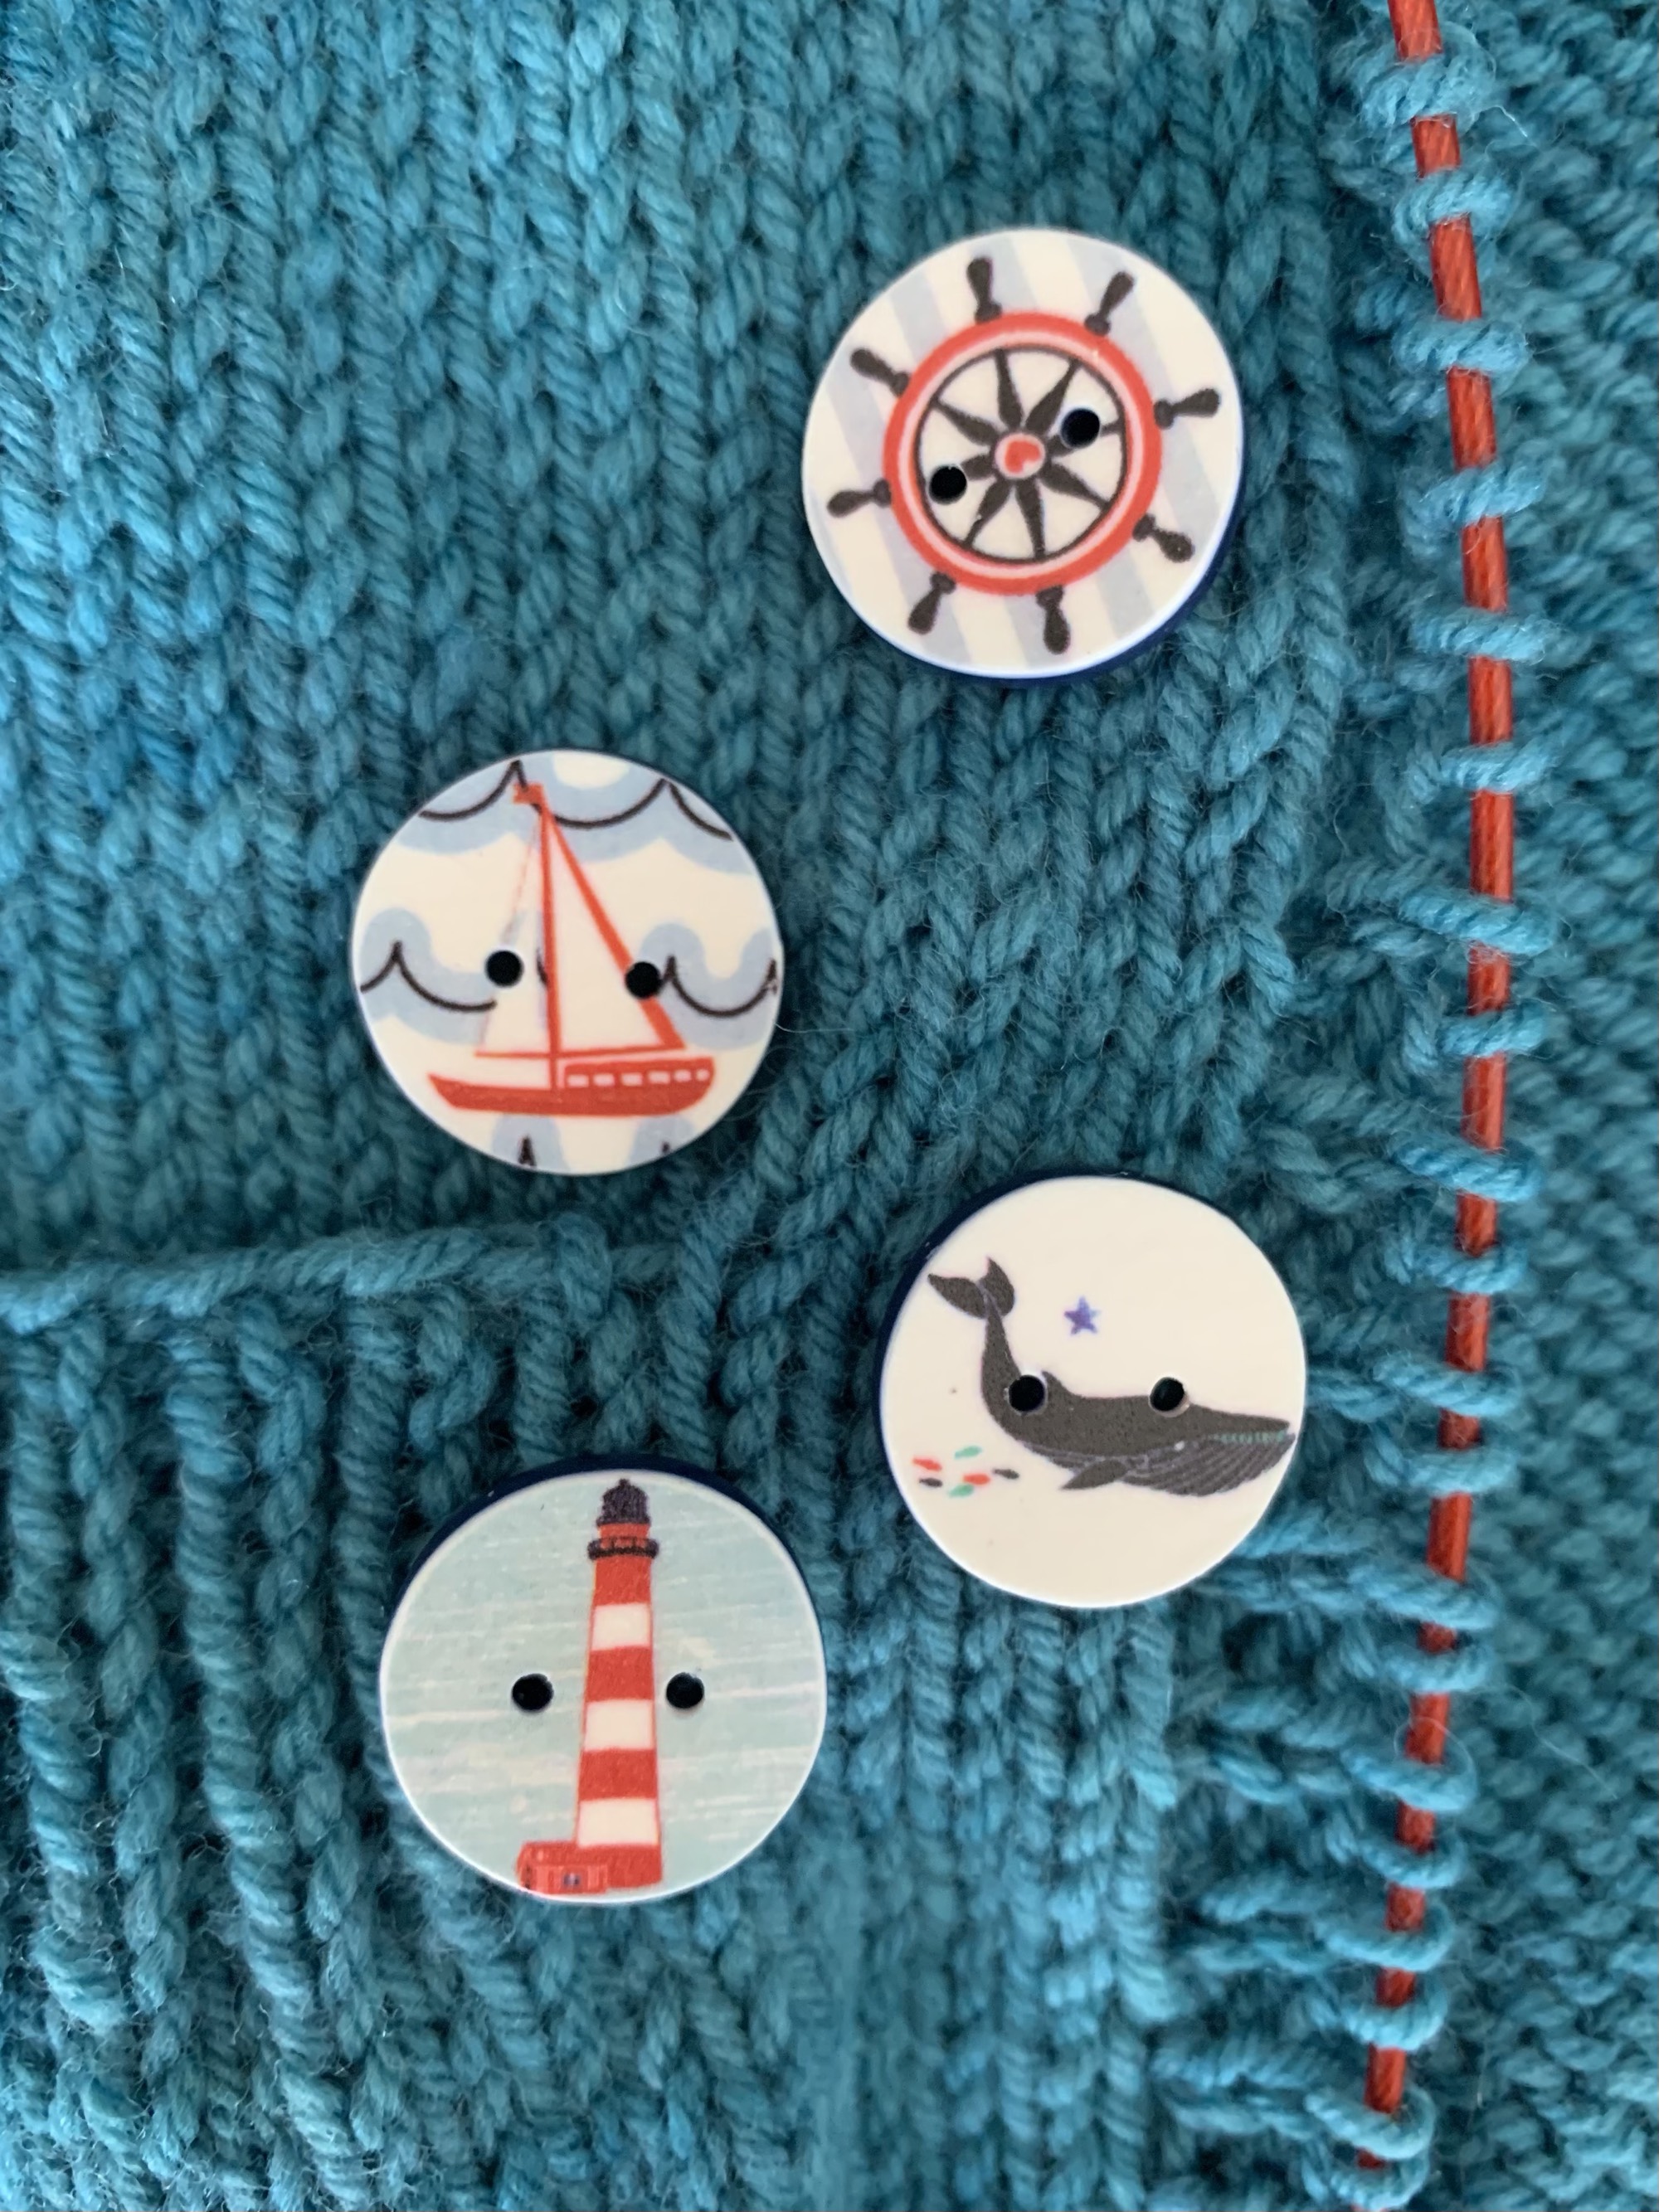
Once the pockets are sewn up and the buttons are added this little sweater will be ready to go. I have already washed and blocked it. Quite a bit of yarn is left which means a little hat or baby socks could be knit to match.

Finished Photo to Come

Buy the Playdate Pattern, by Tin Can Knits.


Recent Stories From the Blog…

DIY Felted Wool Seating Pad Knitting Pattern

Knitting a simple wool chair pad to use up some heavy weight and worsted wool. This DIY pattern uses Fair Isle, colorwork that is simple and can easily be changed.

Five Cozy Scarf Knitting Projects For Fall

Five cozy scarf patterns to begin knitting this Fall. Keep for yourself or give to friends and family. The selection has small and long scarves, with many free patterns included.

Tried My Hand at Knitting Baby Booties

Knitting baby booties from a free pattern.

There are no babies in my family to knit for, but I love the look of cute little booties. When I came across a free booties pattern, I had to give it a try. This pattern is called Baby Hausschuhe and there is a link to the English version (and others) with good directions and photos included.

Sole of baby bootie
Picking up stitches around sole

One thing I couldn’t figure out was which types of needles to use. The beginning is simple with knitting back and forth row by row for the sole. Then you pick up stitches around the sole and it looks like the writer used a circular needle. I ended up using 2 DPNs and one small circular needle. Then I eventually got all my stitches onto the 9-inch circular and knit around.

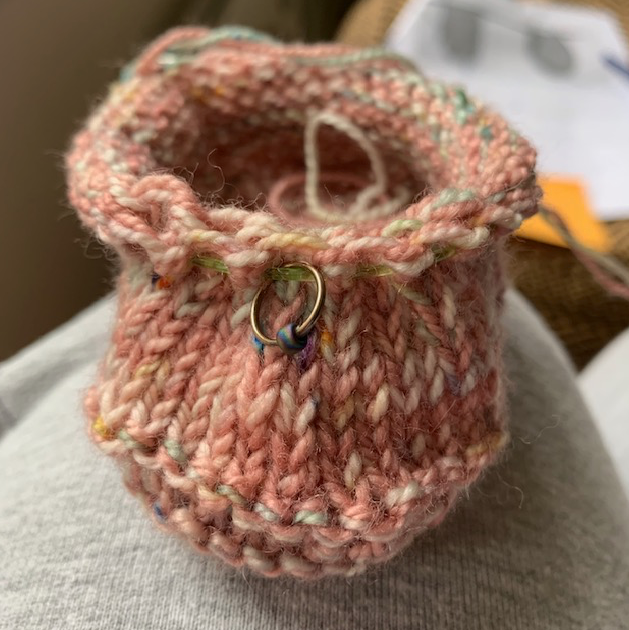
Beginning the baby bootie
Ready to knit around

The bottom of the bootie above with needles ready to knit around.

baby bootie

Starting to take shape and looking pretty cute. If I’d had enough pink yarn I would have used it for the whole thing but I was using up leftover bits from other projects.

Baby bootie knit on small circular needles
Front of bootie

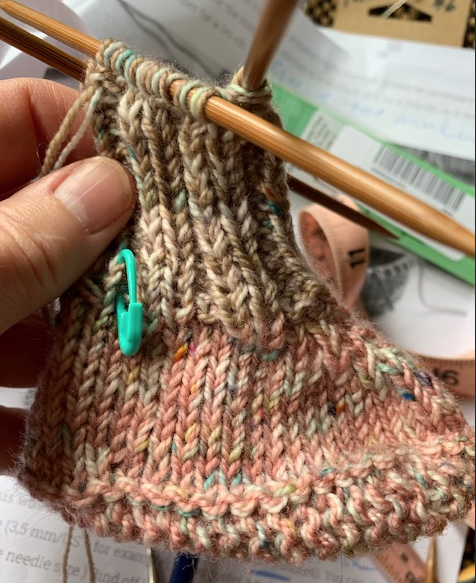
By the time I got to the ribbed cuff the stitches were pretty stretched over the circular needle so I switched to size 5 DPNs to finish. This was one size smaller than what I used to knit the foot. I switched one of my yarns to a tan color here.

baby bootie ribbing
I switched to DPNs for the cuff

I was using up some sock yarn (Miss Babs brand) and held two strands together, changing out one of the colors as I went. It’s not the prettiest outcome but I had no Aran weight yarn to use as the pattern calls for.

Knitting baby bootie with double pointed needles
Switched to DPNs to finish the ribbing

You will need two stitch markers. One is used for the front of the bootie to mark the decreases and one marks the beginning of the rounds at the back heel area.

Finished baby bootie
Finished!

By the time I finished one bootie I didn’t think I would attempt a second one. I probably will at some point just to have two. Finishing up a second (sock, mitten, slipper, etc.) is not something I enjoy. One bootie is worthless so it needs a partner. I may try a better yarn next time and see if it appeals to me.

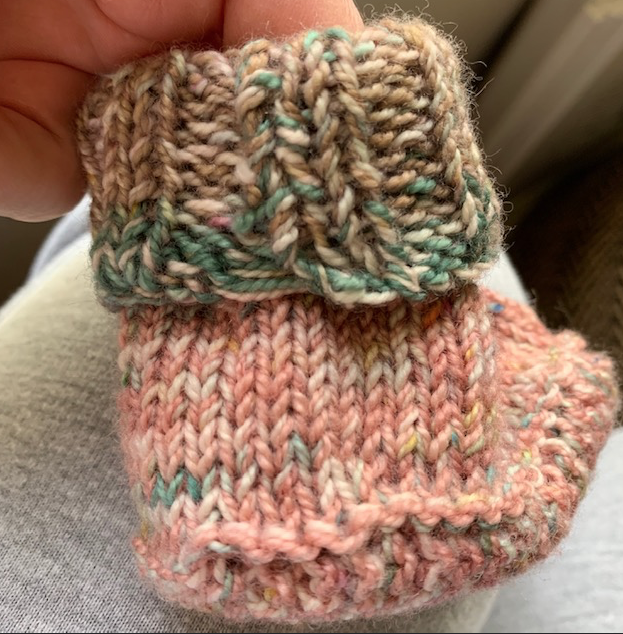
A note about weaving in the ends: Remember that the ribbing will create a cuff and be flipped down. I neglected to remember this and you can see my weaving job on the outside of the cuff! For booties in one color this wouldn’t’ show as badly, but I made a note for myself on the pattern page.

weaving in at the top fold over
Should have caught this!

Here you can see my other single bootie (in bright pink) which was crocheted. It’s partner is partially finished and I made that one about a year ago. See how bad I am? Now I have two booties that don’t match.

two different baby booties
Now I have tried crocheted and knitted booties

The Final Word on This Bootie Pattern

The pattern was very easy to follow. Now that I have knit one, I will more easily be able to choose the needles needed as I go and the next one will be a breeze. I spent the day knitting to finish it and my hand did end up sore, so next time I’ll pace myself.

By the way, these bootie photos would look better stuffed with something. I noticed on the Ravelry pattern page that either babies had them on their feet (the cutest images) or the empty booties were filled out with stuffing!