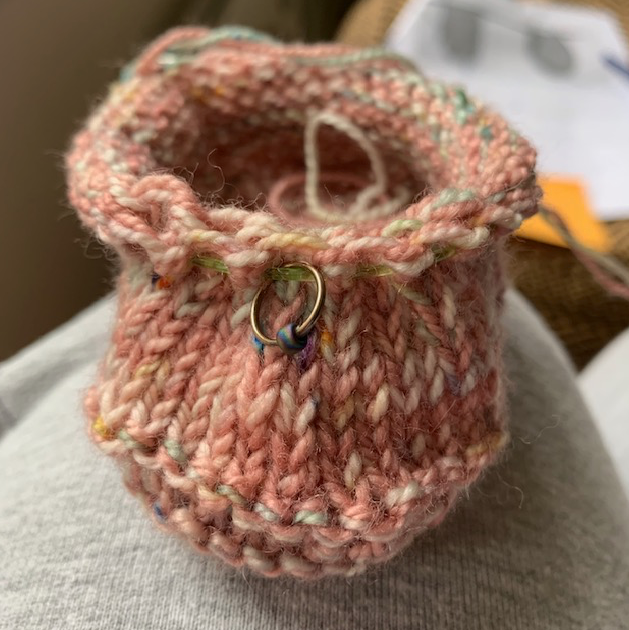
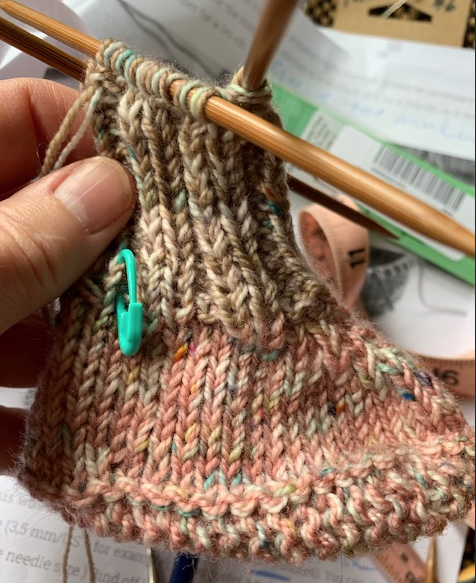
After knitting the Beloved baby bonnet pattern for a friend’s new granddaughter, I found this free baby sock pattern. The Perfect Newborn Socks pattern is offered for free by Tabitha Gandee and I got the pattern on the Ravelry site. I already had the CoBaSi machine washable yarn in color Bubblegum pink. (Pattern link below.)
Some knitters complained that the pattern did not make sense in areas and I would agree. For that reason, I would not recommend this pattern to a beginner knitter, unless you are knowledgable in the way socks are knit. It could be very frustrating if you try to follow the pattern exactly.
I have made notes below for anyone who needs a little advice along the way. I’m grateful to the people who offer us free patterns, but often those patterns can have mistakes or less clear directions than a designer who requires payment.
Places in the Pattern Where I Made Changes
First of all, I went up to a size 2 needle and knit with DPN’s, not magic loop. I am a relatively tight knitter and I didn’t want the socks to be too small. After washing and drying, the foot measures about 3 1/2 inches and the ribbed cuff is about 2 inches before folding.
These are top-down socks and I cast-on with the German Twisted cast-on. Then I did the more simple 2×2 rib without cabling.
I followed the pattern fine until the end of the Heel Turn section. For the last Row 3 knit, I did not do the SSK and simply knit across the 8 stitches, because the count was correct after Row 2. But, if you stop knitting after Row 2 you will be in the wrong place to continue.
After knitting that last Row 3, I knit four more stitches onto that needle. Then, with a new needle I knit the next four stitches and began picking up the stitches for the Gusset.
With the next needle, knit across the top of the foot with 2×2 rib or the cable rib, whichever you are doing. After that, use a new needle pick up the nine stitches along the side and knit the four stitches left onto that third needle.
Now you will have three needles. Two needles are holding stitches for the Gusset and 1/2 of heel, and the other is holding the front / top of foot stitches. In the pattern, the writer has four needles being used, but all 16 top of foot stitches can easily be worked on one needle. The fewer DPN’s the better IMO.
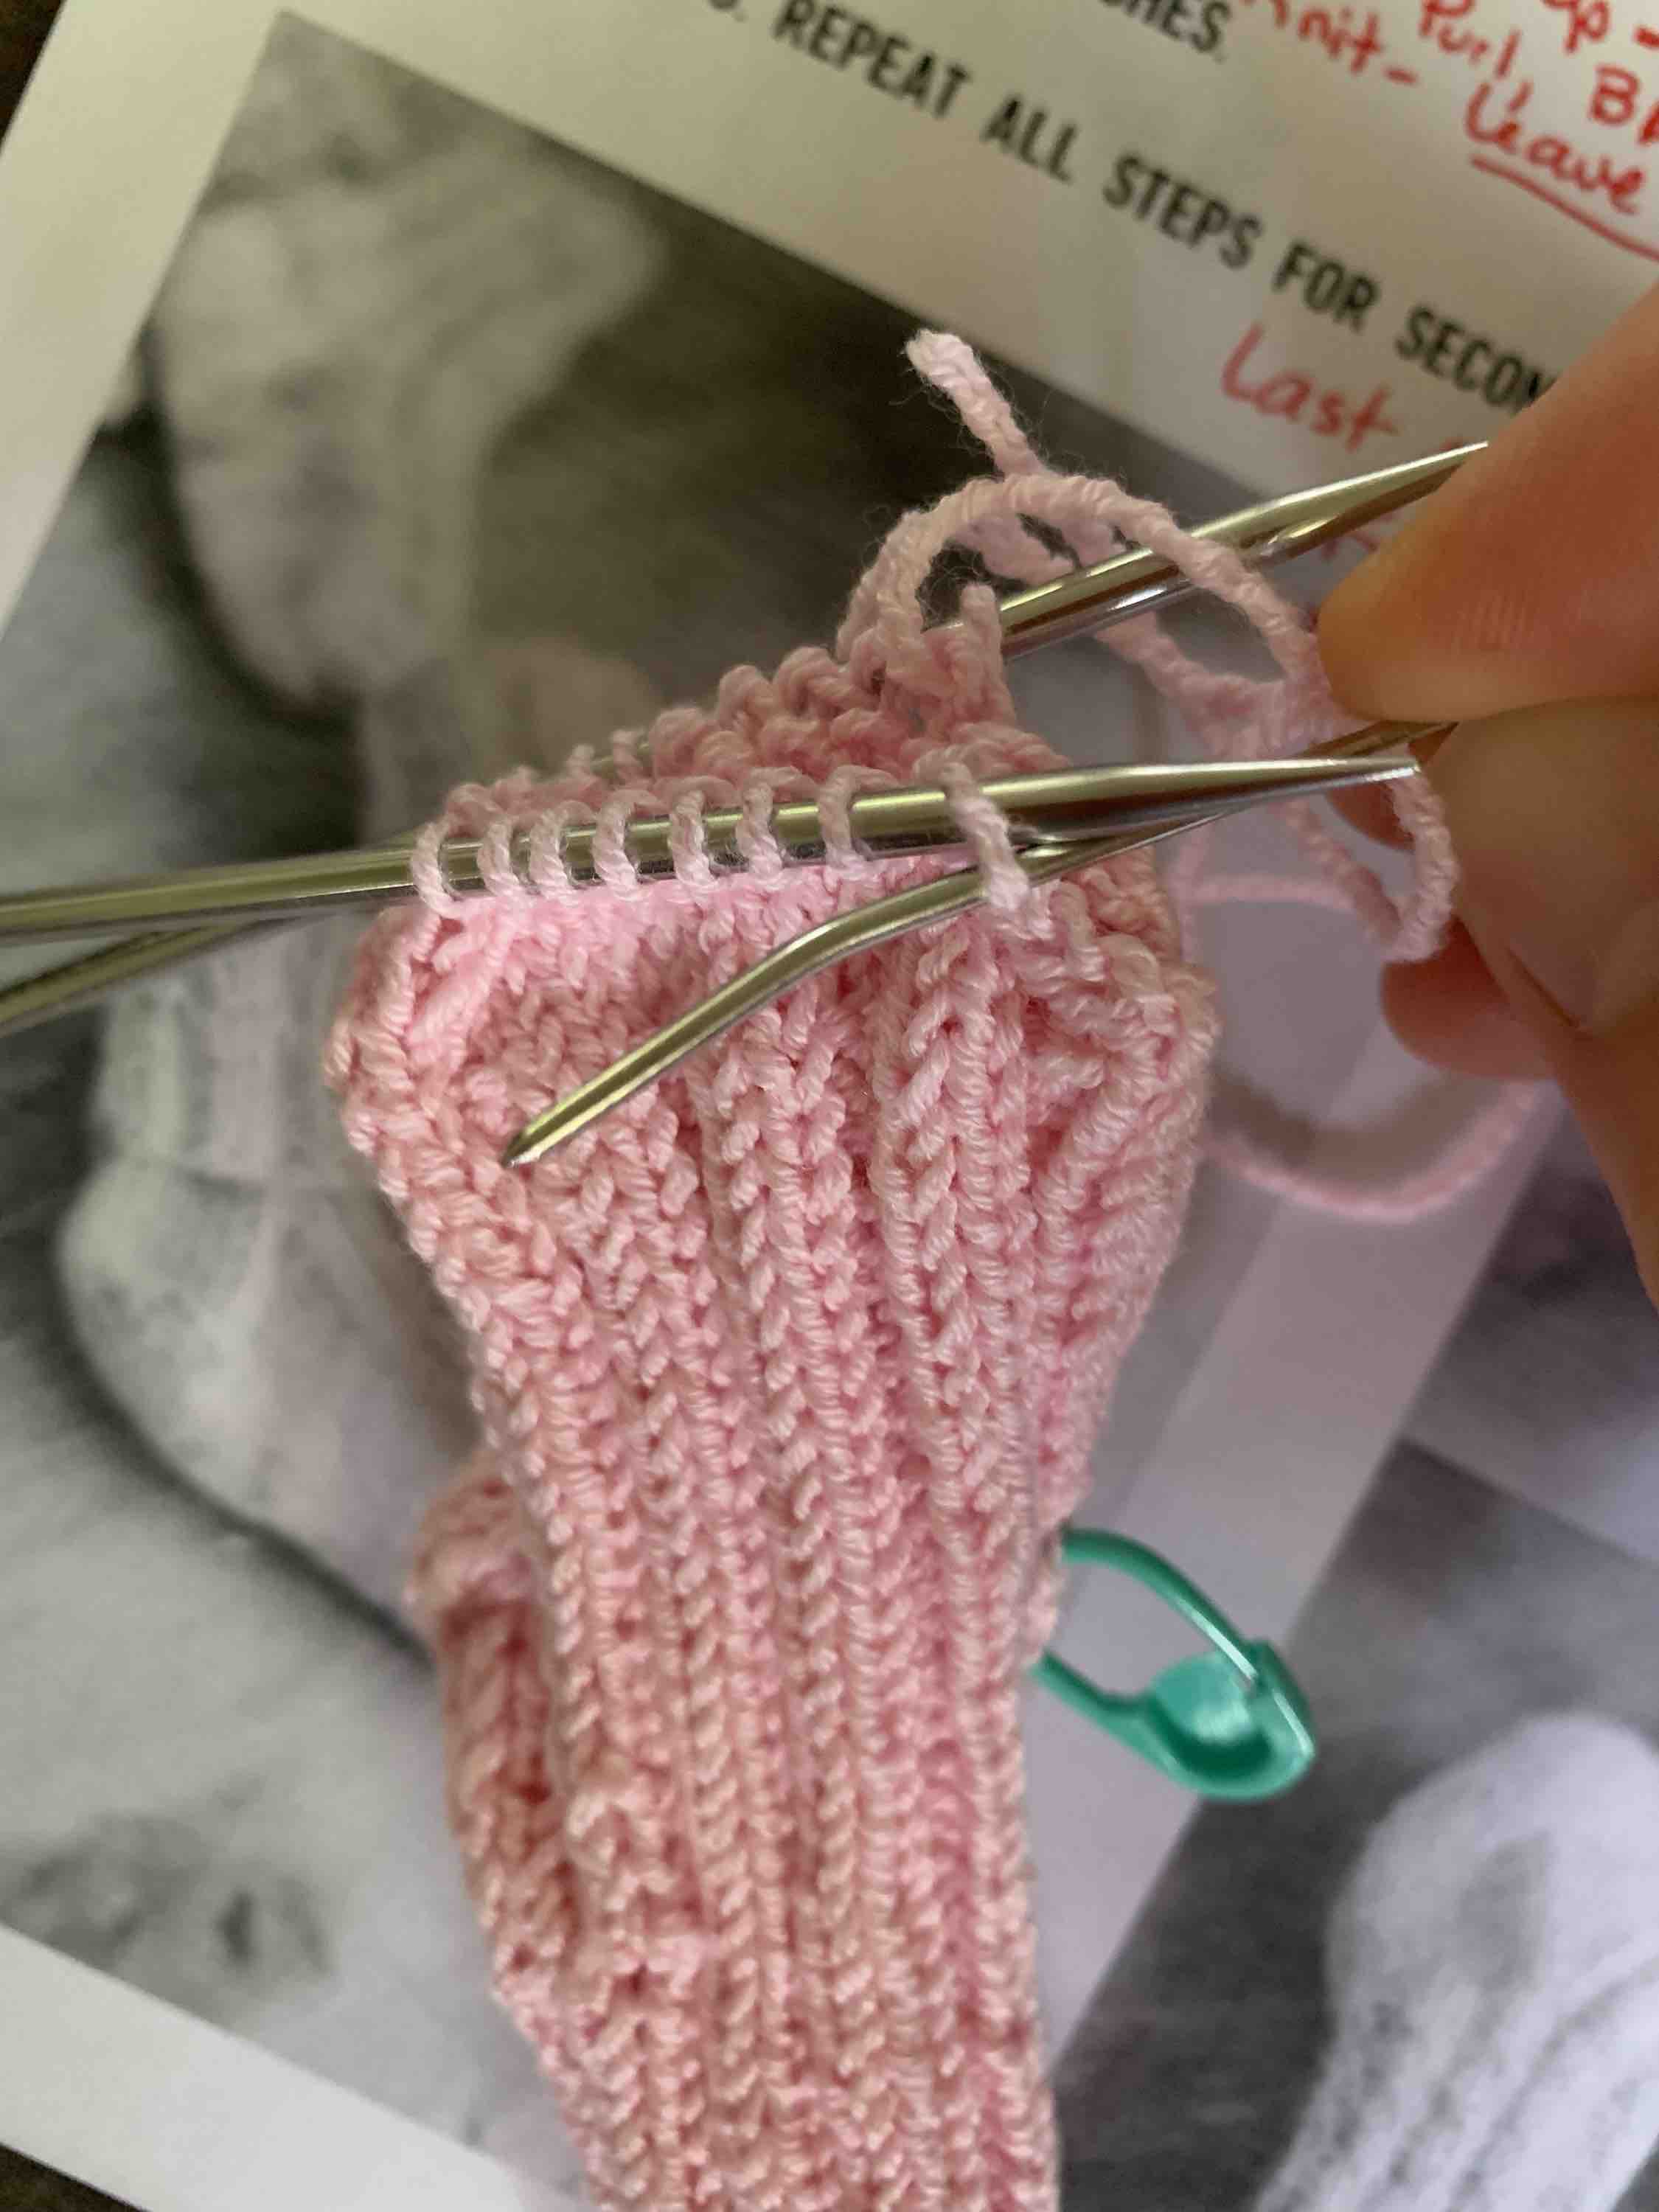
Getting my stitches onto three needles to begin the decreases
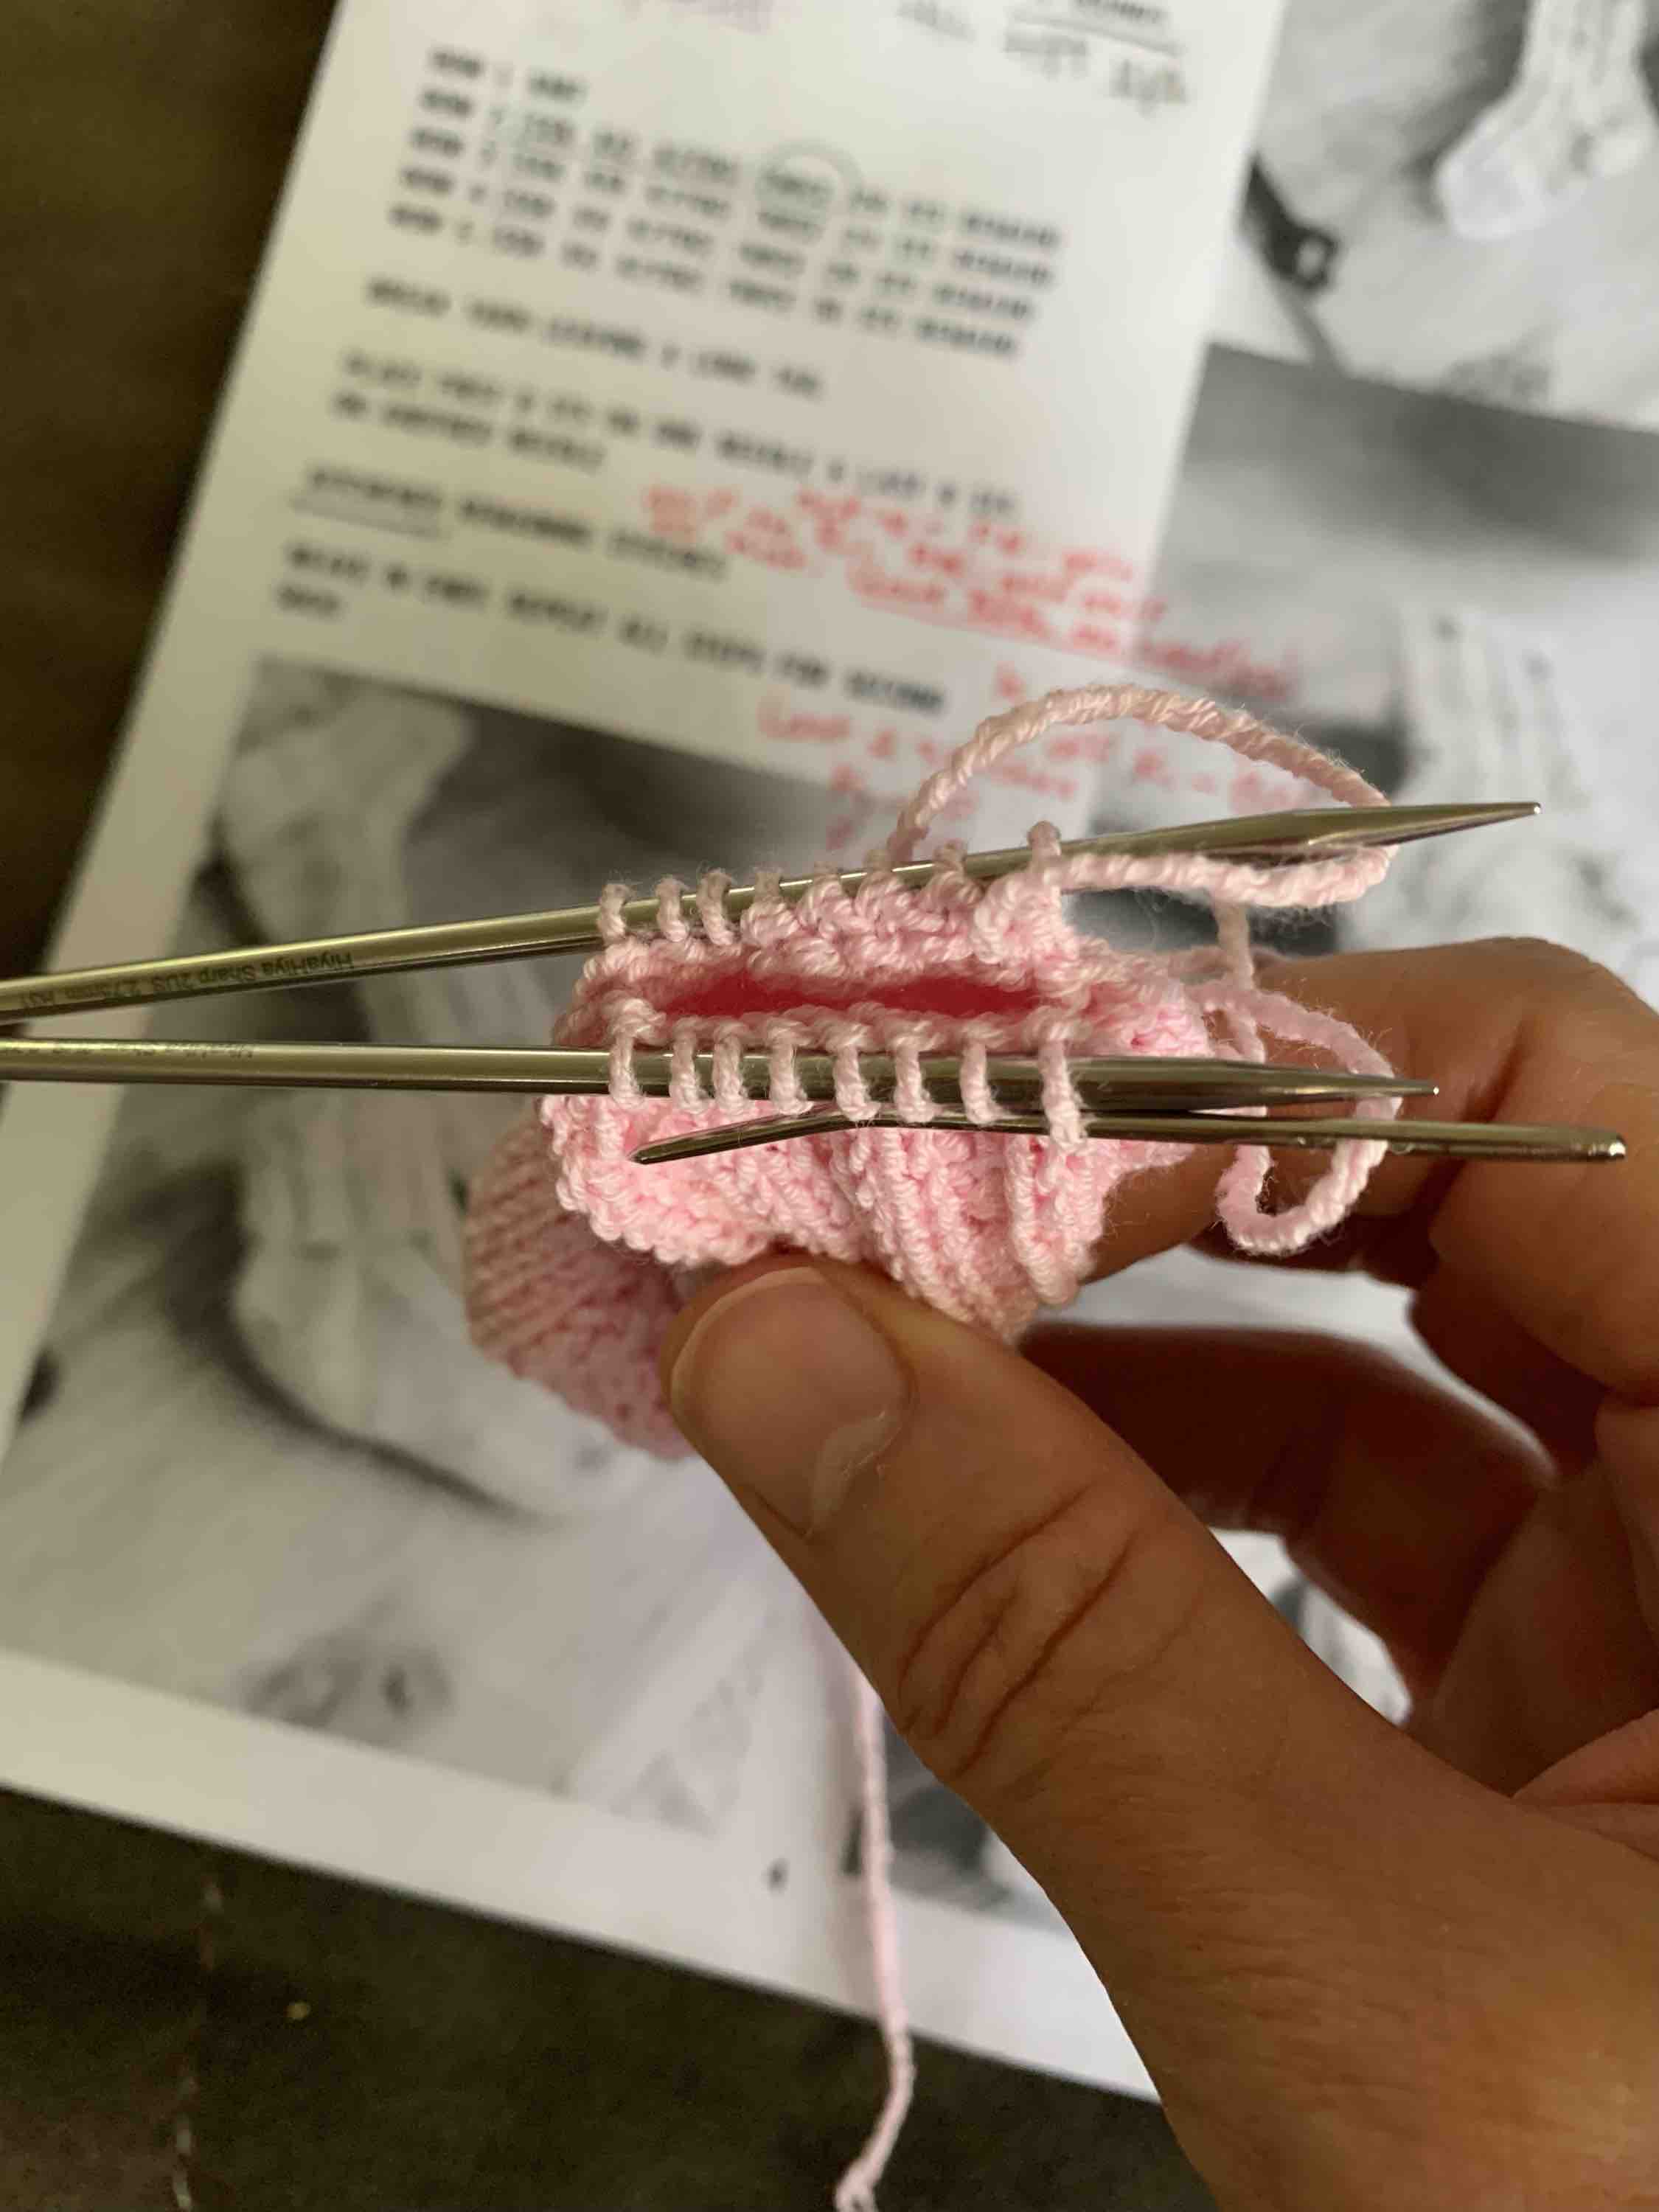
Doing the Kitchener Stitch at the Toe
After decreasing quickly at the toe area, the Kitchener Stitch will round out the toe. This stitch is done with a darning needle and is not terribly difficult, but it’s something I have to look up every time I do it. I also used it when I knit the Glissade colorwork mittens.
On YouTube I like the slow motion Kitchener Stitch video by Very Pink Knits which is easy to follow. She shows us what to do with the last two stitches on the needle as well. The yarn will be coming off the back needle to start, and you need a darning / embroidery needle to do it.
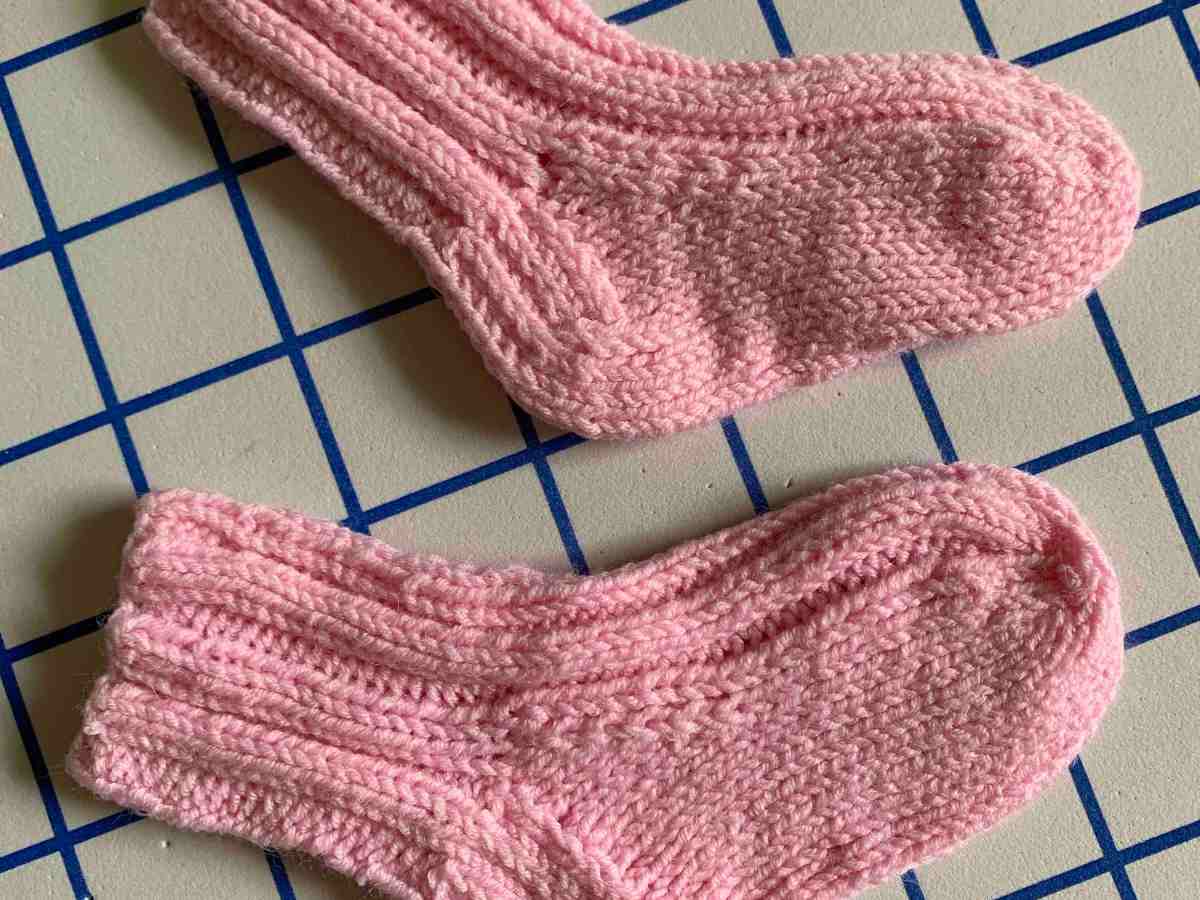
These ended up being cute little socks that will complete the Hat and Sock set for my friend’s granddaughter. I would make them again, and I also like the CoBaSi yarn for baby things. It washes and dries nicely – and can go in the washing machine and dryer! There is no wool in it which works well if a baby could be allergic. I washed them by hand, but it’s good to know that a new Mom won’t have to.
There are no babies in my family to knit for, but I love the look of cute little booties. When I came across a free booties pattern, I had to give it a try. This pattern is called Baby Hausschuhe and there is a link to the English version (and others) with good directions and photos included.
Picking up stitches around sole
One thing I couldn’t figure out was which types of needles to use. The beginning is simple with knitting back and forth row by row for the sole. Then you pick up stitches around the sole and it looks like the writer used a circular needle. I ended up using 2 DPNs and one small circular needle. Then I eventually got all my stitches onto the 9-inch circular and knit around.
Ready to knit around
The bottom of the bootie above with needles ready to knit around.
Starting to take shape and looking pretty cute. If I’d had enough pink yarn I would have used it for the whole thing but I was using up leftover bits from other projects.
Front of bootie
By the time I got to the ribbed cuff the stitches were pretty stretched over the circular needle so I switched to size 5 DPNs to finish. This was one size smaller than what I used to knit the foot. I switched one of my yarns to a tan color here.
I switched to DPNs for the cuff
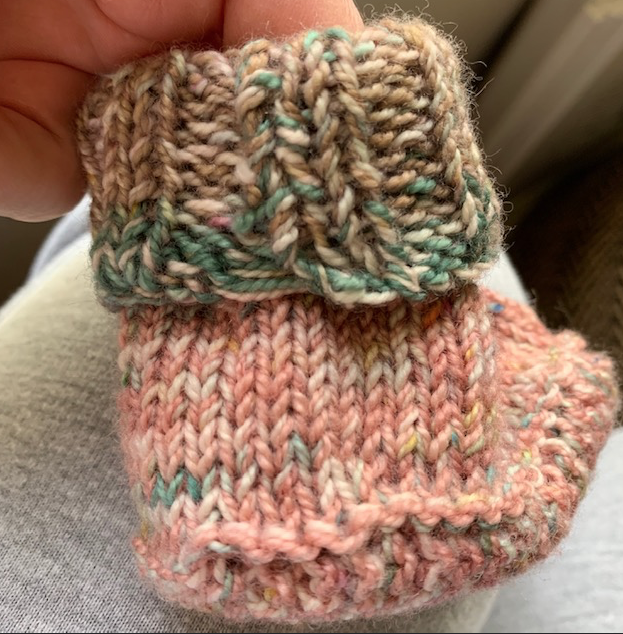
I was using up some sock yarn (Miss Babs brand) and held two strands together, changing out one of the colors as I went. It’s not the prettiest outcome but I had no Aran weight yarn to use as the pattern calls for.
Switched to DPNs to finish the ribbing
You will need two stitch markers. One is used for the front of the bootie to mark the decreases and one marks the beginning of the rounds at the back heel area.
Finished!
By the time I finished one bootie I didn’t think I would attempt a second one. I probably will at some point just to have two. Finishing up a second (sock, mitten, slipper, etc.) is not something I enjoy. One bootie is worthless so it needs a partner. I may try a better yarn next time and see if it appeals to me.
A note about weaving in the ends: Remember that the ribbing will create a cuff and be flipped down. I neglected to remember this and you can see my weaving job on the outside of the cuff! For booties in one color this wouldn’t’ show as badly, but I made a note for myself on the pattern page.
Should have caught this!
Here you can see my other single bootie (in bright pink) which was crocheted. It’s partner is partially finished and I made that one about a year ago. See how bad I am? Now I have two booties that don’t match.
Now I have tried crocheted and knitted booties
The Final Word on This Bootie Pattern
The pattern was very easy to follow. Now that I have knit one, I will more easily be able to choose the needles needed as I go and the next one will be a breeze. I spent the day knitting to finish it and my hand did end up sore, so next time I’ll pace myself.
By the way, these bootie photos would look better stuffed with something. I noticed on the Ravelry pattern page that either babies had them on their feet (the cutest images) or the empty booties were filled out with stuffing!