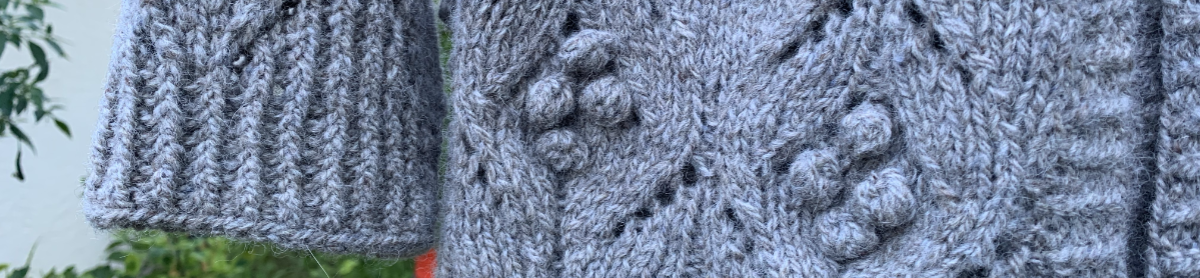
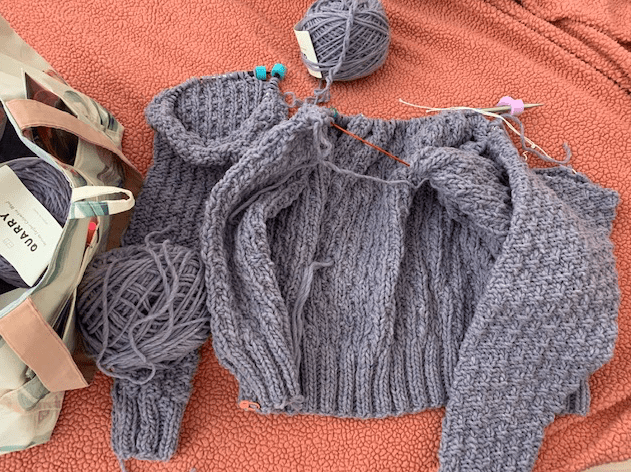
I had informally decided to give sweater knitting a break, along with shawl knitting. Then I changed my mind when I saw the Oxbow Cardigan pattern.
The pattern is by Andrea Mowry of Drea Renee Knits and I have never knit any of her patterns although she is everywhere and is very popular with knitters. She seems to have patterns that are above my skill level (this one has only reinforced my belief), but it looked simple enough, with big yarn and big needles. Heck, she made them for the whole family!
Ha! Fooled again…..I have not found this project to be easy at all AND spoiler alert – I frogged it (ripped it out to save the yarn) on April 28th. I feel very good about that too.
How It All Began – My History With This Project
The yarn is bulky so I figured knitting the sweater would be quick. In fact I finished ONE Oxbow sleeve in two days, but man did I struggle, and it didn’t look all that great. But I learned from my efforts and the second sleeve went better.
The Yarn
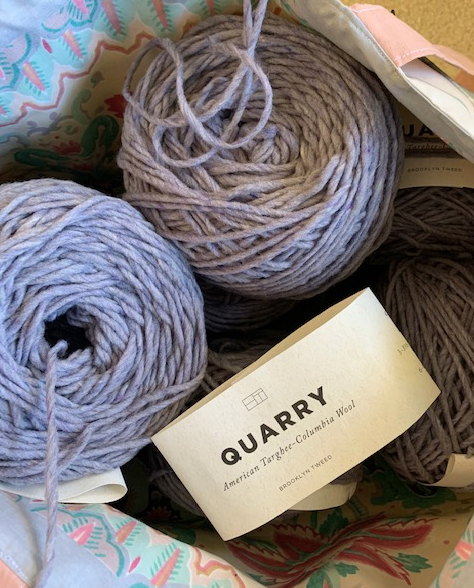
I am using Brooklyn Tweed Quarry in “Geode”, which is a gray-lavender color. My first impression with Quarry yarn was a year or so ago when I bought dark colors to knit warm hats for my kids. As I tried to cast-on, the yarn suddenly came apart! I was very unhappy. I’ve since used this same yarn to knit a hat and have had better luck. I think I just came across a weak section of yarn and didn’t know how to deal with it. It cannot be pulled tightly, so you do have to take care and twist the strand if necessary.
Quarry yarn is bulky, yet very light weight – surprisingly so. Because of this it dries quickly when hand washed (don’t put it in the washer or dryer) and will not weigh you down as a garment. I bought mine at Wool & Company, and they wound all 7 skeins for free! (US shipping is free too, for any order!)
I was interested in this yarn because it is spun in Harrisville, New Hampshire, near where I used to live! The wool comes from Wyoming ?, is spun in NH, and then dyed in another part of the US, so it is totally American made.

Knitting the Oxbow Sleeves
This is only my third sweater knitting project, (see Fine Sand and Umpqua) if you don’t count the little Popover for a child (I didn’t like that one either). So I am nowhere near being a sweater-knitting expert.
My first mistake was at the beginning, when I used the larger needles to cast on and knit the ribbing. I was supposed to use the smaller size.
Because my gauge swatch was telling me to go up a needle size, and I couldn’t find (and didn’t really want) larger needles, I decided to knit the sweater one size larger. Is that a good idea? I don’t know.
So I began my sleeve. Once the increases happened I got confused. Other knitters had questions too. I know because I saw them on Ravelry. As I knit along trying to figure out what to do with the pattern as the increases were made, I finally figured it out, but not before I made the underside of the sleeve look icky.

Figuring Out The Sleeve Increases
This information may help you, if you decide to try this pattern. The problem arises when you come to the increase rows.
I added markers to show where the increase area was. The orange marker shows the BOR. Each time I would work a round I would count backwards – in pattern – from the original beginning (where I also placed a marker) to start the pattern from the BOR. Nothing in the directions advises this! You have to wing it.
I didn’t figure this out for a while, so my underarm of the sleeve is a bit messed up. This part will be towards my body and not easily seen. (The pattern simply says to make increases and knit in pattern. Ya, the directions are not impressive.) I did do better on sleeve #2.

Sleeves Get Long!
My sleeve also began to get really long before I was done with making my increases! So I decided to go back and follow the next smaller size directions. If I had tried to get all the increases made my sleeves would have been way too long! (I saw comments on this same problem from other knitters). As it is, the sleeve is still a little longer, which is always better than too short!
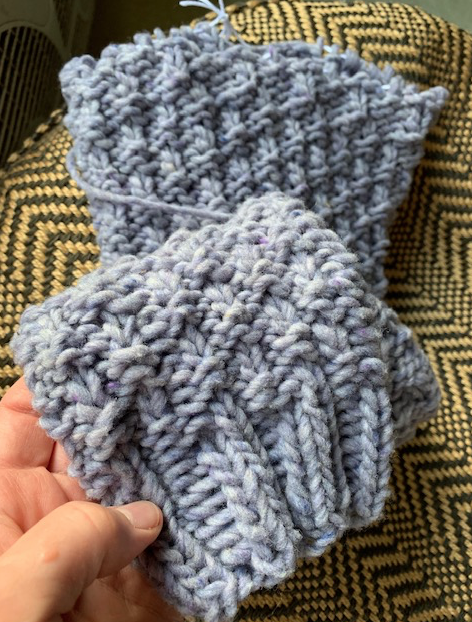
The Oxbow repeat pattern is nice and makes a fluffy texture, but it’s not all that easy to follow. It’s an easy enough pattern with 2 row repeats, it’s just not easy to keep track of the rows. What I did was use the orange clip marker to give me reference for inches (length) and then I could pay attention to the pattern better.
On To the Body and Decreases
Now I have knit the body of the Oxbow sweater to the decrease section. Wow, all I can say is really read through all the info before you begin. Basically it comes down to knitting in the pattern, but adding decreases at each end of the row (every so many rows, depending on size).
I am knitting the size “Women 42” for a good bit of ease. Once I got to the body and neck and yoke decreases, I faltered. I set the sweater aside until I could concentrate and really figure out what to do. THIS IS NOT AN EASY KNIT! Also not something to set aside for long in fear I will forget what I was doing and have to re-read it all again!
The directions are not easy to understand and I can only hope I will finish this and have it be wearable. The designer talks like this is the simplest sweater ever to make ….. and gee, why not whip one up for every family member? NOT! If I get through this one, I doubt I will ever make another. I’m just being honest here, whereas I have my doubts about some reviews I’ve read.

For now, this sweater is on hold. I’m partway done with the body and have two sleeves completed. I do plan to finish it, but currently I’m on a mitten-knitting kick. So I’m publishing this post and will update it when I finally finish this hellish sweater knitting project.
Oxbow Frogging Complete!
Every time I would pass by the knitting bag holding the Oxbow sweater, I would feel pressure to get working on it. But I didn’t want to. When I did get it out, I had difficulty finding where the heck I was in the pattern. I was at a decrease every 5 rows, while doing the 4 row repeat with knits and purls done at such and such and P2tog or SSK done at here and here…. Just reading it was mind boggling. Sorry, but I think it was a very lazy way to write a pattern.
I contemplated all my work – 2 sleeves done and about halfway up the body. But tearing it out made me feel calmer than pressing onward. So I frogged it. Now I have tons of Quarry yarn and must find another sweater to knit. (Eventually I knit one by Espace Tricot). But today I feel good, and will no longer see this sweater sitting around driving me crazy!

Brioche Knitting For Beginners With Video Tutorials
When beginning to knit brioche, choose a simple pattern and get some practice. This post has video tutorials and easy pattern links for knitters who want to learn something new.


Beautiful Cotton Suave Yarn For a Summer Top
Knitting a summer top pattern using some unique cotton yarn called Pascuali Suave. It is surprisingly lovely for cotton, which you would never guess it is.

Six Inspiring Shawlettes to Knit For Warmth or Cuteness
If you are looking for something small and useful to knit, check out these six shawlette knitting patterns. They make nice little accessories for warmth and are sweet gifts for friends.