Knitting projects I have completed or have in progress. My thoughts and review of the pattern, yarn, and outcome. Also knitting project ideas to consider or find for free.
If you have the Milarrochy Heids hat-knitting pattern book, you have the pattern for the Tettegouche hat. ( It is also sold separately – see the link at the bottom of this post.)
It’s a beautiful book, with lots of pretty hat patterns and they all use Kate Davies Milarrochy Tweed yarn. I bought the yarn in a variety of colors and began this hat a while ago. I didn’t like the way it was coming out. I blamed myself for not being familiar with colorwork, good cast-on’s, or having the right hat gauge. Honestly I didn’t like the yarn. I put it aside.
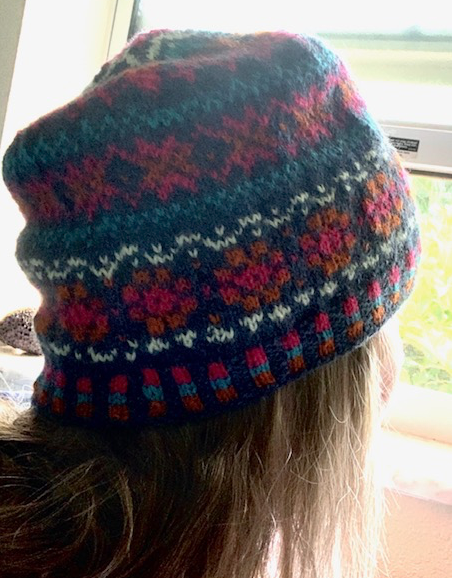
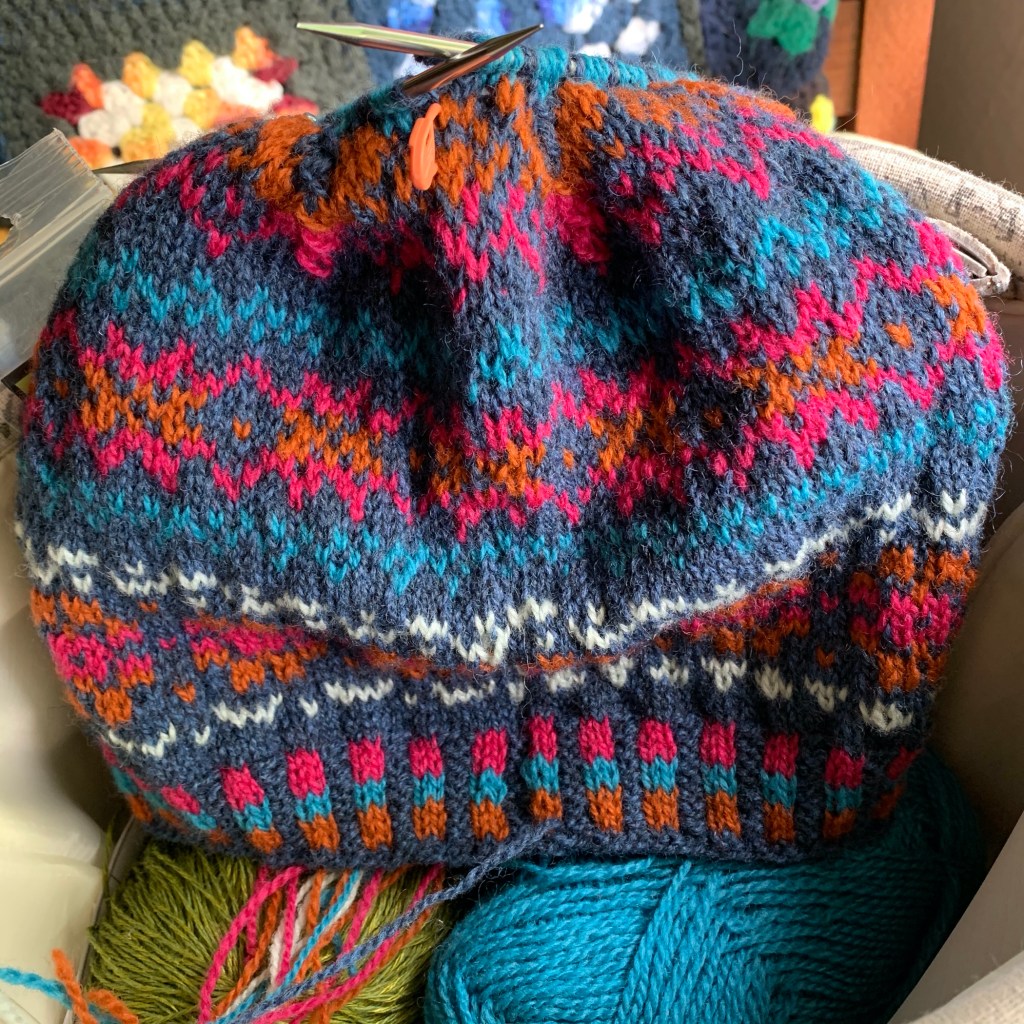
Finished Tettegouche
When I joined The Woolly Thistle knit-along, I became familiar with Rauma wool and fell in love! Everyone was using it to knit colorwork projects. After knitting some mittens by this hat’s designer, Virginia Sattler-Reimer, I went back to try to knit the Tettegouche, only this time I used Rauma yarn. By the way, she has mittens to match the Tettegouche hat pattern!
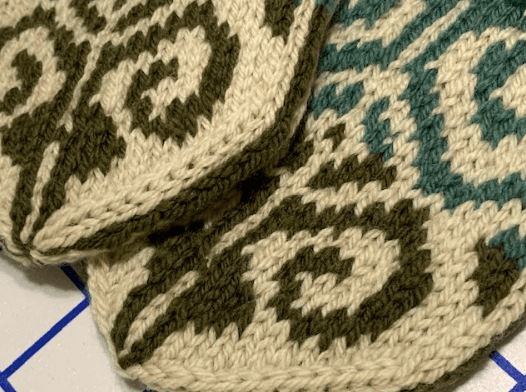
Good size, with a bit of extra room at the top.
I made some changes to the pattern, and one was to do a 2×2 ribbing for the brim. The colors I used were what I had available and they are not the greatest. But I had fun with this. It has been a good practice hat after knitting Katie’s Kep. Because I had already knit that colorwork hat, I knew to try a smaller needle for Tettegouche.
Buy The Tettegouche Hat Pattern
The pattern is also sold separately and you can buy the Tettegouche hat pattern here. Please click the link to see it, because it is so much prettier than mine! You won’t believe it is the same hat…!
What Was My First Colorwork Hat?
My first all-colorwork, Fair Isle knitting project was Katie’s Kep, which is a fun hat pattern which is Free to download.
After I finished knitting two different pair of color-work mittens, I wondered what to knit next. Suddenly, knitting with only one strand of yarn seemed boring! I may be on a Fair Isle, or stranded-knitting jag for a while.
I was browsing Ravelry and a very pretty colorwork hat caught my eye. I decided to save it in my favorites. When I went to the designer’s hat page, I found that “Katie’s Kep” was a free pattern – at the time – I wrote this and used the pattern. It is no longer free.
The designer created it as a tribute to her mother. The pattern called for using wool fingering yarn – which I have in abundance – so I had to make it.
Fair Isle hat
Choosing Colors
When I was planning my mittens, I bought a lot of Rauma wool yarn, in various colors. I ended up using Brooklyn Tweed Arbor for both pair of mittens, so I had lots of Rauma wool left. The “Katie’s Kep” pattern uses this type of wool, so all I had to do was choose the colors. Simple, right?
Honestly, it’s tough for me to envision a finished product by selecting colors. As I began the brim for the hat, I was wondering if I had made a mistake in my colors. If you begin this hat and think the same thing, it will probably look better as you knit more.
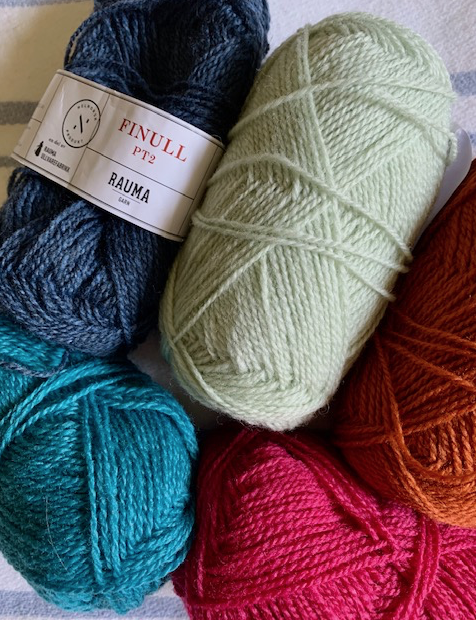
Wool yarn from Norway
I wanted a dark background and I had a dark blue called Dark Petrol Heather, which I used. The rows that look whitish are actually a very light green, and I messed up on the first section! I’m not used to doing this type of knitting, and this was more good practice for me.
I think the only color mistakes you can make is to have colors that do not stand out enough to show the design. Wilma Malcolmson (links to her website), the Shetland designer, includes four various color way suggestions with her pattern download, so you can go buy the colors she suggests. It takes the guesswork out of the color selecting.
I also began knitting the colorwork on the brim incorrectly and had to begin over. After the purls the yarn must go to the back before the knits are done. Newbie mistake – lesson learned. BTW, that brim ribbing is called “corrugated ribbing”.
Nearly done, just working the crown
Switching to DPN’s at the top of hat
Needle Size
Another problem I had was which size knitting needles to use? Many of the knitters mentioned that the hat had come out huge. I know that I am a tight knitter. Usually I have to go up a needle size for all patterns. Because of this, I stuck with the size 3 suggested needle and the hat ended up being a bit large, but not crazy. If I knit it again I will try a size 2. If it’s too small I can give it to my daughter, who has a small head.
Knitting the Crown Pattern
Knitting the crown took me almost as long as it took to knit the rest of the hat. It came out looking fine, and I only made a couple of color mistakes. I’m becoming used to using DPN’s, and hats only have a few rounds where they are needed, but along with the colorwork, it made for a challenge. An experienced colorwork knitter would not have a problem.
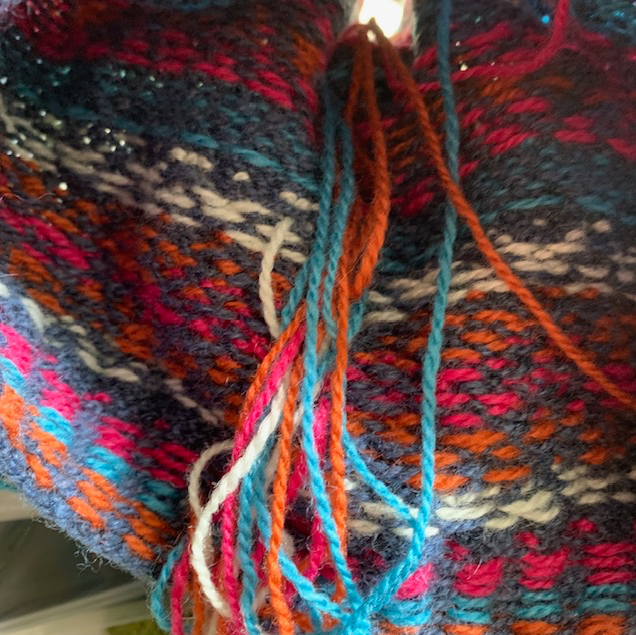
Below is a photo before washing. I still had lots of ends to tuck in. I had read that some knitters were using the CDD (center double decrease) as opposed to the pattern’s Sk2p. And I think it may look neater. I’m not experienced enough to know and I didn’t do my Sk2p’s correctly because I slipped the first stitch purl wise and it should have been knit wise. Live and learn. I should have looked it up.
Crown detail before washing
The Sk2p is a left-leaning decrease and the CDD has no lean, it makes a ridge straight up. Once washed, this hat will look perfect – fingers crossed. I have notes written all over this pattern for my next project.
Scottish Fishermen Keps
So what is a Kep? I had to look around for some info, and it seems they were colorful, Fair Isle hats worn by Scottish fishermen while out to sea. The hats had a liner to keep the head warmer, and some were like stocking caps – longer with a tassel or something at the top. The Kate Davies Designs (KDD) site has a bit of info about Keps.
The yarn I used (Rauma) is from Norway, so to truly knit a Kep, I suppose I need to use Shetland yarn from Scotland. Maybe next time. I have none in my stash, but it’s on my list of yarns to try.
More Keps and Fair Isle Hats For Us to Knit
If you love to do colorwork and want to try more hats like this one, I’m making a list here. The Katie’s Kep pattern is free. The printout is in small print and I had to enlarge the charts – and yes, you must be able to read a chart.
North Star Hat – Sized for kids and adults, Aran weight yarn
Where to Buy Wool Yarn
The Woolly Thistle is based in New Hampshire and sells lots of wonderful wool sourced from the UK, Scandinavia, and Europe. This type of yarn must be hand-washed. It comes in many beautiful colors as well as natural animal colors. The prices can be high at TWT compared to other places that sell the same type of yarn. I’ve found Jamieson & Smith 2-ply, 125 yard skeins at Fairlight Fibers much cheaper!
At Wool and Company they also sell Rauma wool yarn, and other types of course. Remember that the purpose of a hat is to be warm, so real wool will do the trick. Even if the yarn is hand-wash only, how often do you wash a hat?
I’ve caught the mitten knitting bug! As I write this the temperature here in Florida is 88 degrees (says the app on my phone) but it feels like 101…! What? I don’t think that is correct, but the humidity here can really spike the “real feel”. My AC is not on, so I don’t think it feels like over 100. It does feel like 88 though.
Even so, I am knitting on my second Glissade mitten beneath the ceiling fans. Once it is done, I will begin the Fiddlehead mitten pattern. Because it will be knit in the same DK yarn (Brooklyn Tweed Arbor), I have an idea of needle size to use.
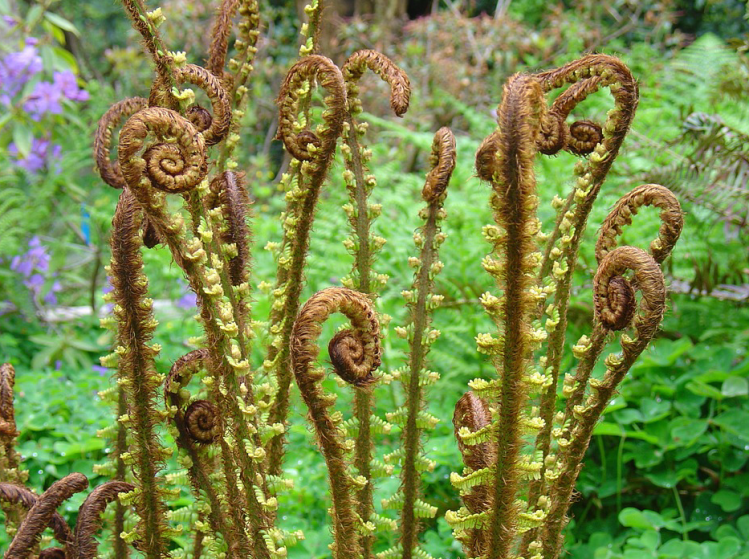
Fiddlehead fern
Fiddlehead Cast On Changes
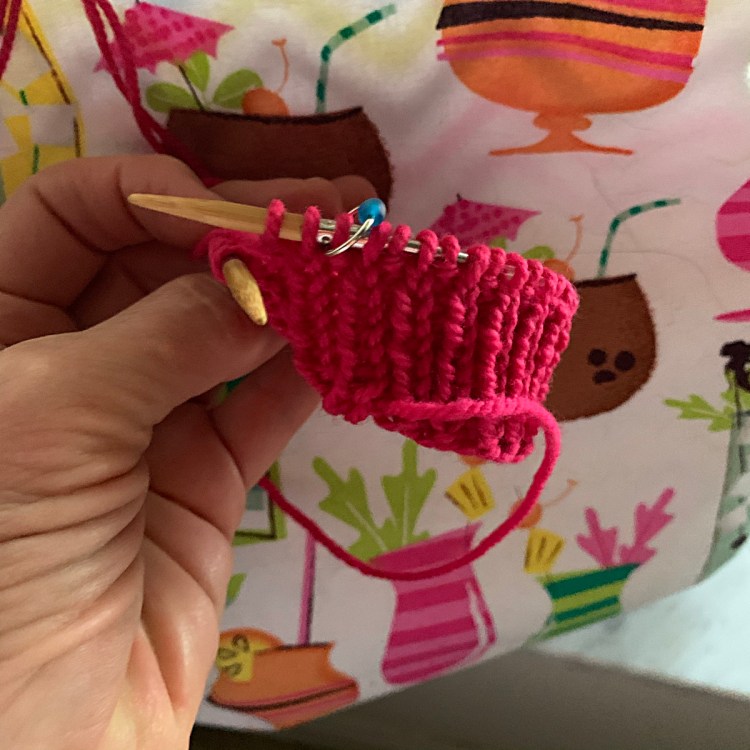
The suggested needle size sounds quite big for such a large cast on number of 60. The Fiddlehead mitten pattern calls for a lining to go inside the mitten, and I want to avoid that. So I went down to a size 2 needle, and I am a tight knitter.
A different cast-on
I tried the suggested i-cord cast on – which took forever – and I didn’t like it for my purpose. So I began over, and used the Latvian Braid. The i-cord is probably used because stitches will have to be picked up inside the cuff to add the liner. Since I am not knitting a liner, I changed things.
Mitten gauge is hard to judge unless you’ve knit a lot of different mittens and know which sizes works for each yarn weight. I recently knit the Glissade pattern and used a size 3 and 4 needle, but the cast-on number was only 48, not 60. I knit with this exact same Arbor yarn, so I knew if I used a size 3 or 4 with a 60 stitch cast on, these mittens would be huge!
Now that I’ve knit this far along, they still seem slightly large, but should be okay.
DK Yarn and Colors Used
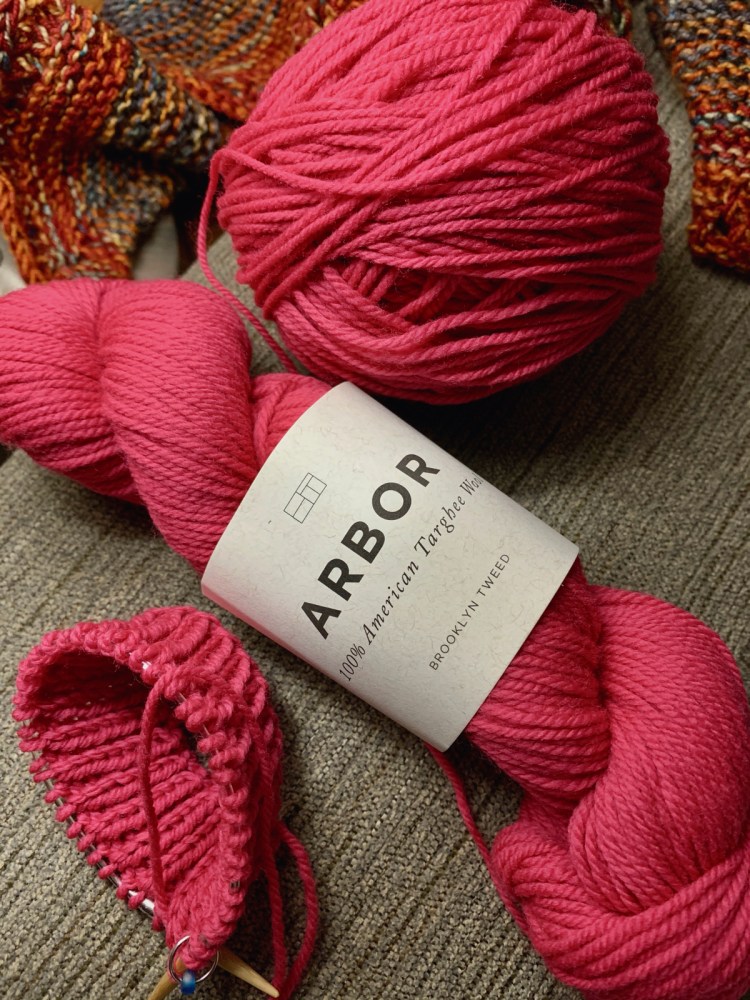
I loved, loved, loved the yarn I used for the Glissade mittens. It was my first time using Brooklyn Tweed’s Arbor yarn and it’s a new favorite. Need some nice DK yarn? Check it out. The link takes you to Wool and Company, and they ship free to US locations, with NO minimum order! Arbor comes in many colors, but I knew I wanted greens, because this is a fiddlehead pattern after all!
For the background color I chose Degas, which is a light tan. Then I chose five shades of green for each section of the pattern. Color names are: Dorado, Treehouse, Wreath, Lovat, and Parka, with Degas as the light color for the background. Very pretty yarn and colors, and a few are now discontinued.
Five green shades
Whenever I put stitches on hold, I always have a tough time picking those stitches back up again. This time I put the thumb stitches on hold using two different strands of yarn. I’ll use a very small size needle to pick them up, which may help. Then I can slip them onto the correct size DPN.
Thumb stitches are put on hold
Finished the hand, and it fits nicely
I have now reached halfway on the second mitten without doing the thumbs. I will do both thumbs last. These will not be done in time for the KAL with The Woolly Thistle, but I have already finished Glissade for that.
I am very happy with this pattern and the colors I chose – Dorado, Treehouse, Wreath, Lovat and Parka, with . Even without a liner, the knitting is quite dense and should keep hands warm.
Working on second mitten
Brooklyn Tweed Arbor DK yarn
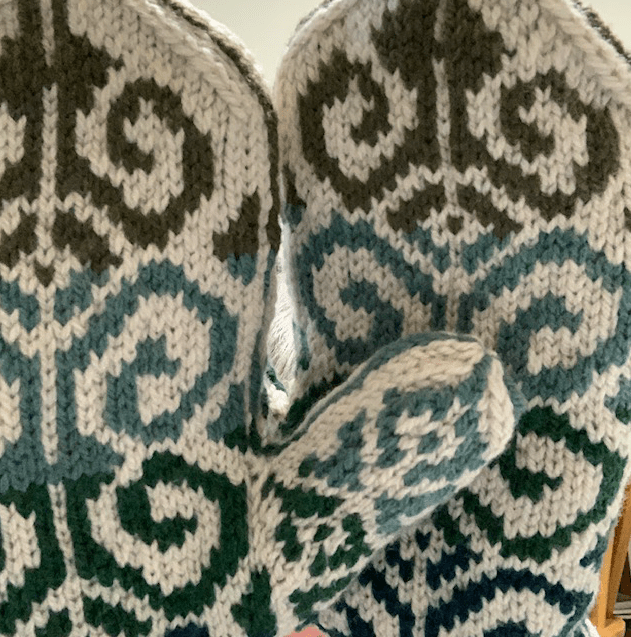
Got some pictures today of my finished “Fiddlehead” mittens. I love the way they turned out. Fantastic yarn, good pattern (although chart printing is small – and the called for cast on takes forever – I didn’t do it), and best of all, they fit me perfectly! Those thumbs took some patience, but I am not used to doing colorwork. I’m also very happy with the colors. Possibly I will knit a hat inthe future to match in order to use up the rest of the yarn.
I had informally decided to give sweater knitting a break, along with shawl knitting. Then I changed my mind when I saw the Oxbow Cardigan pattern.
The pattern is by Andrea Mowry of Drea Renee Knits and I have never knit any of her patterns although she is everywhere and is very popular with knitters. She seems to have patterns that are above my skill level (this one has only reinforced my belief), but it looked simple enough, with big yarn and big needles. Heck, she made them for the whole family!
Ha! Fooled again…..I have not found this project to be easy at all AND spoiler alert – I frogged it (ripped it out to save the yarn) on April 28th. I feel very good about that too.
How It All Began – My History With This Project
The yarn is bulky so I figured knitting the sweater would be quick. In fact I finished ONE Oxbow sleeve in two days, but man did I struggle, and it didn’t look all that great. But I learned from my efforts and the second sleeve went better.
The Yarn
Brooklyn Tweed yarn in color “Geode”
I am using Brooklyn Tweed Quarry in “Geode”, which is a gray-lavender color. My first impression with Quarry yarn was a year or so ago when I bought dark colors to knit warm hats for my kids. As I tried to cast-on, the yarn suddenly came apart! I was very unhappy. I’ve since used this same yarn to knit a hat and have had better luck. I think I just came across a weak section of yarn and didn’t know how to deal with it. It cannot be pulled tightly, so you do have to take care and twist the strand if necessary.
Quarry yarn is bulky, yet very light weight – surprisingly so. Because of this it dries quickly when hand washed (don’t put it in the washer or dryer) and will not weigh you down as a garment. I bought mine at Wool & Company, and they wound all 7 skeins for free! (US shipping is free too, for any order!)
I was interested in this yarn because it is spun in Harrisville, New Hampshire, near where I used to live! The wool comes from Wyoming ?, is spun in NH, and then dyed in another part of the US, so it is totally American made.
Oxbow sleeve knitting in progress
Knitting the Oxbow Sleeves
This is only my third sweater knitting project, (see Fine Sand and Umpqua) if you don’t count the little Popover for a child (I didn’t like that one either). So I am nowhere near being a sweater-knitting expert.
My first mistake was at the beginning, when I used the larger needles to cast on and knit the ribbing. I was supposed to use the smaller size.
Because my gauge swatch was telling me to go up a needle size, and I couldn’t find (and didn’t really want) larger needles, I decided to knit the sweater one size larger. Is that a good idea? I don’t know.
So I began my sleeve. Once the increases happened I got confused. Other knitters had questions too. I know because I saw them on Ravelry. As I knit along trying to figure out what to do with the pattern as the increases were made, I finally figured it out, but not before I made the underside of the sleeve look icky.
Making increases on the sleeves
Figuring Out The Sleeve Increases
This information may help you, if you decide to try this pattern. The problem arises when you come to the increase rows.
I added markers to show where the increase area was. The orange marker shows the BOR. Each time I would work a round I would count backwards – in pattern – from the original beginning (where I also placed a marker) to start the pattern from the BOR. Nothing in the directions advises this! You have to wing it.
I didn’t figure this out for a while, so my underarm of the sleeve is a bit messed up. This part will be towards my body and not easily seen. (The pattern simply says to make increases and knit in pattern. Ya, the directions are not impressive.) I did do better on sleeve #2.
Mistakes are apparent on the underside of my first sleeve
Sleeves Get Long!
My sleeve also began to get really long before I was done with making my increases! So I decided to go back and follow the next smaller size directions. If I had tried to get all the increases made my sleeves would have been way too long! (I saw comments on this same problem from other knitters). As it is, the sleeve is still a little longer, which is always better than too short!
One sleeve finished
The Oxbow repeat pattern is nice and makes a fluffy texture, but it’s not all that easy to follow. It’s an easy enough pattern with 2 row repeats, it’s just not easy to keep track of the rows. What I did was use the orange clip marker to give me reference for inches (length) and then I could pay attention to the pattern better.
On To the Body and Decreases
Now I have knit the body of the Oxbow sweater to the decrease section. Wow, all I can say is really read through all the info before you begin. Basically it comes down to knitting in the pattern, but adding decreases at each end of the row (every so many rows, depending on size).
I am knitting the size “Women 42” for a good bit of ease. Once I got to the body and neck and yoke decreases, I faltered. I set the sweater aside until I could concentrate and really figure out what to do. THIS IS NOT AN EASY KNIT! Also not something to set aside for long in fear I will forget what I was doing and have to re-read it all again!
The directions are not easy to understand and I can only hope I will finish this and have it be wearable. The designer talks like this is the simplest sweater ever to make ….. and gee, why not whip one up for every family member? NOT! If I get through this one, I doubt I will ever make another. I’m just being honest here, whereas I have my doubts about some reviews I’ve read.
Knitting progress on the Oxbow
For now, this sweater is on hold. I’m partway done with the body and have two sleeves completed. I do plan to finish it, but currently I’m on a mitten-knitting kick. So I’m publishing this post and will update it when I finally finish this hellish sweater knitting project.
Oxbow Frogging Complete!
Every time I would pass by the knitting bag holding the Oxbow sweater, I would feel pressure to get working on it. But I didn’t want to. When I did get it out, I had difficulty finding where the heck I was in the pattern. I was at a decrease every 5 rows, while doing the 4 row repeat with knits and purls done at such and such and P2tog or SSK done at here and here…. Just reading it was mind boggling. Sorry, but I think it was a very lazy way to write a pattern.
I contemplated all my work – 2 sleeves done and about halfway up the body. But tearing it out made me feel calmer than pressing onward. So I frogged it. Now I have tons of Quarry yarn and must find another sweater to knit. (Eventually I knit one by Espace Tricot). But today I feel good, and will no longer see this sweater sitting around driving me crazy!
Knitting a simple wool chair pad to use up some heavy weight and worsted wool. This DIY pattern uses Fair Isle, colorwork that is simple and can easily be changed.
Five cozy scarf patterns to begin knitting this Fall. Keep for yourself or give to friends and family. The selection has small and long scarves, with many free patterns included.