New Knitting Project: Color-work Pullover Pattern

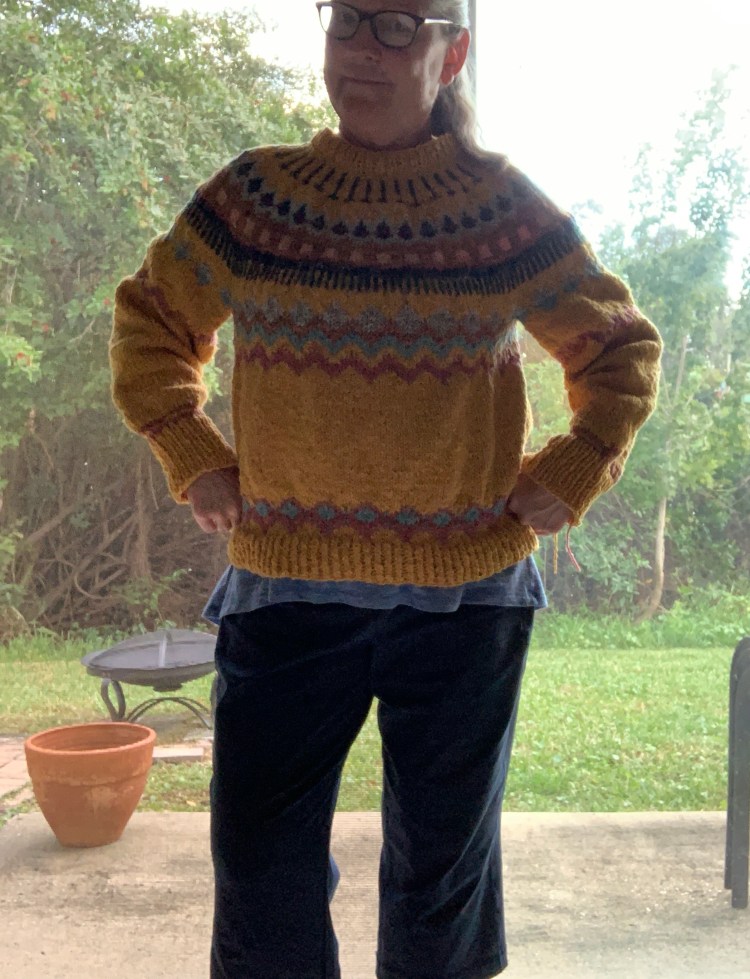
My next big knitting project for 2021 will be a colorwork, or Fair Isle, pullover sweater. I’ve been searching the internet and Ravelry for some ideas and now it’s time to narrow down the selections. It’s taken me months to write this post, and it’s already September, so I’ve already begun two sweaters (see below), and plan to make a third.

Hooked on Colorwork, Fair Isle Knitting

After knitting for a few years, I have decided that I really like colorwork knitting. Now that I have a couple of hats (Katie’s Kep), mittens, and fingerless mitts (Stellar Parallax) under my belt, I feel that a sweater is what I need to knit next. Once a year I need to make myself a sweater. This will really be sweater number two, after the Cobblestone, but the Cobblestone was not colorwork.

A Word About Steeking

A colorwork, or Fair Isle, sweater must be a pullover because a cardigan requires steeking. Once the sweater is knit, it is cut up the front to create the cardigan. Yikes, I am not ready for that yet.

Three Patterns For the Price of Two – Jennifer Steingass

Jennifer Steingass is a knitwear designer who offers lots of colorwork pullover patterns to knit. Also, she is currently (at the time I wrote this) selling her patterns at three for the price of two, or buy 2 get 1 free.

Because I have some Istex Lettlopi yarn on the way to my house from Iceland (that is so cool – LOL), I chose the following patterns to purchase. I’ve decided to knit with aran, or worsted, weight yarn for my next sweater. The links below go to Ravelry.

But beware… or be aware… not all of her color-work patterns are Fair Isle (using only 2 colors at one time), as some of them require three colors to be carried along one row of knitting. Of course, I can stay with two colors if I want and ignore adding a third. I find that trying to work with more than two colors can be annoying. I ran into that while knitting a few of the rows for the “Marshland” sweater.

Knitting Sweaters: On the Needles

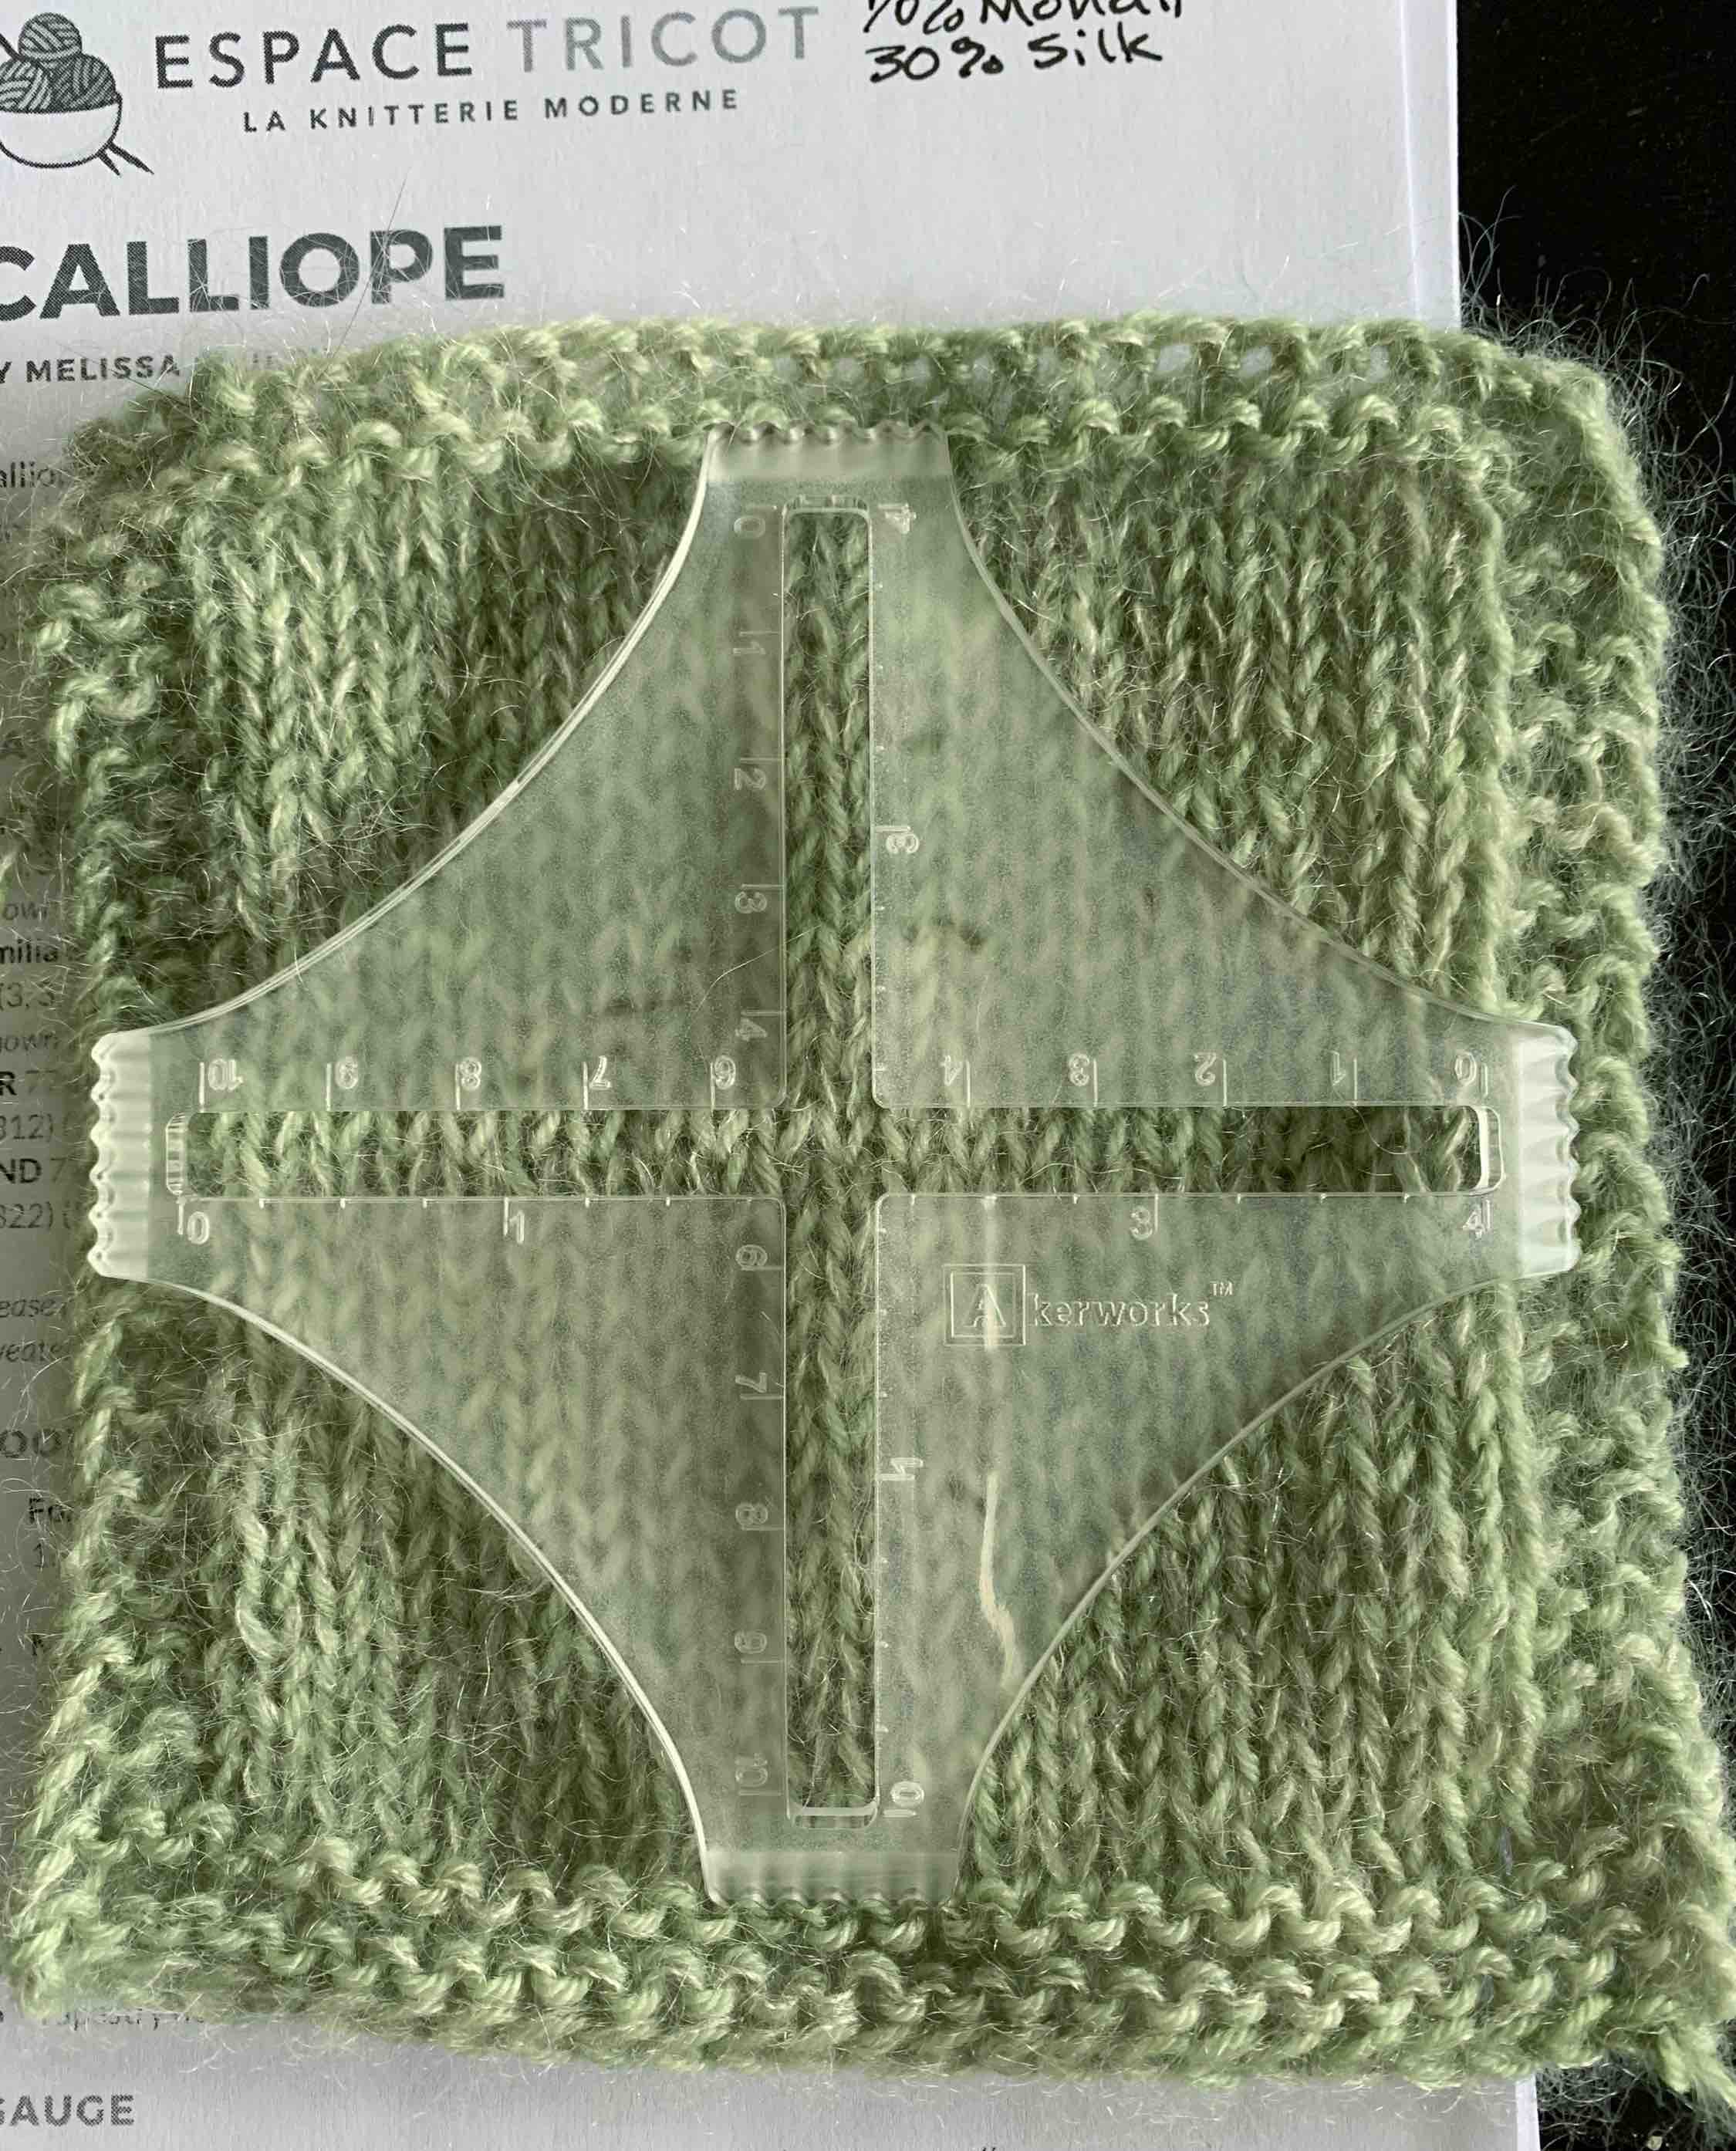
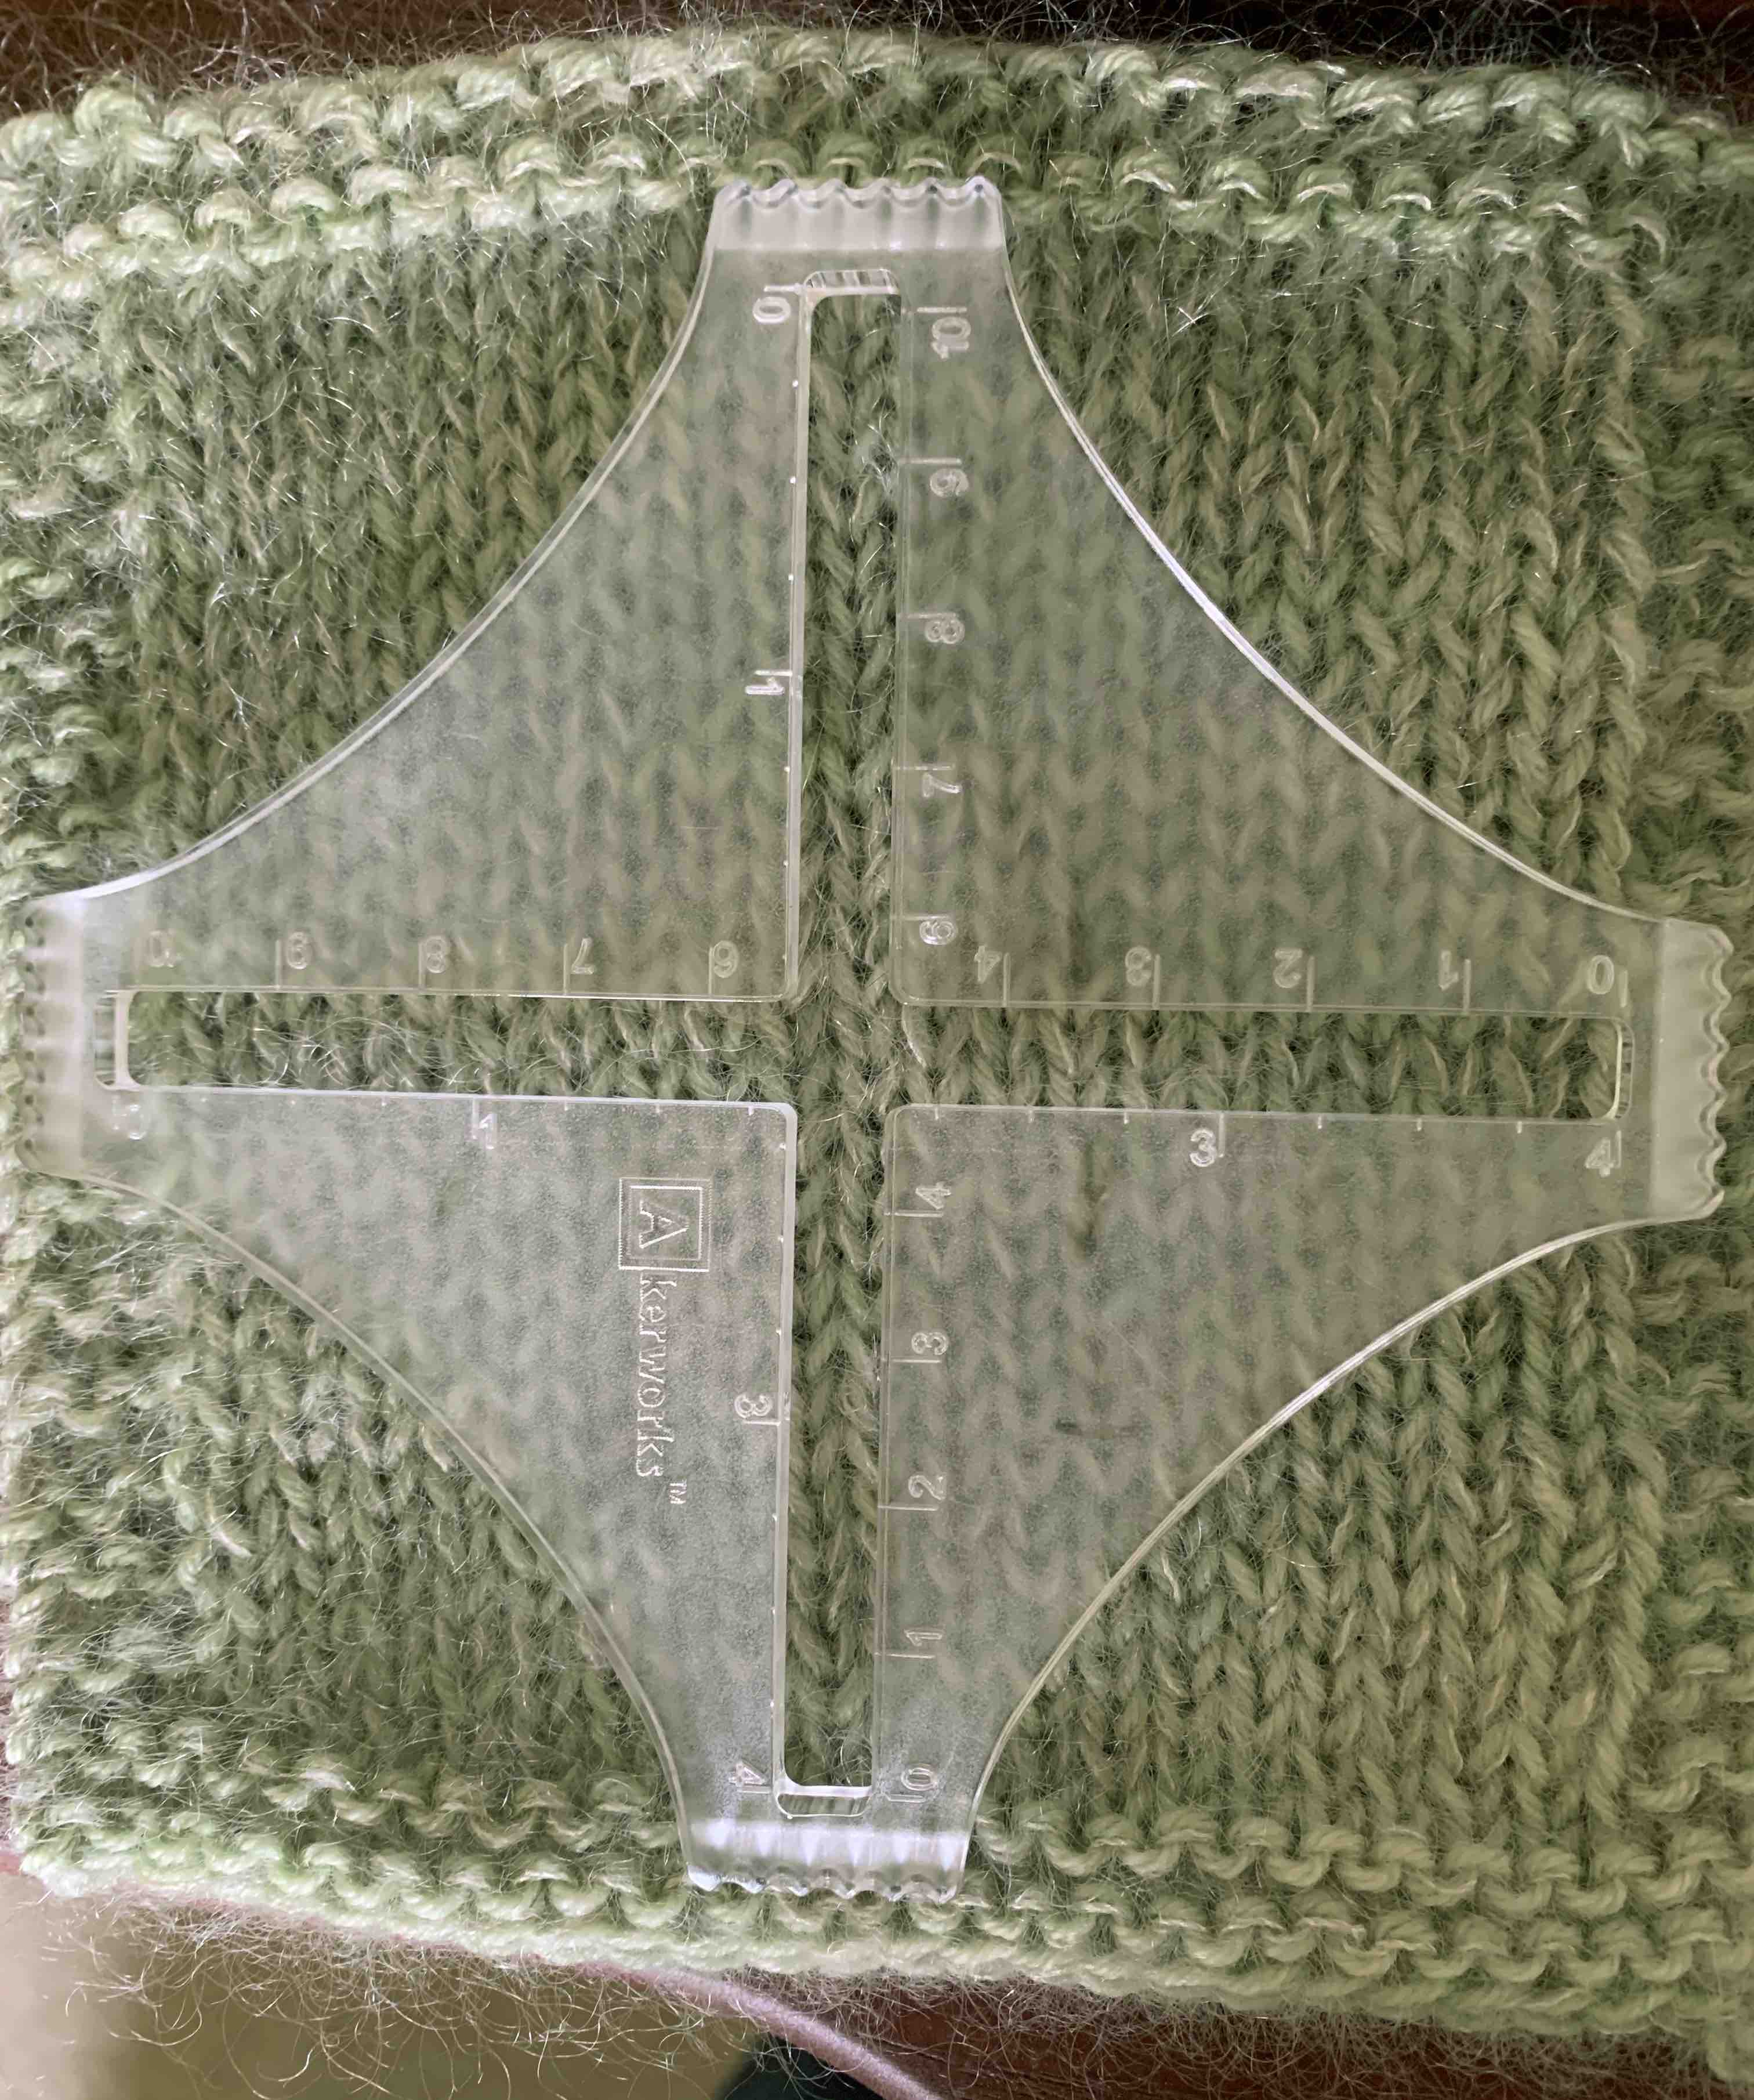
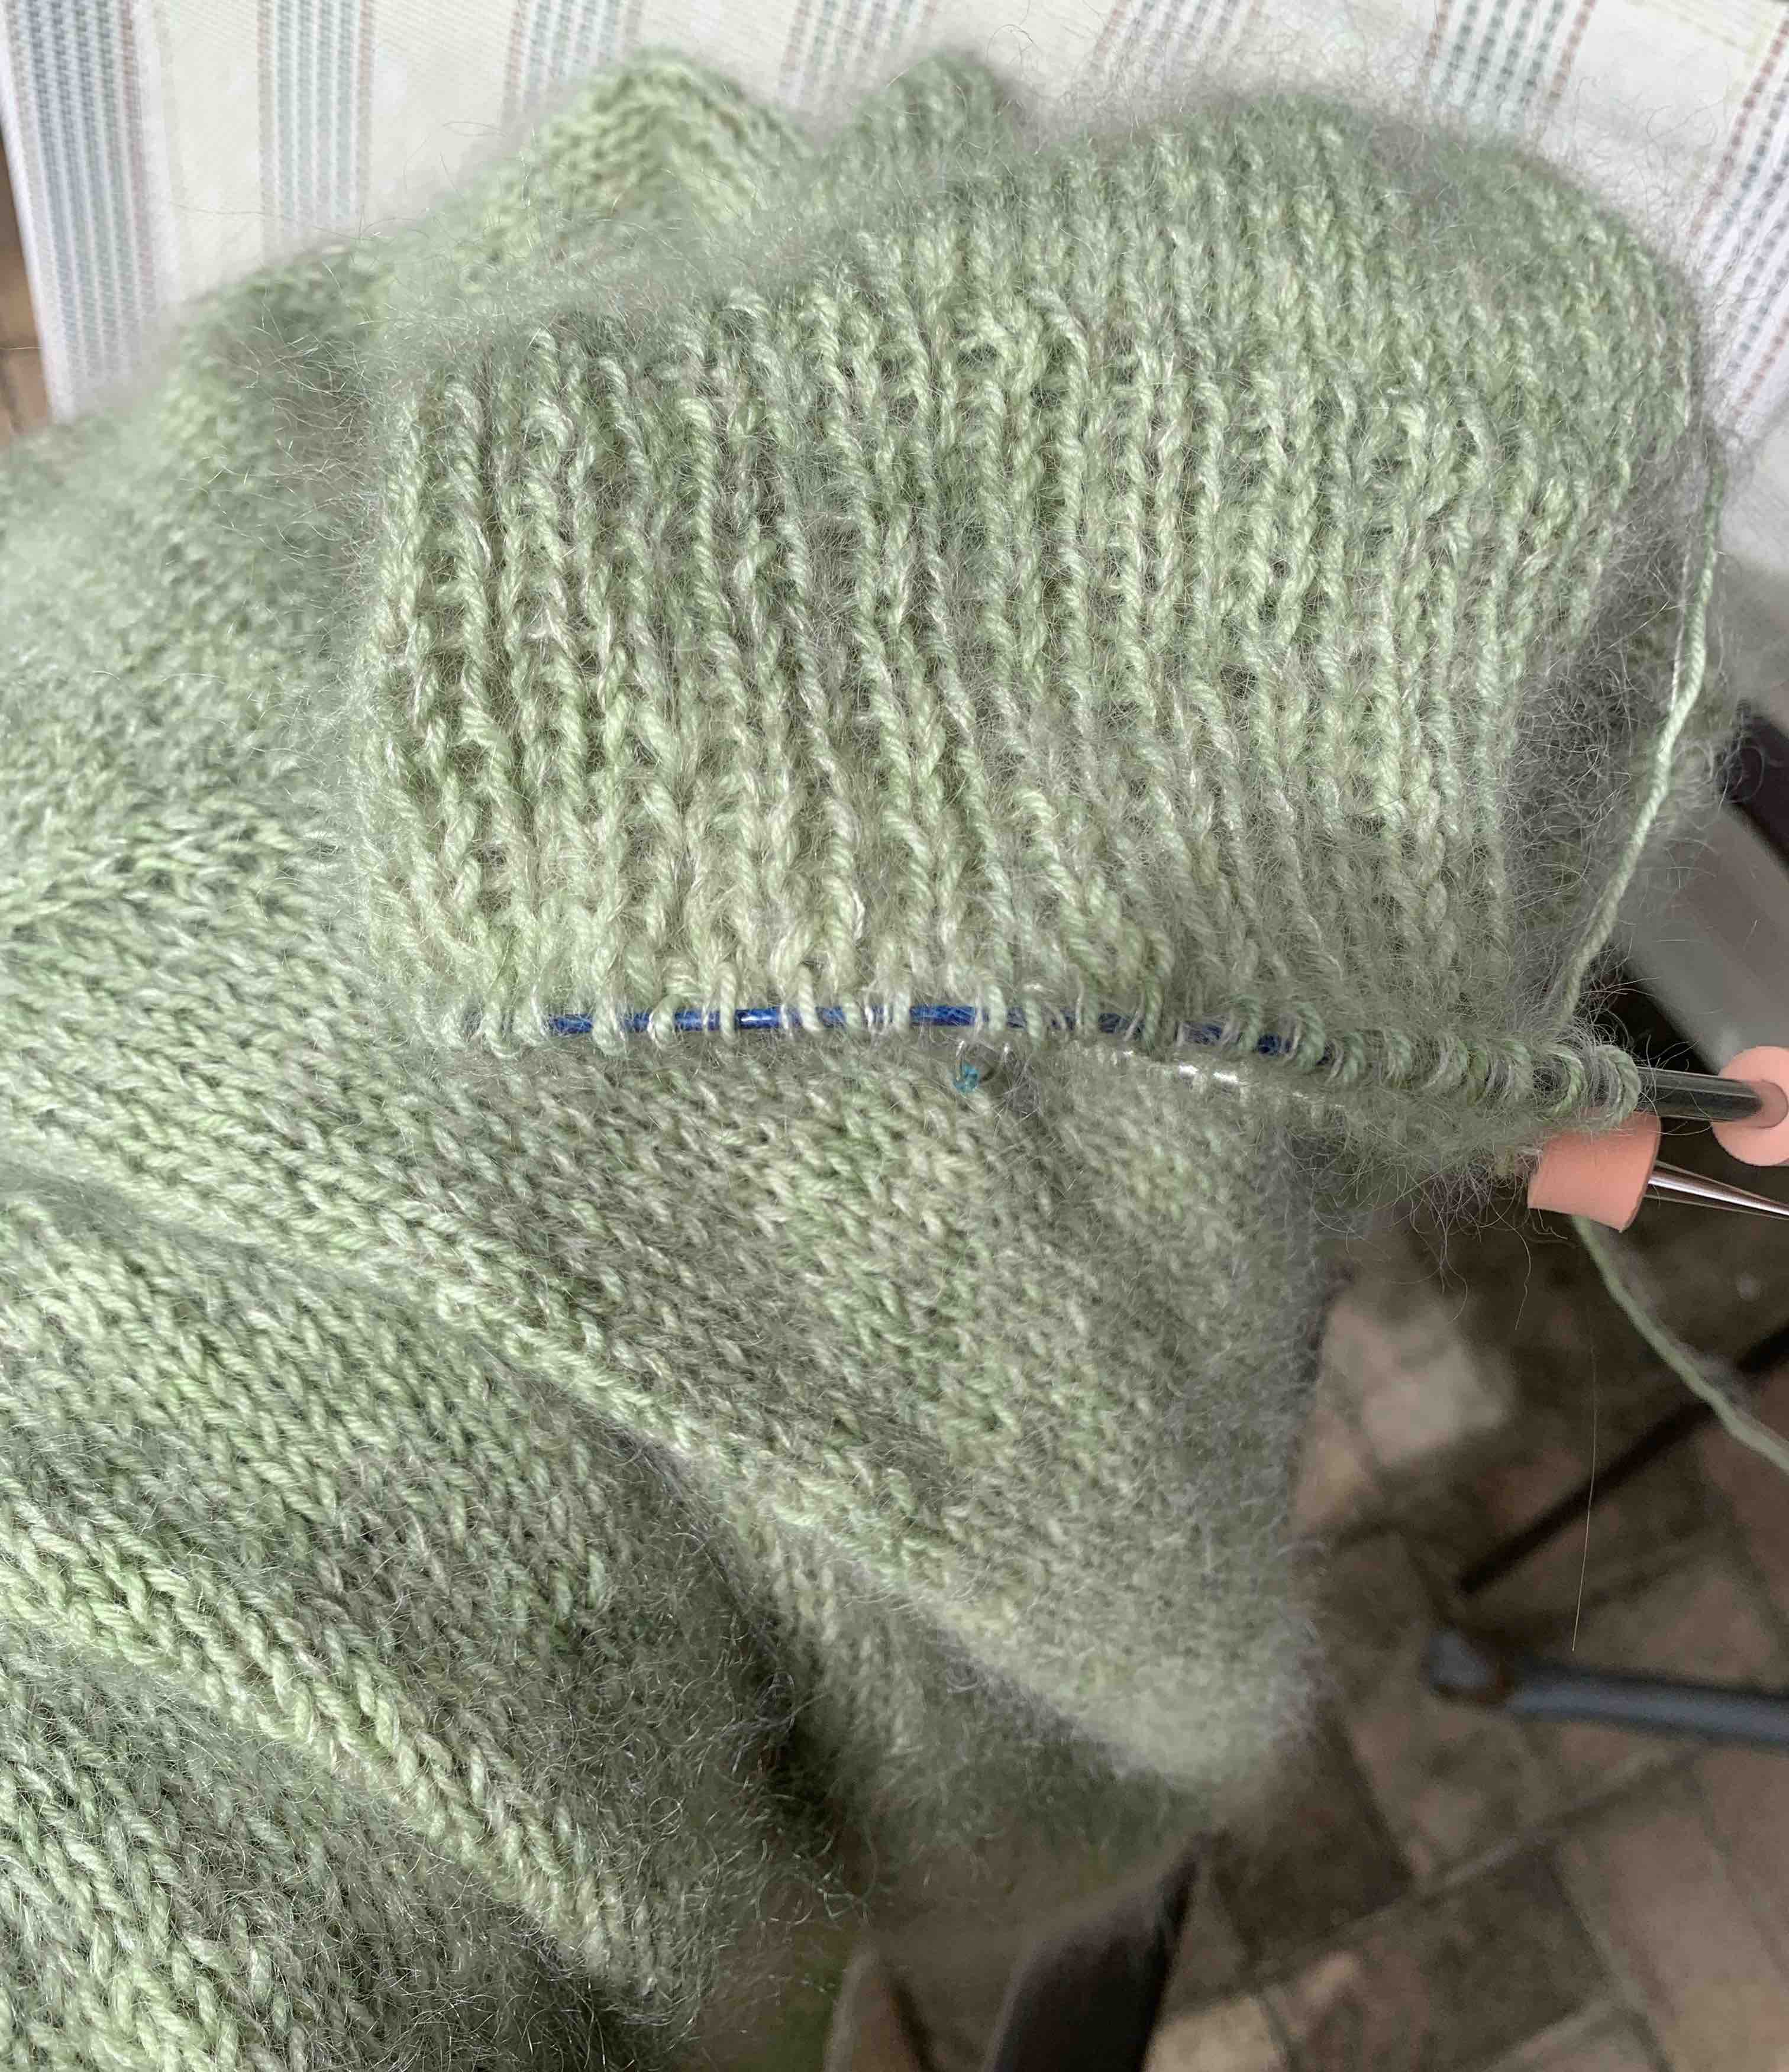
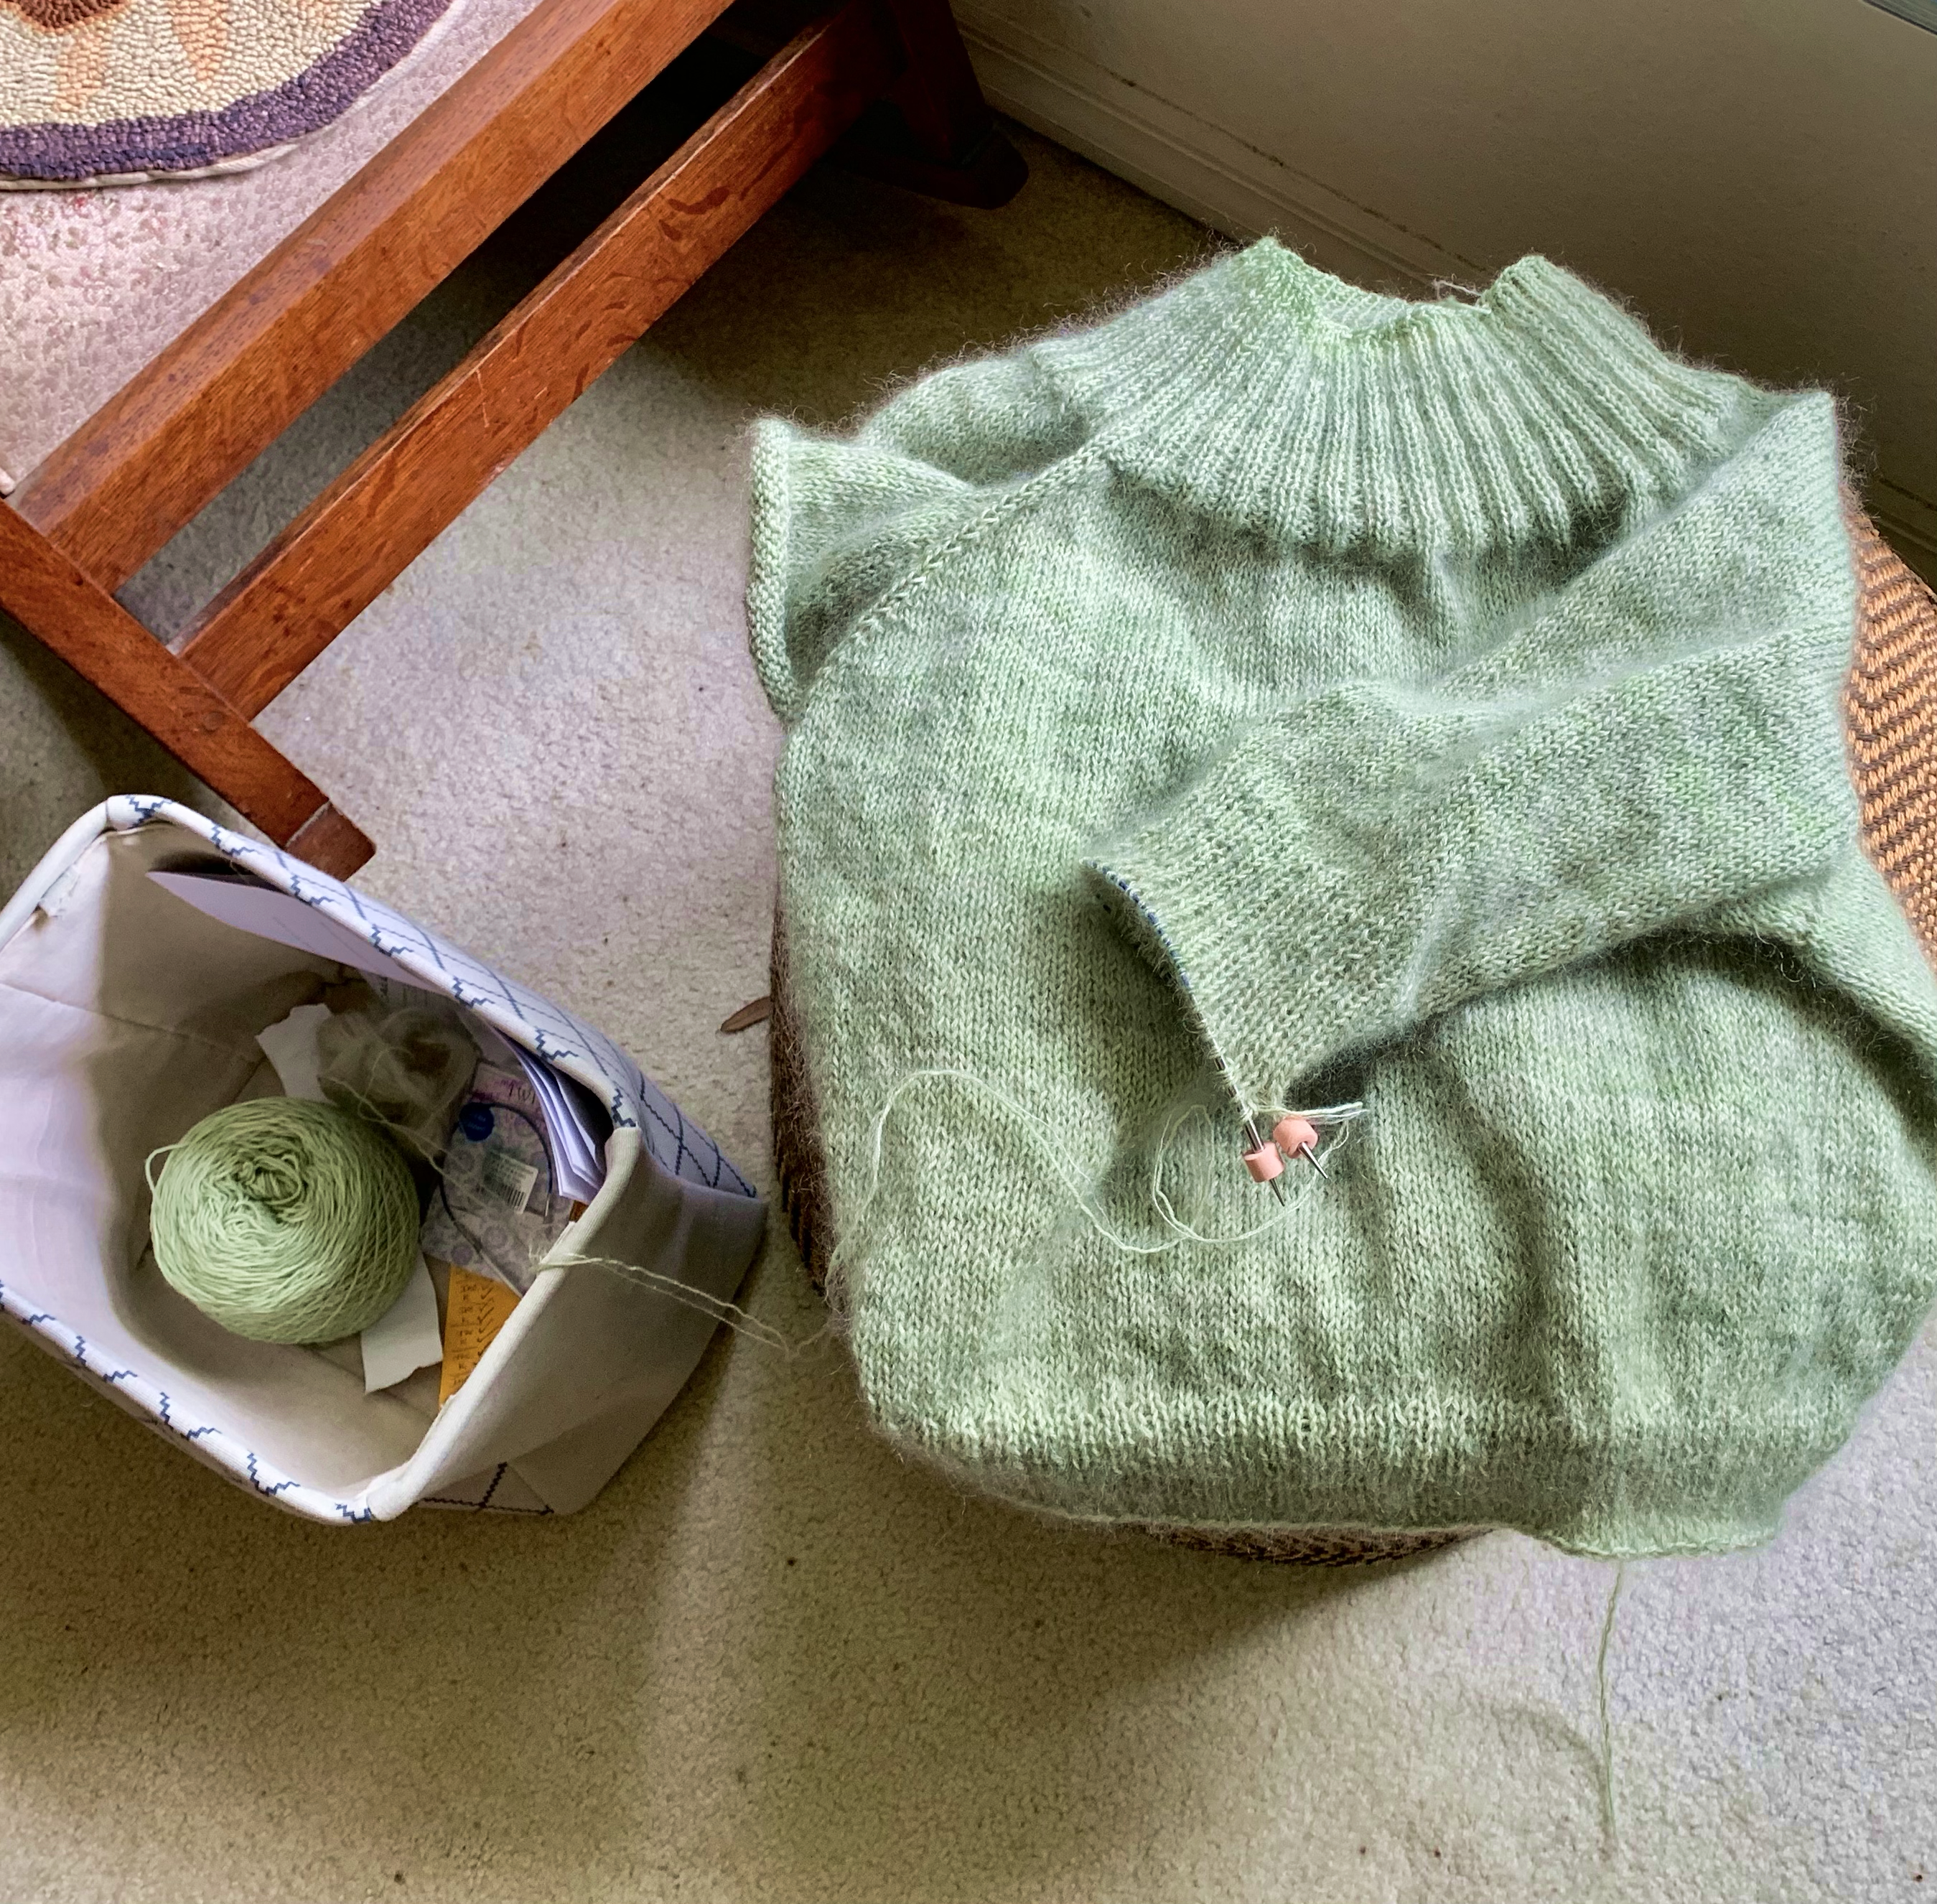
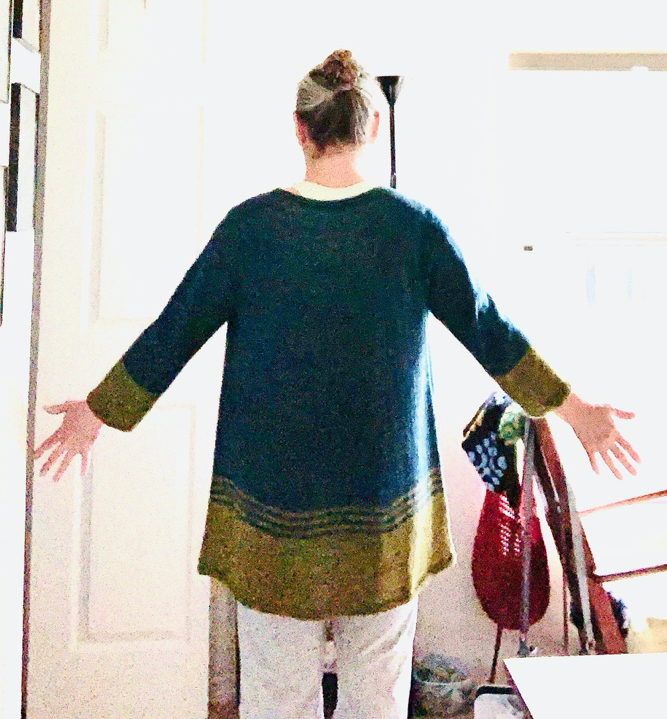
Right now I am knitting two sweaters while I wait for my Lettlopi yarn to arrive. Below is my green Calliope and colorwork Meadow Moon.


Marie Wallin’s Fair Isle Patterns

One of the first sweater patterns I saw at Ravelry was Marie Wallin’s Lovage. It is part of her Windswept Collection but the pattern can be purchased separately at Ravelry for approximately $8.87 US (at current writing). I’ve looked through the comments from knitters of this sweater and some people have had trouble. There is a lot of stranded knitting at the entire top and part of the sleeves. Then there is some braided work down the rest of the sleeve. It’s very pretty, but might be too difficult for me.

She also has a Meadow Collection and I love the Nigella Fair Isle pullover pattern, but wow, what a big project. It’s worth checking out her Free Patterns section too.

Sweaters Knit by Me

At the beginning of the year (2021)I knit the Cobblestone Cardigan and took it up to New Hampshire with me. I wore that sweater nearly every day! It’s big and soft and cozy. I won’t get the chance to wear it, or any sweater, until I can travel north.

Each time I knit a sweater, I learn a bit more. From the type of yarn, style, pattern writing, fit and mistakes to how much I like, or dislike, the end product. I’ve only knit five sweaters, one is a child’s size, two are pullovers and three are cardigans. I like cardigans best for wearing, although living in Florida means I seldom get to wear any type of sweater.

Each time I knit a sweater, or other item, I find more yarn I love. I keep it in mind for any upcoming projects. Each image below has a link at the bottom.

I’ve learned that I like knitting with wool and don’t like washable yarn. I’ve discovered what “pooling” is – see the Umpqua sweater, which I really dislike for many reasons, but it was my very first sweater! I knew literally nothing about sweater knitting. I will probably frog it at some point to re-use the yarn.

Sock yarn should be used for socks, IMO because when I want a sweater, I want it to be warm and cozy. Wool and natural fibers, tend to be cheaper also. I like that I know where the sheep / animals lived who provided it!

I Want to Travel to Cooler Locations!

I’d love to leave the state of Florida more often. I dislike living here, and there is so much of the US I have not seen.

After being unable to travel due to the Covid restrictions, which seem to drag on and on, I have decided I will not count on airplane travel any longer. Wearing a mask through the airport, on the plane and through a second airport, was very uncomfortable. I understand the concern, but the restrictions kept me from seeing two of my kids for over two years. This is unacceptable.

We will be buying an RV of some kind to make travel easier. I have cats and they will need to come along. But the most exciting thing is that we will be able to visit cooler locations. Then, I can wear my sweaters, hats, cowls, and mitts! I long for this.

Knitting The Stellar Parallax Mitts by Bunnymuff

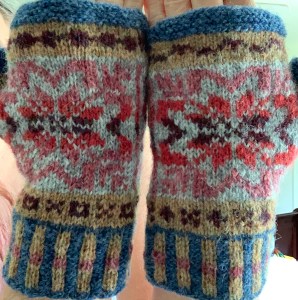
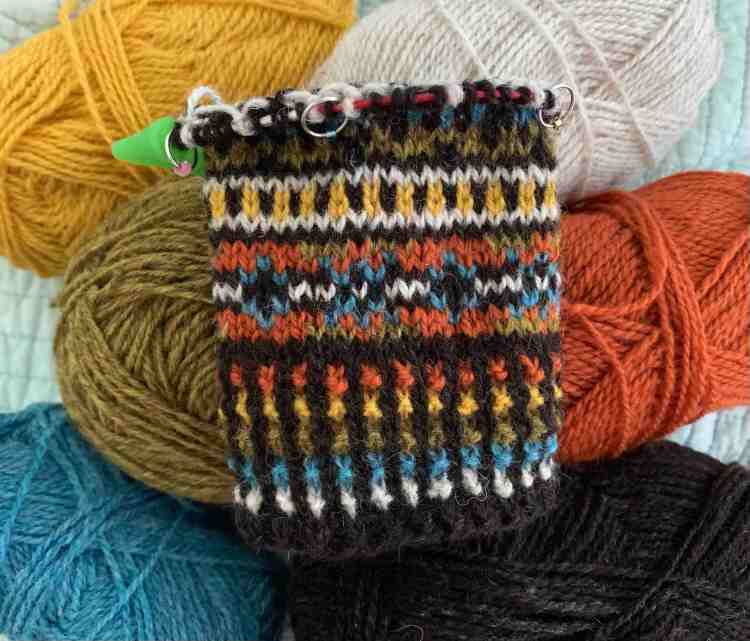
After knitting stockinette for days on my Calliope sweater, I felt that I needed a color-work challenge. Mona Zillah aka Bunnymuff has a pretty pattern done in Fair Isle, stranded knitting. The pattern is called Stellar Parallax and you get two patterns for the price of one as it includes directions for a hat and mitts. I’m knitting the fingerless mitts first.

The Wool Yarn

I am knitting with wool yarn which I have in my stash and it includes Rauma (orange and yellow), Tukuwool (green), and Jamieson & Smith 2-ply (blue) and J&S Shetland Supreme (black- dark brown – and white-undyed). The only problem I had was with the dark brown yarn which would occasionally become very thin in places as I knit. All the other colors were very consistent.

A New Way to Knit Corrugated Rib

I was unsure of what needle size to use. My first cuff was knit with a size 3US which is bigger than the pattern suggest. It turned out to be too large around so I began again with a size 2US .

Size 2 US used for all of knitting (9-inch circular needle) except for top of hand and thumb ribbing when I used size 1.5 DPNs.

First, I did the cast-on and ribbing as I usually do corrugated rib. And it looked like this (photo left below). The cuff was too large, so I began again with a smaller needle and followed Mona’s directions (photo right).

One Mitt is Finished

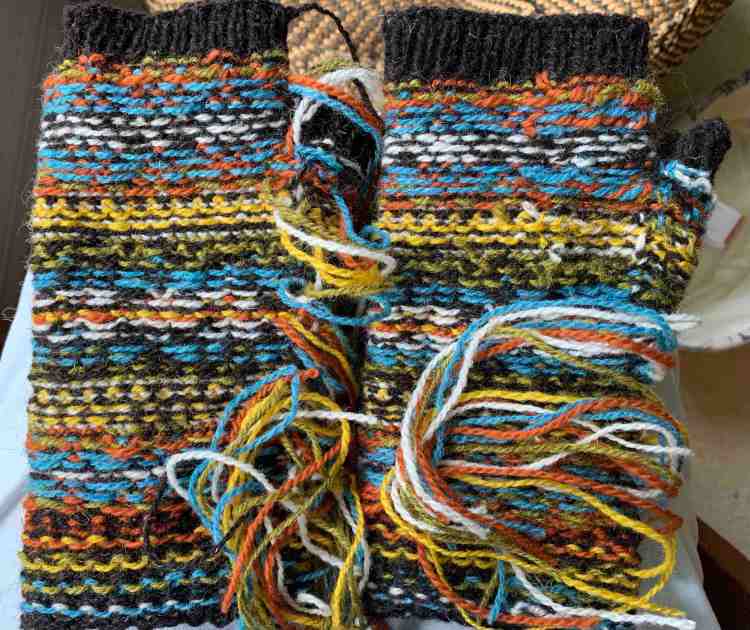
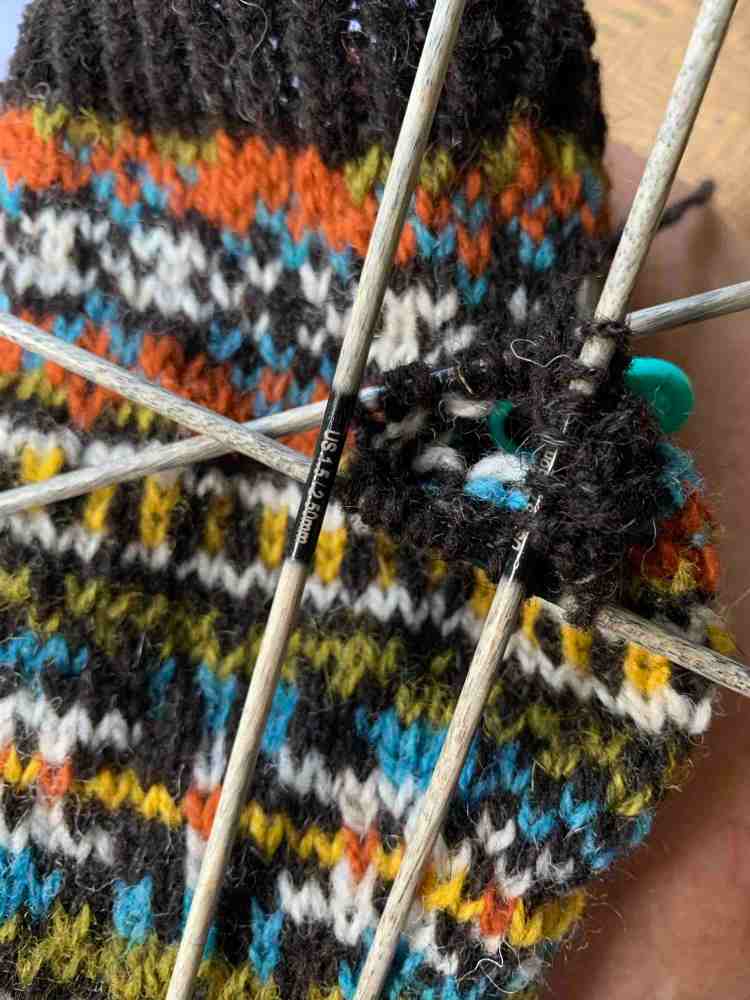
On September 4th I finished my first mitt. All that’s left is the weaving in of ends, which will be a big job. I took some photos while knitting the ribbing at the top of the hand with the thumb stitches on hold.

The whole mitt was knit with size 2 needles until the ribbing. I used size 1.5 to finish off the ribbing on the hand, and then I used the 1.5 for the thumb. I don’t like the Hiya Hiya set of three needles, so I bought some wooden DPNs to use for the second mitt – they are Lykke brand and are beautiful.

Ending Notes on Knitting the Stellar Parallax Mitts Pattern

I enjoyed knitting this pattern by Bunnymuff (link goes to her Ravelry store). She has a lot of colorwork patterns that I love, but she also creates patterns that require steeking – which I’ve never done. Steeking, in case you don’t know, is required when knitting colorwork sweaters that will become cardigans. Because Fair Isle knitting is done in the round, the sweater opening has to be created afterward. It all seems quite scary to me because you must cut up through your knitting! Yikes… I plan to learn it one day, but I’ll have to be in the mood. So I’m sticking with more simple colorwork projects for now.

black cat, knitting basket, fontana
Fontana checks out the knitting basket

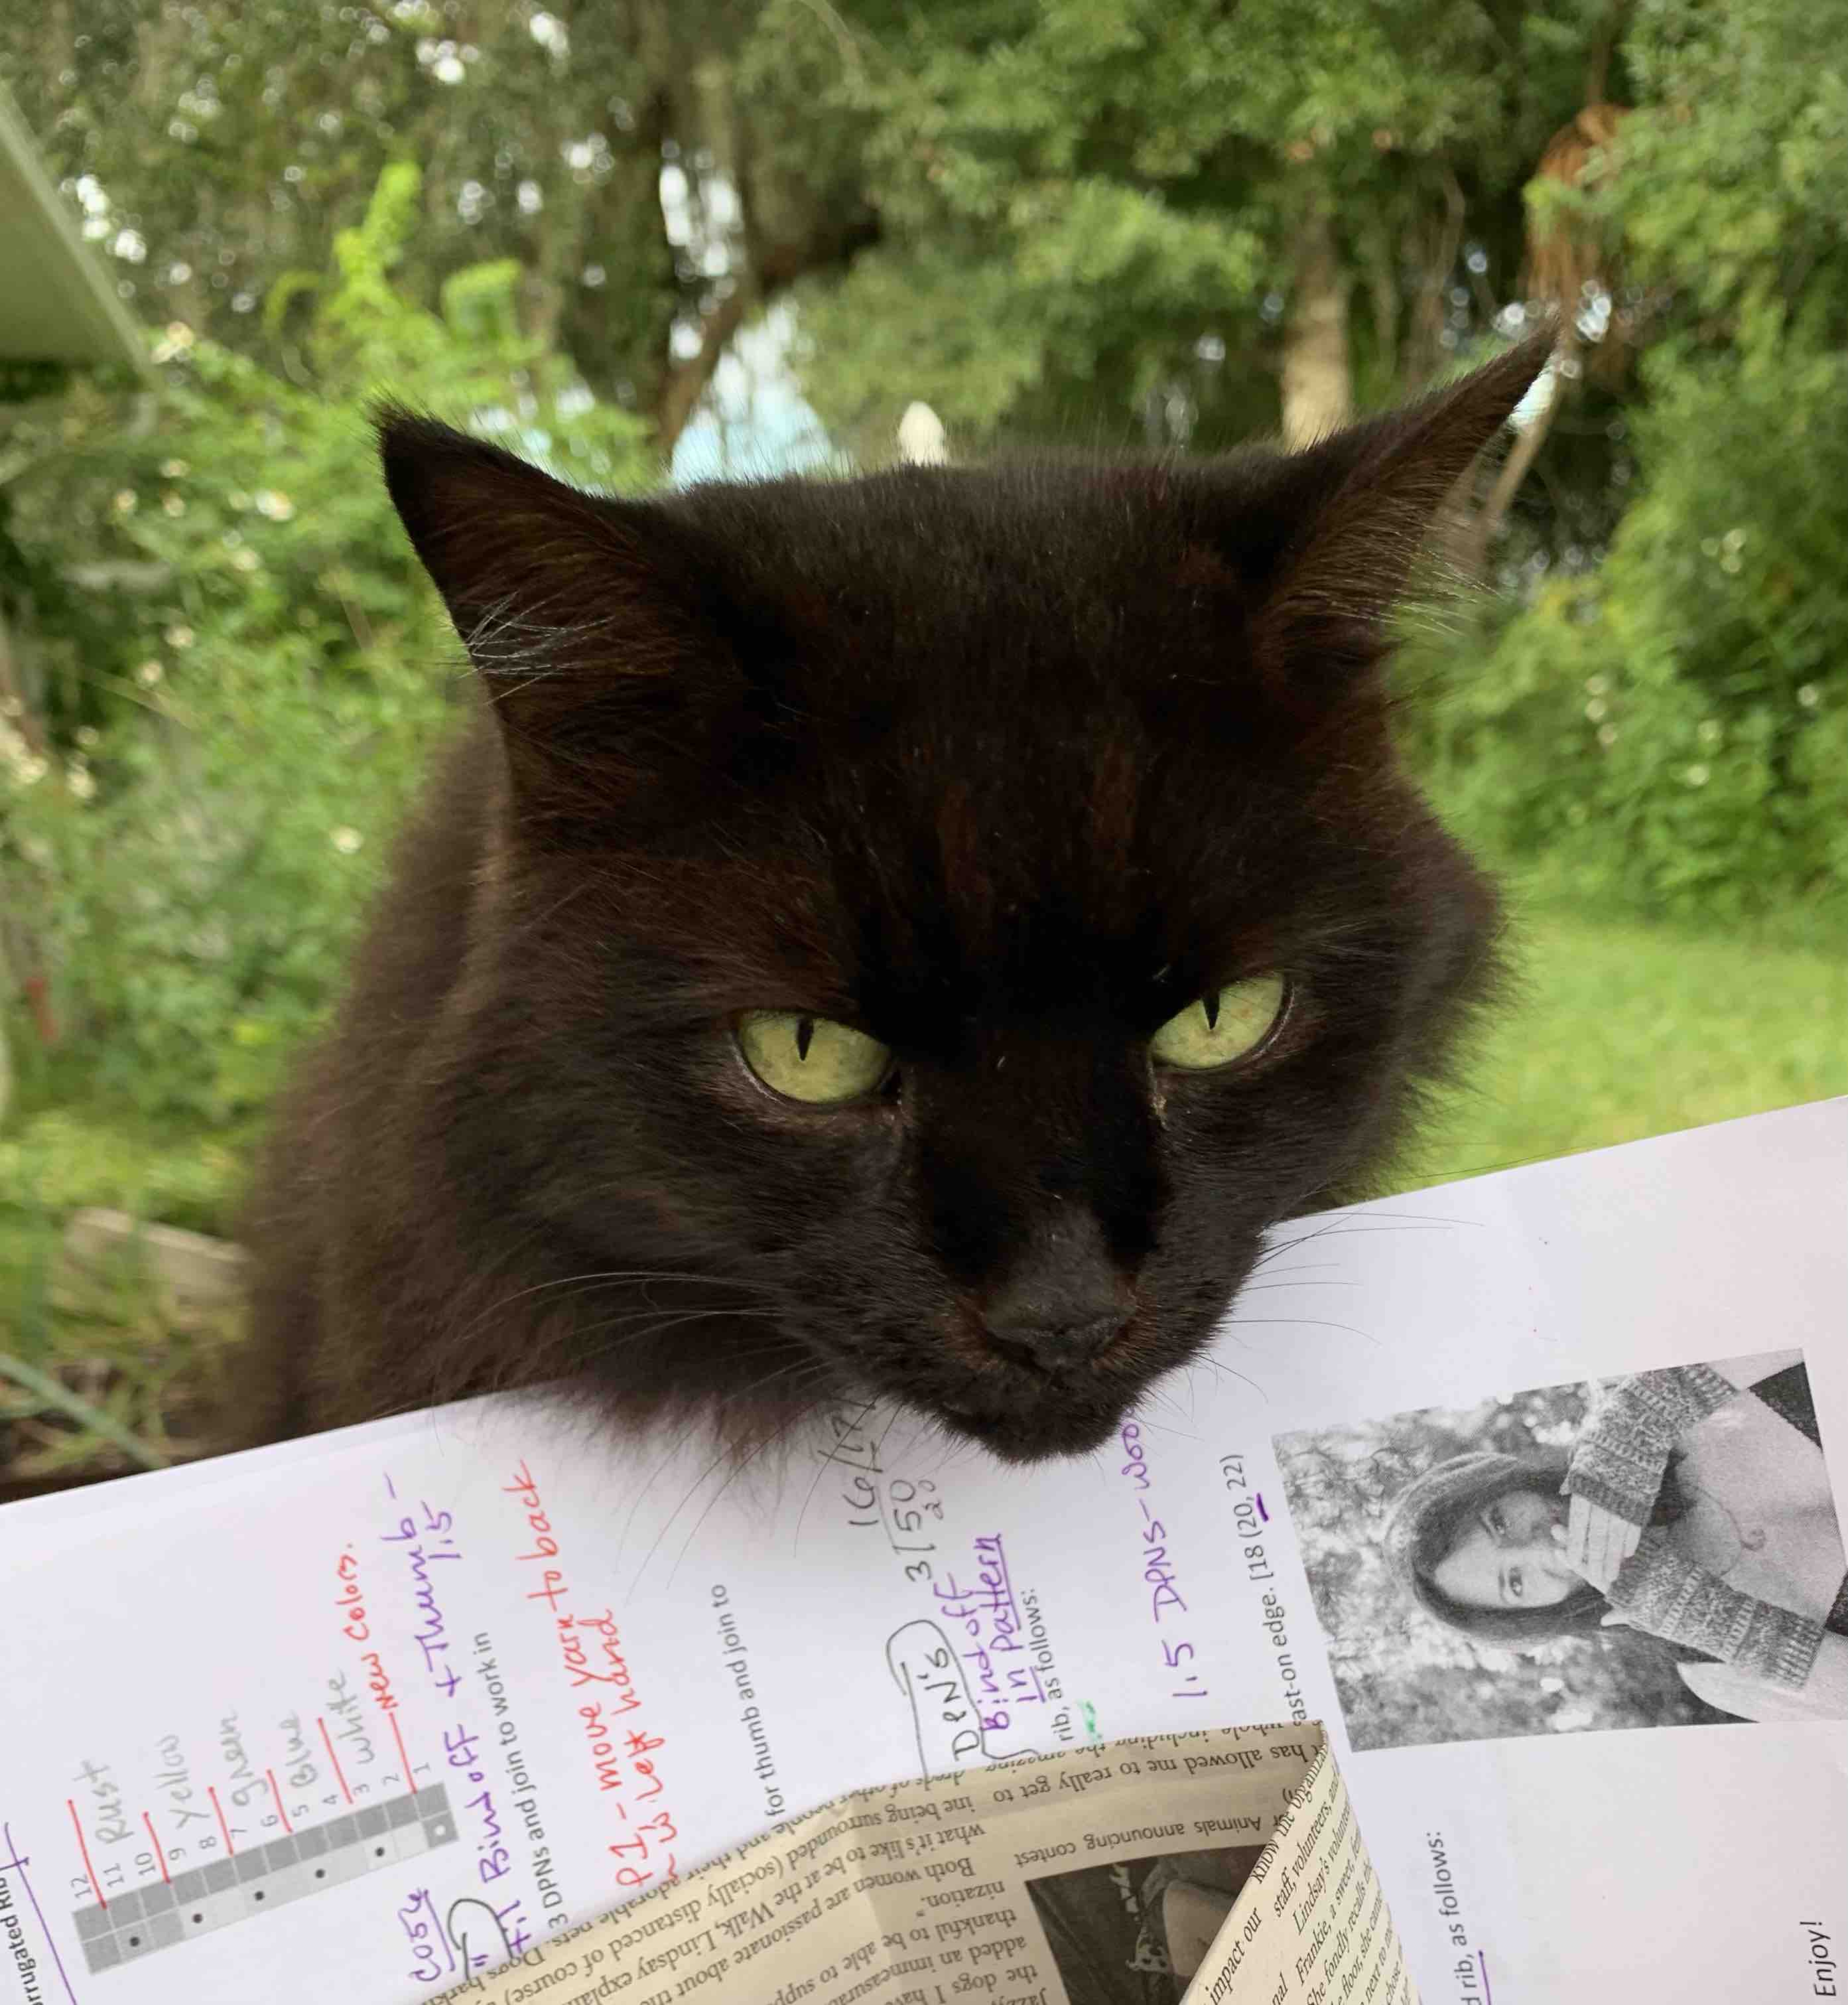
As I’ve said, I really liked knitting this pattern and it didn’t take long to finish the knitting. The weaving of ends is another story! I tried to carry the yarn colors more on the second mitt, to keep ends at a minimum, but it didn’t help much. It also didn’t help that Fontana, my cat, would insist on jumping into my lap while I tried to keep all my balls of yarn organized….!! How do cats always know to bother us when we are the busiest? Oh well, in the end, it’s all worth it.

Buying the new set of DPNs, Lykke brand (this is an affiliate link to Amazon), size 1.5 US, made a huge difference when completing the top ribbing for the hand and thumb.

I have yet to wash the mitts because I am still weaving in ends! It’s never-ending, but I love the look of the mitts, which fit perfectly. I’m happy with my color choices and I learned a new way to knit corrugated ribbing. I’ll have to begin the hat part of this pattern soon before I forget where I put all my matching yarn.

Boot Cuffs Knit in Myak Yarn

Mat my daughter’s request, I have begun to knit boot cuffs. Last year I knit some cabled cuffs in brown yarn, but she says they are too loose.

Now I have knit a new pair of cuffs which does not have a pattern, but I will write on this post how I made them.

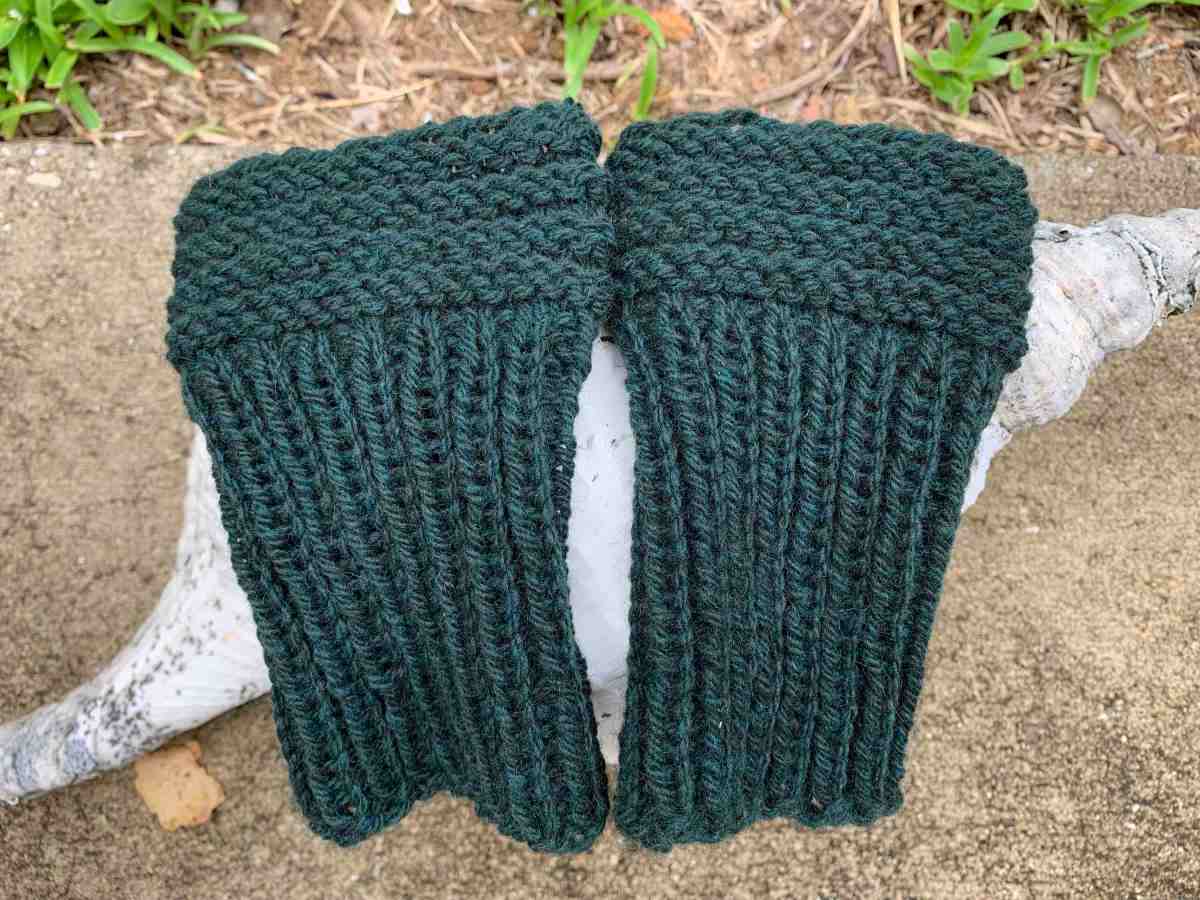
boot cuffs knit in Myak yarn color Moss
Boot cuffs done- unwashed! Yup, that’s a big seashell.

Quick Boot Cuffs Pattern

I don’t have a gauge to report, and since I was trying to make these fit my daughter’s small legs, it was trial and error. After my third try, this size seems to be okay. I won’t know for sure until she receives them and tries them on with her jeans and boots.

This is how I knit the boot cuffs pictured on this page, which are small – like teen girl size. It will depend on the type of yarn used also – is it stretchy? Are you a tight knitter like I am? To make them bigger, cast on more stitches by 2’s. In other words, it’s a bit of trial and error.

  • Using a size 6 US circular (9-inch) needle, cast on 34 stitches and join in the round. (DPN’s work too)
  • Do a 1×1 rib (knit one, purl one) for approximately four inches – or to desired length
  • When the vertical ribbing is done, knit one row around.
  • Next, Purl 2 rows, Knit 2 rows 4 times, or more if the top needs to be longer.
  • Bind off loosely

The loose bind off I used was a combination of the stretchy bind-off shown on Andrea Mowry’s video and a regular bind-off. I do one stretchy, with the extra yarn over, then a regular bind off – around.

The Yarn

The yarn used is Myak and I have to say it is the most beautiful yarn I think I’ve ever used. First of all, I LOVE that color, which is “Moss”. I really hated to use it for something like boot cuffs, but my daughter will take good care of them and not much yarn was used. I could actually make her a hat or scarf to match.
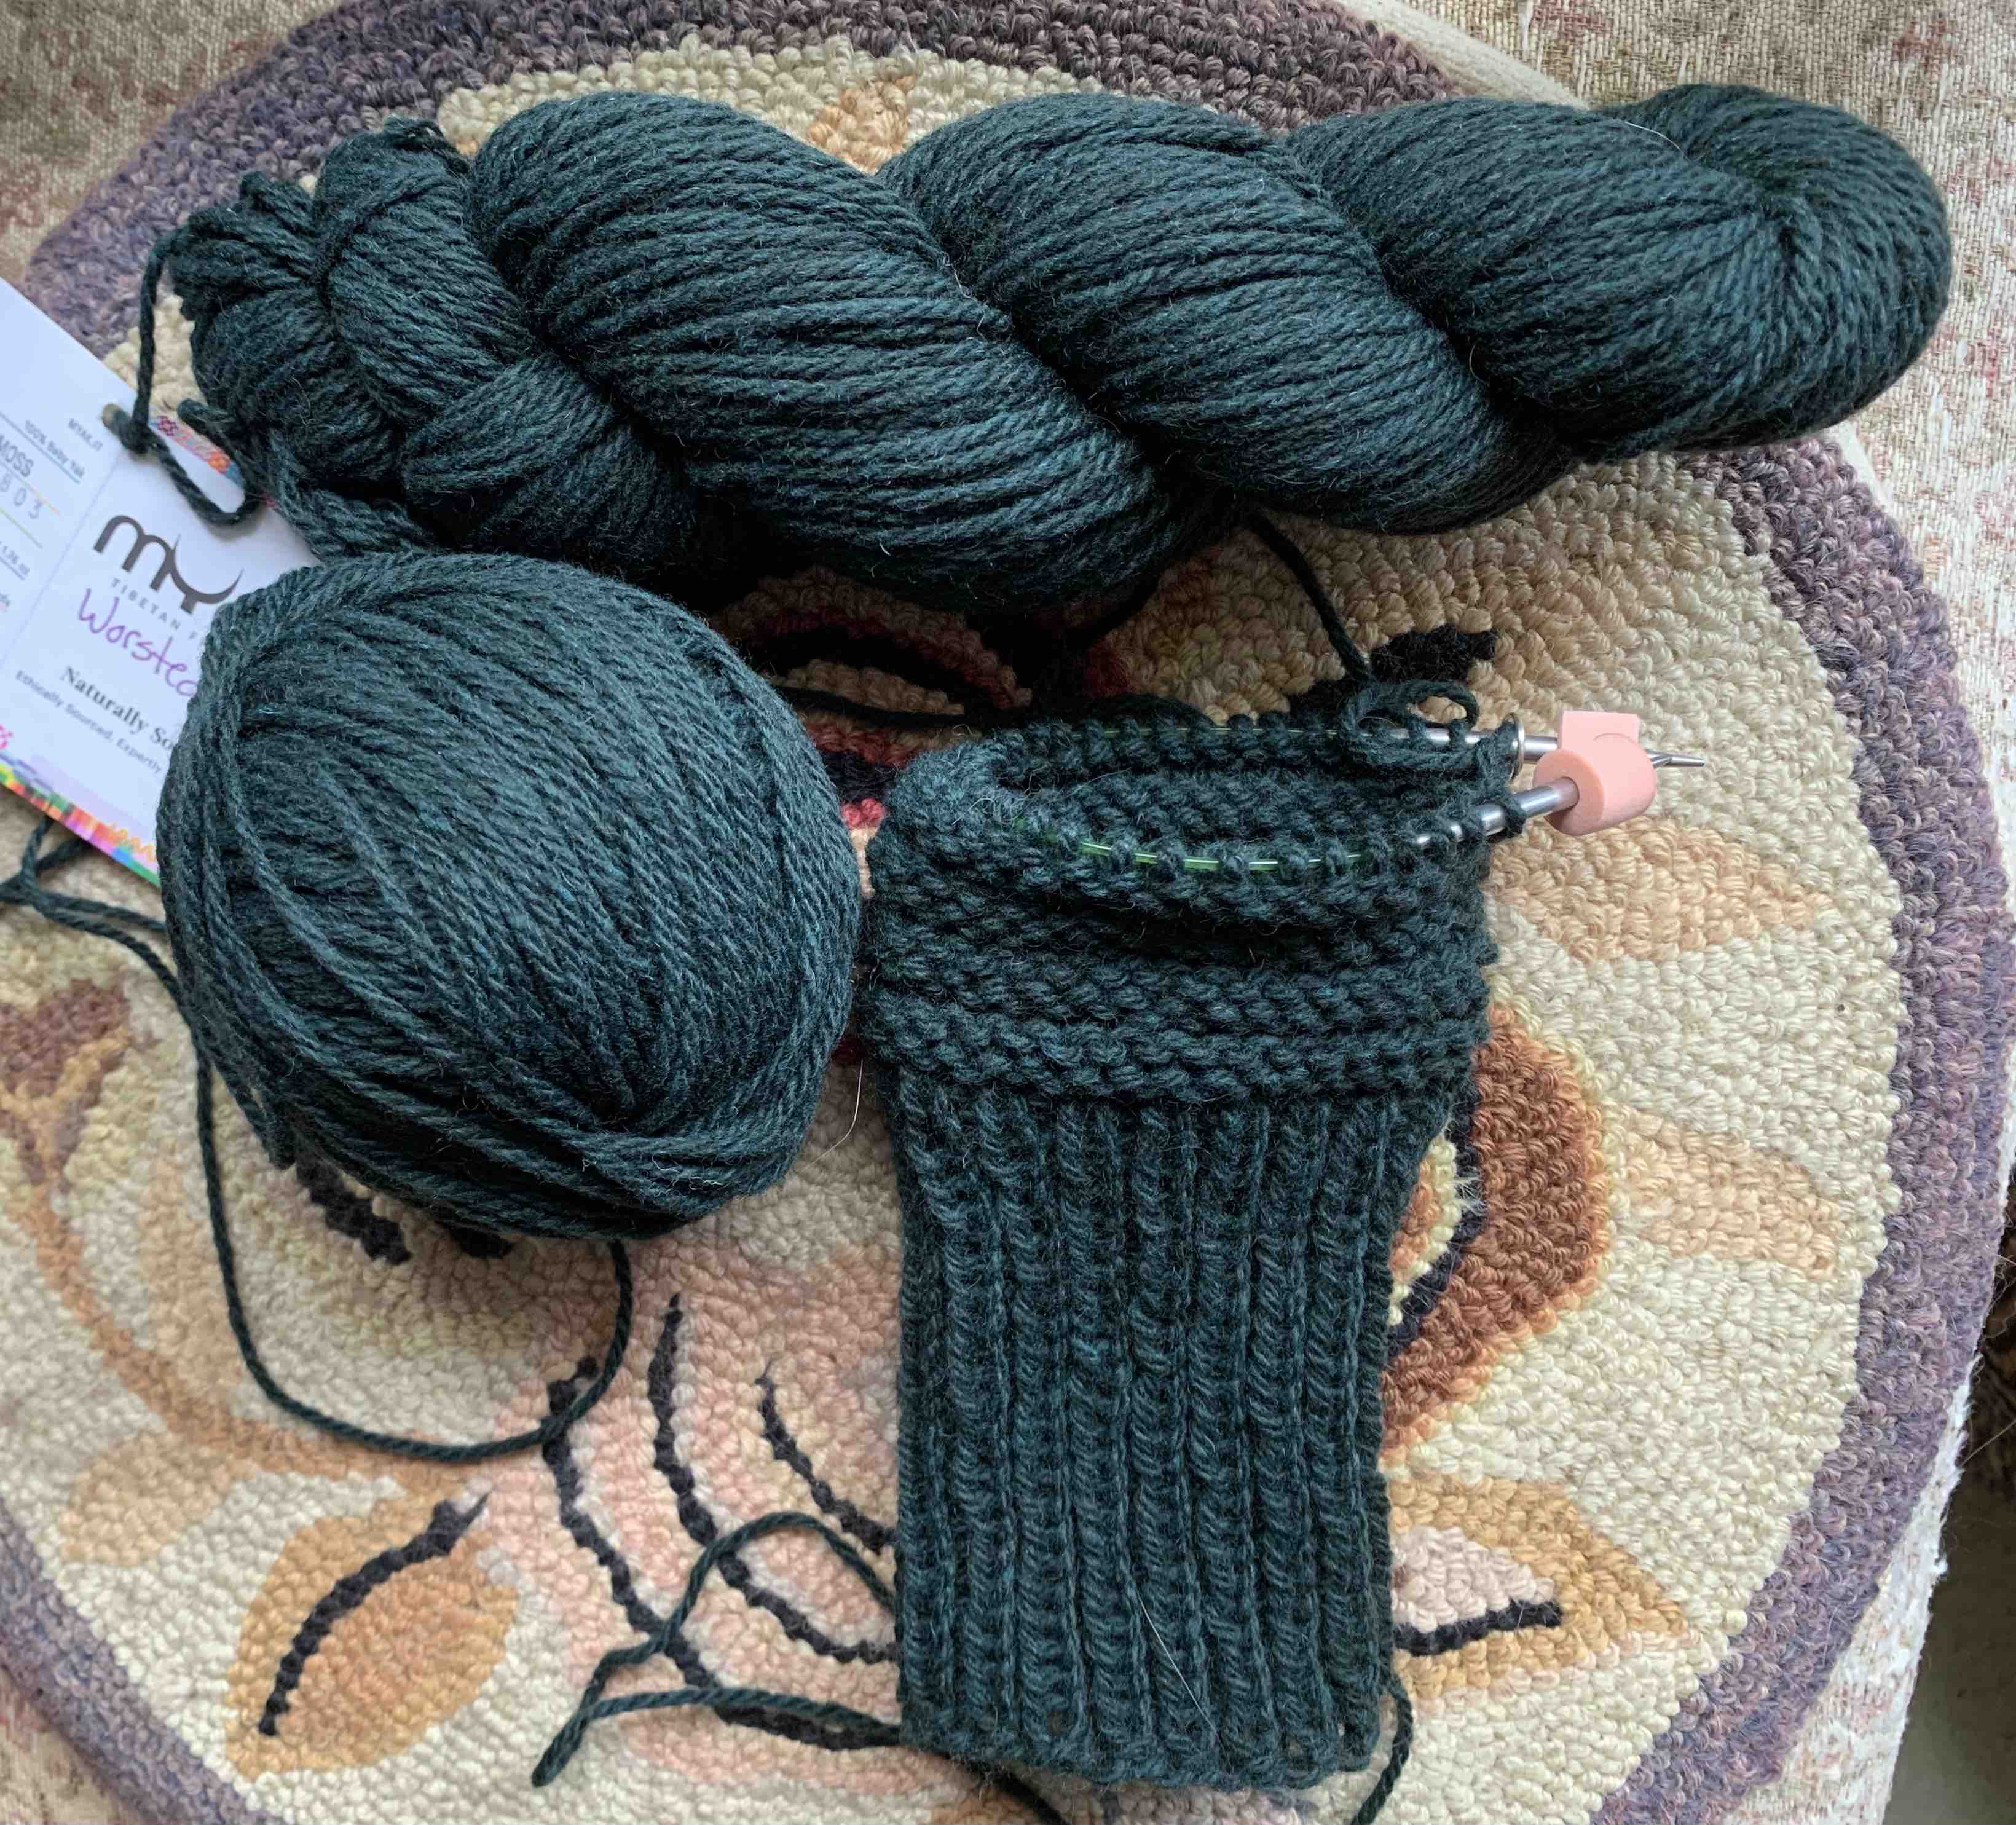
Here is what I’ve read about Myak yarn:

  • It is naturally sourced from Tibetan yaks
  • The fiber is hand-combed from the soft undercoats with no harm to the animal” – taken from the tag on this yarn skein.
  • The skein I used here is 100% from baby yaks
  • 125 yards in this skein

Knitting the Shell Cottage Socks Pattern

Knitting the Shell Cottage Socks.

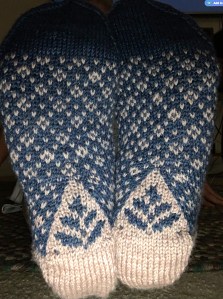
Although I haven’t knit many socks, the Shell Cottage Socks looked pretty cute. I bought the pattern from Curious Handmade and this page is about my sock knitting adventure.

Having less income over the past year and a half, thanks to the pandemic, meant a chance to use up stash yarn. That lack of extra money to spend on yarn forced me to clear out and use up. Most items I’ve been knitting this past year were made from the yarn already in my house.

Sock yarn with nylon should really be used to knit socks. I have quite a few skeins to use and this pretty variegated blue was the one I chose for the cute little ankle socks.

The yarn came from Four Purls, which is a yarn shop near Orlando. It’s Emma’s Sock Yarn in colorway “Juneau”. I bought it back when the shop would travel around central Florida in their yarn truck. They used to come to my town and it was my temporary local yarn store. That hasn’t happened in a while, which has been good for my wallet.

Shell Cottage Socks Pattern to Buy

I bought my Shell Cottage Socks pattern on Ravelry. Helen Stewart is the designer with the shop name Curious Handmade. Her patterns are mostly socks and shawls. One of the very first knitting projects I undertook was her Spindrift shawl.

For the socks I chose to knit a size Large, using size 1US needles. After reading through comments by previous knitters I learned that many people found the socks to be too tight, or too small, so I figured a large size would be safe. I’m a tight knitter, so it made sense to choose the large size.

I began using my 9-inch circular needle for the cast-on and followed the directions with cast-on number 72 and worked the ribbing. I continued to use the small circular needle until I reached the heel.

This pattern is like none I’ve ever seen in my short knitting life. Every single row / round to be worked is written out, except for the ribbing. That makes it easy to follow along and check off each row when finished. A stitch count is also included for every single row!

Good Pattern for Beginners? Probably Not

I like the way every row is written out to be checked off as I knit along. Any beginner knitter would appreciate that. But a couple of things slowed me down while knitting this pair of socks.

First, when it comes to working the heel and the gusset, the stitch placement refers to only two needles – Magic Loop knitting. If you know how to use Magic Loop, you’re all set. But, anyone using four DPN’s would have to adjust. Although it’s not a tough thing to do, a beginner might be confused.

My other problem was that I personally found it difficult to do that slipover stitch that creates the cute cable look. That cute design is the reason I chose this pattern! I had a really hard time grabbing that stitch and pulling it over the others. I ended up using a crochet hook, which was annoying. Maybe different needles would have helped, I don’t know. And to be fair, I did not read any other reviews of this pattern where the knitter complained about doing that faux cable stitch.

The toe is finished with the Kitchener Stitch, which is probably a difficult accomplishment for a beginner knitter.

In fact, if you are reading this and have not knit much at all, try something easier than socks! Socks are my least favorite item to knit. I think many people knit socks because they are useful garments. We all want to be able to use the items we knit.

For my first sock, I quit doing that extra stitch (named “KNOT” in the pattern) after the cuff (photo left above) because the aggravation for me was just not worth it.

On my second sock, I changed the way I did the “KNOT” stitch so the slipover was done on my right-hand needle instead of the left. This was much easier for me. It’s not exactly the same, but close enough, and was easy to do so I continued with it all the way to the toe.

So, my socks don’t match. They were good practice. I may knit this pattern again one day using a solid color, which I think would work much better for showing off that cable-look design. That ball of yarn is all I had left from the skein.

In conclusion, I did like this pattern once I made my changes. I made lots of notes on the pattern pages and that will make it easier to follow next time.

If you are a crazy sock knitter, and / or love knitting shawls, and haven’t heard of this designer, check out the Curious Handmade website.


Keep Reading: Recent Blog Posts