This is my third knitting of the Honey Cowl pattern and this time I chose a lighter weight yarn. The free pattern is simple enough for a beginner to knit and gives a lovely textured project.
I’ve always made the longer version that wraps twice around the neck. This time I used Mrs. Crosby Satchel yarn in “Dogwood” color.
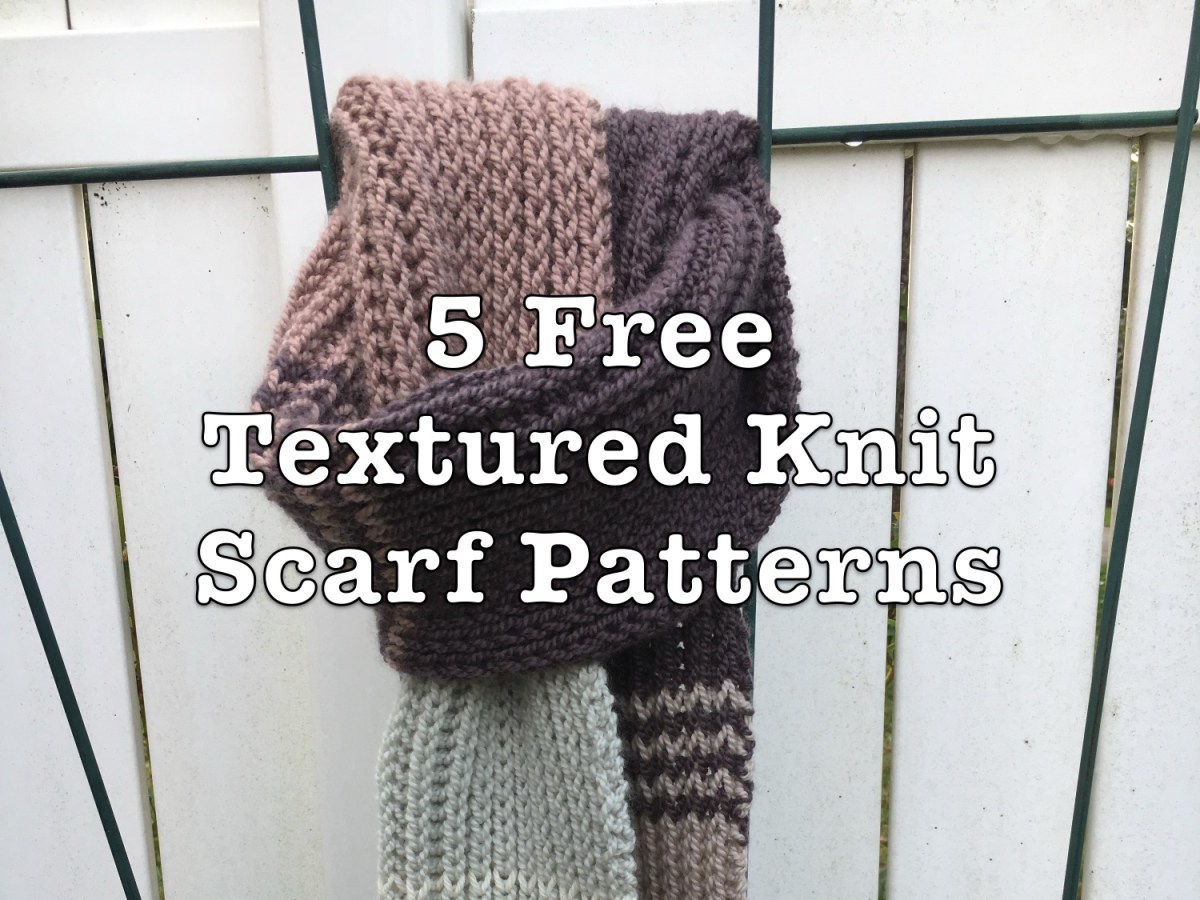
This free shawl pattern is simple enough for beginners to get practice.
I knit this scarf back in 2022. It was offered as a free pattern by Lindsey Wong. The pattern came from her website, which is no longer up and running.
I’ve written a post about alternative and similar patterns for those who are interested, but none of them are free.
As a beginner knitter I was always searching for free patterns to try. I was afraid I wouldn’t understand a pattern if I bought it because those were for people who knew what they were doing!
Fortunately some clever people do write up patterns and share them for free. Some of these people are designers who also sell patterns. Free patterns can also be poorly written, so be careful there. Read through a pattern before beginning and see if it makes sense. Or go to Ravelry and see what other pattern users have to say. If the free pattern gets bad reviews it may be best to move on and find another.
Knitting has begun on my Calliope pullover sweater pattern (link to the pattern below).
Somehow I managed to pull a muscle in my neck which is causing me some extreme discomfort. The pain is keeping me from doing much of anything except sit in front of the television and knit. For that reason, my sweater is coming right along! We must take the good with the bad 😉
The Yarn Story
I’ve had the Miss Babs “Katahdin” green yarn for a long time now. The “Spring Clover” yarn is a Wild Iris – meaning they only made the color once – and the skein has 1750 yards of yarn..!! It’s made up of Bluefaced Leicester Wool and is Superwash. Originally, I thought I would use it to knit a large, rectangular stole for my daughter, then I decided not to.
So, this huge skein of yarn sat around until recently when my new idea was to pair it with mohair and knit a sweater.
Yarn is ready to knit
I ordered some dark green mohair to use, but after knitting up a swatch, decided I didn’t like the colors together. After trying the Katahdin with some leftover white mohair, and liking that combination better. I ended up buying the Filcolana Tilia mohair (link goes to Fairlight Fibers) in very light green called “Green Tea”.
Swatching for the Sweater
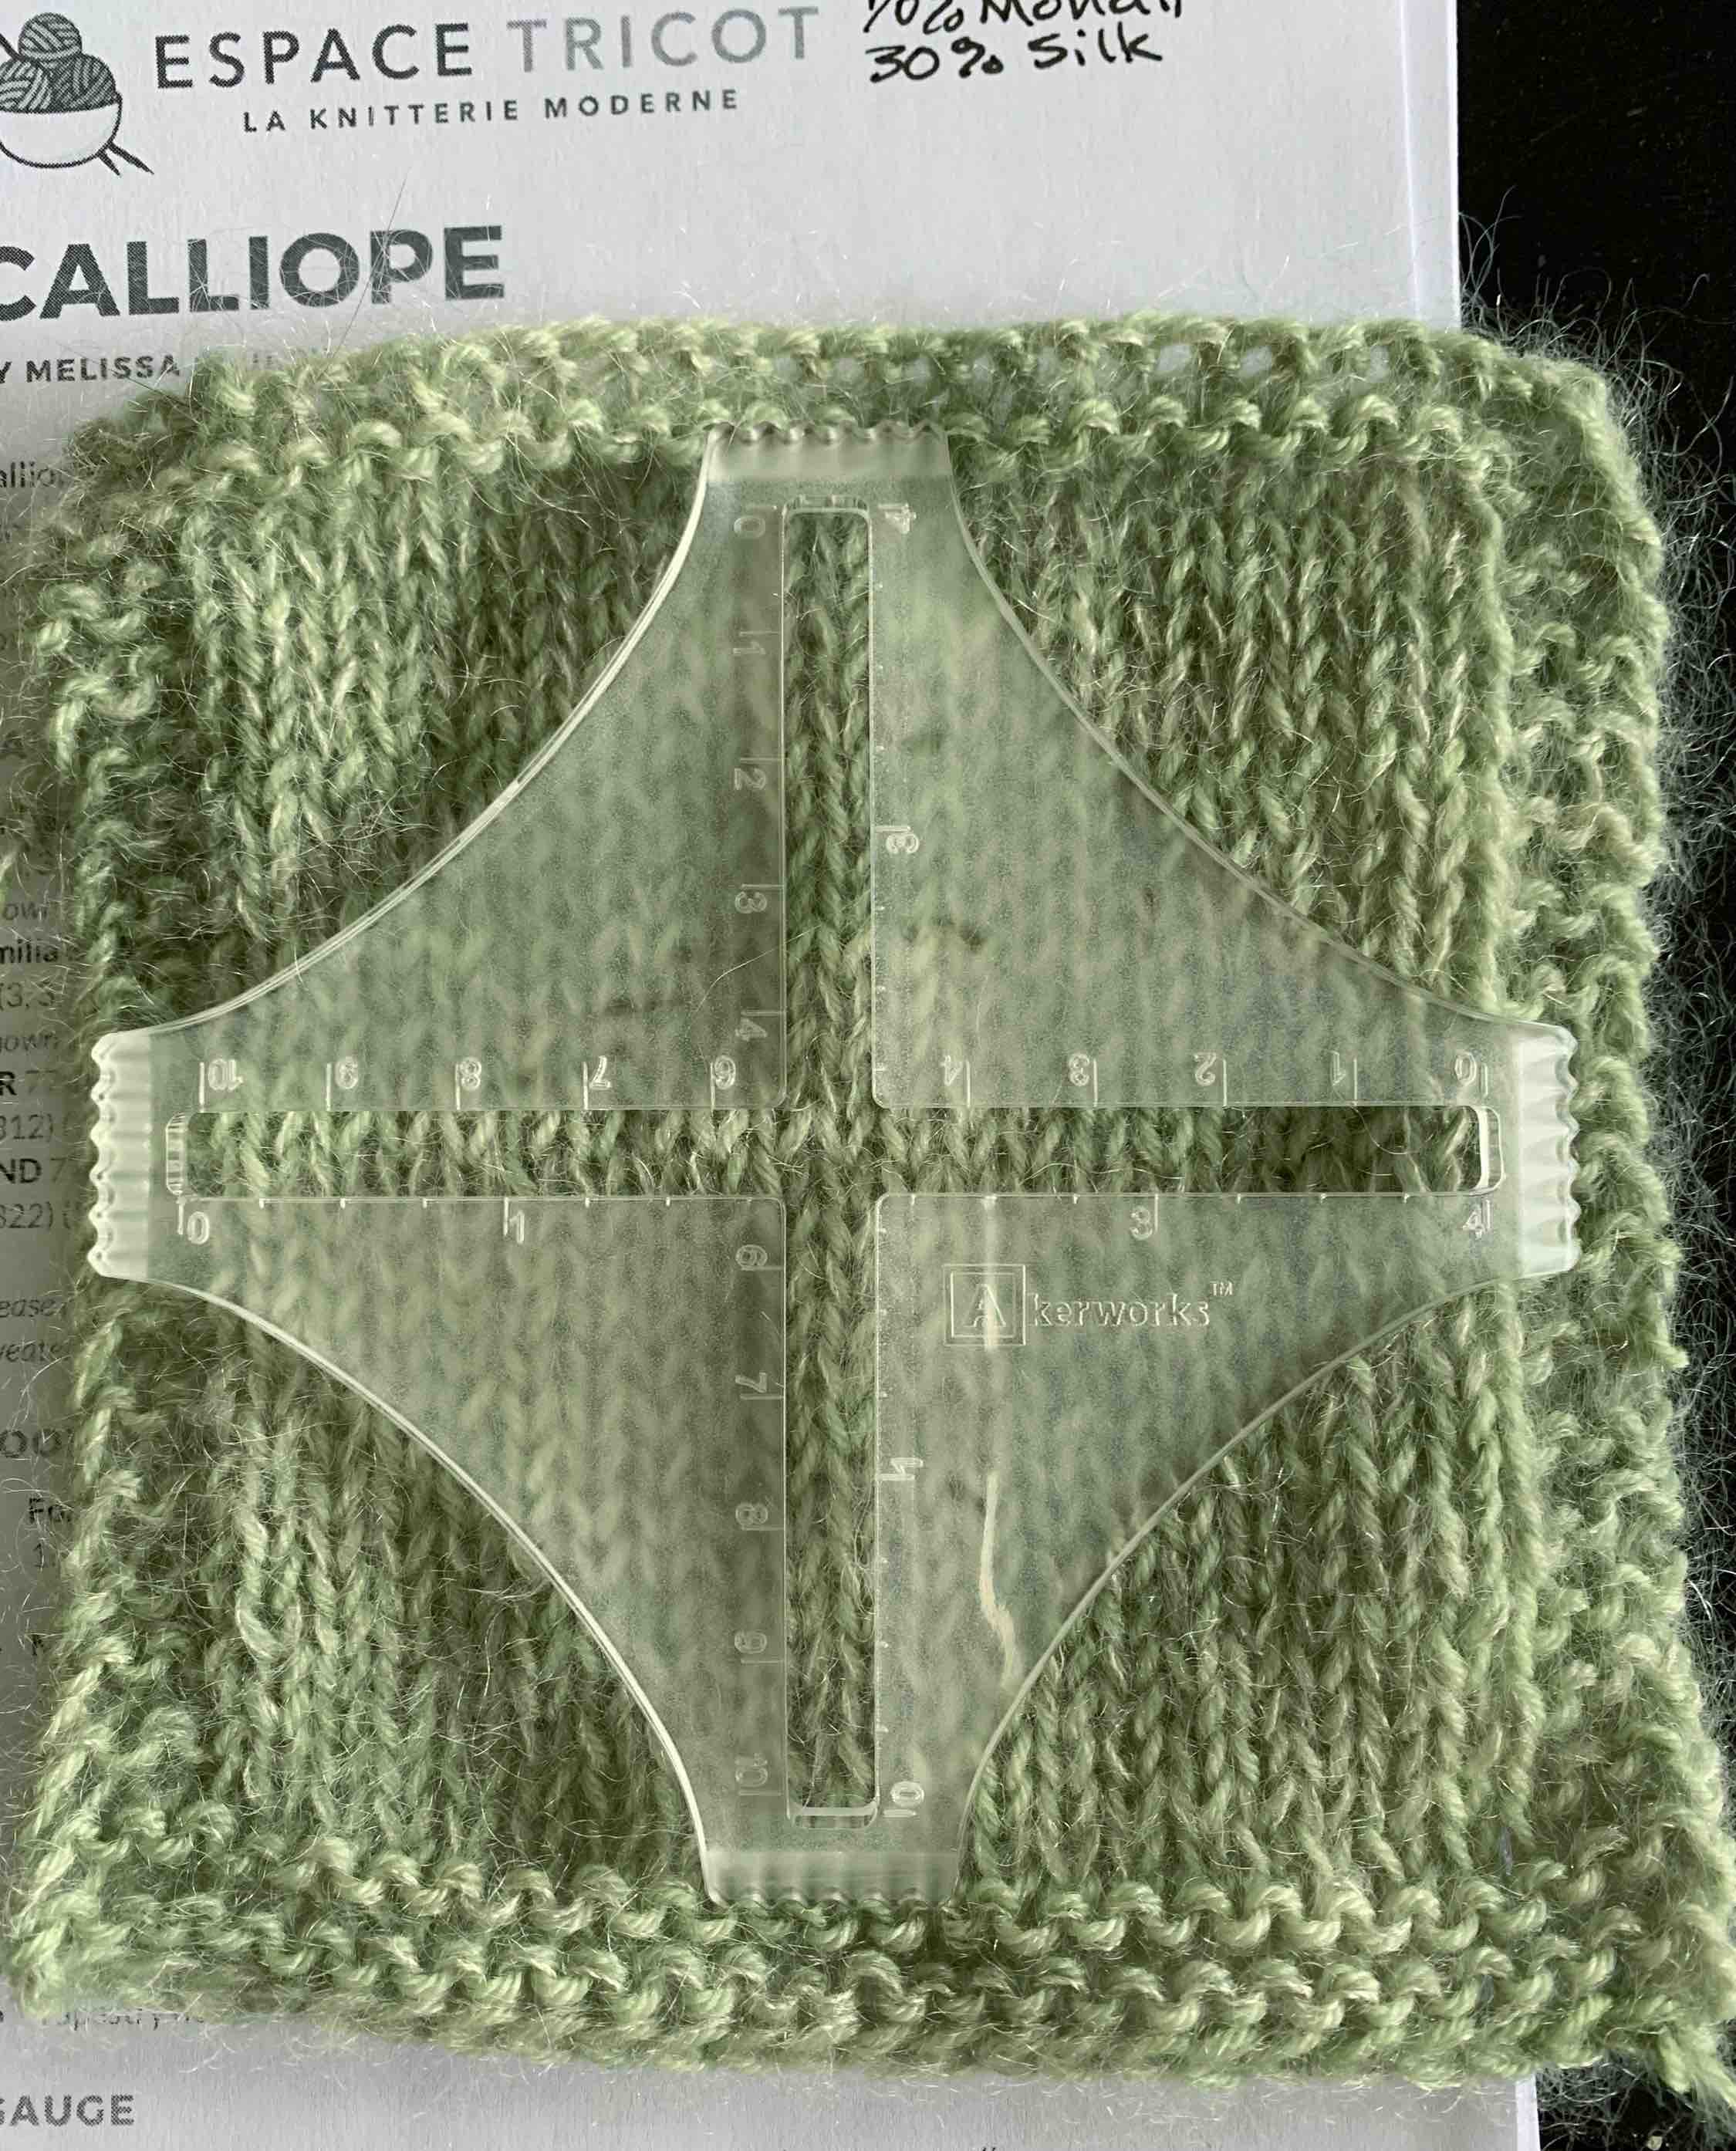
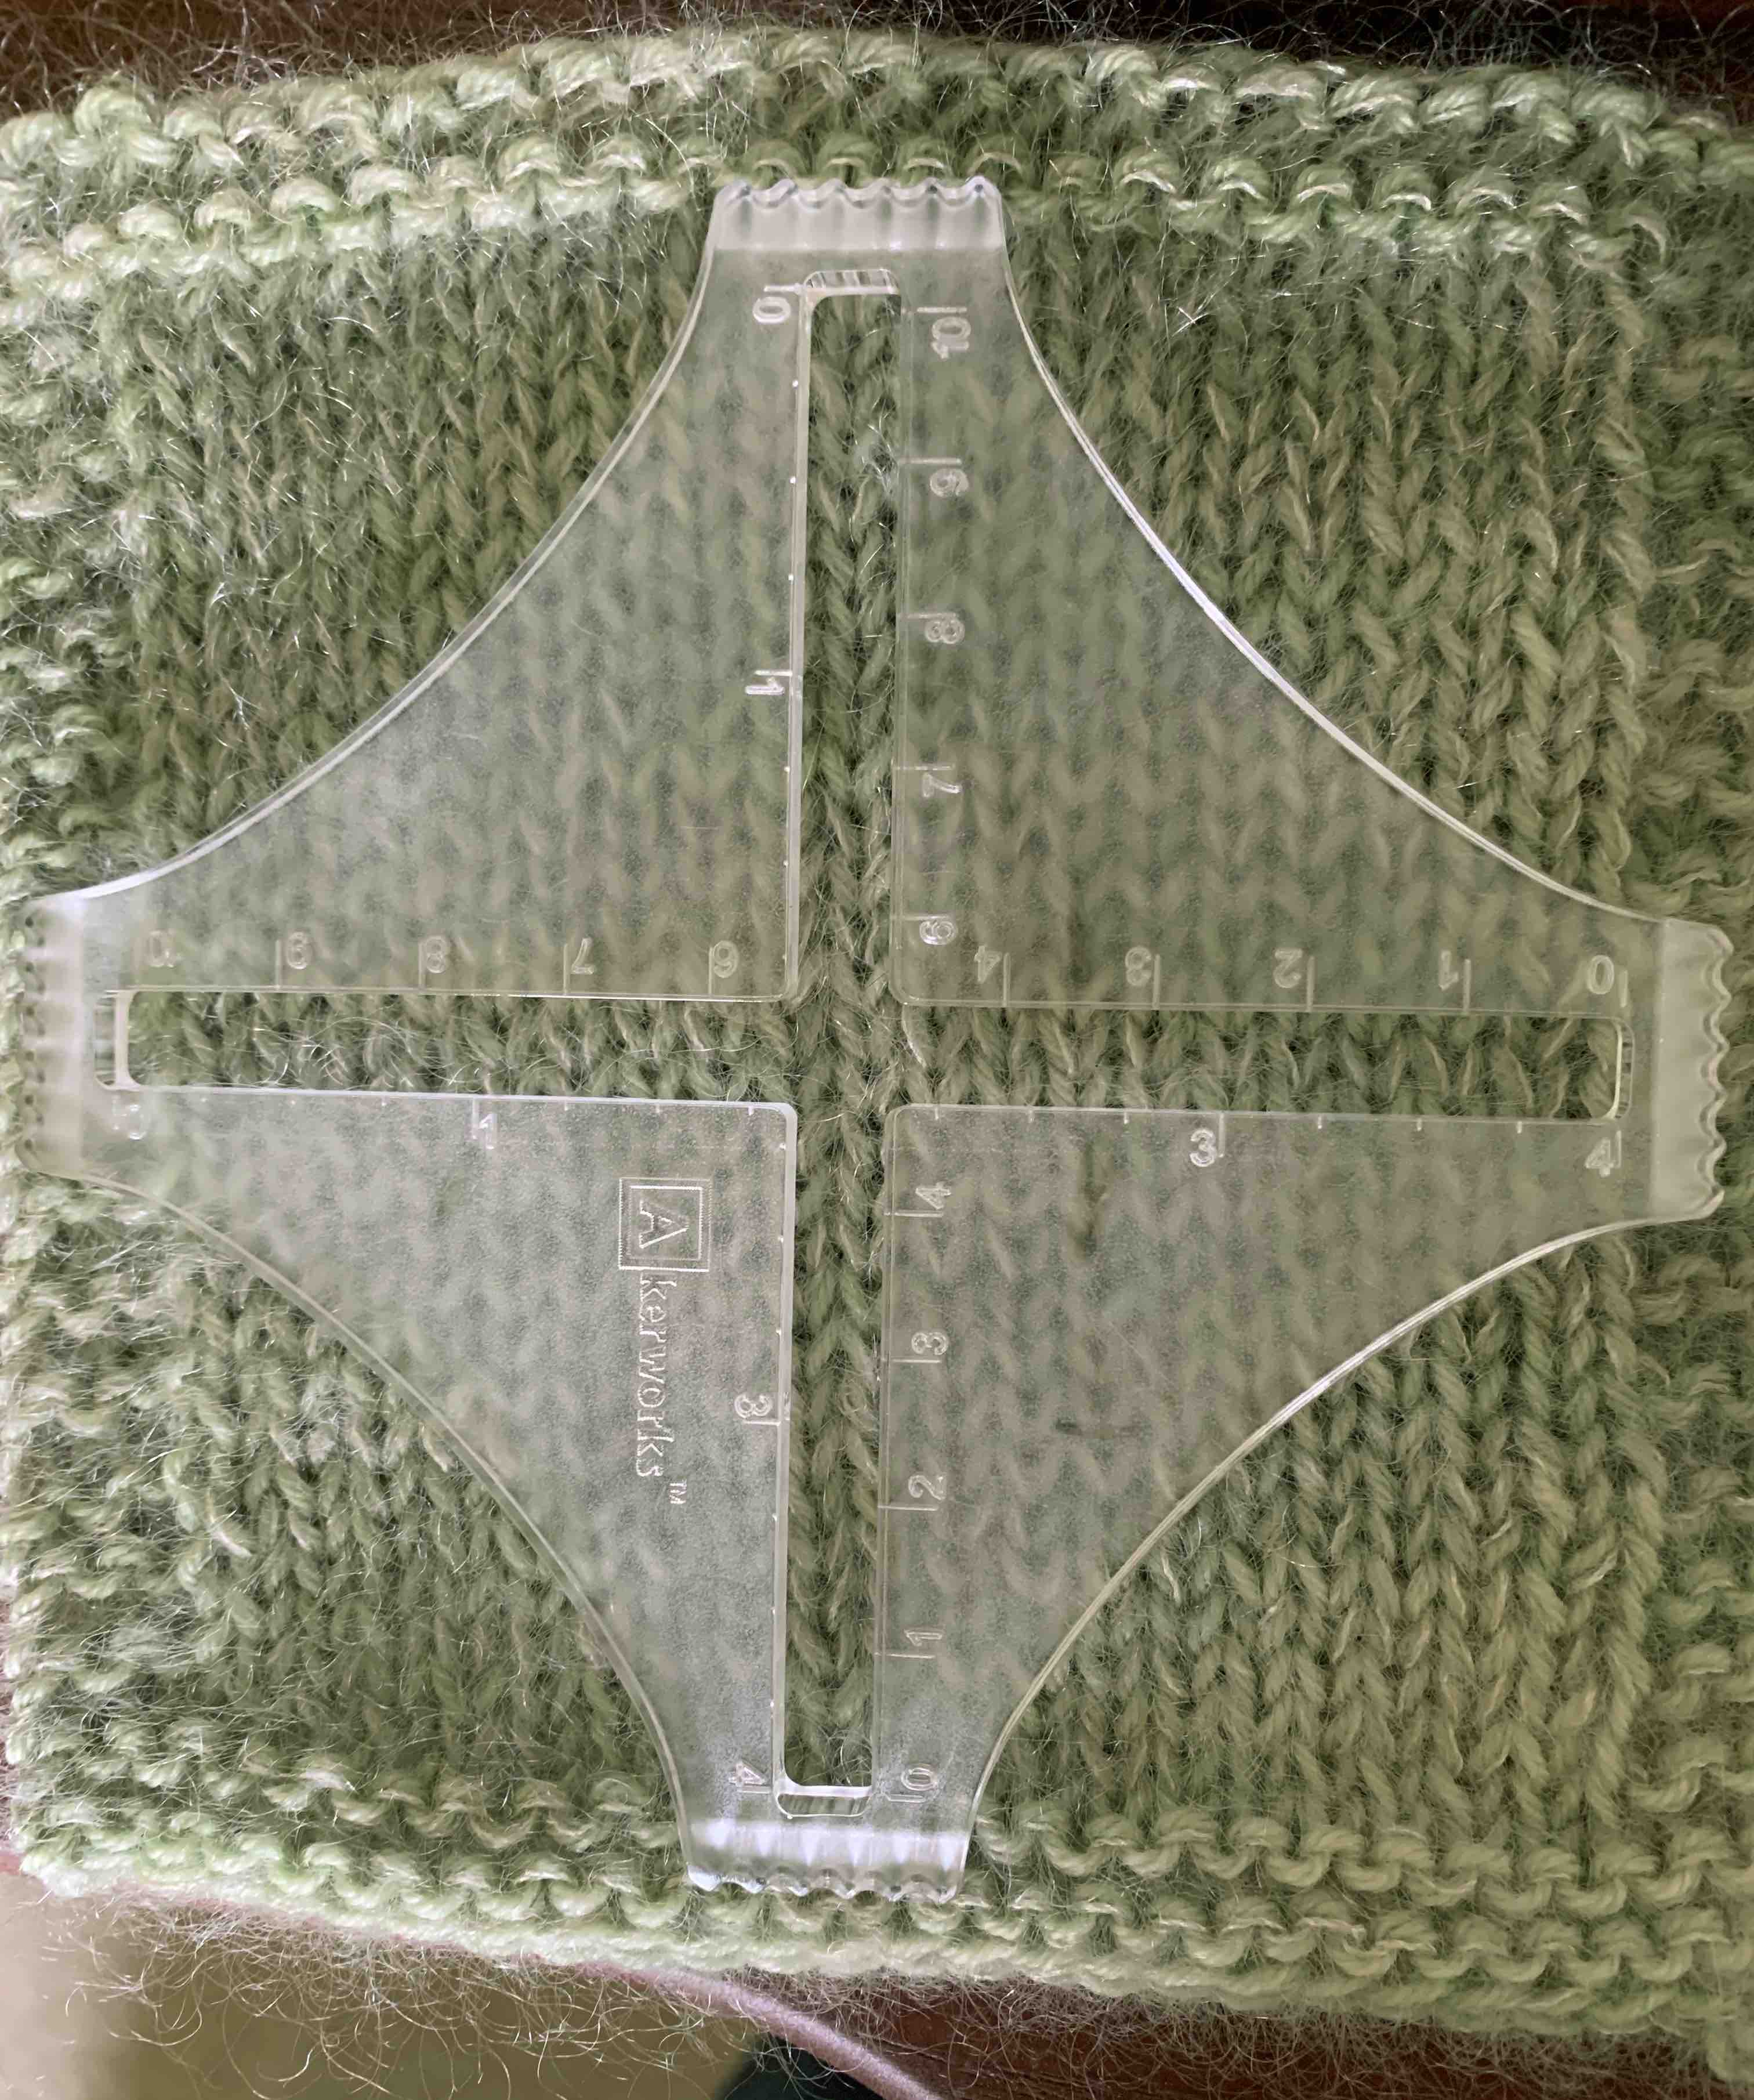
Using the size 7 US needles, I knit up a swatch to check for guage. Before the washing and drying of the swatch, the row counts were pretty exact. But after blocking, the knitting expanded to be slightly taller, so I will watch the length of my sweater. It’s not terribly off, so I stayed with the same size 7 needles. (I should have gone down a needle size because this sweater really grew!)
Before washing the swatch is very close to exact.Swatch for Calliope, after washing
The Sweater Pattern is “Calliope” from Espace Tricot
Raglan sweaters are generally quite easy to knit and I’d already knit the Turtle Dove pattern offered by the same designers. That one was my first raglan knit, but it came out huge – more like a big poncho / blanket.
This pullover has texture at the yoke which is created by simple knits and purls. The pattern begins with a cast-on for the neck and is knit top-down. I decided not to include the mohair until I knit a few rounds. Something about fuzz at my neck turns me off.
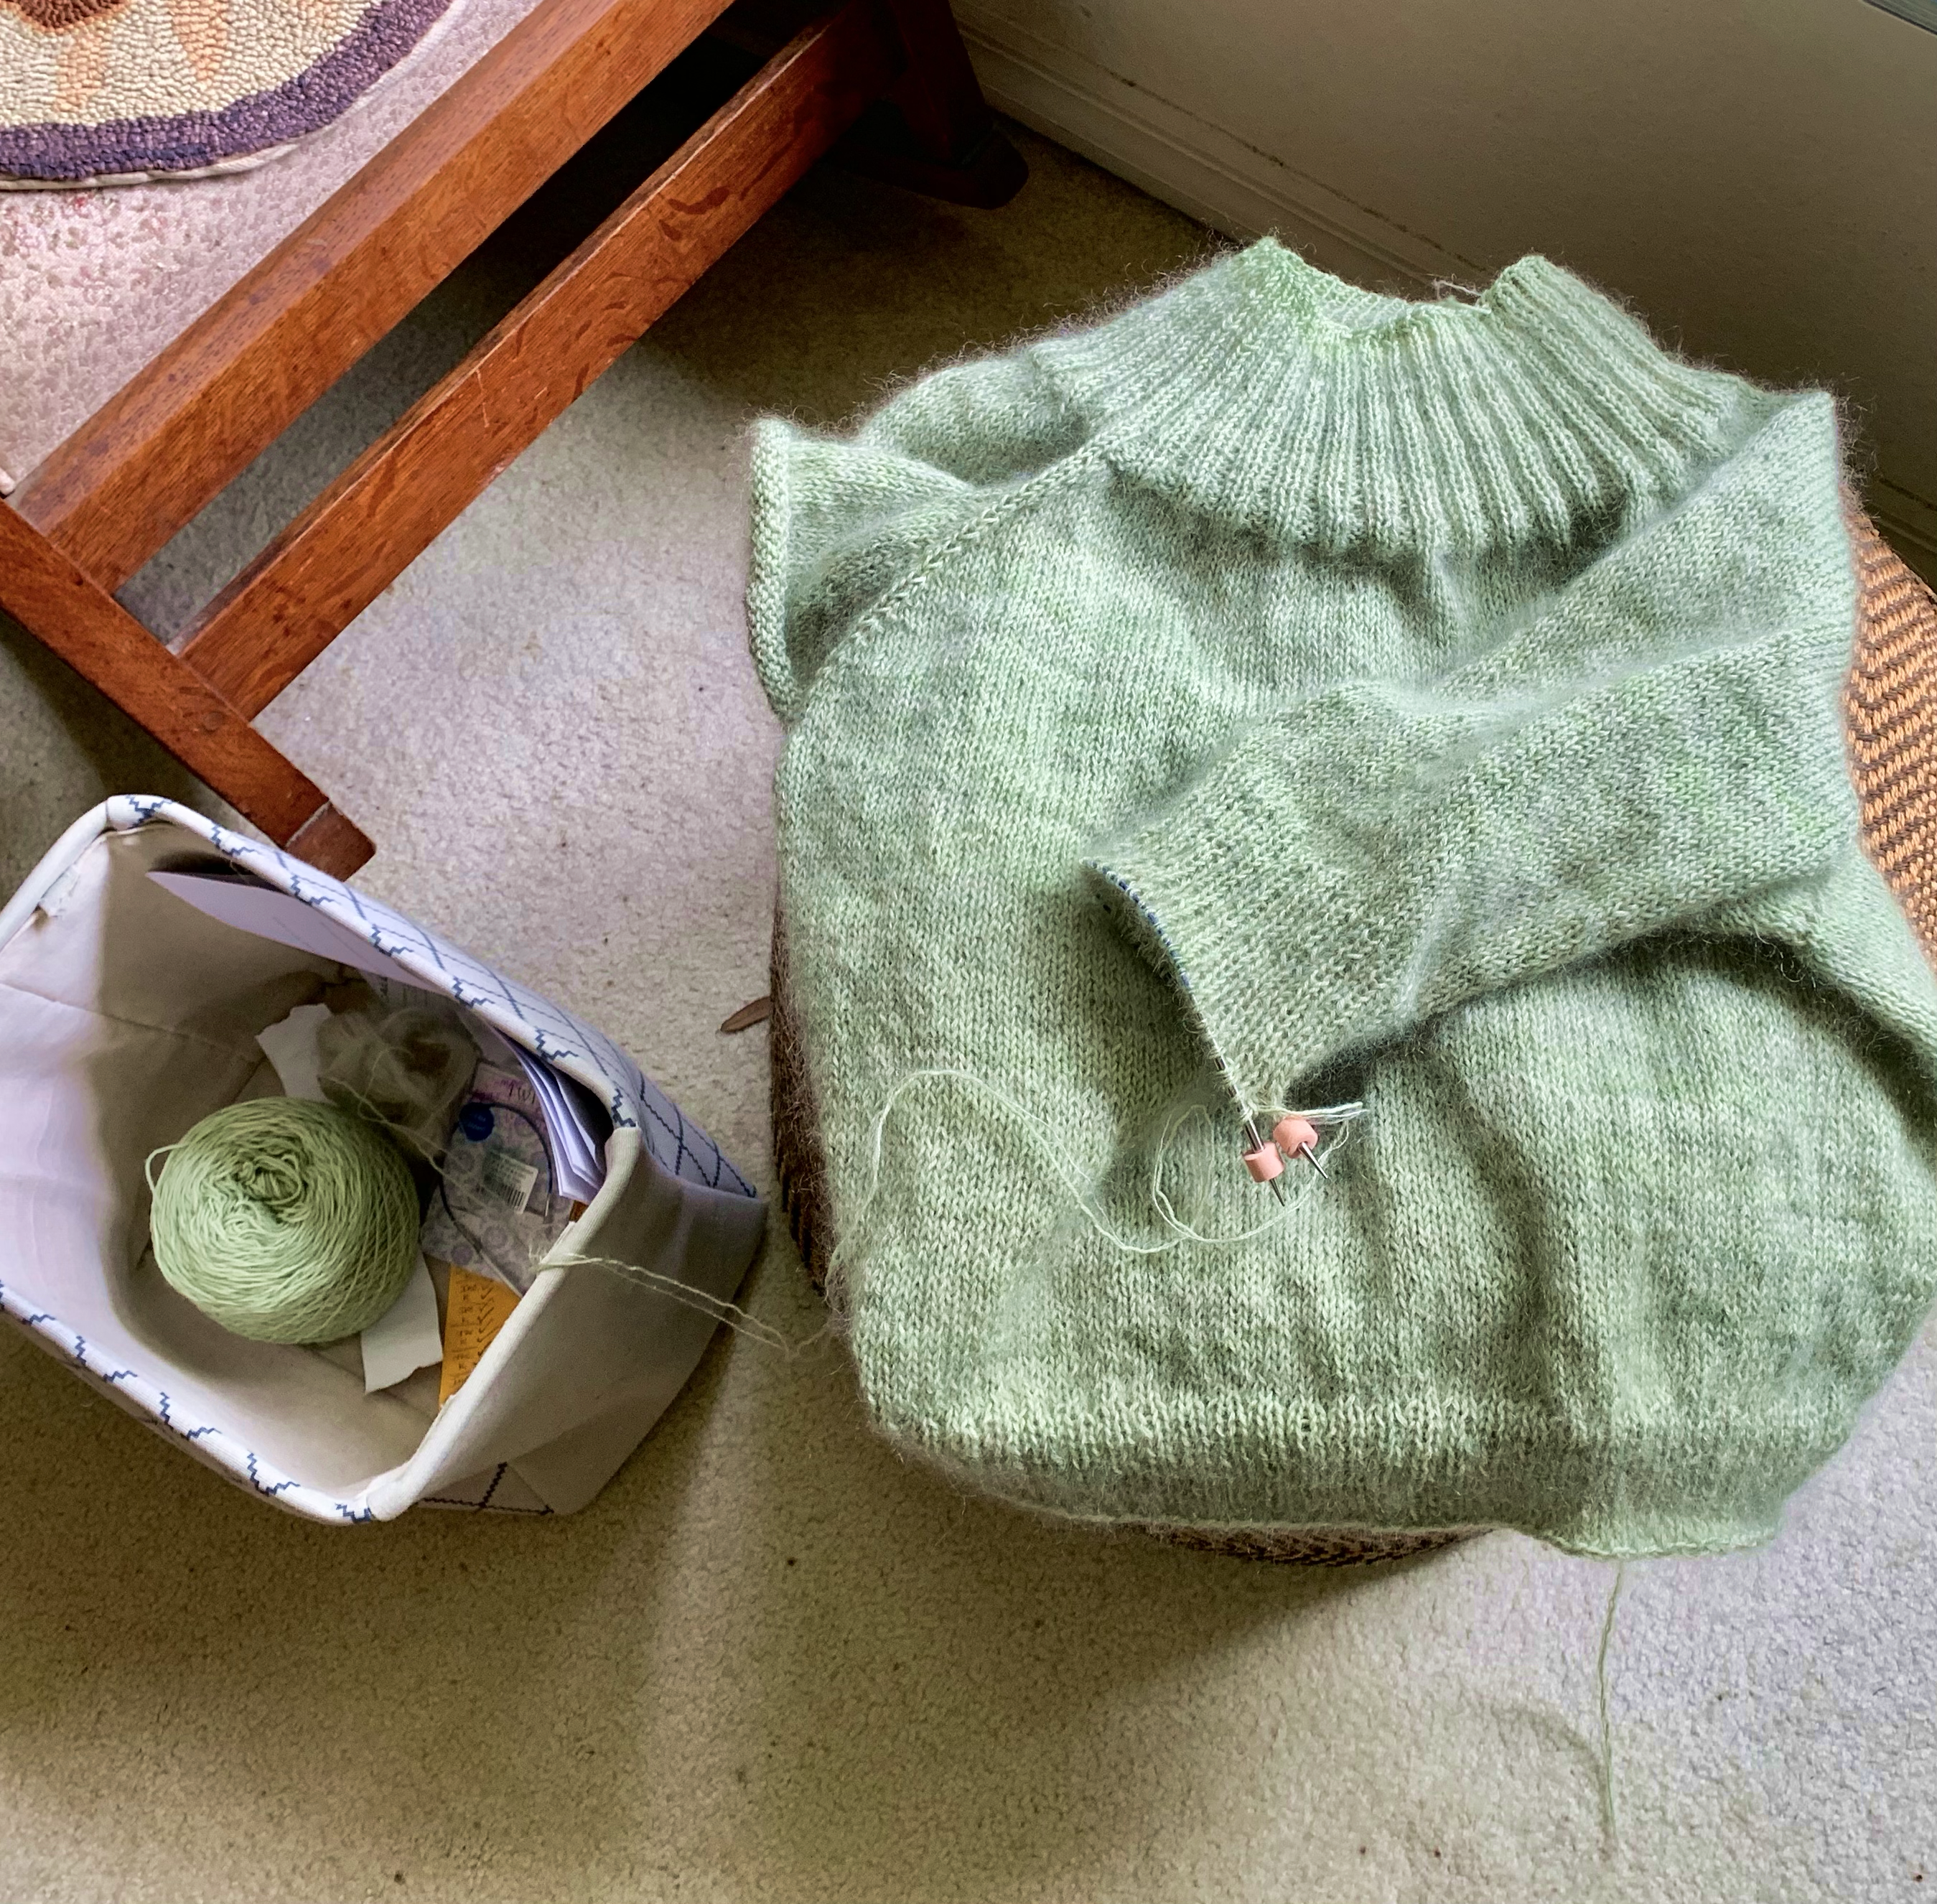
Photographing knitwear projects, and getting the color right to share, can be difficult. For some reason this mint green color is exceptionally difficult to capture. GRRRRRR….. I promise, my sweater color is not that ugly!
Short rows are done, moving onto the raglan increases
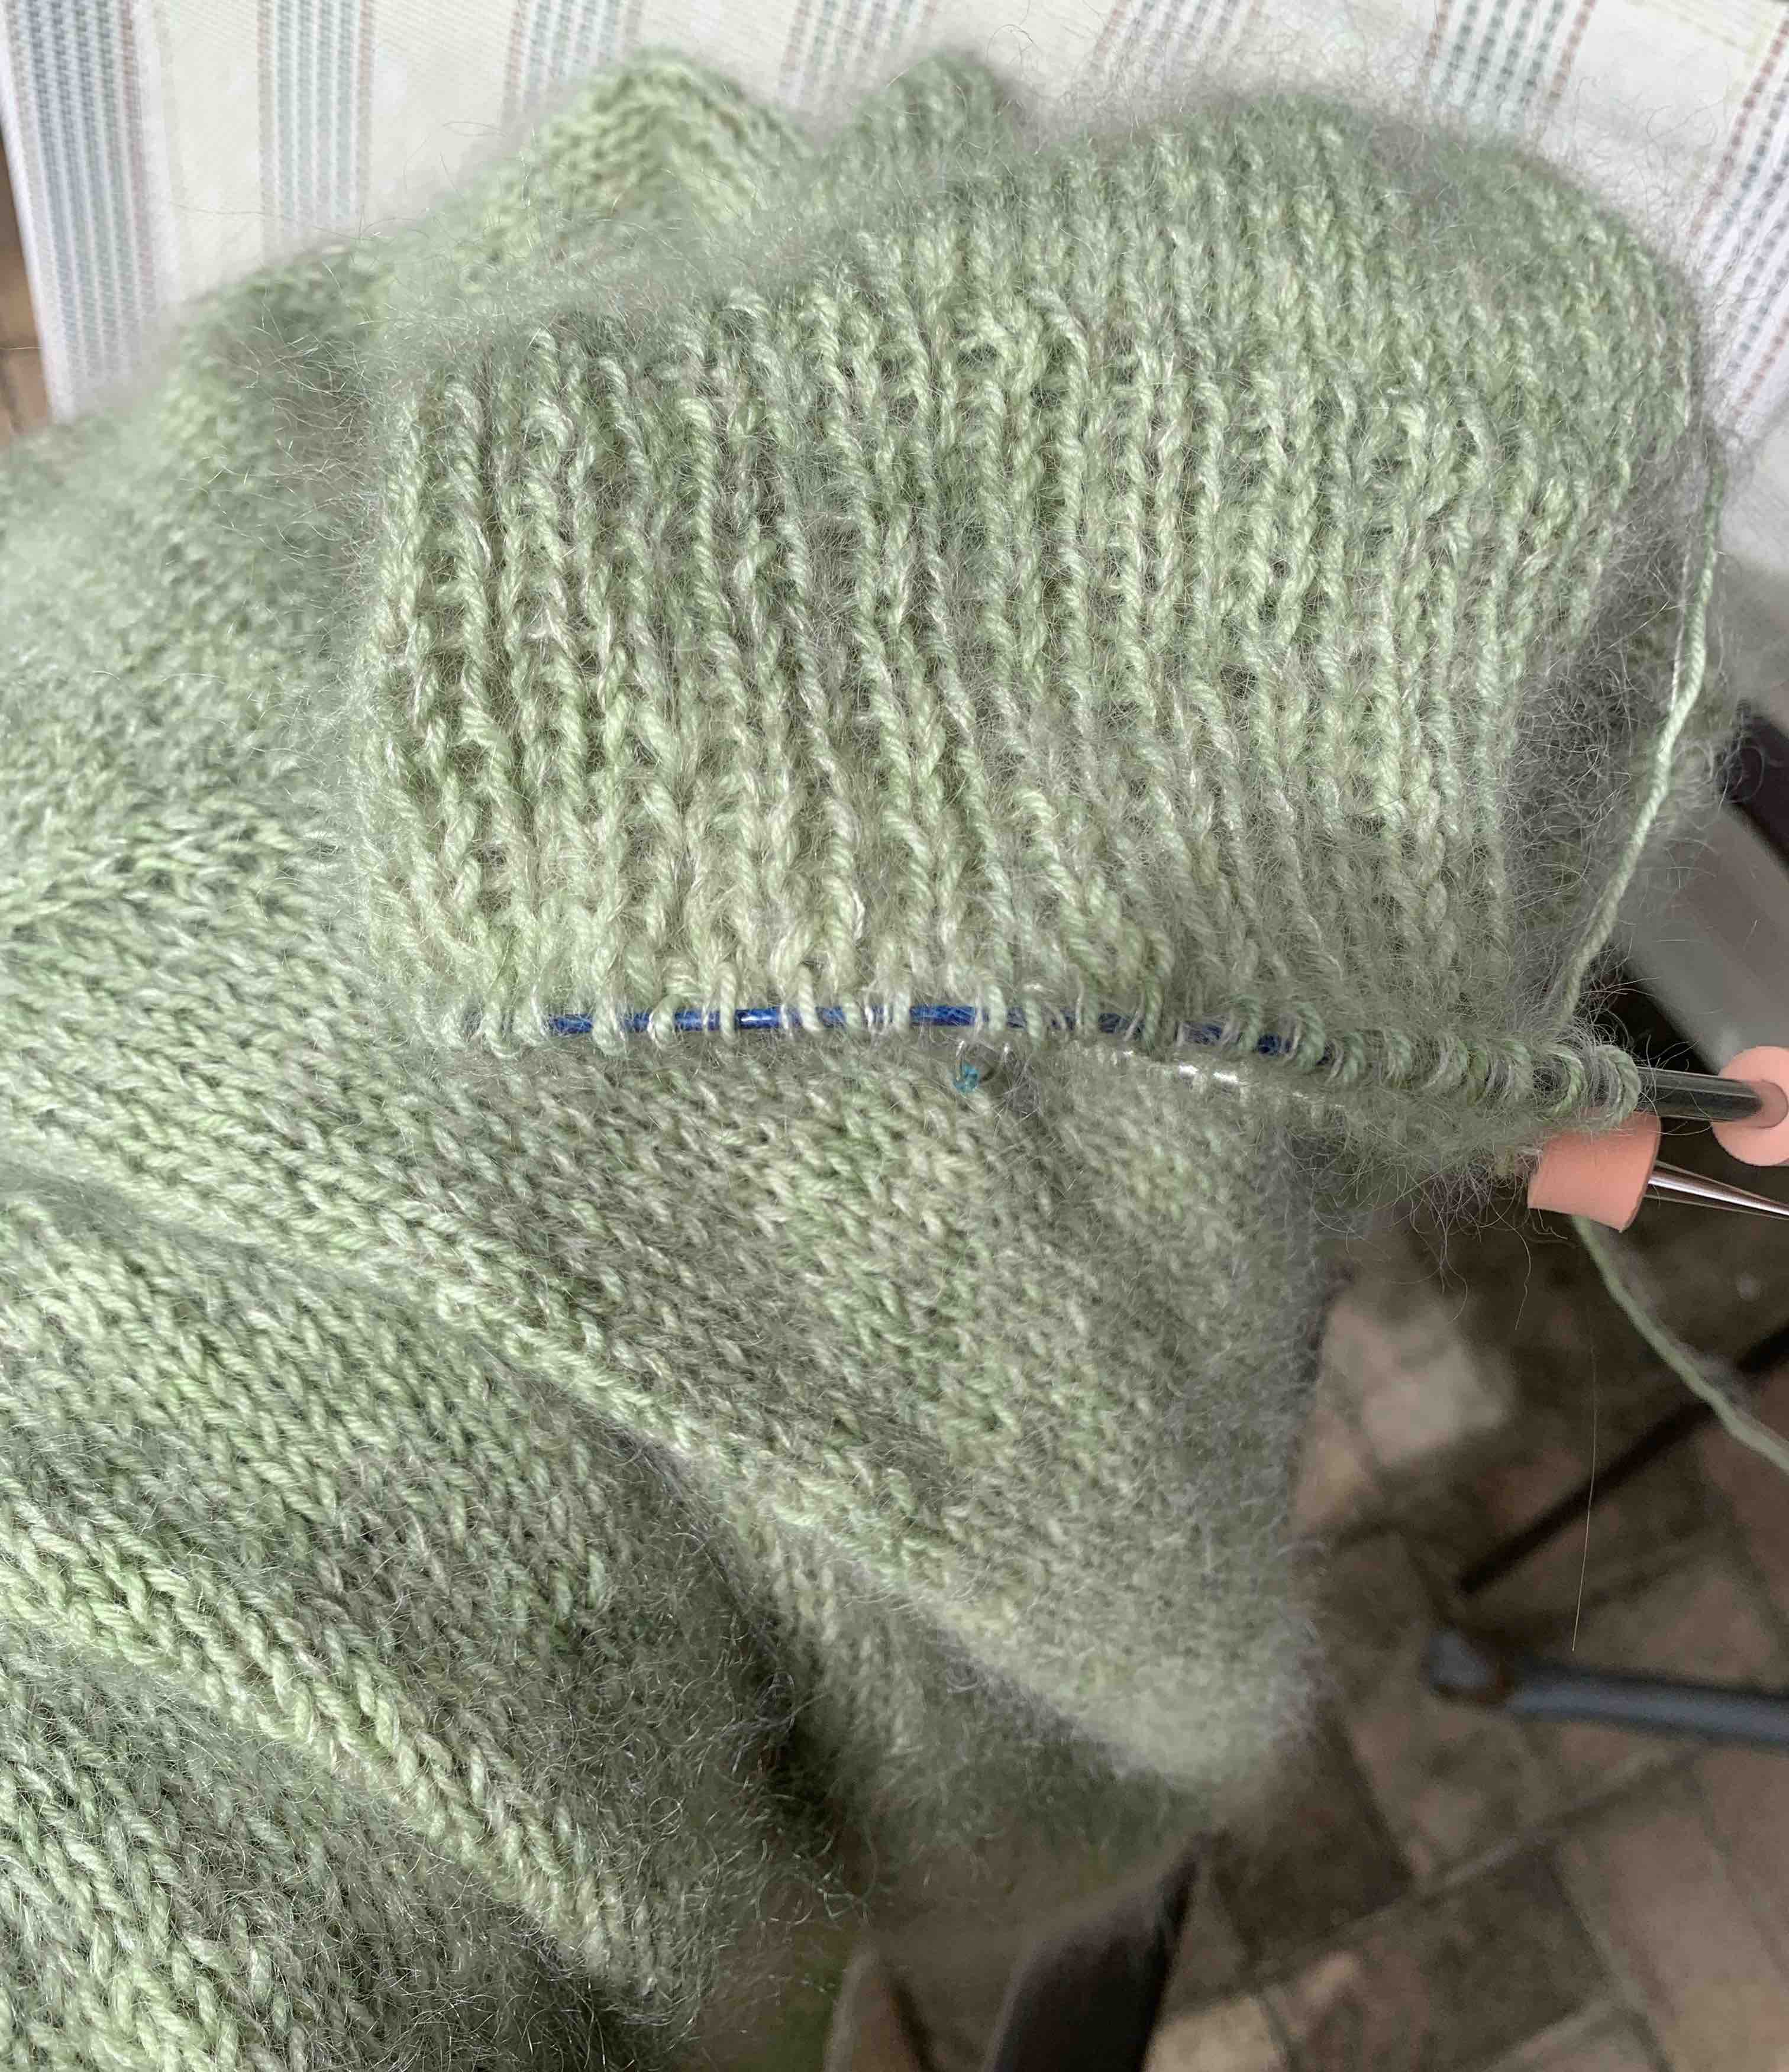
Calliope has short row shaping using German Short Rows. They are explained in the pattern, and are very easy to do, and a link is provided to a video by Very Pink Knits for further explanation. Short rows give the sweater a better and more comfortable shape by raising up the back section (shown in my photo below). You can see that the front of the sweater (photo on the right above) has fewer knit rows after the short rows are completed.
Once that is accomplished, the raglan increases begin. This creates the sleeves and widens the front and back. My sleeve increases are easy to see in the photo above. I have just put the two sleeves onto waste yarn and will now continue to knit the body – round and round in stockinette.
Not Liking This Mohair
Body of sweater is done. It seems a bit big around. On to the sleeves, but the fuzziness of the mohair is quite annoying. Every time I knit, I end up with fuzz in my nose, mouth and eyes – like I am a magnet for it. I don’t know if it’s this type of Mohair, or all mohair which would do this. (I have since discovered Knitting for Olive Mohair, which is much better.)
Photographing this green has been a real pain in the neck! Finally I took the sweater, with one sleeve half knitted and the other on hold, and put it outside in the sun. The photos came out a bit better, but they are not true to the pretty green of this yarn.
The sleeves have a very long section of ribbing that runs down the arm from about the elbow area. I began that with DPN’s and switched to 9-in. circulars because I really don’t like using DPNs for long lengths of time.
Because I was working on this pattern alongside the Meadow Moon color-work pullover pattern, and also my Lettlopi “Migrating Birds” pullover, among other projects, the sweater was finally done three months after I began knitting.
Calliope Sweater End Results
The Calliope Sweater is quite an easy knit. The directions are well written, and mostly you are knitting, or knitting and purling. I chose the yarn from my stash because this past year has been a year of “no buying” (for the most part).
What I like, is the easy going style and the fact that most of this sweater can be knit at night while watching TV.
The sweater is big. Superwash yarn tends to do that, and that is why I usually avoid using it for sweaters. This is a good lesson in watching the gauge and changing needles accordingly – especially if using a Superwash yarn. I may toss it into the dryer one day to maybe shrink it a bit.
Espace Tricot used to offer all free patterns. They no longer do, but the patterns are nice even if you have to spend a few bucks. Recently, they came out with a classic raglan sweater called Gingerbread Sweater and it’s another that is most likely perfect for a beginner knitter.
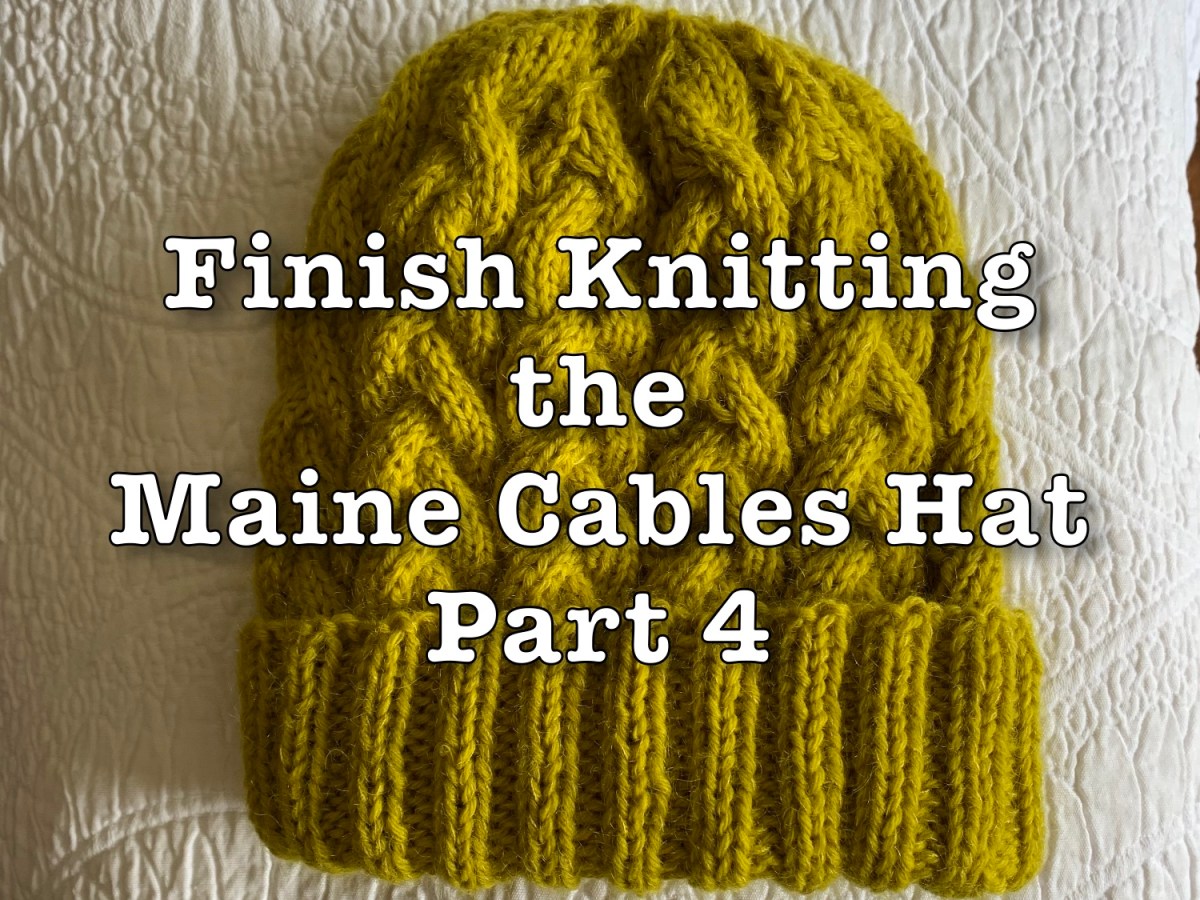
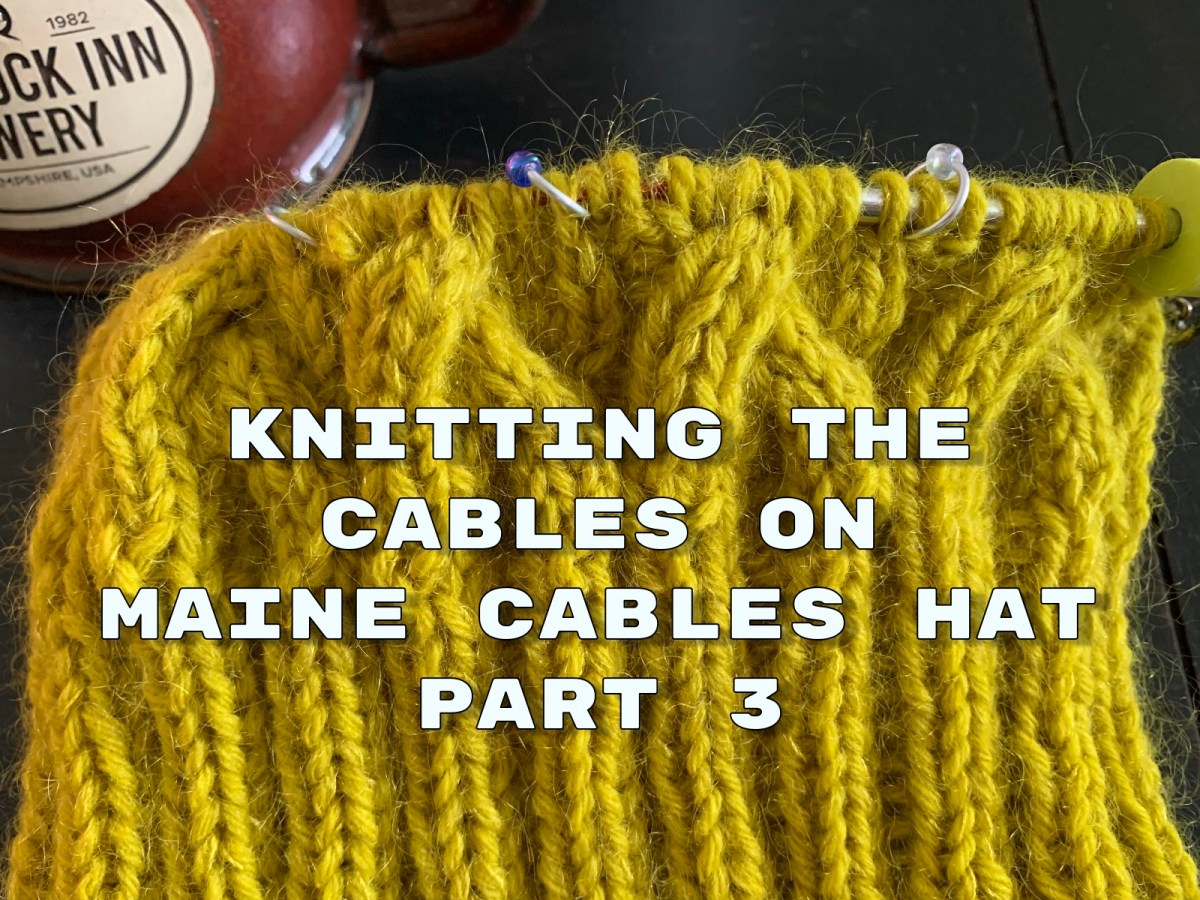
Part three of the knitting pattern Maine Cables Hat is all about making the cables. I can suggest an excellent cable needle that will make the knitting easier.
For my trip to New England this fall I want a new, warm hat. The free pattern Maine Cables Hat is what I chose and will document my knitting along the away to encourage first time cable knitters.