Knitting The Stellar Parallax Mitts by Bunnymuff

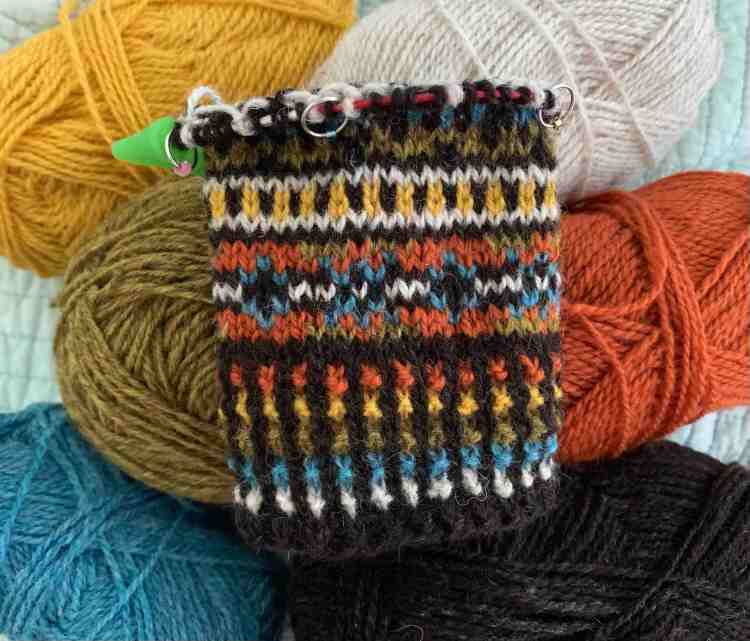
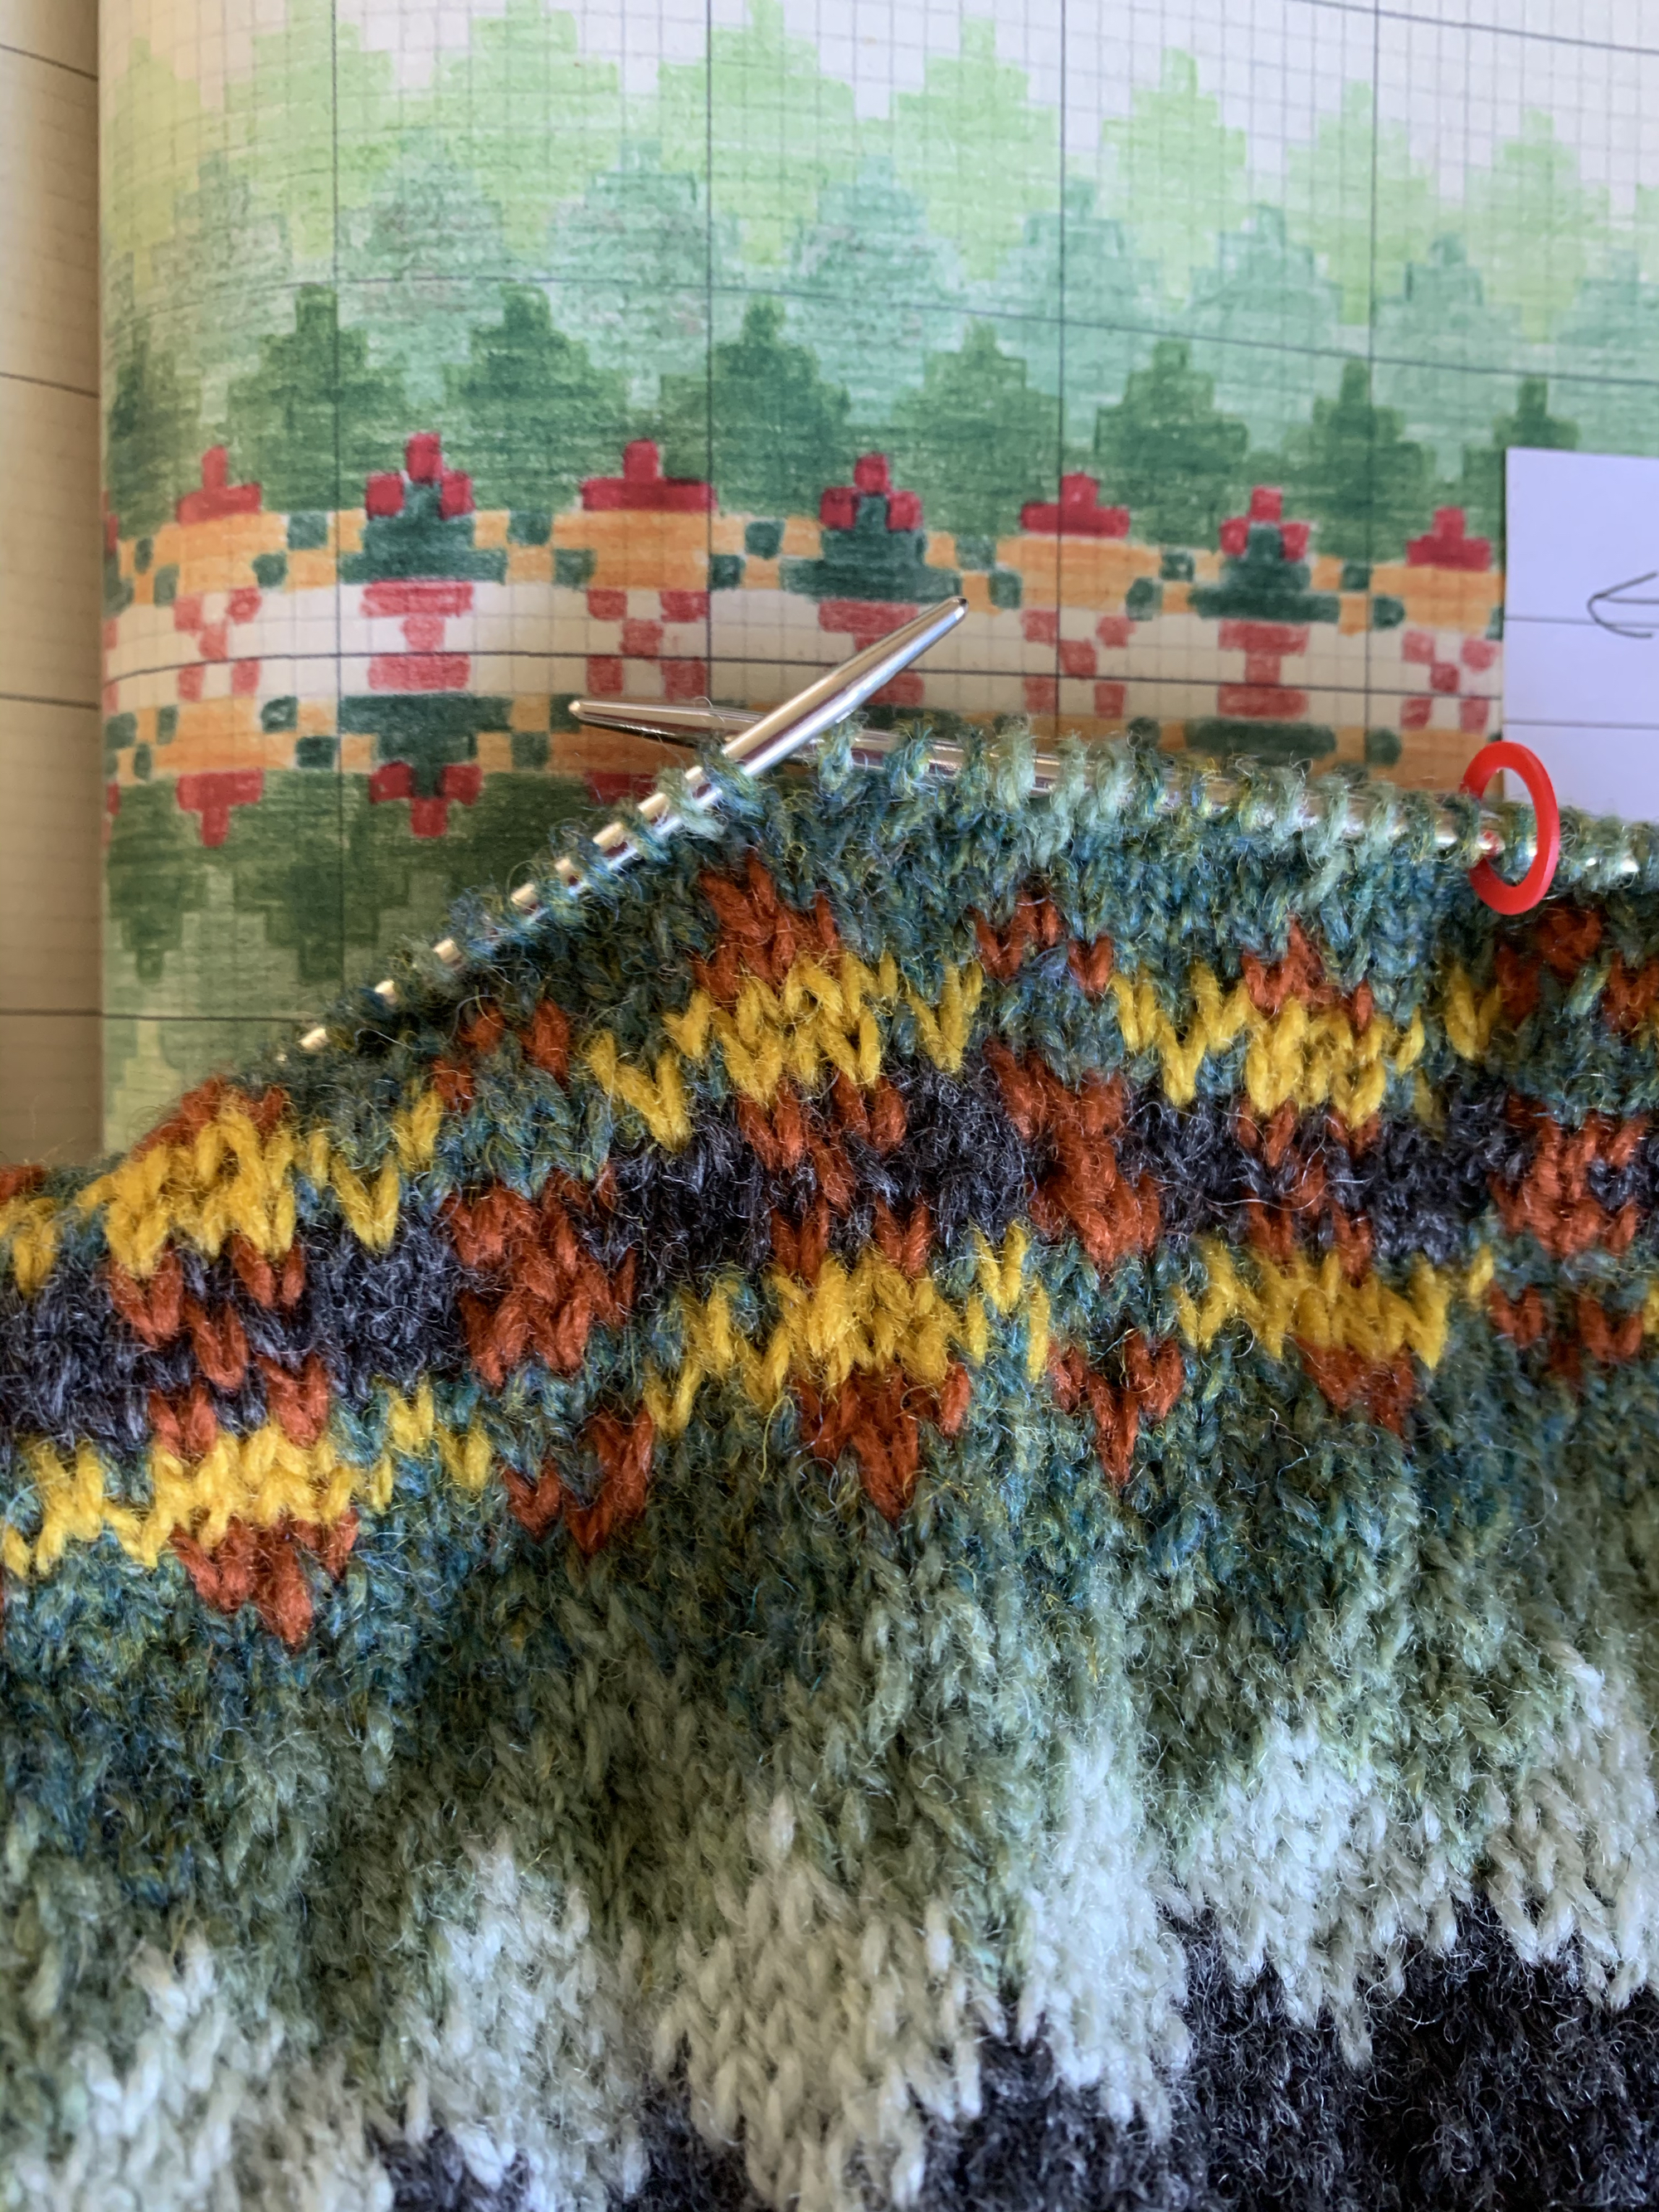
After knitting stockinette for days on my Calliope sweater, I felt that I needed a color-work challenge. Mona Zillah aka Bunnymuff has a pretty pattern done in Fair Isle, stranded knitting. The pattern is called Stellar Parallax and you get two patterns for the price of one as it includes directions for a hat and mitts. I’m knitting the fingerless mitts first.

The Wool Yarn

I am knitting with wool yarn which I have in my stash and it includes Rauma (orange and yellow), Tukuwool (green), and Jamieson & Smith 2-ply (blue) and J&S Shetland Supreme (black- dark brown – and white-undyed). The only problem I had was with the dark brown yarn which would occasionally become very thin in places as I knit. All the other colors were very consistent.

A New Way to Knit Corrugated Rib

I was unsure of what needle size to use. My first cuff was knit with a size 3US which is bigger than the pattern suggest. It turned out to be too large around so I began again with a size 2US .

Size 2 US used for all of knitting (9-inch circular needle) except for top of hand and thumb ribbing when I used size 1.5 DPNs.

First, I did the cast-on and ribbing as I usually do corrugated rib. And it looked like this (photo left below). The cuff was too large, so I began again with a smaller needle and followed Mona’s directions (photo right).

One Mitt is Finished

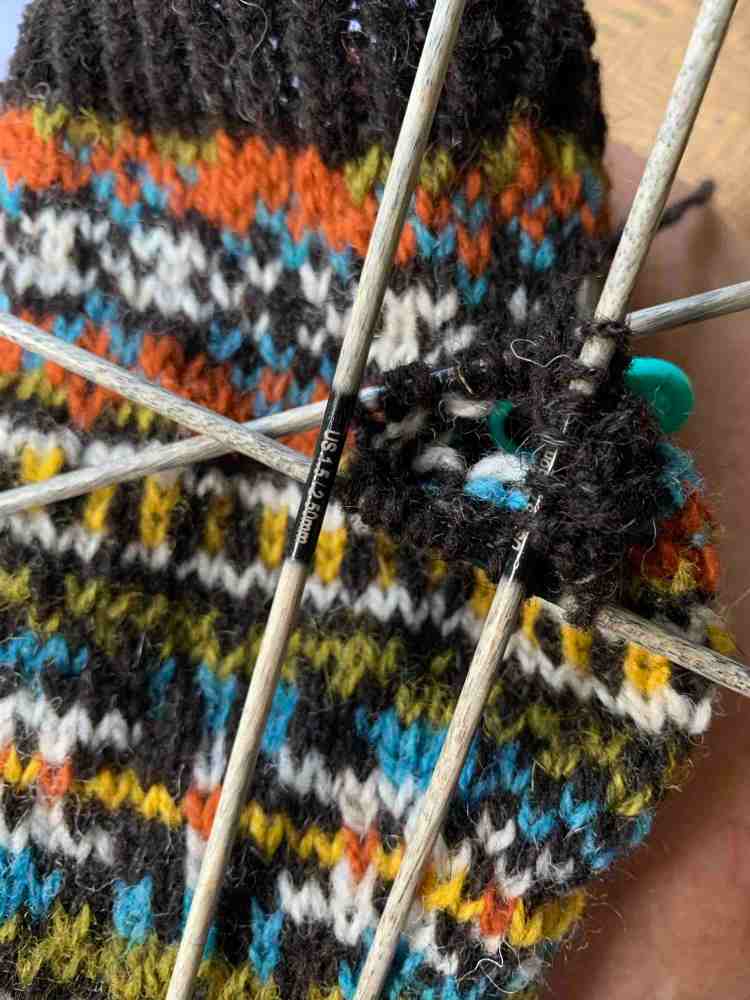
On September 4th I finished my first mitt. All that’s left is the weaving in of ends, which will be a big job. I took some photos while knitting the ribbing at the top of the hand with the thumb stitches on hold.

The whole mitt was knit with size 2 needles until the ribbing. I used size 1.5 to finish off the ribbing on the hand, and then I used the 1.5 for the thumb. I don’t like the Hiya Hiya set of three needles, so I bought some wooden DPNs to use for the second mitt – they are Lykke brand and are beautiful.

Ending Notes on Knitting the Stellar Parallax Mitts Pattern

I enjoyed knitting this pattern by Bunnymuff (link goes to her Ravelry store). She has a lot of colorwork patterns that I love, but she also creates patterns that require steeking – which I’ve never done. Steeking, in case you don’t know, is required when knitting colorwork sweaters that will become cardigans. Because Fair Isle knitting is done in the round, the sweater opening has to be created afterward. It all seems quite scary to me because you must cut up through your knitting! Yikes… I plan to learn it one day, but I’ll have to be in the mood. So I’m sticking with more simple colorwork projects for now.
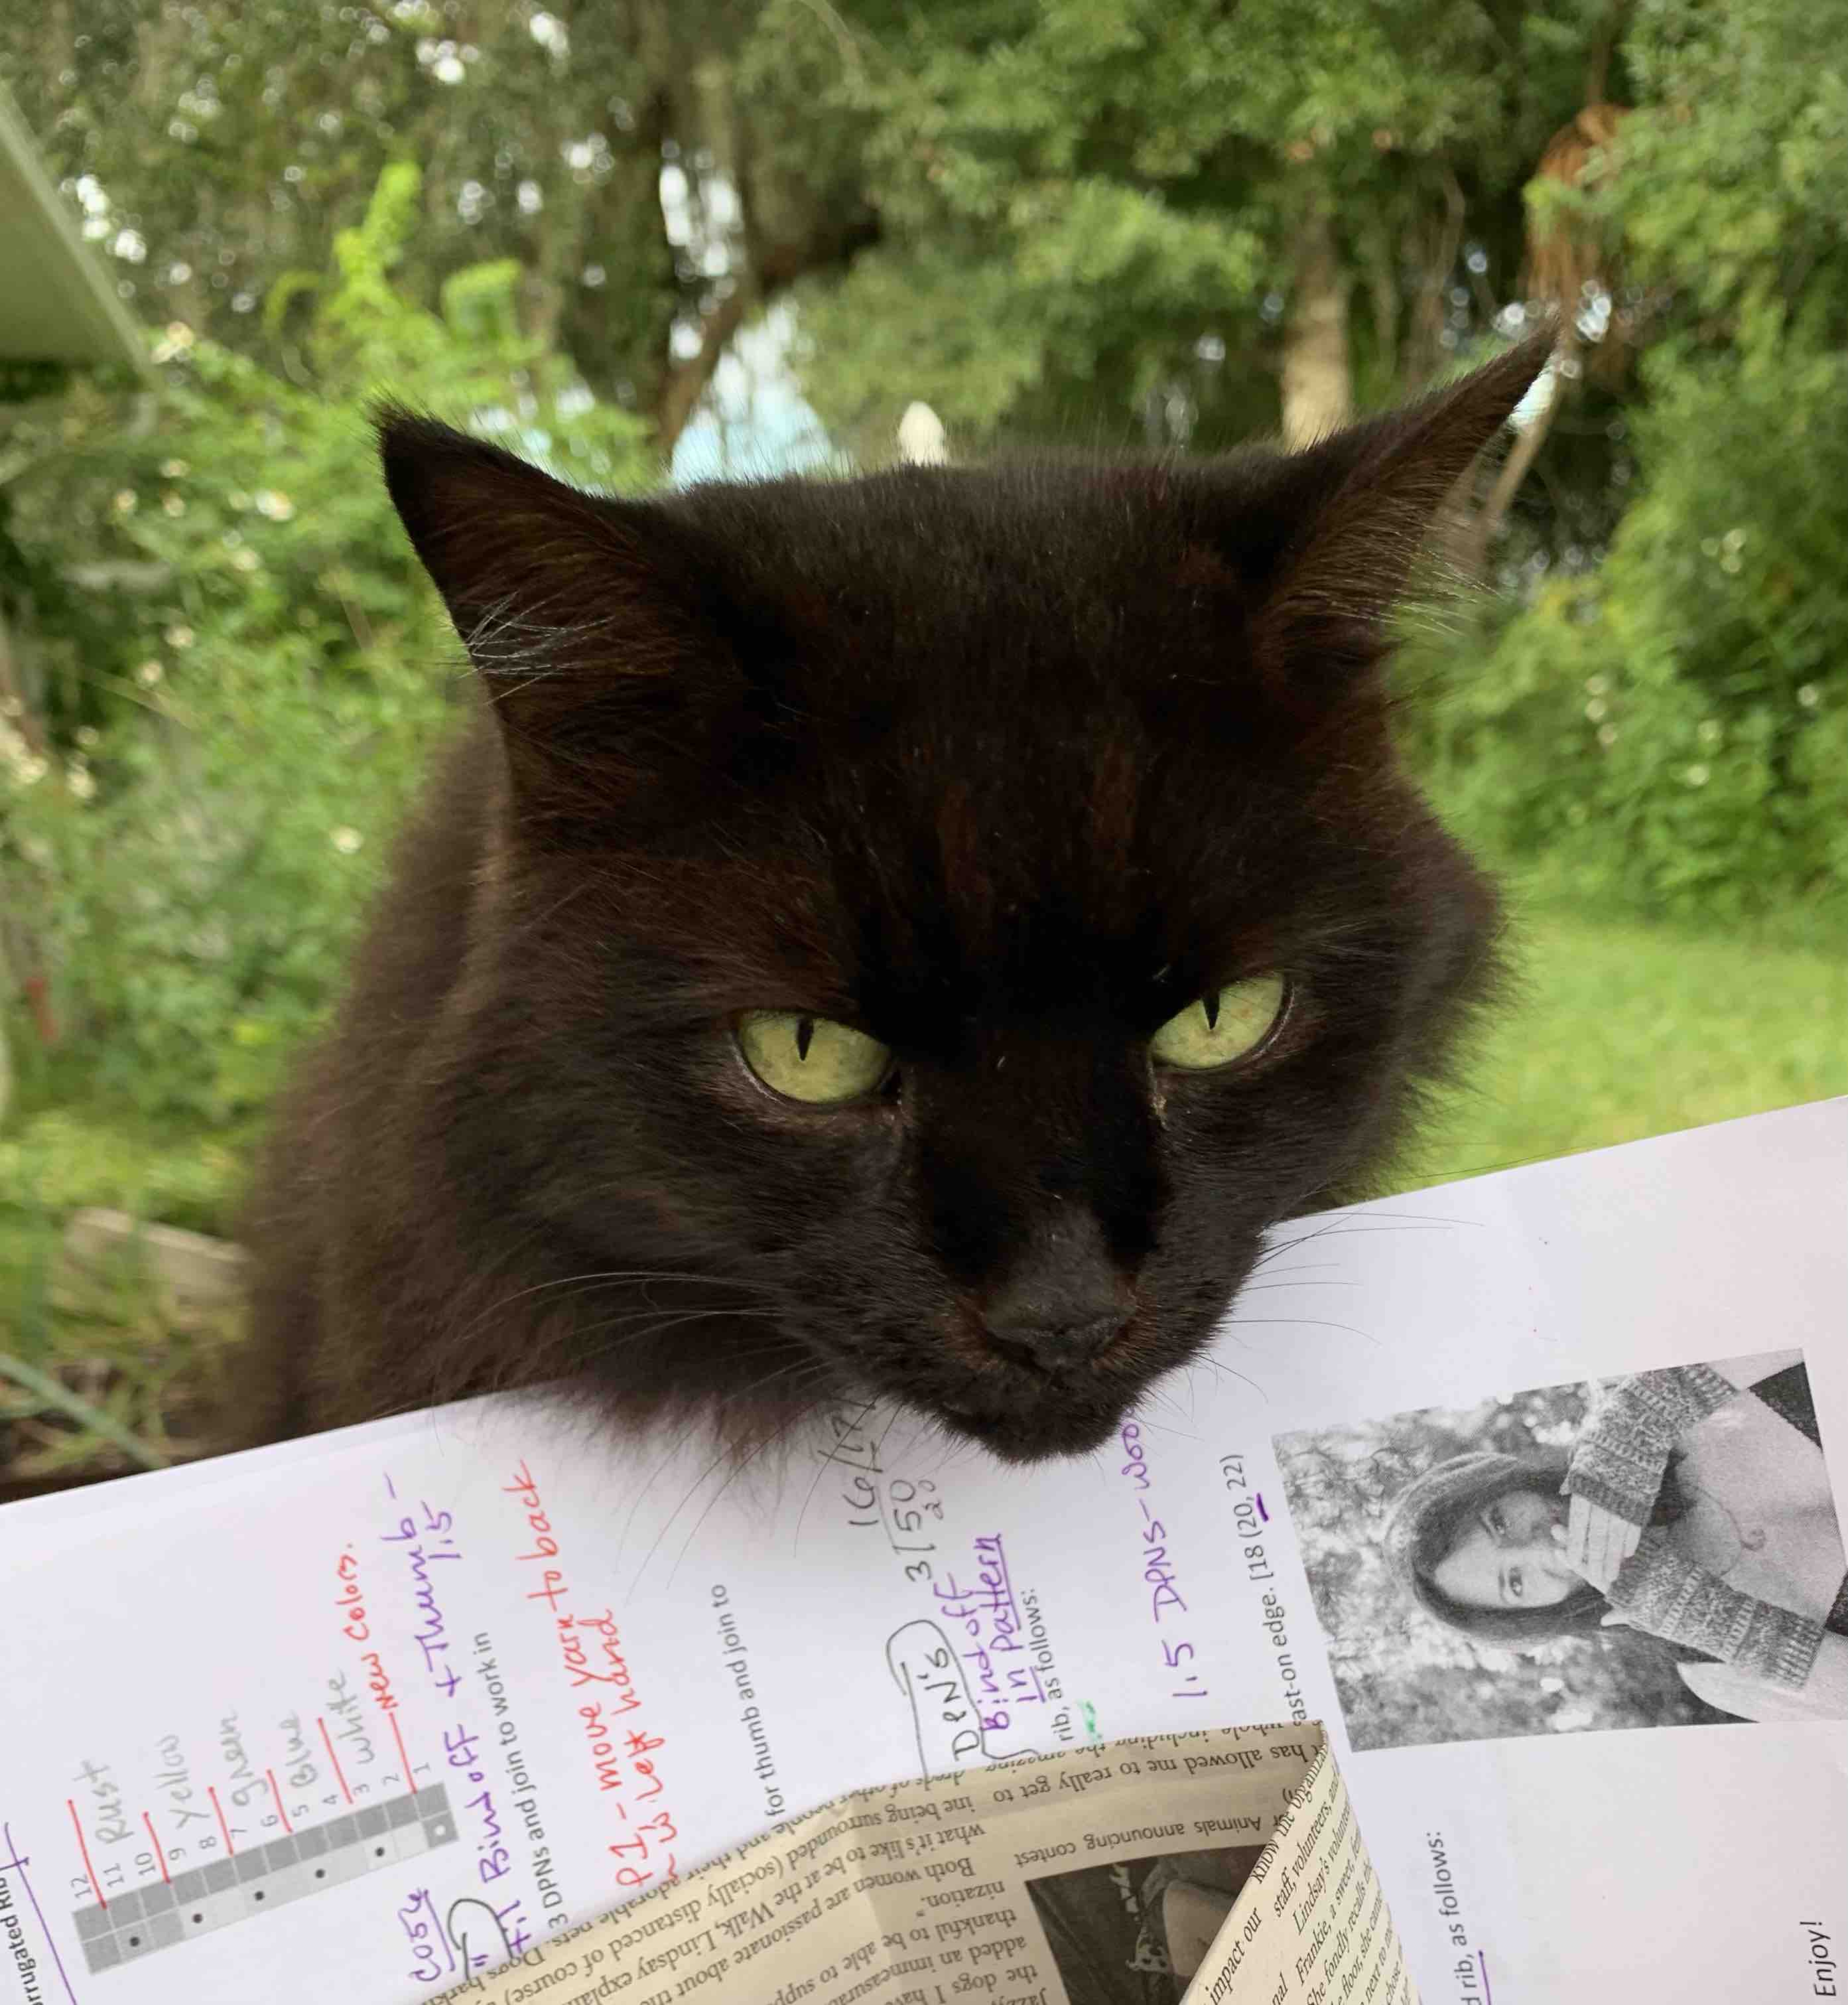
black cat, knitting basket, fontana
Fontana checks out the knitting basket

As I’ve said, I really liked knitting this pattern and it didn’t take long to finish the knitting. The weaving of ends is another story! I tried to carry the yarn colors more on the second mitt, to keep ends at a minimum, but it didn’t help much. It also didn’t help that Fontana, my cat, would insist on jumping into my lap while I tried to keep all my balls of yarn organized….!! How do cats always know to bother us when we are the busiest? Oh well, in the end, it’s all worth it.

Buying the new set of DPNs, Lykke brand (this is an affiliate link to Amazon), size 1.5 US, made a huge difference when completing the top ribbing for the hand and thumb.
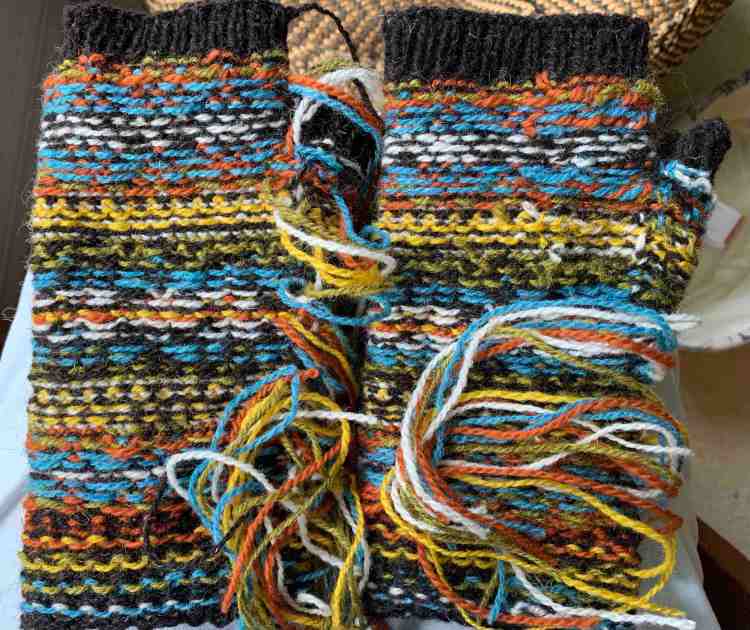
I have yet to wash the mitts because I am still weaving in ends! It’s never-ending, but I love the look of the mitts, which fit perfectly. I’m happy with my color choices and I learned a new way to knit corrugated ribbing. I’ll have to begin the hat part of this pattern soon before I forget where I put all my matching yarn.

Fair Isle Warm Ears Wool Hat Knitting

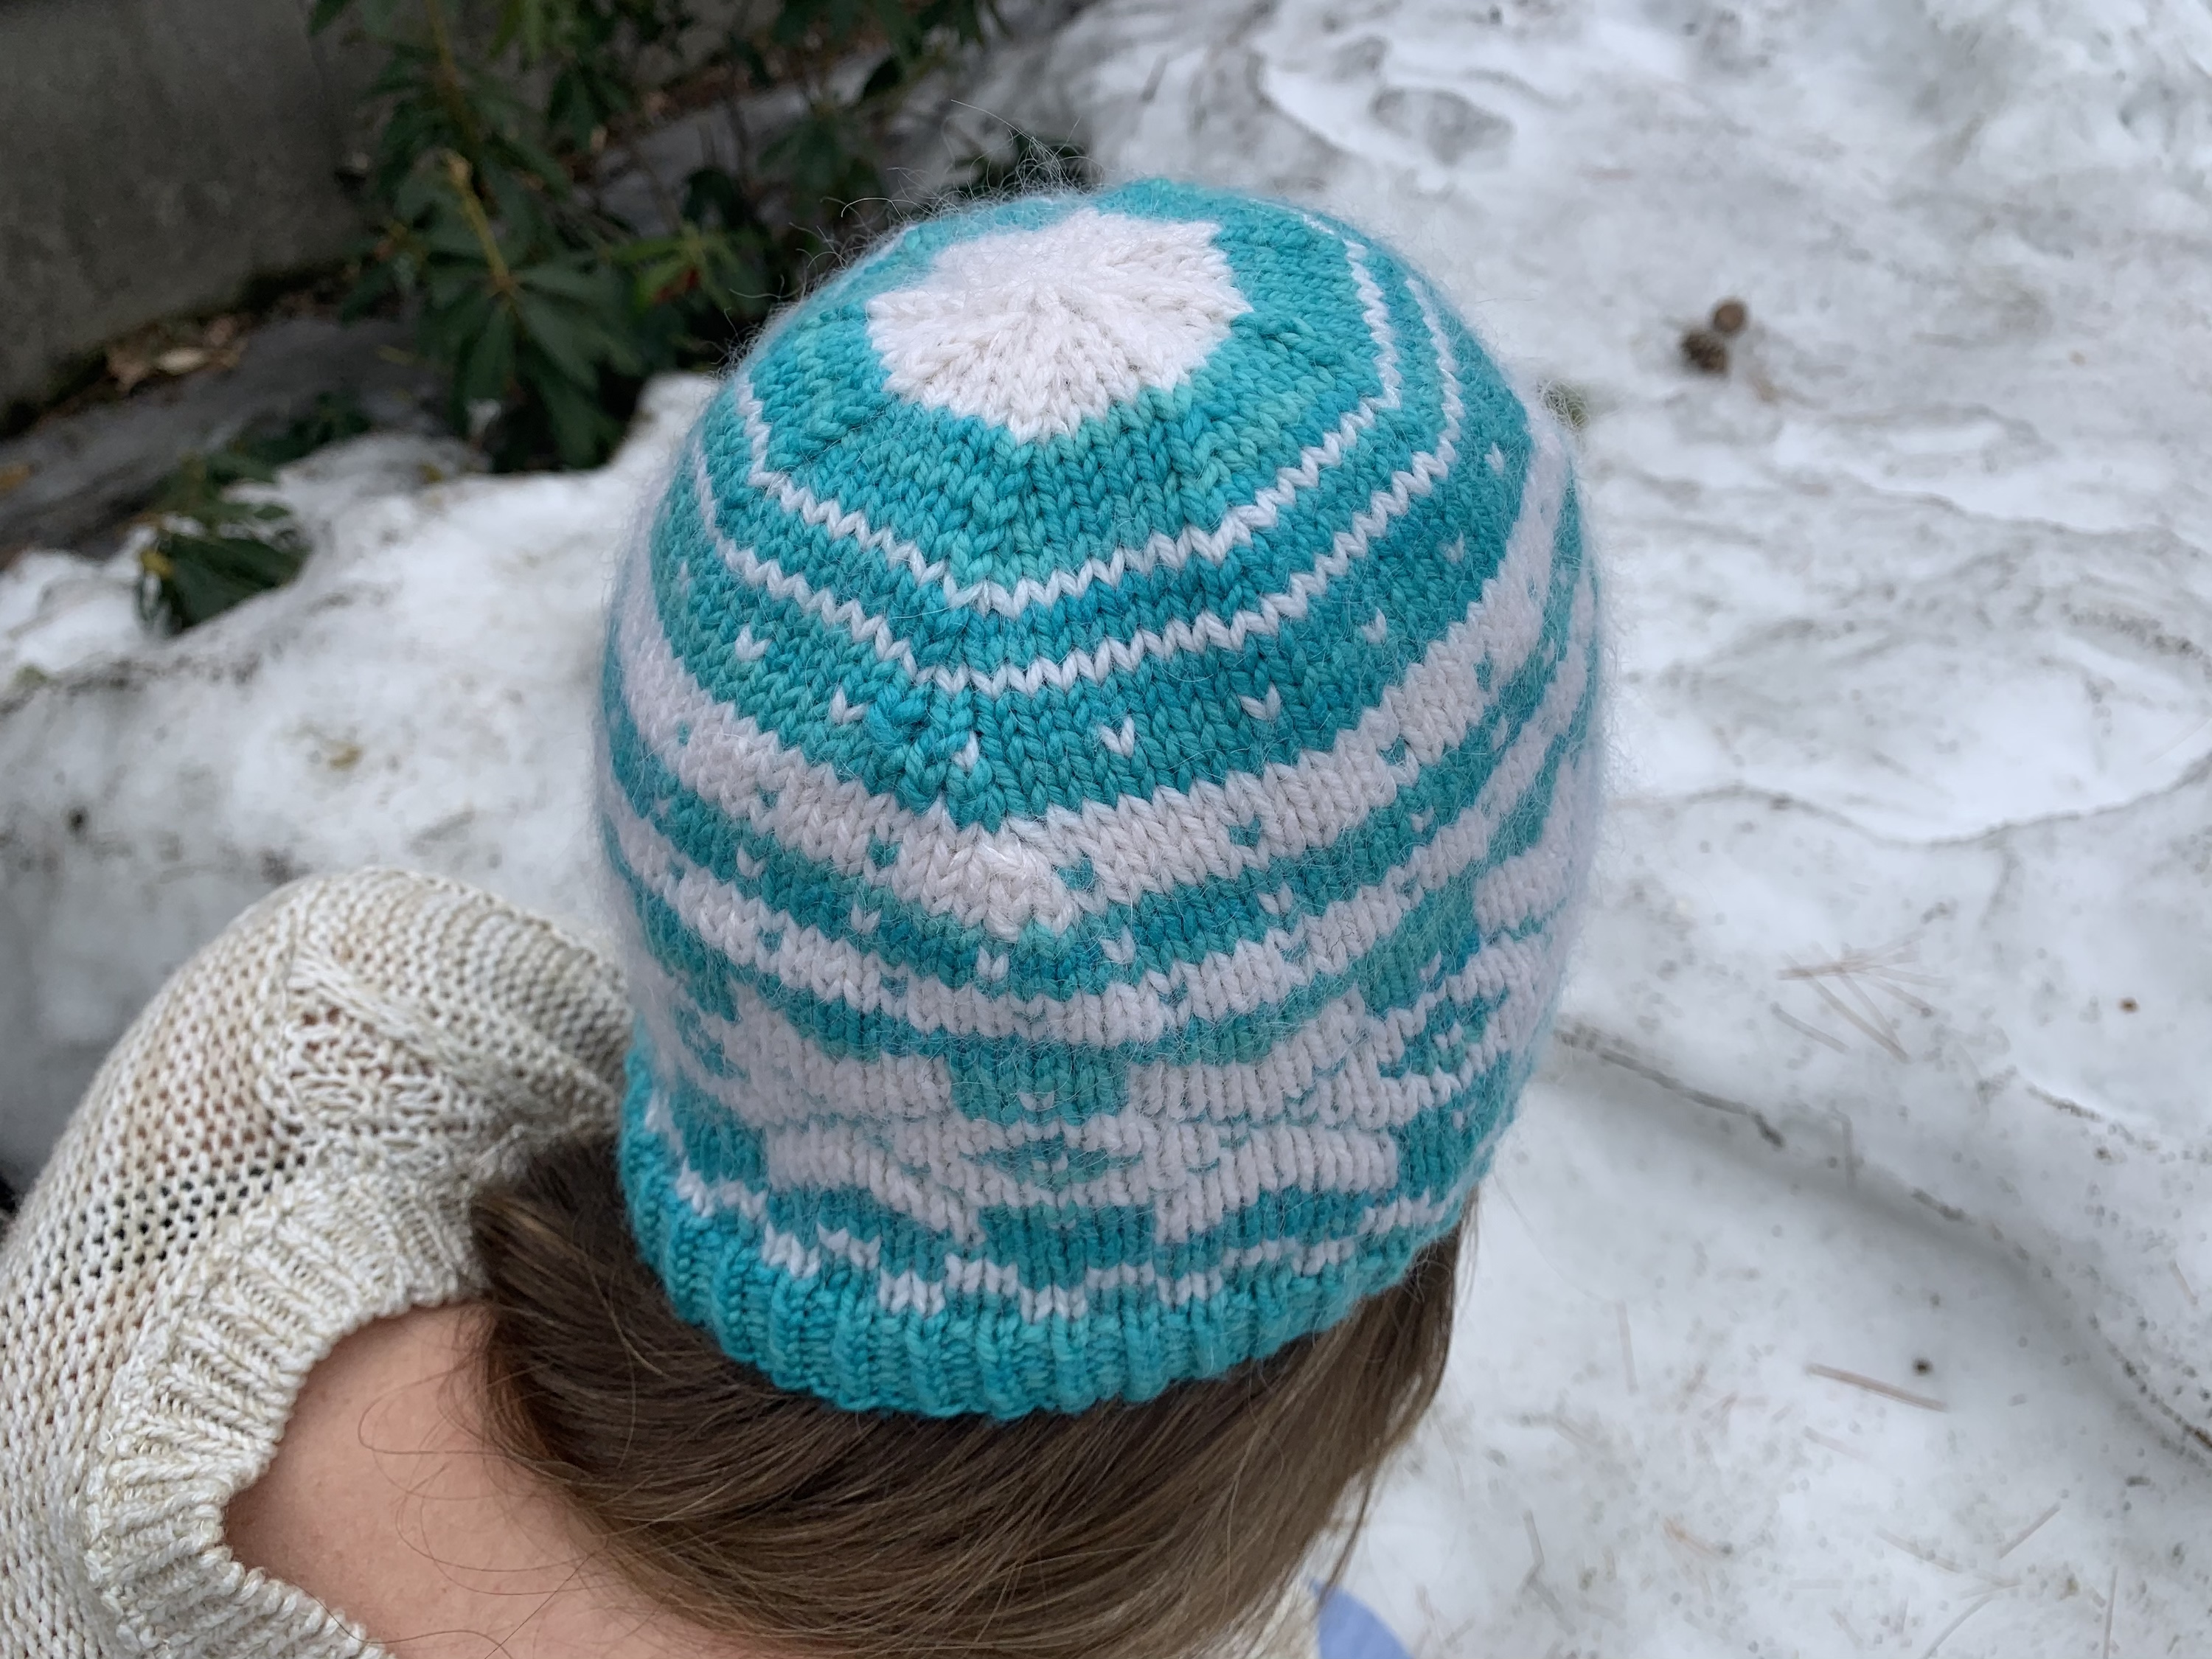
This is my third time knitting the Triple Patterned Watchcap hat pattern from the “Hat’s On” book (link to book below). This Fair Isle hat has a brim which is knit in such a way that it will be doubled and therefore keeps the ears nice and warm.

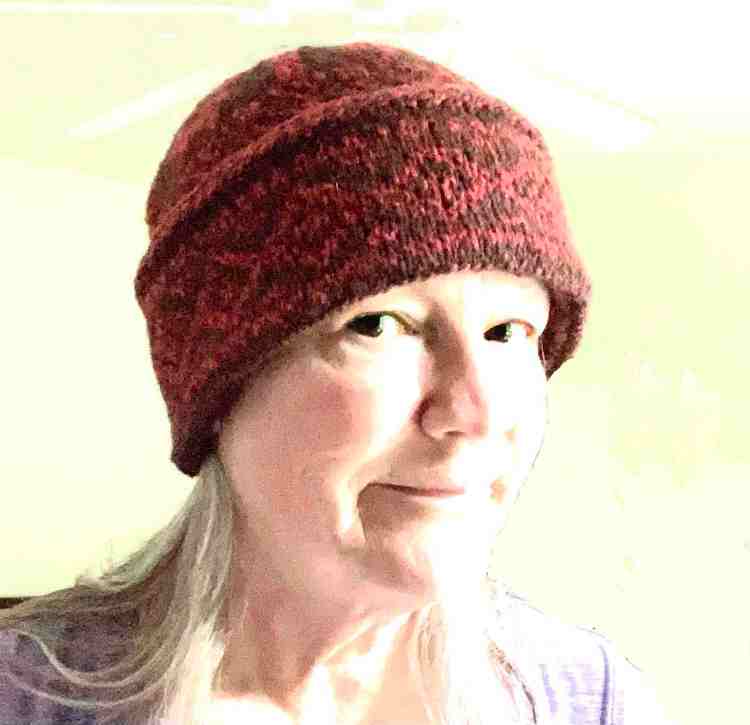
me wearing the watchcap hat
My new hat

The pattern begins with a Latvian Braid which is called a Twined Herringbone Edge in the pattern. For some reason I always have to review notes on how to create the braid and usually I begin doing it incorrectly! But once I realize my mistake, I can do the braid without a problem.

The braid will be at the top part of the cuff once it’s flipped up. This pattern is in chart form only, and you have to own the book to get the pattern. Hat’s On! is available at Amazon here. (This is an affiliate link and I could earn money if you follow the link and buy the book.) It contains patterns from simple / beginner to difficult / experienced and I’ve had my book for years trying to work up to knitting that pretty hat on the front!

Knitting the Cuff or Hat Band – Colorwork Pattern #1

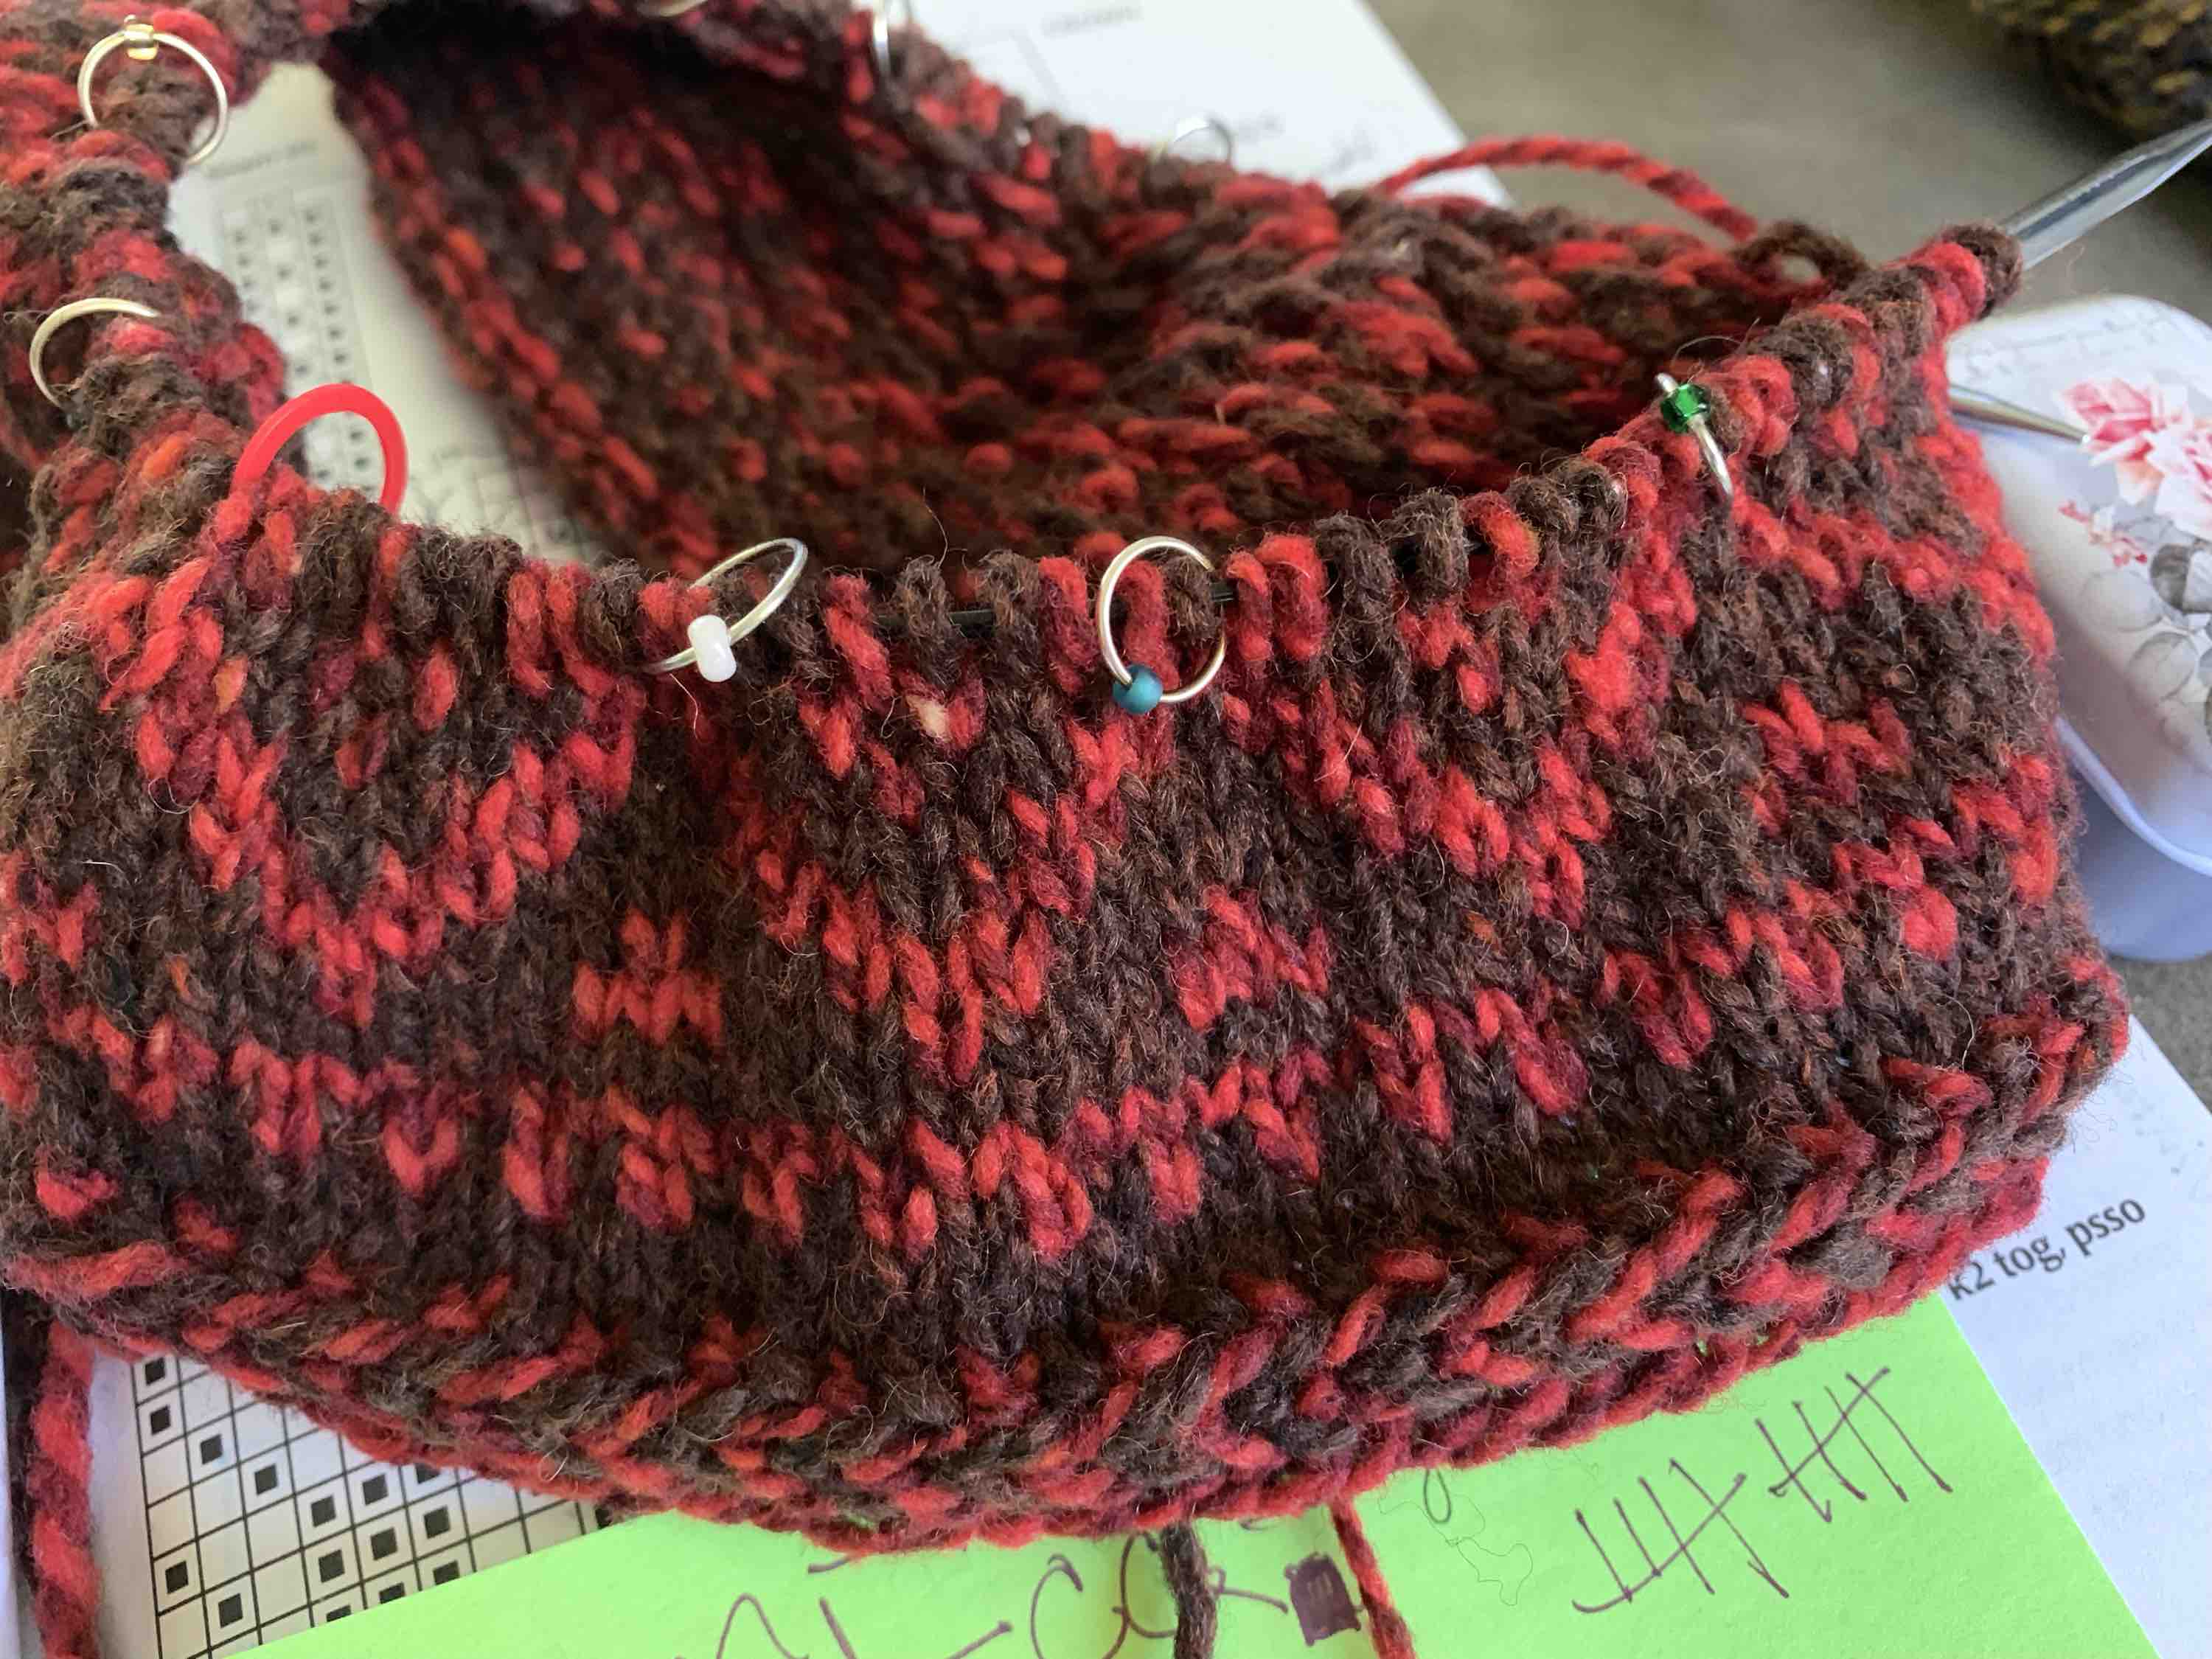
I like to place markers to help me keep the pattern straight. On the cuff that means every ten stitches.

hat, knitting, triple-patterned watchcap, hats on book,
Using markers for pattern

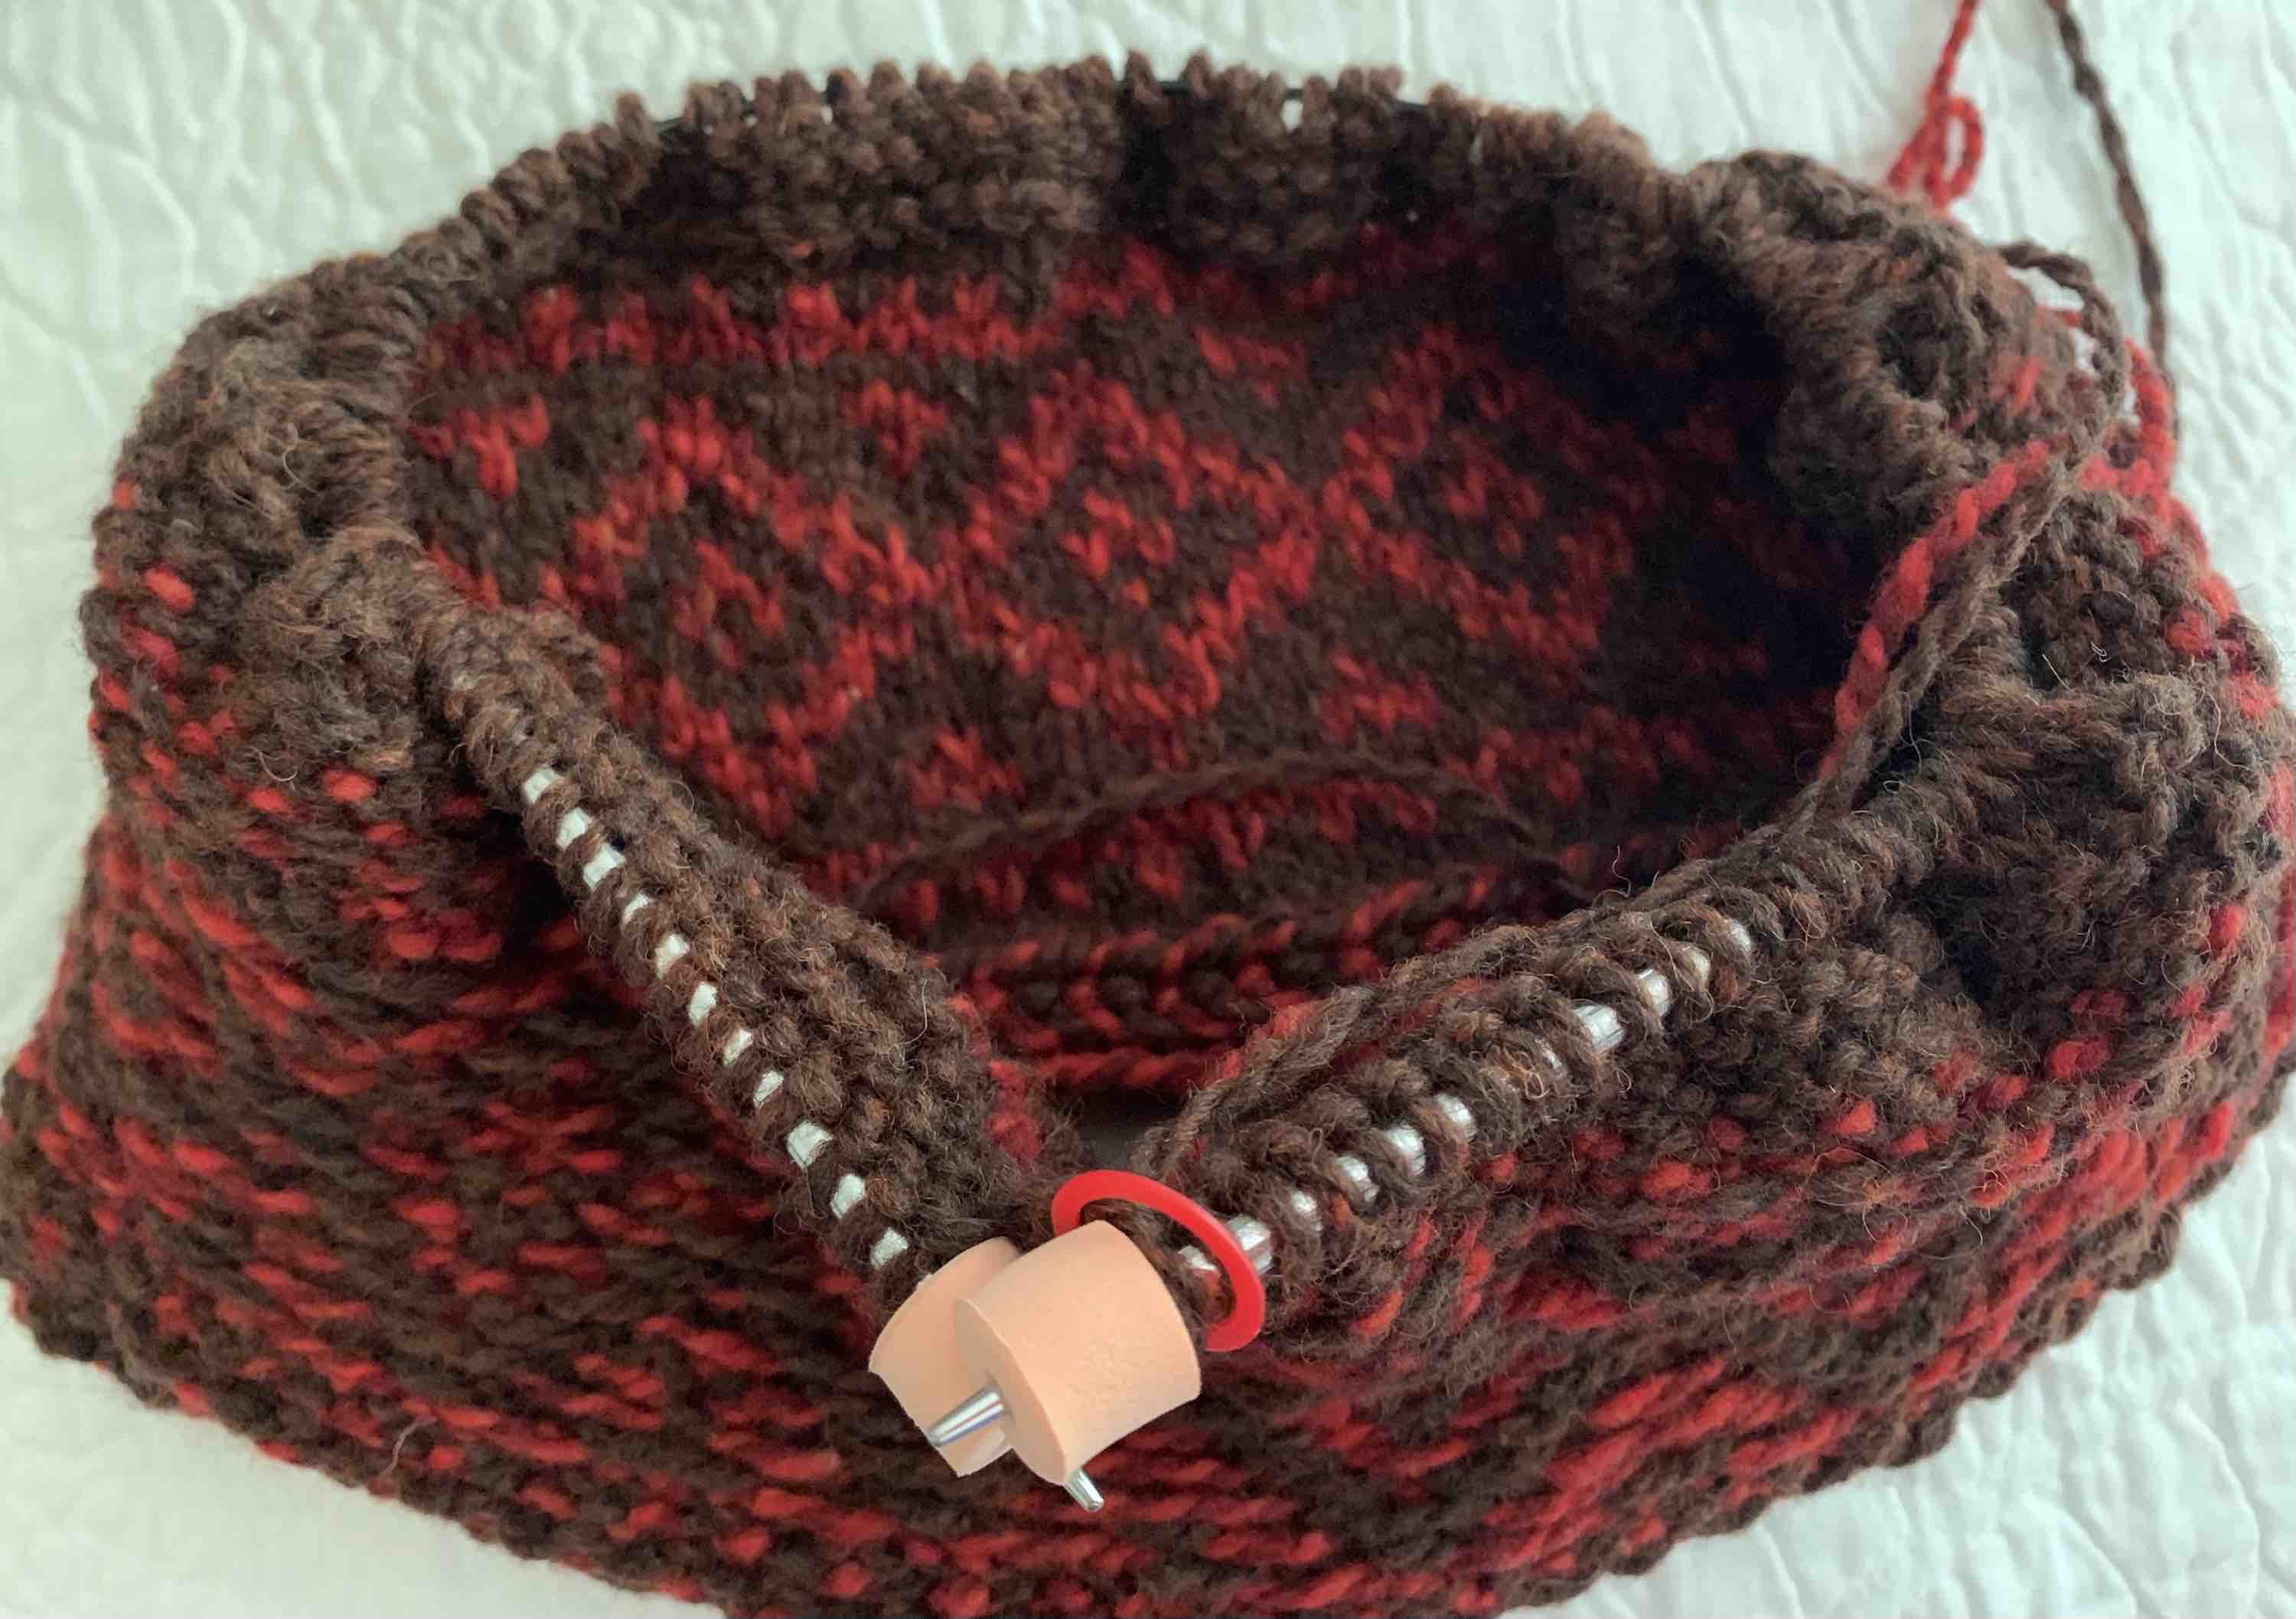
Once the first pattern of the triple-patterned hat is complete the remainder of the knitting is done with the cuff turned inside out. My needles are very crowded while knitting the XL size.

In the photo below, I have flipped the finished brim inside out and begun knitting in the opposite direction for the top of the hat. The remainder of the hat will be knit this way, so the cuff looks inside out. It will turn up when the hat is completed.

hat knitting, triple-patterned watchcap, colorwork, fair isle,
Brim is finished, turned to begin hat top

Knitting Pattern #2 of the Triple Pattern Design

I am following this pattern exactly and the second colorwork pattern is a bunch of circles. It’s for fun only because when the hat is complete the cuff will be turned up to cover this section of knitting. But, Fair Isle is much more fun to knit than simple stockinette. This section could actually contain anything, or nothing at all. When I knit this hat in green and gold, I put a heart pattern in this second section.

I will say that this knit made my hands ache. I did knit at long periods of time, but the wool is quite stiff to work with. The last two hats I made like this were knit with Brooklyn Tweed’s Arbor yarn, which I would have used again, but had no more good colors left. This hat will have a different look because of the yarn, but that’s okay because I also love this type of wool.

Colorwork pattern #2 will be covered by the cuff when the hat is finished.

Pattern #3 Completes the Crown of the Hat

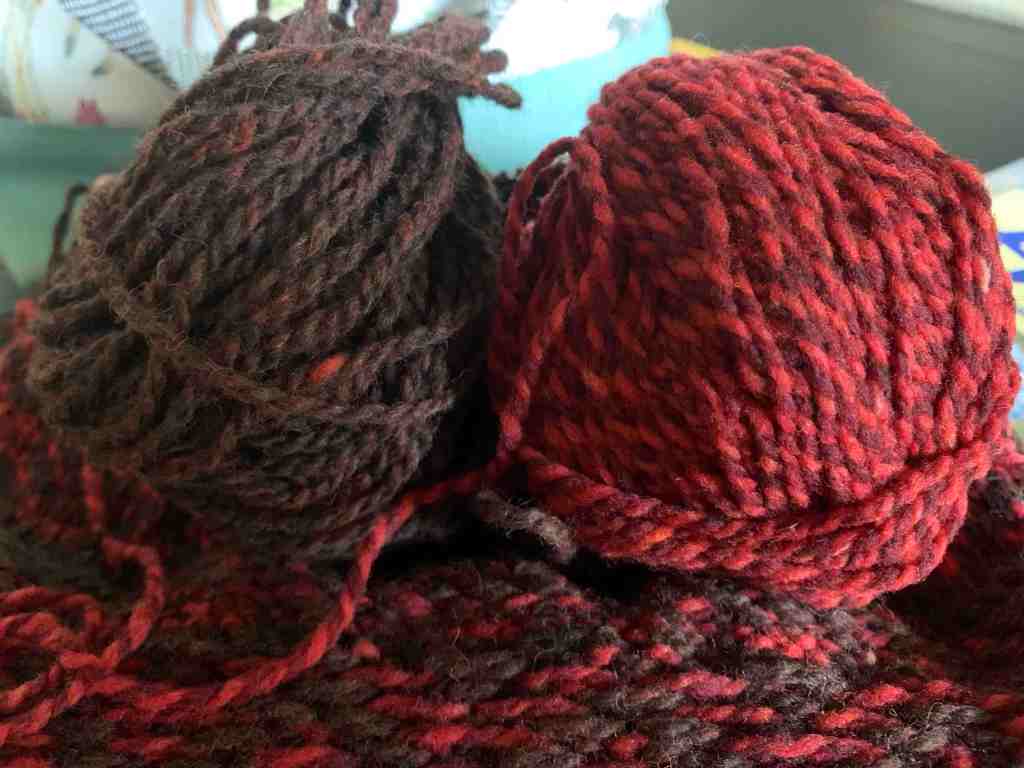
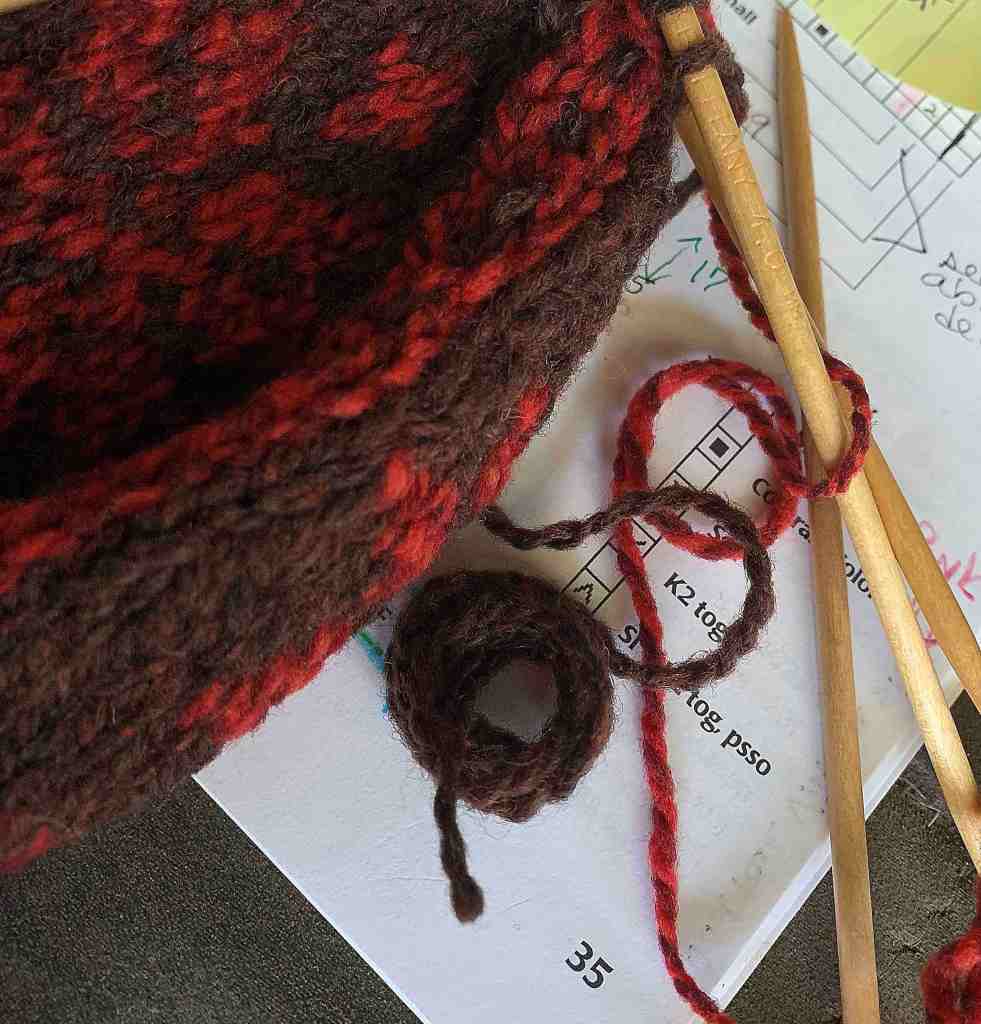
As I began pattern number three, I was running low on the brown yarn. I was sure the red would be sufficient, but the brown ball was pretty small. I had used the Teak yarn to knit a pair of boot cuffs for my daughter, so I didn’t begin this knit with a full skein. I do have another brown yarn – BT’s Meteorite – which I am keeping close by, just in case.

It turned out that I had just barely enough brown yarn to finish up the crown – see my image below, far right…! One little strand was leftover. It’s what knitter’s call playing “yarn chicken”.

The Wool Yarn

In keeping with my plan to use up the yarn I already have, I found two worsted weight, pure wool yarns that I like together. The yarn I am using for this hat project is Brooklyn Tweed’s “Shelter” in colorway Amaranth (shades of red) and Harrisville Highland Wool in colorway Teak (brown). Wool is wonderful for colorwork and will help to make this hat extra warm on cold days.

The Size and Needles Used

I am using a size 6 needle (16 inch circular and DPN’s) and knitting the size XL hat. Both hats I knit previously came out with head circumference measurements exactly matching the pattern. Because this hat is done in stranded knitting around the brim, it won’t have a lot of stretch. The XL should measure 22 inches when finished and that should fit my head nicely. Yes, it does!

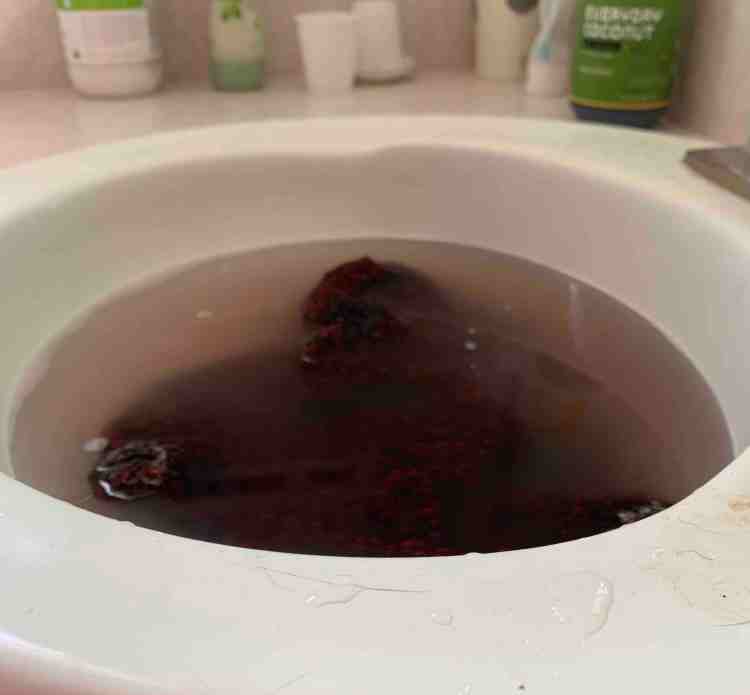
The finished hat, after washing and drying, measures approximately 22 inches around. There isn’t much stretch to this pattern and it fits snug, but not tight to my head. I rinsed it twice in wool wash as there was a lot of color coming out. Yarn tends to be pretty dirty by the time a project is knit, so washing is essential.

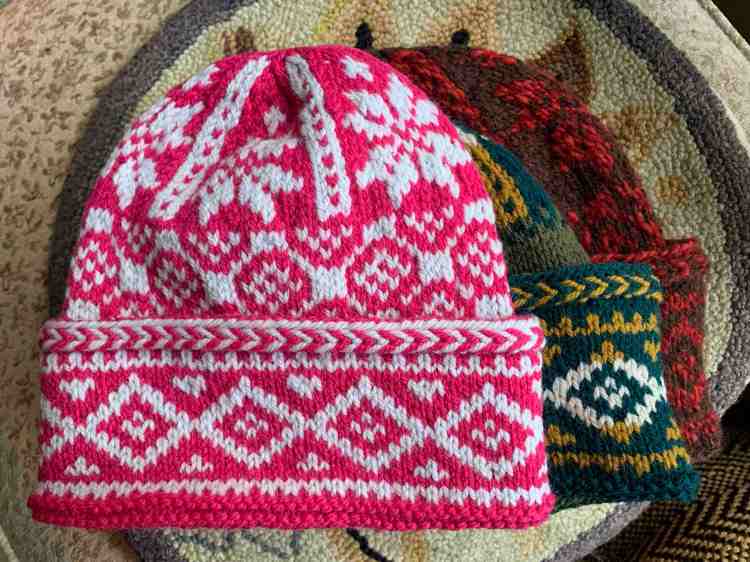
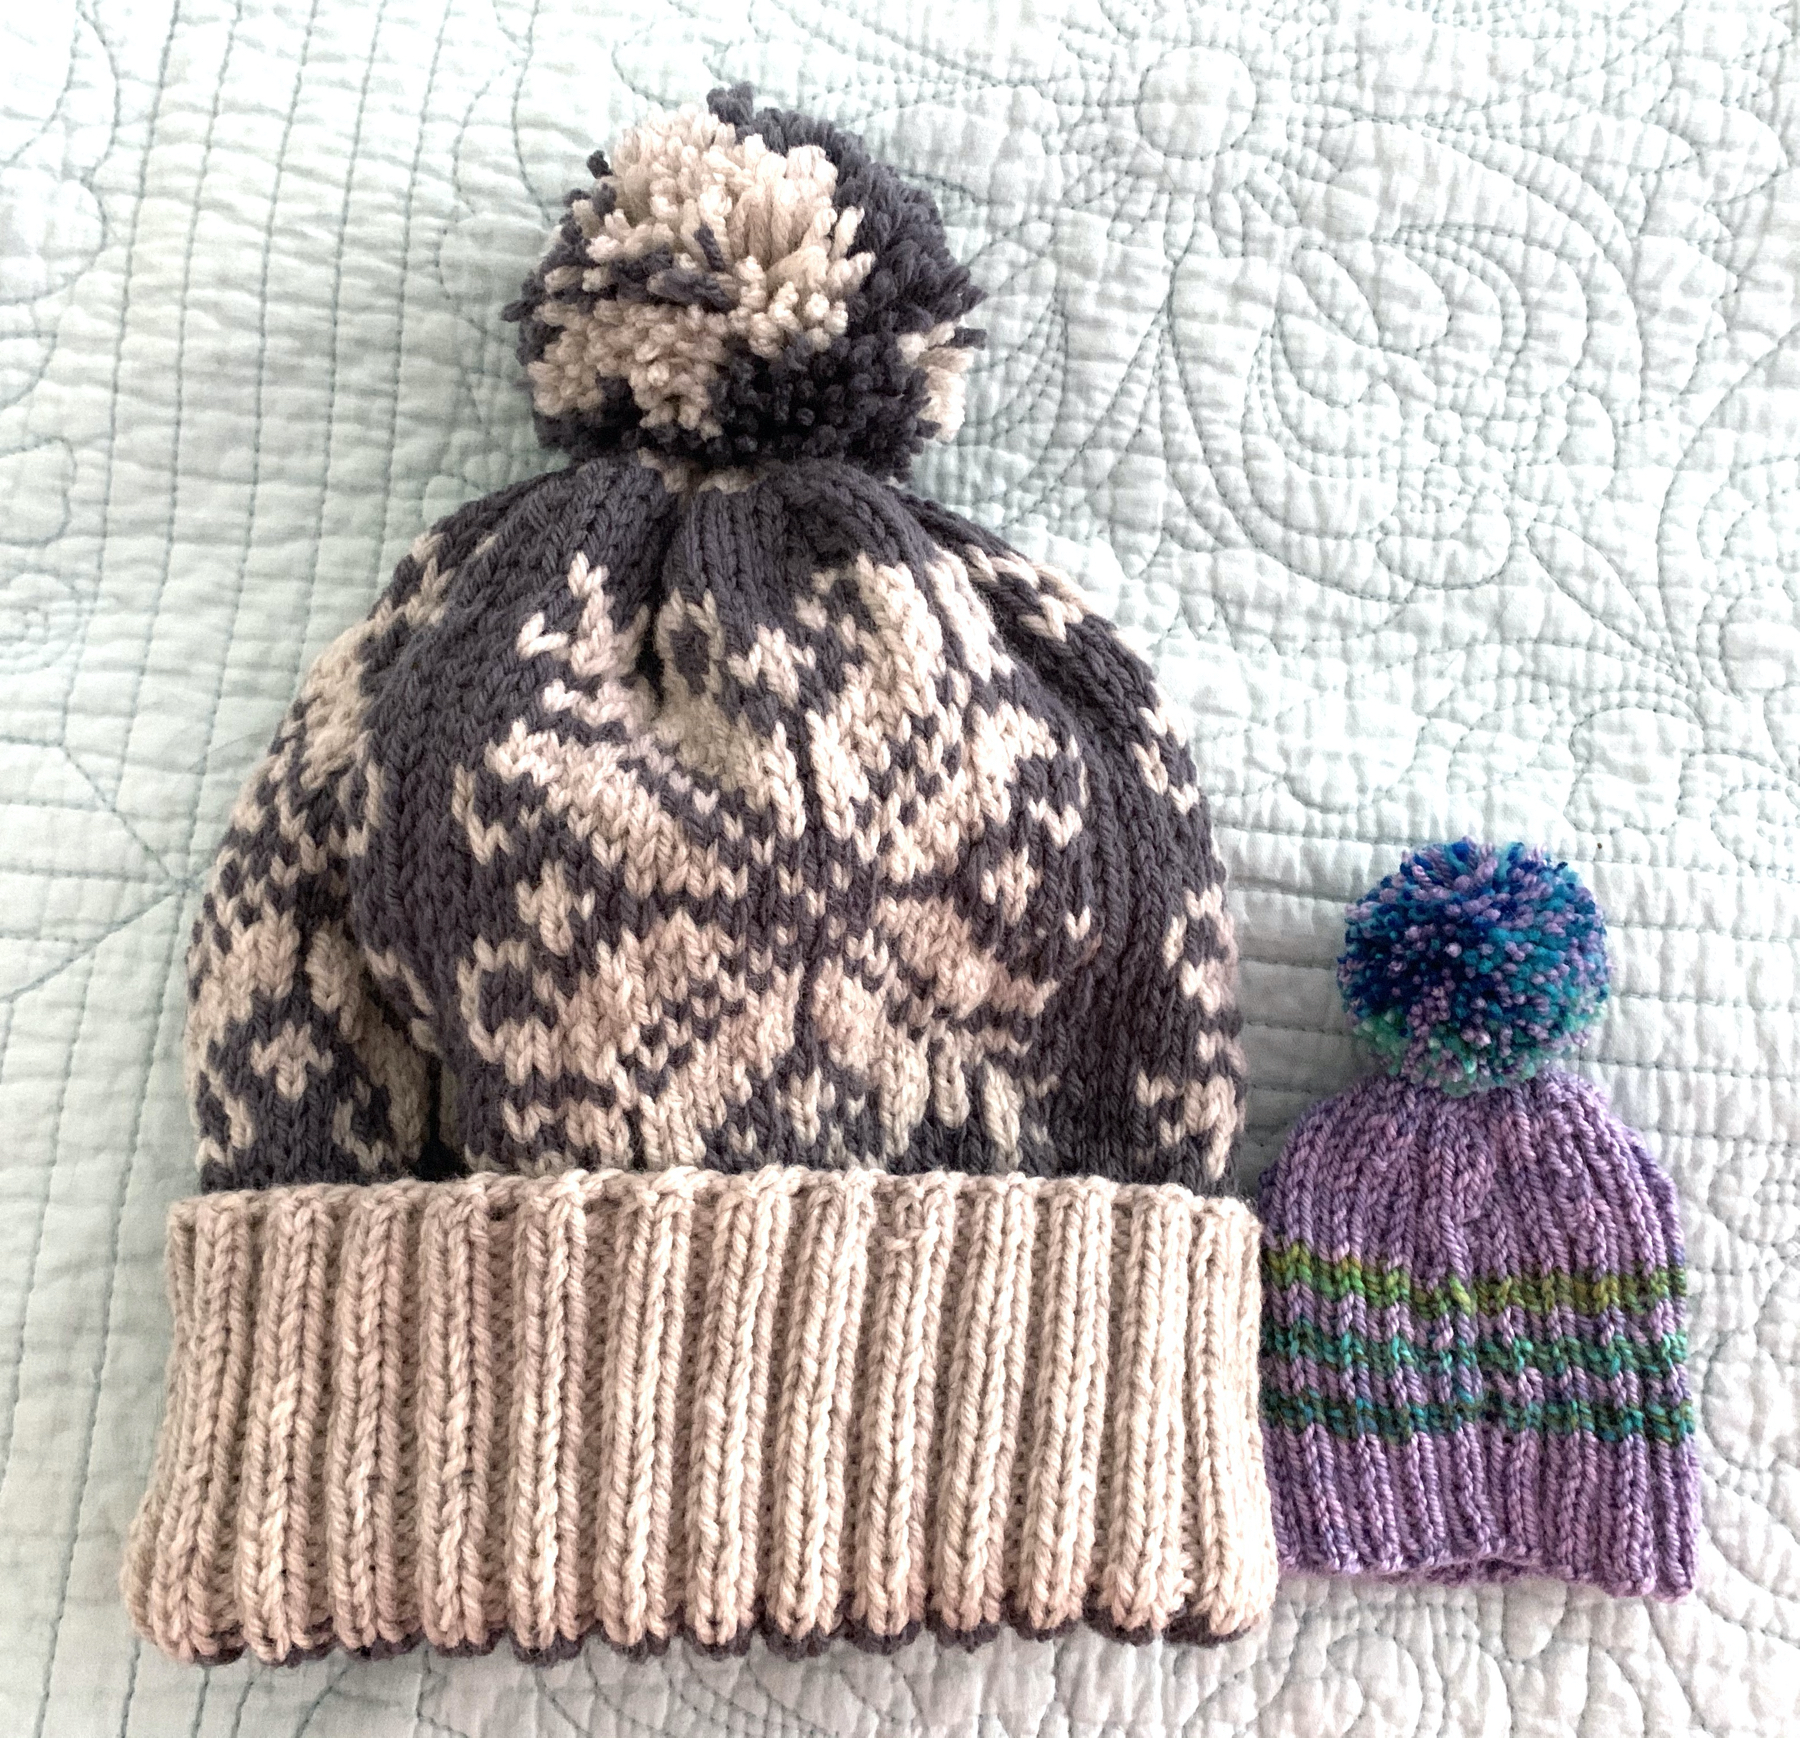
I Now Have Three Triple-Patterned Watchcaps in Three Sizes

Two hats, the size Large and Small, were knit using Brooklyn Tweed’s “Arbor” which is a very nice yarn. I enjoyed knitting with it more than the wool, but I love the outcome of this wool hat.

knitting divider

Latest Blog Posts

Something went wrong. Please refresh the page and/or try again.

Fair Isle With Multiple Colors, How to Choose Yarn

Tips for deciding on yarn colors when knitting a project that calls for multiple strands of color.

One of my favorite types of knitting is stranded knitting using two or more colors. Fair Isle is the best, where only two colors are used at a time on any one row. When more than two are used in a row, it is not technically Fair Isle. It’s more difficult to manage three strands of yarn also. I avoid that, but using two colors, one in each hand, is quite fun.

I’ve seen a lot of knitters complain that they are not good at choosing colors for this type of knitting. When five or more colors are needed in a project, like the hat below, combining the perfect colors can be daunting. It is tough to envision them blending throughout the work. But, there are ways to choose colors that will work.

Katie's Kep hand knit hat in stranded colorwork using Rauma Finull yarn
Katie’s Kep knit in darker colors

First I Choose a Background, or Main Color Yarn

I enjoy picking out the colors for a colorwork project myself. By day, I do design work for my job and create graphic designs which have to do a lot with color matching. Maybe this is why I enjoy choosing my own yarn colors for projects.

My tip is to find the base, or background color first. I could change it later, but finding the base color gives me something to work from. Usually it will be something neutral which goes with a lot of colors, such as white, tan, gray, or black. Basically any color that you will NOT be using in the design and makes a good contrast for the remaining yarn.

Decide on a Bright or Muted Combination

Before knitting, get a good idea of how the end product should appear. Do you want it to match a coat or sweater you own? Will it be brightly colored, or have muted colors to match everything? Is the design something that should pop, or blend? And most important is to choose colors you will love to wear.

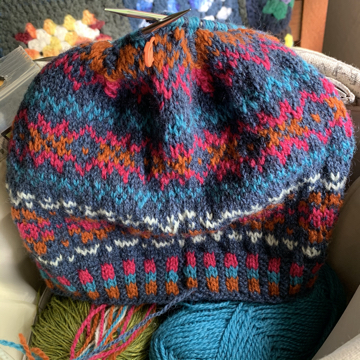
For the first Katie’s Kep hat I knit I decided on dark blue as the background color. From there I decided that I wanted brighter colors which would stand out a bit. Even though I messed up on the pattern (a little) overall I am happy with the colors.

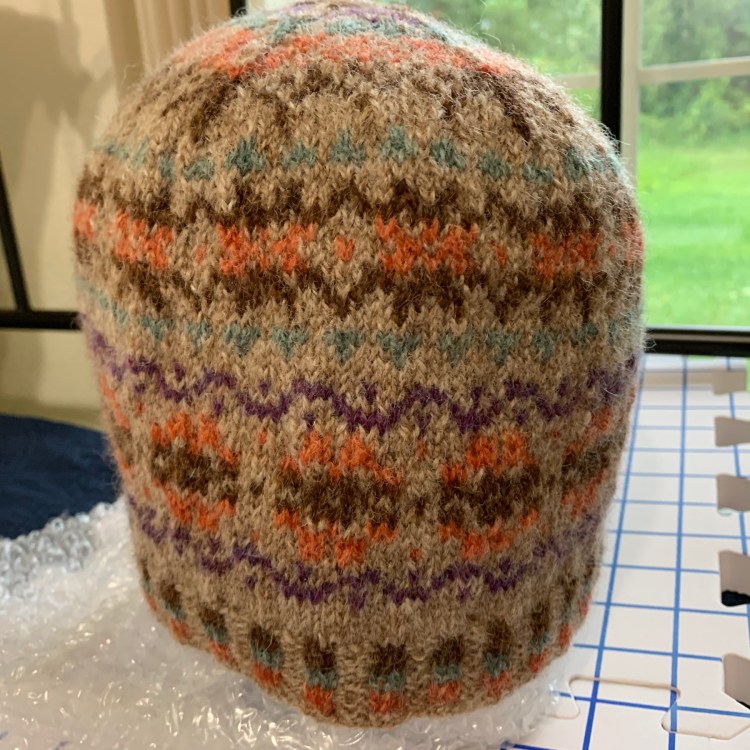
When I knit my second Katie’s Kep, I chose tan as my base color and I wanted a more muted overall design with earthy tones. The colors I chose were not bright, but were meant to blend nicely. See both hats in the slide show below.

  • Stranded fairisle colorwork hat
  • Katie's Kep Fair Isle hat
  • Katie's keep crown star
  • Katies keep number two

Choose Which Design Elements Should Stand Out

In the Keps I knit, the important design elements were the floral sections. After deciding on tan for the base, next I thought about flower color. The orange was perfect. Once the larger parts of the pattern were chosen, I needed colors for the smaller rows which separate the floral images.

For the tan Kep, I chose colors that are not “true” and have somewhat of a “gray” tone to them. For instance, in place of a real blue I would choose a gray-blue and in place of orange I would choose a rust orange. When adding row that will contrast a bit more, I chose something totally different like dark purple. Fortunately a lot of nice wool yarn, like Rauma, J&S, and Shetland is dyed in these neutral colors to make it easier to combine them.

Then there is always the copy option. The designers themselves are usually quite good at choosing colors. Here is where it is okay to copy someone online…!! Knitwear designers will usually list their yarn and colors used which takes all the guesswork out. For instance, when I knit Katie’s Kep, there were four different yarn color combinations included in the FREE pattern. I did not use them, because I like to come up with my own. But for anyone needing that help, it was right there to use.
Knitting Books That Help With Colorwork

If you like the idea of DIY, begin learning by simply studying Fair Isle colorwork knits you find online. Or buy books that have Fair Isle patterns and color selection ideas. I have Alice Starmore’s Book of Fair Isle Knitting (affiliate link to Amazon) and wow, is it ever full of inspiration! Mostly it’s over my head at this point, but I love to skim through and see the beautiful colorwork designs. It’s a fabulous book for any knitter’s library.

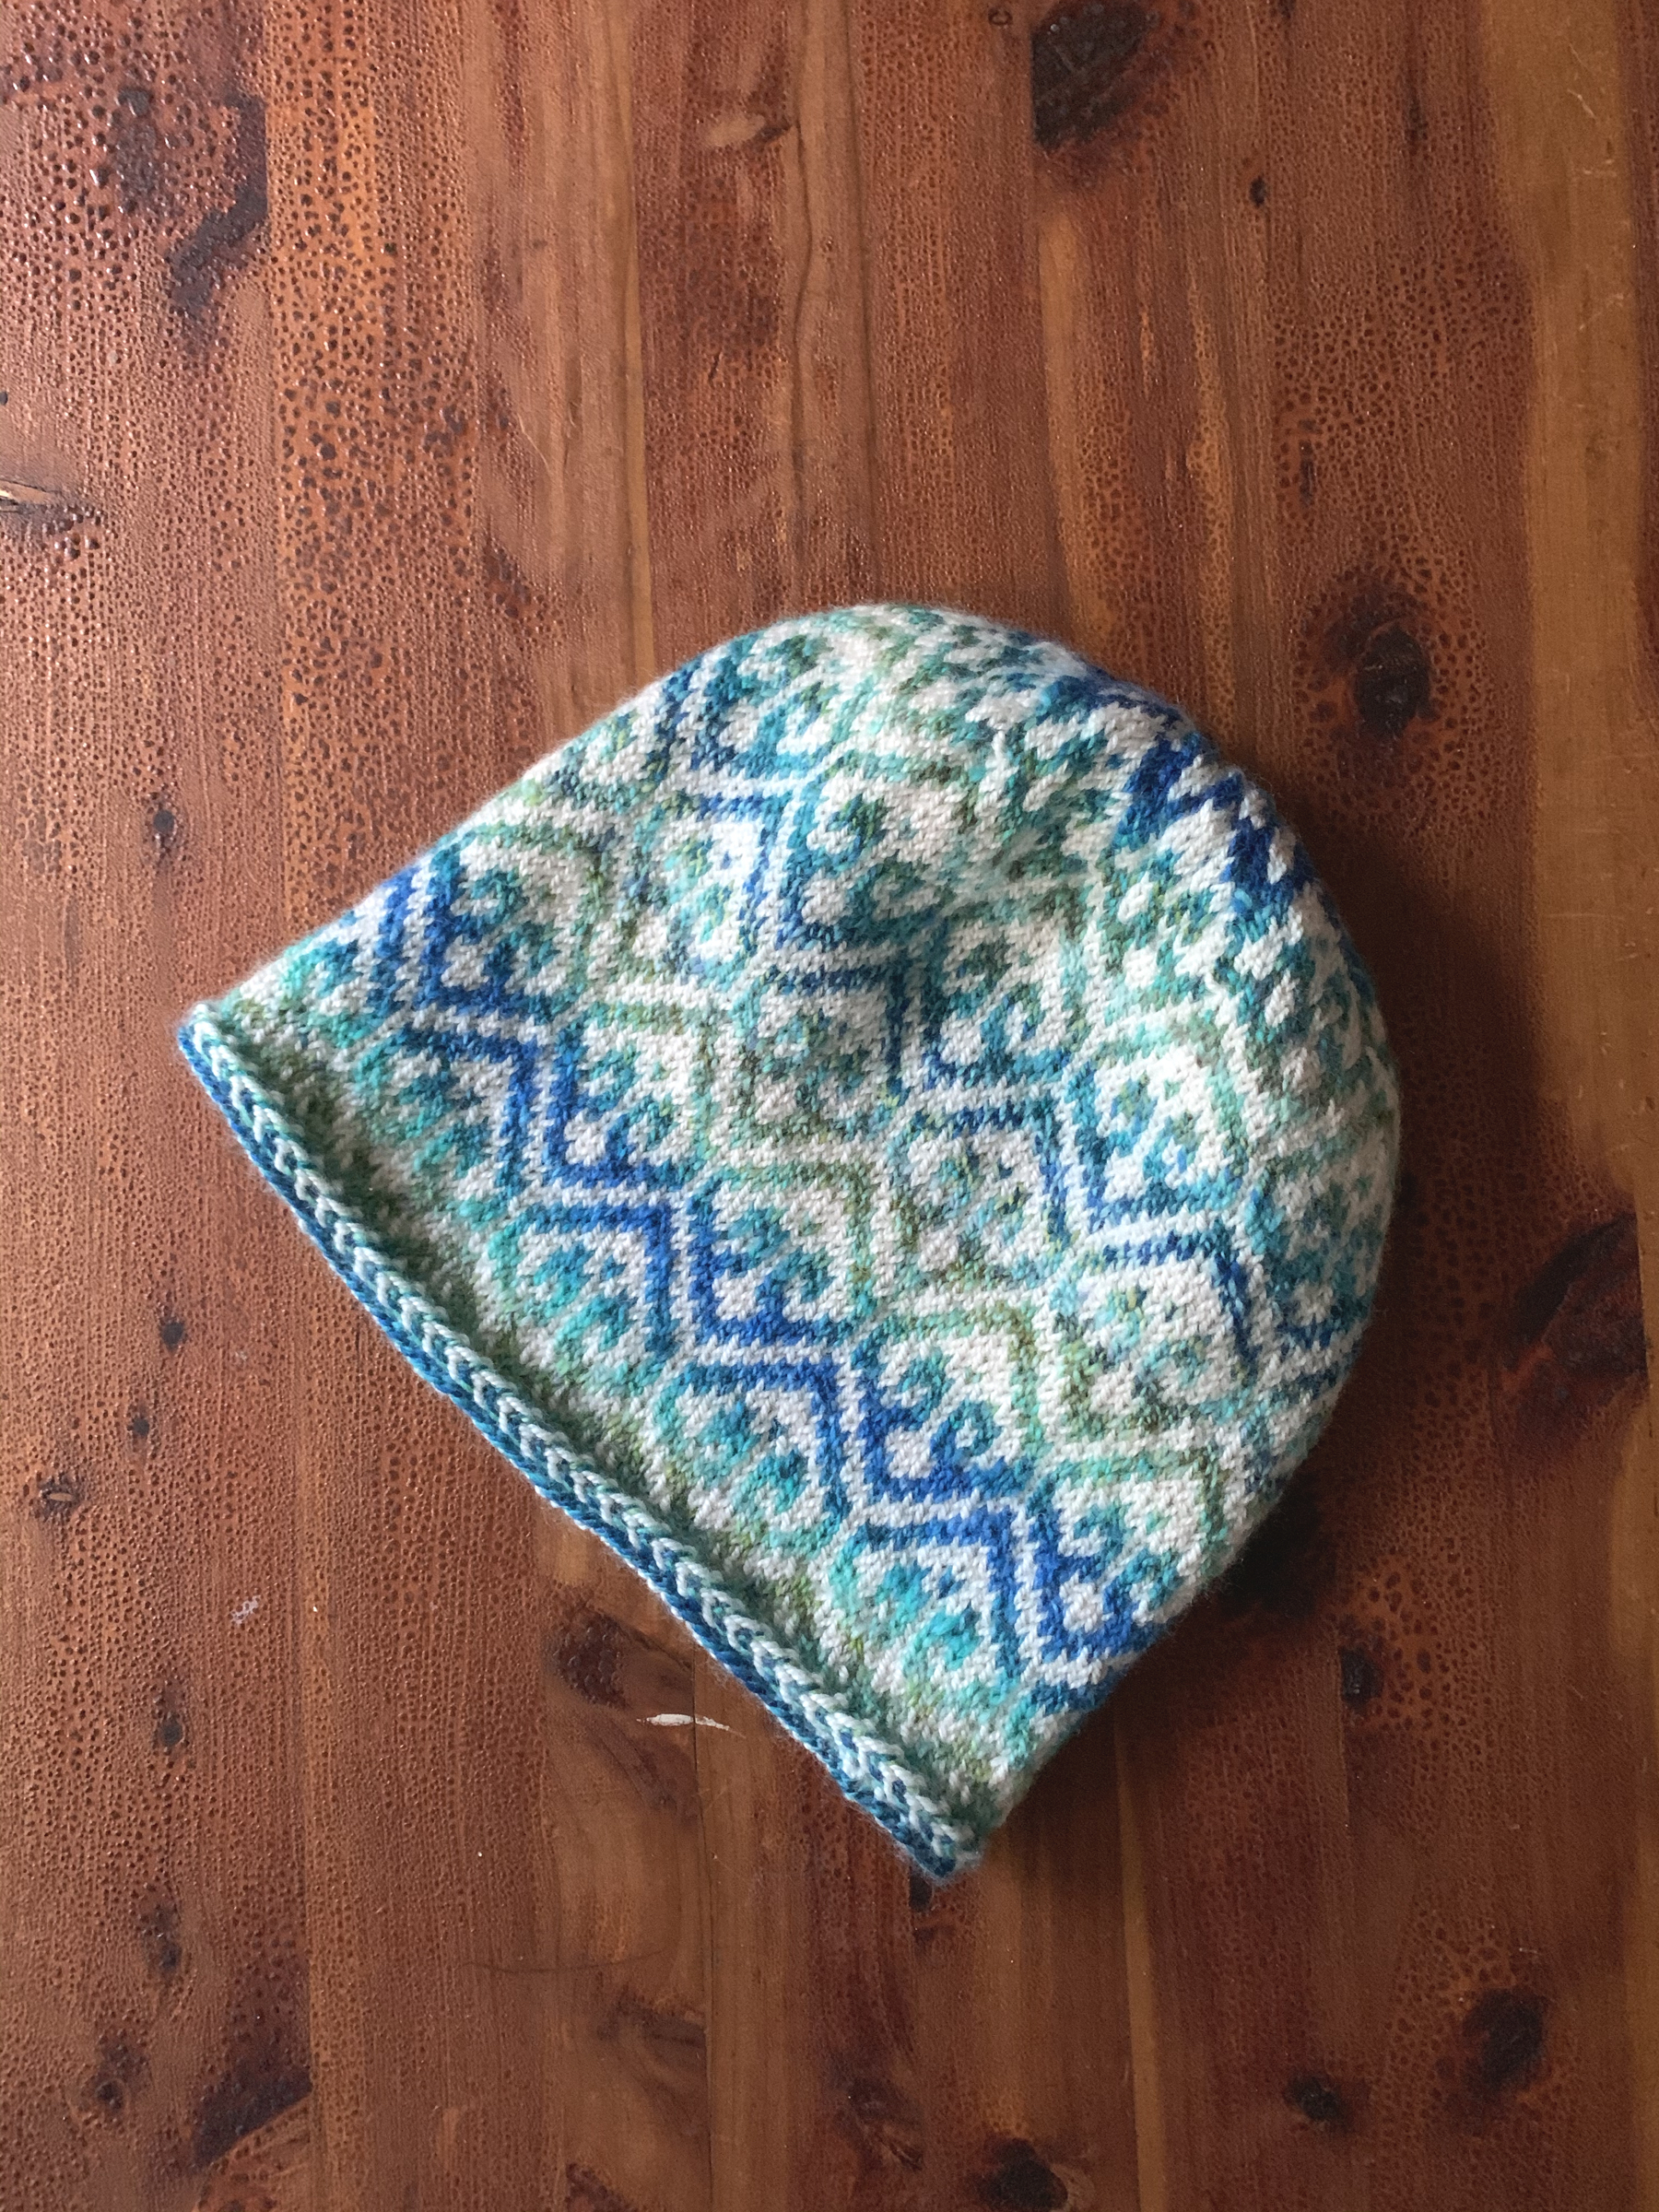
I also have A Shetlander’s Fair Isle Graph Book and began knitting a hat using the “green diamond” design shown on this page. It turned out that my yarn stash included colors that closely matched the colors in the book!

colorwork green diamond hat
Same colors!

And Then There’s Black and White

Just as easy, is the option to buy a kit to knit a stranded colorwork project. The yarn colors are pre-selected for you and you pay for everything at once and are ready to knit. A lot of times yarn stores will create kits for popular patterns.

Last but not least. Have you ever heard to turn your yarn image into black and white to check the contrasts? If you are wondering how that works, check out this blog post that explains it.

The Katie’s Kep is meant to use five colors, but that is up to the knitter really. Colorwork patterns are perfect for using up scrap bits of wool.

Get the Katie’s Kep free hat pattern here. Join the multitude of knitters who have already knit this wonderful pattern.

Yarn Color Combination Inspiration

Find some great ideas to inspire your newfound confidence in combining yarn colors at the places listed below.

Knitwear Designers Who Create Stranded / Fair Isle Patterns

Are you a Fair Isle designer? Let me know and I’ll add your link here.

A Few of My Previous Colorwork Projects

Clicking the title beneath the photo will take you to the project blog post page. I don’t have a link for the light blue hat, but it’s the Fana Cap pattern which is in the “Hat’s On!” book.

Creating My Own Mitts Fair Isle Pattern

When I recently traveled to New Hampshire, one thing I wish I’d taken along was a good pair of fingerless mitts. My emerging plan was to go home (to Florida) and begin creating my own mitts Fair Isle pattern.

I’m not a pattern writer, I am a pattern follower. I have no idea how to go about setting up a knitting pattern but, why can’t I learn? I’ve already learned so many things in the past decade which I ever would have imagined would be necessary for life after 50. My brain is working well, and I’ve taught myself numerous new tasks. The best way to do something new and challenging is to jump in!

The Yarn

My favorite yarn for colorwork, or Fair Isle, is pure wool, like Jamieson and Smith, Rauma, and the likes. I’ve used it for knitting Katie’s Kep (twice), Tettegouche hat, and the Keramos Cowl.

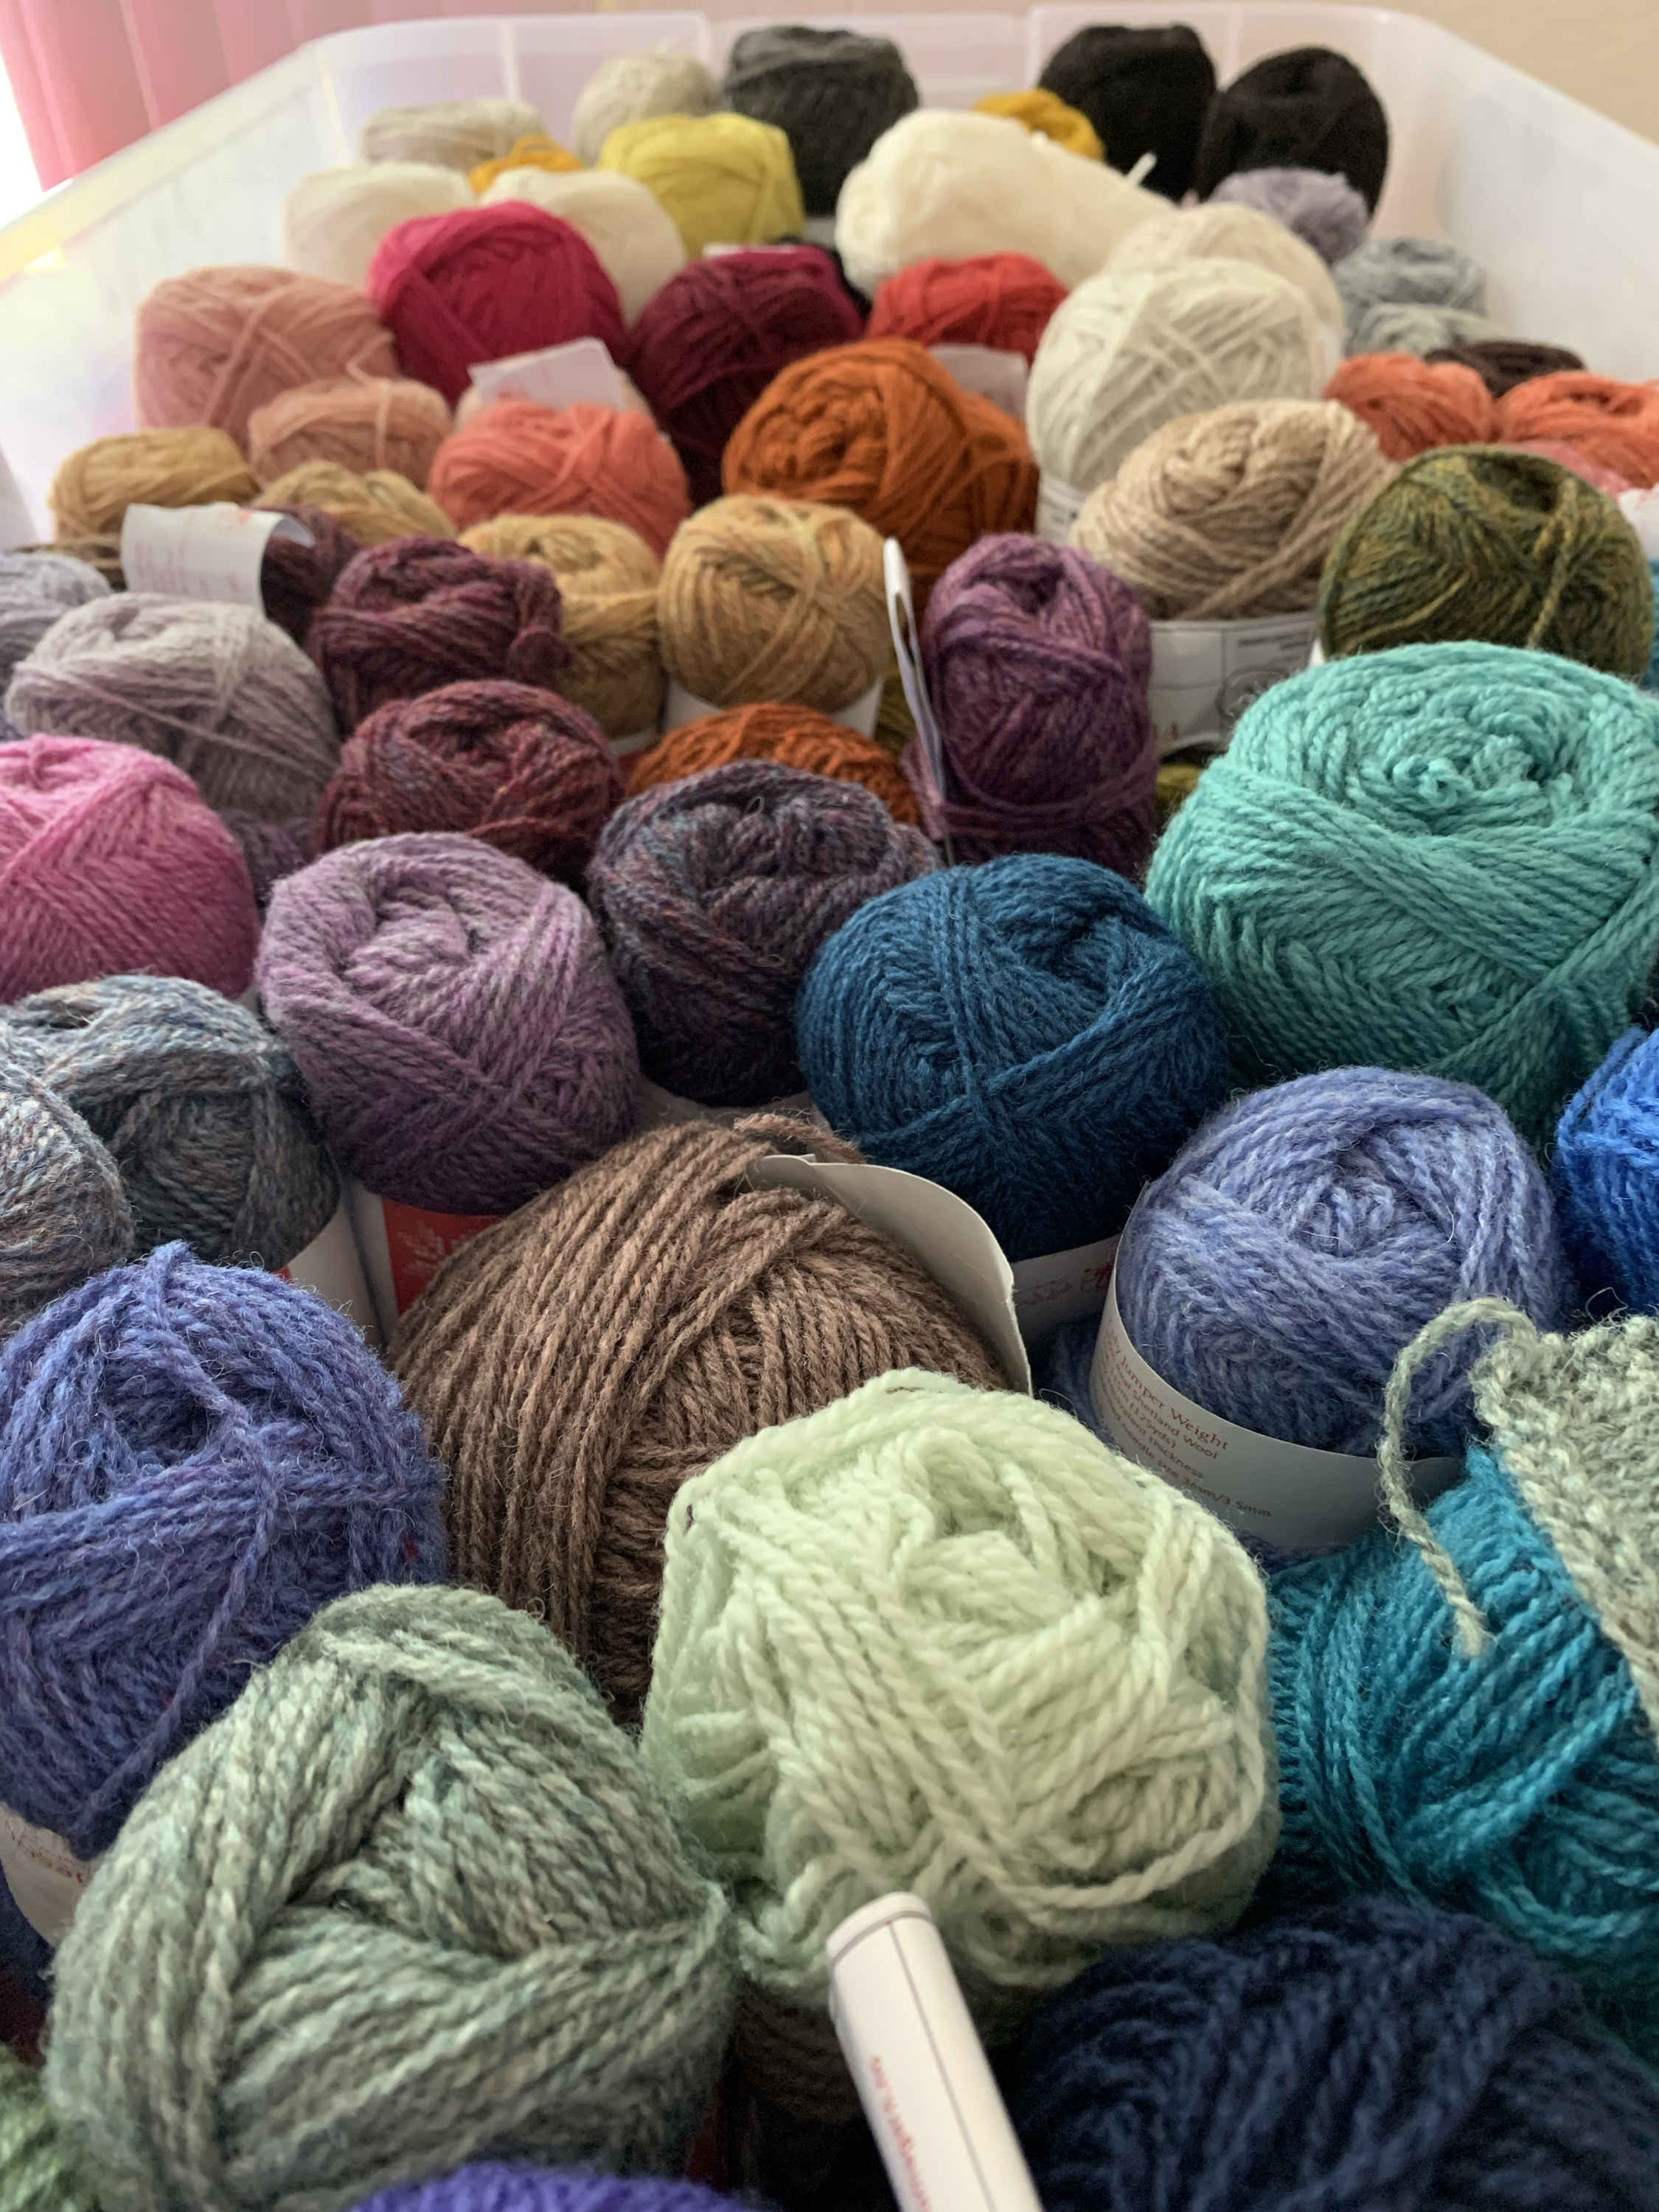
Jamieson & Smith jumper weight yarn comes in many colors and in affordable, little skeins, so I can gather lots of colors without spending a ton of money. (Fairlight Fibers has this yarn at a great price.) I also have a few skeins of Rauma Finull, and Tuku wool.

Knitting in stranded colorwork means using a little of each color, with more used for the main color. Mitts, mittens, socks and hats will use very little yarn compared to bigger projects like shawls and sweaters. I plan to focus on these smaller projects for a while.

wool, Jamieson and smith, 2ply jumper weight,
Jamieson & Smith 2ply jumper weight / Rauma

Ideas For Getting Started With My Mitts Pattern

The best way to figure how many stitches I will use, is to have a mitt or mitten that is already knit. If I know the count, and that mitten fits me, I can begin my own pattern (for my own personal use) with that number of stitches. This works as my gauge.

The Hedgerow Fingerless Mittens (Ravelry page) is a FREE pattern offered by Mary Ann Stephens. I considered knitting this one first. Knitting up a free pattern would be a good place to start when creating my own mitts.

Although I like the Hedgerow mitts, I chose to knit a free pattern called Fair Isle Mitts. I was happy with the outcome and loosely based my own mitts pattern after that one.

Planning the Cuff

What I like about these mitts patterns is that they have a fairly short cuff. I don’t like a long cuff going up my arm for something like this. These mitts will be used for in the house when mornings are chilly, or when the weather is not quite bad enough for mittens. No long cuff is needed.

I can begin with a Latvian Braid, as I did in the Glissade mittens. Or I could begin with a corrugated rib as with the Oulu Mitts. A simple K1, P1 rib would work too.

I chose a simple long-tail cast on, then 2×2 rib. I changed color after five rows. I cast-on only 52 stitches, because my daughter has skinny wrists, and then increased to 56 for the colorwork on the hand.

Planning the Colorwork

After knitting the Fair Isle Mitts, I can follow the thumb increases suggested. I needed to find colorwork patterns to follow for the top of the hand and the palm.

My knitting book library consists of some nice examples of Fair Isle graphs. These mitts will be for my daughter, so I’ll look for motifs that would be cute or pretty to appeal to her.

It really helped me to see the design by drawing it out and using colored pencils.

drawing of mitts pattern with flowers in colorwork
Mitt colorwork plans drawn out

I’d like the palm of the mitt to have a small, repeating pattern, and the top of hand to have a larger design. The thumbs could be stripes. It helps to have books on hand which offer lots of little patterns to choose from.

Colors will be purple and green, with possibly another overall base color which is lighter in color.

knitting books fair isle graphs colorwork stranded
Knitting books with Fair Isle graphs

The Mitts Design I Chose to Knit

After deciding on the flower pattern and finding yarn colors I liked, I jumped in and began knitting!

The first mitt I knit was for the left hand. I followed a flower pattern, for the top of hand, came from a book of hats I own. I also did a repeating pattern from another book. I changed that on the Right Hand mitt and gave the palm a pattern of rows with alternating colors.

I just carried the colors as stripes on the thumbs.

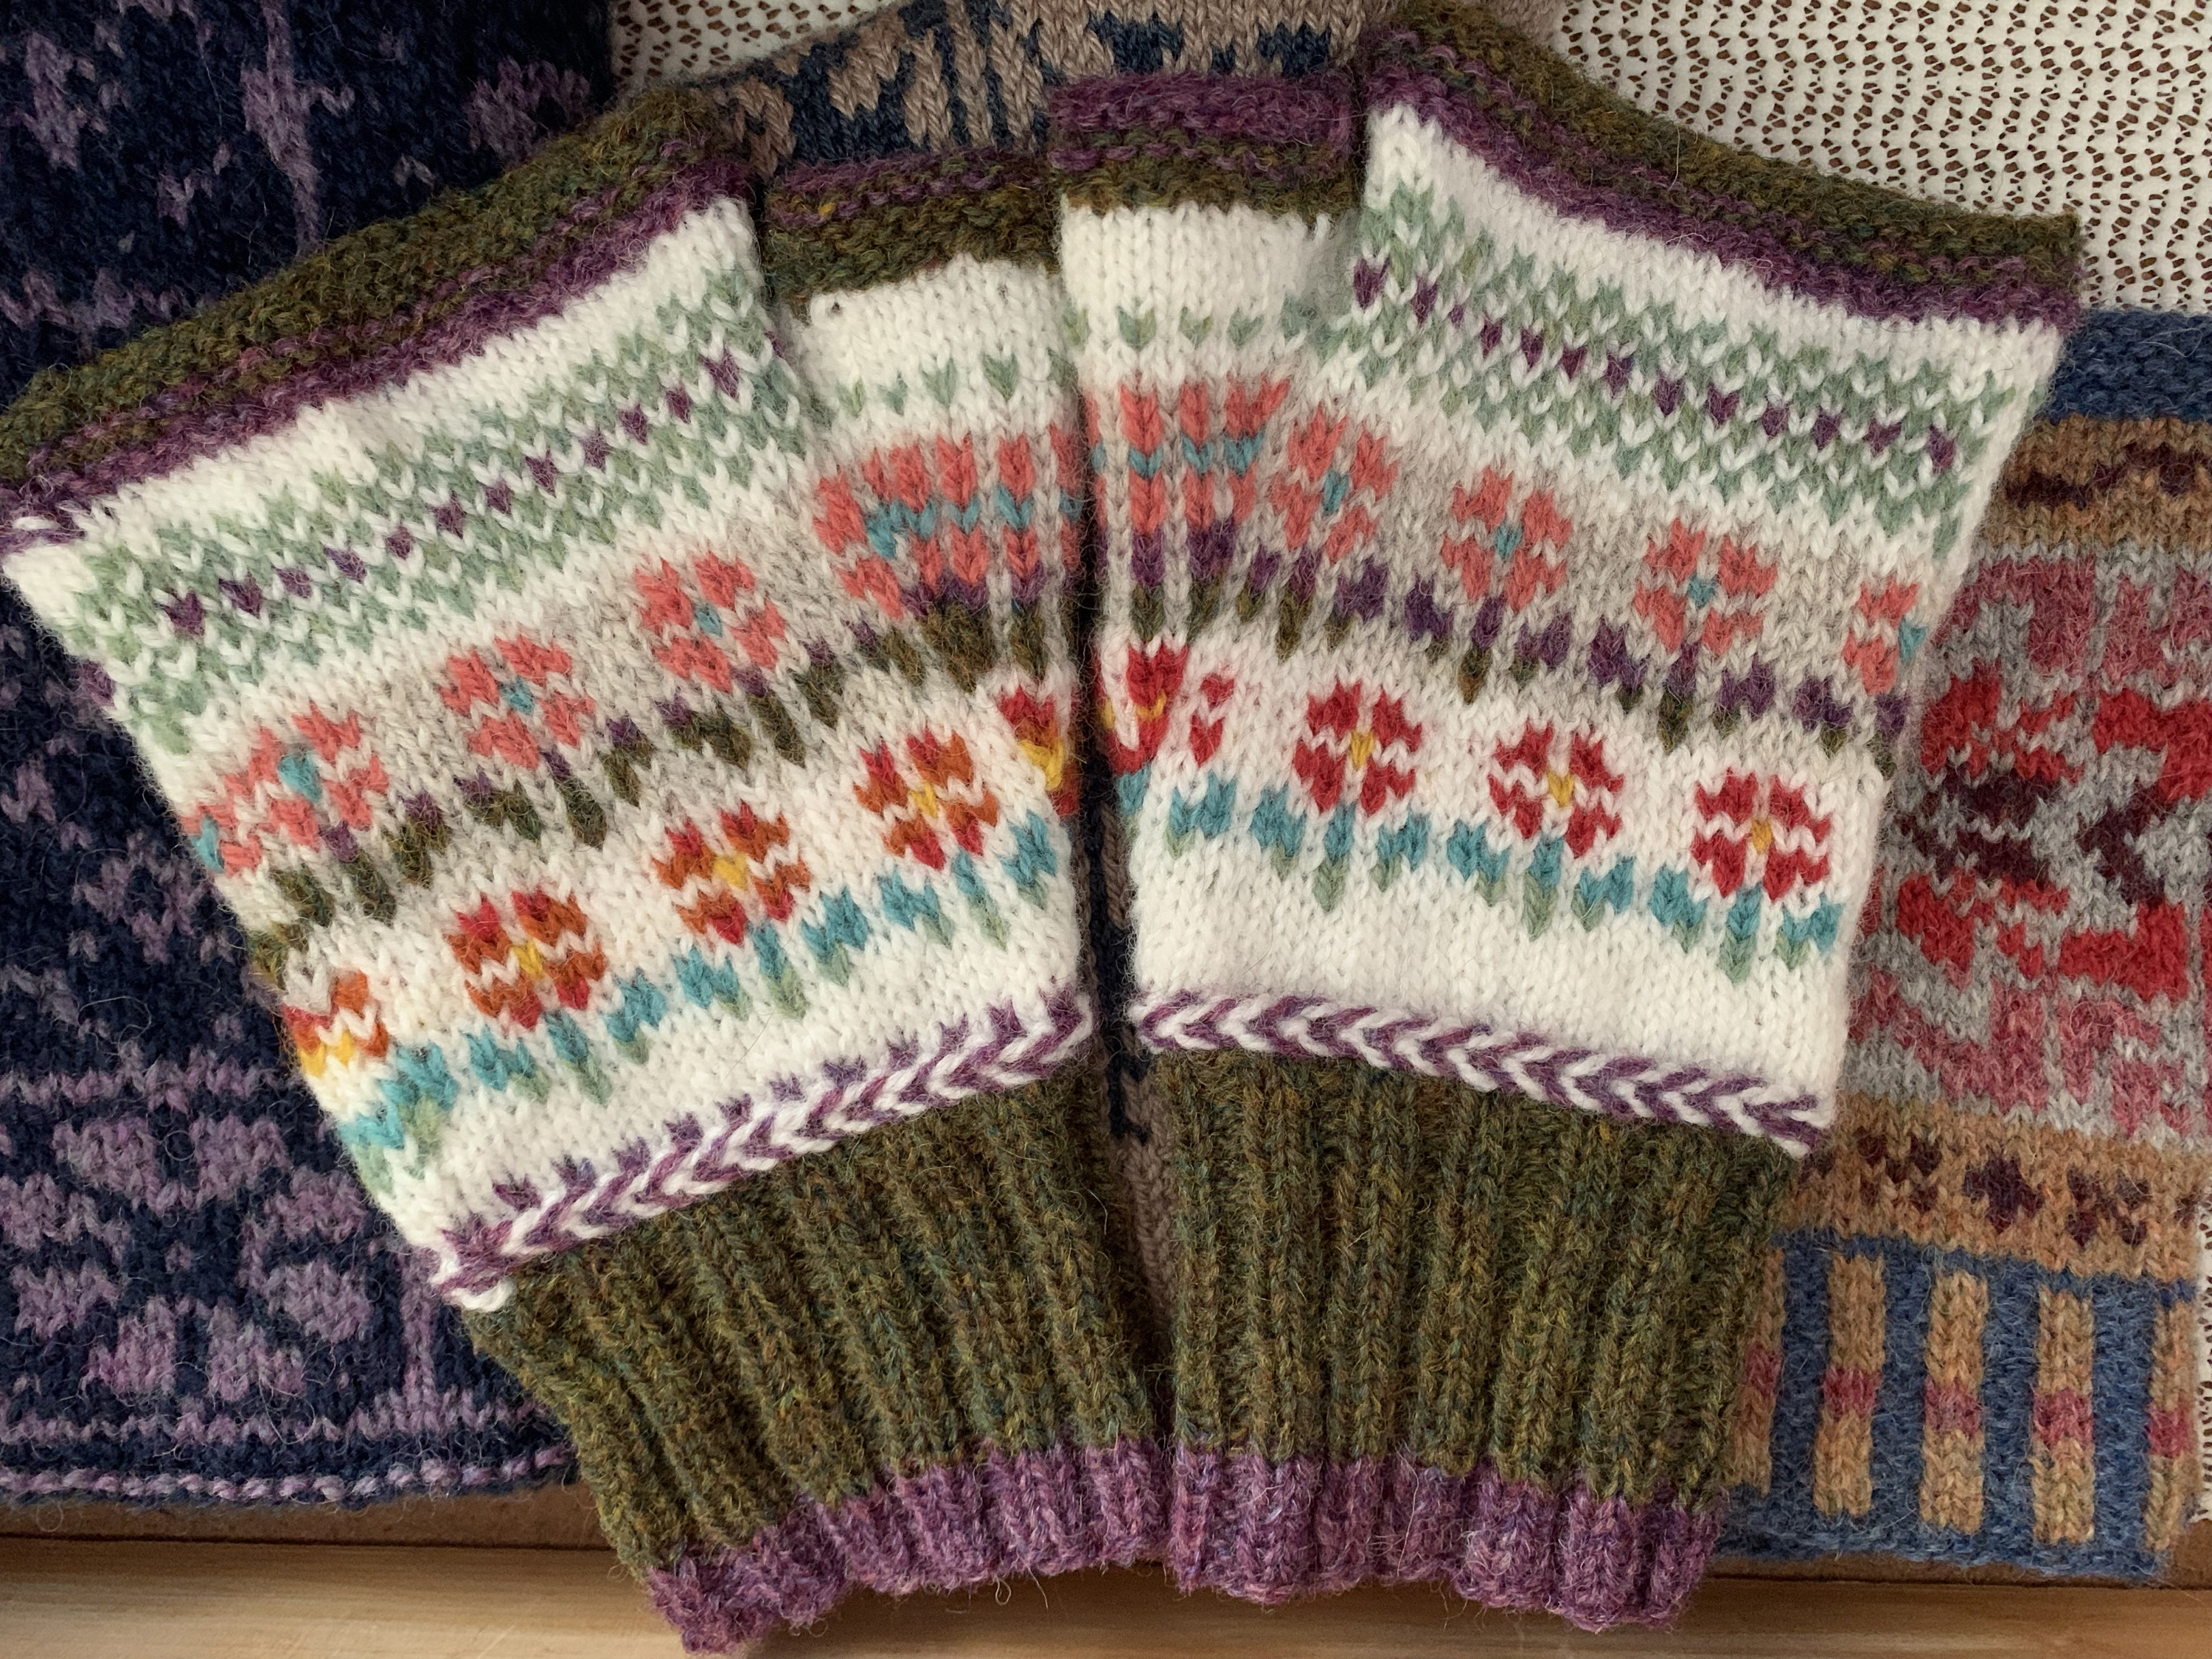
little flowers fingerless mitts pattern
Little flowers on the top of hand

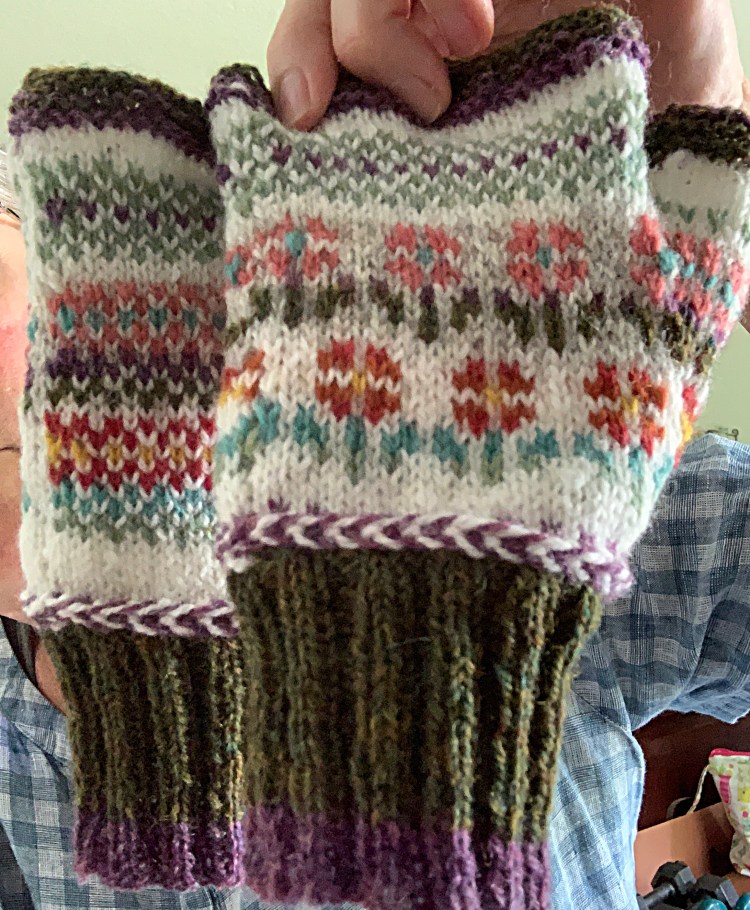
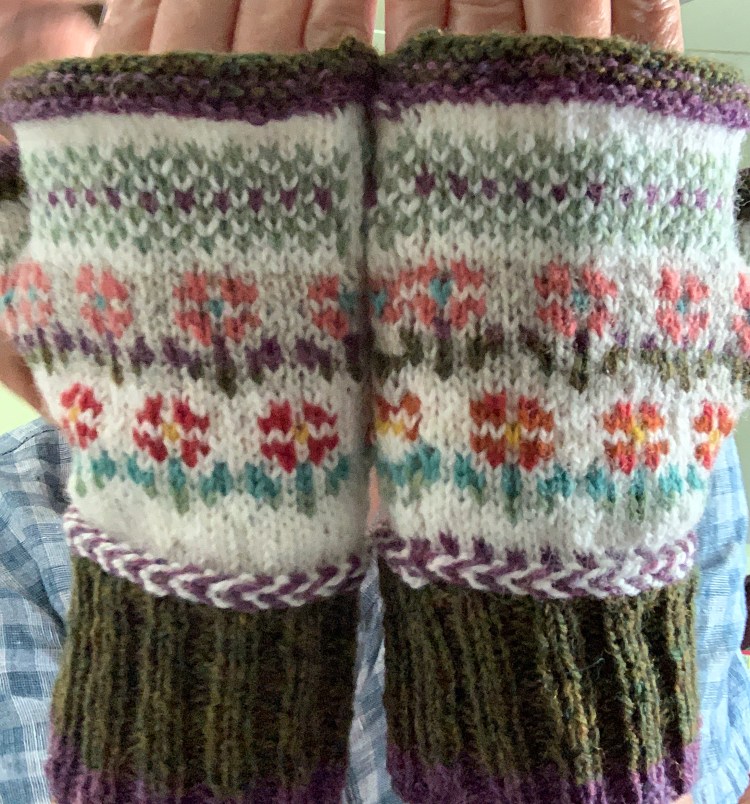
For the second mitt, I also added a neutral line of white up the edge to separate the top from the palm. I did not do a line of alternating color after the braid either. In other words, I changed what I didn’t like about the first mitt.

fingerless mitts palm knitting patterns
Palm patterns are different

Final Words on Knitting My Own Mitts Pattern

The size is good on these mitts and I’m fairly happy with the colors. I learned a few things which I can carry over to the next pair of mitts I knit.

This design is for my own personal use and not a pattern you will find anywhere. The flowers are part of the Peerie Flooers hat in the Milarrochy Heids pattern book. I may have to knit the hat now to go with these mitts.