Gardening has kept me very busy lately, even though summer is a slower season for growing where I live. For that reason, I am taking a break from knitting. There are a couple of knitting projects I need to finish up, but I do not knit as much now.
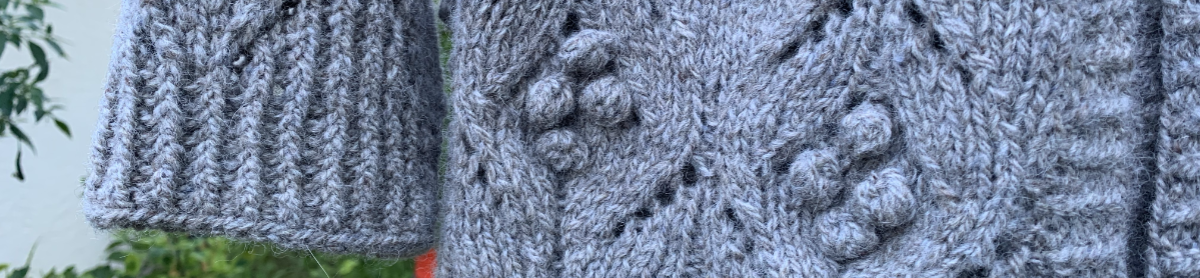
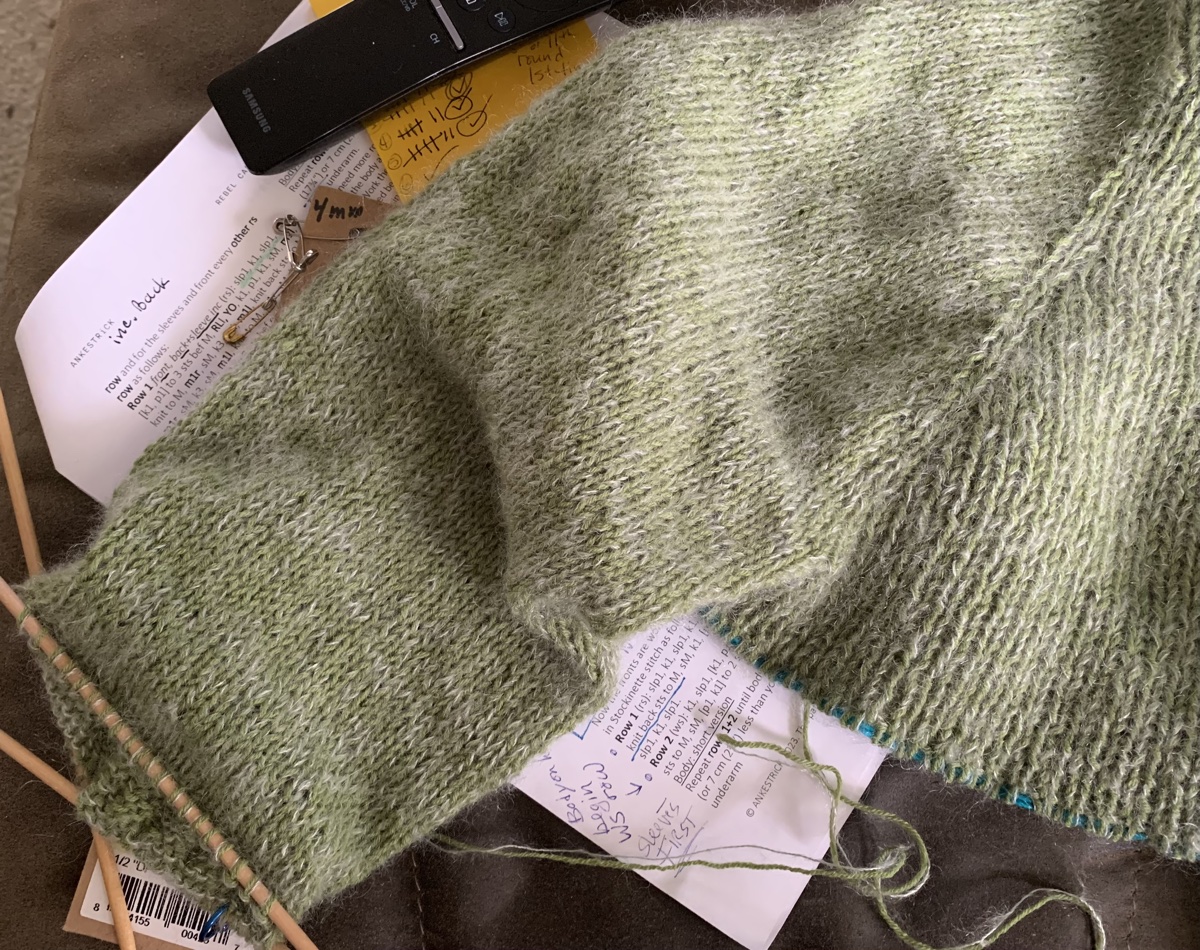
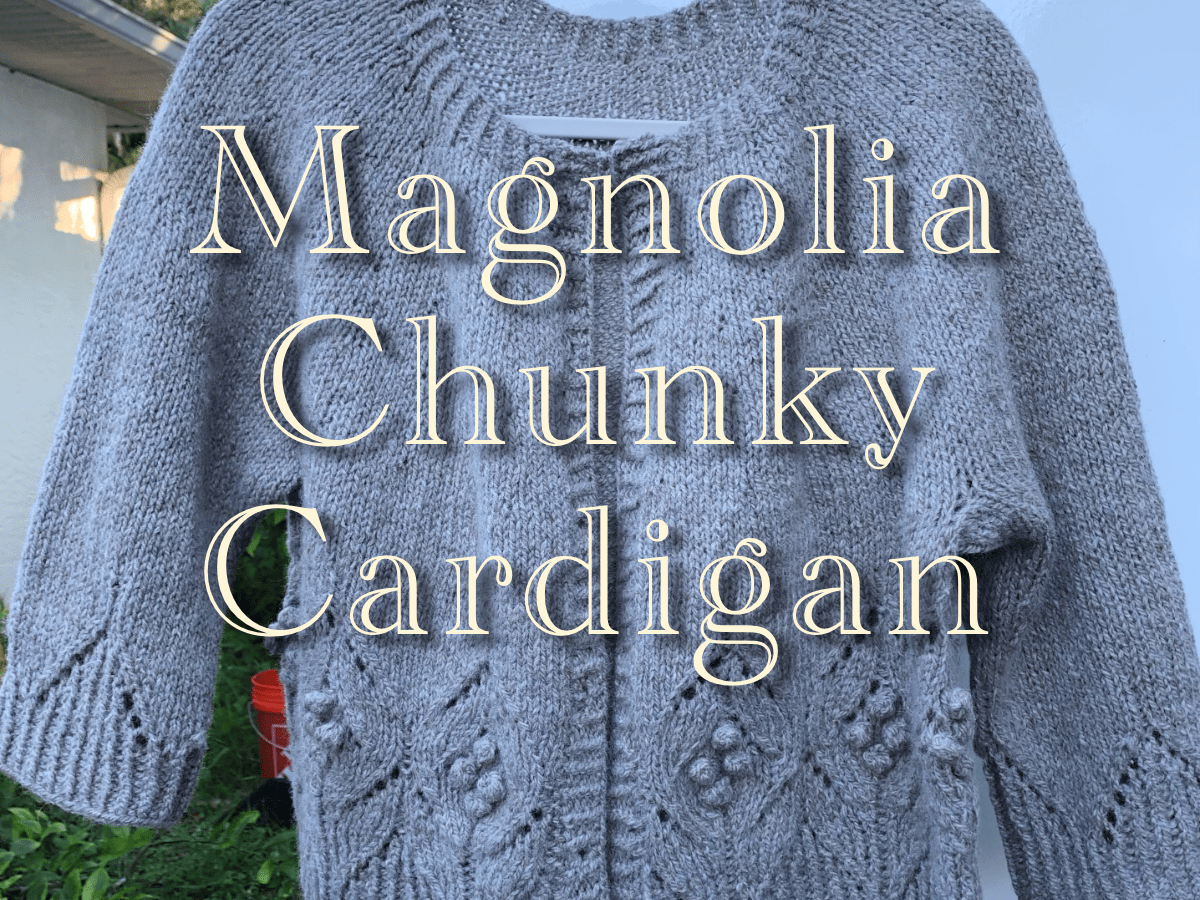
The Rebel Cardigan is something I am still working on occasionally. I’m knitting the long version to use up most of my yarn, and I have a ways to go. This project is taking a while, but I am enjoying it.
Knitting on the Rebel Cardigan pattern
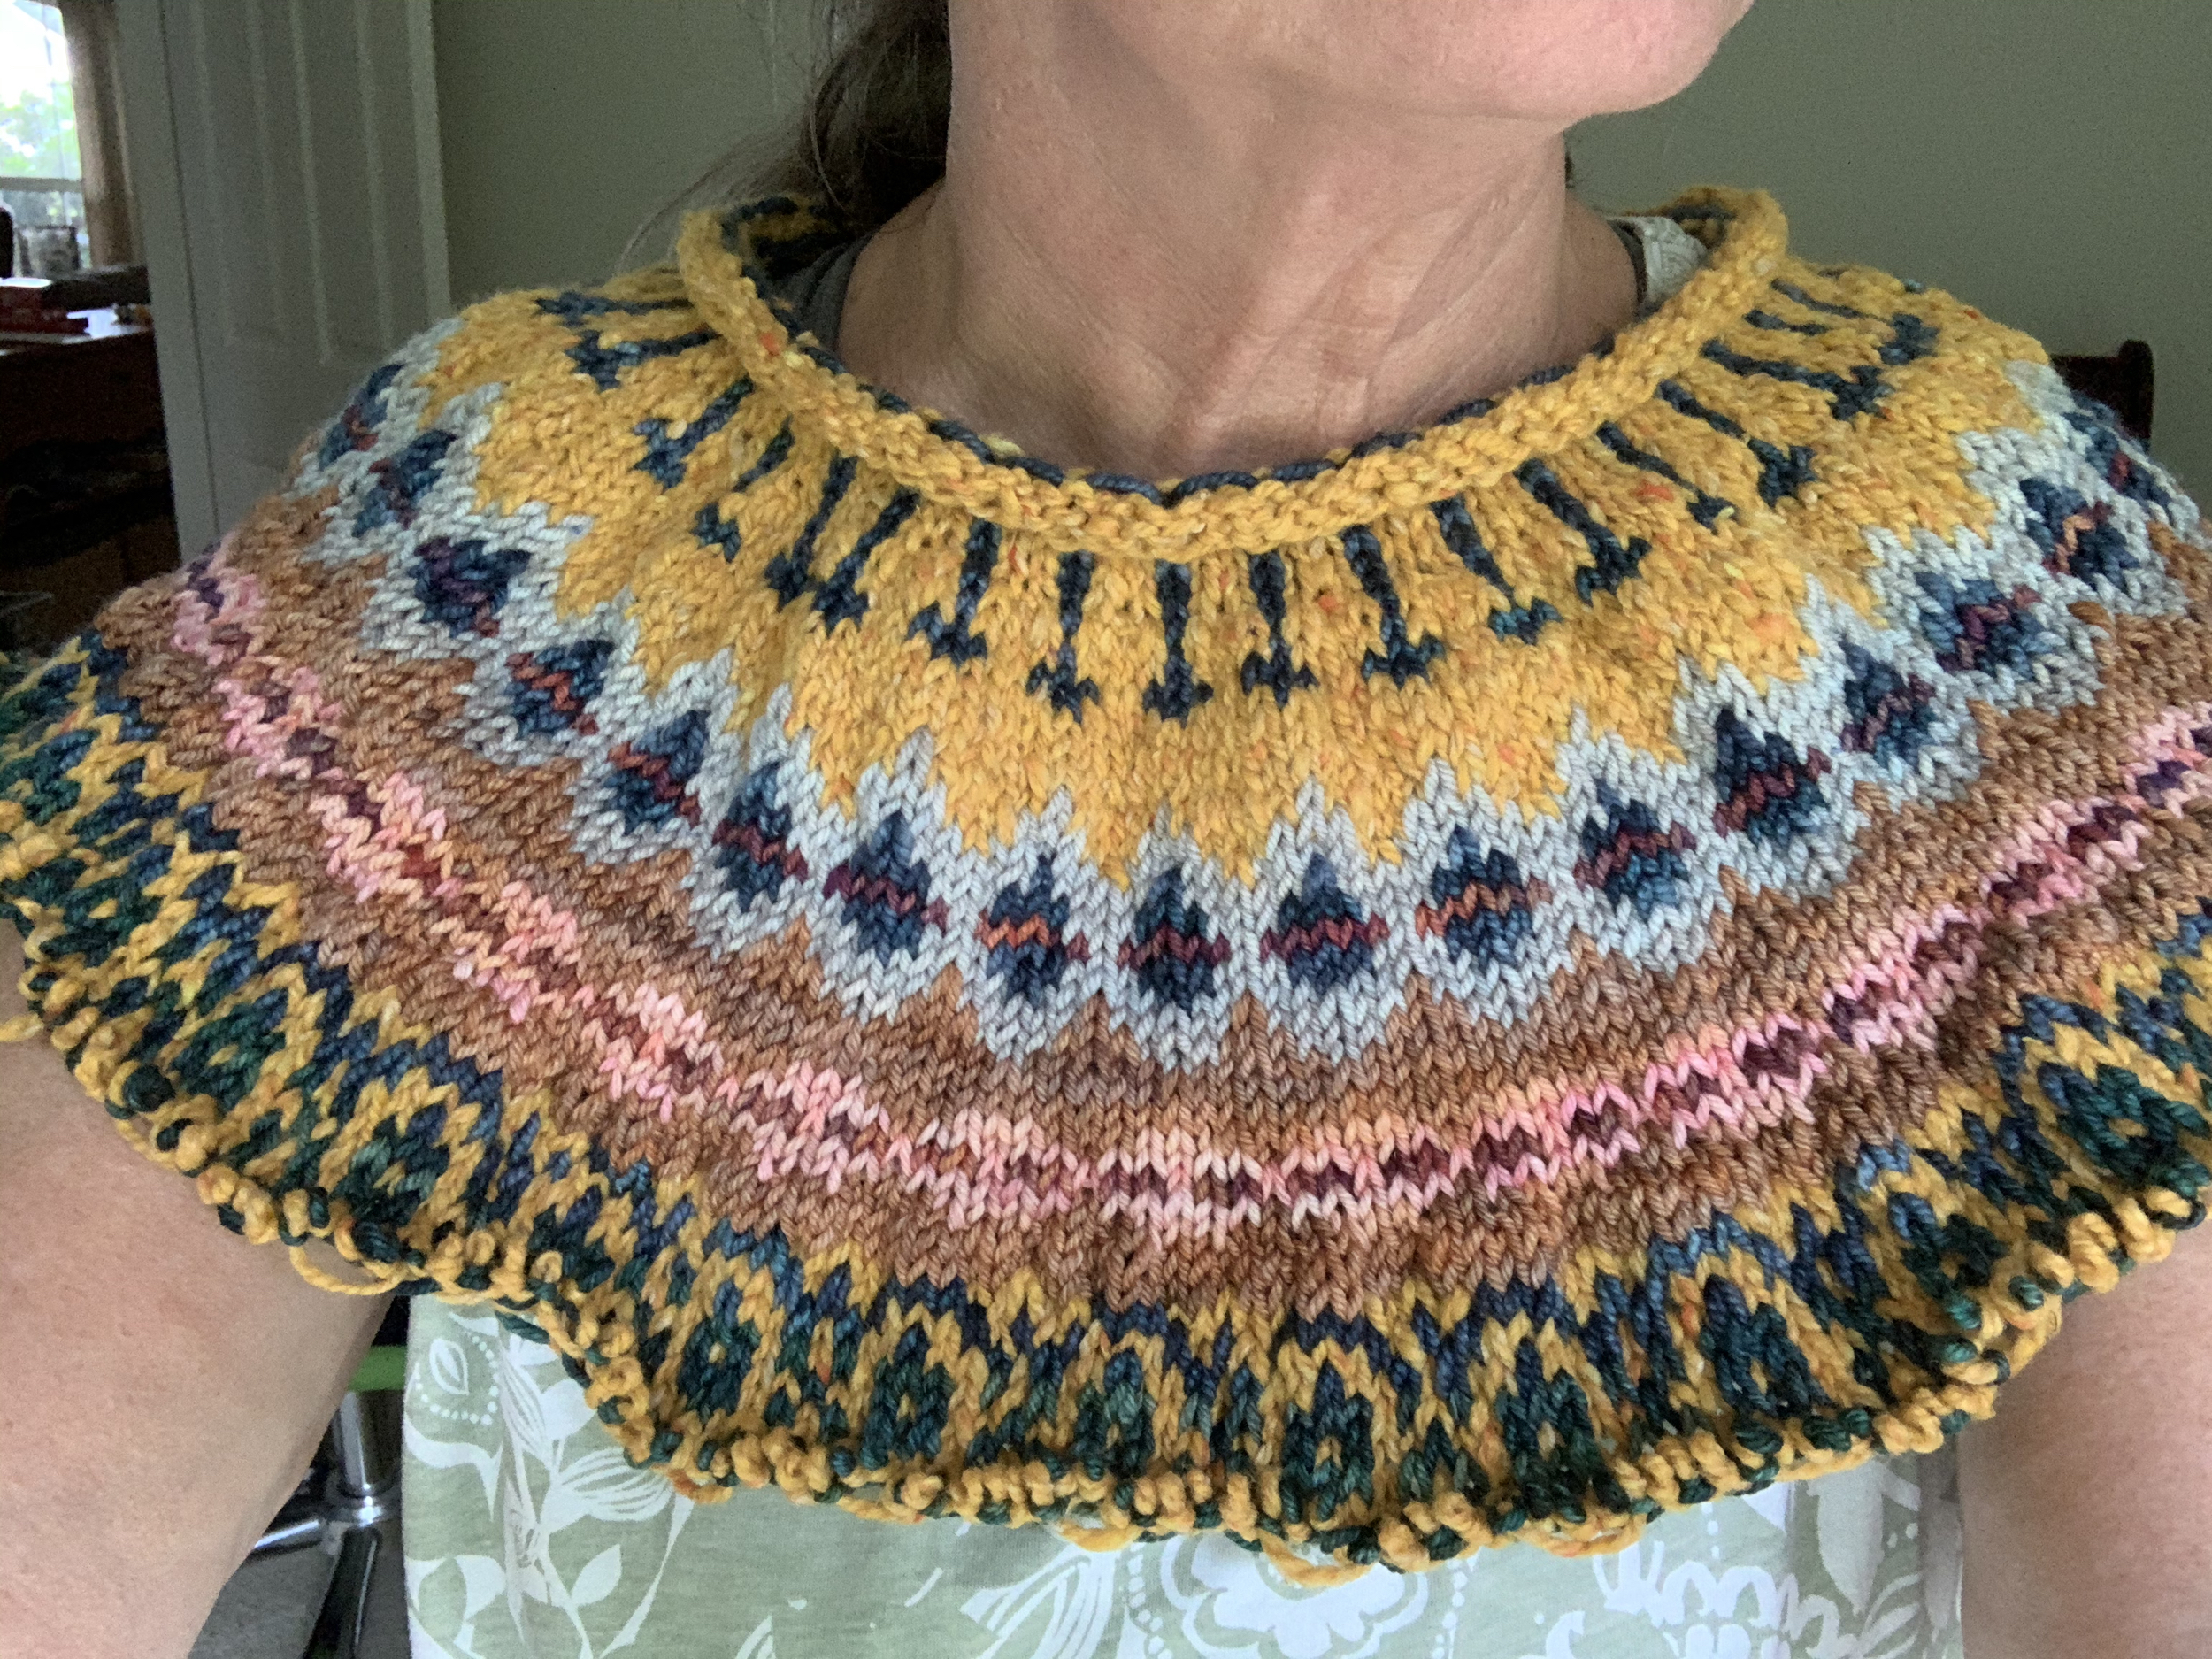
I’ve begun another Warm Up sweater but will not be knitting on that all the time either. I’m using three colors of Peace Fleece, and I changed the neckline.
Summer is not the best time to take on a knitting project. Here in Florida it is nearly always hot. I never take time off from knitting just because of the heat.
Maybe it’s the recent knitting projects that didn’t really please me, or maybe it’s the season. At the present time, I feel less inspired to pick up the needles. I do know that I have a pile of sweaters that need to be hand-washed, and that does make me wonder how many more I really need!
I hope you are having a great summer – if it is summer where you live. If you are a sub-tropical climate gardener, check out my gardening blog.
Knitting with confidence, and making modifications to a pattern, can take courage.
Knitting modifications (mods) are changes made to a pattern. The happy outcome of knitting regularly for a few years is that I now have some confidence to make my own mods.
Often a knitwear reviewer will tell others what types of modifications they have made and why. Sometimes this information is helpful, such as if a wider sleeve is preferred, or making a different cuff ribbing, or wider neck opening. They may have a suggestion to make a particular stitch in the pattern easier to do.
In the beginning of my knitting journey, I had to follow a pattern exactly. If I made a mistake of any kind, I would try my best to get past it, hoping it wouldn’t be too noticeable.
Now, it is nice to know the basics of how a sweater (for instance) is put together. I know that I can pick up extra stitches under the arm to close up the holes, and then compensate by decreasing as needed. It’s a very simple thing, but beginner knitters have enough on their plates without having to figure something out in a pattern!
Truth be told, I am not advanced enough to make changes other than simple ones, but the more I knit, the more confident I have become to change things up.
Re-knit Some Favorite Patterns Using Mods
I’ll bet that most knitters end up having a few favorite knitting projects. I certainly do. And, I have favorite parts of patterns I’d like to use for something else.
I mostly knit sweaters, but this applies to anything. A good length sleeve with a pretty rib can be applied as an alternative in a different pattern.
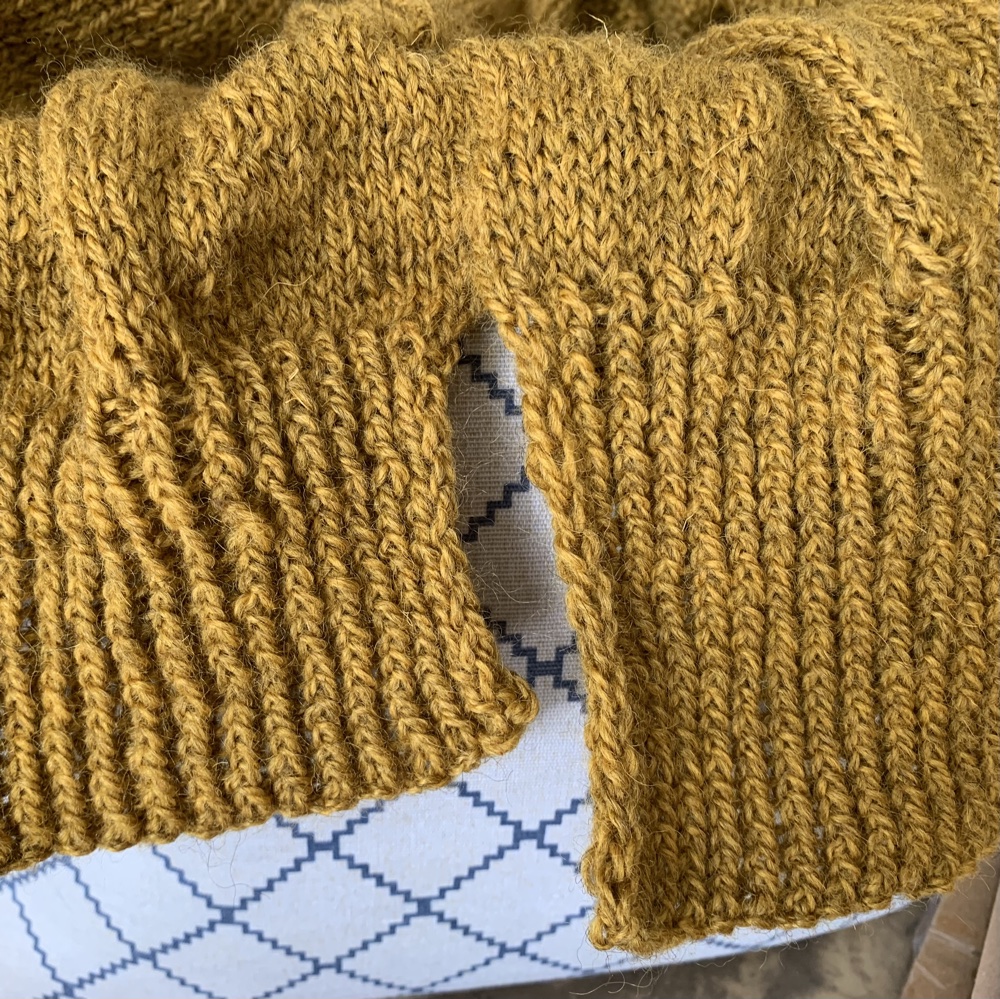
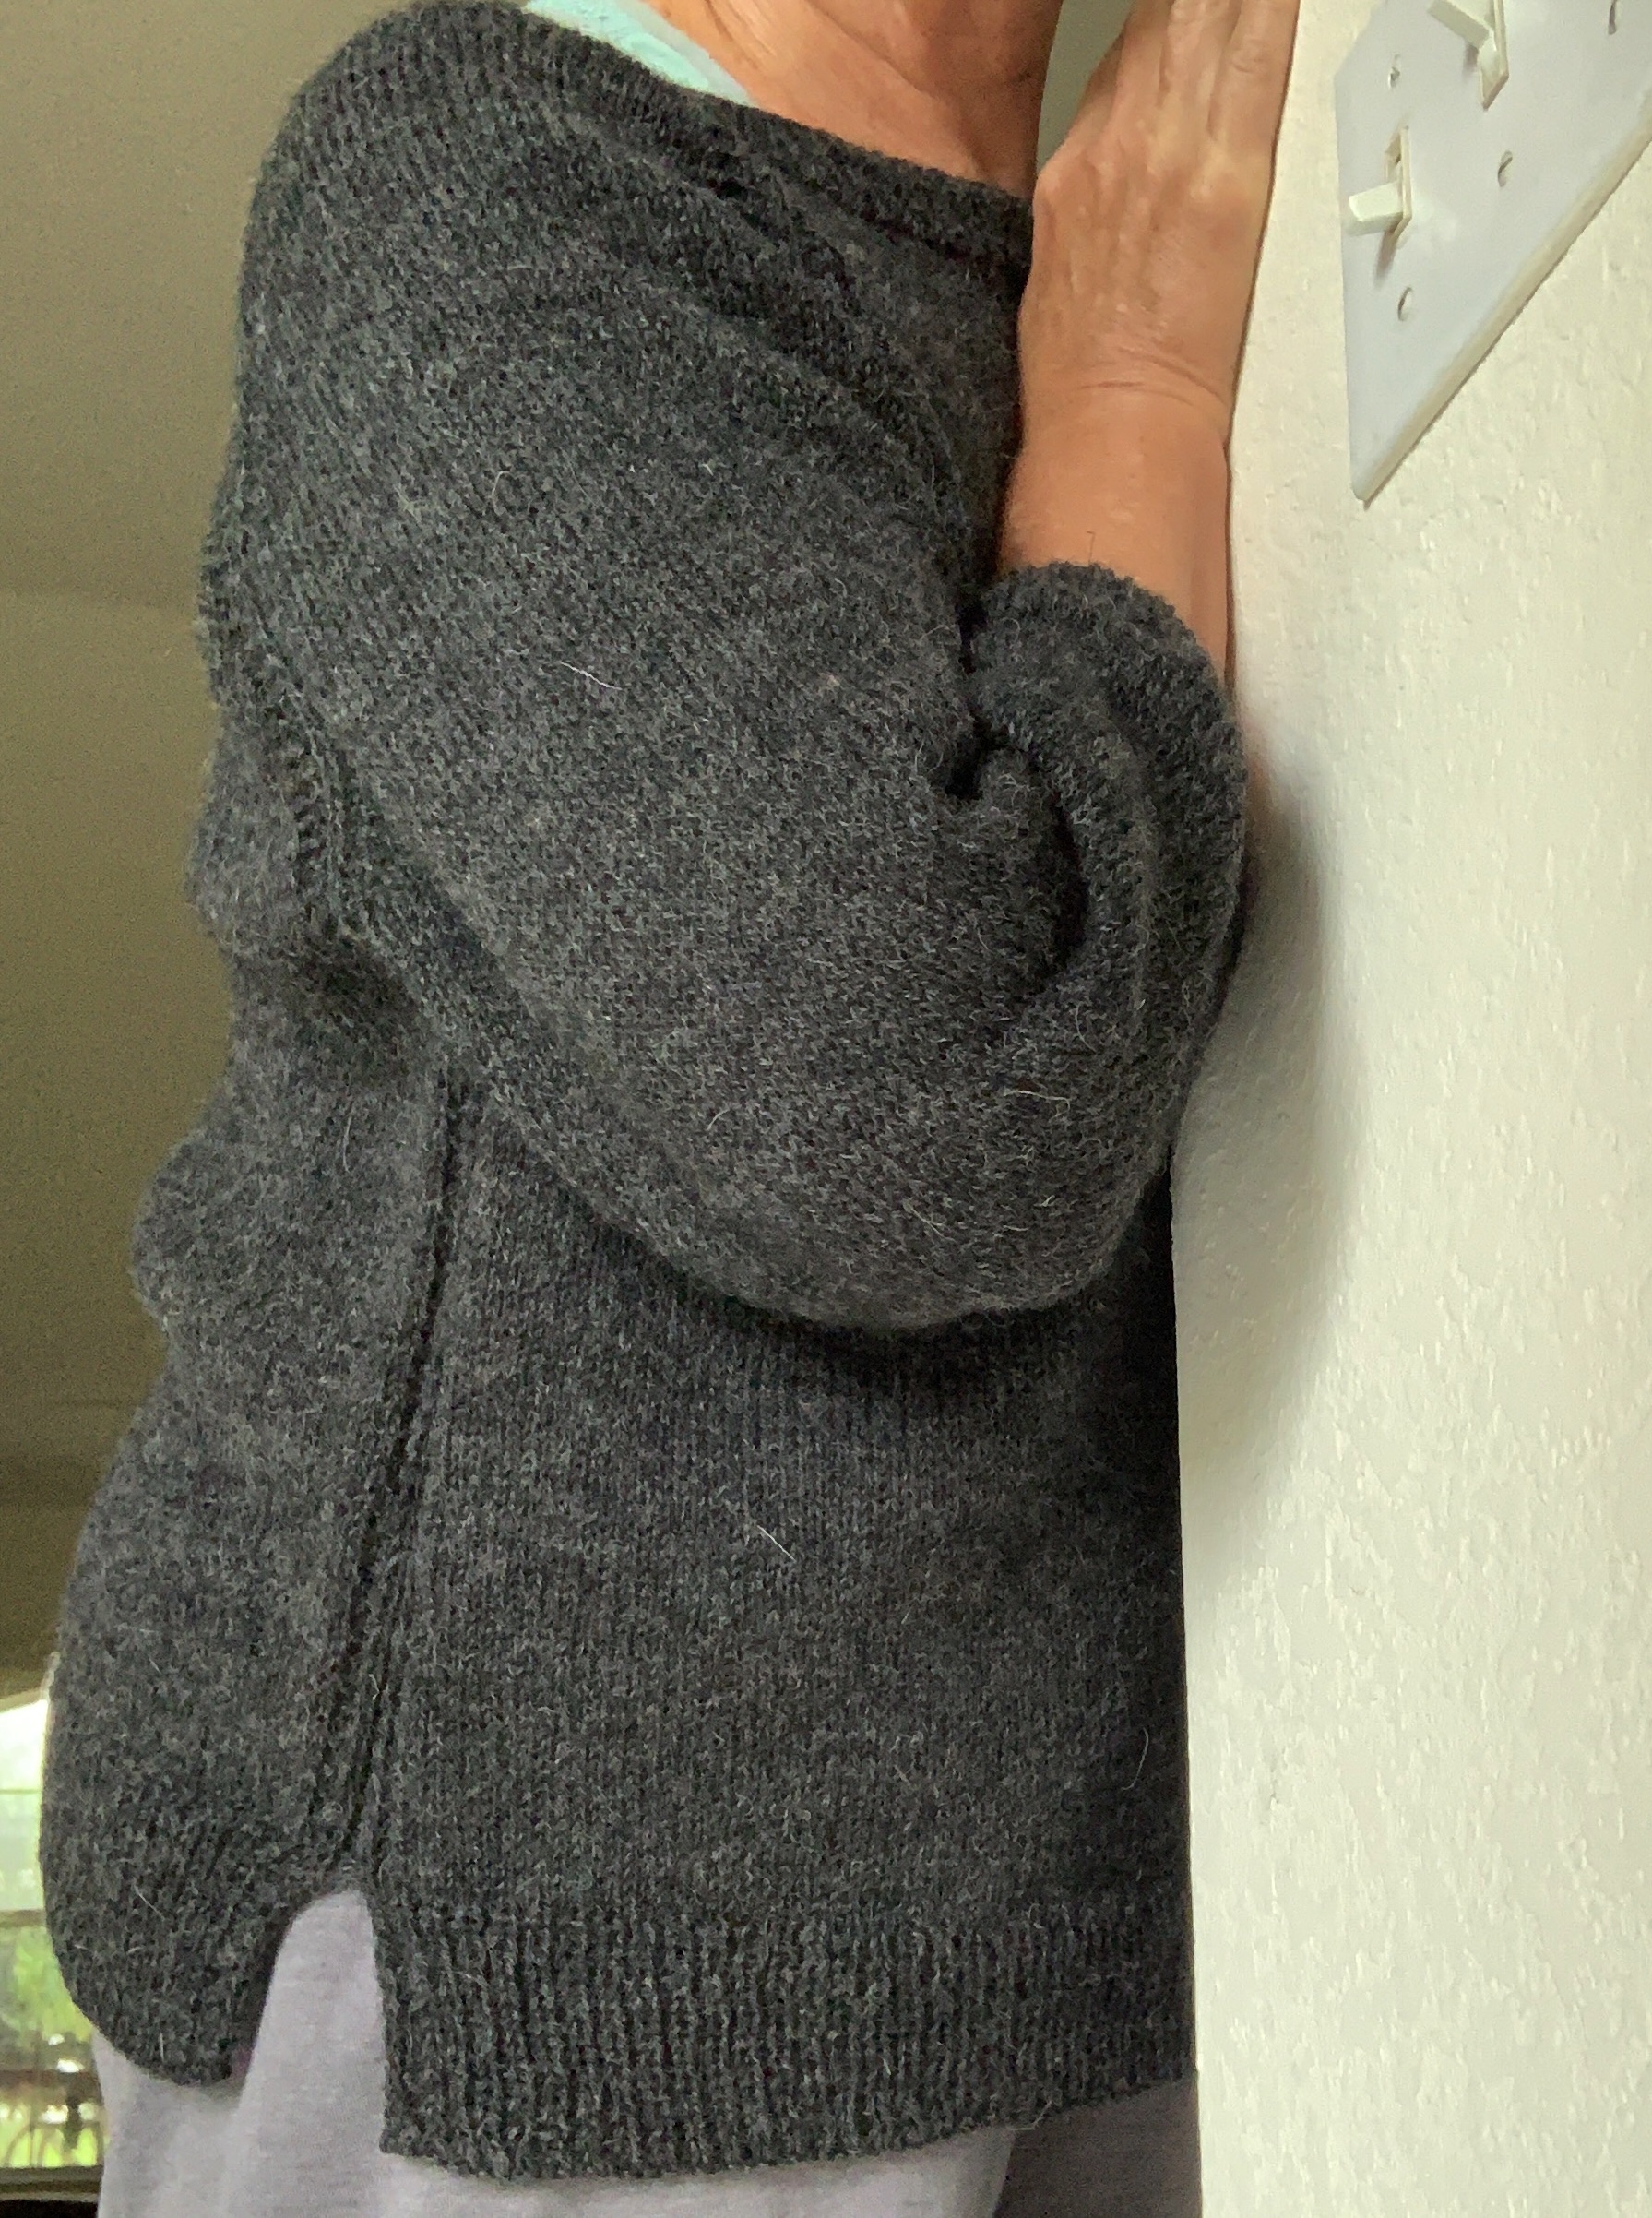
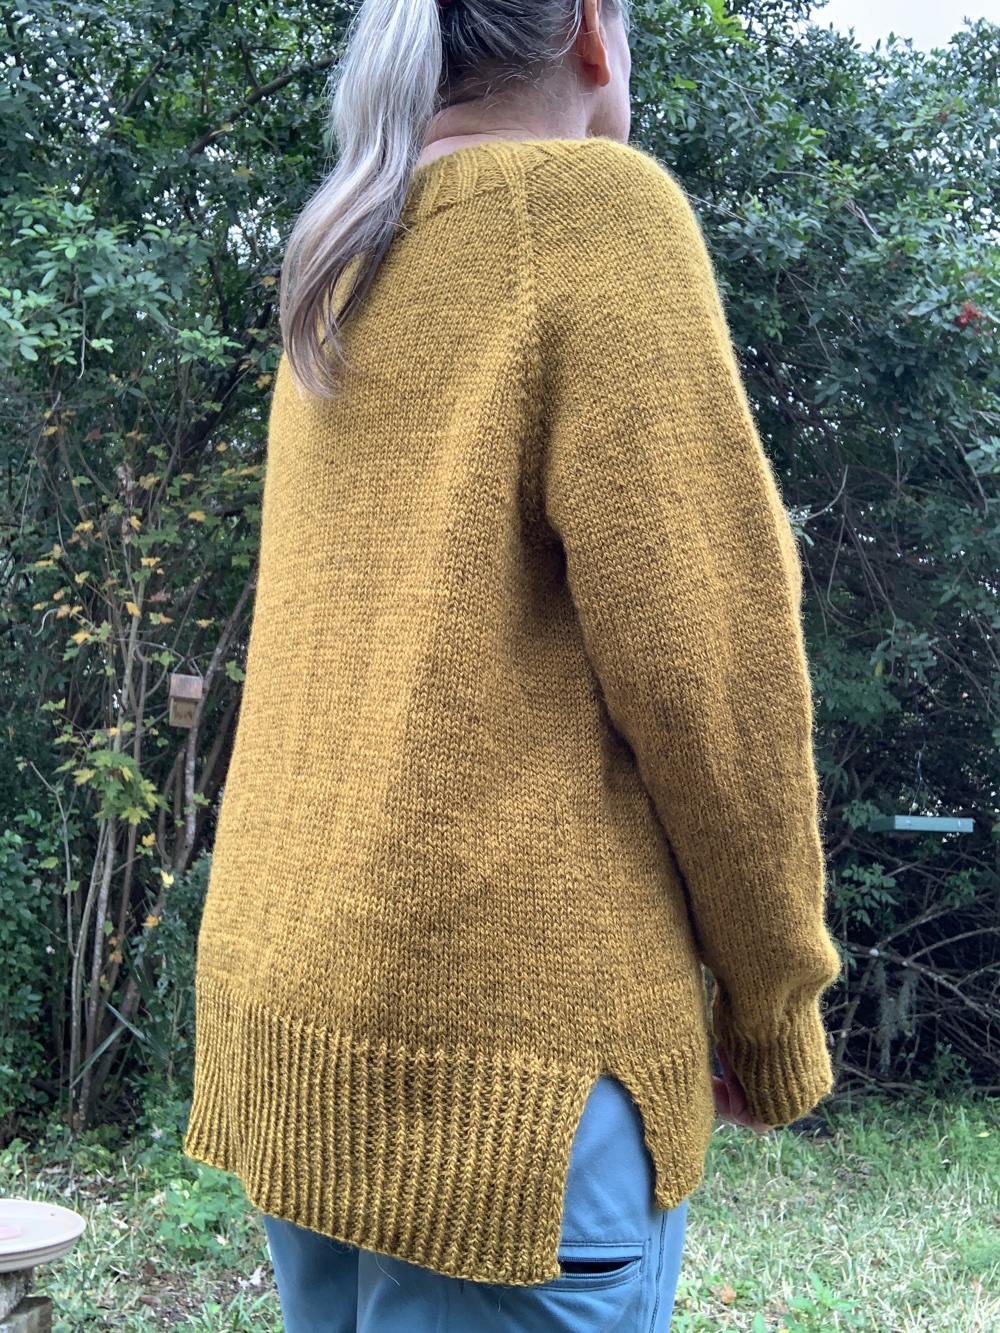
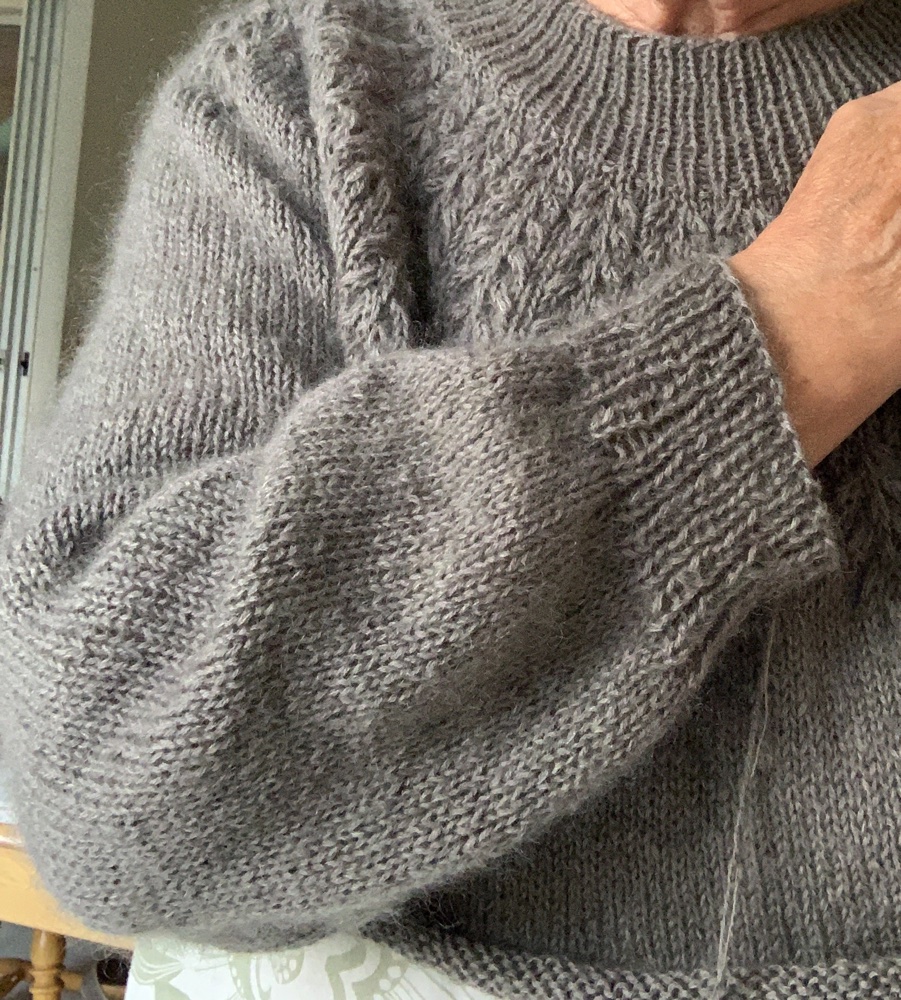
For example: I’ve re-knit the Calliope sweater in gold, and added different sleeves and body ribbing. I also added a split hem because I had just finished knitting a sweater that had a pretty split hem (Blueberry Vodka Lemonade Pullover – gray sweater below). I took some of the information from one pattern and incorporated it into another. The Calliope has a beautiful neckline. I may knit this one again one day.
split hemSplit hem – made longer in the back
The more patterns I acquire, the more I learn. Usually, when looking for a new pattern to buy, I try something different to expand my knowledge. Every pattern gets printed out, and I make handwritten notes all over it. I try to keep track of favorite parts to possibly use elsewhere.
Remember, do not share specific pattern notes and instructions written by a designer. They work hard to come up with patterns that knitters will want to buy. Patterns are relatively inexpensive. Support designers by purchasing a pattern you love.
Making a Second Warm Up Sweater, With Mods
I already have plans (yarn on the way) to knit another Warm Up sweater (link goes to pattern page at Ravelry). This time I will do a different neck opening. I’ll also do a little colorwork among some stripes. My plans for this are still rolling around in my head.
The Warm Up Sweater is a pattern by Espace Tricot. I highly suggest it if you like a roomy “sweatshirt” type garment for cool days. It is a very basic pattern and includes short rows for a comfortable fit. See my review blog post here.
Warm Up, worn firesideA great sweater
My brown and tan striped Warm Up is a fabulous and warm pullover. It came out nice and big, and the Lettlopi wool is one of my favorite yarns. I chose this pattern to use up some yarn I already had. (The pattern used to be free, but no longer is.)
Even though I live in Florida, I wore this sweater on cold evenings by the fire in our yard. We took a January camping trip, which turned out to be cold and rainy, and I wore it all the time. Wool is wonderful for repelling water, and it drizzled for most of our trip! I love the big, roomy style… and now, I want another, but with a new type of neck opening.
Do You Make Mods to Patterns Frequently? Which are Your Favorite?
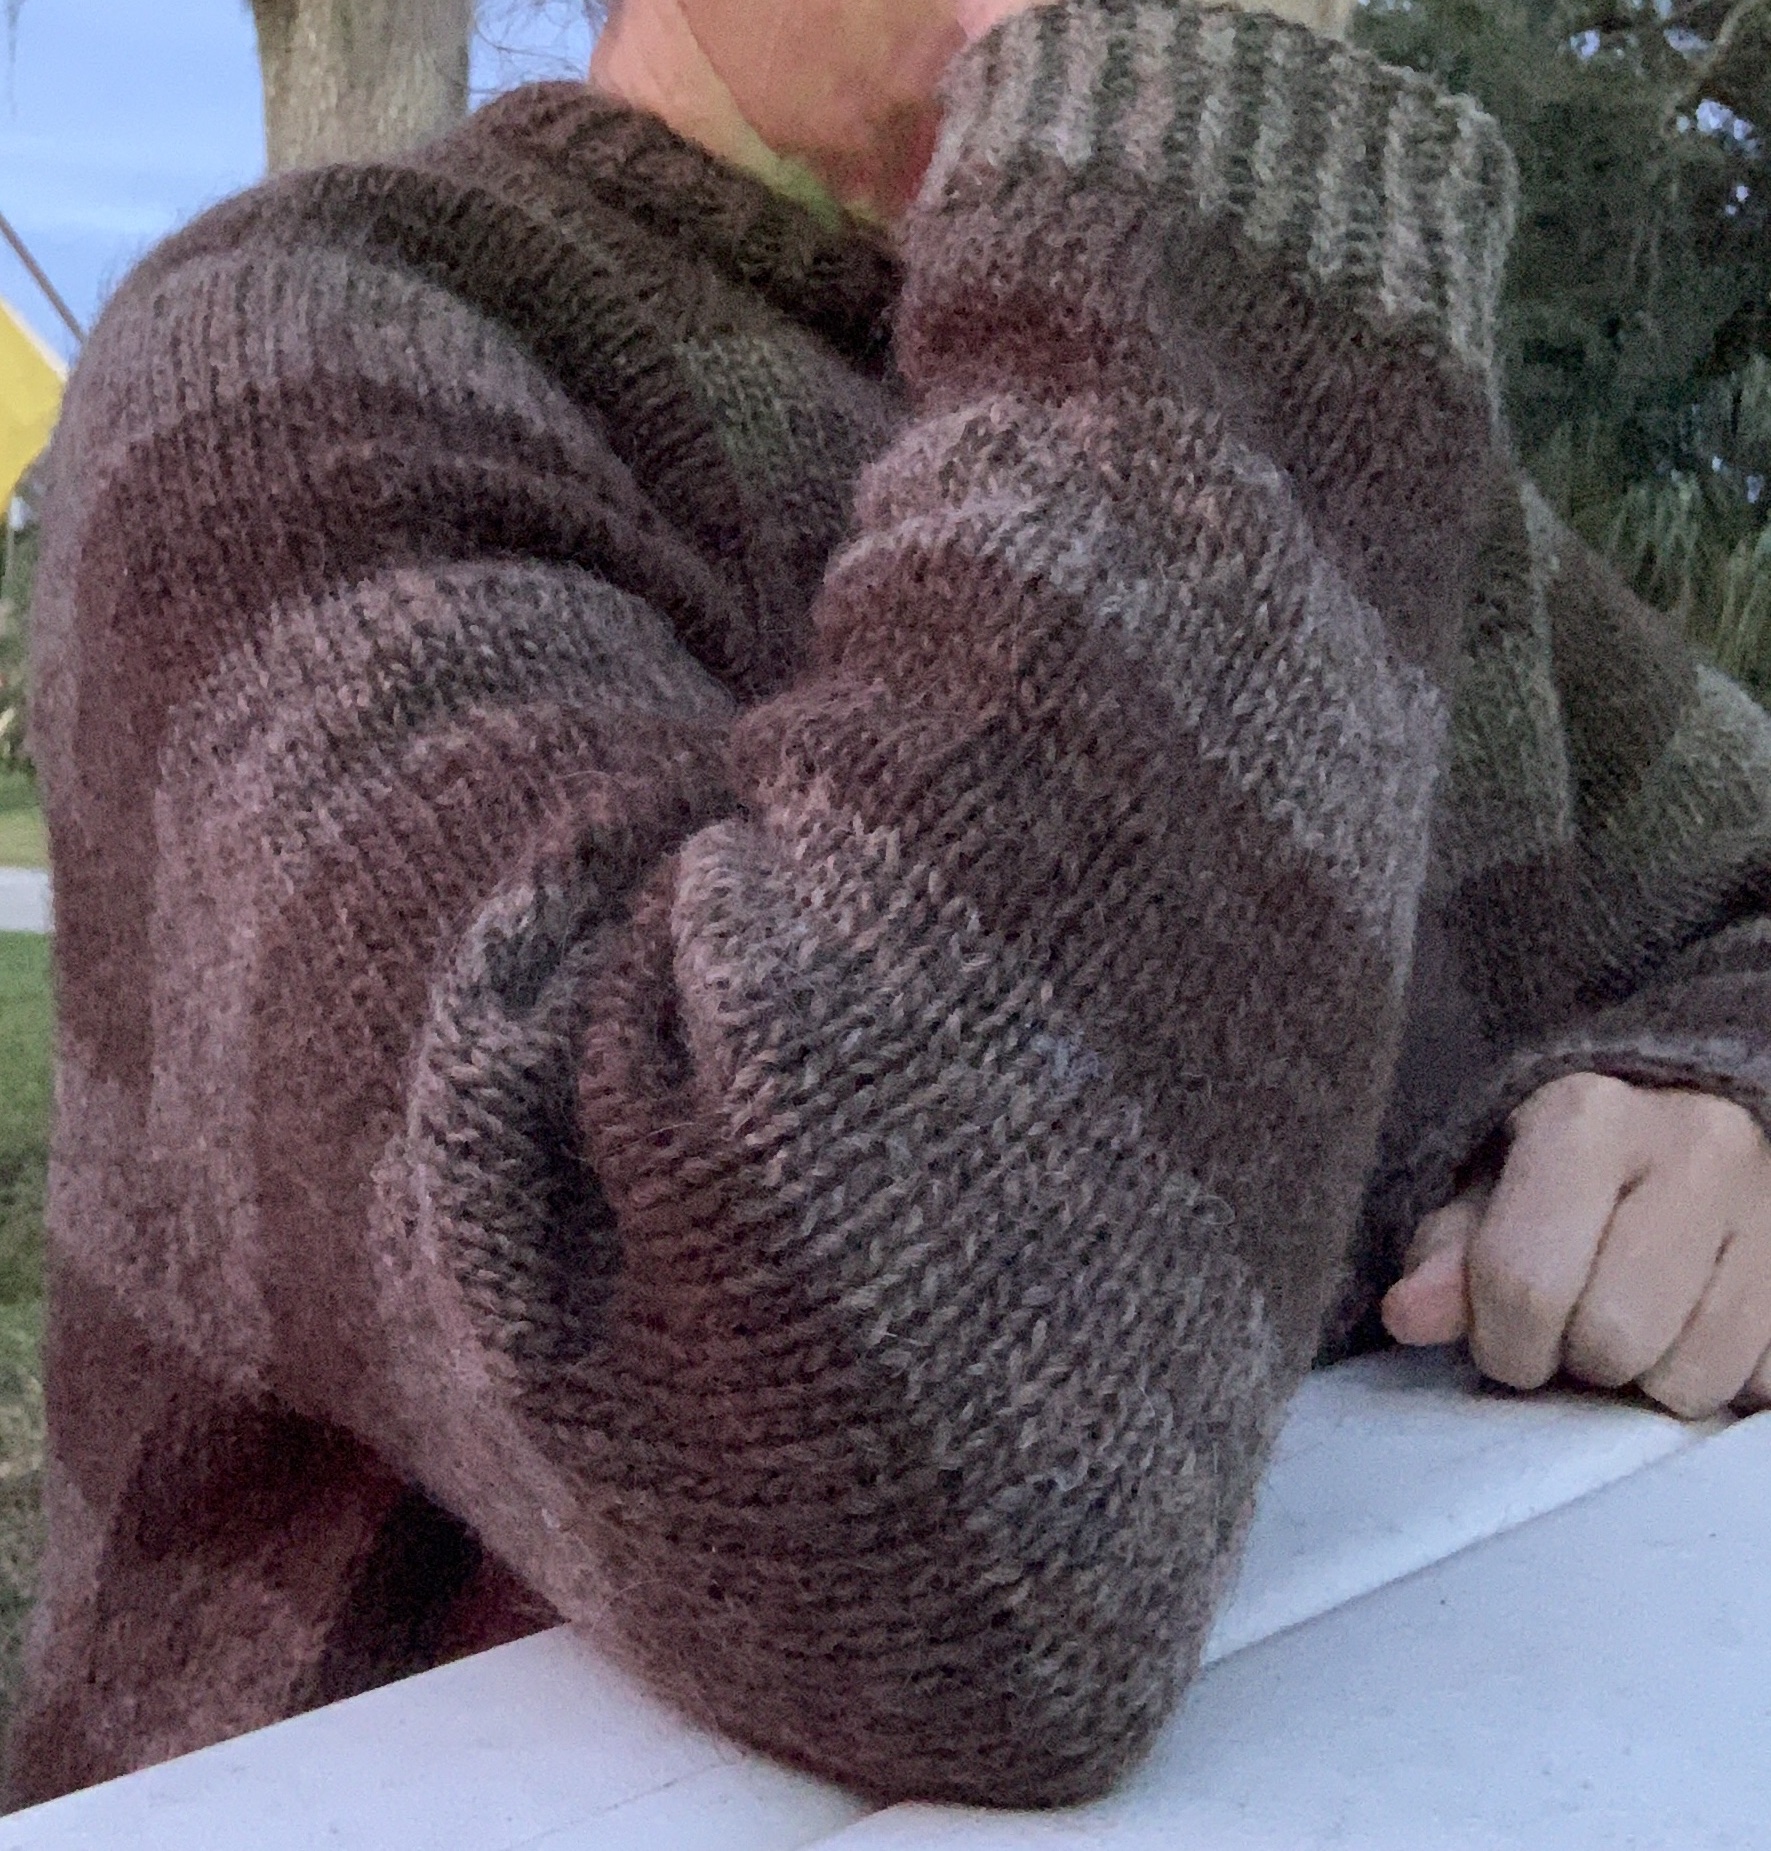
One modification I have begun doing more frequently is on sweater sleeves. I don’t like a fitted sleeve. A little roominess is needed if the sweater is layered. I changed the sleeves on my Field sweater, and I’m glad I did.
I’m currently knitting the Rebel Cardigan and I’m also making the sleeves a bit wider. Wider sleeves simply means I am not doing all the recommended decreases. The sleeve won’t taper as much as called for.
Field sleeveRebel sleeve
Once you have some knitting experience, don’t be afraid to make little changes to patterns. It will build knitting confidence!
Want to know more about knitting a first sweater? I have some advice for beginner sweater knitters, as well as pattern suggestions.
After fiddling around with dishcloths, hats and scarves for a while, and getting basic stitches learned, I needed a bigger knitting project. I yearned to make a sweater just like all those pretty knitted sweaters I was seeing everywhere online.
I tried to find out as much information as I could before choosing the pattern. I read blogs, Ravelry pattern reviews, and visited the forums, but I still felt indecisive. What type should I choose? A top down, or bottom up? Cardigan or pullover? Plain or colorwork? I had done a bit of colorwork and liked it. A cardigan seemed like too much to handle with button bands, buttonholes and buttons! So, I chose a bottom-up pullover with some colorwork at the top by a designer I’d seen mentioned quite a bit, and bought the Umpqua sweater pattern by Caitlin Hunter.
How to fix some common knitting mistakes. Every knitter needs to know how to un-knit, and frog to get back to their mistakes to be corrected.
One reason I refused to learn to knit when I was younger, was the difficulty in fixing mistakes.
When crocheting, we simply remove the hook and pull the yarn back past the goof, and begin again. This can’t be done when knitting.
How to “Tink” or Un-knit
While happily knitting along, suddenly you look back down the row you just knit (and it’s a good idea to get into the habit of doing this) and see something is wrong. Maybe what should have been a purl, is a knit. Maybe a stitch has dropped. Maybe the wrong color was used in a colorwork pattern. Whatever it is, it needs to be fixed. Now the stitches just worked need to be taken out, or un-knit / un-purled – back to the spot of the mistake.
Please note that if your mistake is waaaay back and it would take forever to un-knit to make the fix, read the next section about how to fix that type of booboo by frogging back.
The Chilly Dog has a good video showing (very slowly) how to take out knits and purls.
Sometimes your row will also have other stitches, such as K2tog, SSK, or more involved stitches. Good luck! Look that up on YouTube if you need help. Basically, undo the stitch by remembering how you made it in the first place.
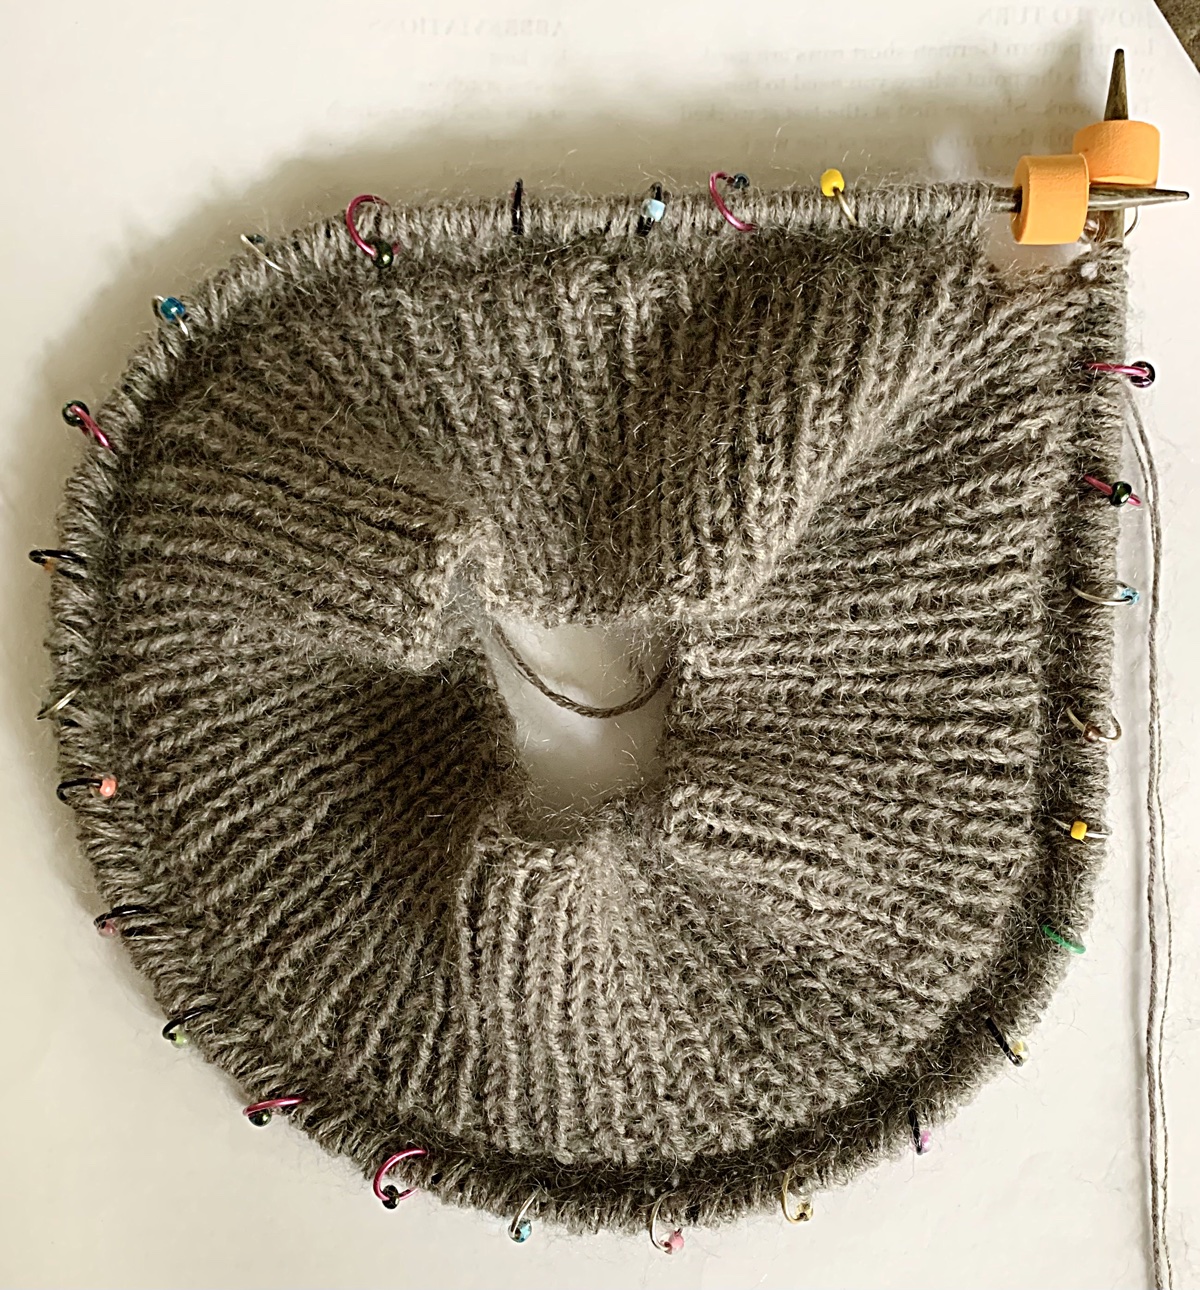
HELPFUL HINT: Use stitch markers to divide a long row into sections. Unless you are simply knitting, or purling, divide each row into the sections used in the pattern. This way, if the count is off within that section, it’s a short way back to the fix.
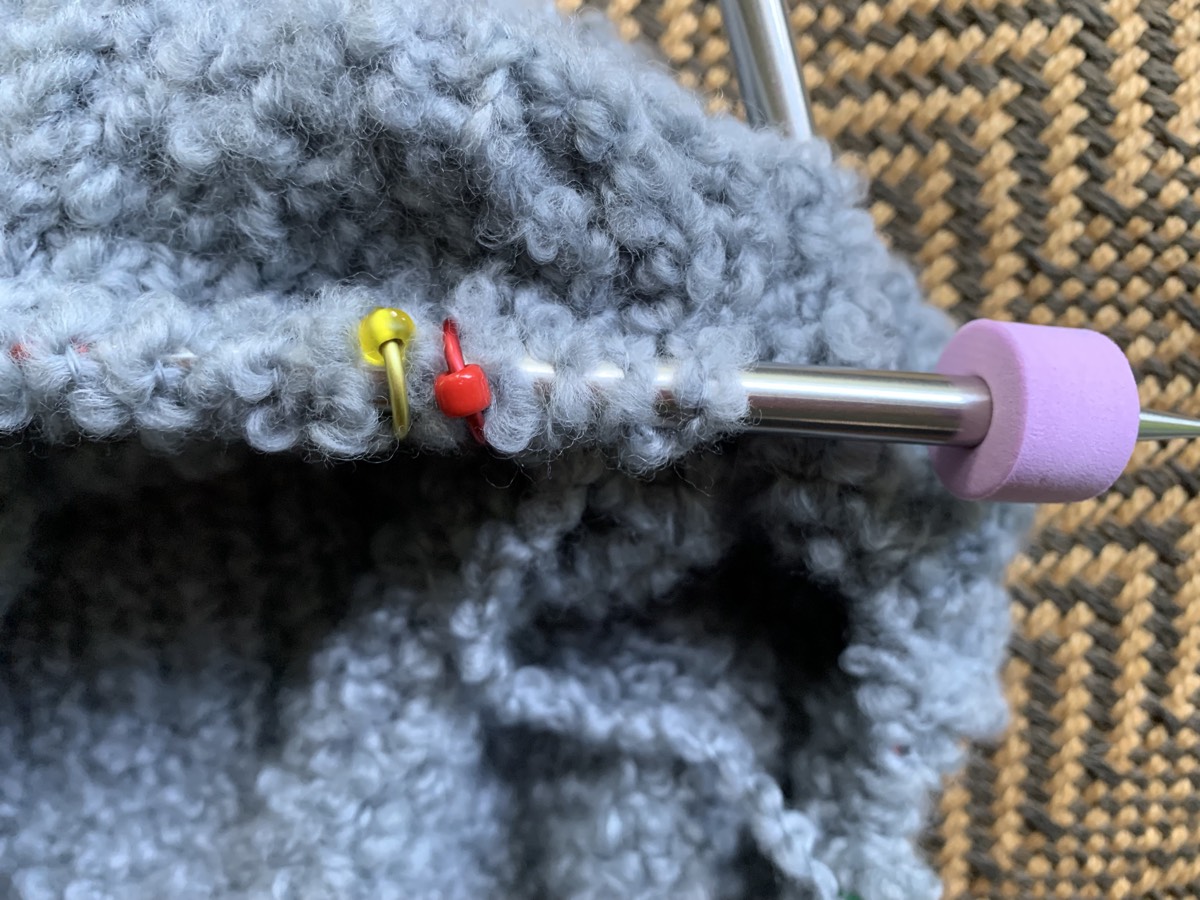
While knitting the Field Sweater (left below) I used lots of stitch markers to divide my knitting into sections. I did the same for the ribbing in the Venlig sweater, mainly because the type of yarn made the stitches difficult to see.
If you knit to the end of the section, and something is off, you haven’t gone too far and the Tinking should be manageable. This is especially helpful for repeating patterns and colorwork.
Field sweater markersVenlig markers
Ripping Out Many Rows in Knitting, or Frogging Back
When I began knitting I feared making some huge mistake that would mean I’d have to start the whole project over. I actually took out entire hats because I couldn’t get back to the place I needed to be. This is known as Frogging in the knitting world.
Sometimes I’d slip the stitches completely off the needles and then attempt to put them back on at the desired place! Nightmare. I don’t recommend this.
Now I know the correct way to remove rows of knitting and begin fresh from the last correct row. It’s tedious and a bit scary for a big project, but doable. And, it’s a very good thing to know how to do.
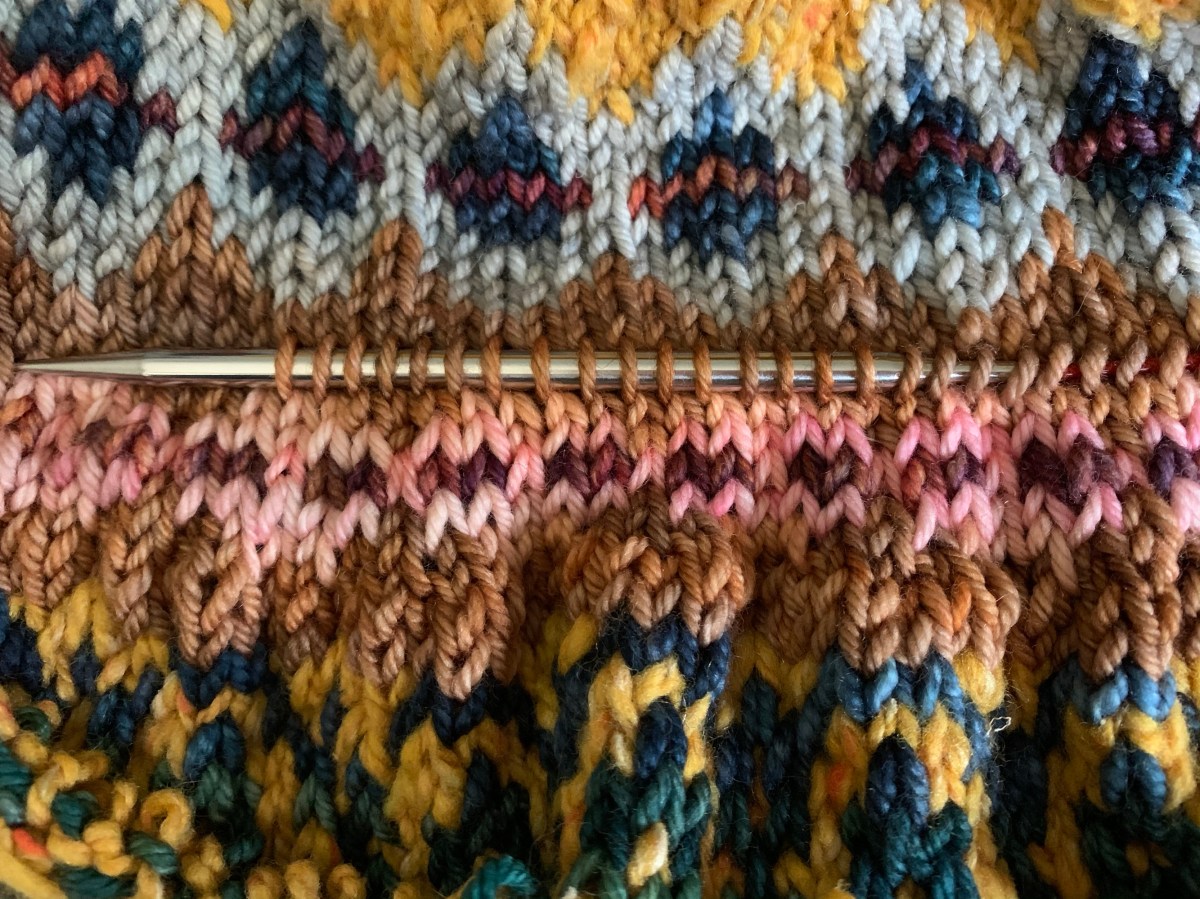
I’ll be honest, I can only do this on a knit row. I use a small size circular needle, with a long cord, and pick up the right leg (or left – but do the same for every stitch, and only pick up one for each V) of each row of stitches. Do this all the way around, or across, to get every stitch held.
First time doing thisThis colorwork will be gone….
HINT: A sewing needle and waste yarn can be used in place of a knitting needle to hold the stitches. But the stitches held with waste yarn will have to be put back onto a needle, so it’s a bit of an extra step.
While picking up those stitches, be sure to stay on the same row – stitches picked up should be side by side, or in the same knit row. Once the spare needle is full with stitches from all the way around, or across (however your project is being knit – in the round, or flat), remove the project needle from the stitches.
Pull the knitting yarn (unravel) until only the stitches on that spare needle are left. Go slowly, and re-wind the yarn that has already been used. All stitches should now be on that small needle and are ready to be knit. Begin knitting according to the pattern, using the correct size project needle.
I did this for the first time when knitting the Marshland sweater. I’d done too many increases at one point, and had to go back many rows on the yoke to fix it.
Sometimes, depending on how you have picked up those stitches, they will be on the needle the wrong way. If the stitches are twisted, fix each one (quick video) as you knit the new row. HINT: You can also knit through the back loop to un-twist the stitch.
Gather Knitting Knowledge
In knitting, like many things, the more you know, the more you can do.
This frogging back many rows also comes in handy if you are unhappy with a finished, or partially finished, project. For instance, when I knit the Calliope sweater, I re-knit the first sleeve a few times before I was happy. I could never have done this without knowing how to frog many rows of stitches.
I plan to take out the neck ribbing on my recently finished Autumn Alpine and replace it with a better one. I’ll need to pick up stitches before I do that.
In other words, you are now free to correct and fix things you don’t like in a pattern. Even if you’ve finished the entire knit!
We Aren’t Perfect
We aren’t perfect and our hand knits don’t have to be either. I am a firm believer in leaving the little mistakes and moving on. Often it is something that only another knitter, upon close inspection, would notice. I don’t let it bother me.
Sometimes if I am off in my stitch count, I discreetly add, or remove, the extra stitch with a simple “make one” or “knit two together”. I’m becoming more creative in fixing little goof ups.
Knitting, for me, is a calm way to spend my time. If fixing a mistake will be more stressful than it’s worth, I ignore it.
I’ve only covered a couple of basic ways to fix knitting problems. Thank goodness for YouTube because we can usually find generous people who share their info with us.