Knitting projects I have completed or have in progress. My thoughts and review of the pattern, yarn, and outcome. Also knitting project ideas to consider or find for free.
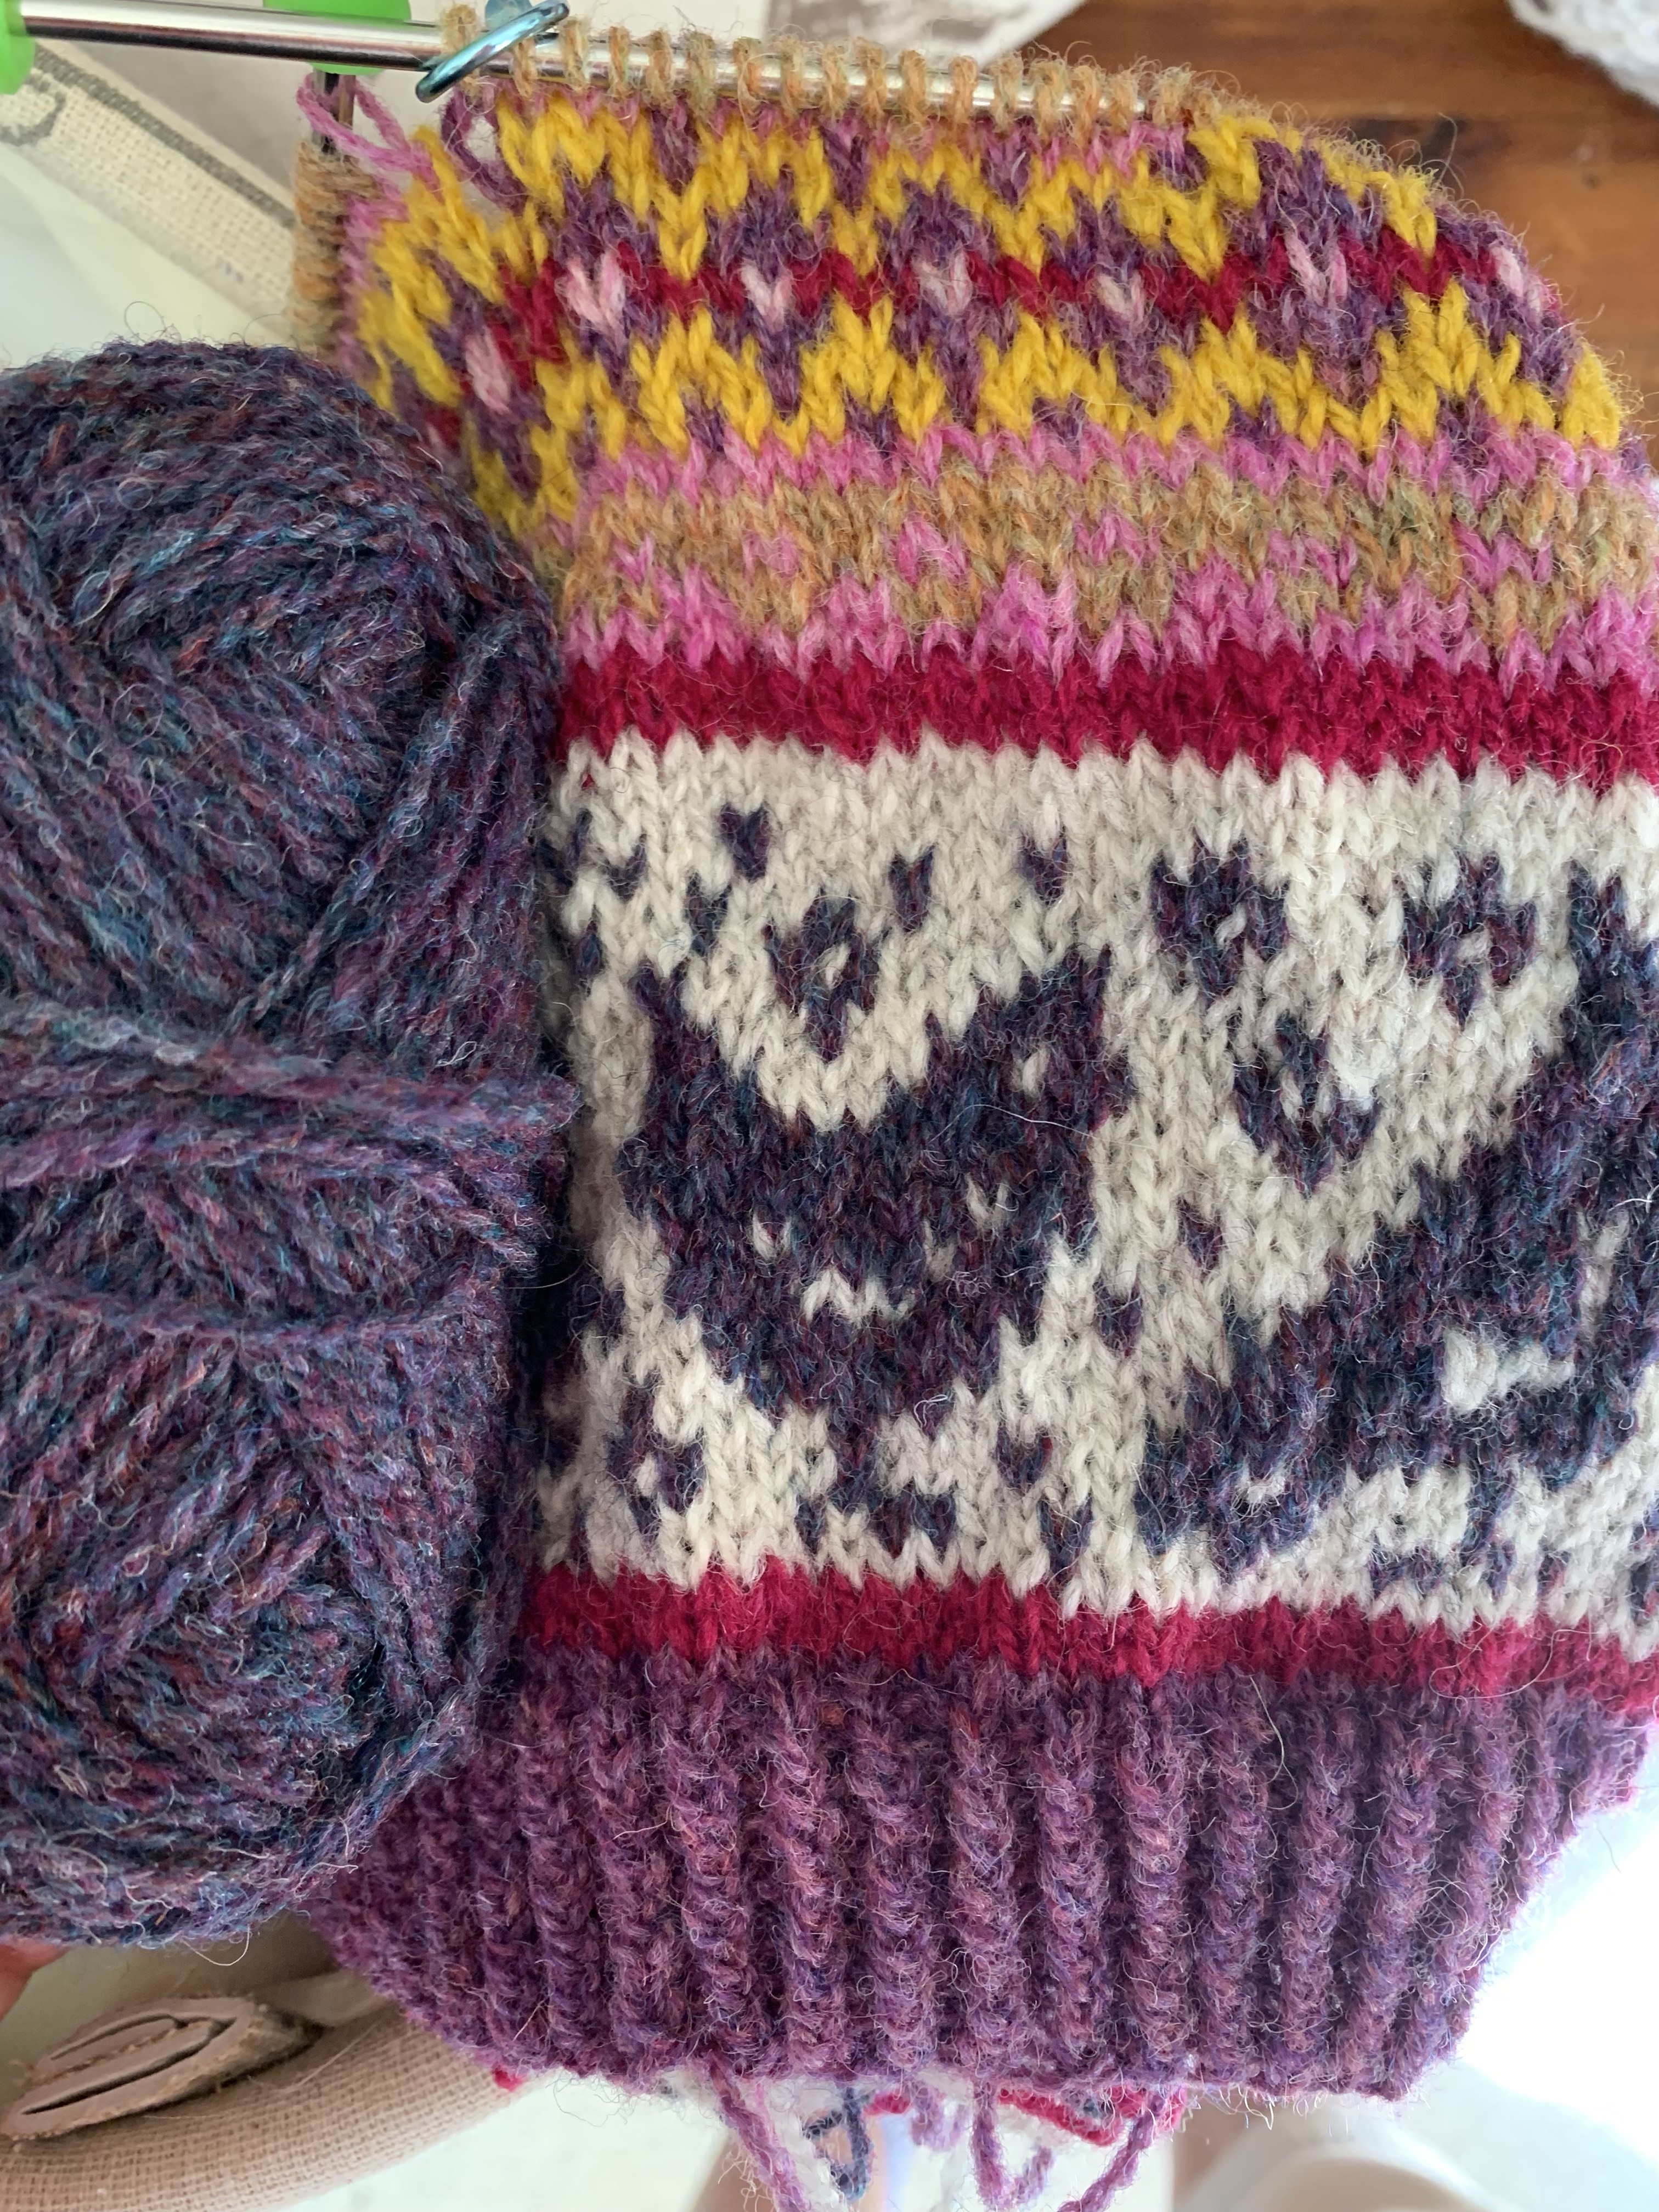
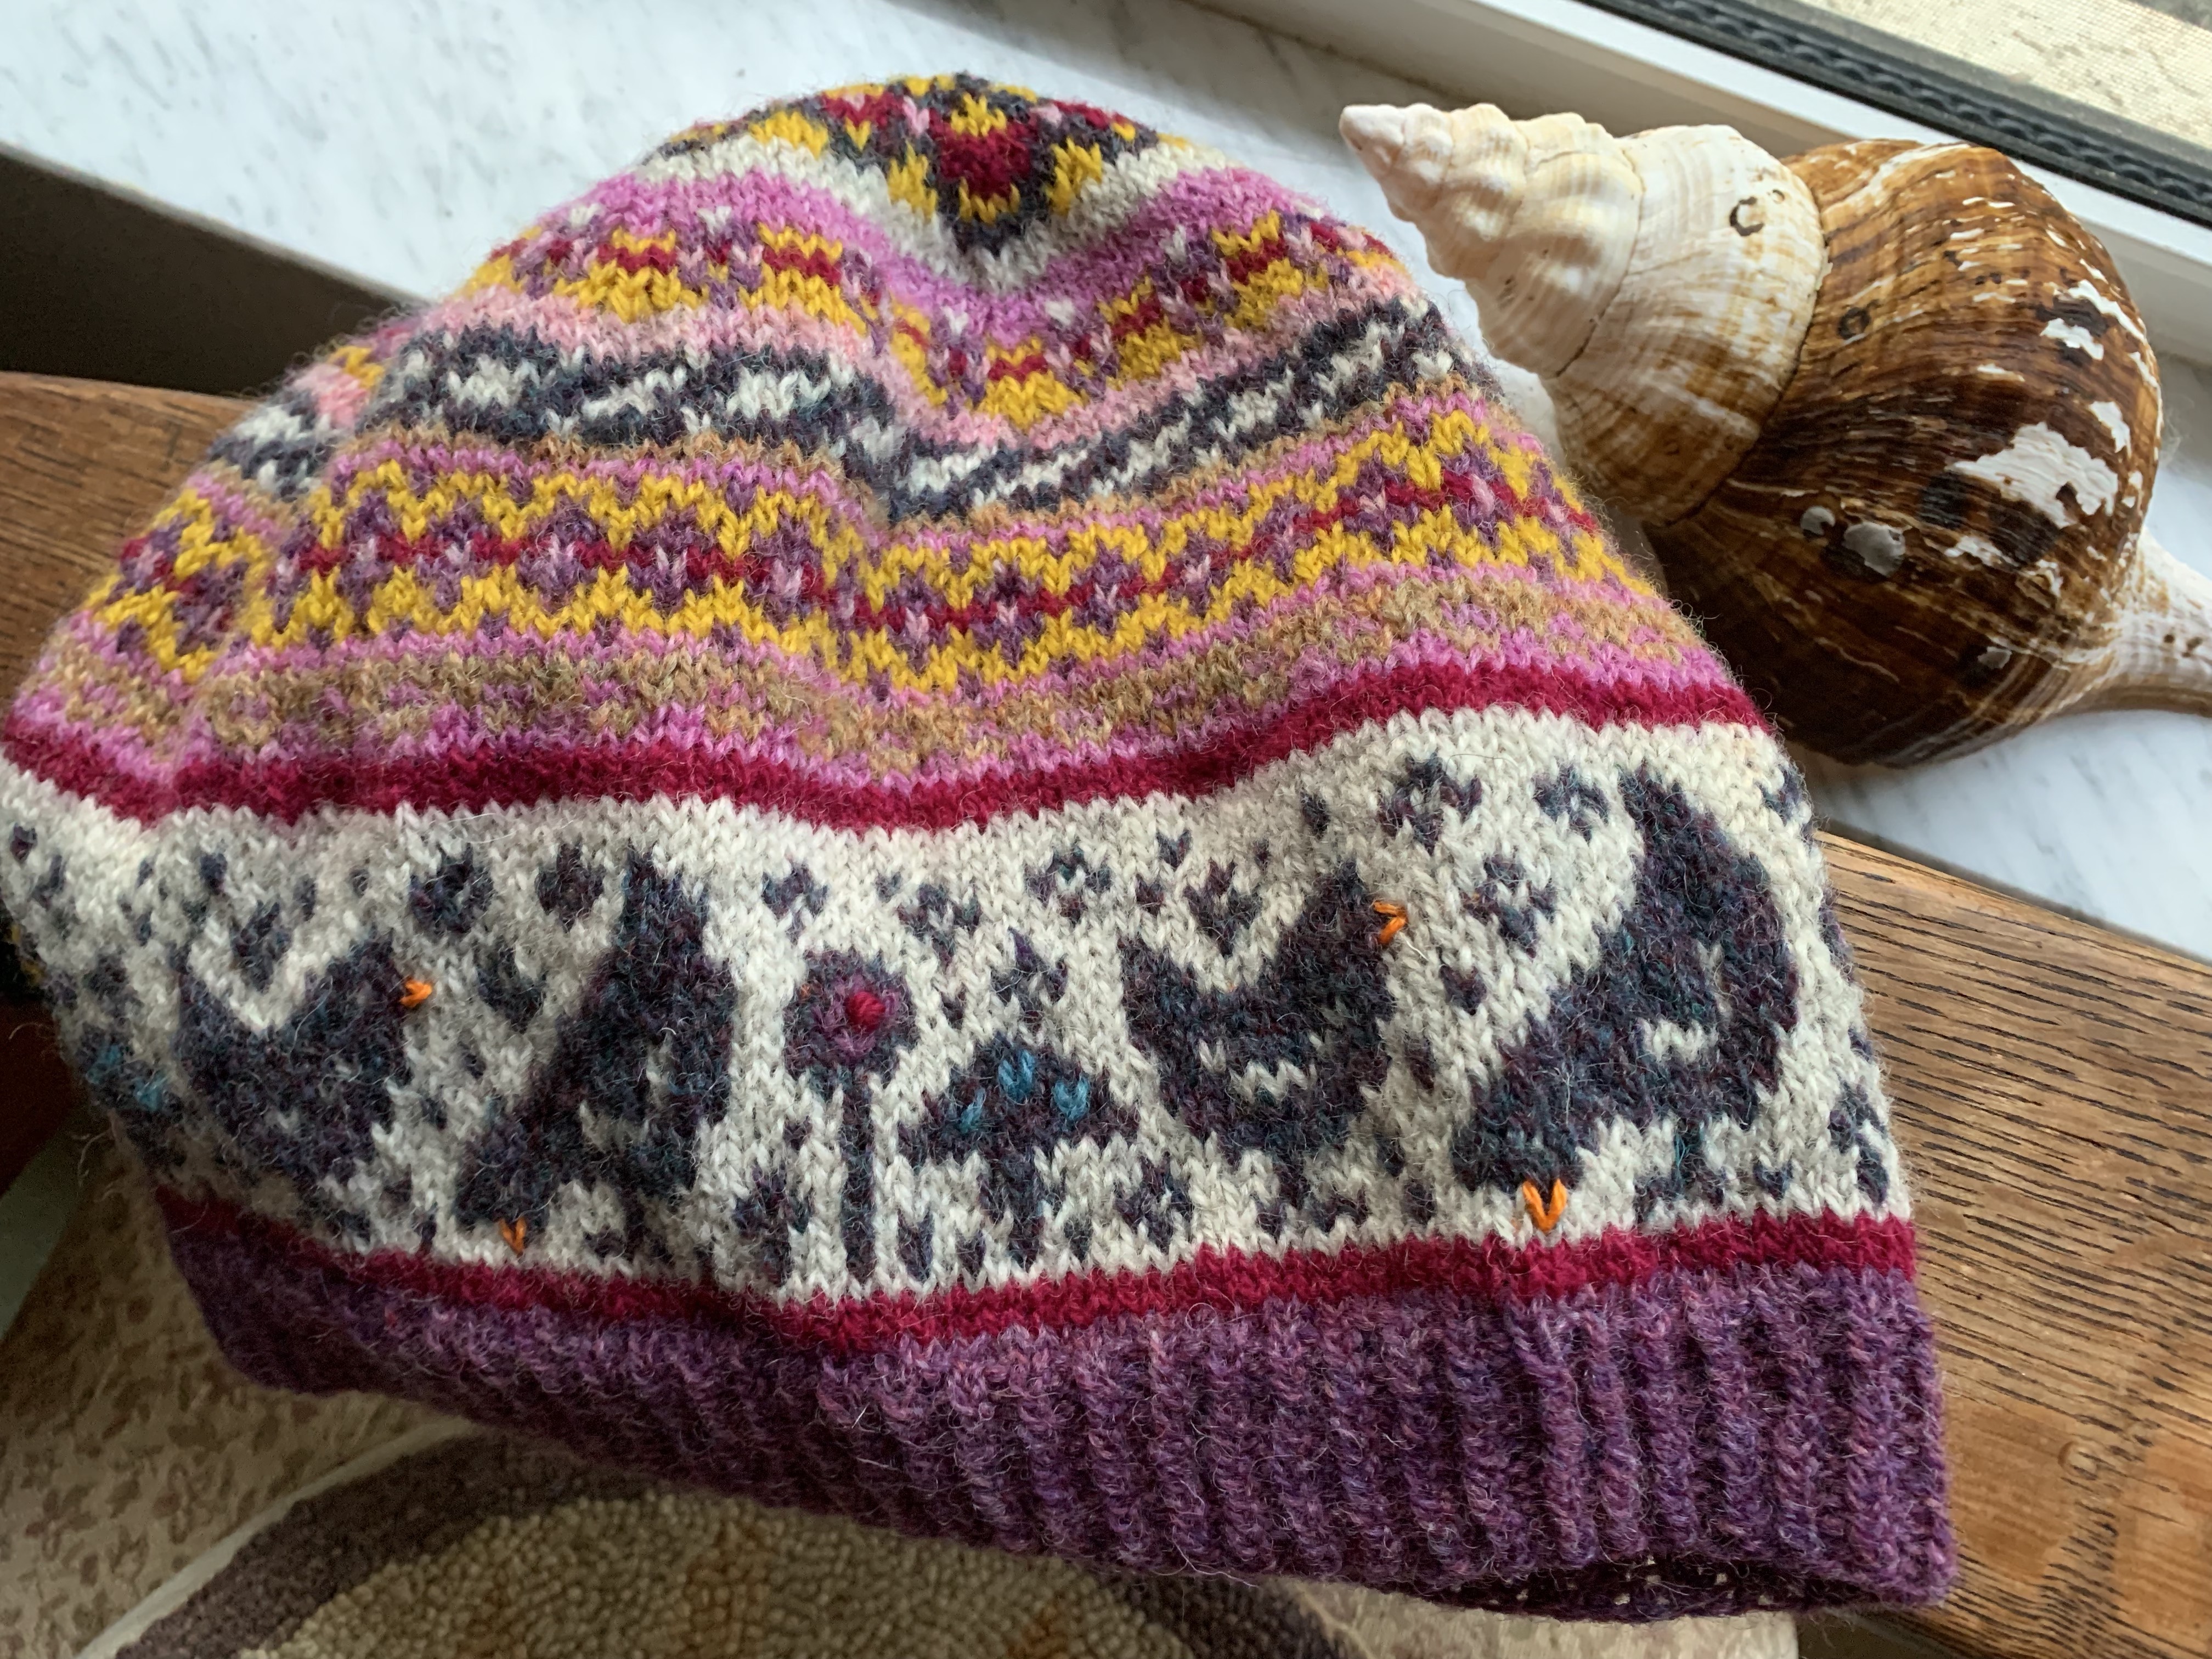
I’m knitting a fun little hat with a motif of chickens! The stranded colorwork pattern is called the Solstice Glow Hat and is by knitwear designer “Bunnymuff”, who is Mona Zillah.
A link to the pattern page is at the bottom of this page.
The yarn I am using is Jamieson & Smith 2-ply Shetland wool combined with some Rauma. Mona (the designer) uses gorgeous Gathered Sheep Yarn. I would buy it in an instant if it was available in the US. If you are in the UK, check it out. But, the J&S is also very lovely, with some wonderful coloring.
Yarn: FC14, dark rainbow mix purple is the color I used for the chickens. I don’t leave my yarn in the sun, just used this sunny spot to show colors better.
This is my first hand-knit project for 2022. I did my cast-on January first. When I saw this cute hat pattern a while ago, I knew I had to make it one day for my daughter. Anyone who raises backyard chickens would just love it!
The pattern includes more than just chickens. Geese and pigs charts are included with this pattern. They could all be included on one hat – perfect for farmers..!
Finished Knitting
I’ve finished knitting the hat, but it’s not done. I still need to add the duplicate stitches on the chicken motif and weave in all those ends. Colorwork is such fun and all the yarn ends, from changing colors, are just part of it. Once it’s washed and blocked the puckers will come out and the hat will be smoother.
The chicken motif is meant to be enhanced with embroidery, called duplicate stitch.
The pattern designer explains how she used this technique to finish each of the animal motifs, so you are not left in the dark wondering where to begin. This Very Pink Knits video shows how to do duplicate stitch at about six minutes in.
Hat is Done… Duplicate Stitch, Washed and Dried
Altogether, the hat knitting was completed in nine days. It fits me fine, but might be a little big for my daughter.
Finished!
Final Words on the Solstice Glow Hat
After knitting the chicken chart section I went a bit off pattern and added some other colorwork patterns of my own. I found it difficult to follow the yarn color placement because my pattern printout is in black and white. The hat calls for a Main Color yarn and five contrast colors.
I chose to do my own thing for a few rows in the center. This is not anything against the pattern. I love Bunnymuff patterns and have already knit a few.
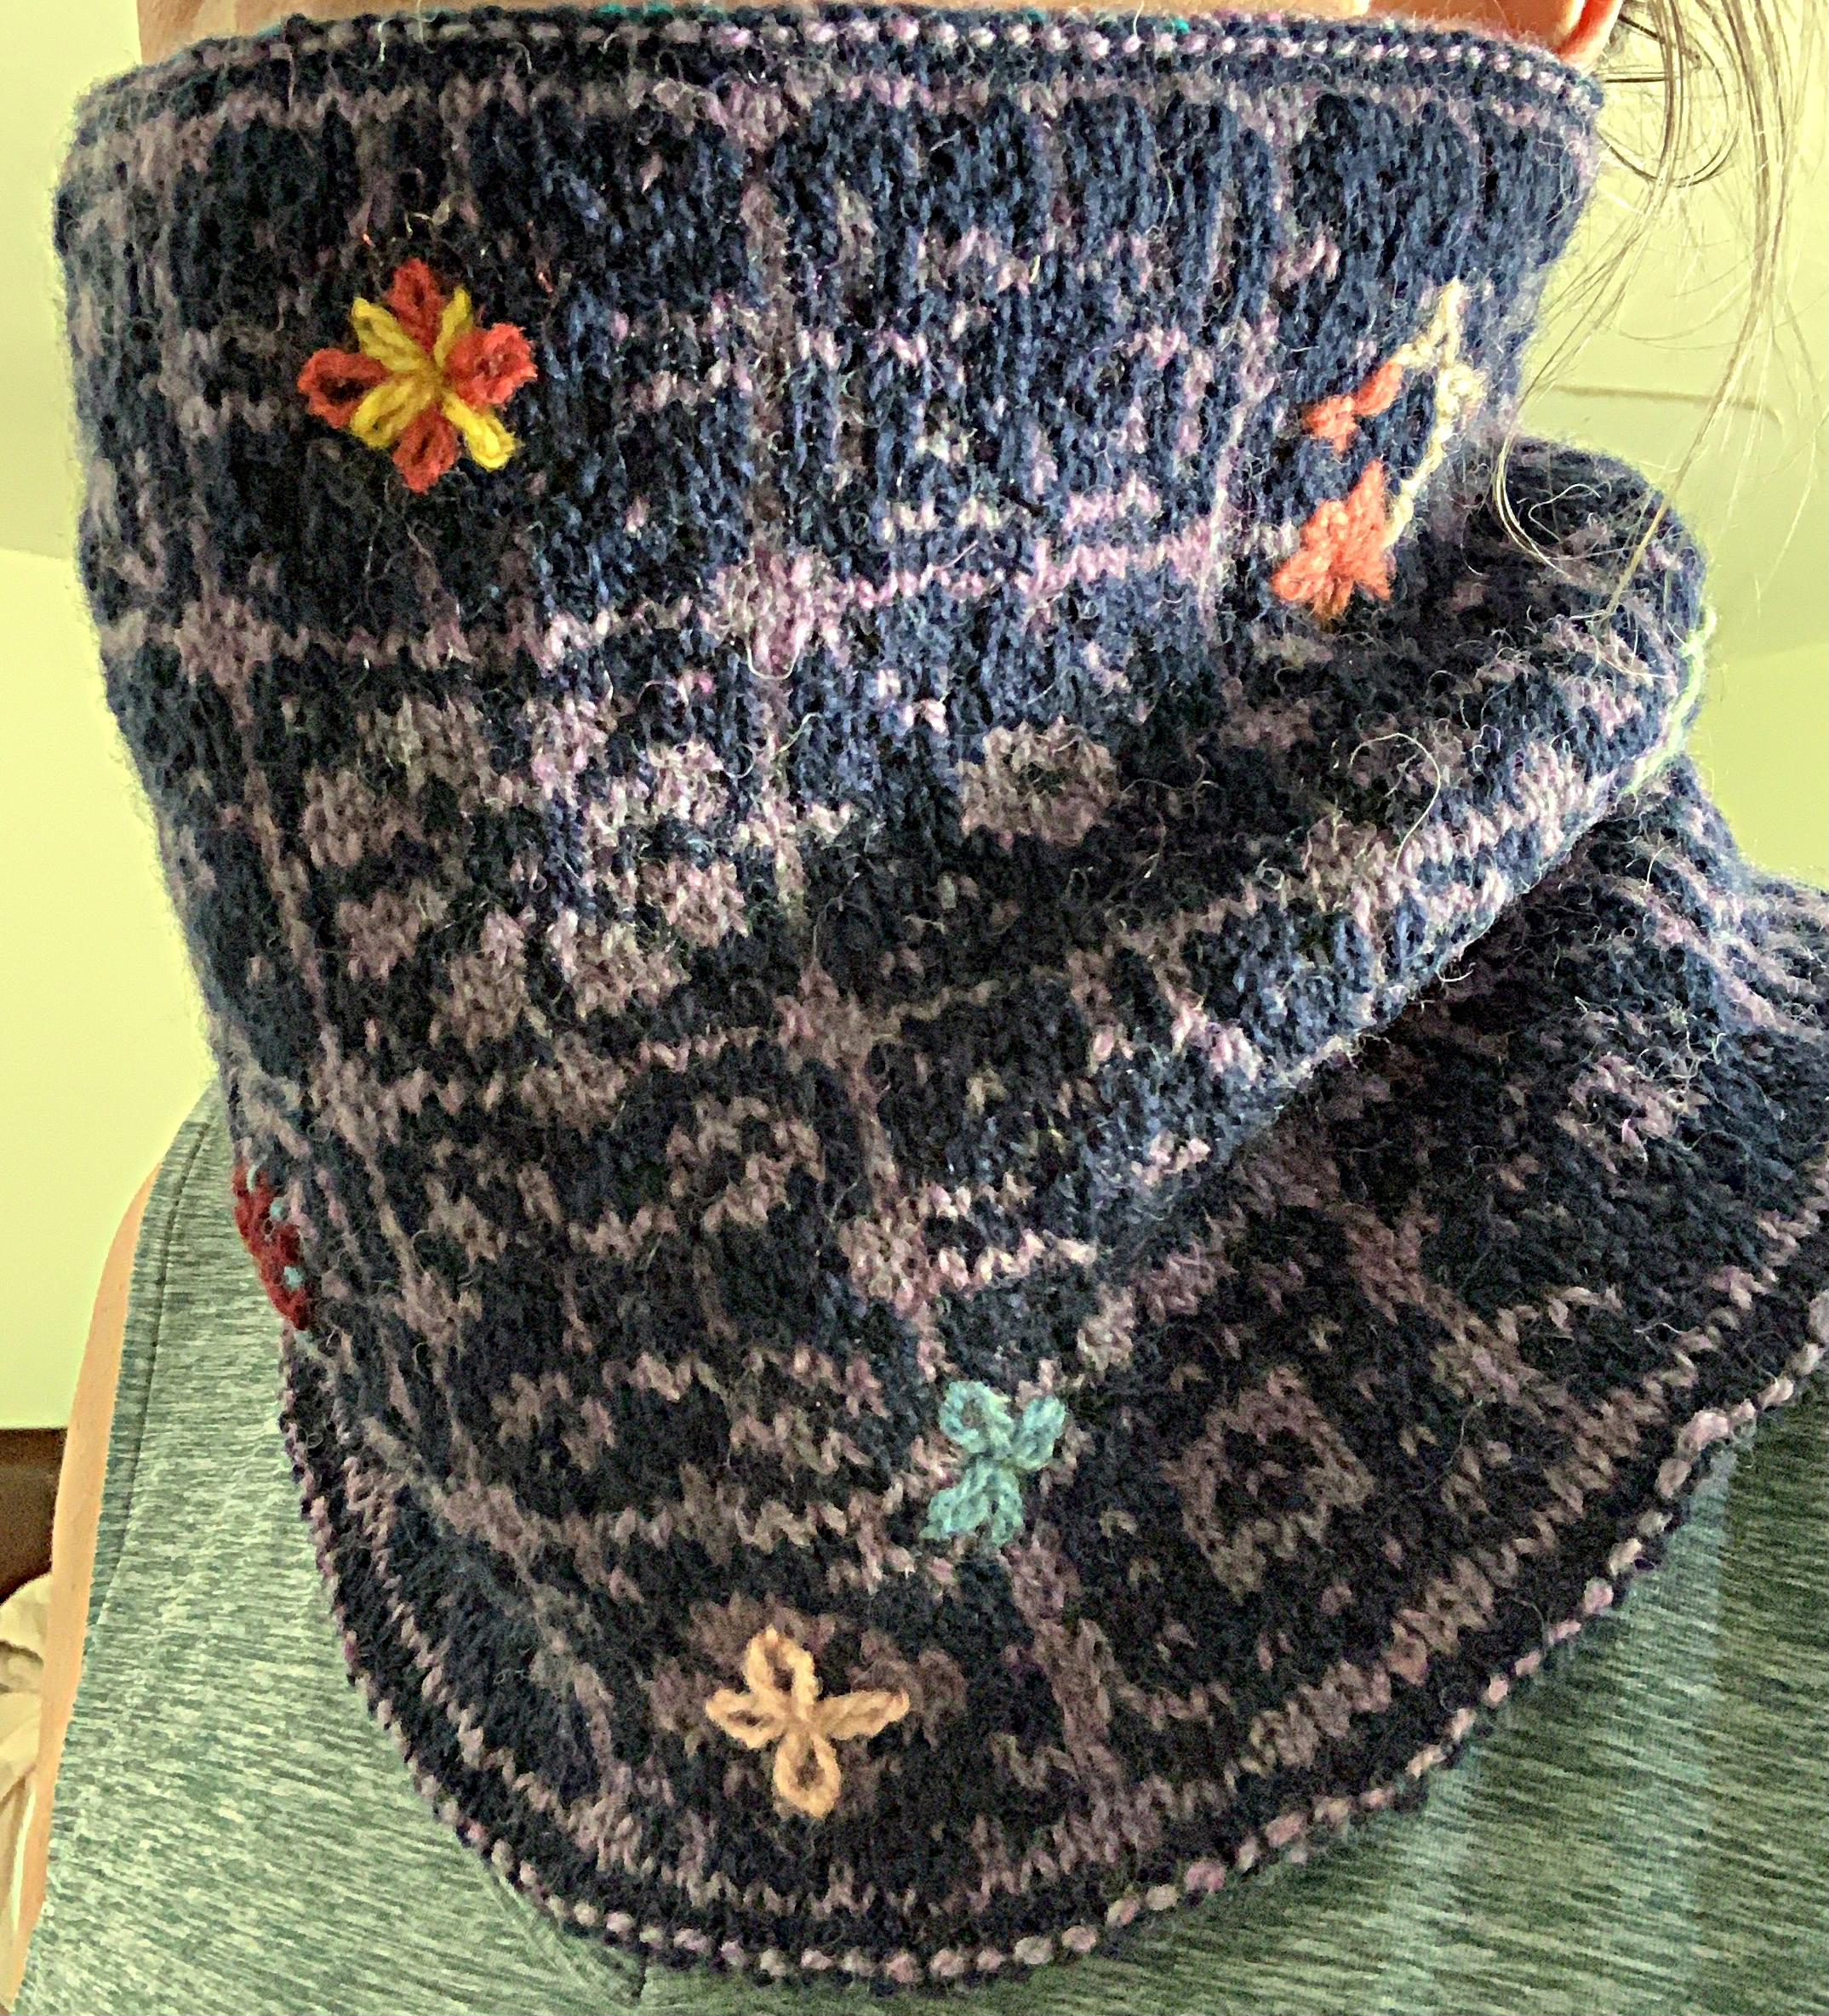
The Stellar Parallax Mitts were great fun (learned a new corrugated rib). The Keramos Cowl had some embroidery (a first for me). It seems I always learn something new when I knit one of her patterns.
More Patterns by Bunnymuff
This designer includes wonderful directions in her patterns. If you like this type of knitting be sure to check out Mona Zillah’s Ravelry Store where all her pattern designs are on display for sale.
This chicken motif hat will be sent to my daughter in New Hampshire. She is building a coop and hopes to begin raising backyard chickens sometime this year. I think she will love it!
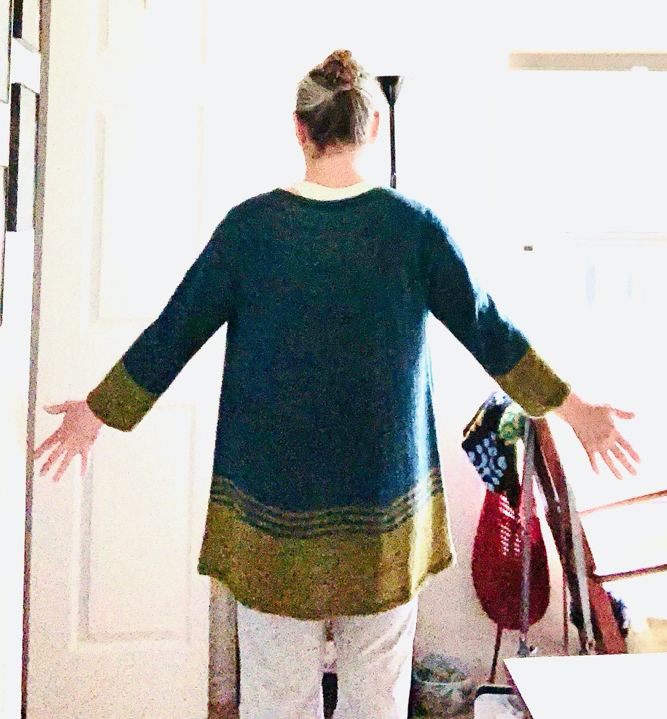
My son worked Thanksgiving Day and since it’s only me and him, I spent the day getting a new knitting project on the needles (I finished it on New Years Eve). The Carbeth Cardigan (Ravelry pattern page) is a design by KDD and Co., Kate Davies Designs. The pattern suggests holding two yarns together, but I chose woolly Alafosslopi yarn for this garment.
Lykke wood needlesKnitting the body
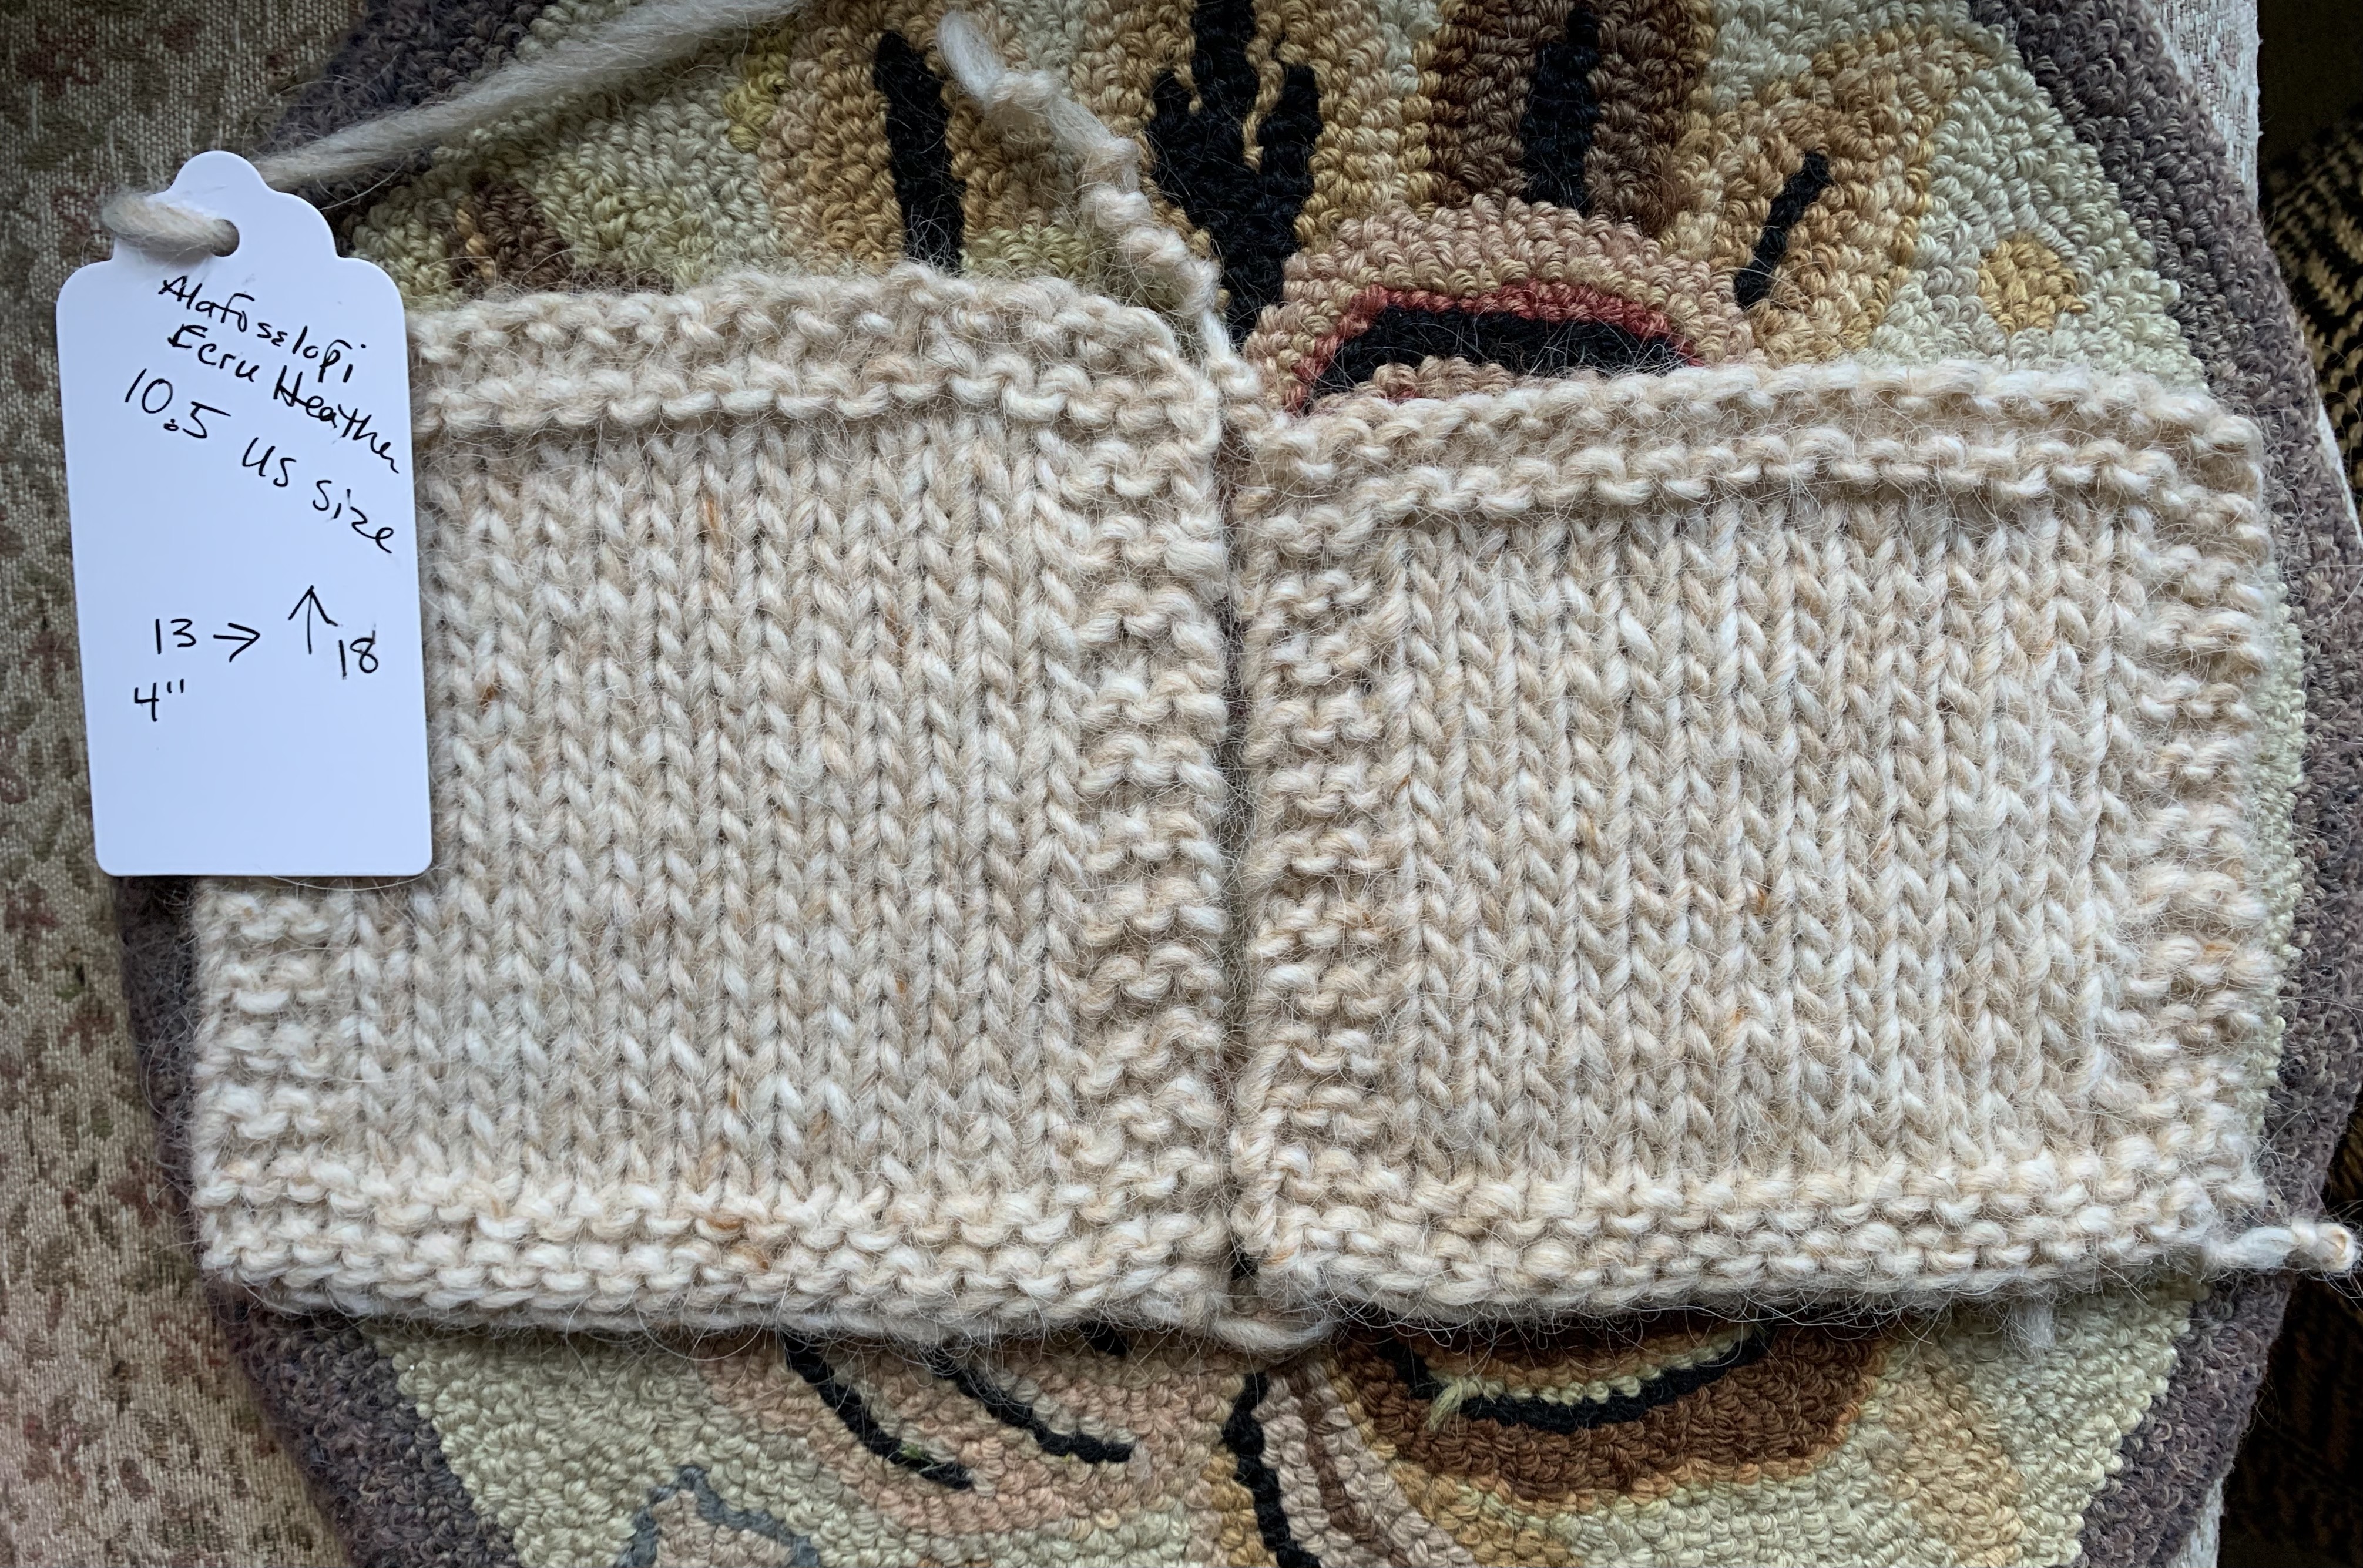
I did a swatch in size 10.5 with Alafosslopi yarn which was too large, so knit up another in size 10. That one turned out to match gauge exactly. I’m knitting this sweater in Icelandic wool which is bulky weight. Color is Ecru Heather. I will also need below gauge needles for the ribbing, neck and front bands.
Sweater Construction
I began with a sleeve and since I did not have a “below gauge needle” I knit the rib with size 10. The cuff is long. The body is knit, bottom up, and then everything is attached. This makes sleeve length a bit tough to figure. I knit 19.5 inches and the pattern called for 18. I’m glad I went longer. This pattern seems to have been written for a mini-sized person. I am 5’5” so pretty average.
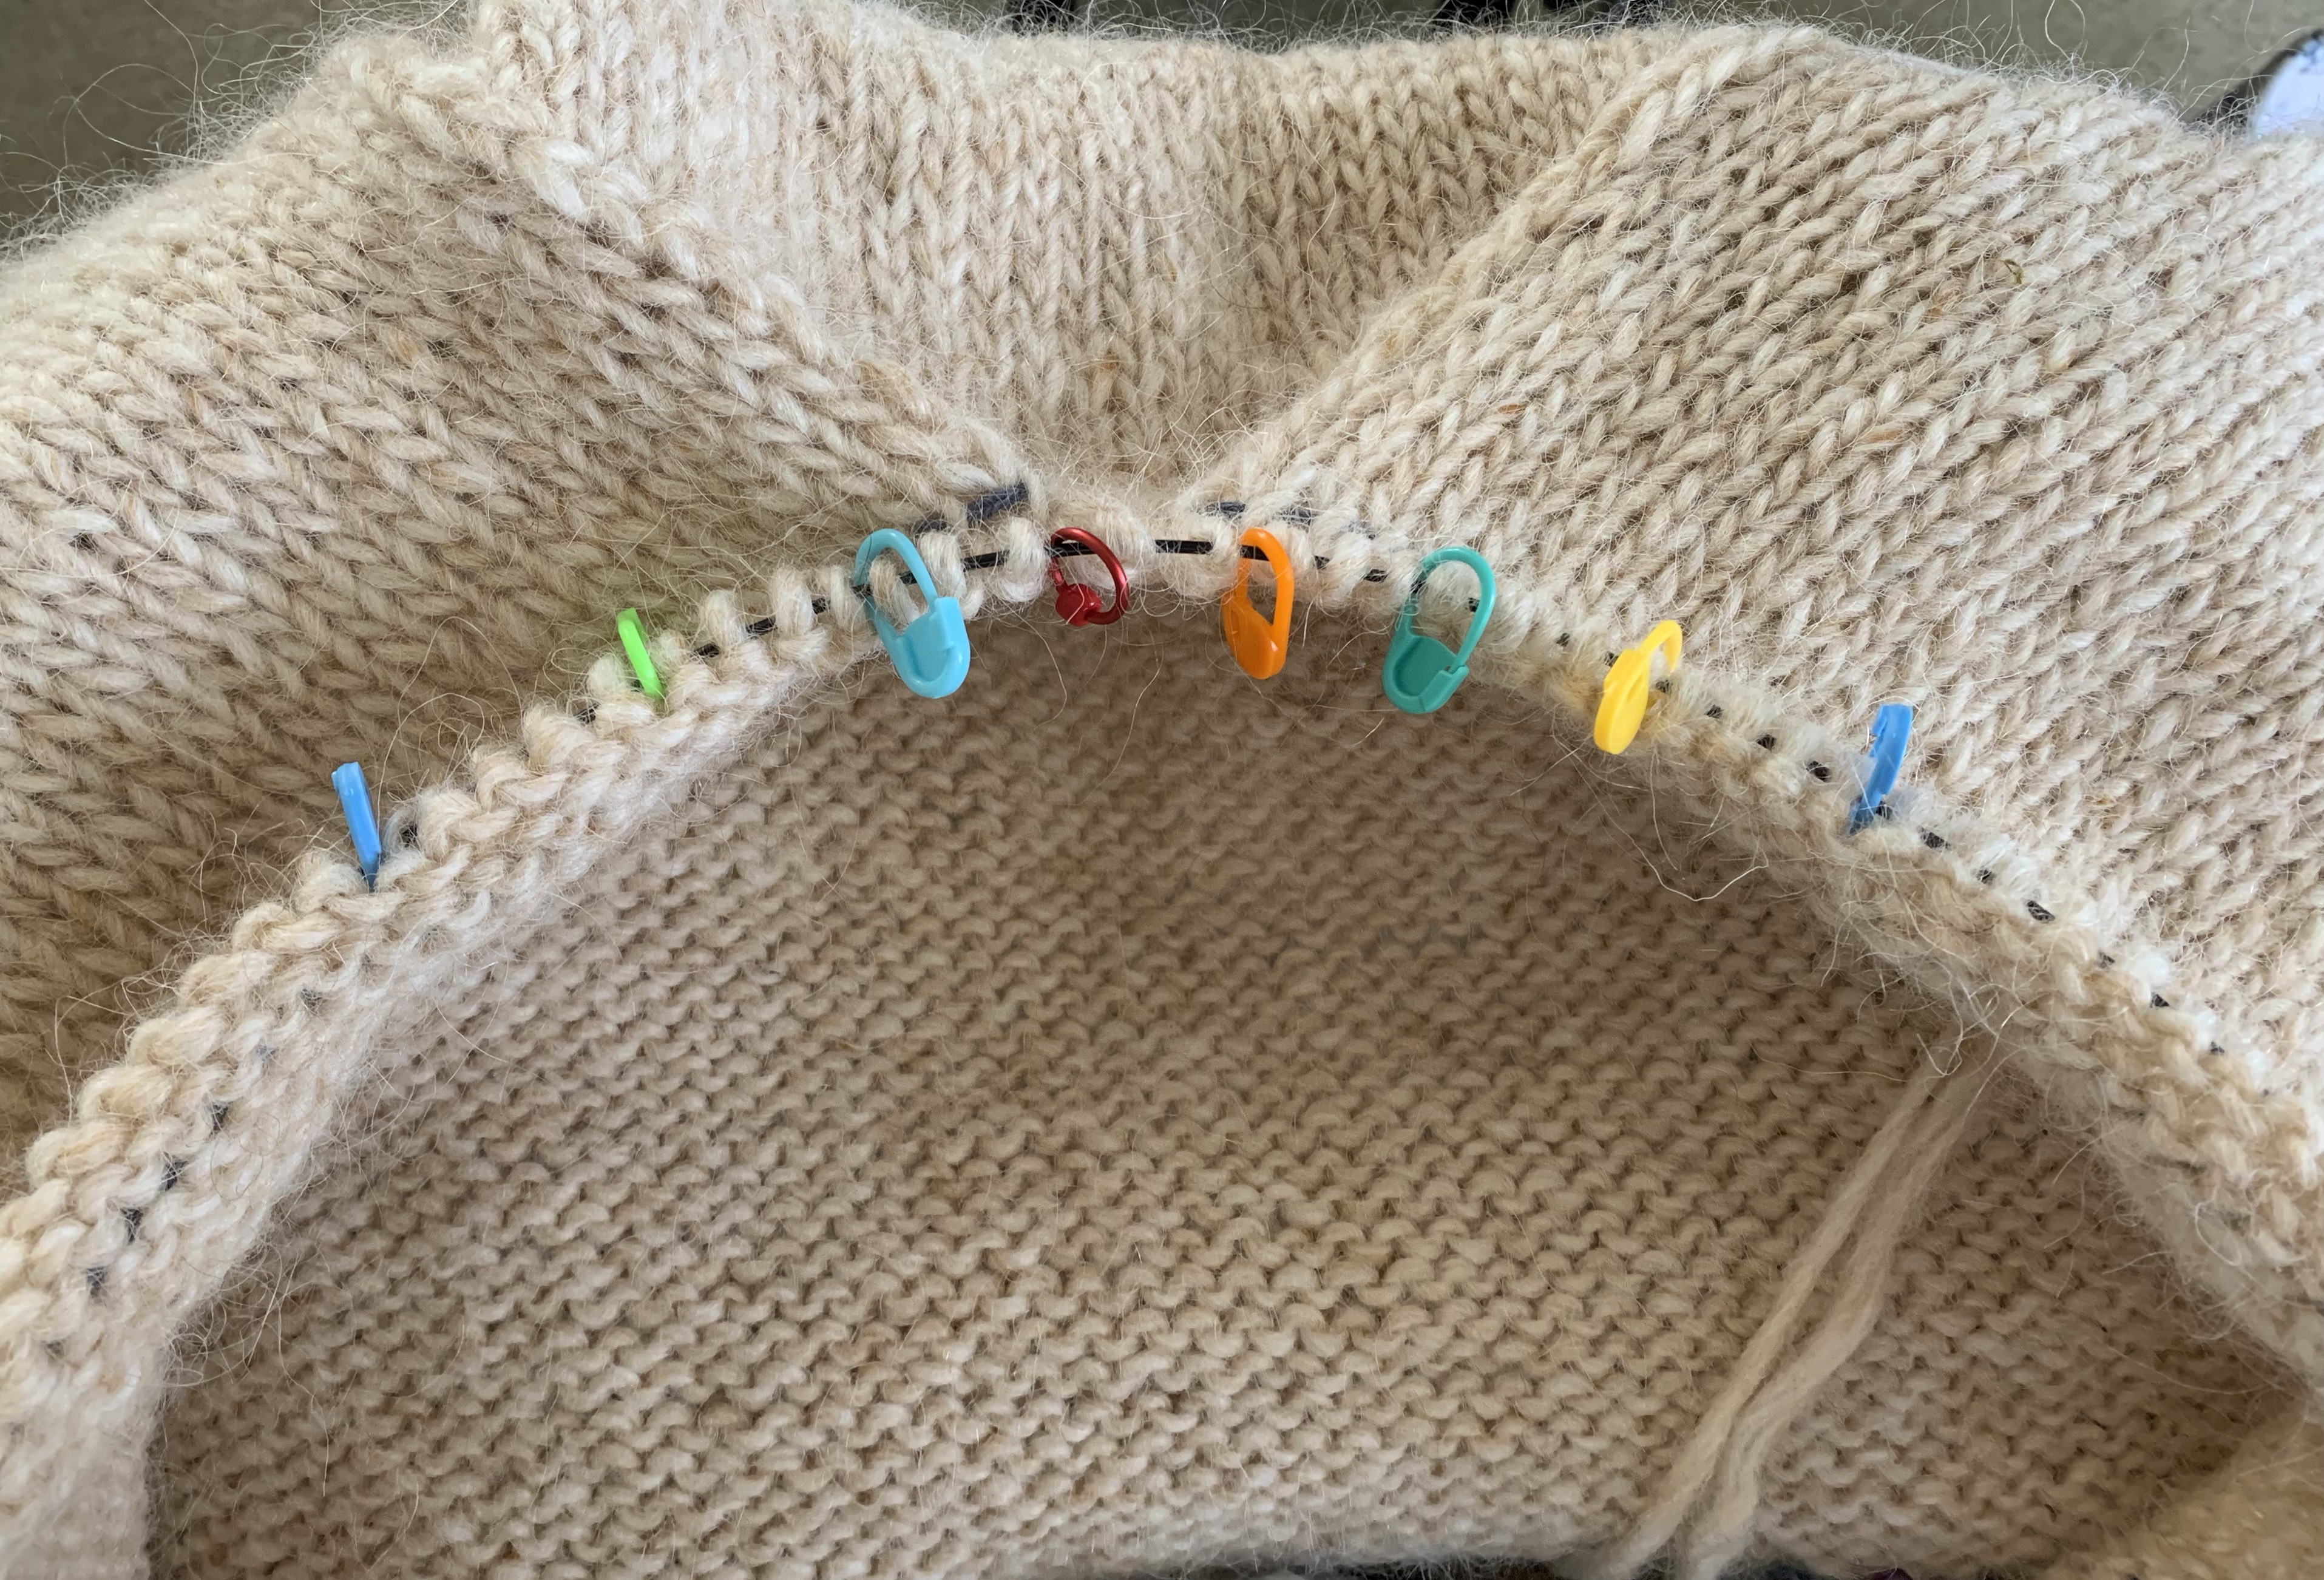
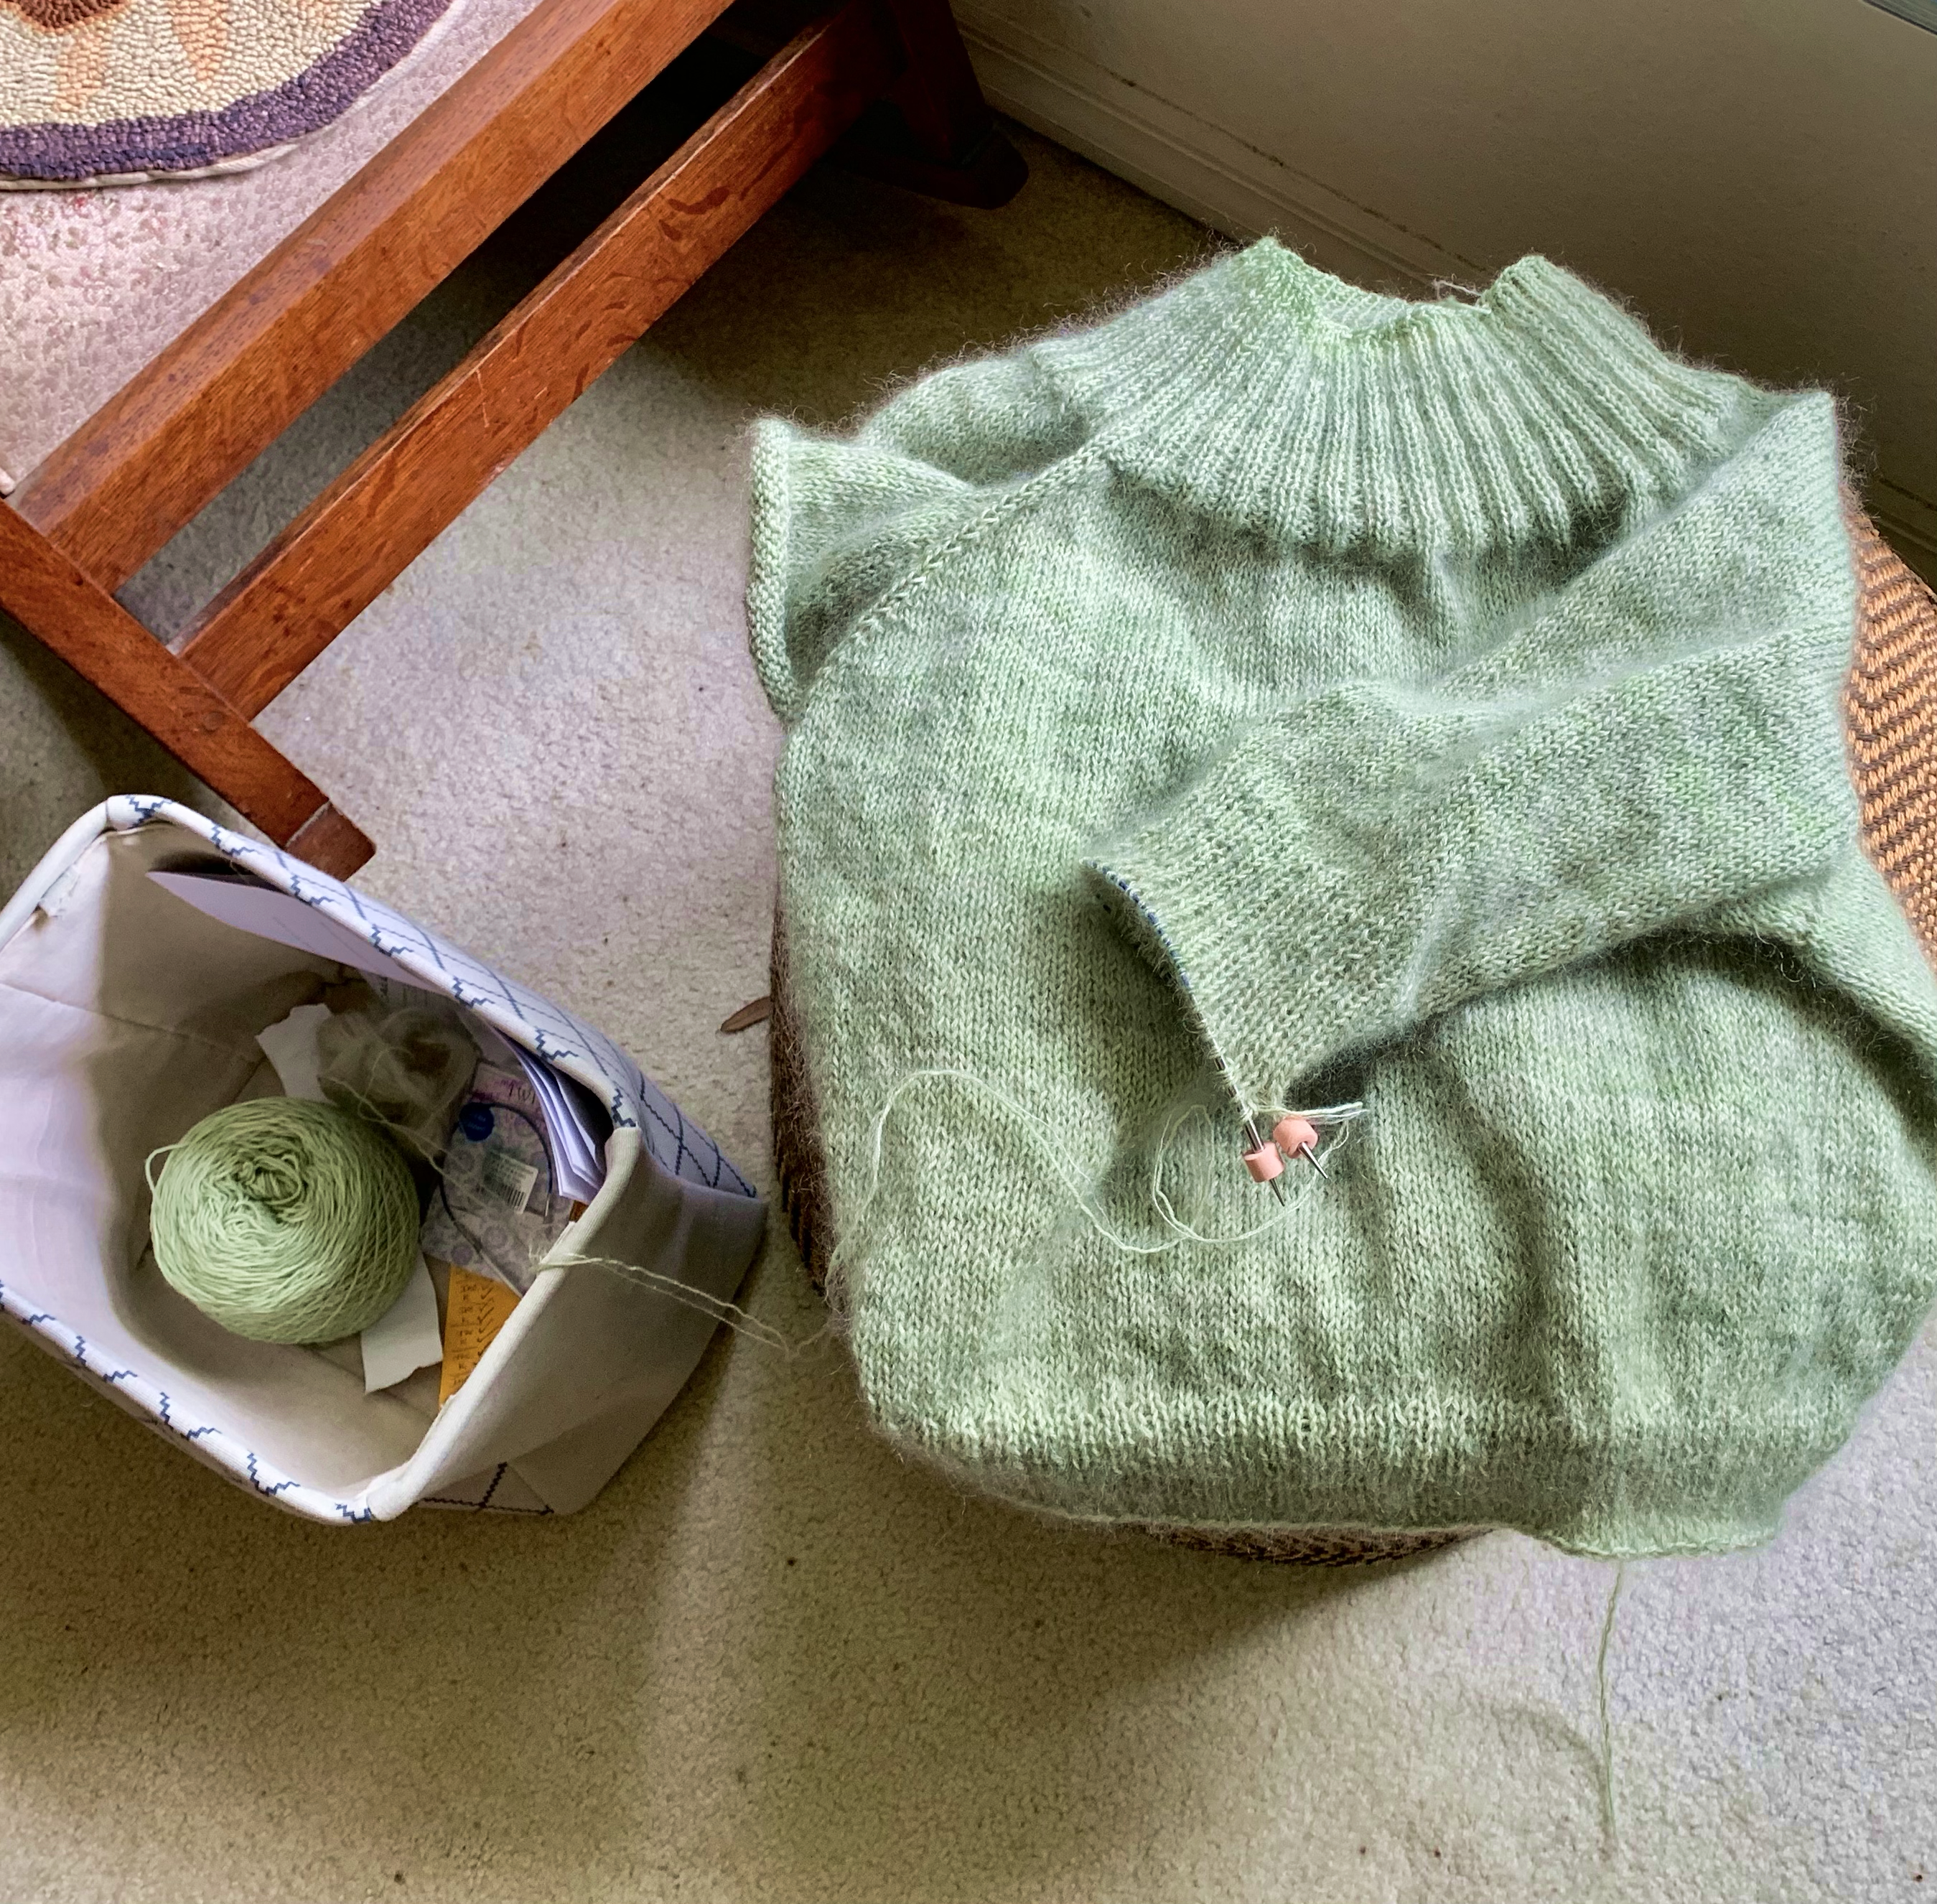
Here (below) I have reached the point where my decreases are almost done. The back of the neck seems low, so I will try to figure out my own short rows to bring it up. Other knitters have done this and I can see why.
Adding Short Rows to the Back of the Sweater
I watched this video to figure out my short row placement, but added a life line (good video at Very Pink Knits about adding a life line) before I got to this point. I’ve never tried to figure out my own short row placement and wanted to be able to rip them out if need be.
The blue yarn is my lifeline. Above that, in the center of the back, see the raised part which happened when I added short rows. I’m very glad I did this as the sweater seems to fit better.
Short Row Placement
I marked off the stitches for my short rows one row too early. Next time: Do short rows after the last row where the two center back stitches are purled together (or knit together for some sizes) and markers are removed. This is the row just before the neck decreases begin. **Another knitter made a note that she did the short rows after the decreases. This may work better as my short rows left a bit of a pucker in one spot. I didn’t notice this until AFTER the collar was worked, and I was not ripping that far back!
Adding a life linePlacement for short row turnsLife line and short rows visible with neck ribbing begunShort rows beneath neck in back
The Front Bands and Neck Ribbing
There is a lot of putting stitches on hold in this sweater. Once the joining of the sleeves and body and yoke knitting is done, stitches are held until time to knit the collar. The collar and front ribbing is knit on the smaller gauge needles. I have one size 9, 32-inch needle which I needed for all of this. The front ribbing has to be completed before the collar is knit.
The front bands were difficult for me as far as trying to pick up the right amount of stitches to make the top three work. Also, because I knit the body two inches longer, I needed to pick up extra stitches and not what the pattern said..! I ended up doing about 80 stitches on each band – which were way too many – but I won’t realize this until it’s way too late.
The button loops are added with an i-cord edging so no buttonholes were made.
Front ribbing on hold with neck ribbing begun
Neck Ribbing
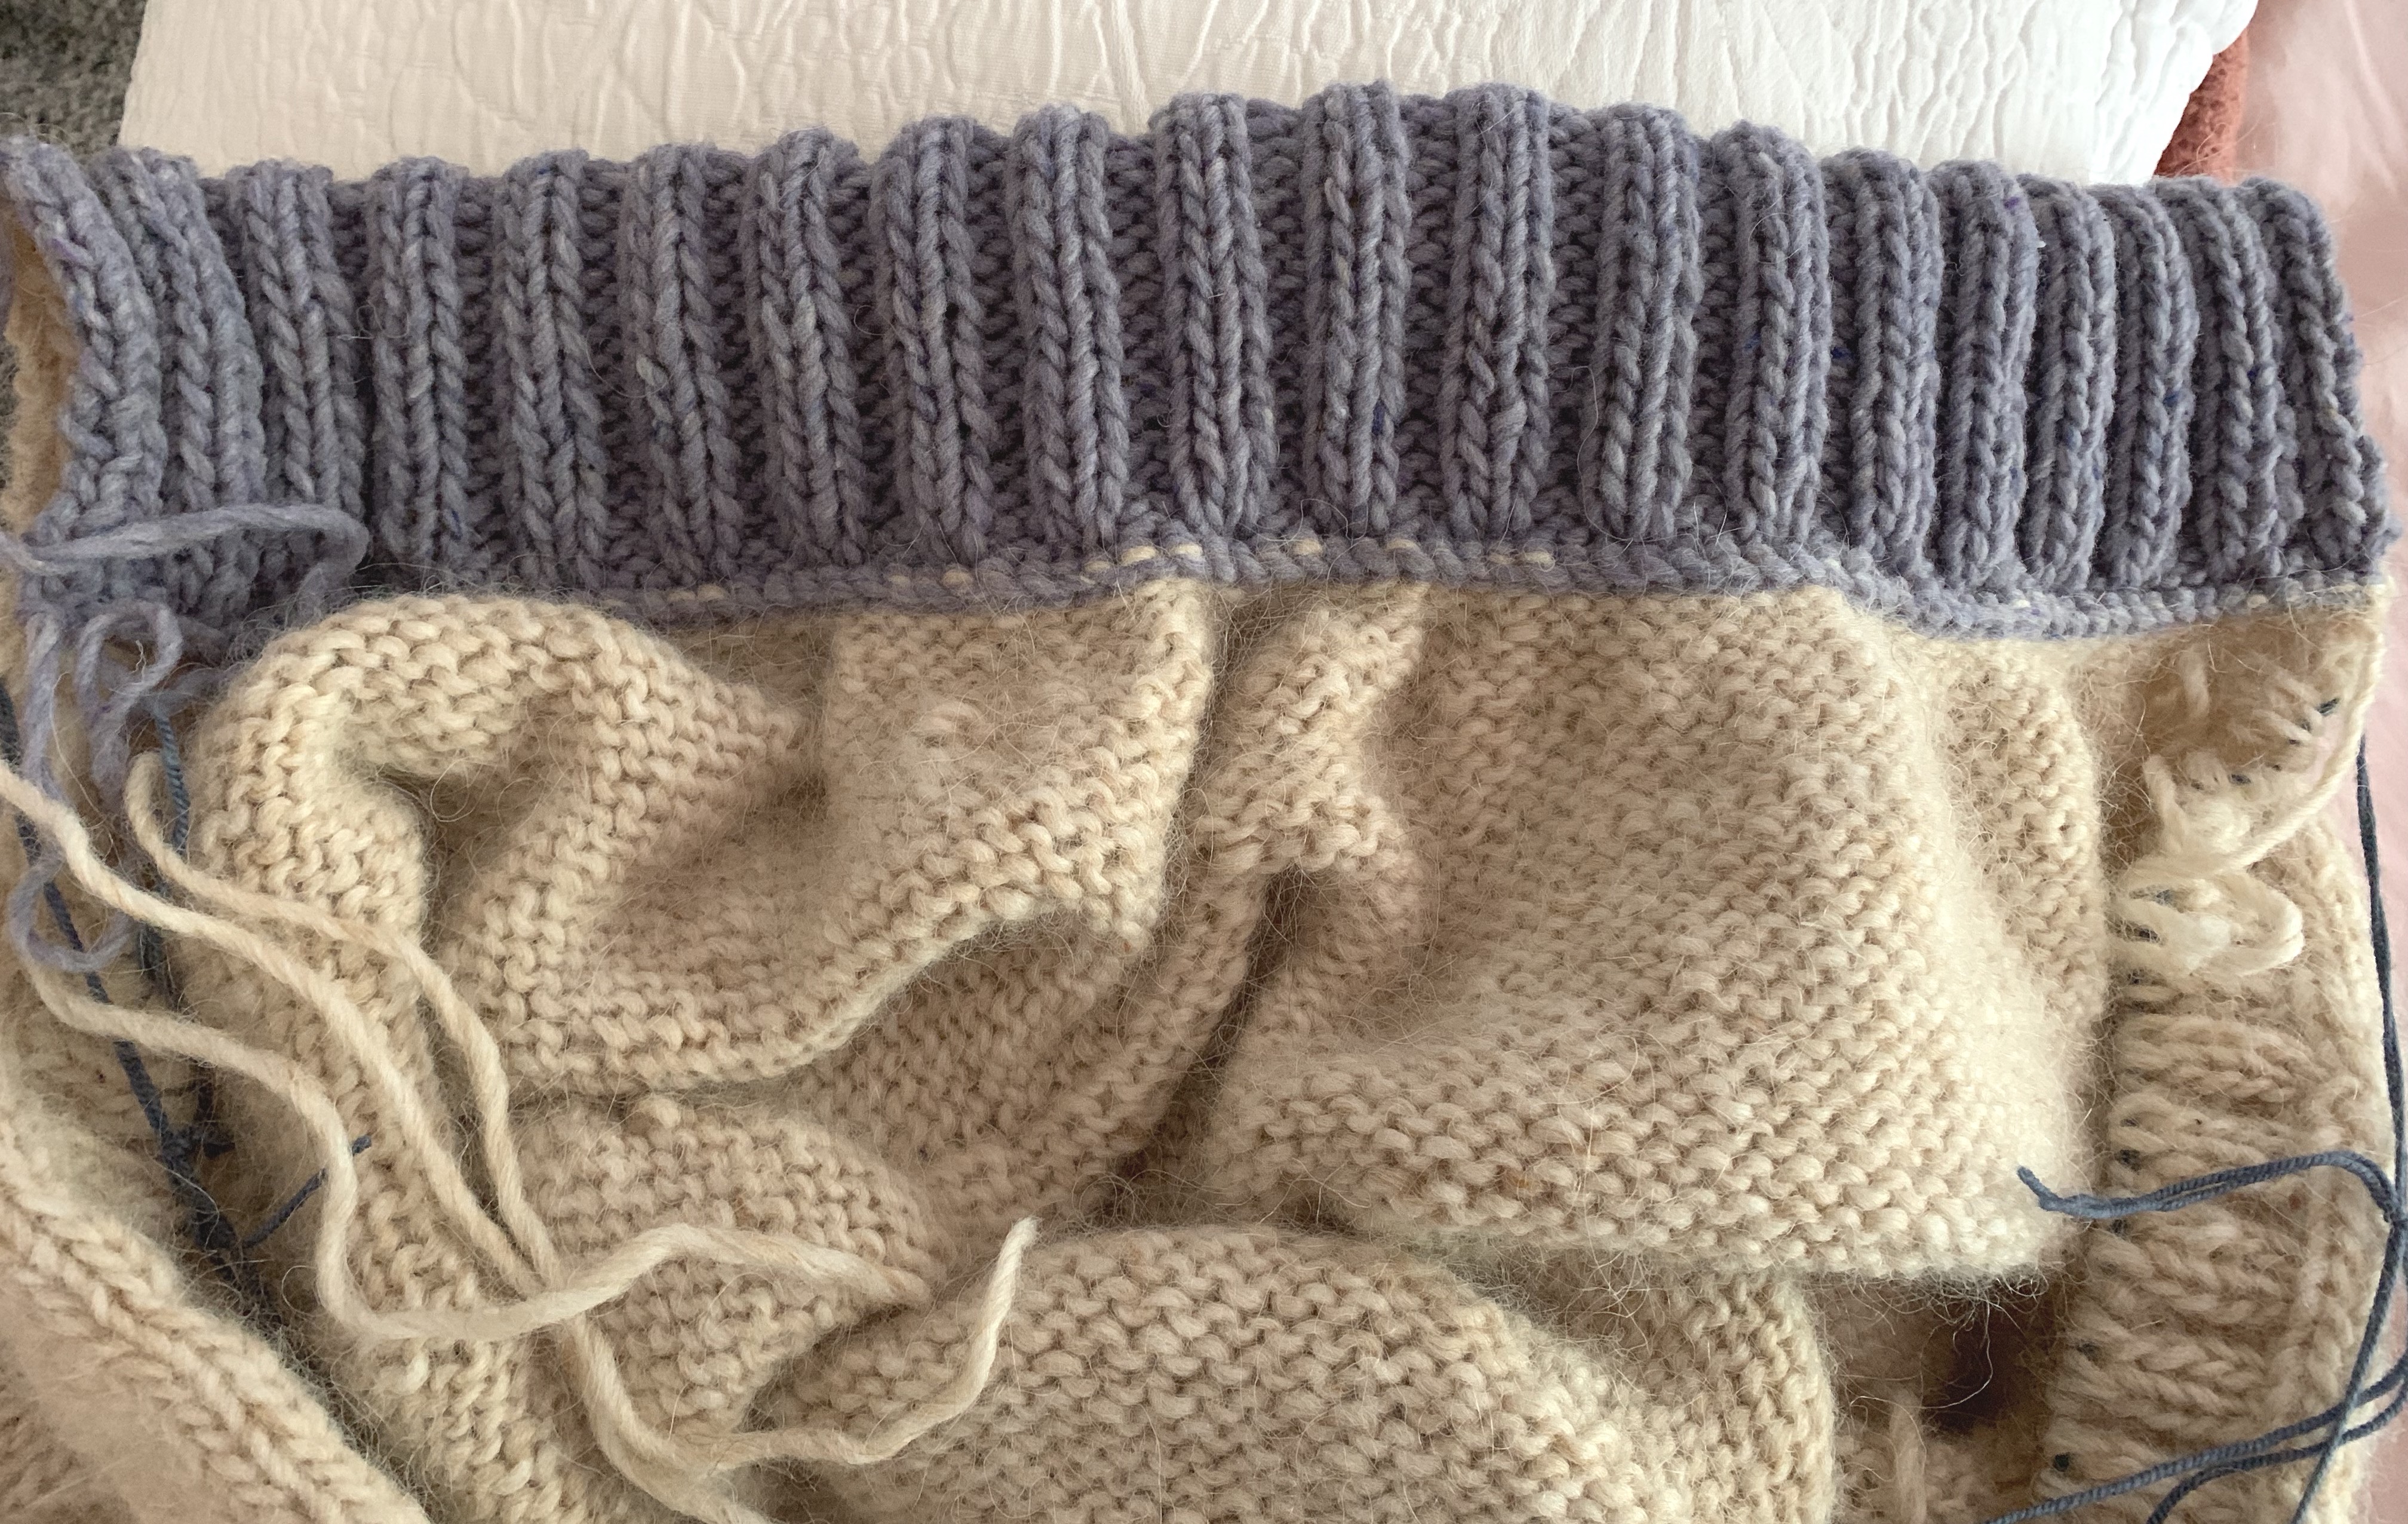
The neck stitches are knit in ribbing and will be folded over to the inside and attached. I followed the advice of other knitters and put a softer yarn inside the collar. I used gray Quarry yarn because I had it, and it matches the thickness of the Alafosslopi.
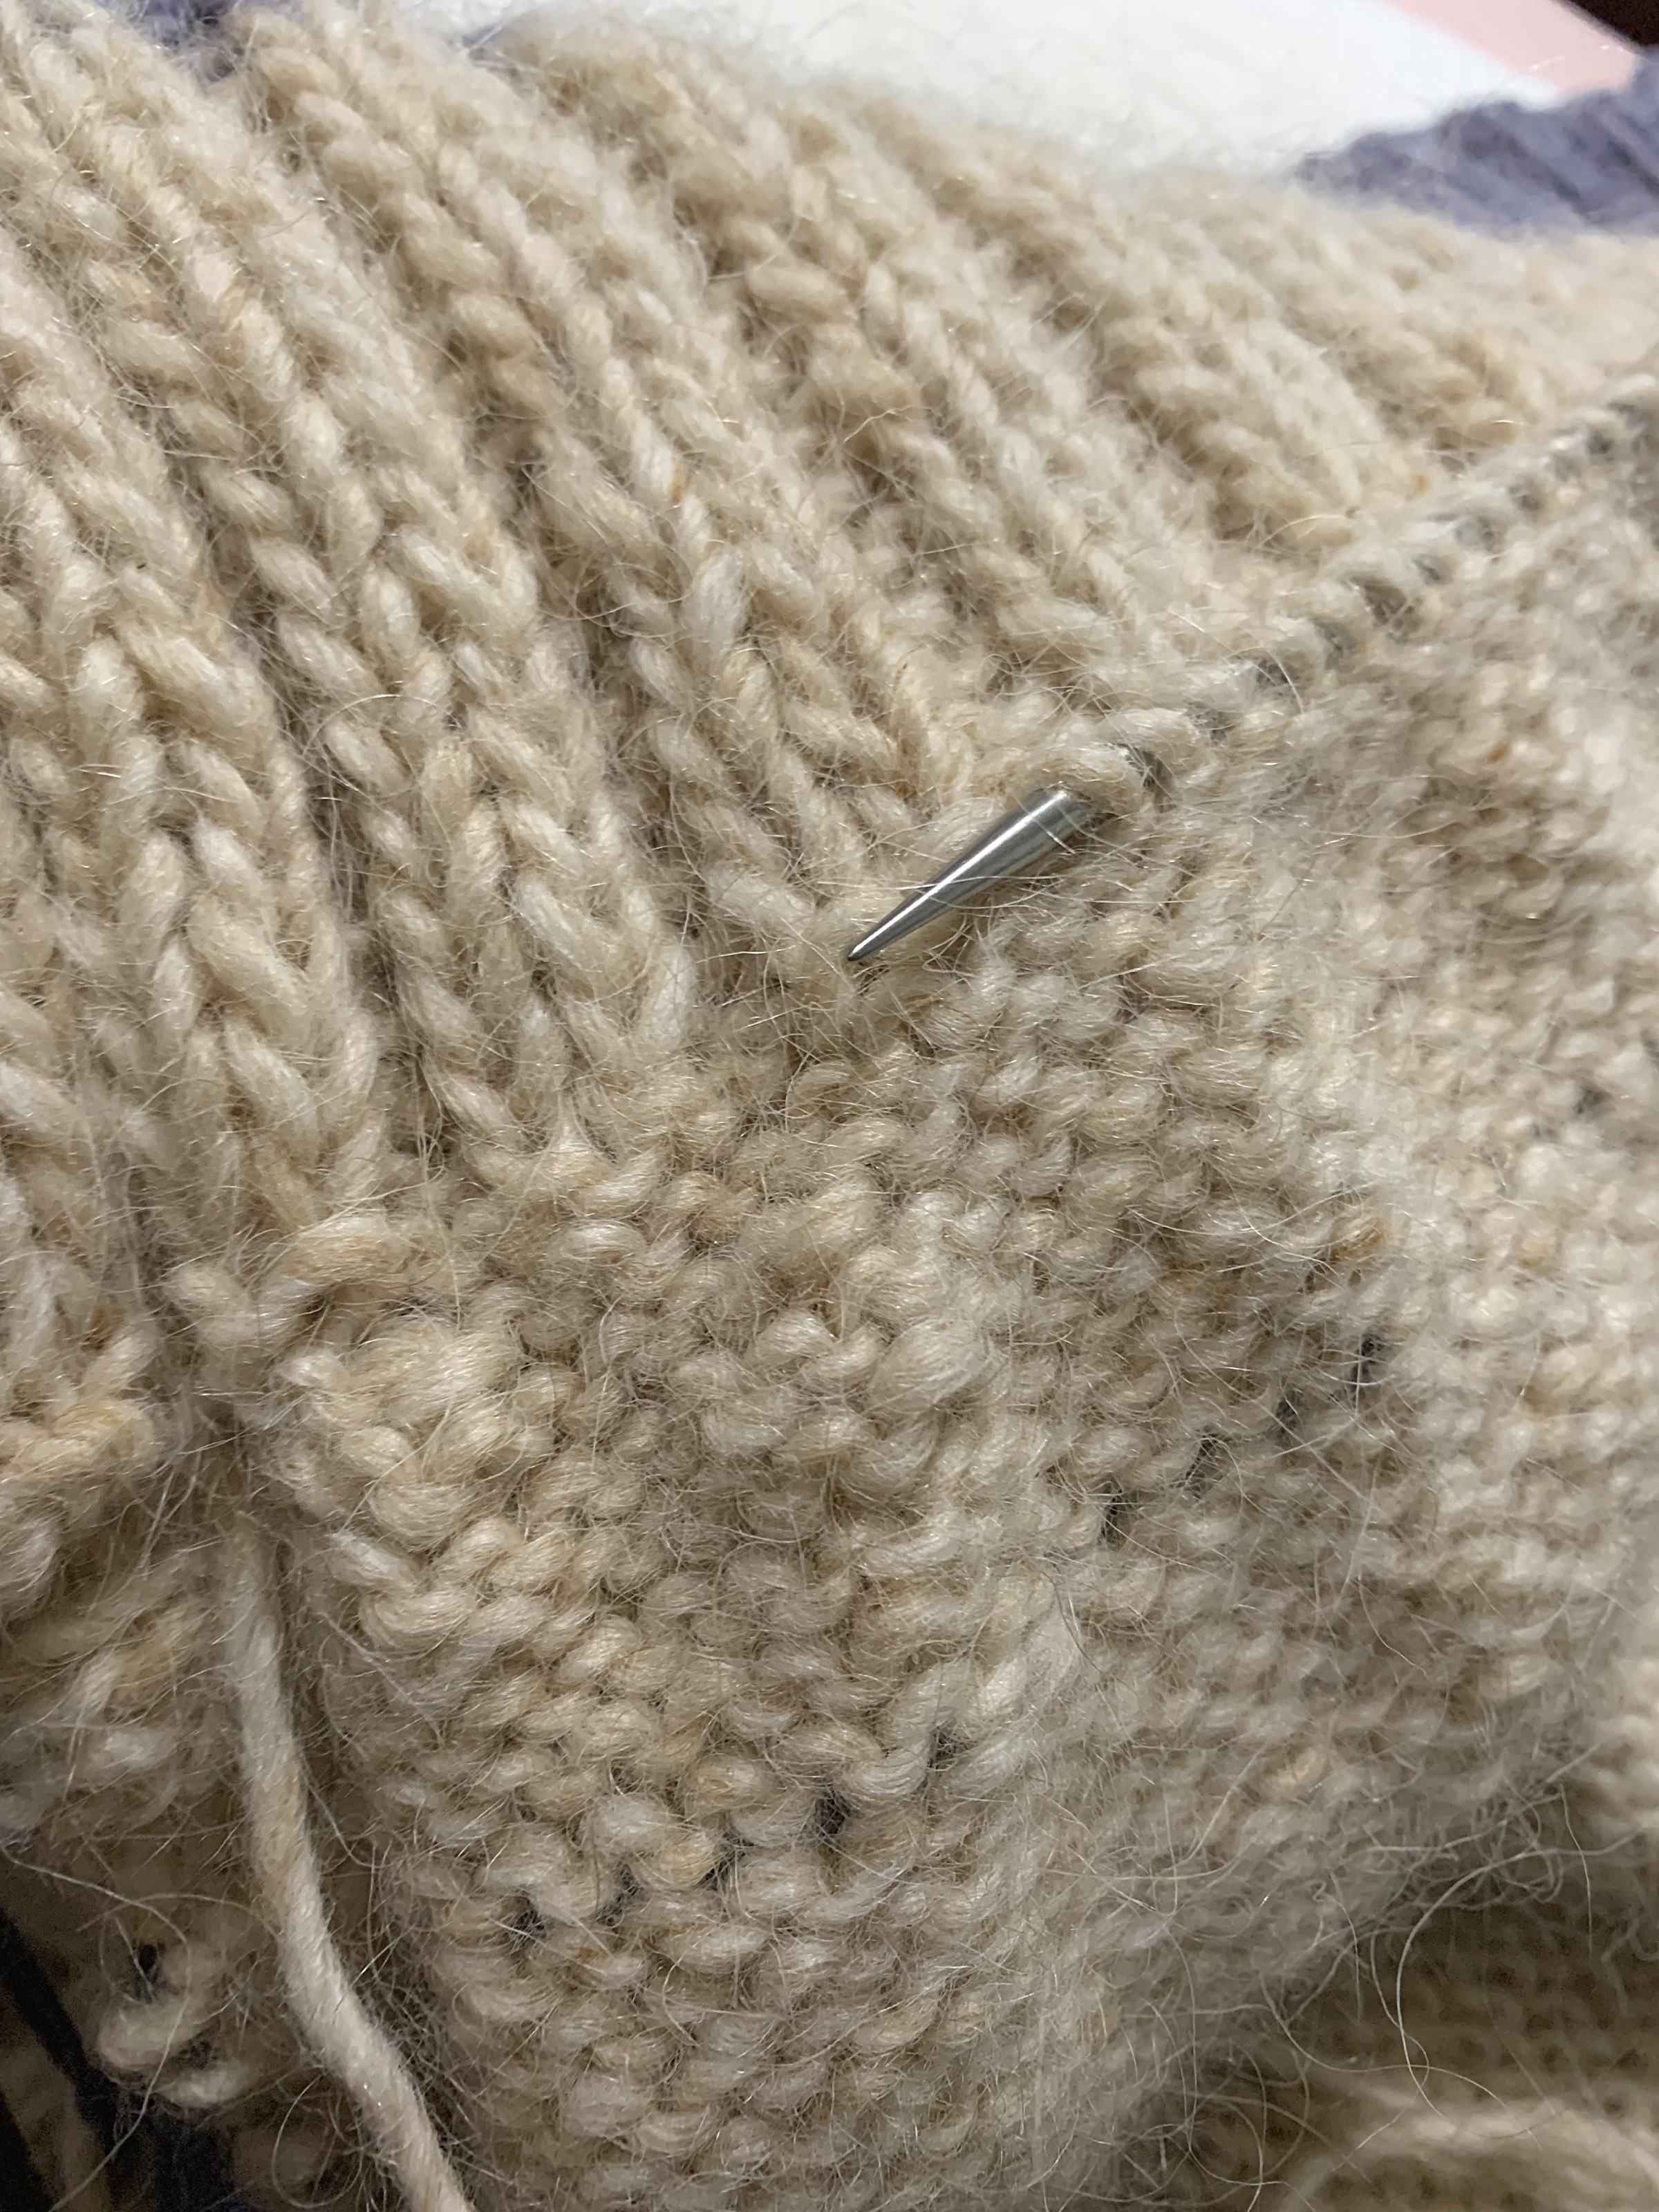
Knitting the neck was easy but then it had to be folded and attached inside. I used a size 5, long circular needle with pointed tip to pick up those stitches. You really need much smaller needle to make this easier. This video helped me see what exactly I should be doing as far as picking up stitches. I picked up two stitches for each knit and each purl section and then two stitches on each end. This matches the number of rib stitches to do the bind off – that number has to match the number knit for the ribbing! Purl Soho has a good 3-needle bind-off video if needed.
I used a much smaller size needle – size 5 US when picking up those stitches. Then I used a size 9 US DPN to knit the bind-off. I began binding off with a 5 DPN but the stitches seemed very tight. (A helpful note from the designer about all this would have been very nice!)
pick up stitchesReady to bind off3-needle bind off doneCollar turned and attachedAttaching the Ribbed Collar
Explaining Pattern Section 8
I got to section 8 in the Carbeth pattern and was stumped. After some searching, I found a good explanation in the Ravelry forum, because it seems other knitters were also stumped.
The point in section 8 is to close up that hole in the collar, which was made by folding it over, by picking up stitches along the edge. Then, the collar and front band becomes one long set of stitches.
My band is being held by scrap yarn so I needed to pick up all those band stitches also. Now the needle is full, from top of collar to bottom of sweater. Go back to the top (on one side, the bottom on the other) and begin the i-cord bind off.
Although this video, by Andrea Mowry, is not exactly how the i-cord is done in the Carbeth pattern, it gave me an idea of what I needed to do, only with a different amount of stitches. Begin the Carbeth bind-off by adding two stitches to the LEFT HAND NEEDLE, and continue as the pattern says.
Firsts For Me While Knitting This Sweater
I did my very first spit splice using this yarn! It was pretty cool and I will definitely be using it more often when knitting with wool.
The lld decrease on the wrong side. Clear directions are given in the pattern abbreviations page.
Added my own short rows – successfully – for the most part. I’m very glad I did this because the sweater would not have been “high” enough around my shoulders and neck otherwise. I’m very surprised the pattern didn’t include short rows as many knitters added them in on their own.
It was not my first 3-needle bind-off, but the first time I’d done it to tack down a double collar.
I-cord rib and buttonholes. This was pretty easy to do, but the fact that I had picked up too many stitches (way back) for the bands, made the ribbing wavy. At this point I was frustrated.
I am trying to fix this with button placement and blocking. A simple note from the designer about how to pick up those front stitches – such as “pick up 2 stitches for every 3” – or something, would have helped. She does say how many to pick up – if you follow the pattern exactly and want a cropped sweater.
Final Review of Knitting the Carbeth Cardigan
Some previous knitters of this pattern mentioned that the sweater runs small. I would agree. I made my sleeves and body longer.
In my opinion, it is necessary to add those short rows at the back too. My gauge swatch was exact, so I chose the correct size to knit, it just would have been very small had I followed the pattern.
There is a lot of picking up of stitches and putting stitches back onto needles. Also, parts of the pattern directions were difficult to understand, and I needed to search the Ravelry forum and use YouTube videos (none were referenced in the pattern) to figure things out. I have notes written all over this pattern just in case I ever want to knit it again …. which I highly doubt.
I love that this pattern uses a bulky yarn because the project is completed quickly. Overall the construction is unique, but it’s not flattering to my shape and the button bands are wonky due to reasons mentioned above.
Because many parts of the pattern needed some figuring out, I certainly would not suggest it for a beginner sweater knitter.
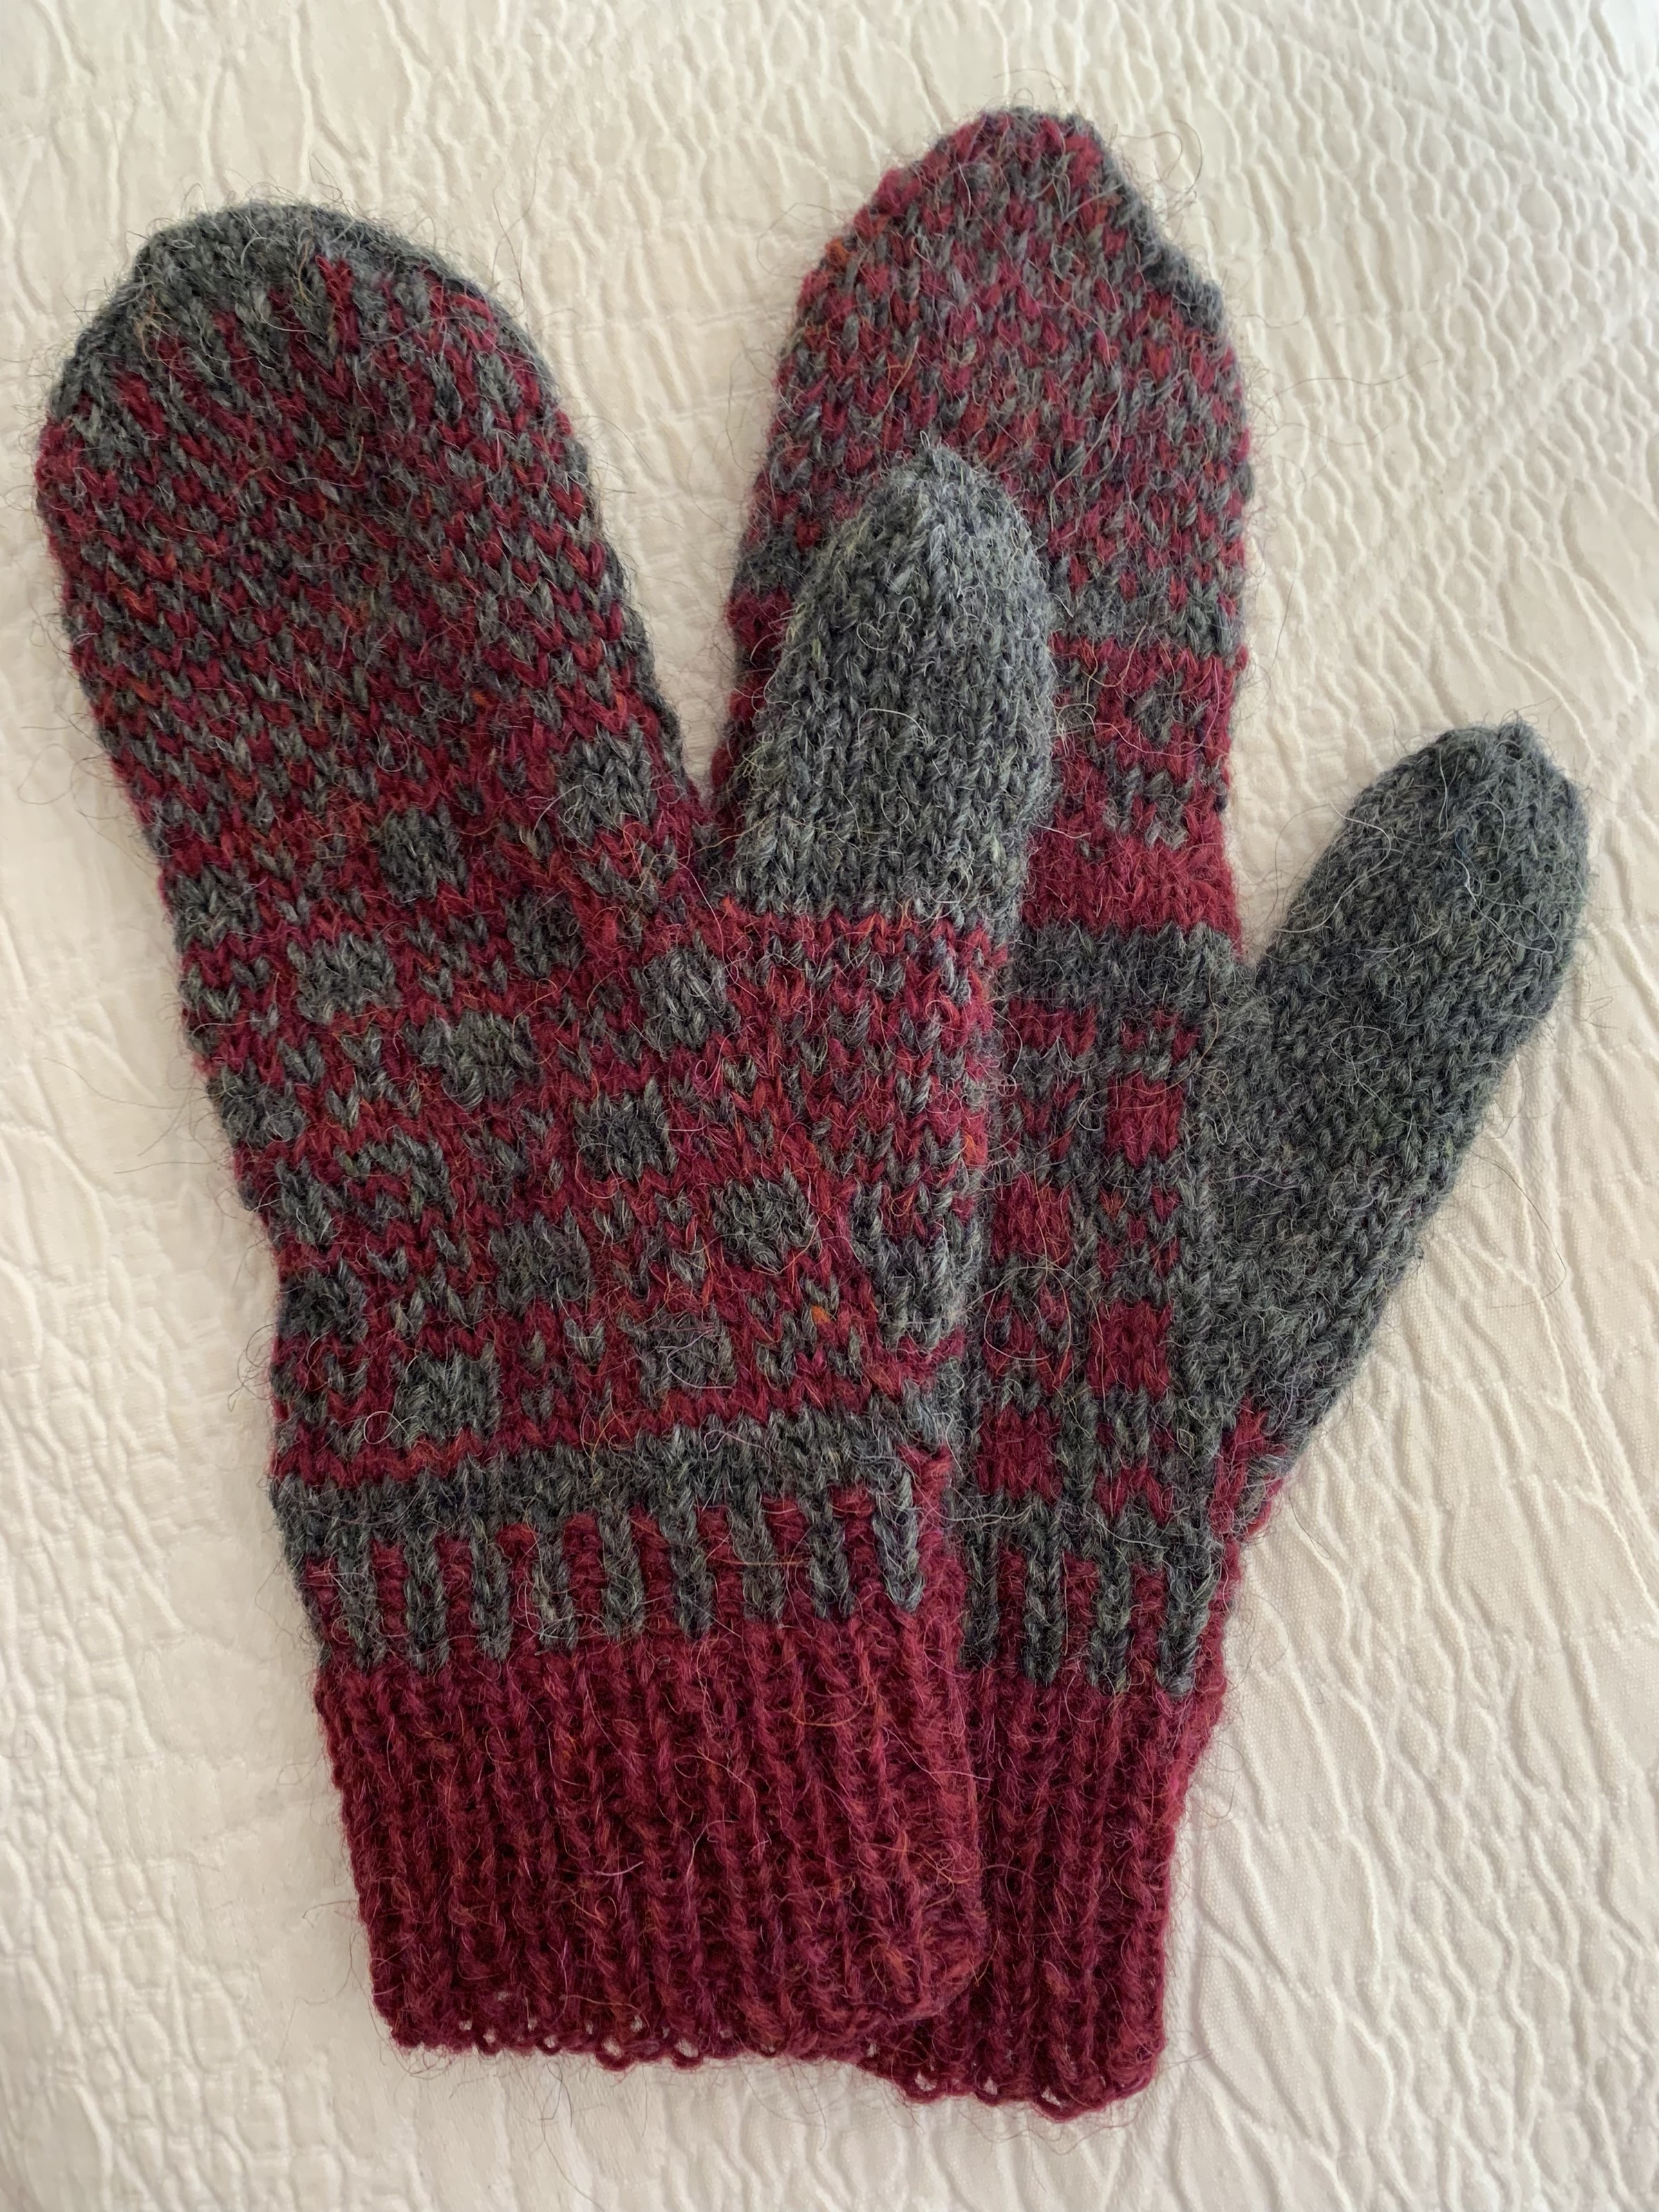
This is a mitten pattern I made up by pulling from a couple of patterns I recently knit. Once you know the basics of mitten knitting, it’s quite easy to wing it with your own designs and colors.
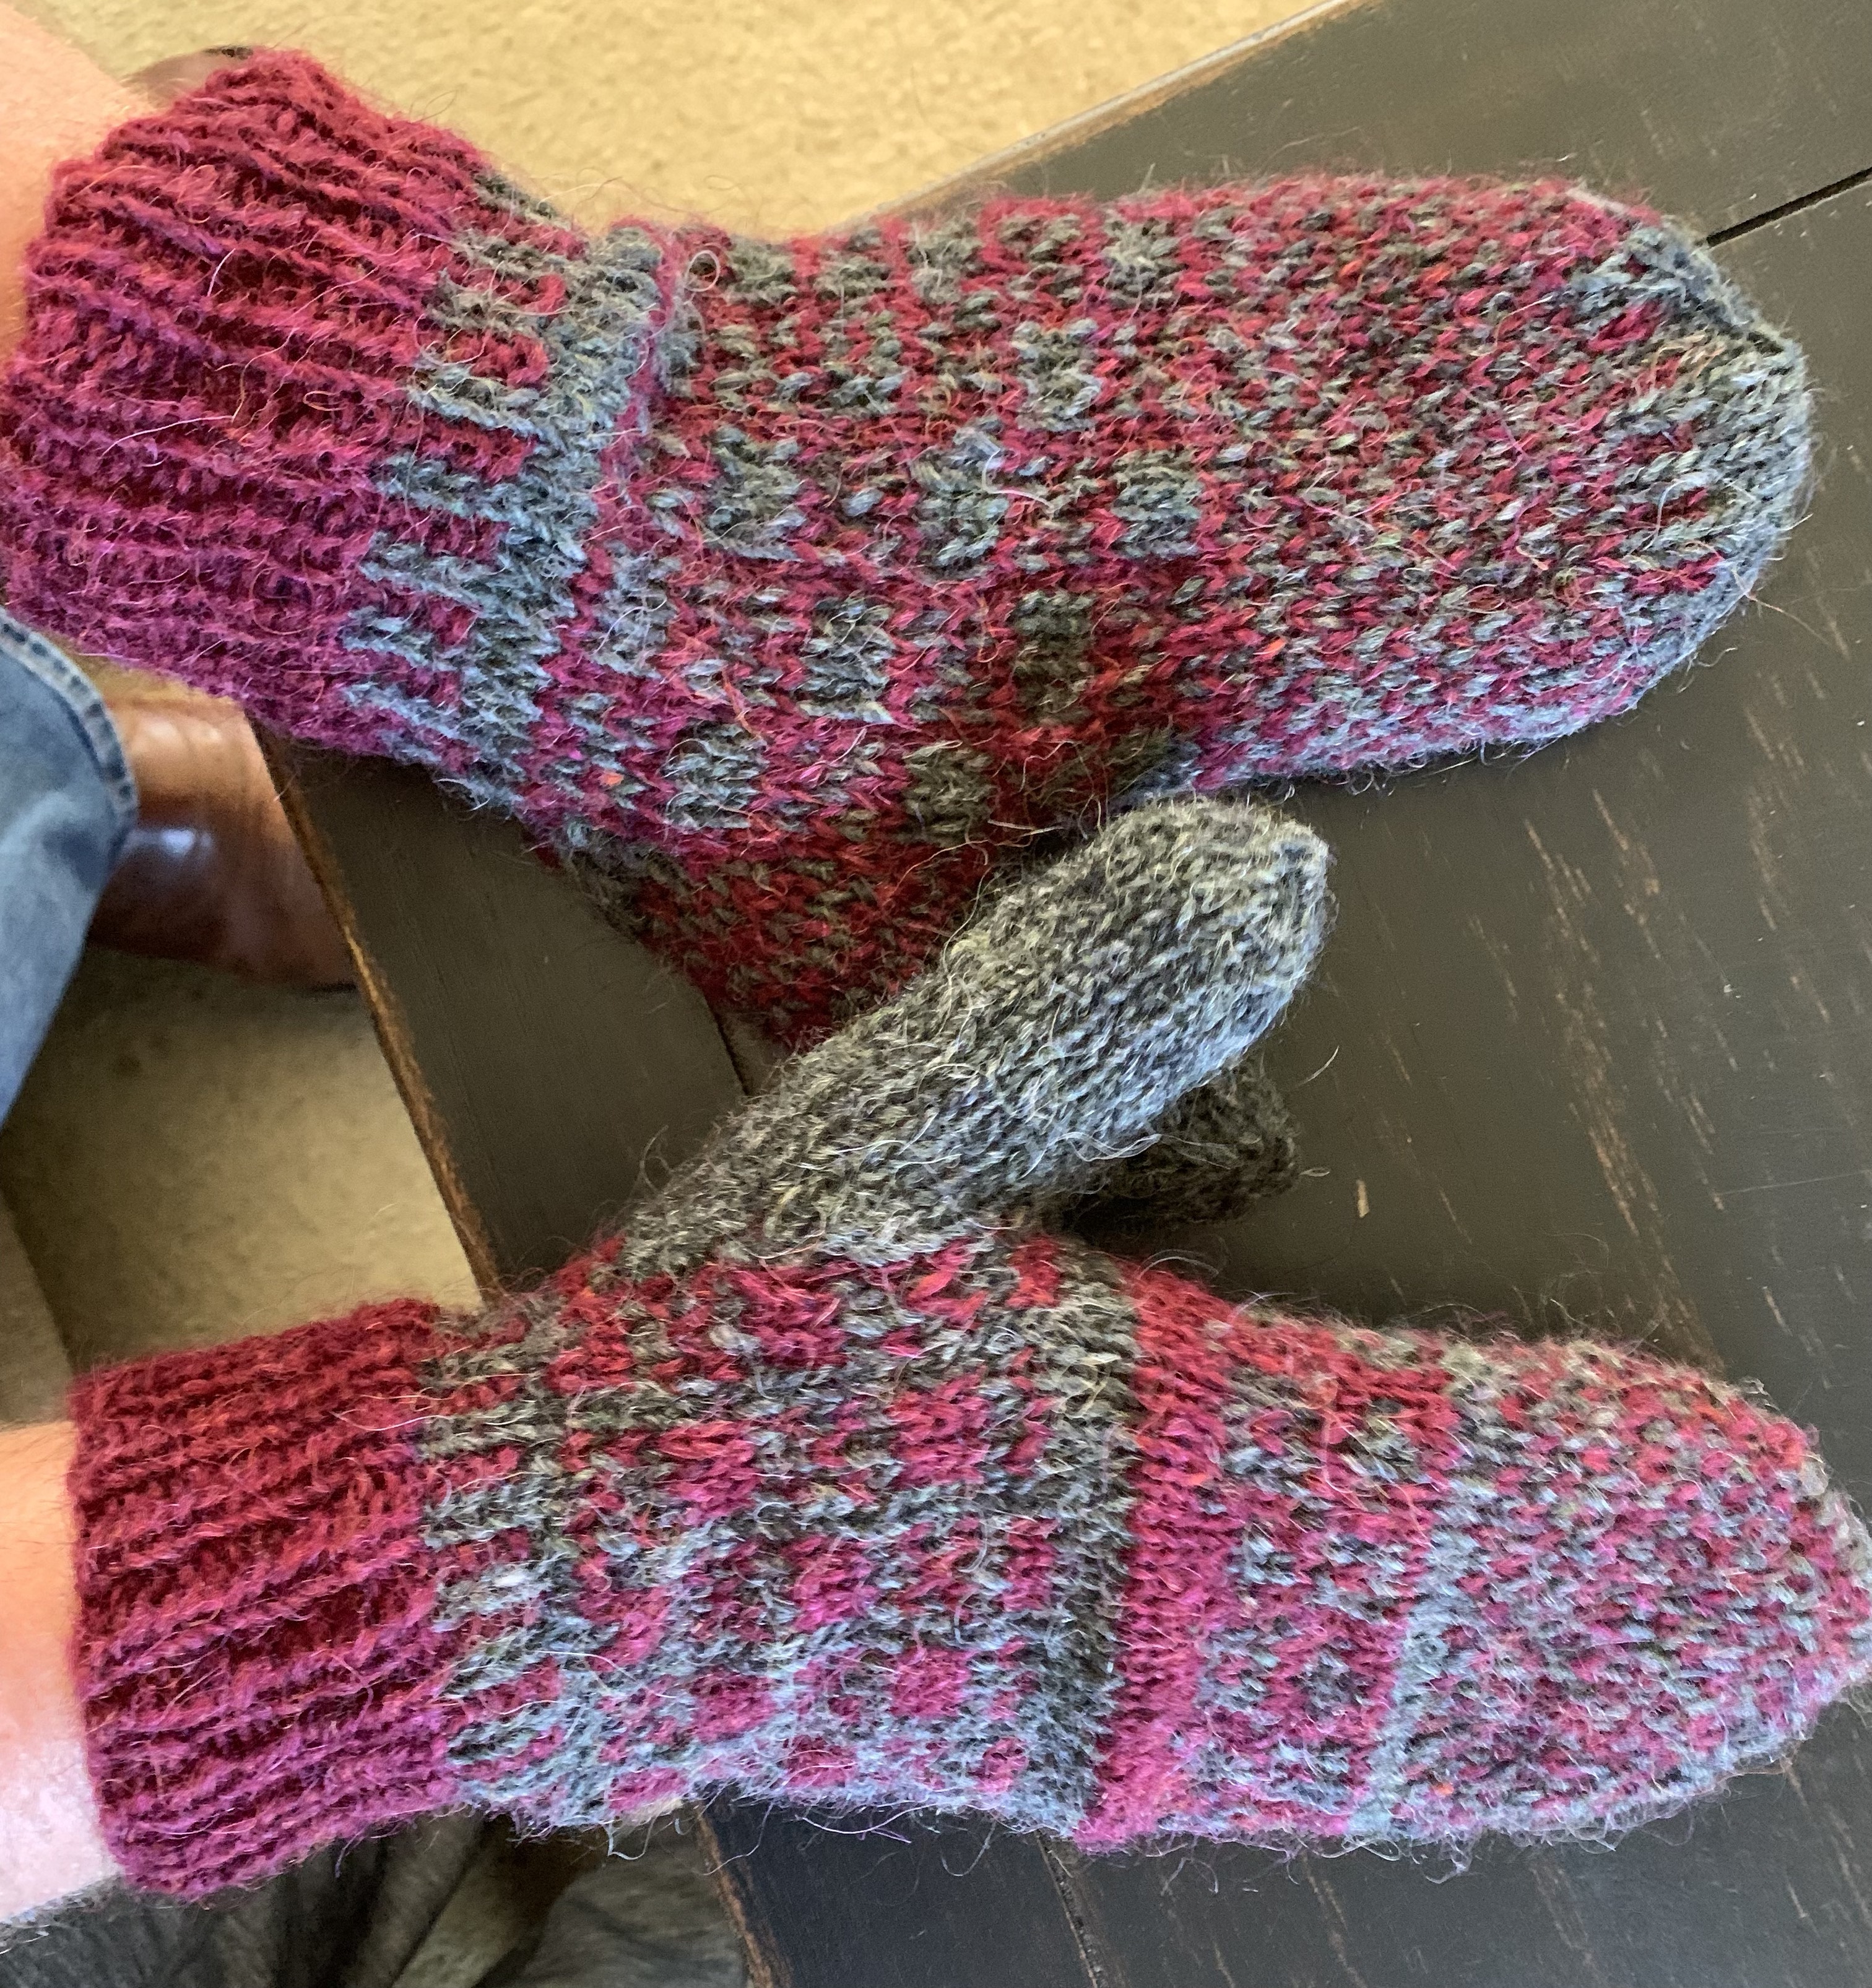
Of course my made-up mittens don’t look great. In fact, they don’t match but they are for my son who lives in New England and asked for mittens. I will stress the importance of not throwing them in the washing machine or dryer, but who knows what will happen.
Lettlopi “Rough Sea” gray yarn
The Yarn
I used Lettlopi gray yarn called Rough Sea. It is very nice with specks of lighter gray here and there and can look a bit greenish at times. For the first time ever I also used Plotulopi yarn in wine red. It is pictured in the image above and comes as a “plate” of unspun fiber.
A warning about the Plotulopi, which is very inexpensive, is that it easy pulls apart. More than once while knitting I accidentally pulled on the red too hard and had to spit splice it back together. I knit with the yarn in my right hand to have more control over the pull.
Also the red color came out like mad when washing the mittens….! So the color runs.
Beginning the Mittens
To begin this mitten pair I began by casting on as called for in the Krokur mitten pattern (from the Lopi 40 book) as I was using the same exact type of wool. After the 1×1 ribbing I did a few rows of corrugated rib and then began a colorwork pattern. I took the pattern from one of my books and switched it up for each mitten. Because my colors of red and gray blend pretty well, I actually like that they each look different.
I knit the hand and thumb a bit longer for a man’s size hands and had my son here try them on. And the fit is good! They should definitely fit my younger son.
Mittens being worn
Now they have been washed and are drying. I’ll wrap them up to put in the mail. It is Christmas Eve and I have not mailed a single package yet! How does it get away from us so quickly?
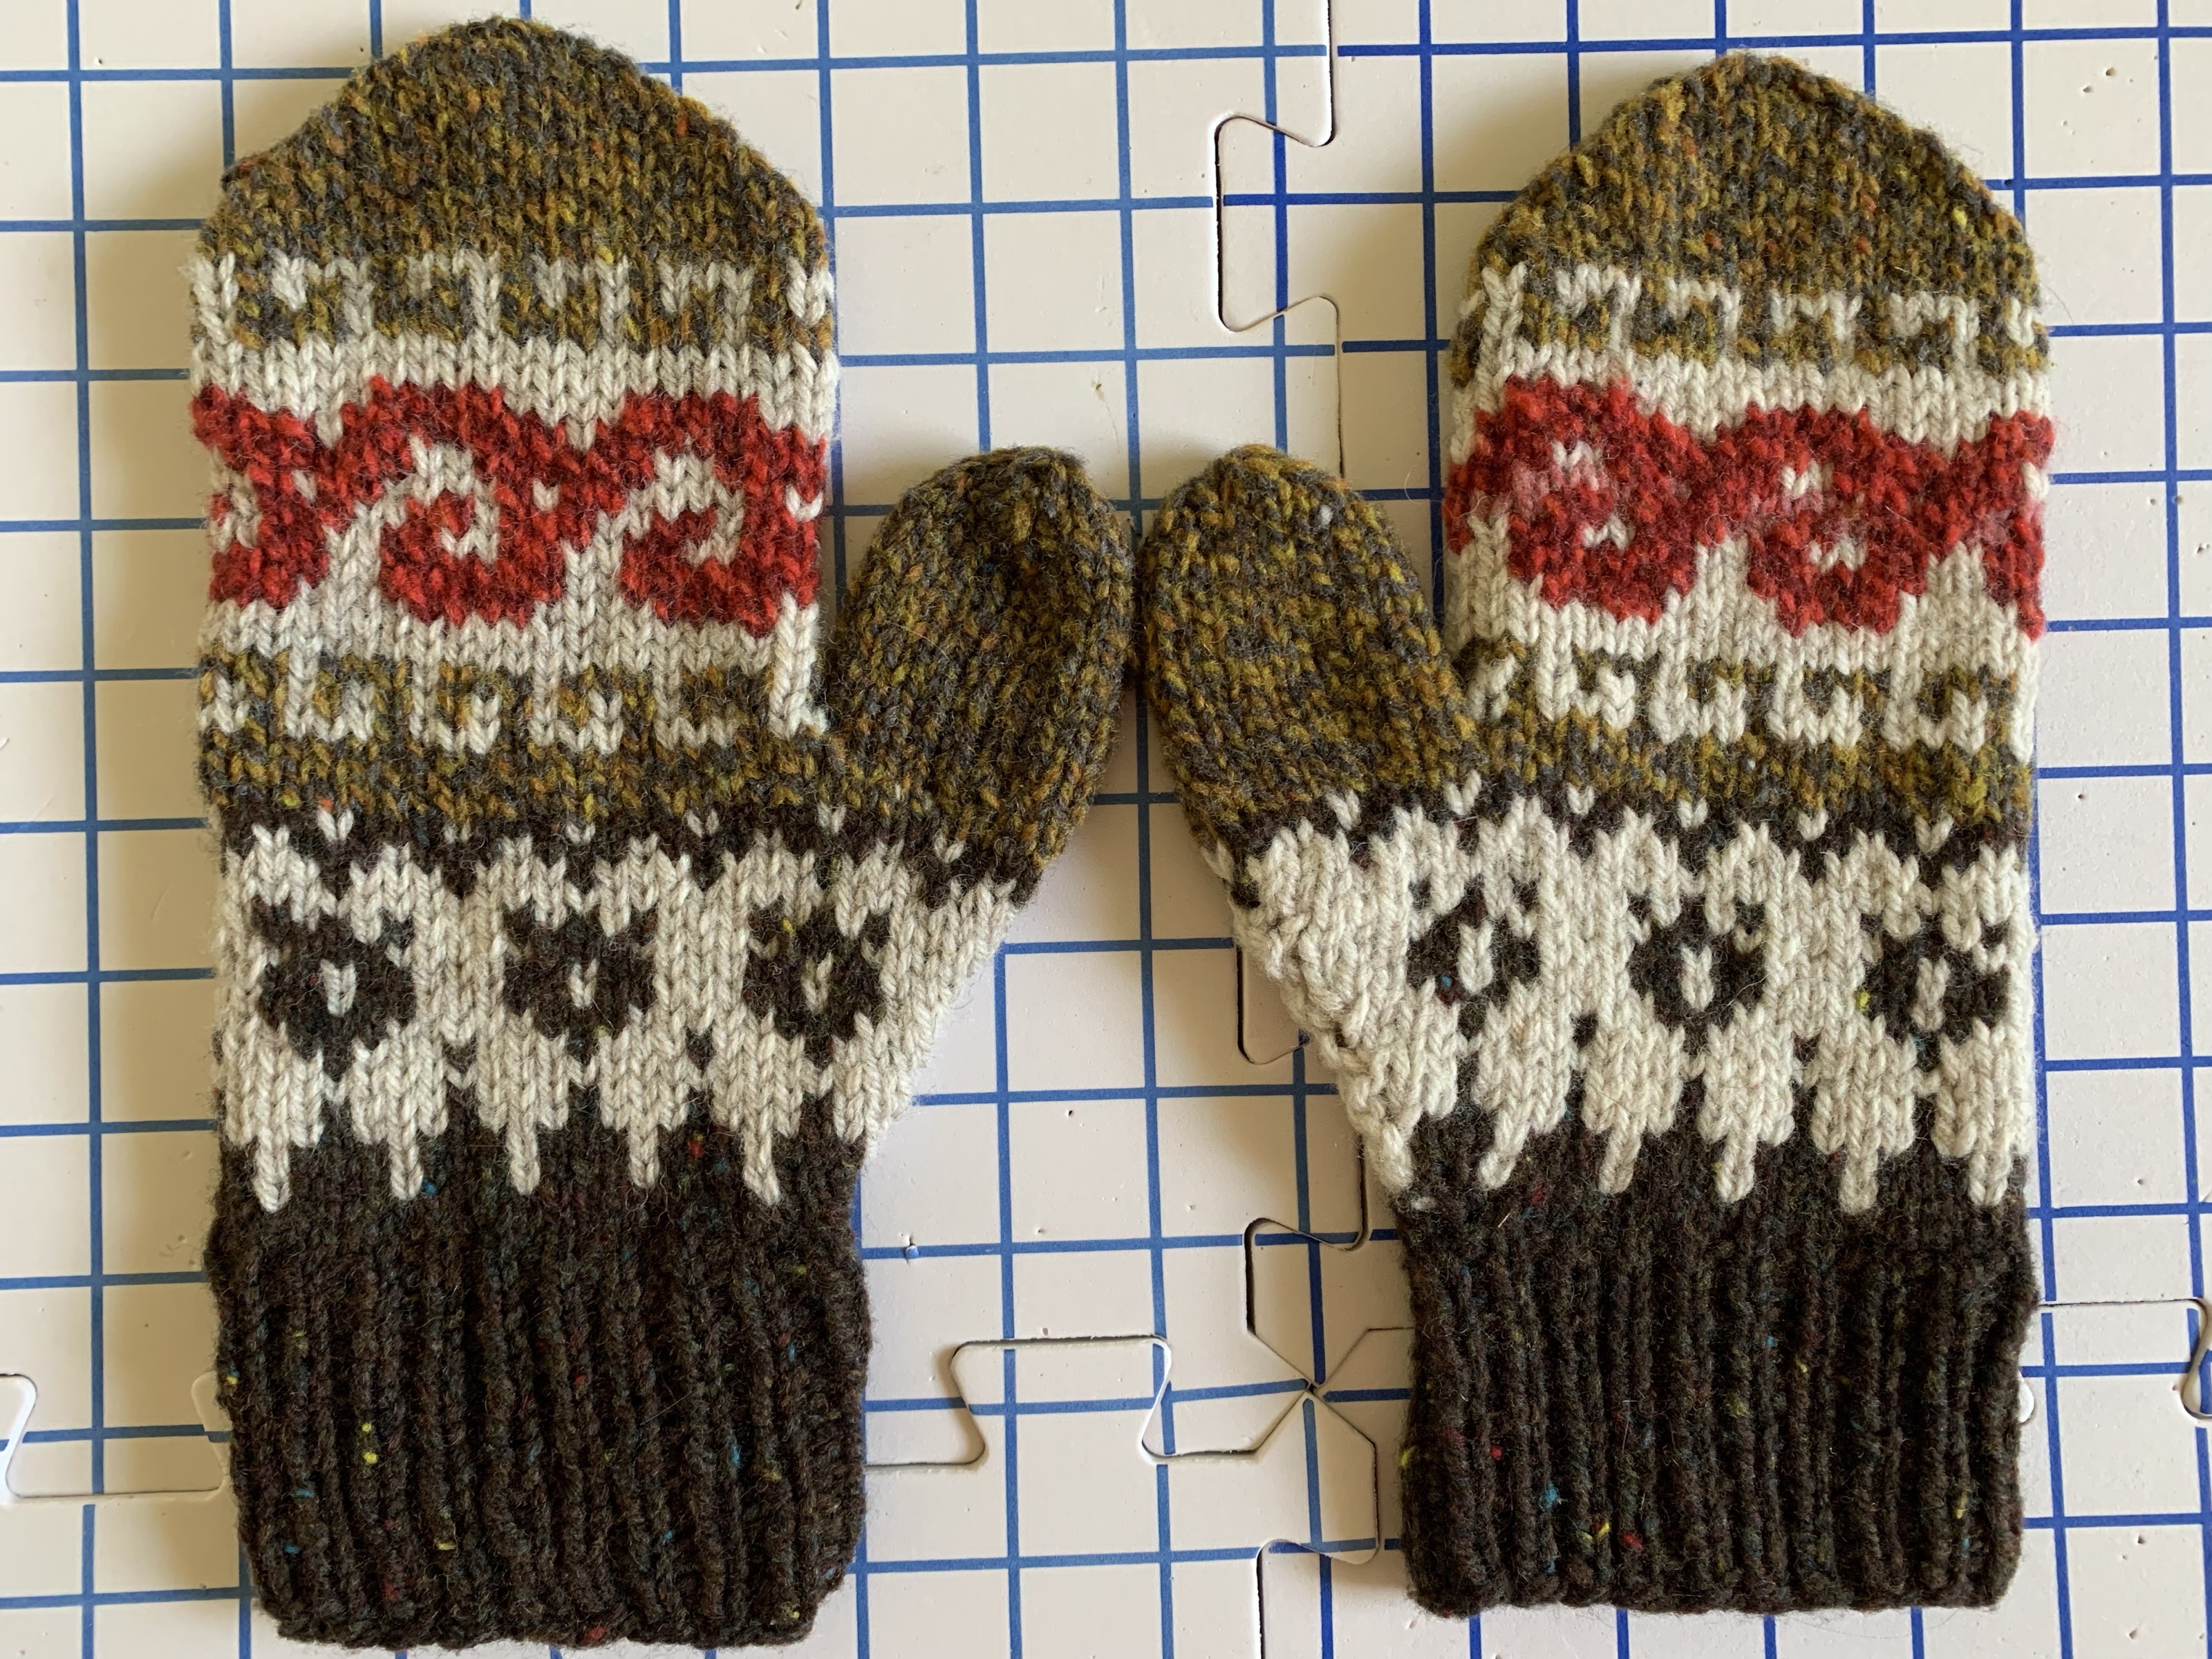
When I finished knitting a recent sweater, I had some wonderful Icelandic wool leftover. About that same time I found the Clacks mittens pattern. I thought it might be perfect for using up more of the Lettlopi wool.
Lettlopi wool mittens
About a year or so ago I knit a stranded mitten pattern by designer Virginia Settler-Reimer. I hadn’t knit any colorwork mittens at that point and was only just beginning to get the hang of mitten knitting overall. The pattern was Glissade mittens and I used Brooklyn Tweed’s Arbor yarn. Between the beautiful yarn and the well written pattern I thoroughly enjoyed making that pair of mittens.
Now, the designer has come out with a new, similar pattern called Clacks Mittens. Just like Glissade, this pattern has the thumb on the side, which means both right and left hands will be knit the same way. In fact, I have never knit mittens, or fingerless mitts, with a different type of thumb!
Why I Like the Glissade and Clacks Mittens Patterns
Both patterns are by designer Virginia Sattler-Reimer and this link goes to her Ravelry page. Anyone already familiar with mitten knitting and doing colorwork would find this pattern fun and easy to follow.
Both Glissade and Clacks mittens begin with a Latvian Braid (directions included in pattern). Then, we jump right into knitting the colorwork. There is no boring ribbed cuff to knit first.
The mittens are knit on 4 DPNs which separates the front stitches from the back with a line of similar colored stitches. The first two needles hold the first half of the pattern, and the last two hold the remainder. I use a 9-inch circular needle to cast on and do the braid before changing to DPNs. (The second needle will hold the thumb stitches as well.)
The “make one” stitch is a backwards loop (Andrea Mowry video) which is super easy.
I don’t remember this from knitting Glissade, but for Clacks, the designer has provided two charts – one for a light colored background and one for a dark. Because blue is my chosen MC – I’m following the “dark” chart and using Knit Companion.
The Kitchener Stitch (Very Pink Knits slow-motion video) is needed for the top of the mitten and because there are only a few stitches, it is perfect practice for anyone unfamiliar with this finishing stitch.
Yarn and Knit Companion
After I first saw this pattern, I began to hunt through my stash to find yarn to use. The pattern calls for two colors only, and I just happened to have some Lettlopi yarn leftover from a recent sweater. I decided that this wool would be perfect for mittens.
Once the pattern was purchased it was added to Knit Companion and opened on my iPad. From there, it is easy to follow the colorwork pattern line by line.
I had considered changing to a larger size needle at the thumb, to knit the hand a bit wider, but ended up not doing so and the fit is fine. Maybe do this if you have wide hands. Also these mittens are plenty long (for me) already. Measurements are 3.5 – 3.75 inches wide and 11 inches long.
Fair Isle Mittens and Fingerless Mitts I Have Knit.
After knitting for a while, I’ve discovered that I like to knit hats, mittens (and mitts) and sweaters best. I prefer Fair Isle colorwork and think it is especially nice for mittens to add extra bulk and warmth.