This free shawl pattern is simple enough for beginners to get practice.
I knit this scarf back in 2022. It was offered as a free pattern by Lindsey Wong. The pattern came from her website, which is no longer up and running.
I’ve written a post about alternative and similar patterns for those who are interested, but none of them are free.
The Warm Up Sweater may be a perfect free pattern for a first time sweater knitter.
For those of us who have not knit a lot of sweaters – or knit them successfully – the raglan top-down style may be the easiest.
I’ve begun knitting the Warm-Up Sweater which is NO LONGER a free pattern, UNLESS you buy yarn from Espace Tricot – for this sweater and mention it when buying.
See the Espace Tricot designer page at Ravelry. I believe this company has changed hands, and now many of their patterns are no longer free.
Anatomy of a Raglan Sweater
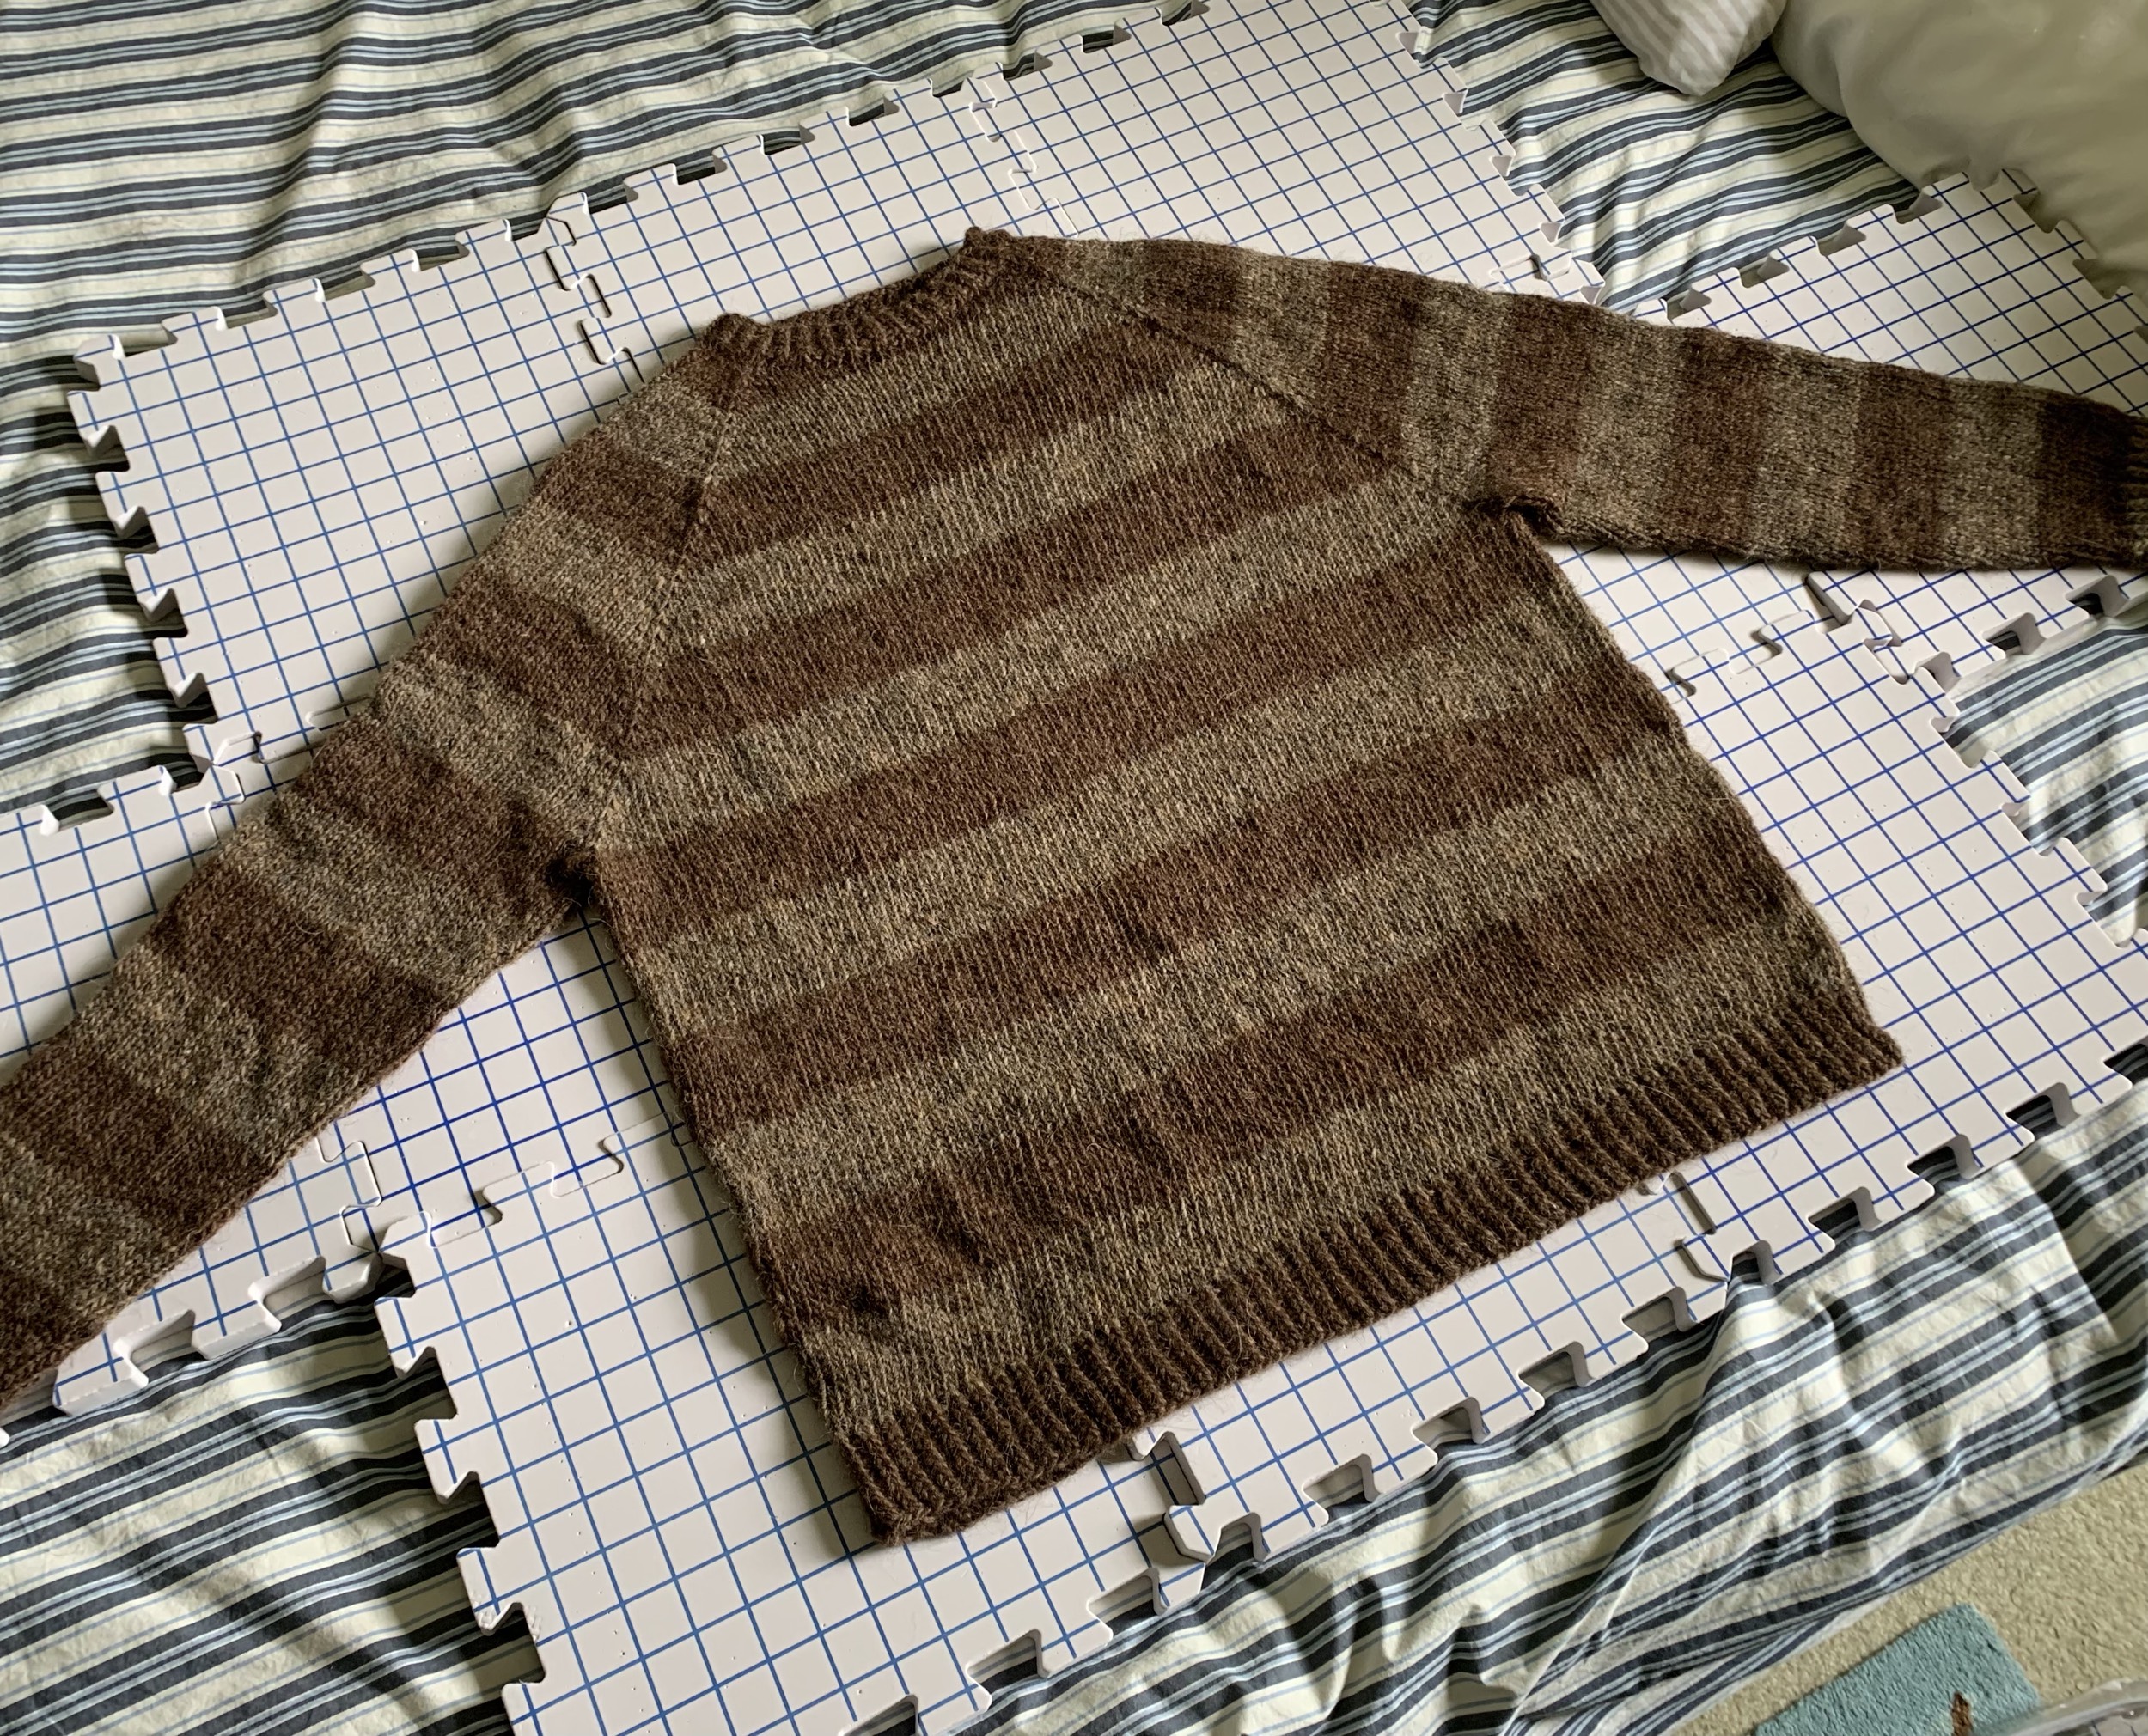
A raglan sweater is known for the increases done along the sleeve and shoulder area that dips down toward the underarm. You can see these stitches, that make a “line” on either side of the front. They are also on the back. The raglan style looks like four sections put together, but it is knit round and round. The knitting expands outward around the yoke and creates room for the sleeves.
This sweater pattern has a simple “knit through the back loop” increase but some sweaters do a pretty little cable or decorative area at these increases which looks very nice (Blueberry Vodka Lemonade Sweater).
A raglan is usually knit from the top down which makes it nice because it can be tried on as it is being knit – or at least pulled over the head. Raglans are usually pullovers but can also be cardigans.
What You Need to Know to Knit This Pattern
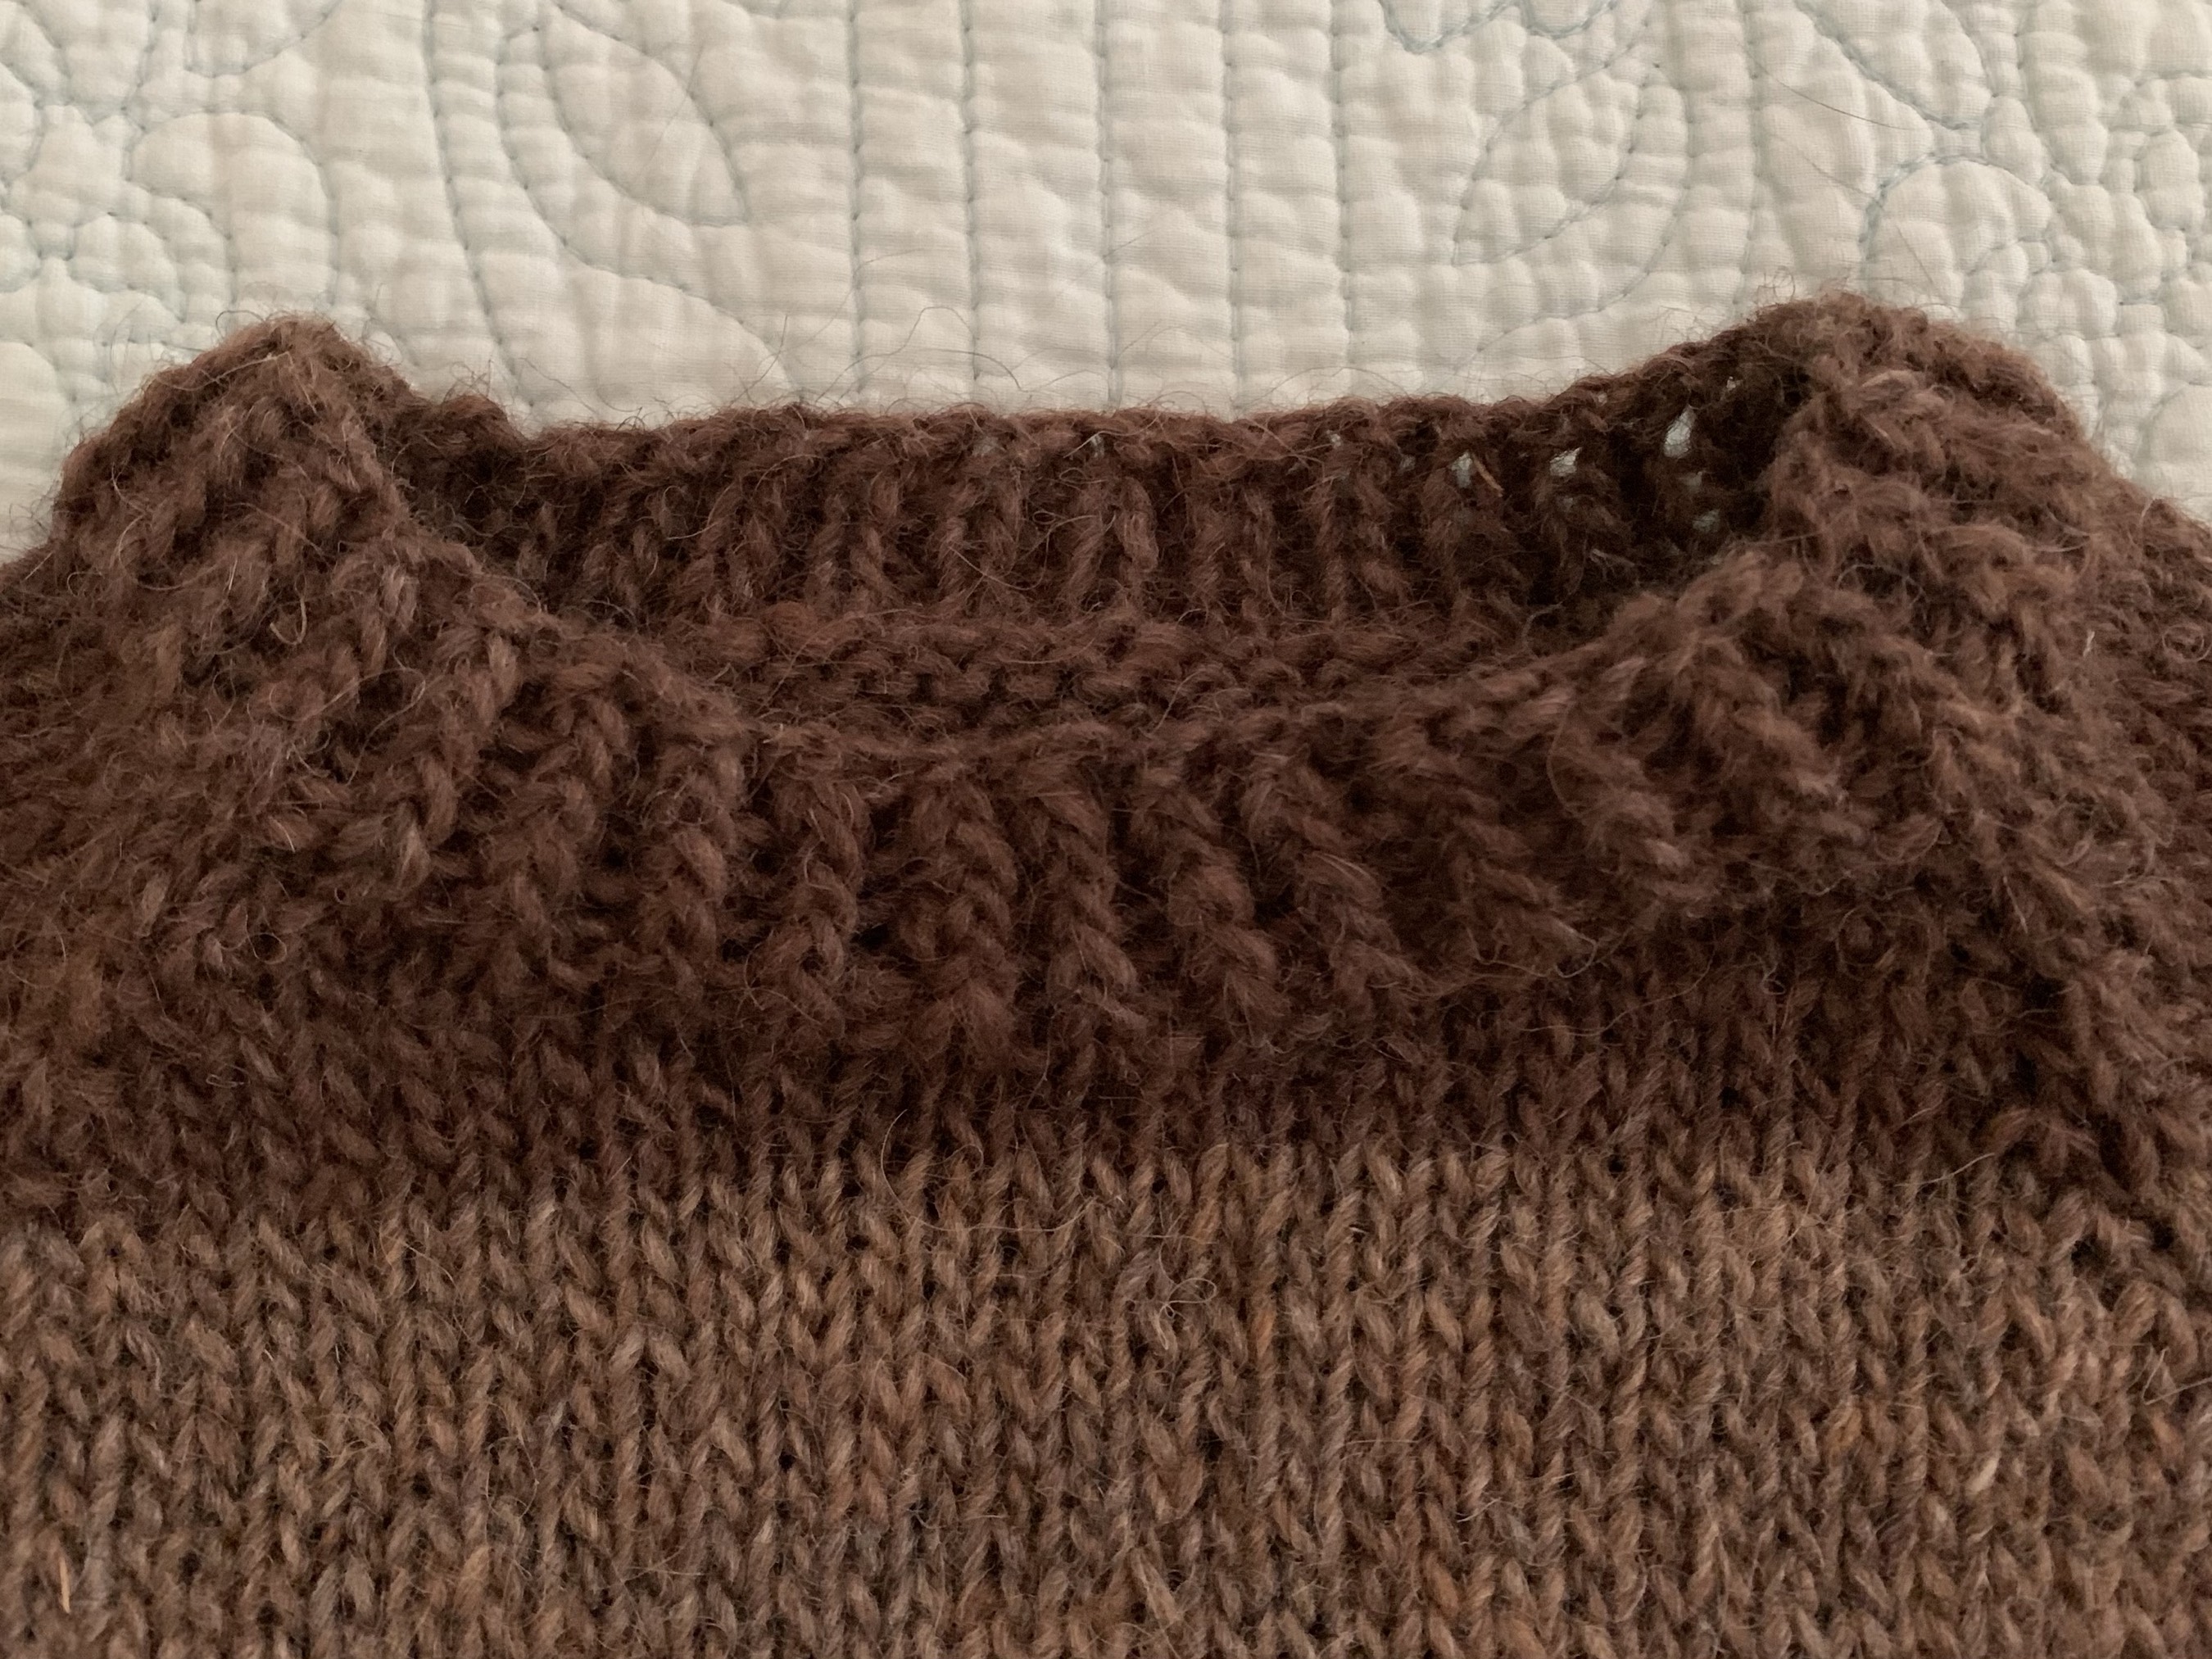
The Warm-up pattern – get it at Ravelry – begins with a cast-on at the neck. A few rows of a twisted rib is done and then some short rows. I love that this free pattern includes short rows. See my photo to see how the short rows raised the back of the neck. Sweaters need this shaping to fit comfortably. It is surprising to me that some designers, who sell sweater patterns, do not include short rows in their sweaters!
After that we get into the raglan increases which take place on either side of the sleeve / shoulder areas.
When the correct length and stitch number is reached, the sleeves are put on hold while the body is knit down to the correct length. A bottom ribbing is done and bound off.
Then each sleeve will be knit. Stitches at the sleeve area will be picked up from the waste yarn and the sleeve will be knit down to the correct length. Decreases are spaced to taper the sleeve shape. Do the ribbing and bind-off. Weave in ends, wash and block, and you have a new, hand-made sweater!
Is The Warm-Up Sweater Good For Beginners?
If you are a beginner sweater knitter, you may enjoy knitting this pattern. If you are a total beginner knitter, you should try something easier – a shawl, scarf, or hat – first. In other words, this is not a pattern for an absolute beginner. I say this because there is a lot to learn if all you can do is knit a little. I have mentioned in the section above what this pattern entails.
For those who want to step up their knitting game from the simple stuff, and are thinking about knitting a sweater, this one is perfect. The directions are very clear with stitch counts along the way to make sure you are on track.
Read through all pages and highlight numbers for your size before beginning – or go row by row on a knitting app. Also, if you’ve never done them, learn about doing German Short Rows – marked as “work GSR” in the pattern. Purl Soho has a good video. Follow the directions, row by row, and you will be fine.
You may even learn new and useful techniques along the way!
A Little Sweater Knitting Advice
If you are new to sweater knitting, first be sure to check your gauge. Yes, you must. Keep the little swatch as a reference. It is not a waste of time. The gauge required is listed on the first page of the pattern and also on the Ravelry Warm-Up pattern page. For more on gauge see my post here.
A few knitters had trouble with the cast-on number of stitches being too small, or too tight around the neck. I had no trouble, but would prefer a wider neck. I am knitting size 4 – or finished circumference bust size 49 inches. I used the Old Norwegian, aka German Twisted, cast on method, which is somewhat stretchy and had 68 stitches on my 16 inch circular needle. I suggest using this type of cast-on. See my page about different ways to cast on when knitting if you don’t know it.
My sweater is being knit in Icelandic Lettlopi wool. The Warm-Up is shown in worsted weight yarn, in solid colors with an option to do thin stripes. Of course you can use whatever yarn you want as long as you get gauge. I happened to have a lot of brown yarn and instead of doing a solid brown sweater, I opted to do wide stripes alternating the two browns.
Because my yarn is wool, I am doing a spit-splice every time I change colors or add a new skein of yarn. This is saving me from having to weave in many ends when the garment is finished.
Wrong side – with no tails!
I am having fun knitting this simple sweater. Now that I am beyond the raglan increases, it is mindless round and round knitting that can be done in the car or in front of the television. All I need to remember is to change colors when it’s time (I am knitting 12 rounds of each color), and measure for length.
The needles I have used are size 7 and 8, 16-inch circular. Size 8, 32-inch circular (for the body). Then I switched to a 9-inch circular down the sleeve and for the ribbing at the cuff. DPNs can also be used, but I really don’t like using those.
On the sleeves, I picked up and began knitting with the 16-inch circular and changed to the 9-inch circular toward the end of the sleeve. I knit the ribbing in size 7.
Because I did spit-splicing throughout when changing colors, I only had 6 ends to weave in – one under each arm, at the neck, body rib and sleeve ribs…. pretty awesome!
Future Plans
If this sweater turns out to fit me well, I plan to make more like it with possible modifications. I almost made a rolled collar on this one, so maybe I will do so next time. It definitely needs to be wider for comfort.
For another time, some color-work could be added at the bottom near the cuffs on the body and sleeves. I’d go up a needle size to do that.
Finished Knitting
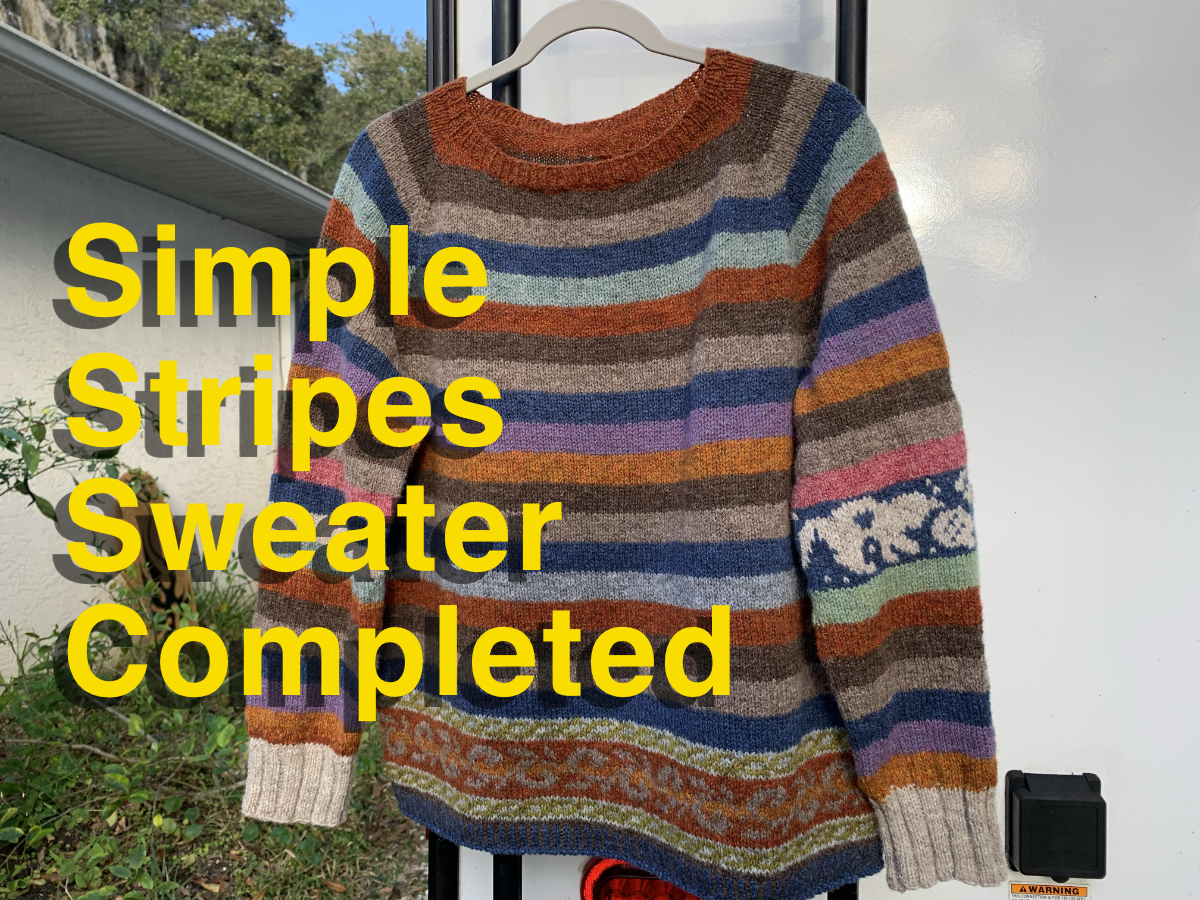
Now my striped sweater is drying. All I had leftover for yarn was two small skeins each of the dark and light brown. In all I used about 9 1/2 skeins, or approximately 1,031 yards.
I’ll try it on and get photos once it’s dry. Total knitting time was about a month and a half. See notes on my Warm-Up Sweater Ravelry page.
December at the Fire
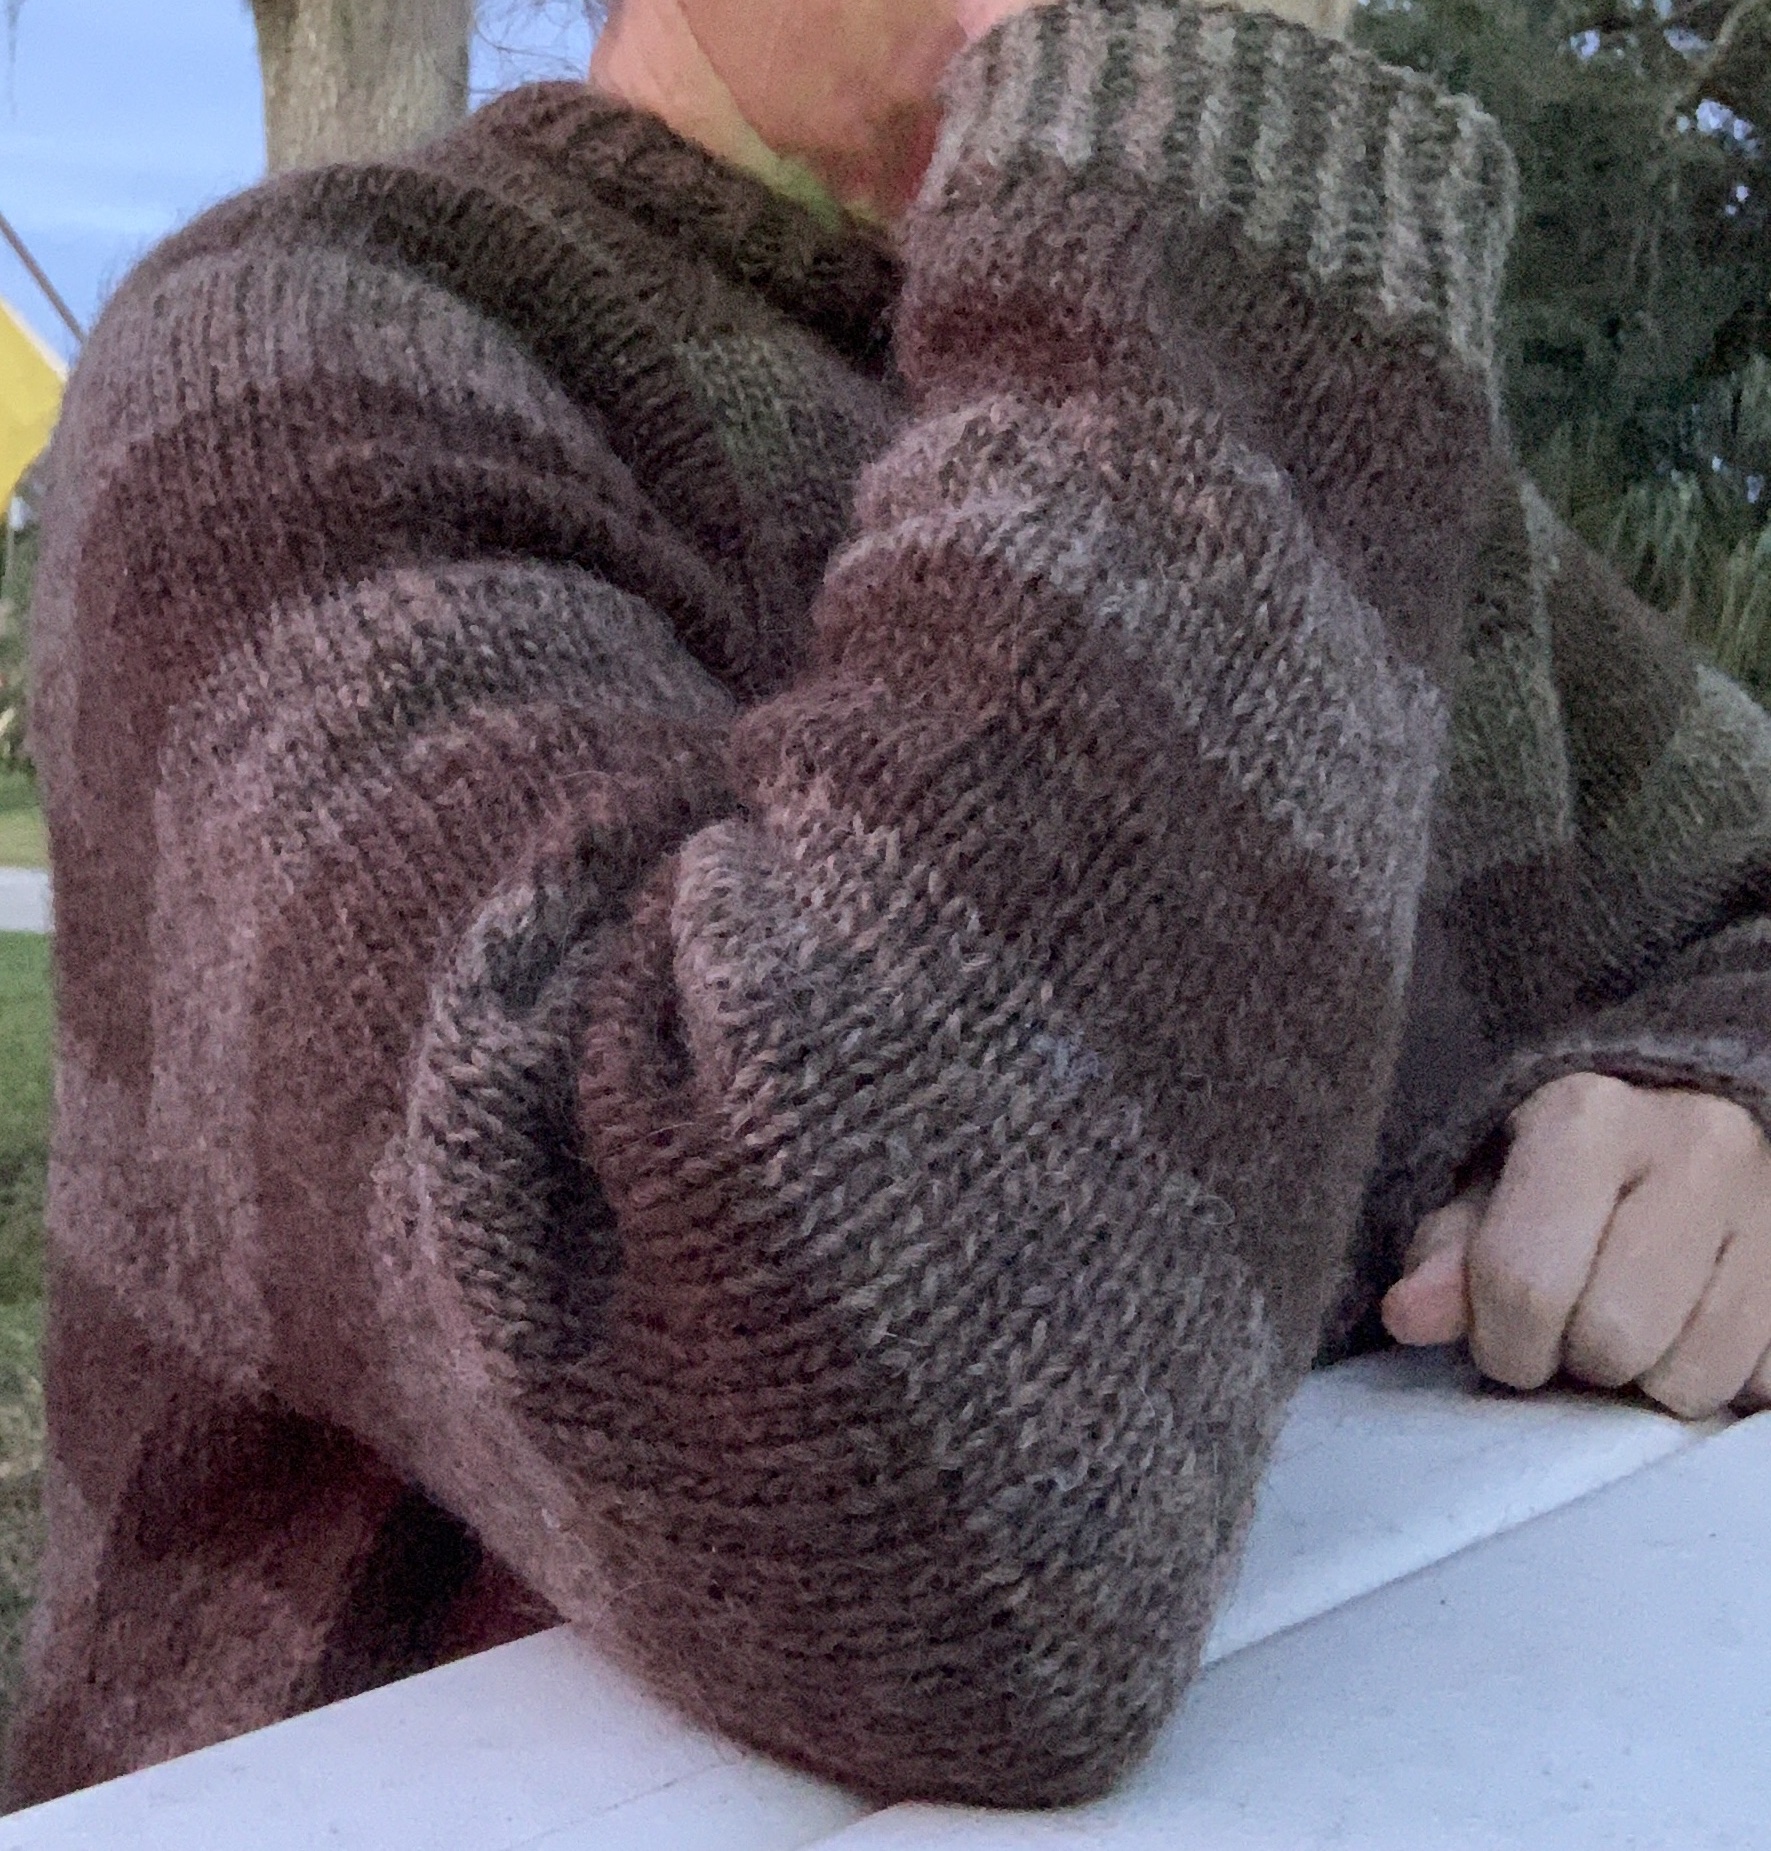
The few cool days we have here in my area of Florida are much appreciated by me! I dig out my wool sweaters and make sure I wear them. It was also an opportunity to get a few selfies.
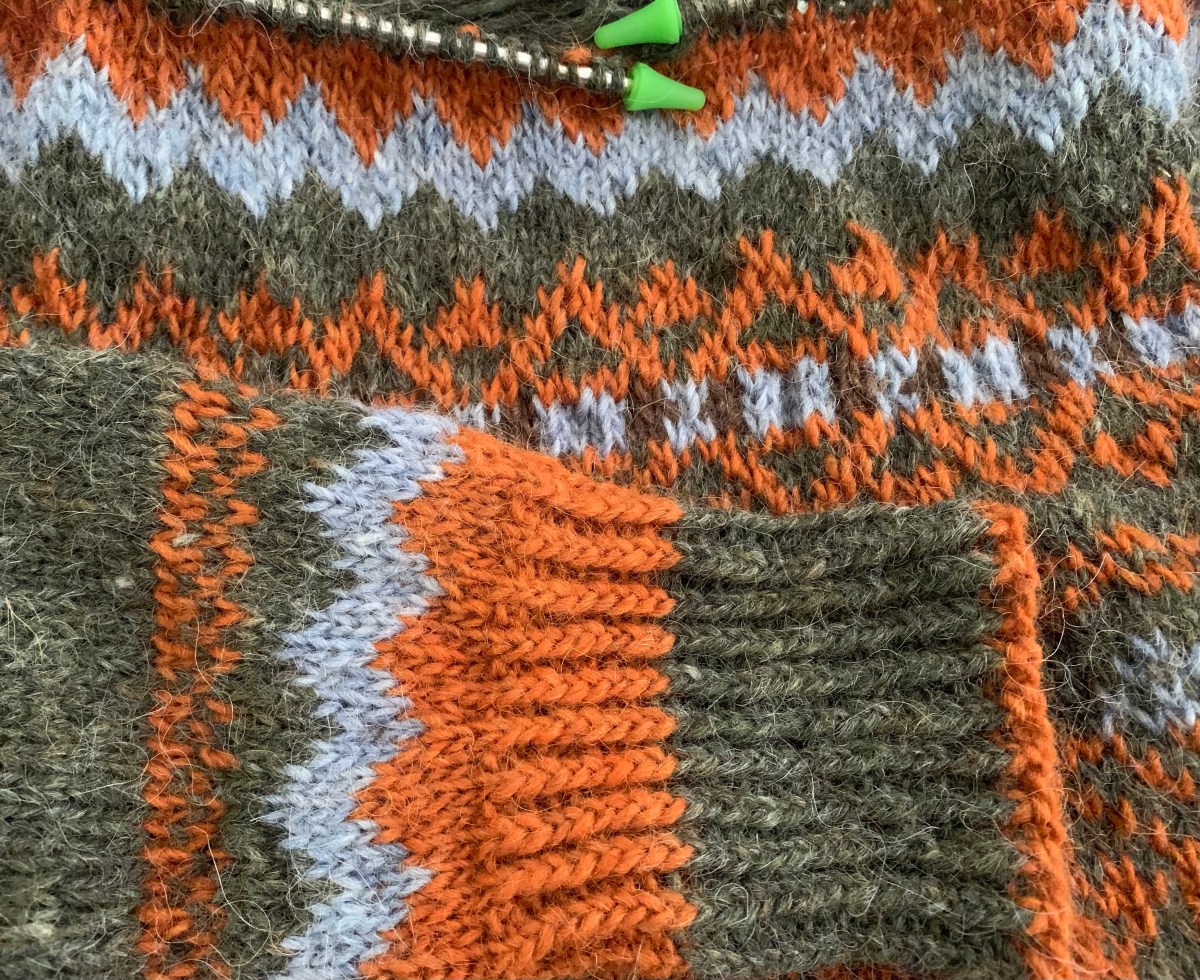
Knitting a pullover sweater with a made up colorwork design using Plotulopi and Lettlopi wool.
For a while now I’ve been a bit lost as to what to knit next. I began the thrummed mittens and lost interest (because I never wear mittens in Florida) and finished up my Meadow Moon sweater, and now… what?
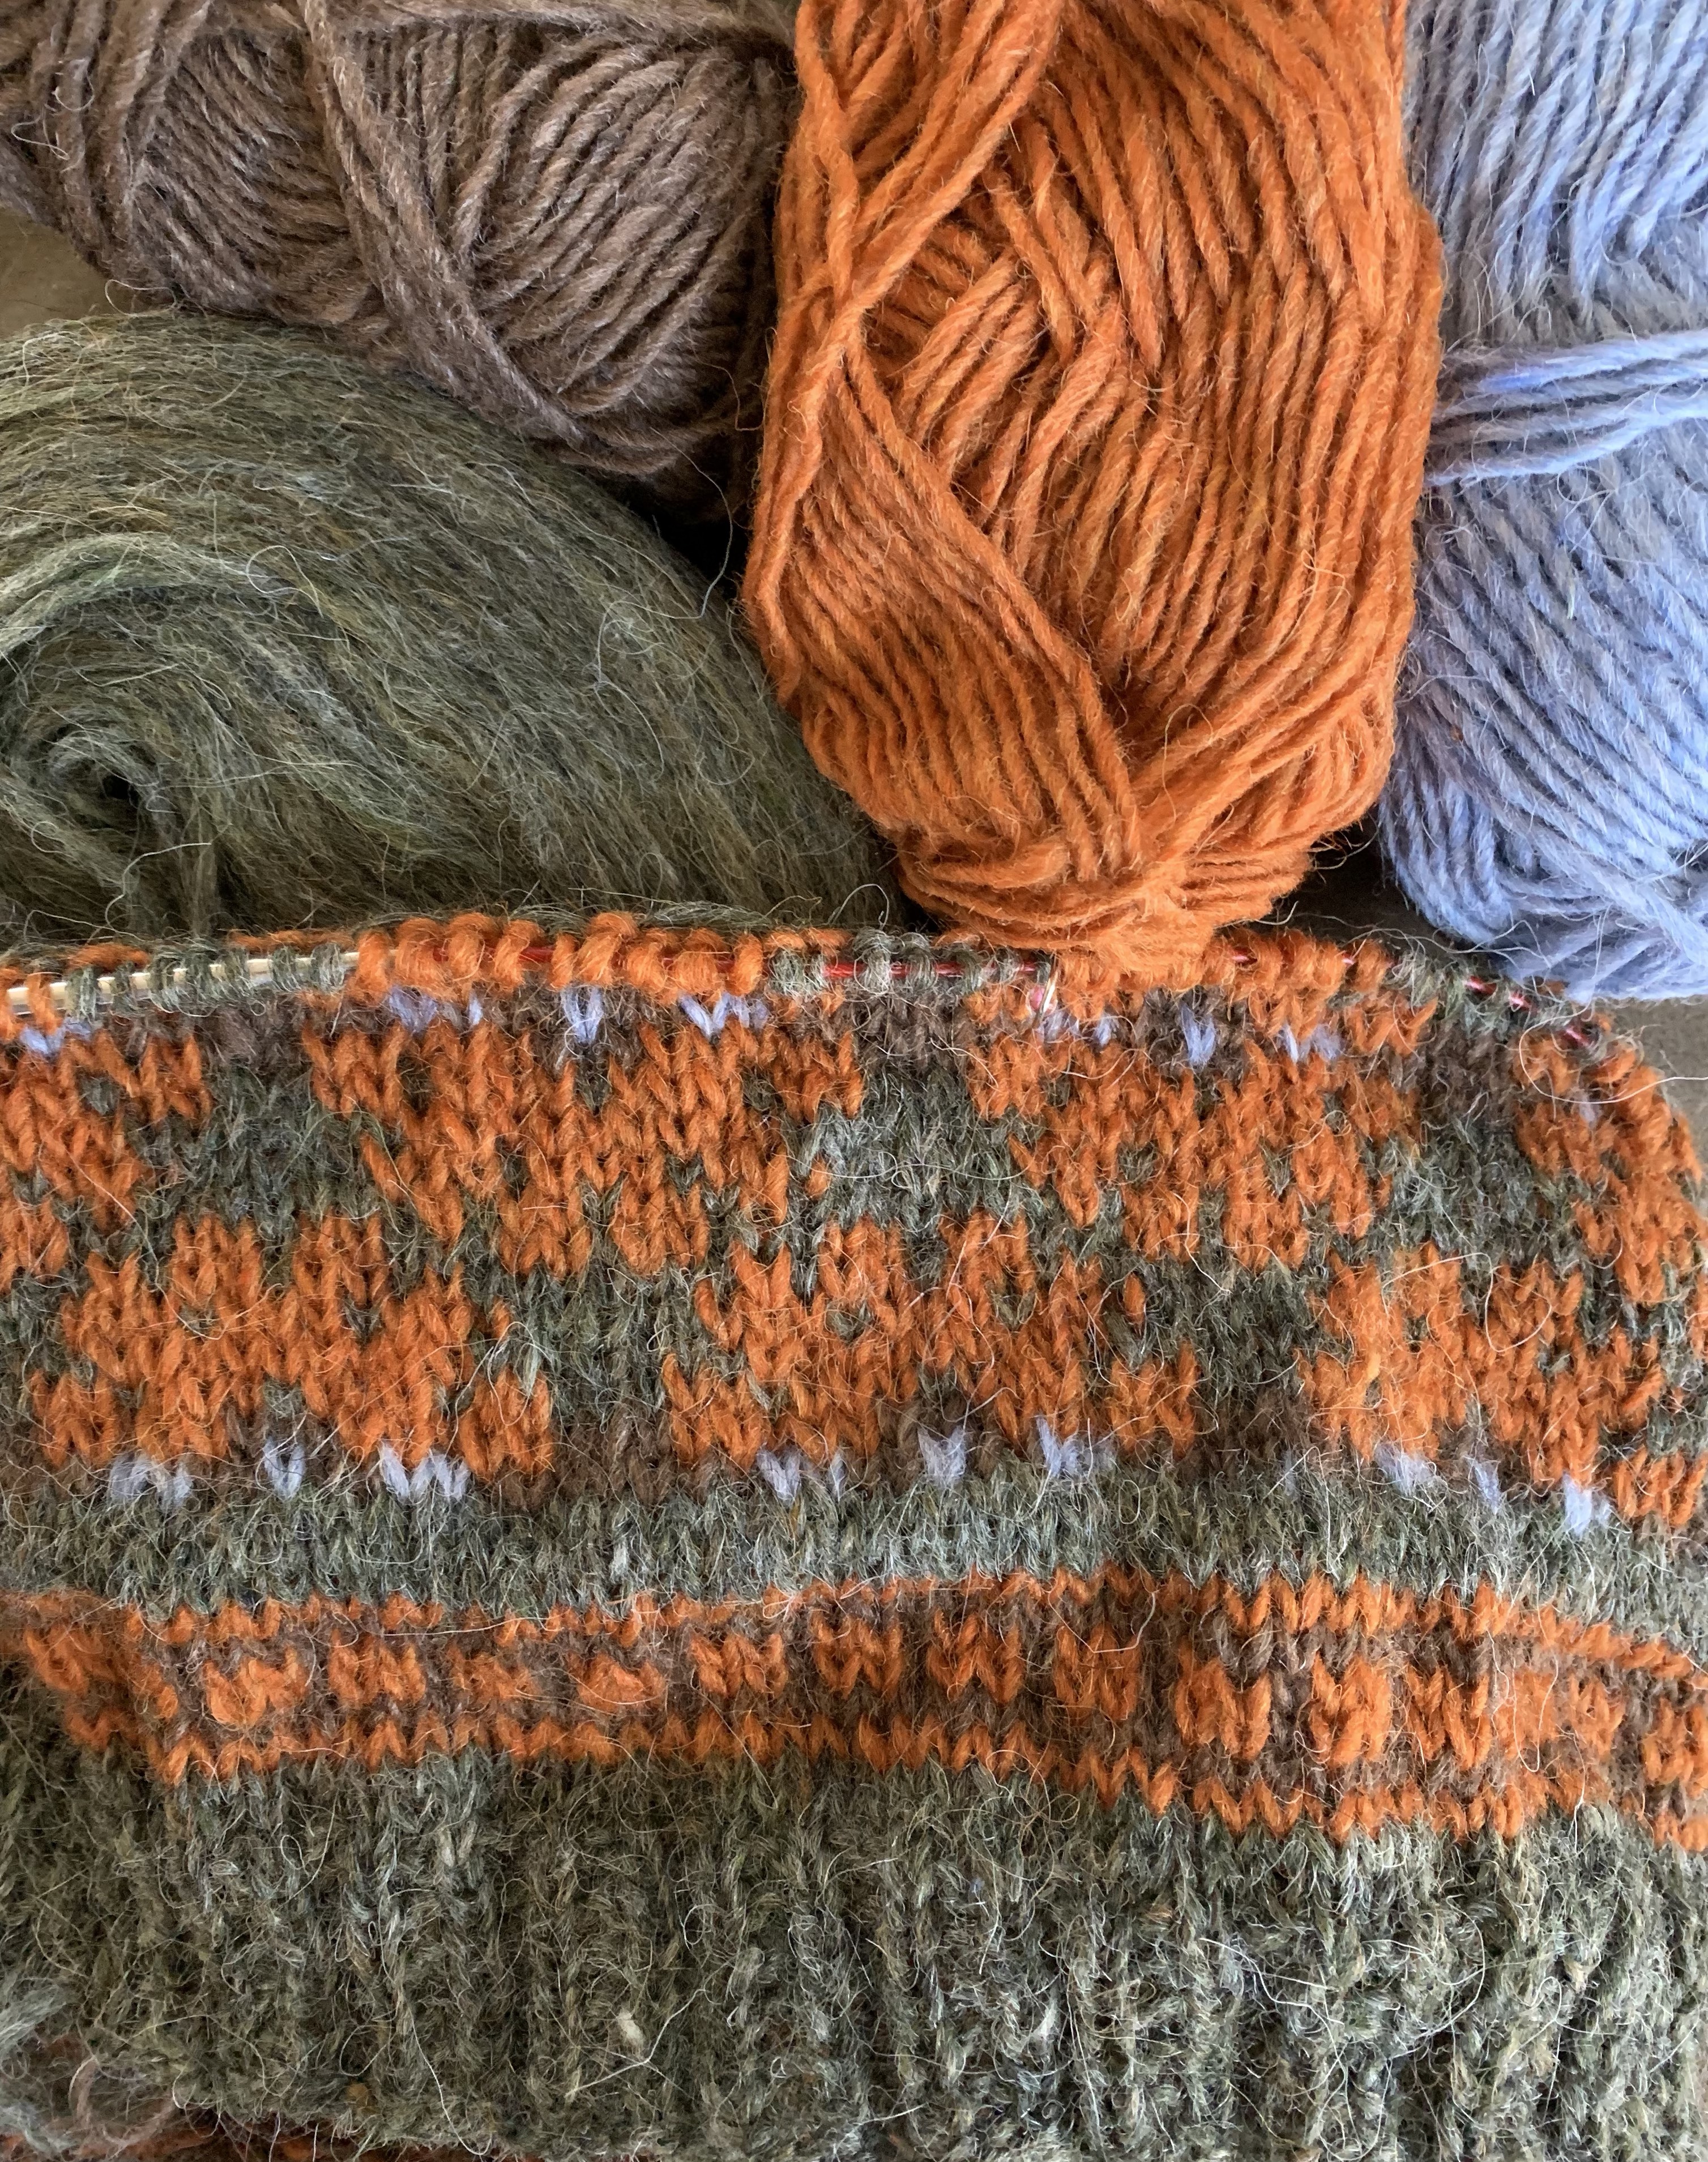
Colorwork / Fair Isle is my love, and I have all these plates of Plotulopi so lets use them! I’m still trying to use up stash yarn, and combine the yarn with a good pattern.
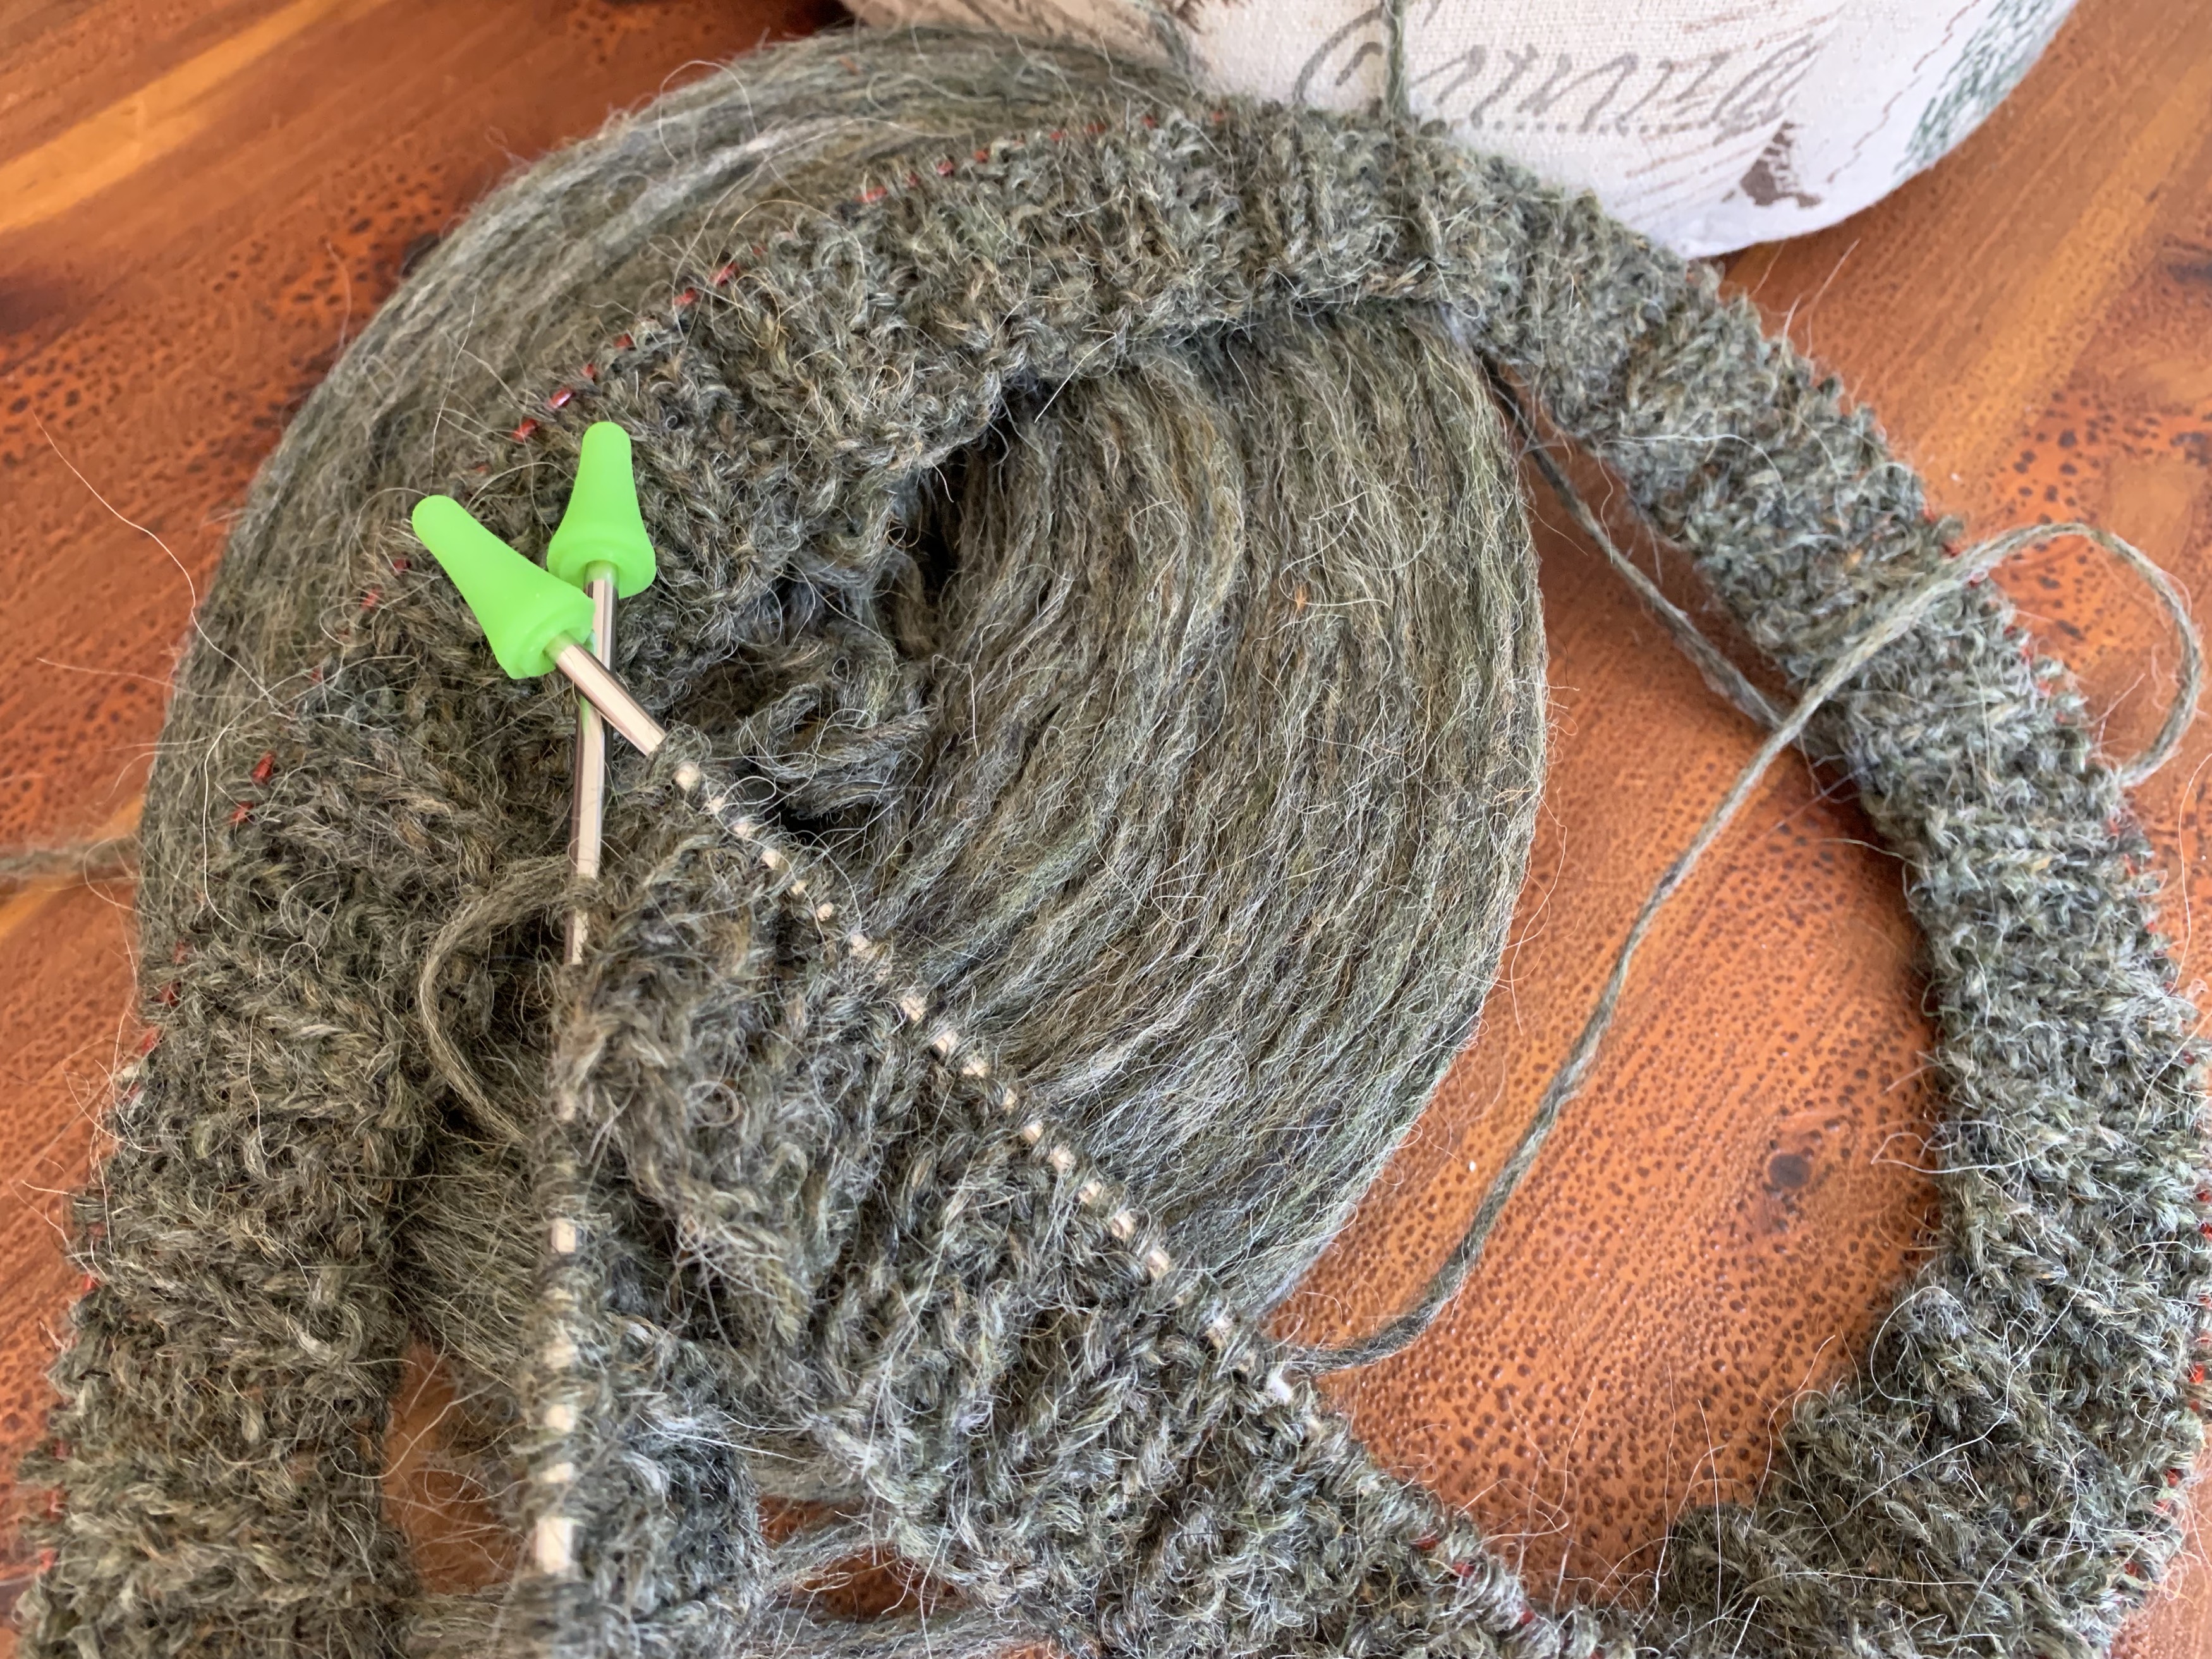
Frost Grass plotulopi plates
I dug out the Lopi 40 book because I have some Lopi yarn to use up. After knitting the Farfuglar pullover, and Clacks mittens, I have light blue and a tiny bit of white. I had ordered some rust orange (Apricot) Lettlopi as well as a brown color.
After skimming through the Lopi 40 book, which has many lovely projects, I decided on a vest. It is shown on children, but has sizes for adults. I figure I can do colorwork around the bottom, to the underarms, as the pattern does, and then finish with solid plotulopi. (It is a bottom up vest.) But I want to choose my own charts and colors.
Yarn Being Used
Because I have a lot of Plotulopi in “Frost Grass” green, that is my main color. The main contrast color is Apricot Lettlopi with a bit of Acorn brown and Air Blue Lettlopi in the center of the flower motif.
The “frost grass” color is really lovely, and I think a perfect name for this green yarn.
The Plotulopi is unspun and breaks easily. I must unwind it before pulling to knit. It does spit splice together well, which I’ve done when it unexpectedly breaks. I was worried about doing the colorwork and having to carry this yarn, but so far, it’s been okay. I am very careful not to tug on it.
The Lettlopi does not have this problem. I’m unsure how easy colorwork knitting would be with only Plotulopi yarn. Seems like it would be difficult. Unknitting, or tinking, can be tricky.
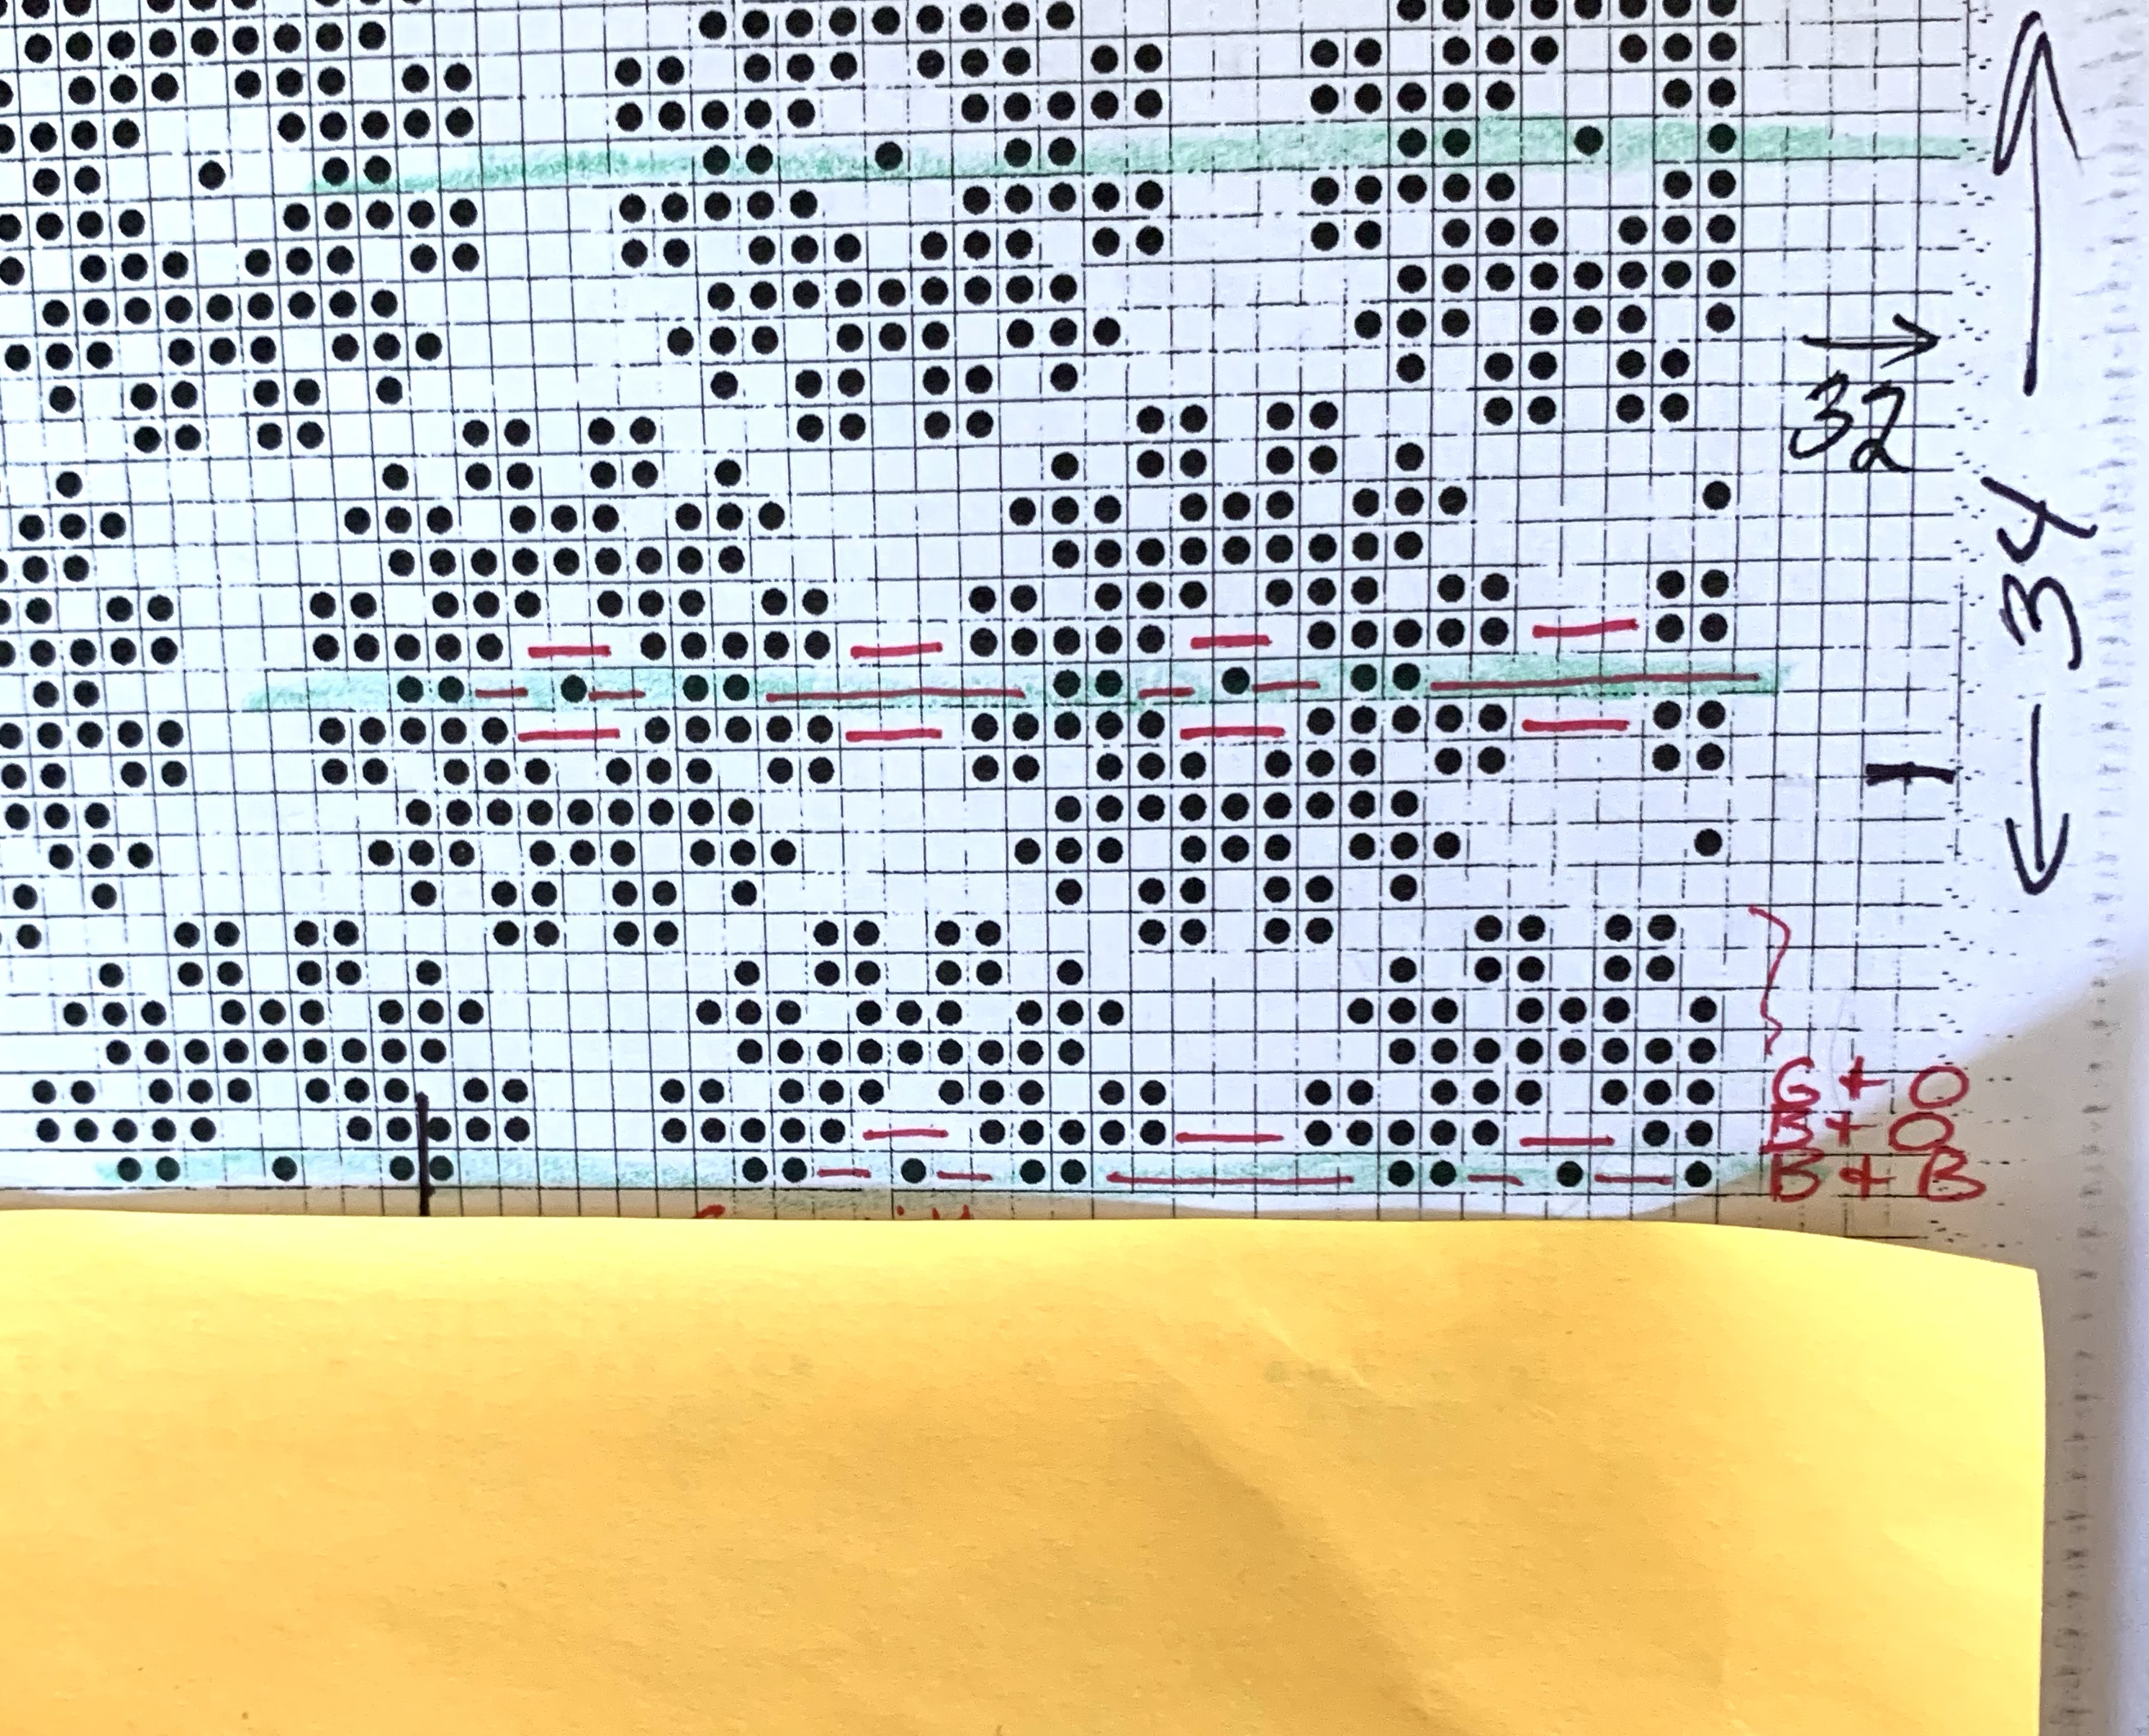
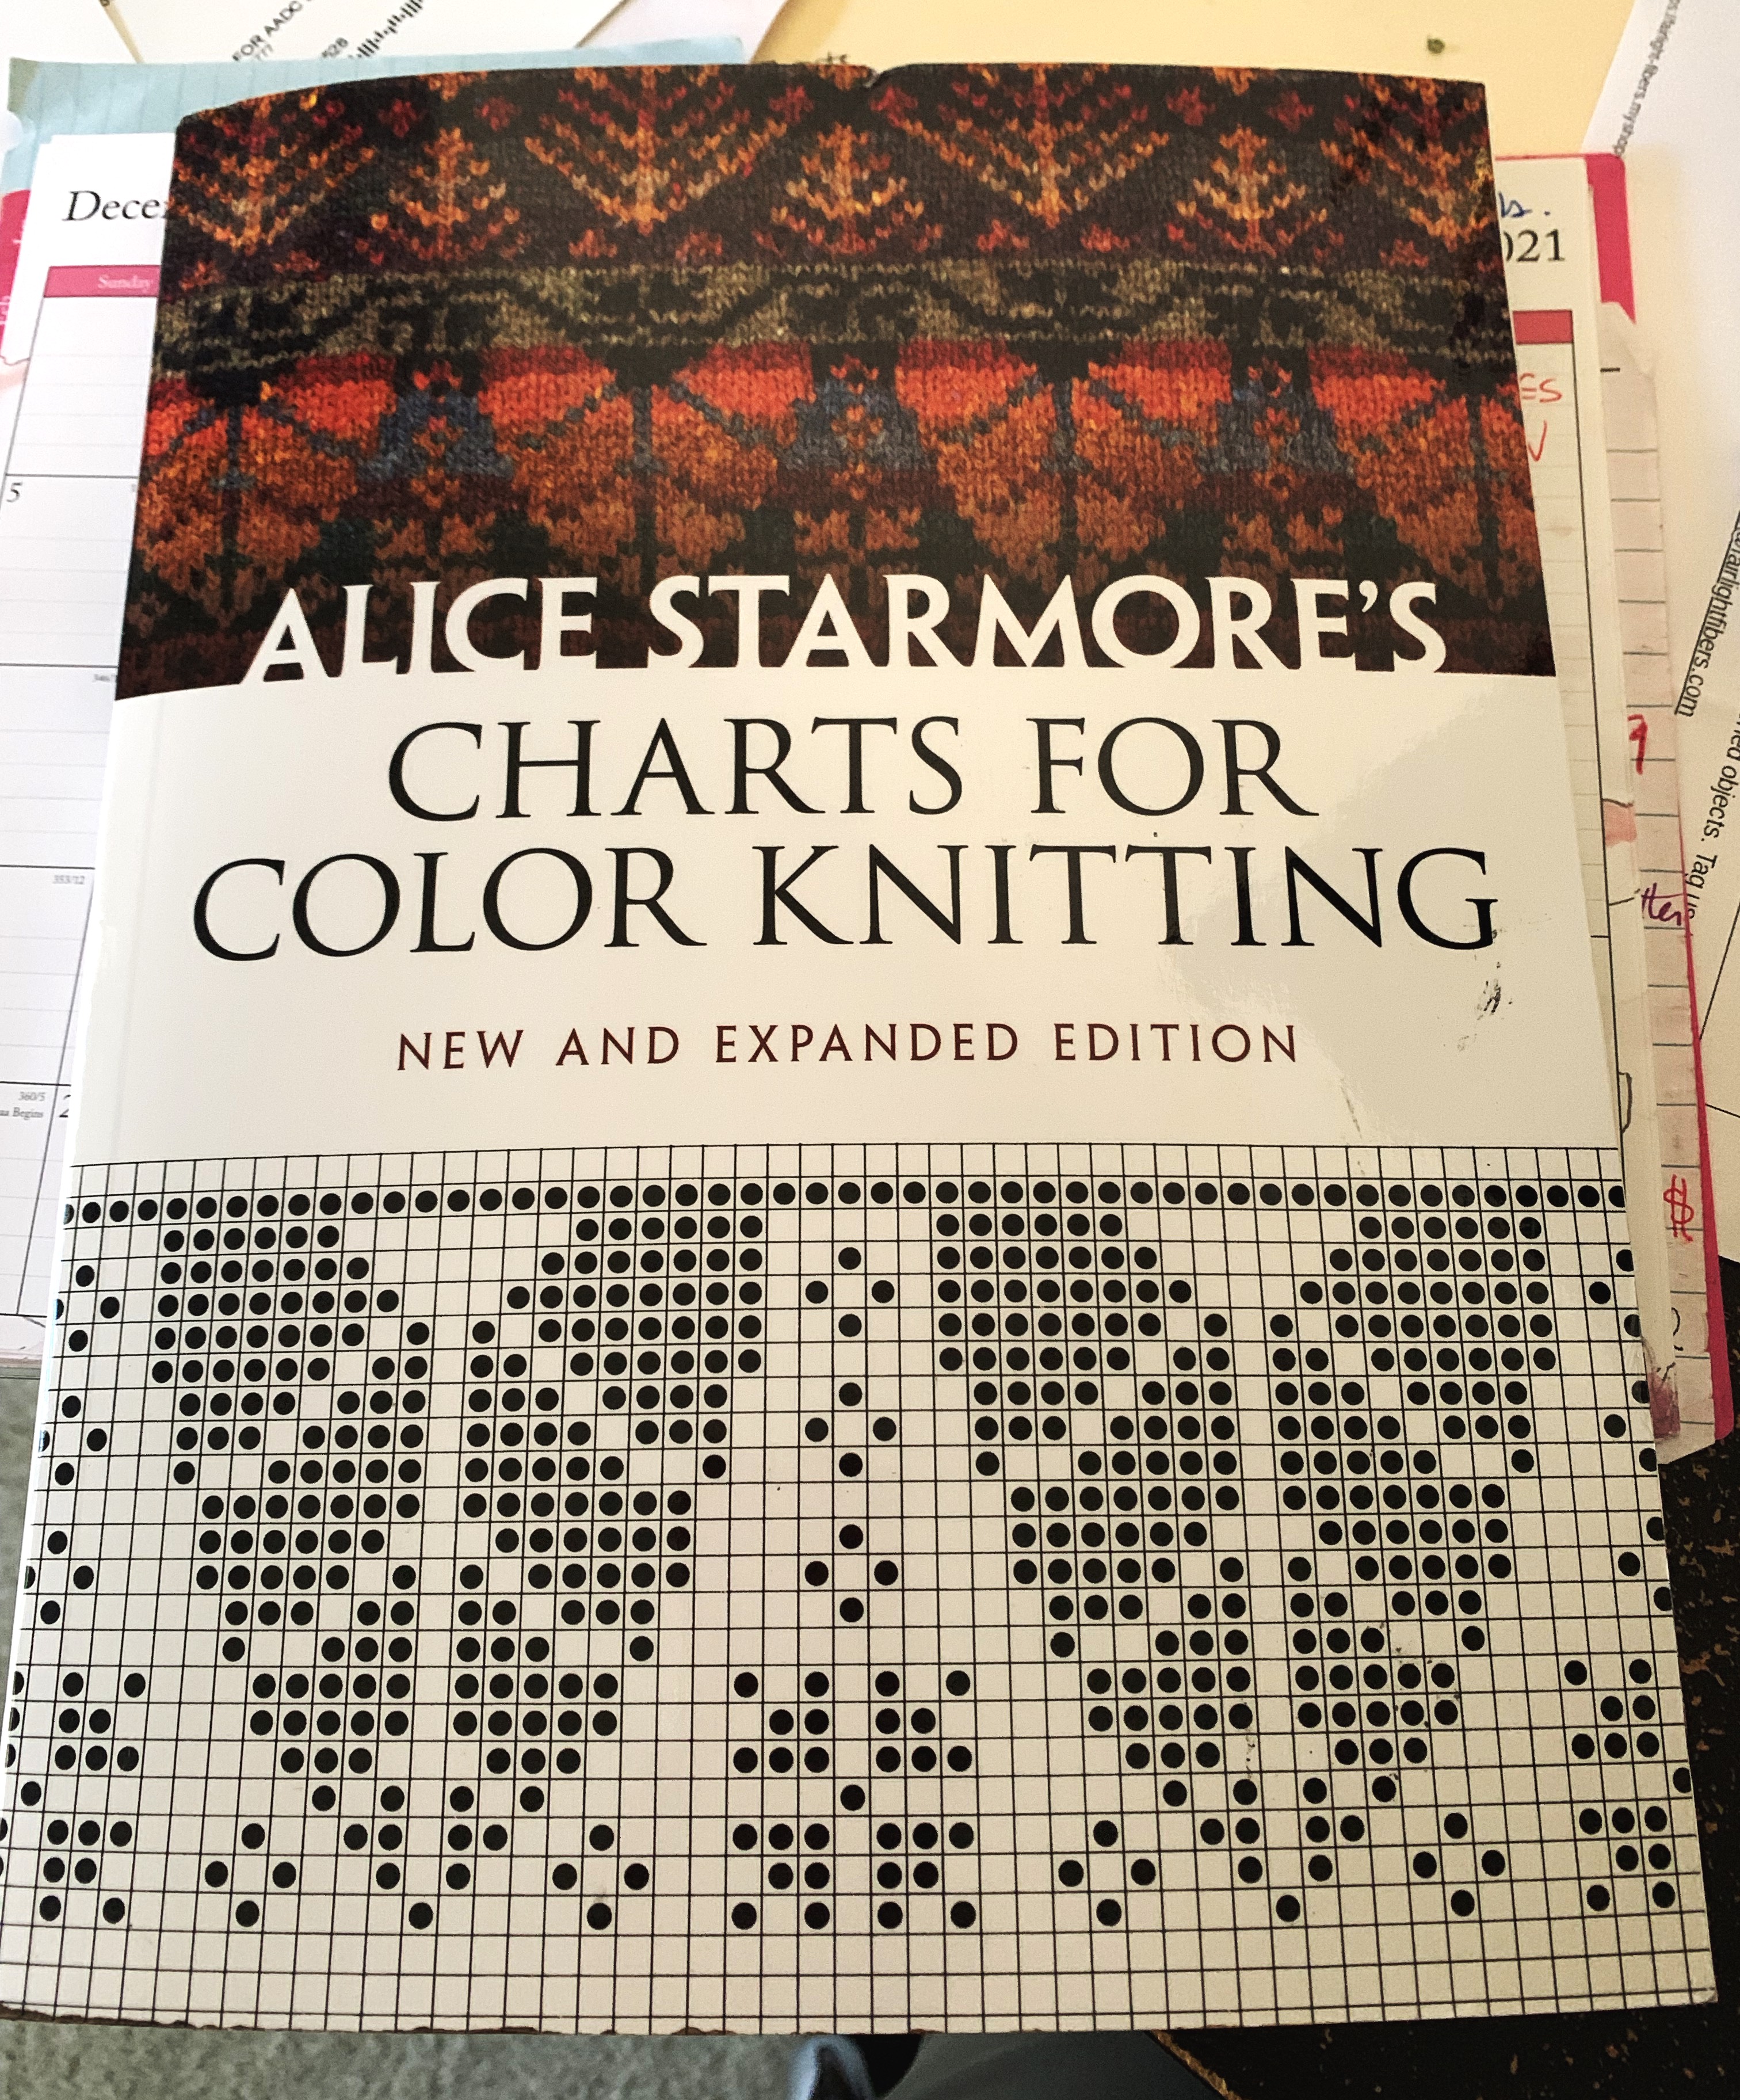
Finally, I settled on a pattern, which was taken from Alice Starmore’s “Charts for Color Knitting” book (This is an affiliate link to Amazon). I will knit the floral pattern for the length of the body and the top will be solid green.
The Knitting
I cast on for the body ribbing (knitting bottom up) with green, using a size 4US needle – 195 stitches. My ribbing choice is not typical 2×2 and needed to be divisible by 5. The ribbing is from my Gansey knitting book and is more of a 2×3 rib. It goes like this:
Row 1: K2, *[P2,K3] repeat * until last 3 stitches, P2, K1
Row 2: P1, K1 *[P2, K1, P1, K1] repeat * to last 3, P2, K1
This wasn’t a good idea for this yarn. A normal 1×1 or 2×2 would have been fine.
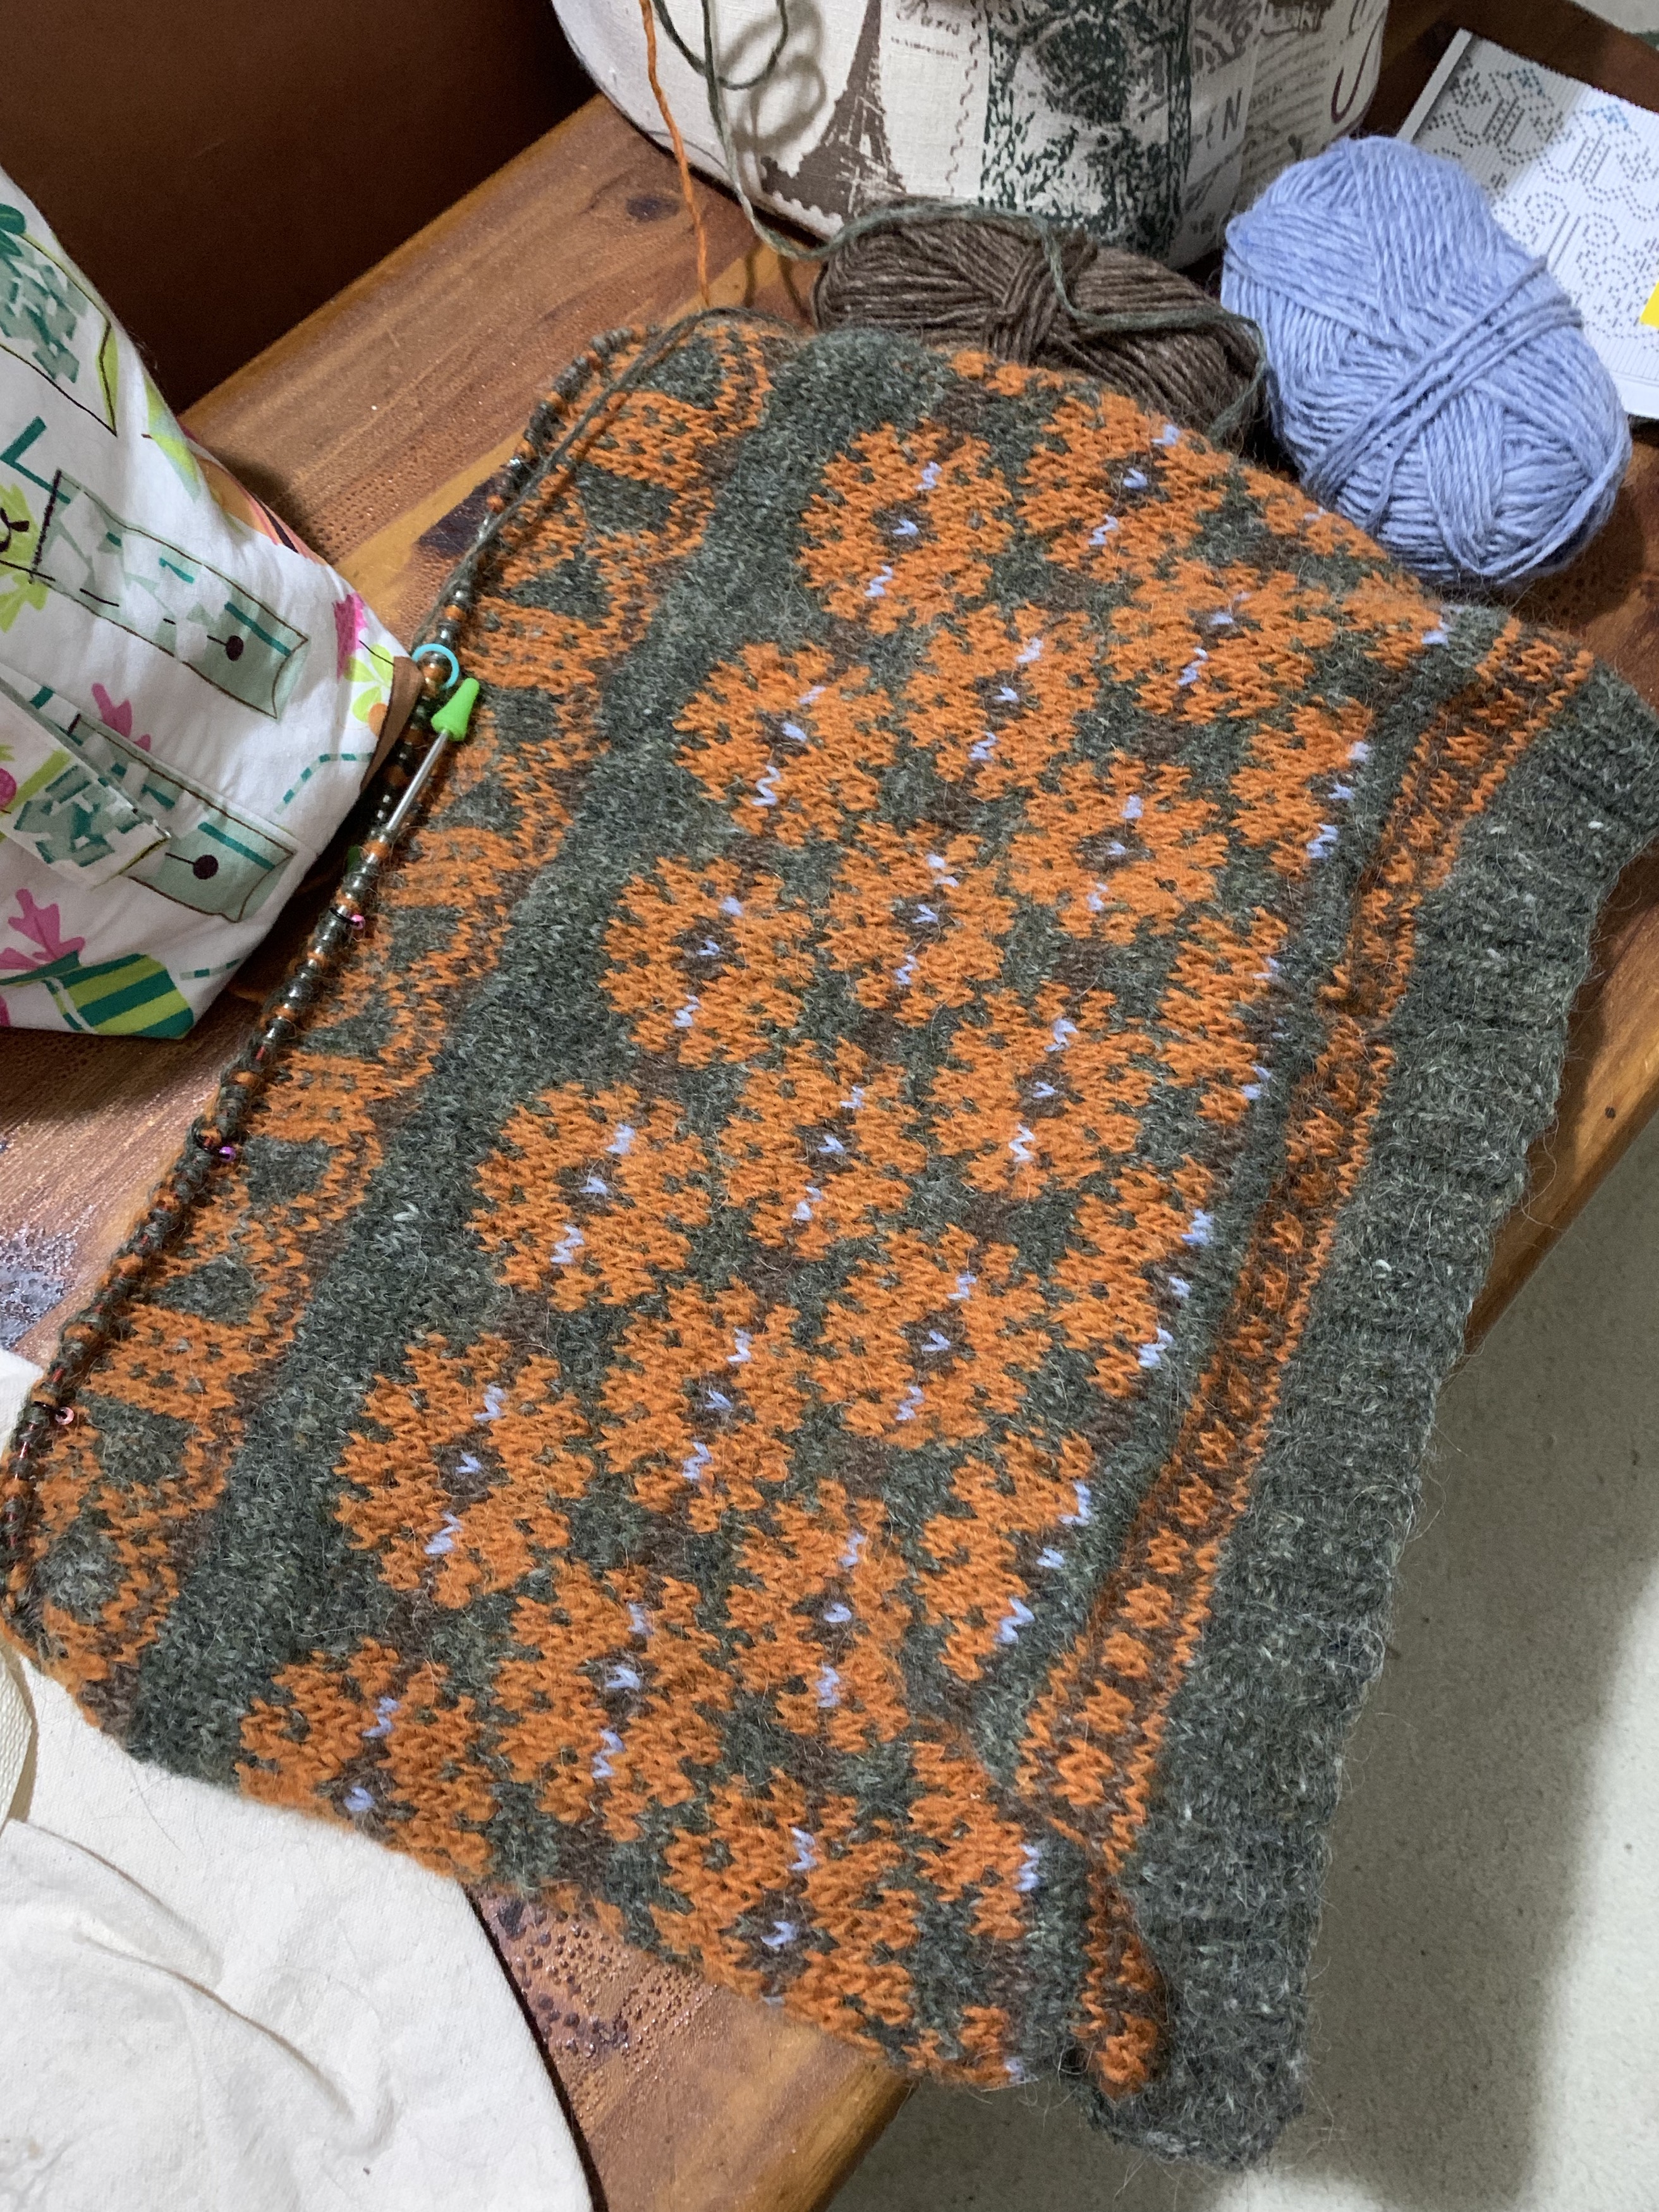
Then, after switching to the main needle size 7US, I reduced the stitches from 195 to 192 and began the divider row of little squares in orange (Apricot). The floral pattern is in 32 stitch repeats, which also fits into 192 stitches – I should have gone up a needle size here because this area of the sweater pulls in a bit.
The flower center three rows are brown with orange, brown with blue, and brown with orange. Then I go back to using green as the MC.
After finishing all the colorwork, I am still at 192 stitches, for size large, and will continue following the pattern from the book.
The Vest Becomes a Sweater
Unfortunately I have swapped out my vest for a bottom up sweater. I cannot understand the vest knitting directions. But I do know how to knit a bottom up sweater. Farfuglar was knit with similar yarn and in a similar size, so I intend to follow those directions and include some colorwork along the way. This sweater will end up being a total experiment! The Farfuglar sweater does not include short rows for the back, and I will definitely be including short rows.
I know that colorwork can make for a tighter fabric so I’ll have to be careful there. I really would have loved to have a vest, but I need a pattern with better directions for my first try.
Now I have continued on with a new chart motif to make the body longer.
Attaching the Body and Sleeves
I wanted to use more orange, but was running out with only one skein left. The sleeves became solid green after the cuff area colorwork.
Sleeves nearly done so the parts can be joinedJoined the body and sleeves and beginning the yoke.Yoke patterning
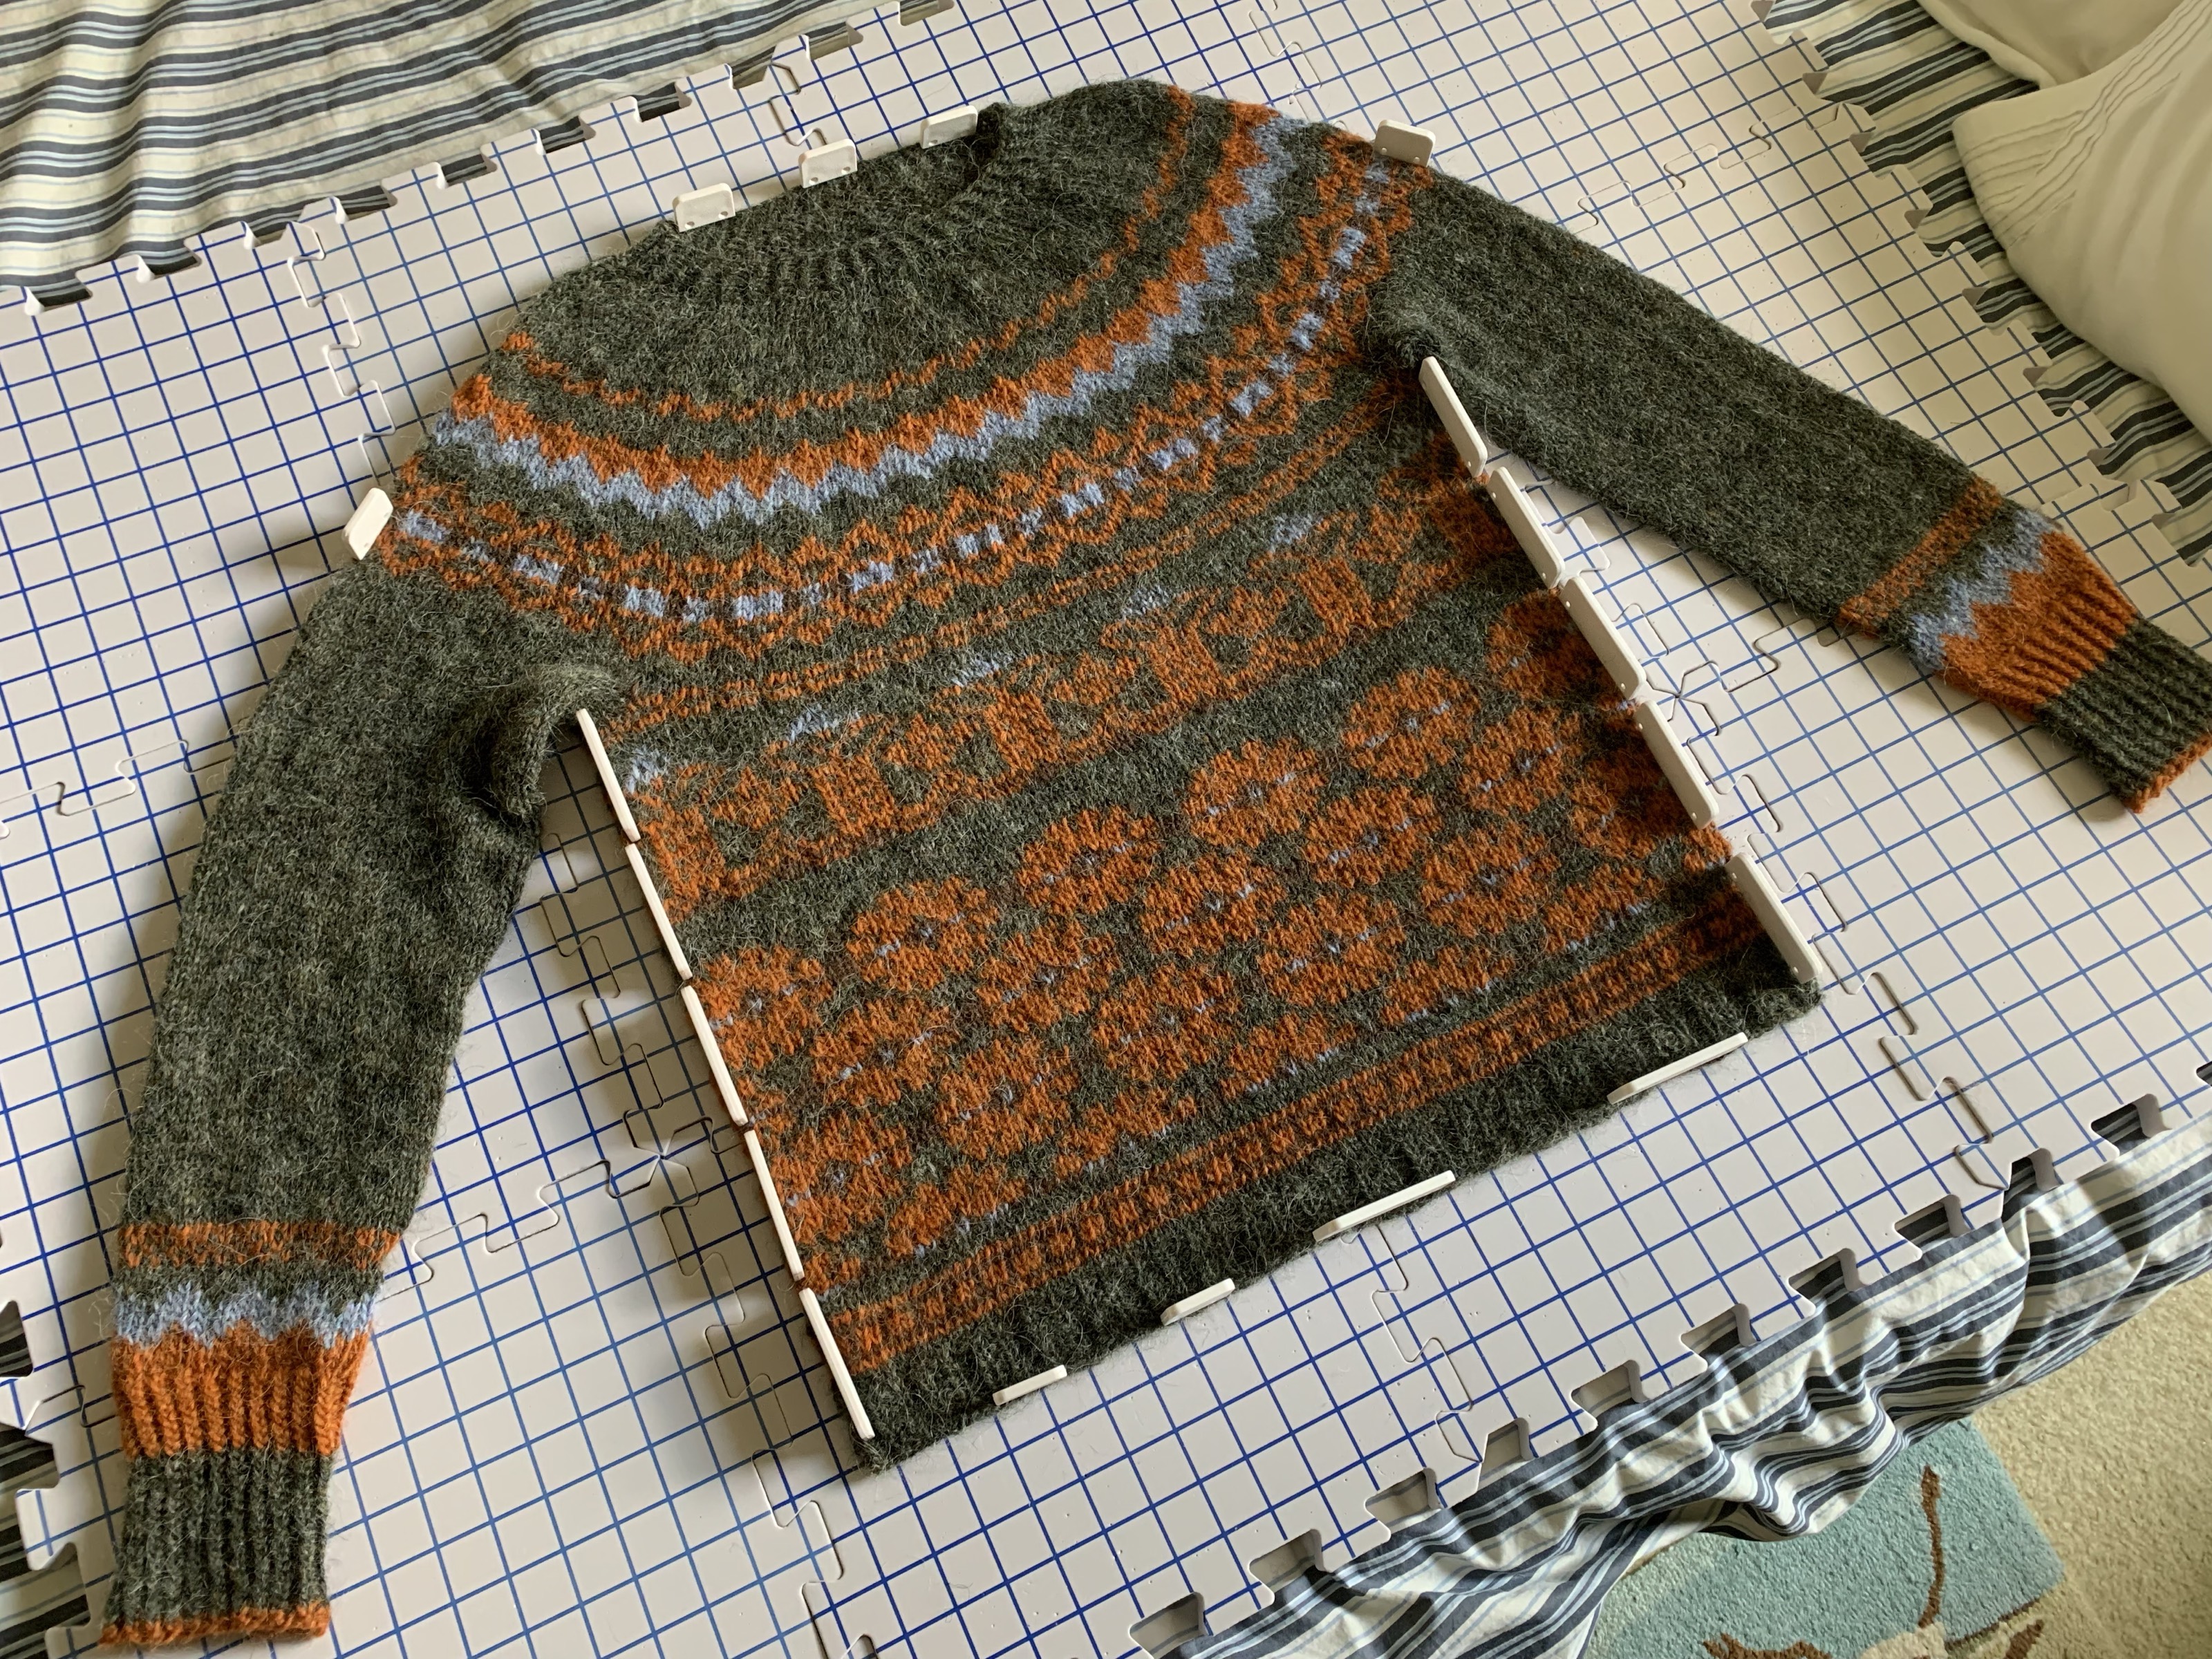
The neck is a simple k1tbl, p – around for about an inch. Then, I was finally able to try it on. The sweater is tight around the body due to all that colorwork. I have the underarm grafting to do and some ends to weave in. Once it’s washed and blocked, I will see how it fits.
Wearing the Sweater
Finally in January 2023 I got some photos of myself wearing the Lopi Sweater. It is very comfortable. The flower colorwork area is a smidge tighter than I would like. If only my belly would shrink a little. Anyone else wish this?
If you are wondering about the comfort of this wool against the skin, I find it to be fine. Yes, I suppose it is a bit scratchy but I don’t mind it at all. Wool is a bit too hot – okay, a lot too hot – for Florida, but occasionally we have some cooler days.
It’s mid February and I’ve been good about not beginning any new knitting projects. Presently, on the needles, I have a sweater, hat, mittens and wrist warmers.
Meadow Moon
Meadow Moon is the pullover sweater that has been on the needles for months now. It’s not that I don’t like it, in fact I think it will be a favorite, but I knit it randomly. I’ve begun too many projects and let this one slide. Now I am on the end of the sleeve and finishing up the colorwork. I should be done in a day or so. I’ll have a few ends to weave in, and then the wash. I hope the cool weather is not completely gone here in Florida because I want to wear this one!
This photo is a horrible representation of the colors. The sweater is blue, not green. Once it’s finished, I will post a page review.
Meadow Moon Sweater
Classic Watchcap
This little blue project is a Classic Watchcap and it is very monotonous knitting. I knew it would be, and save it for evening knitting. The light blue yarn is easy enough to see and the knit one, purl one… on and on… is great for TV watching. At this point I’ve knit for about six inches but have three more inches to go before the decreases. I want a slouchy version with the option to roll up a brim.
Ribbed Watchcap – My Ravelry page. Yarn is Camp Colors, CC fingering which is Superwash merino.
Thrummed Mittens
The Thrummed mittens are a new challenge. I got this far and then stalled. Maybe it’s because I rarely wear mittens in Florida and certainly would never need something so wonderfully warm.
Yarn is Alafosslopi in Ecru Heather, with Merino Top from Paradise Fibers.
Fair Isle Wrist Warmers (mine)
These Fair Isle wrist warmers were fun to make. I began with a free pattern, but quickly went off-pattern to create my own mess…! Each warmer has it’s own colorwork patterns, so they don’t match. Why would they need to? I also messed up some of the patterning because I forgot how many stitches were on the needles! Oh well.
What I like is that I have this pair to learn from for the next time. My goal is to create my own pattern next time. I may even knit them to match.