Knitting The Brodgar Poncho Pattern

An easy poncho pattern that needs a lot of yarn, but would be good for beginner knitters.

I’ve always loved the freedom of movement when wearing a poncho. Like being wrapped in a soft blanket, ponchos are warm and unique outerwear. They come in so many styles and sizes that there is surely a poncho pattern to make everyone happy.

As I was browsing Ravelry one day, I came across Brodgar, which is a poncho pattern by Laura Aylor. It looked easy enough that I could handle it… So I ordered yarn from Miss Babs and knit and knit and knit on this project…..THEN

I ran out of yarn. It is my fault for not considering the size and yarn needs. Two skeins of Yowza will knit a Small size, but it’s not enough for the larger sizes.

Brodgar poncho knitting

Yowza Yarn

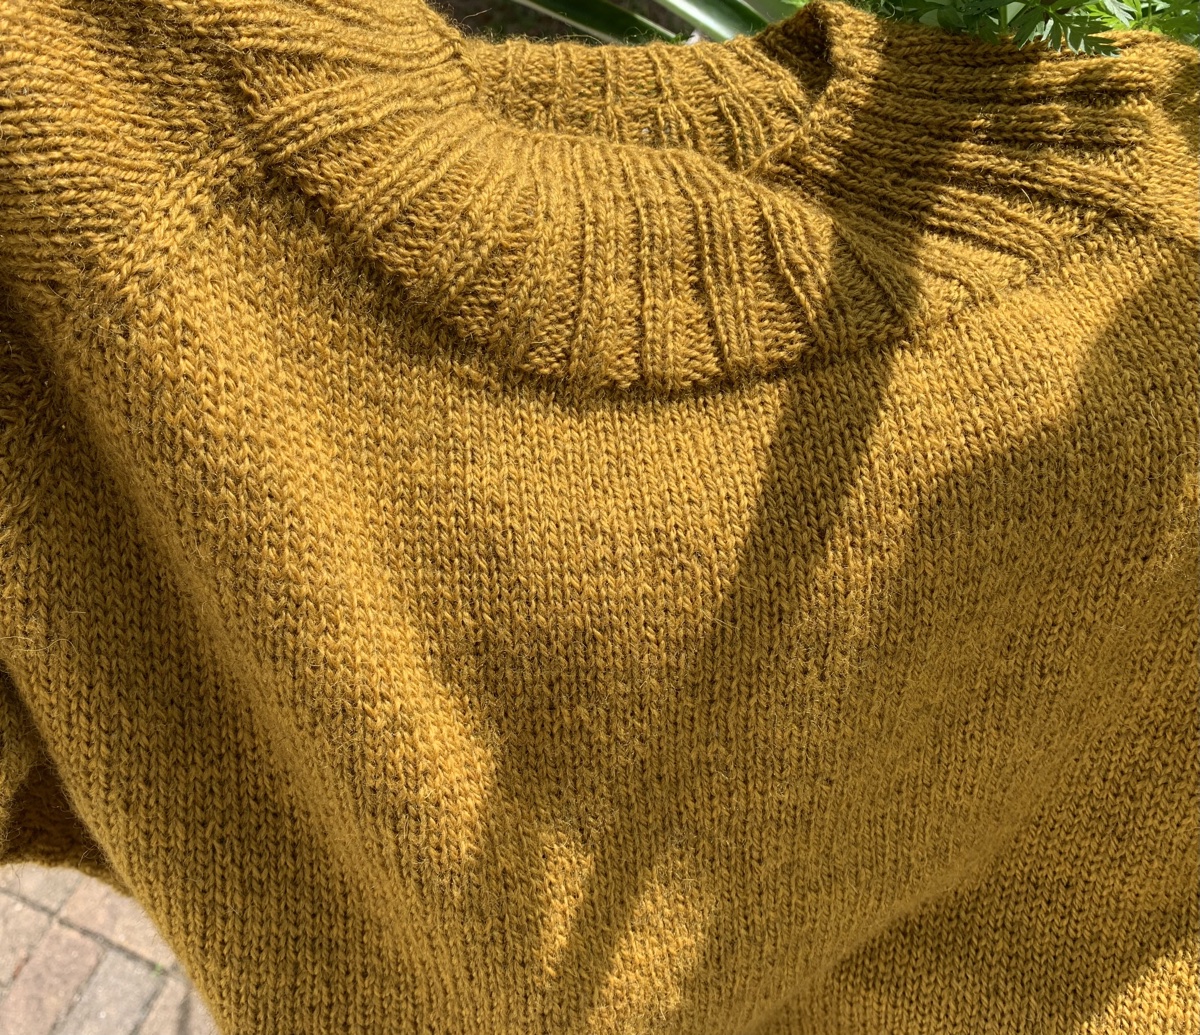
I chose Yowza yarn by Miss Babs in color way Cordovan, which is a maroon red color. This is a Superwash wool, which means it can be washed in a machine. All hand knits should be hand-washed, but for those people who simply don’t have time, or won’t do it, a beautiful Superwash yarn is a good choice. I would still recommend using a laundry bag (Amazon paid link) and laying the item flat to dry.

Knitting the Brodgar Poncho
Brodgar Poncho

Knitting to the Sad End

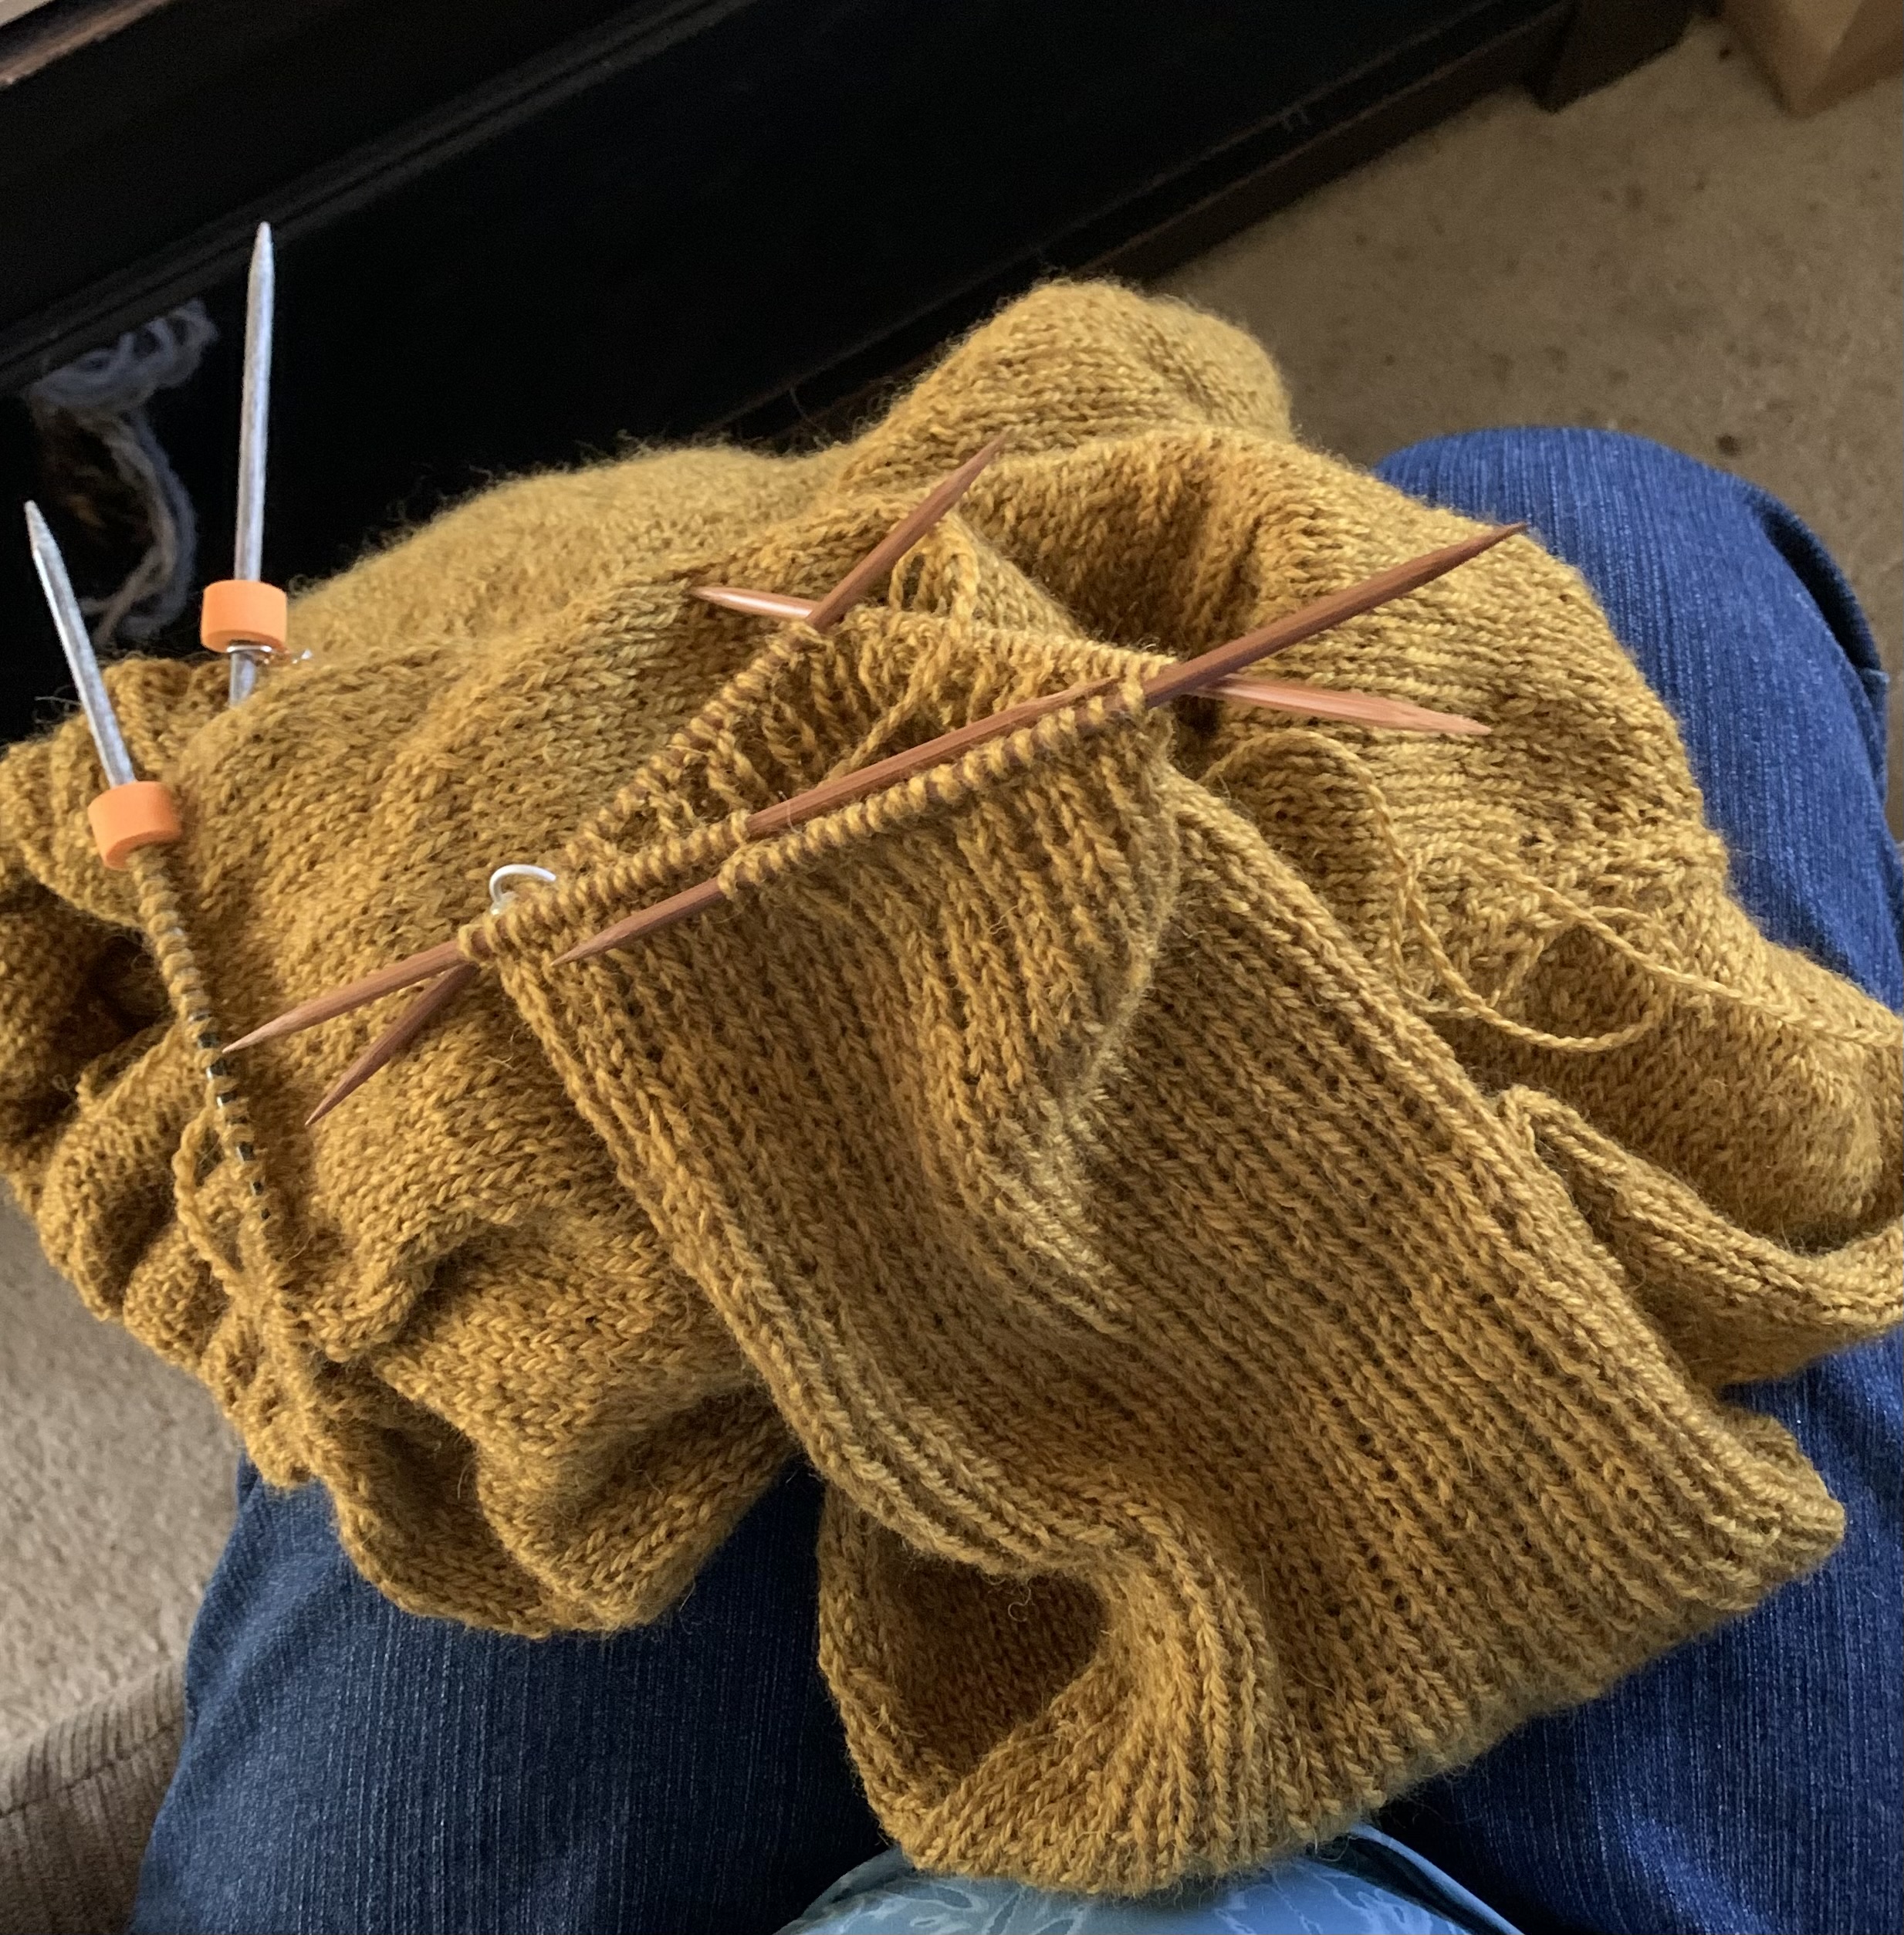
The pattern was quite easy to follow, but the knitting was quite boring. Everything is either a knit stitch or a purl. The pattern is created by those two stitches, and then once the pattern area is done, the rest of the poncho is still only knits and purls – to create stockinette – and the same stitches for making that edge ribbing.

For beginners: This is a good pattern choice. A chart is included, but every row is also written out. For those who can’t follow a chart, or want to check what they are doing, the written part is very helpful.

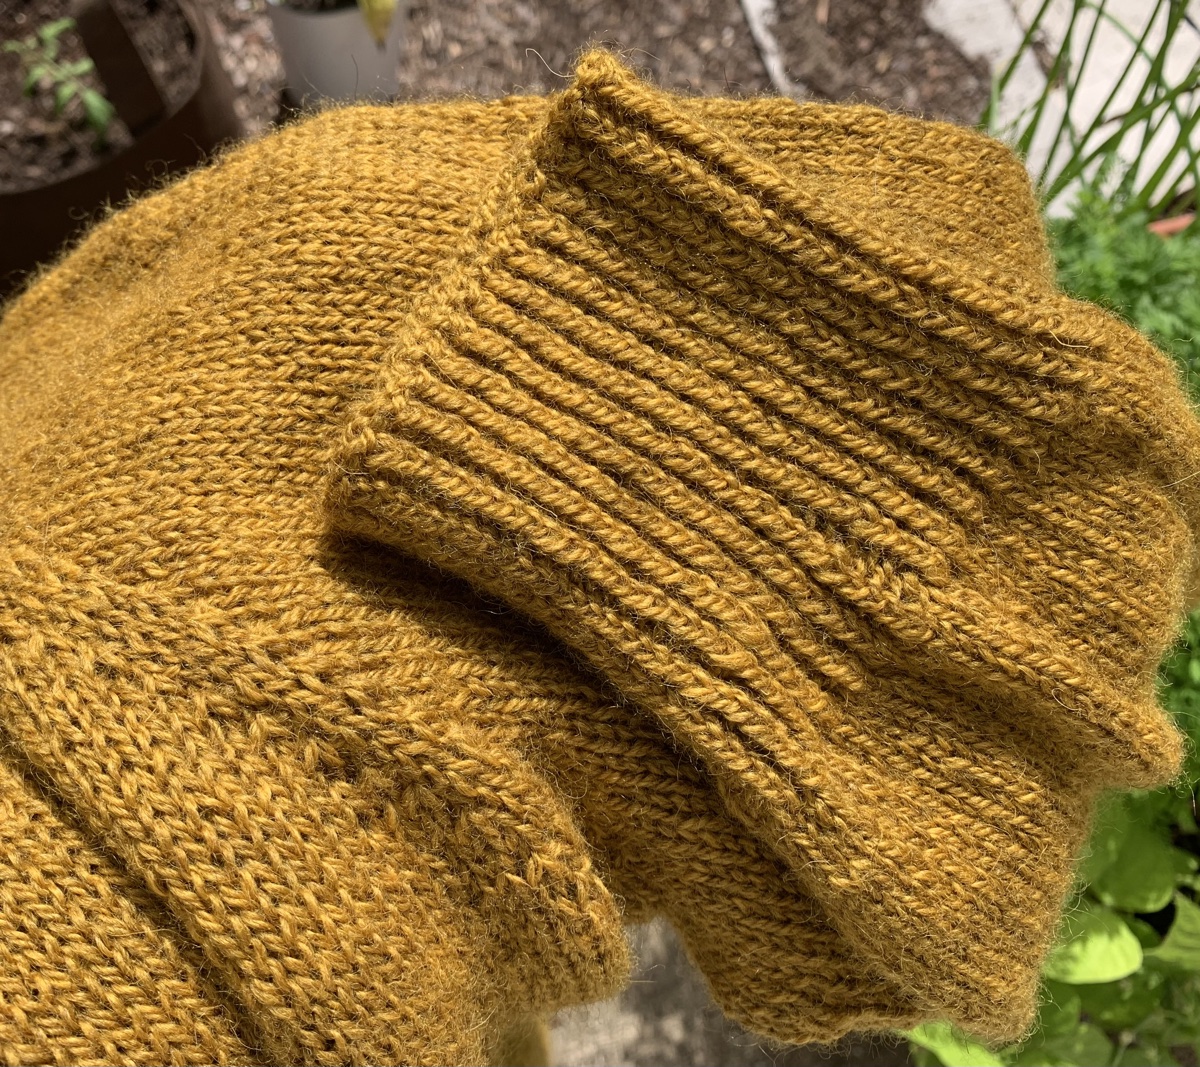
Once the entire length of the poncho is knit, a section will be grafted together to leave a neck opening. You MUST complete the textured part for the ends to look okay!

Yarn Amounts – Do Pay Attention

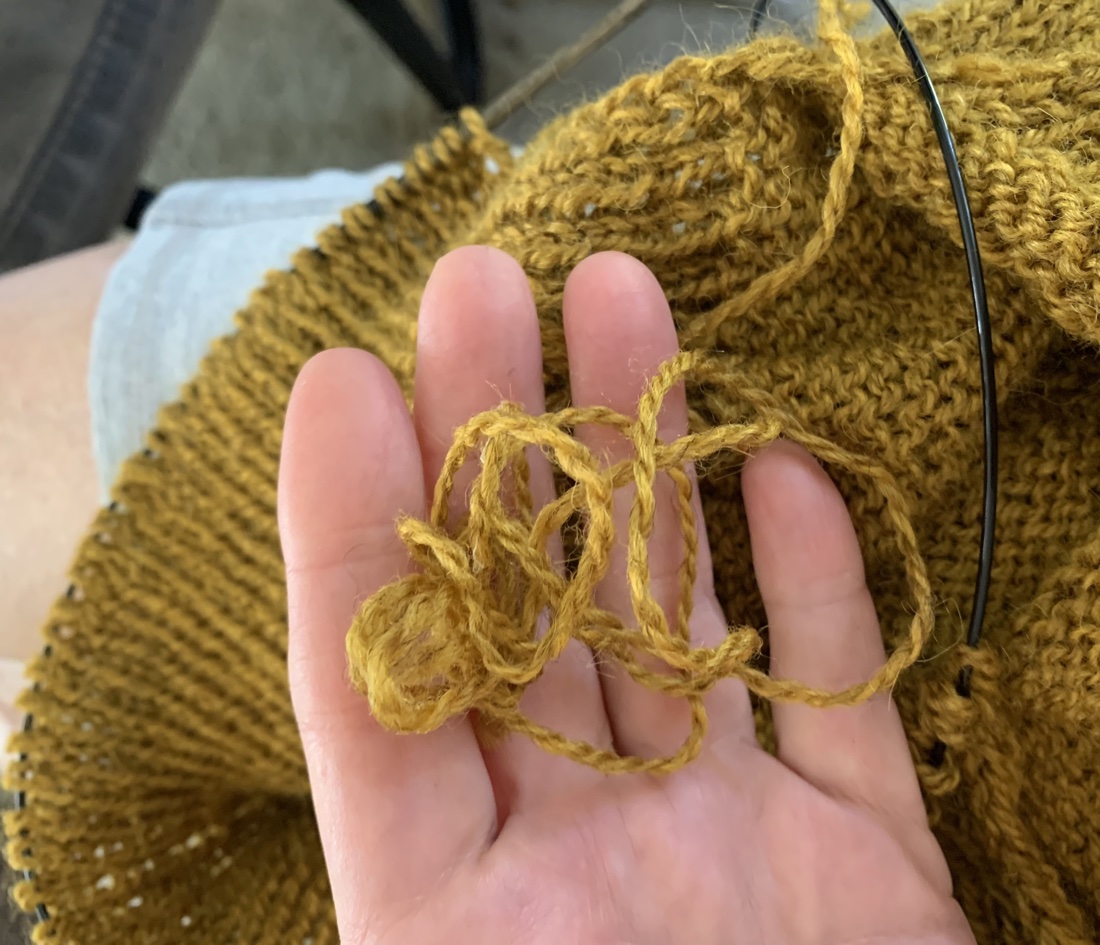
This poncho project has been something I knit for a bit and then leave to do another project. Each big skein of Yowza contains 560 yards. The size Medium poncho takes more yarn than that and I ran out of yarn. I was not going to buy another $52 skein of yarn, but I really should have because the ends (where the design is) don’t match up. This makes it look stupid.

If you want the Yowza skeins, one suggestion might be to do both textured sections – beginning and end of pattern – in a different color. Those two big skeins of Yowza should be enough for the long, middle section.

I will probably frog this project and use the yarn for something else.

cats and yarn

Want to read more yarn stories?

Surprisingly Sweet Blueberry Vodka Lemonade Sweater Pattern

My experience and notes about knitting the Blueberry Vodka Lemonade sweater pattern by Thea Colman, aka Baby Cocktails.

After some summer top knitting, I needed to have wool in my hands again. I chose a new pattern and some new-to-me yarn and got knitting on the Blueberry Vodka Lemonade sweater (pattern link below).

I made a stupid mistake when beginning the first rows after the neck ribbing, and had to rip it all out and begin again. Believing I would be able to do those yarn-overs just fine, I began to screw things up again – because, no I did not do yarnovers correctly. This time I kept knitting and took a refresher in doing yarn-overs.

Once I had all that down, the knitting went smoothly and the yoke became fun to knit.

The Yarn

I am knitting with Sandnes Garn Tynn Line Peer Gynt wool yarn (link goes to Wool & Co.). I’ve never knit with it before, but it’s soft and beautiful. There are some thick to thin areas, but I don’t mind that and I think it’s typical.

Although I bought two types and colors of yarn as possible choices for this project, the Tynn Peer Gynt worked out better for the needle size. I’ve ended up knitting with the black yarn.

  • Sandnes Garn Tynn Peer Gynt fingering wool yarn
  • skeins of wool yarn
  • Knitting swatches drying
  • Harrisville Designs shetland wool

Let’s Try This Thing On!

Using fingering weight yarn to knit a sweater means lots of little stitches and many rounds of knitting. Surprisingly, to me, I was done knitting on this fun project in just a little over a months time.

Finally I have split the body at the hem which means I can get this thing tried on! Yay…!

I am very pleased. That neckline seems perfect. A bit wide, but not too wide, just as the designer promised. I did knit for one more inch on the body, stopping at around ten inches and not nine. Two more inches of hem will be added, but first I plan to knit the sleeves.

We cannot run out of yarn on the sleeves, so I want to knit them without worry. IF I run low on yarn for the body ribbing, I can order another skein and not worry if it’s not a perfect match. *No problem here. I ended up with plenty of yarn even with adding a couple of extra inches to the body length.

Blueberry vodka lemonade raglan sweater knitting pattern
Hem split done, time to try it on

I began knitting this sweater on July 20th and today is August 15th, so it has taken almost a month to get this much done on the BVL sweater. *Then I finished on August 29th.

A few days later, I had one sleeve knit. They are 3/4 sleeves which stay wide until just before the short cuff. I ended up liking them a lot.

Decreasing for the Cuff

The knitting round where the many decreases are made, just before the cuff, gave me pause. Then I realized that the first set of knit stitches – in the parenthesis () – is done ONE TIME ONLY to begin the round. The next set of stitches – in the brackets [] is the number of stiches to knit along with the k2tog – and this is repeated in the round. The last set of stitches is what is left at the end of the round, and they will be knit – unless there are no stitches left and you knit zero.

For example: For my size, on this decrease round, I had to knit 2, then knit 4 + k2tog for the repeat, until I had only 2 stitches left at the end of the round, which were simply knit.

knitting sleeve cuff
Sleeve cuff
knitting sweater sleeve
Sleeve 1 done

Buy the Blueberry Vodka Lemonade Pattern

Finished and Happy

It took me about a month to finish knitting the Blueberry Vodka Lemonade sweater. I enjoyed knitting it because there was always something going on while knitting. The yarn-overs at the raglan sleeves, the texture down each side, and the bottom split rib, all added to the enjoyment.

Blueberry Vodka Lemonade sweater

The sweater was dry after a day and I did a quick photo shoot. We were getting the outer bands from Hurricane Idalia, with wind and rain, so I couldn’t go outside.

I also love this yarn. It is wool, but very soft. I would compare it to Rauma, but it may actually be softer. The finished project is absolutely fabulous! I’m always amazed at much more lovely a hand-knit becomes when washed. I’m very happy with my new sweater!

I don’t often say this, because once I knit a pattern, I move on to something new, but this is a pattern I would absolutely use again.

  • Blueberry Vodka Lemonade sweater

Please keep reading the blog…

New Sweater Pattern and Yarn Overs to Learn

Figuring out how to knit the yarn over eyelets for the Blueberry Vodka Lemonade sweater knitting pattern.

These days I find most of my new knitting projects while browsing Instagram. I’m pretty clueless about the tech side of Instagram, but I have found some very interesting patterns.

The Blueberry Vodka Lemonade pullover is the newest, and I have just cast on to knit it. This pattern is by designer Thea Colman, aka Baby Cocktails, and it is a raglan style with a wide collar and eyelets down the sides of the sleeves.

It calls for a fingering weight yarn and I have chosen to use Sandnes Garn Tynn Peer Gynt. A mouthful, but a beautiful wool that comes from Norway. It is a bit thin, so I had to go down a needle size to get gauge.

Two firsts here for me: I’ve never knit anything by this designer. The pattern is one of the best I’ve ever followed. It’s 9 pages long, and full of good info needed to successfully knit the project. I did have some trouble in the beginning and had to begin again, but it was totally my own fault for not paying attention.

Sandnes Garn Tynn Peer Gynt fingering wool yarn
Pretty black wool
knitting the yoke of a sweater in black wool
Short rows have been completed and I’m on to knitting my way down the yoke.

Help on Knitting the Eyelets

This sweater has eyelets, or little holes, along the edges of the sleeves. To create them, you must be familiar with yarn-overs. And I was not! I never knit much of anything that calls for yarn-overs, but I have done them before. I needed a refresher.

The YouTube video from Purl Soho is very good and covers all the ways a yarn-over is made. But the pattern yarn-overs are made at stitch markers so a “slip marker (sm)” is included, and that is where I got confused.

For instance, the directions will say, “Yarn over, slip marker, purl”. What this means is to do the yarn over (forward) and it will be on the needle before the marker. Then the marker is slipped, and when the purl is done – by wrapping the yarn back around the needle (watch that Purl Soho video if you need to), that purl strand must stay on the needle to the right of the marker. Not doing this throws off the stitch counts between the markers – the strand will be next to the purl when it should be behind the marker. I was doing it wrong, and it took me a few rounds to figure it out.

By the time I knew what I should be doing, my stitch counts for the back section and sleeves were off. I had to add in some stitches as I continued knitting.

So, the sweater is a big mess already… LOL. I already had to re-start this project, so onward I knit. My counts are good…the eyelets are a little off in some places, but …. It’s all good.

Knitting eyelets with yarn overs

I thought I would share this info just in case anyone else is having the same kind of trouble doing the yarn-overs.

I look forward to seeing how this sweater turns out. More to come about knitting this pattern.

balls of yarn graphic

Keep reading…

Something went wrong. Please refresh the page and/or try again.

Knitting the Lakeland Tee in Isager Palet

Knitting a summer tee pattern called “Lakeland” and using cotton yarn from Isager called “Palet”. This is my review.

I am finally knitting the Lakeland tee pattern (link to pattern at bottom of page) with short sleeves and a slight v-neck. This wonderful, easy pattern comes from designer Heidi Kirrmaier (link goes to her Ravelry pattern page). The Lakeland sample is knit in big blocks of color, but color choice is up to the knitter. Some knitters have done the top in one solid color. Others have used variegated yarn, or created stripes.

Isager Palet Cotton Yarn

Also, I am using a yarn I have never used before. Isager Palet is a cotton yarn with a flat strand and comes in variegated colors. I am using Ocean blue (5 skeins) as my main color and plan to use brown – color “Dunes” (1 skein) – further down the body for thin stripes.

Isager cotton Palet yarn
Isager Palet is a flat, cotton yarn

The Knitting Pattern

The pattern for the Lakeland top is very easy to follow. I have just separated the body and sleeves and will now continue down the body and add some brown color at some point.

The pattern begins with some back and forth, flat, knitting which raises the back of the top (there are no short rows), shapes the neck edge and marks out the sleeve areas. All directions are very easy to read and understand. I used four different color markers as the pattern suggested, which was helpful.

All increases made at the edges of the neck should be done carefully and correctly because this part of the top will be very noticeable when worn.

I’m going to do something different for the sleeves and make them shorter.

knitting Lakeland pattern tee
The Lakeland tee, knit with Isager Palet yarn.

Knitting With Isager Yarn

I began knitting this top using metal needles and it made the Isager Palet too slippery. I changed to wooden needles and was happier. The yarn is very easy to knit with. I also went up a needle size, and my stitch gauge was exact, but the rows were short.

The fabric created by the Palet yarn is very nice. It is light, and will probably be fairly cool and comfy in the Florida heat. And let me tell you, it’s been hot!

One thing that I’m having trouble with is the way this yarn comes off the skein. If I pull from the outside, I tend to get a bunch of strands that fall off the skein and get tangled. If I pull from the inside, I can’t find the end easily, and there is a tangled mess. So, I’m not sure which is best.

I’m more used to using wool, and changing colors and skeins is a bit weird with this yarn. It seems like it won’t stay put when “tucked in”, but I guess it will.

Creating the Stripes

About five inches down the body I began to add stripes. I am doing two rows of “Dune” brown, and then seven rows of “Ocean” blue. I really didn’t know how I would do the stripes. All I knew for sure was that I wanted them to begin below the boob line. I’m carrying the brown by catching it on each blue row so I don’t have to break it every time.

thin stripes knitting Lakeland tee
Lakeland pattern – beginning stripes on lower body

The body rib is 2×2 with a split hem. This means that one half of the hem is knit first, then the other half will be knit to leave a split at each side. I like this look, but have never done it. I’m using a size 4 needle – one size smaller than the 5 used for the main part of the tee. The pattern directions were a little confusing here, when they say to go down one size, but the US sizes listed are 4 and 2. I used a size 5 for the main part of the sweater, then a size 4 for the ribbing.

Needle Problems

Unfortunately, I discovered that the Lykke blue needles that I bought were too rough to use! I ended up using the Chiao Goo metal needle for the ribbing. But, even after sanding down the Lykke needle (for the price this should not be a thing), it measures larger than a size 4! Hmmmm… I bought it on Amazon, so maybe it is not a real Lykke (Amazon is not to be trusted at times). I’ve never had problems before, but this was very disappointing.

2x2 ribbing split hem knitting
Doing the ribbing on Lakeland

July 4th… Happy Independence Day my fellow Americans! Yesterday I tried on my Lakeland tee, once the ribbing section (half of it) was done. The garment fits perfectly! This is exciting, and makes me want to finish up my project.

  • Corrugated ribbing on sleeve
  • corrugated ribbing on sleeve
  • Lakeland tee knitting
  • Lakeland tee knitting
Lakeland tee hand knit
Lakeland Tee finished!

In The End…

Great pattern. I may use it to knit this top again using a wool yarn and making long sleeves. I love the shallow, v-neck. I’m not crazy about this yarn – for a shirt. The yarn color selection is a bit bland, and the end product is too heavy for wearing in summer in Florida. I wish I had NOT changed the sleeves and simply made them shorter.

Lakeland Tee Pattern Page

wearing the Lakeland tee hand knit

I already have a new sweater knitting project in the queue – this time back to using wool. The yarn order is in and the Blueberry Vodka Lemonade pattern is purchased!

cats and yarn

Continue reading…