Knitting projects I have completed or have in progress. My thoughts and review of the pattern, yarn, and outcome. Also knitting project ideas to consider or find for free.
Starting a new little hat knitting project which is great for long car rides.
We were going camping. I needed a simple and small, knitting project for the two hour ride. I decided to use up some stash yarn and knit one more watch cap.
This pattern I used, for the third time, is the Ribbed Watch Cap and Beanie by Churchmouse Yarn & Teas. See the link to the pattern at the end of this page.
Because a small, size one needle is used, and there are many rows of 1×1 rib (knit one, purl one) this project can be a bit tedious, but it is just the thing for keeping hands busy. The completed hat is wonderfully wearable too.
“Saffron” Yummy 2-ply by Miss Babs & “Turtle Haven” from Four Purls are the colors
All I needed was some fingering yarn – found easily in my stash. I chose orange and a variegated blue, both are fingering weight and Superwash merino. I’ve had these balls for a while.
Once again I did the Old Norwegian cast-on and not the involved tubular cast-on suggested in the pattern. I needed to get this project started because it was the day before my camping trip. I kept the cast on easy.
Making the Yarn Change Invisible
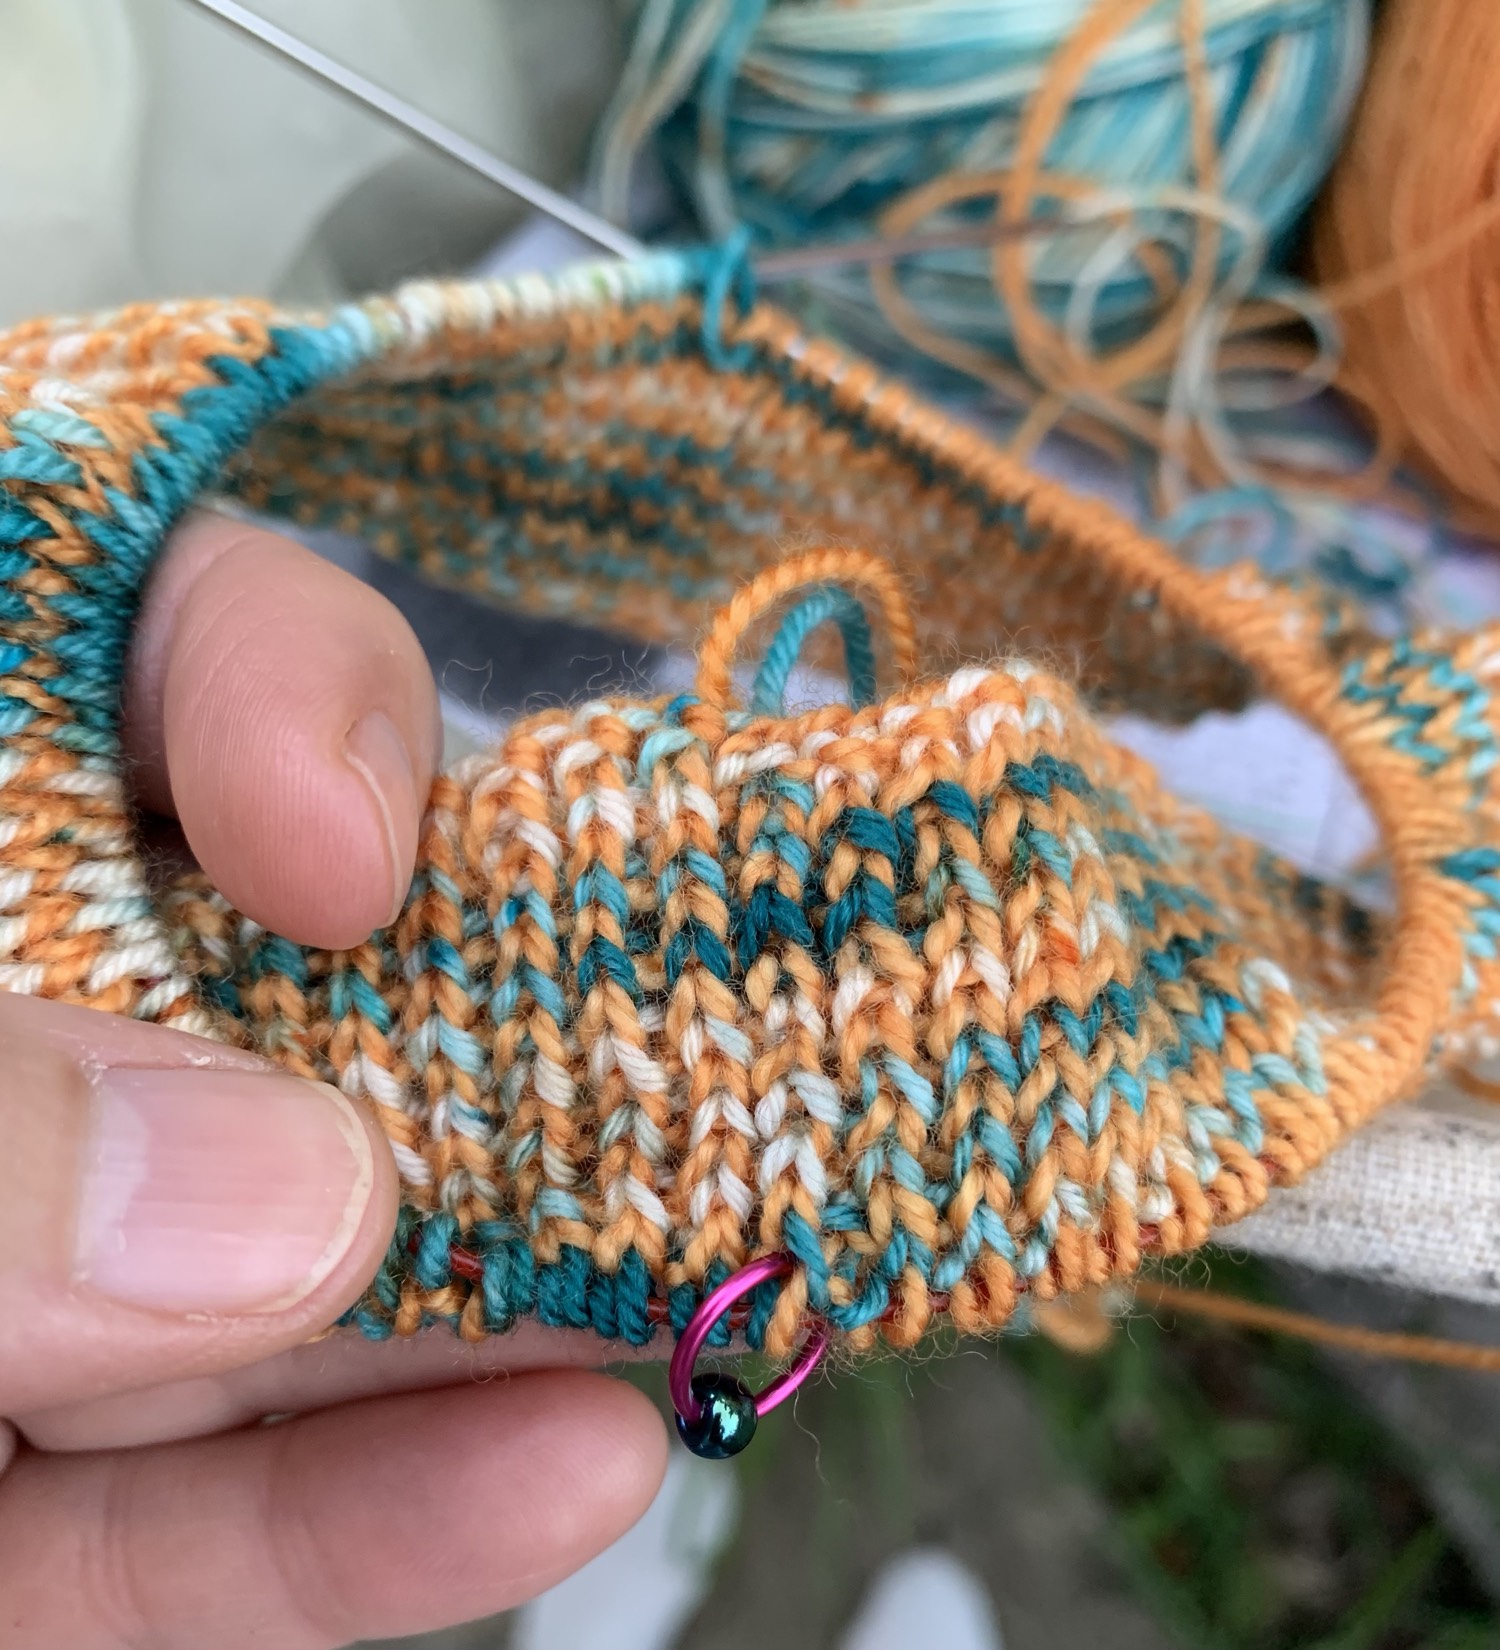
This time I am using two different yarn colors and changing color on each row. I am using the “yarn forward” (YouTube video), by Elizabeth Smith Knits. I learned this skein / color change hack when alternating skeins for the Arco Iris sweater. It is very simple to do and leaves no weird little squiggles when changing yarn – which is very important on this hat because it is knit on the wrong side and turned inside out when finished! This yarn change is invisible on both sides.
Photos below show both sides of the hat where I am changing yarns at the BOR marker.
The yarn forward color change leaves no trace!
Camping Knit
Our campsite was on an island, and our site was directly on the saltwater river. Here I am doing some early morning knitting at the waters edge. Coffee, water view and knitting. What could be better?
Knitting at the edge of the river.
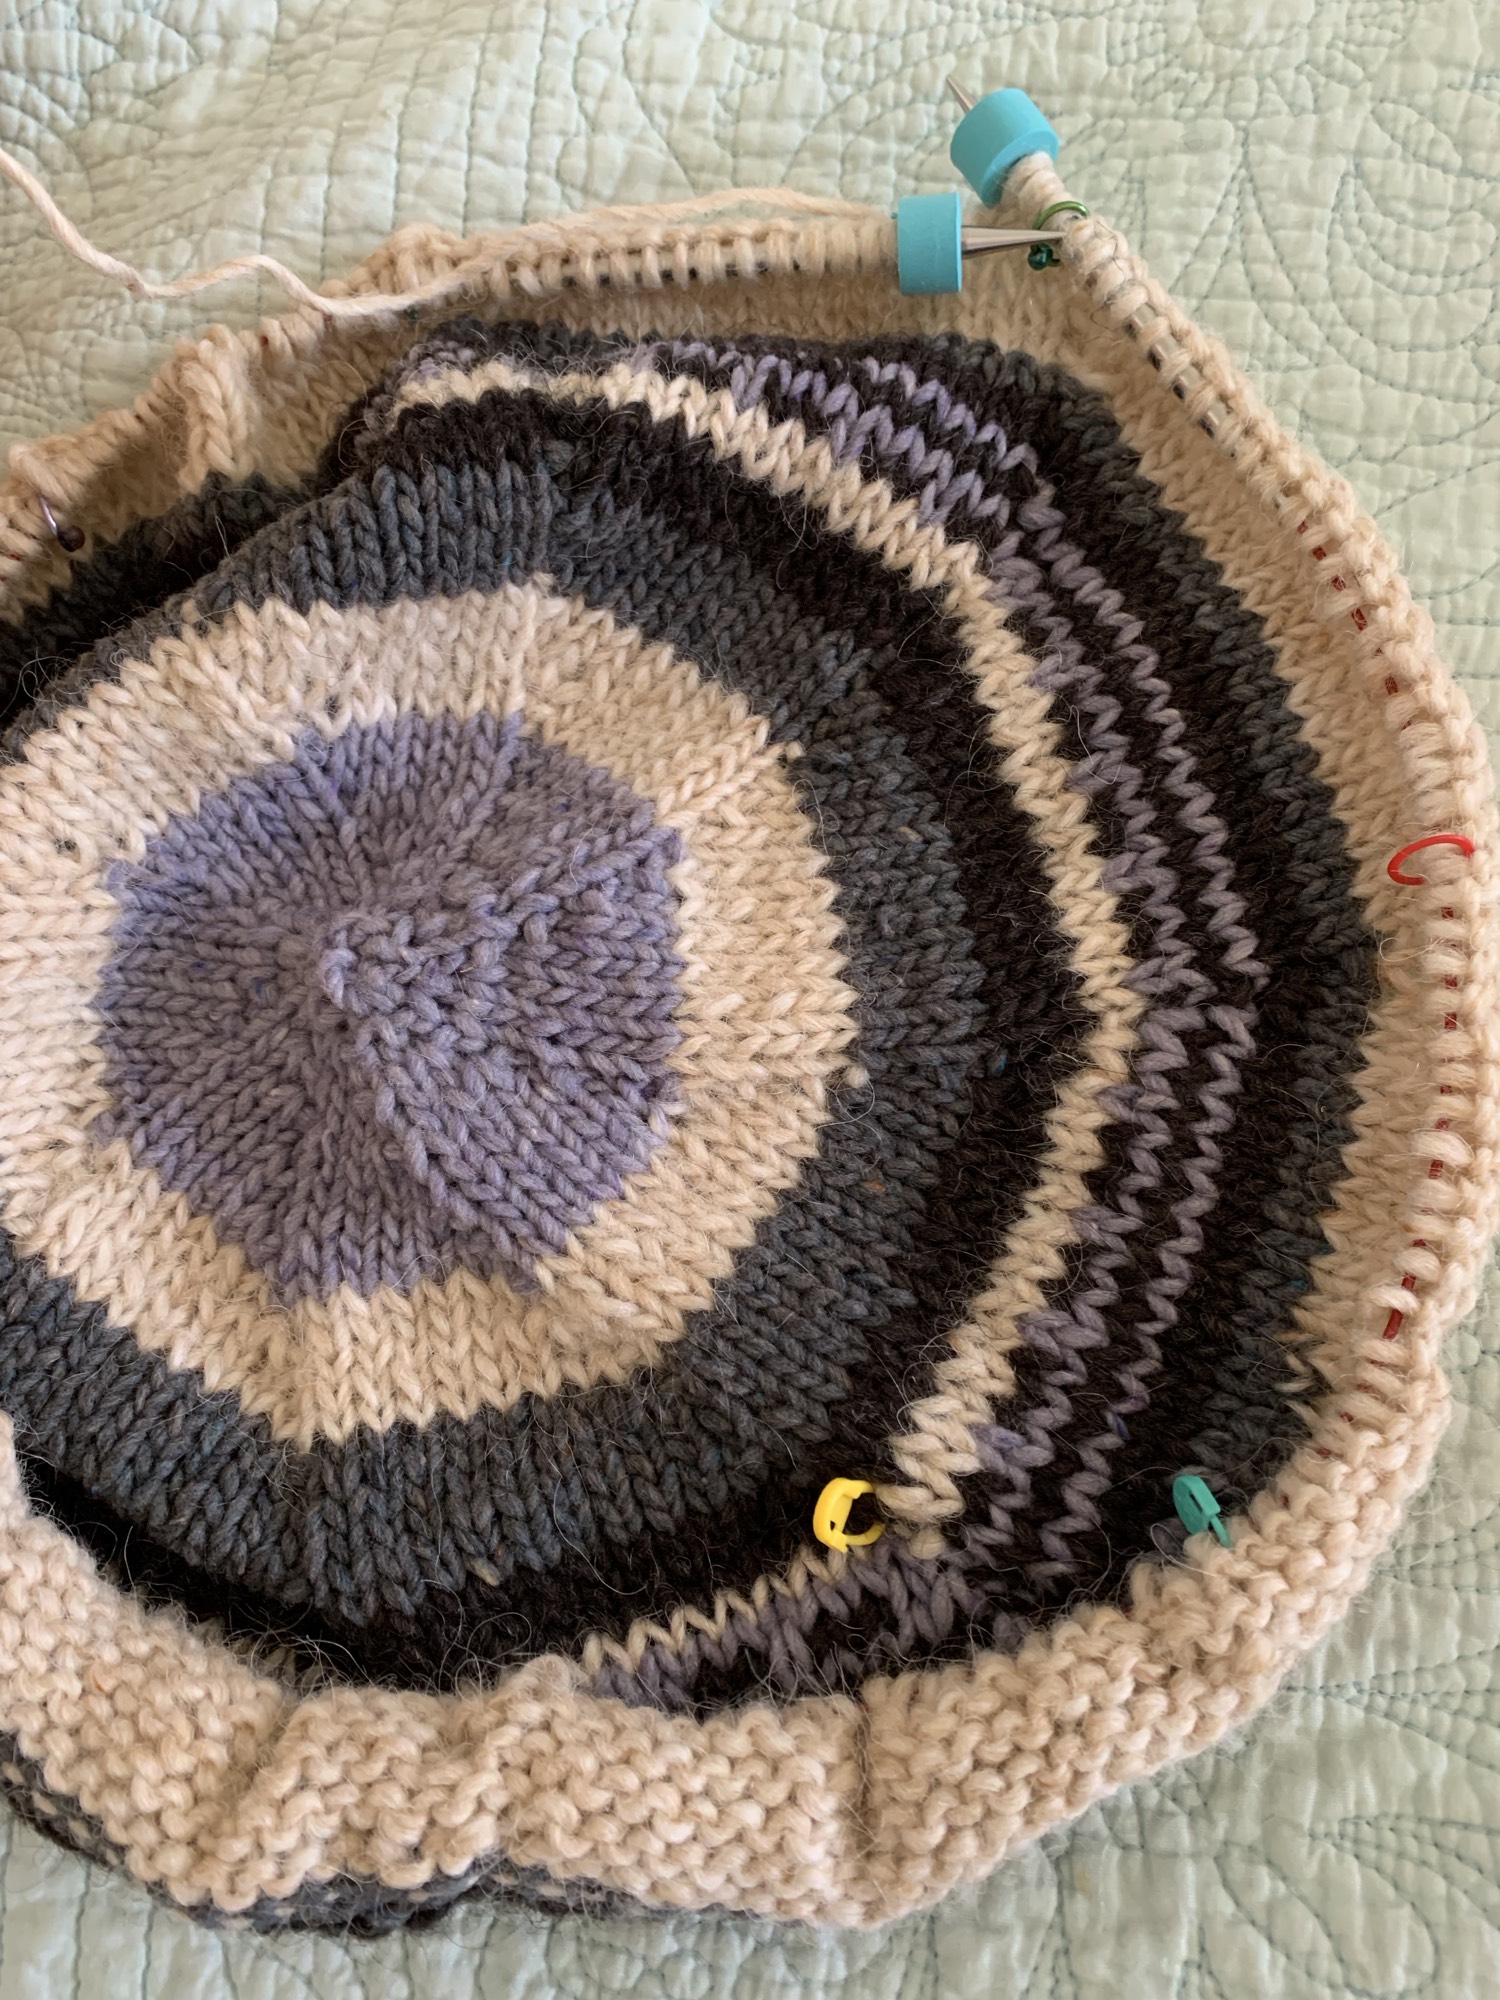
I know this will be an ongoing project that may take a while to finish, which is fine. Using two colors makes the knitting a bit more fun. I’m thinking that two very similar colors would work well. Maybe next time!
Making changes for my second knit of the Cobblestone Cardigan by Brooklyn Tweed.
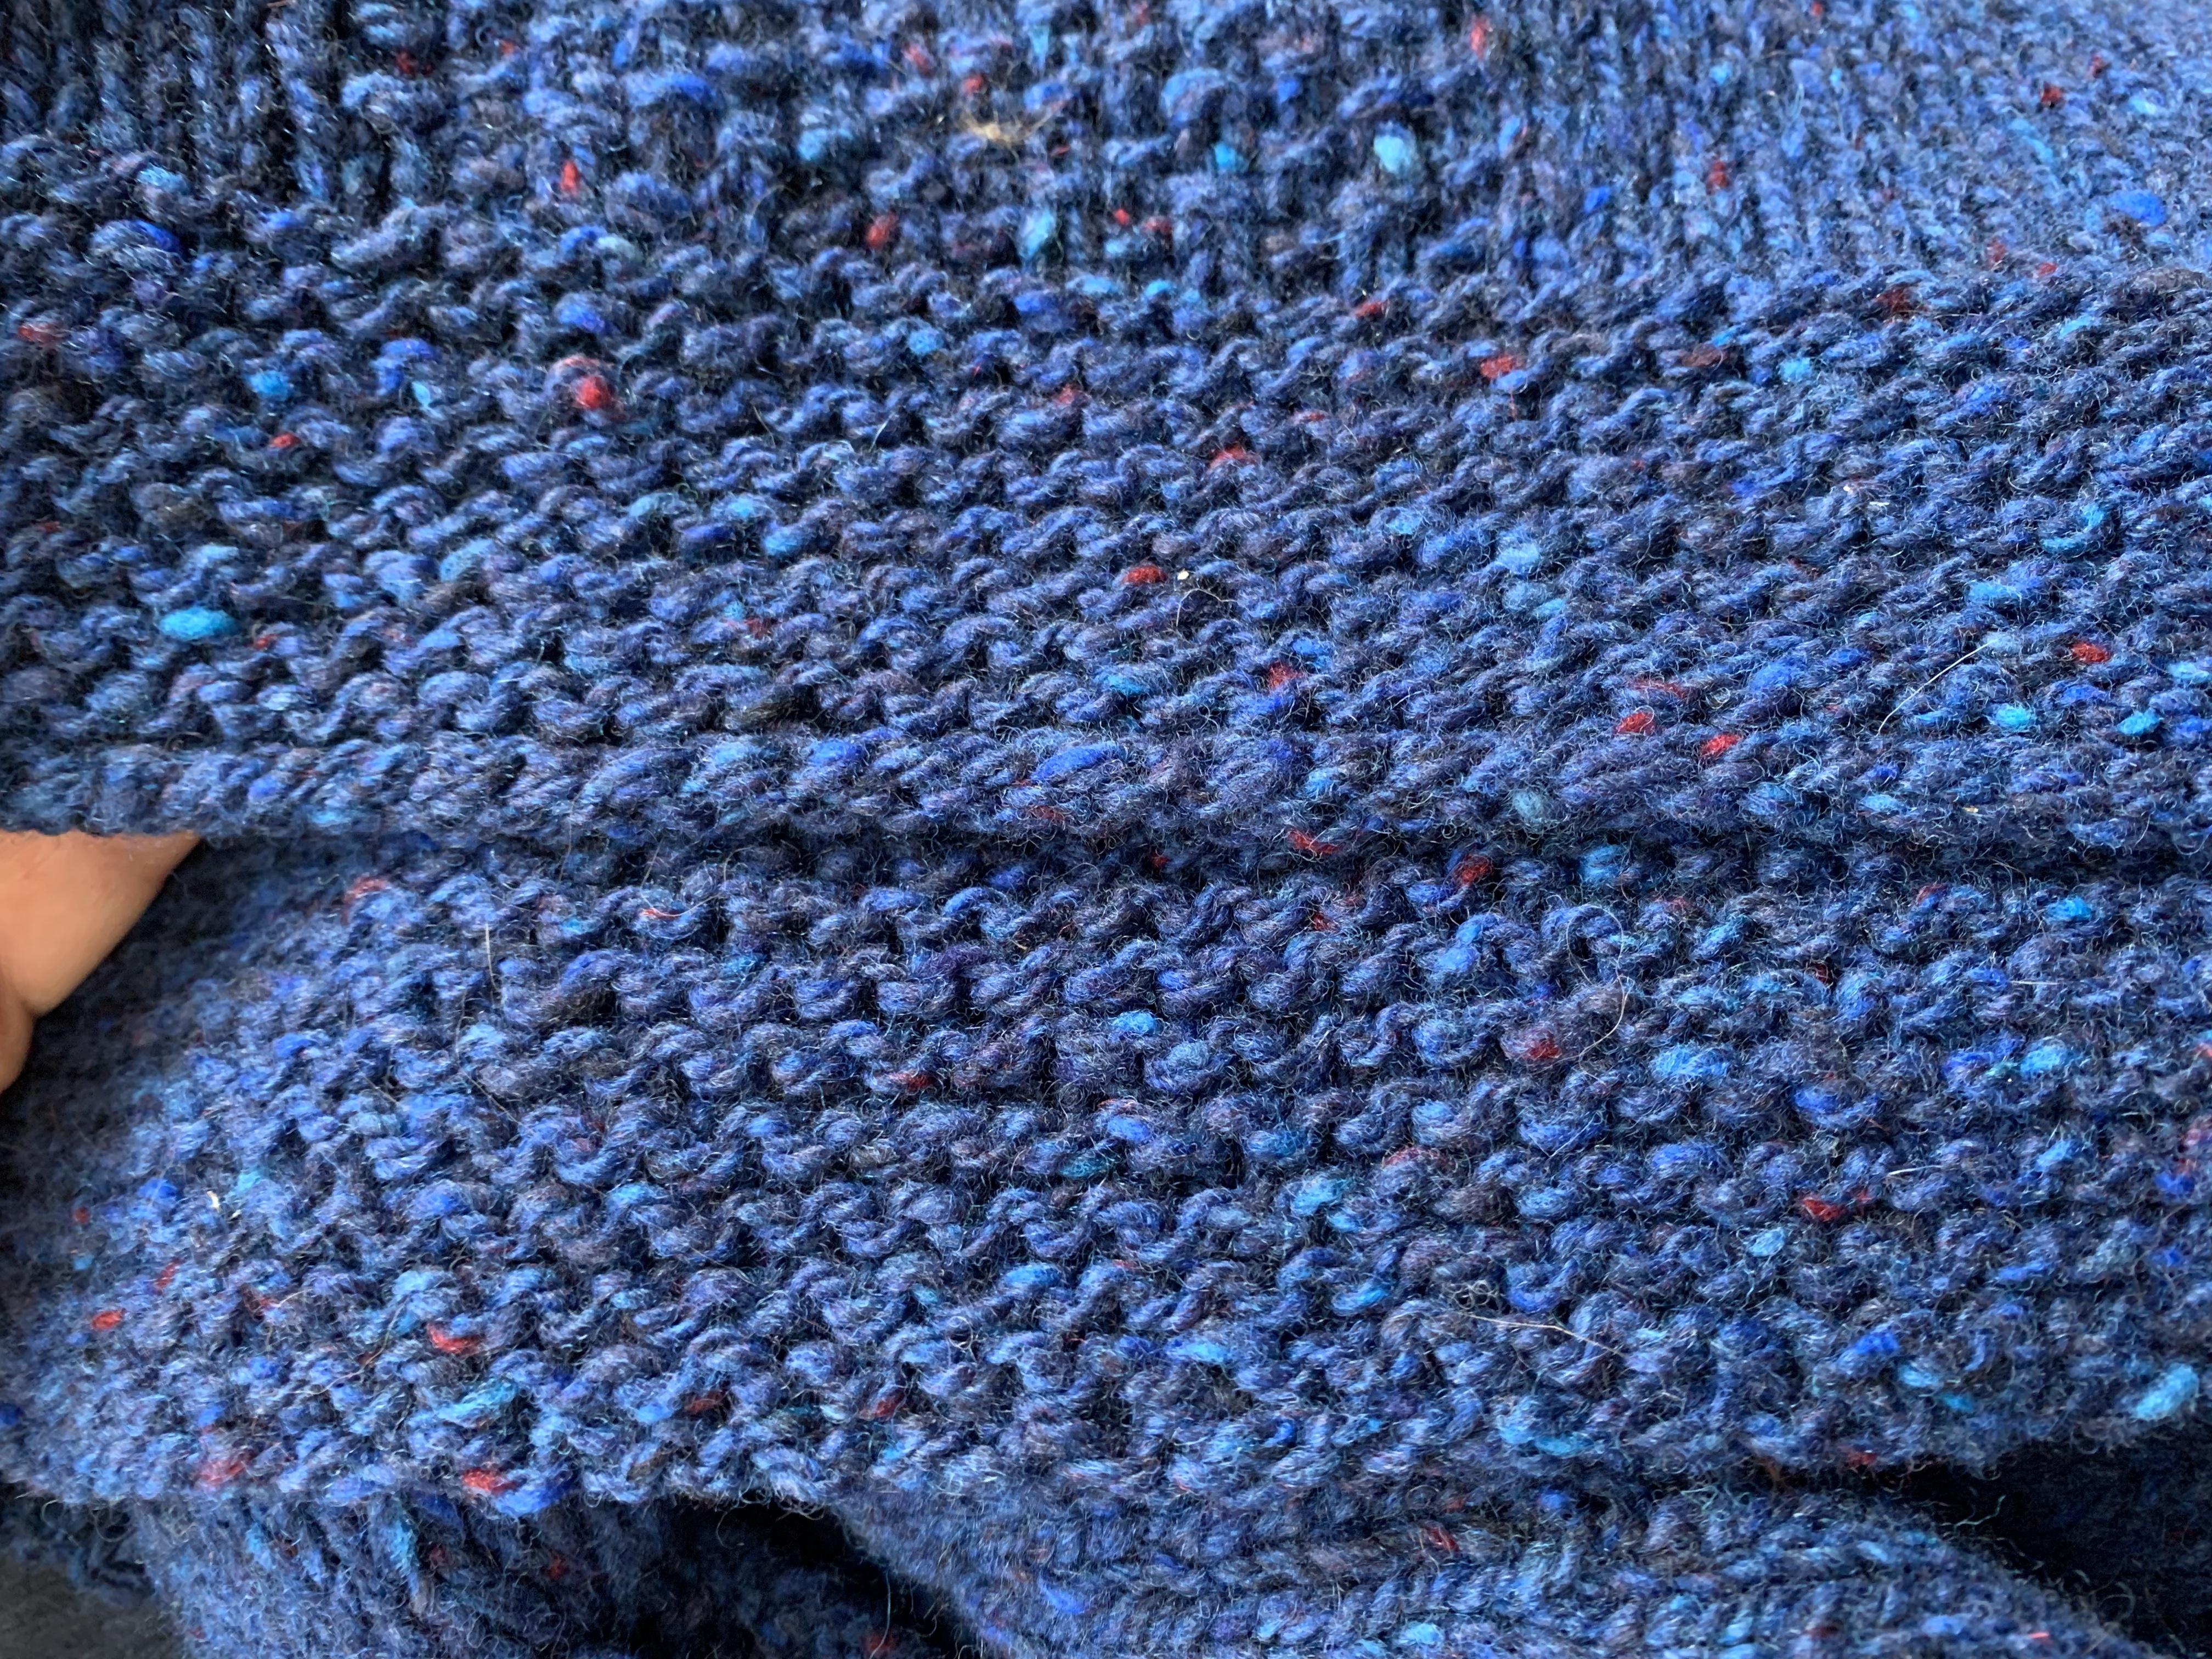
My daughter gave me yarn (a gift certificate) a while ago and I purchased six skeins of Soft Donegal yarn in dark blue (worsted weight). I’ve been keeping an eye out for the perfect cardigan to knit using this pretty yarn.
While I added to my list of possible cardigans, and found lots of new patterns I might knit one day, nothing seemed right for this yarn. I nearly chose the Truss pattern (link goes to Ravelry), but ended up wanting a lighter color for that pattern. I did buy the pattern and plan to make it one day.
A Re-knit With Changes
My first Cobblestone is a sweater I wear a lot. In fact I was wearing it the morning I began writing this post. Mainly, I love it because it’s a cardigan, which I prefer. Unfortunately, I’m not a great cardigan knitter because I hate picking up stitches and cardigans generally need a button band. It is picked up after the sweater is knit.
This pattern, by Jared Flood (link to pattern below), knits the button band right along with the sweater knit. There is no need to pick up stitches. I totally screwed up my Carbeth cardigan because of the button band, and that has scared me away from knitting them. Just like knitting the Oxbow pattern has scared me away from textured sweaters. One day I will be brave enough to not let those things stop me, but this time I want an easy cardigan.
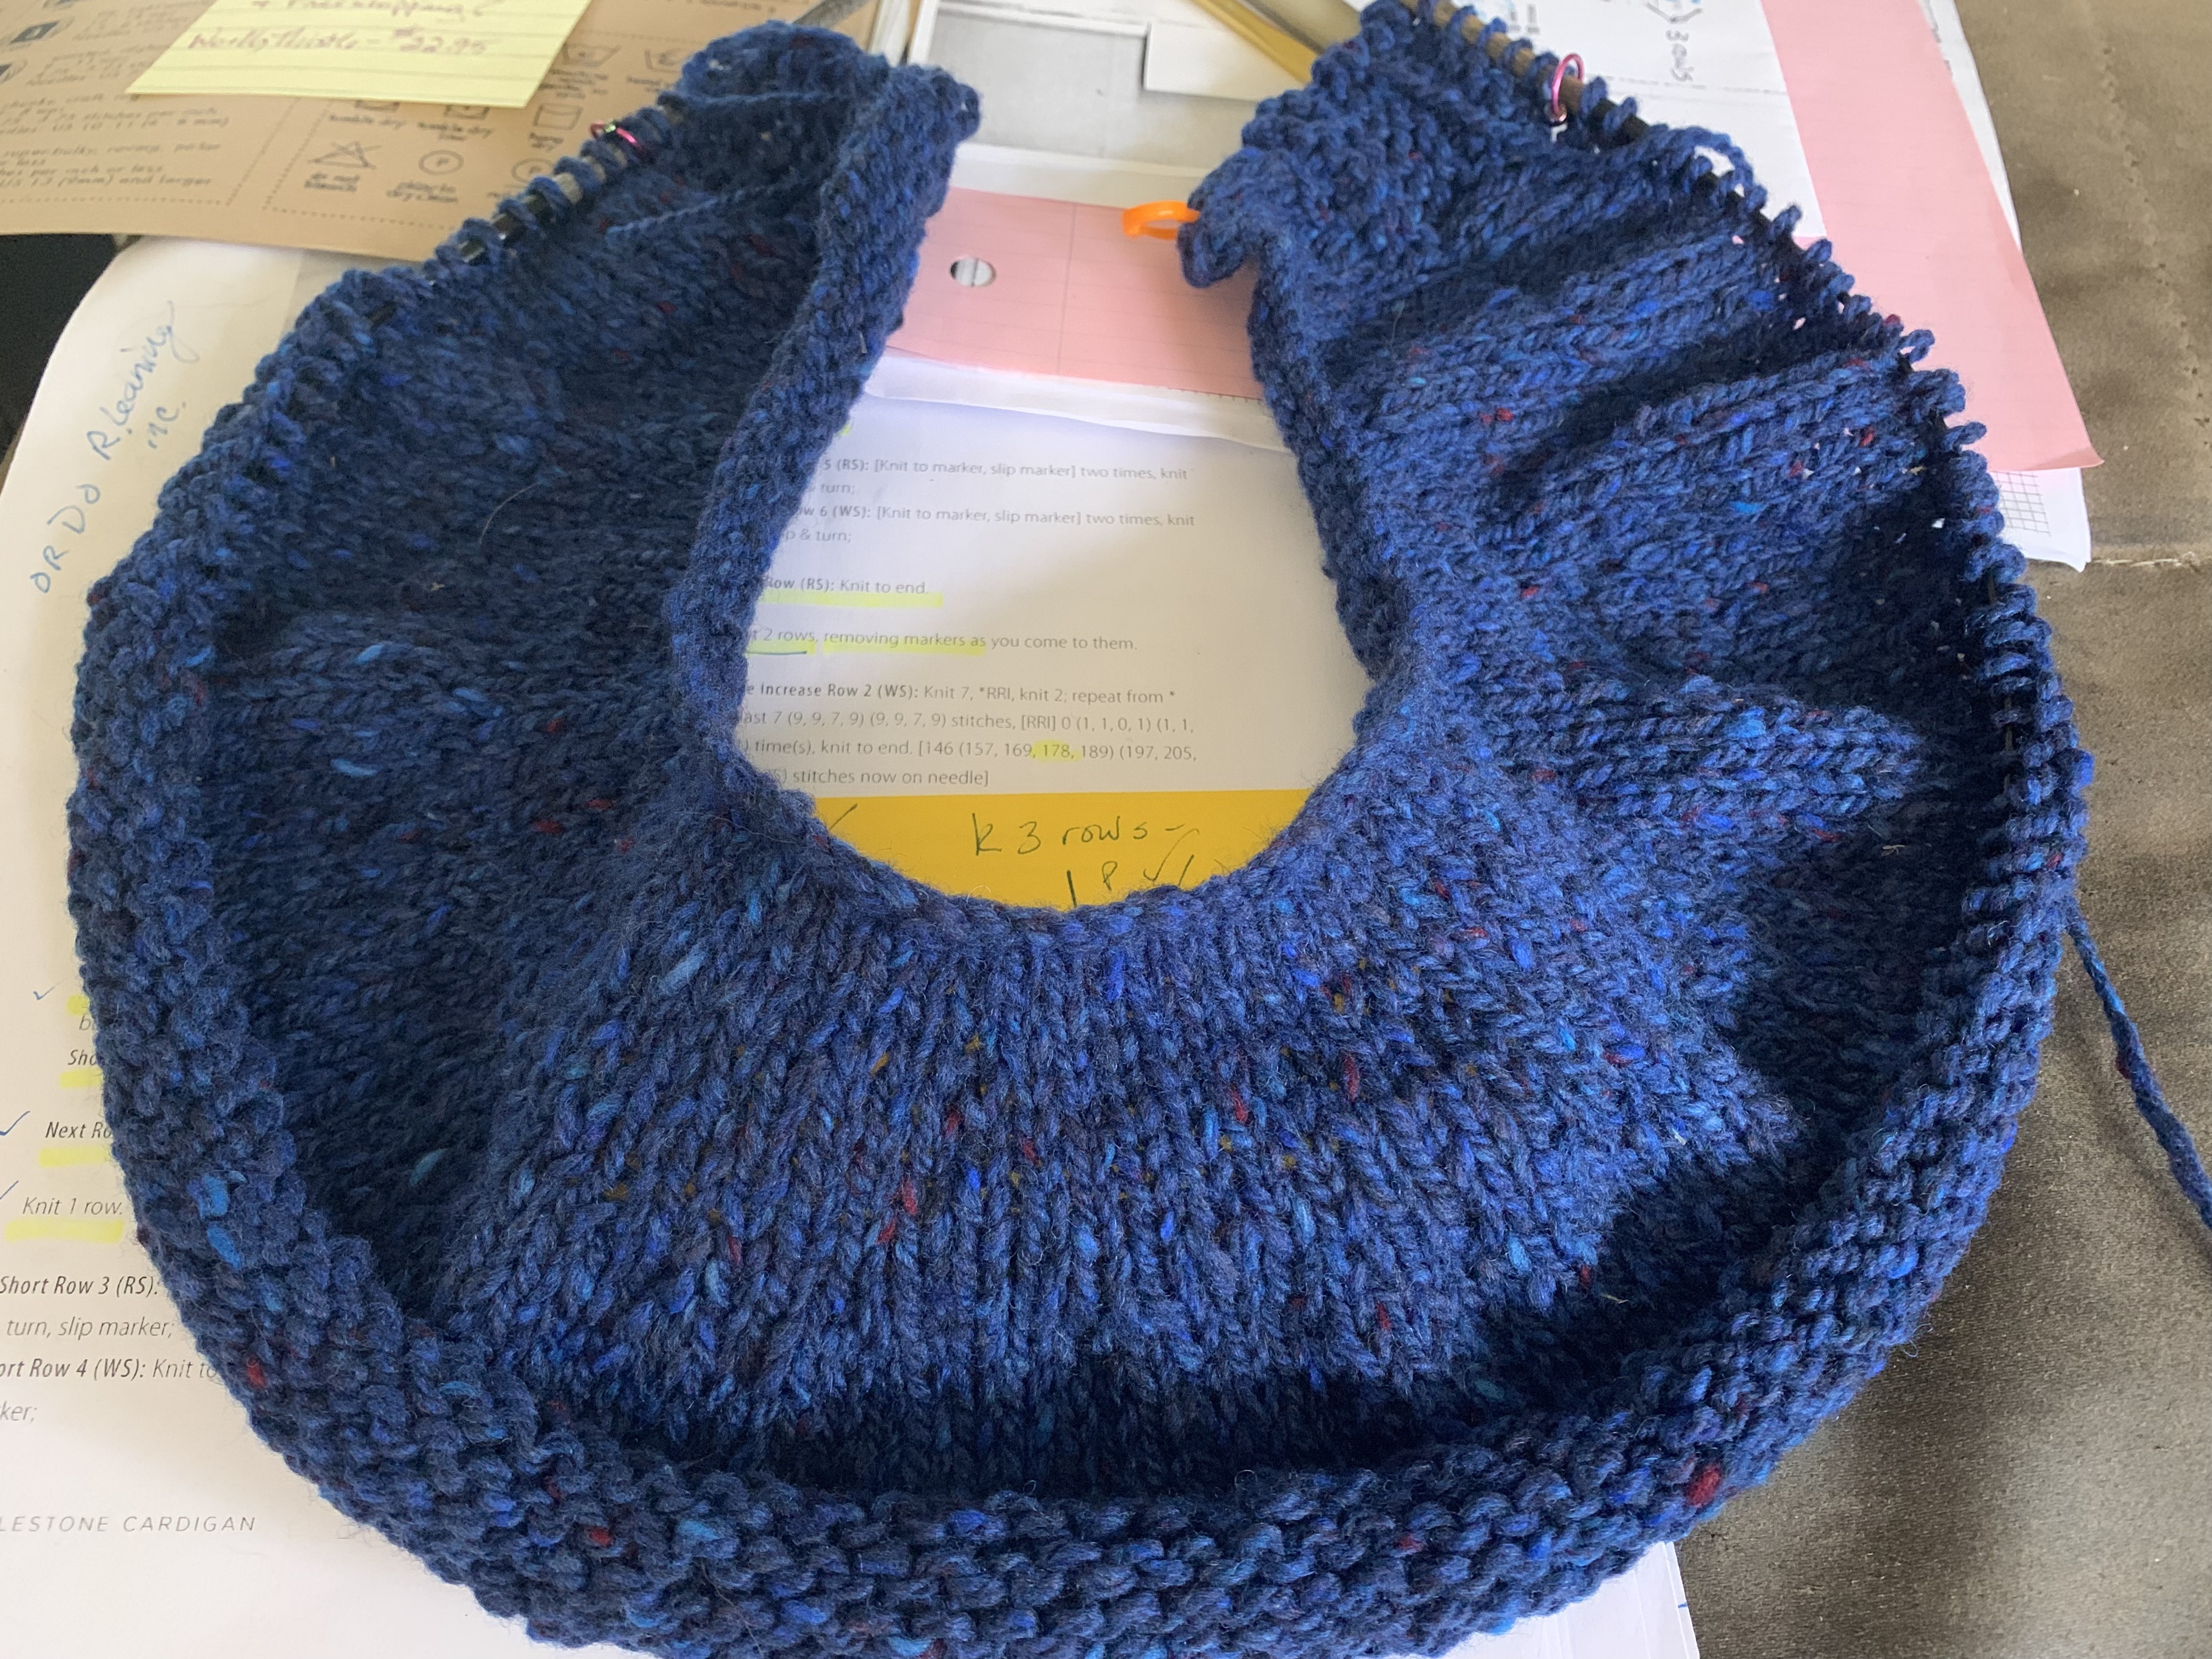
Cobblestone in blue without the garter top section.
Big change number one is that I will not be doing the garter stitch section at the top of Cobblestone. I really don’t like it, so my sweater will be more plain.
I had some trouble and had to add a lifeline and rip back a few rows. The buttonhole in the pattern is a very simple one, and I am doing something a little more substantial, like the one shown in Suzanne Bryan’s video here. Then, I messed it up and couldn’t fix it, so I had to take out entire rows!
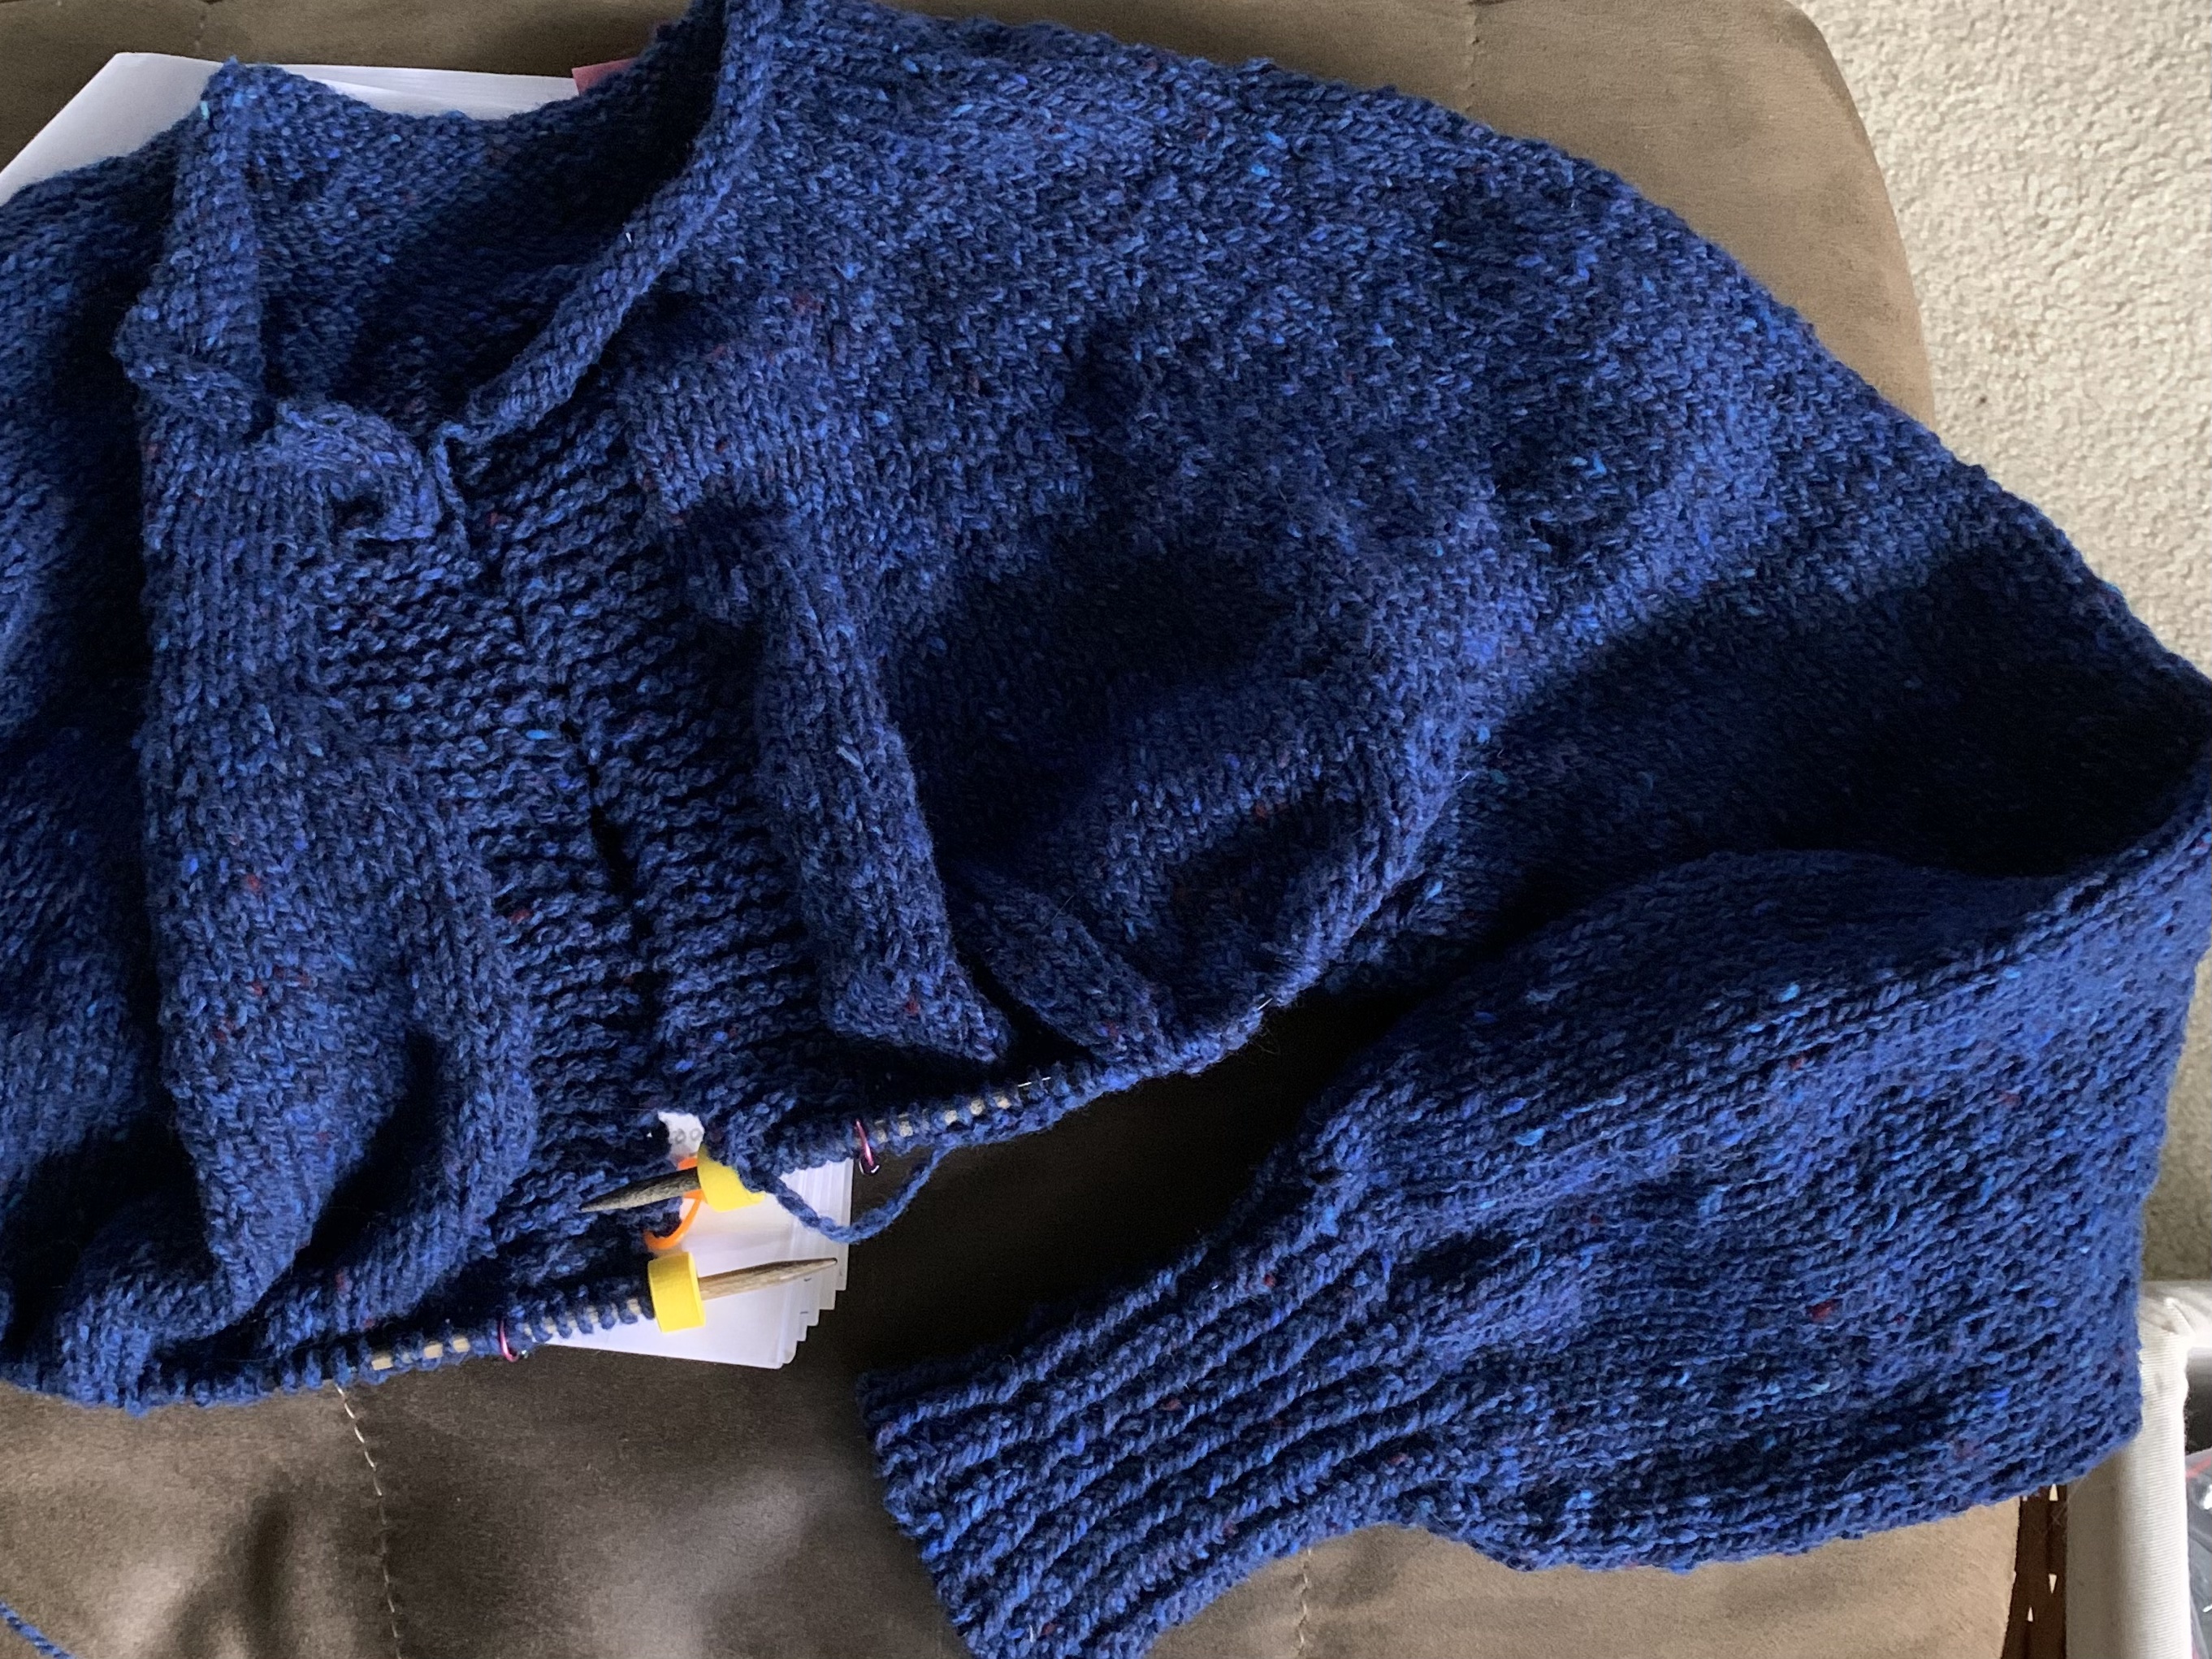
The sleeves are being knit before the body is finished. I am afraid of being short on yarn and would rather have long enough sleeves! In fact, it’s a good idea to do this when knitting a sweater IMO. (I ended up having plenty of yarn.)
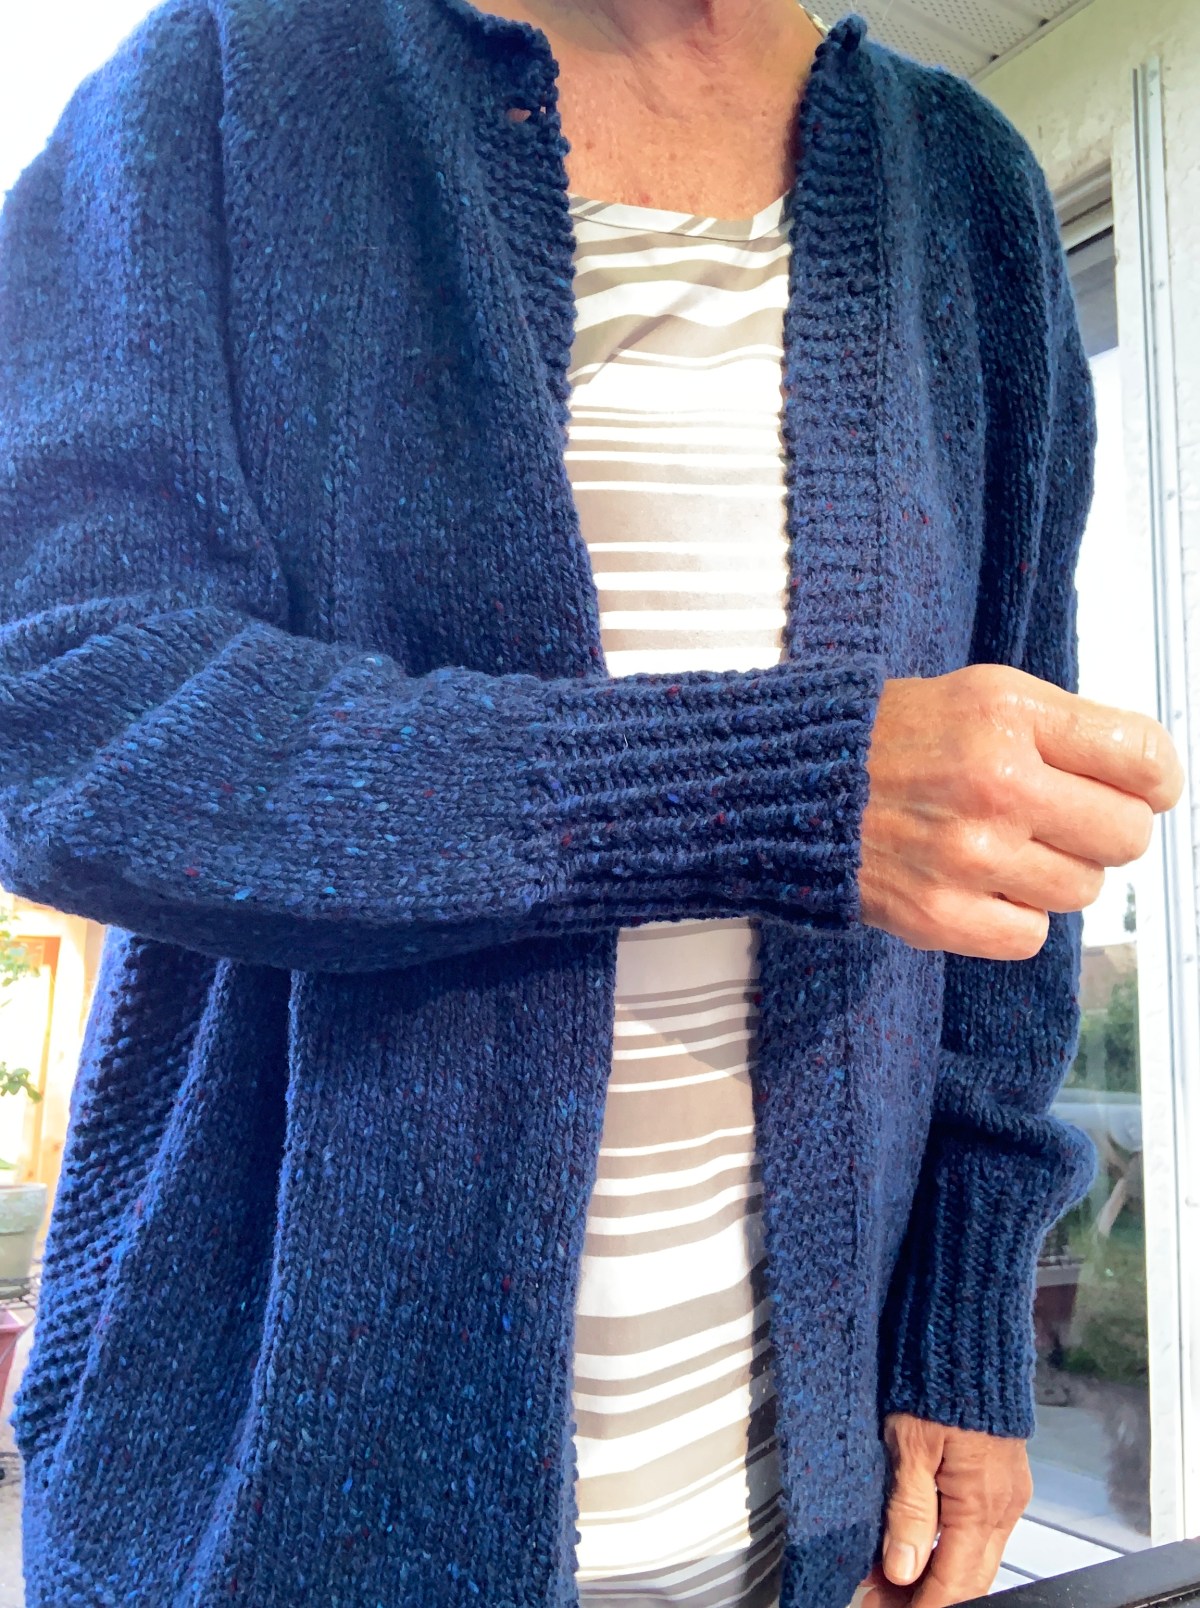
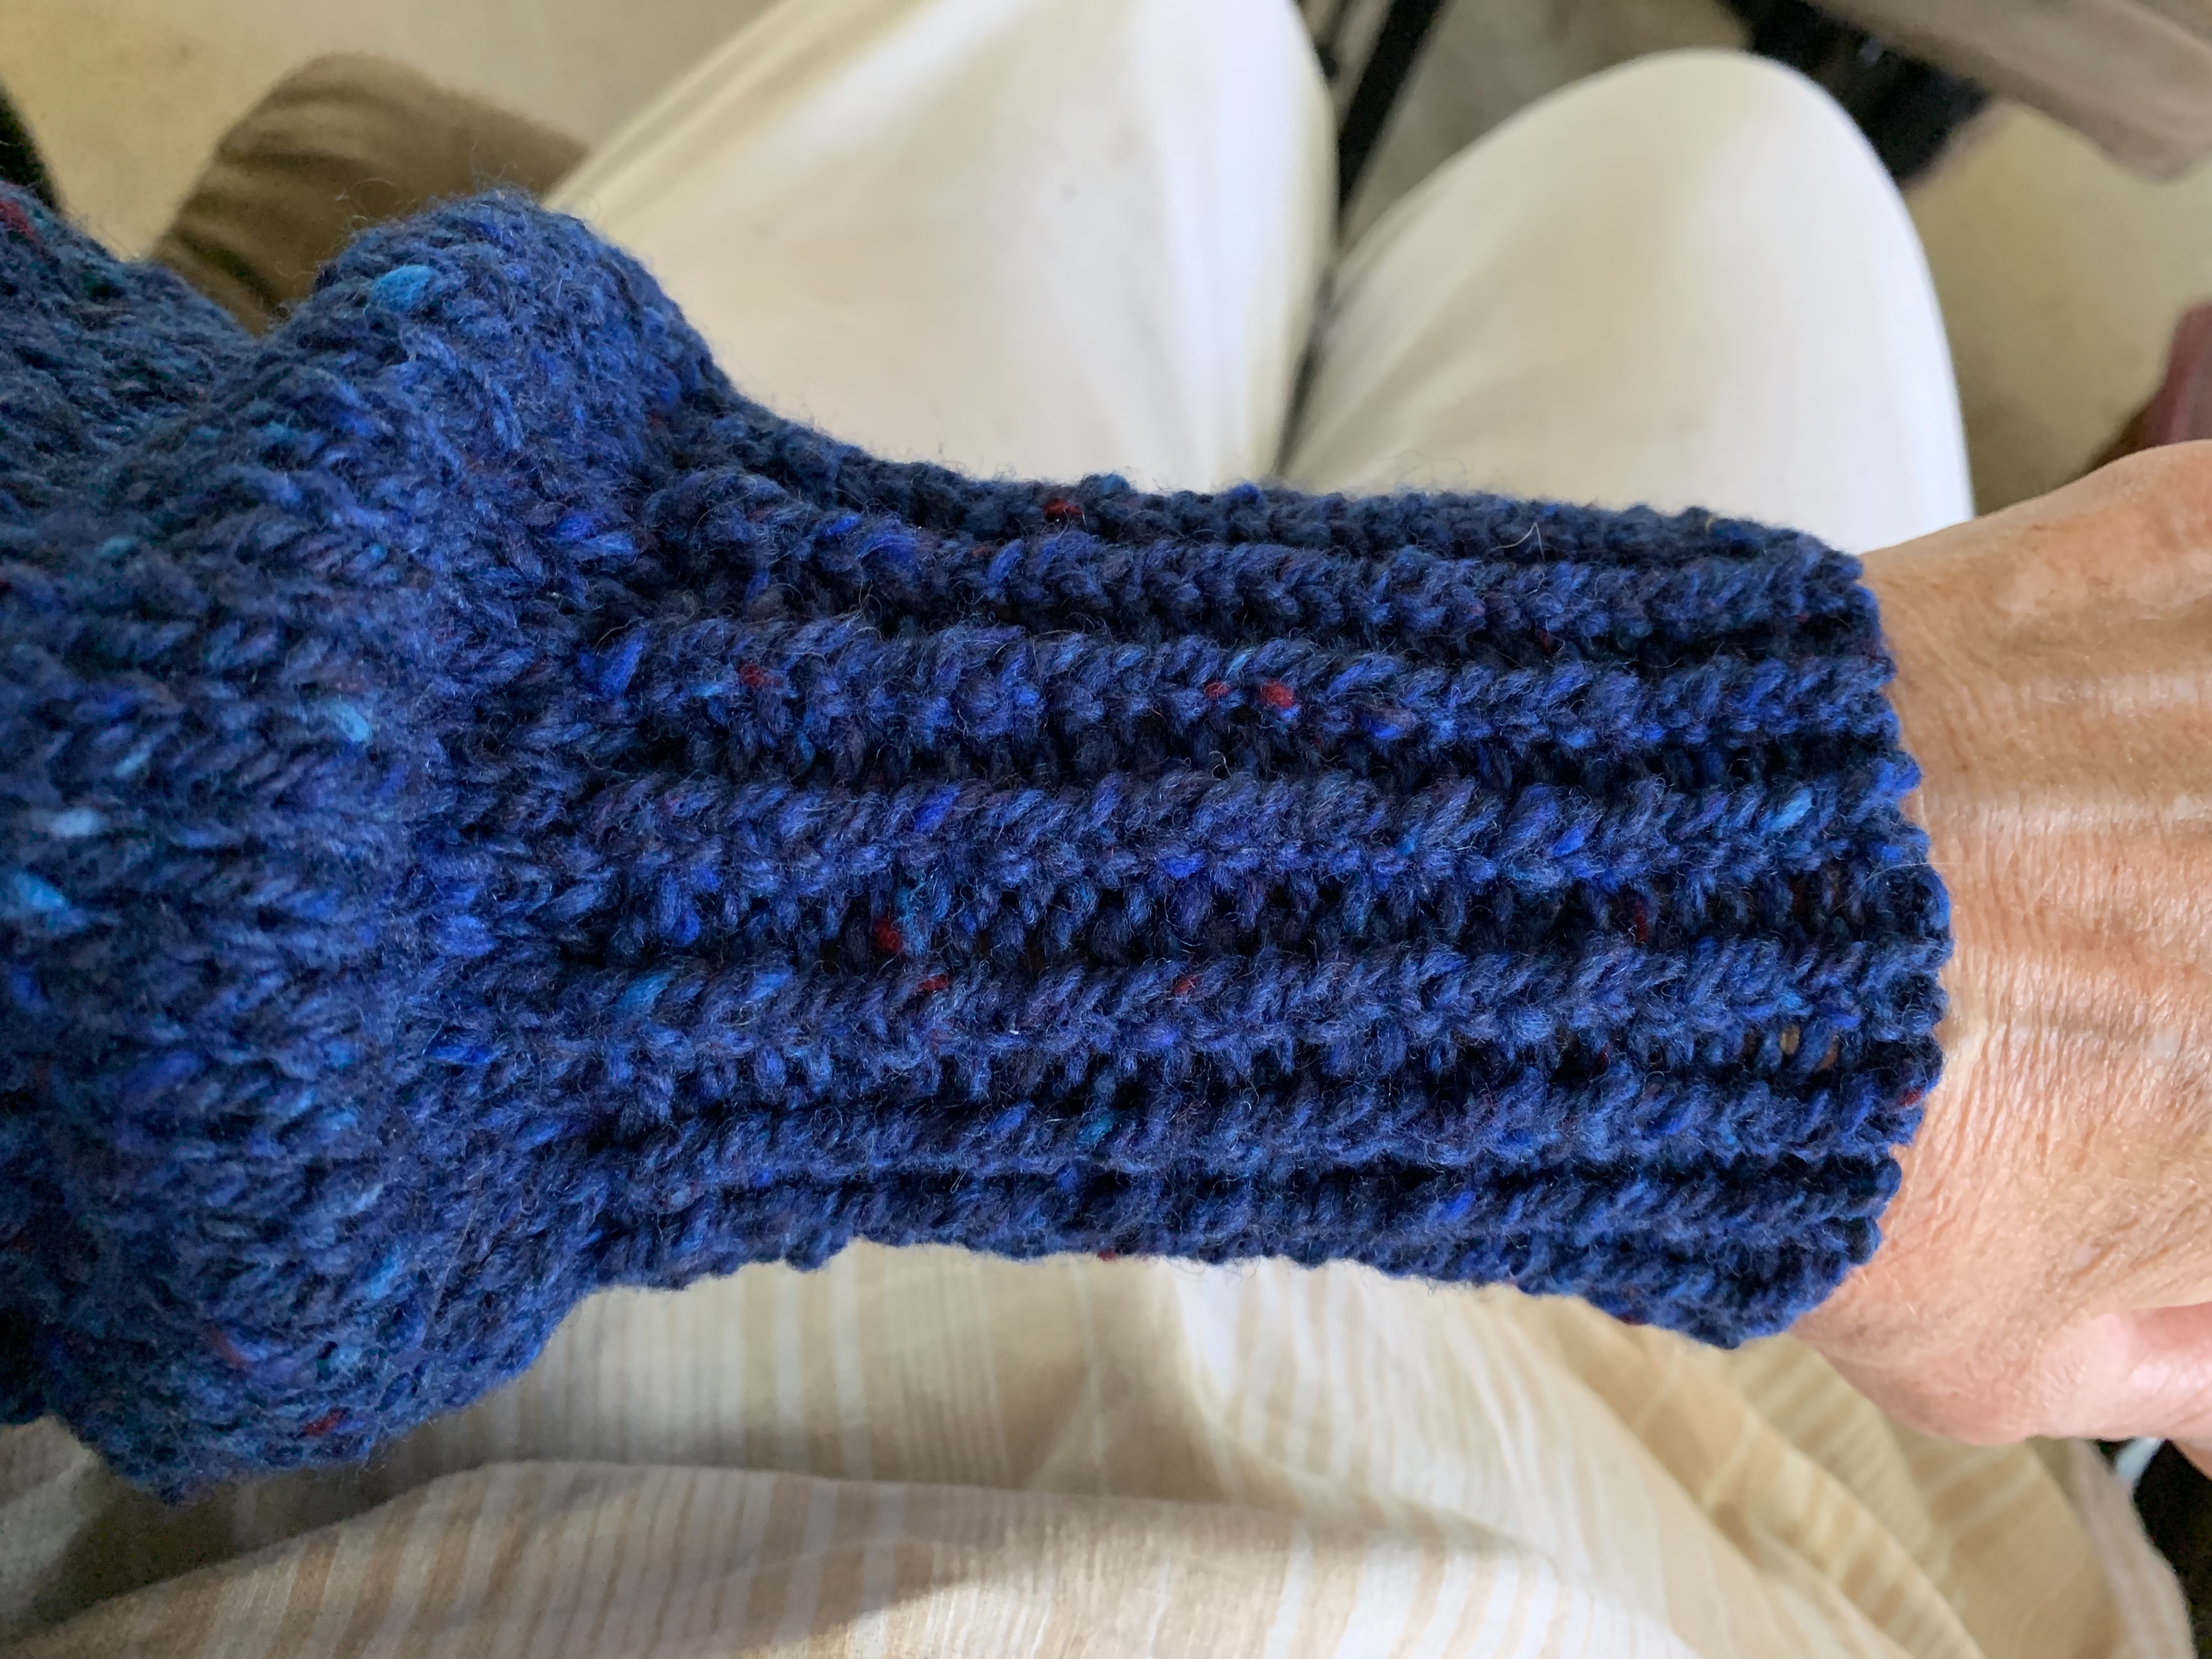
The cuffs were done a bit differently because I wanted something tighter.
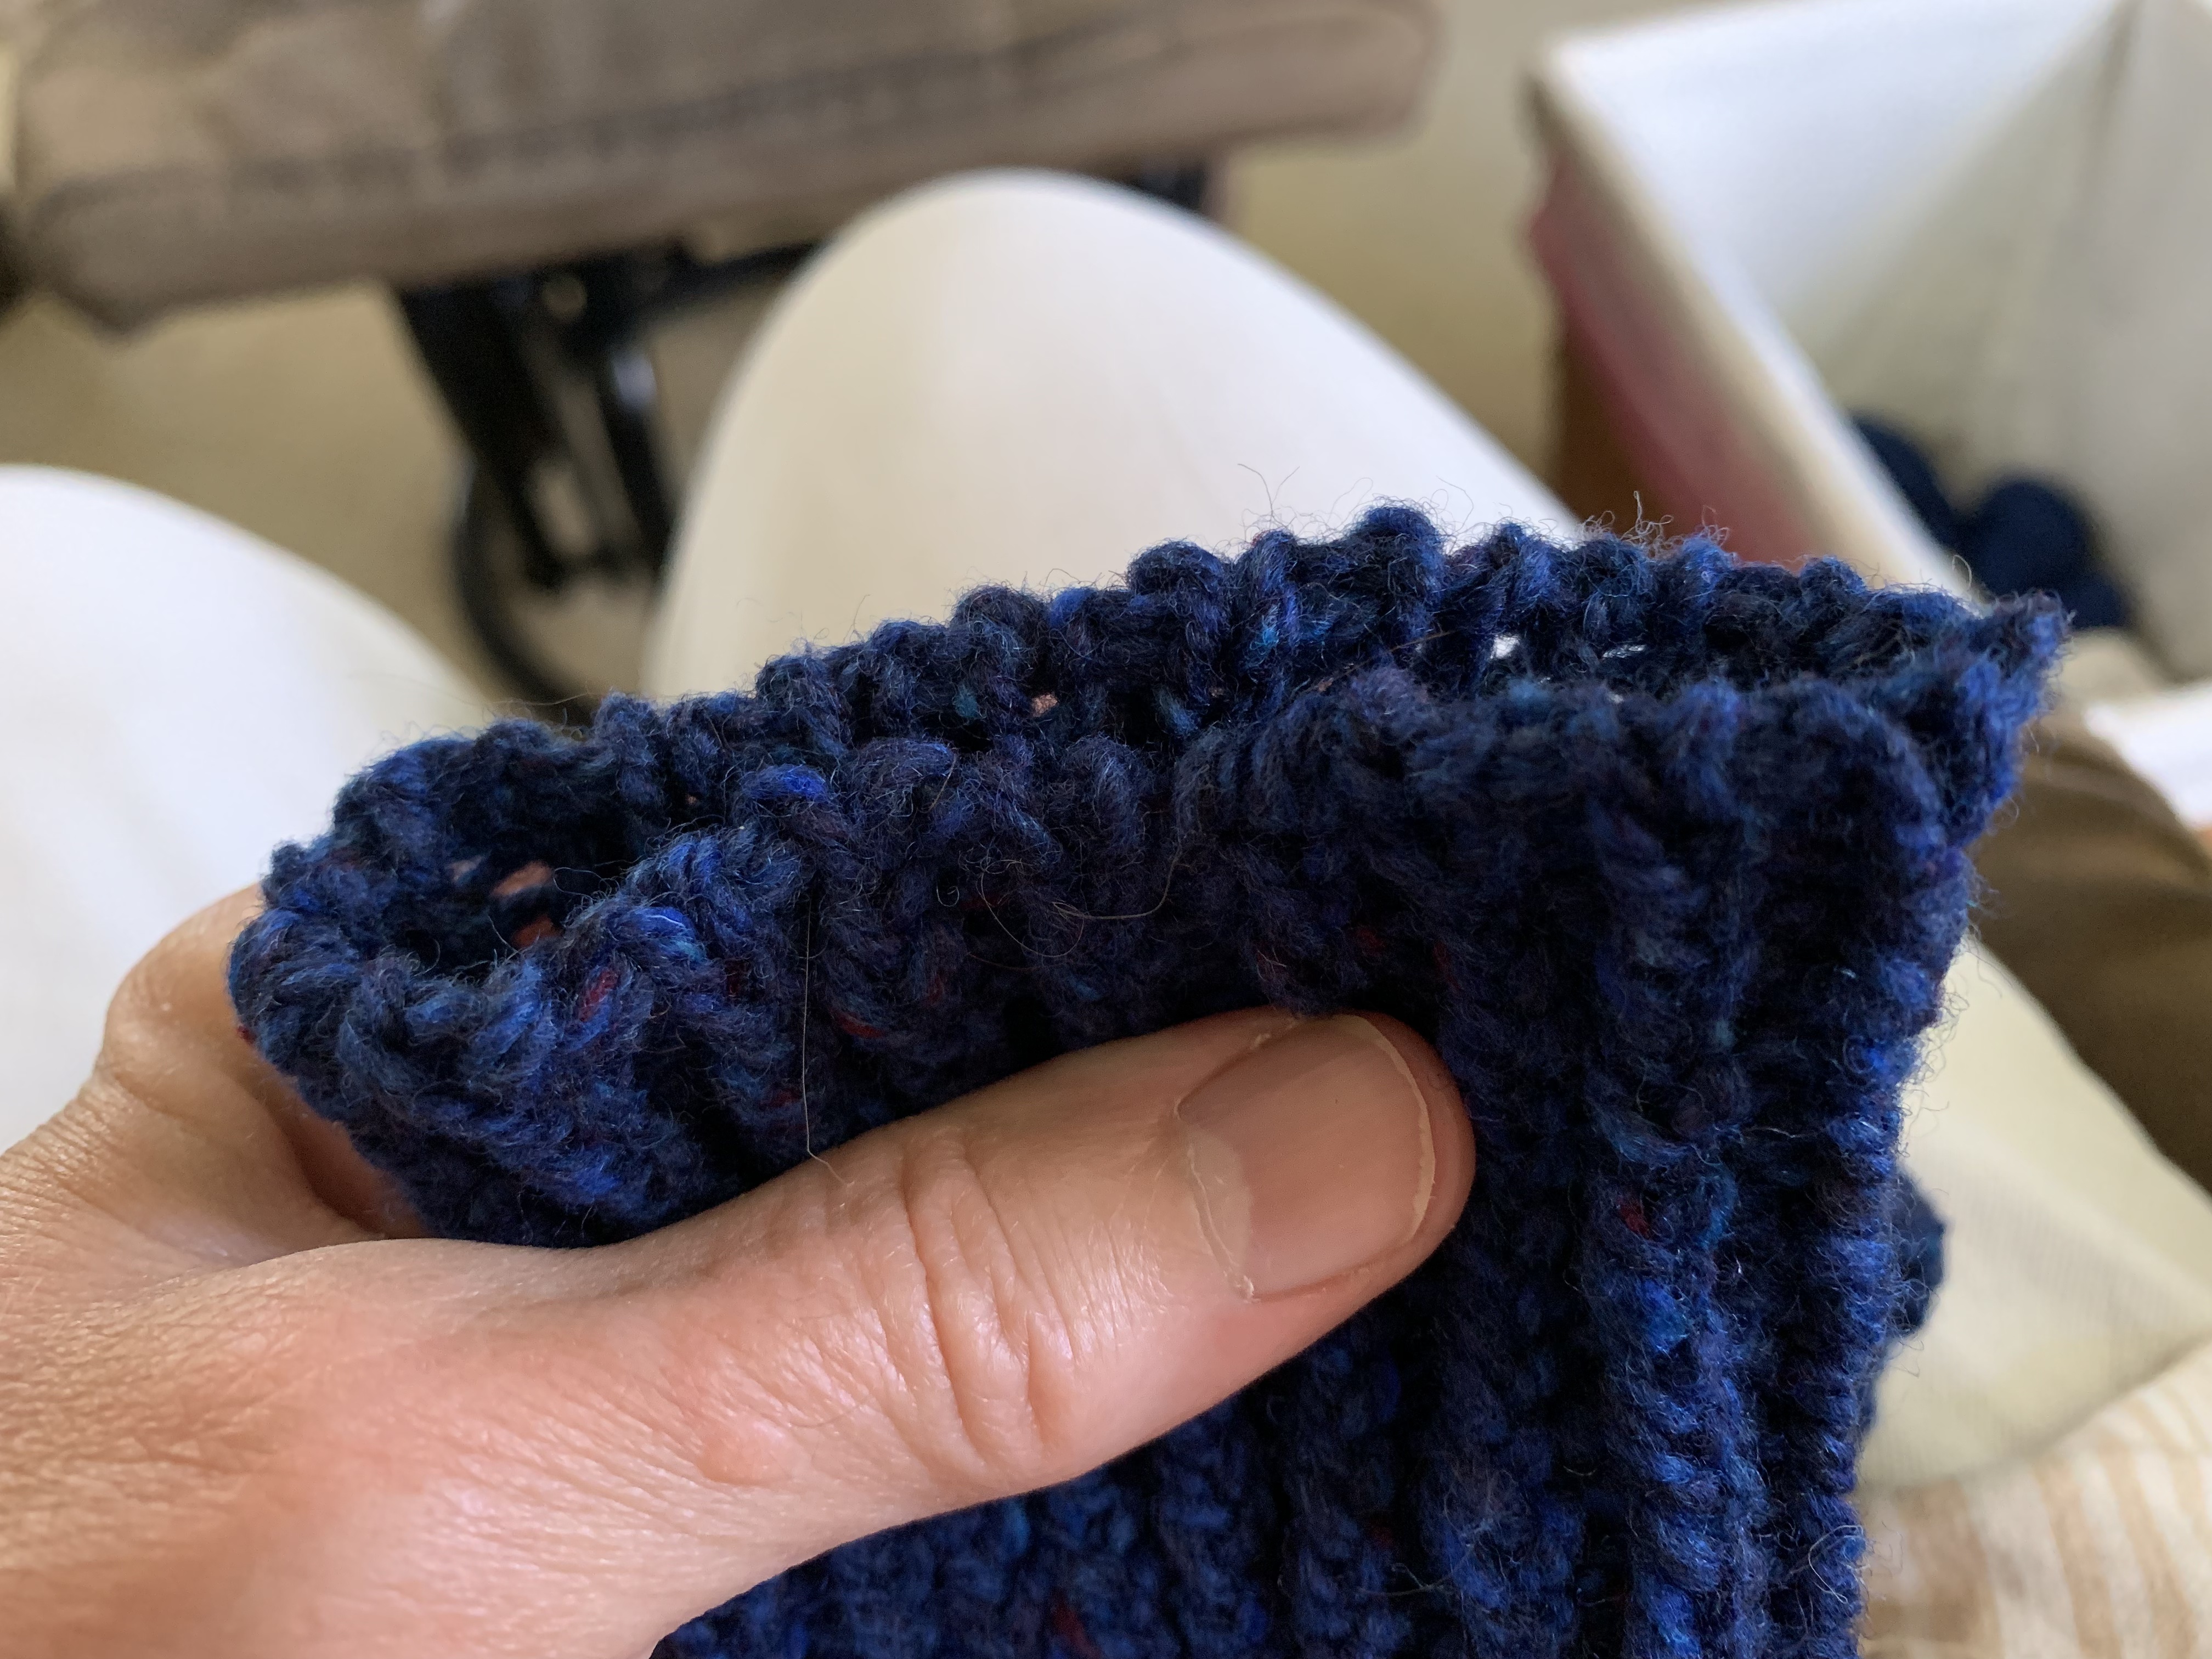
I followed a video by the Chili Dog when binding off. The Invisible Rib Bind Off. It is done with a tapestry needle. It didn’t seem to make that much difference with this type of yarn, but it’s a nice bind off.
The original cuff from the pattern is just a garter stitch rib. I decreased to do a regular ribbed cuff. It ended up being a little tighter than I would like, but it’s okay. I decreased to 36 stitches and 40 may have been better.
Invisible rib bind offOne sleeve finished
Soft Donegal Yarn
Soft Donegal is a yarn I have used before. My first experience was when I knit Kate’s Poncho for my daughter. For some reason the pattern is no longer available. This tweed yarn has a similar feel as Brooklyn Tweed’s Shelter, but I’m hoping it will hold up better. The Shelter is looking very worn. It is dry and light and mine came directly from the shop in Ireland. It is available at shops in the US also to save on shipping.
Both sleeves finished and on to the body
At the yoke, just before the sleeves, there is a weird bump that I don’t like. I think the pattern is accommodating for this being made for a man, who would have bulkier upper arms and chest area – the pattern is unisex. I wish I had not done the last increase maybe? I’m not sure if that would have helped, but I think so. This would make stitch counts off, so that would have to be figured.
In this picture I show both of my Cobblestones. They both have the bump that seems to make the upper arm bulge a bit.
Weird bump at the arm top
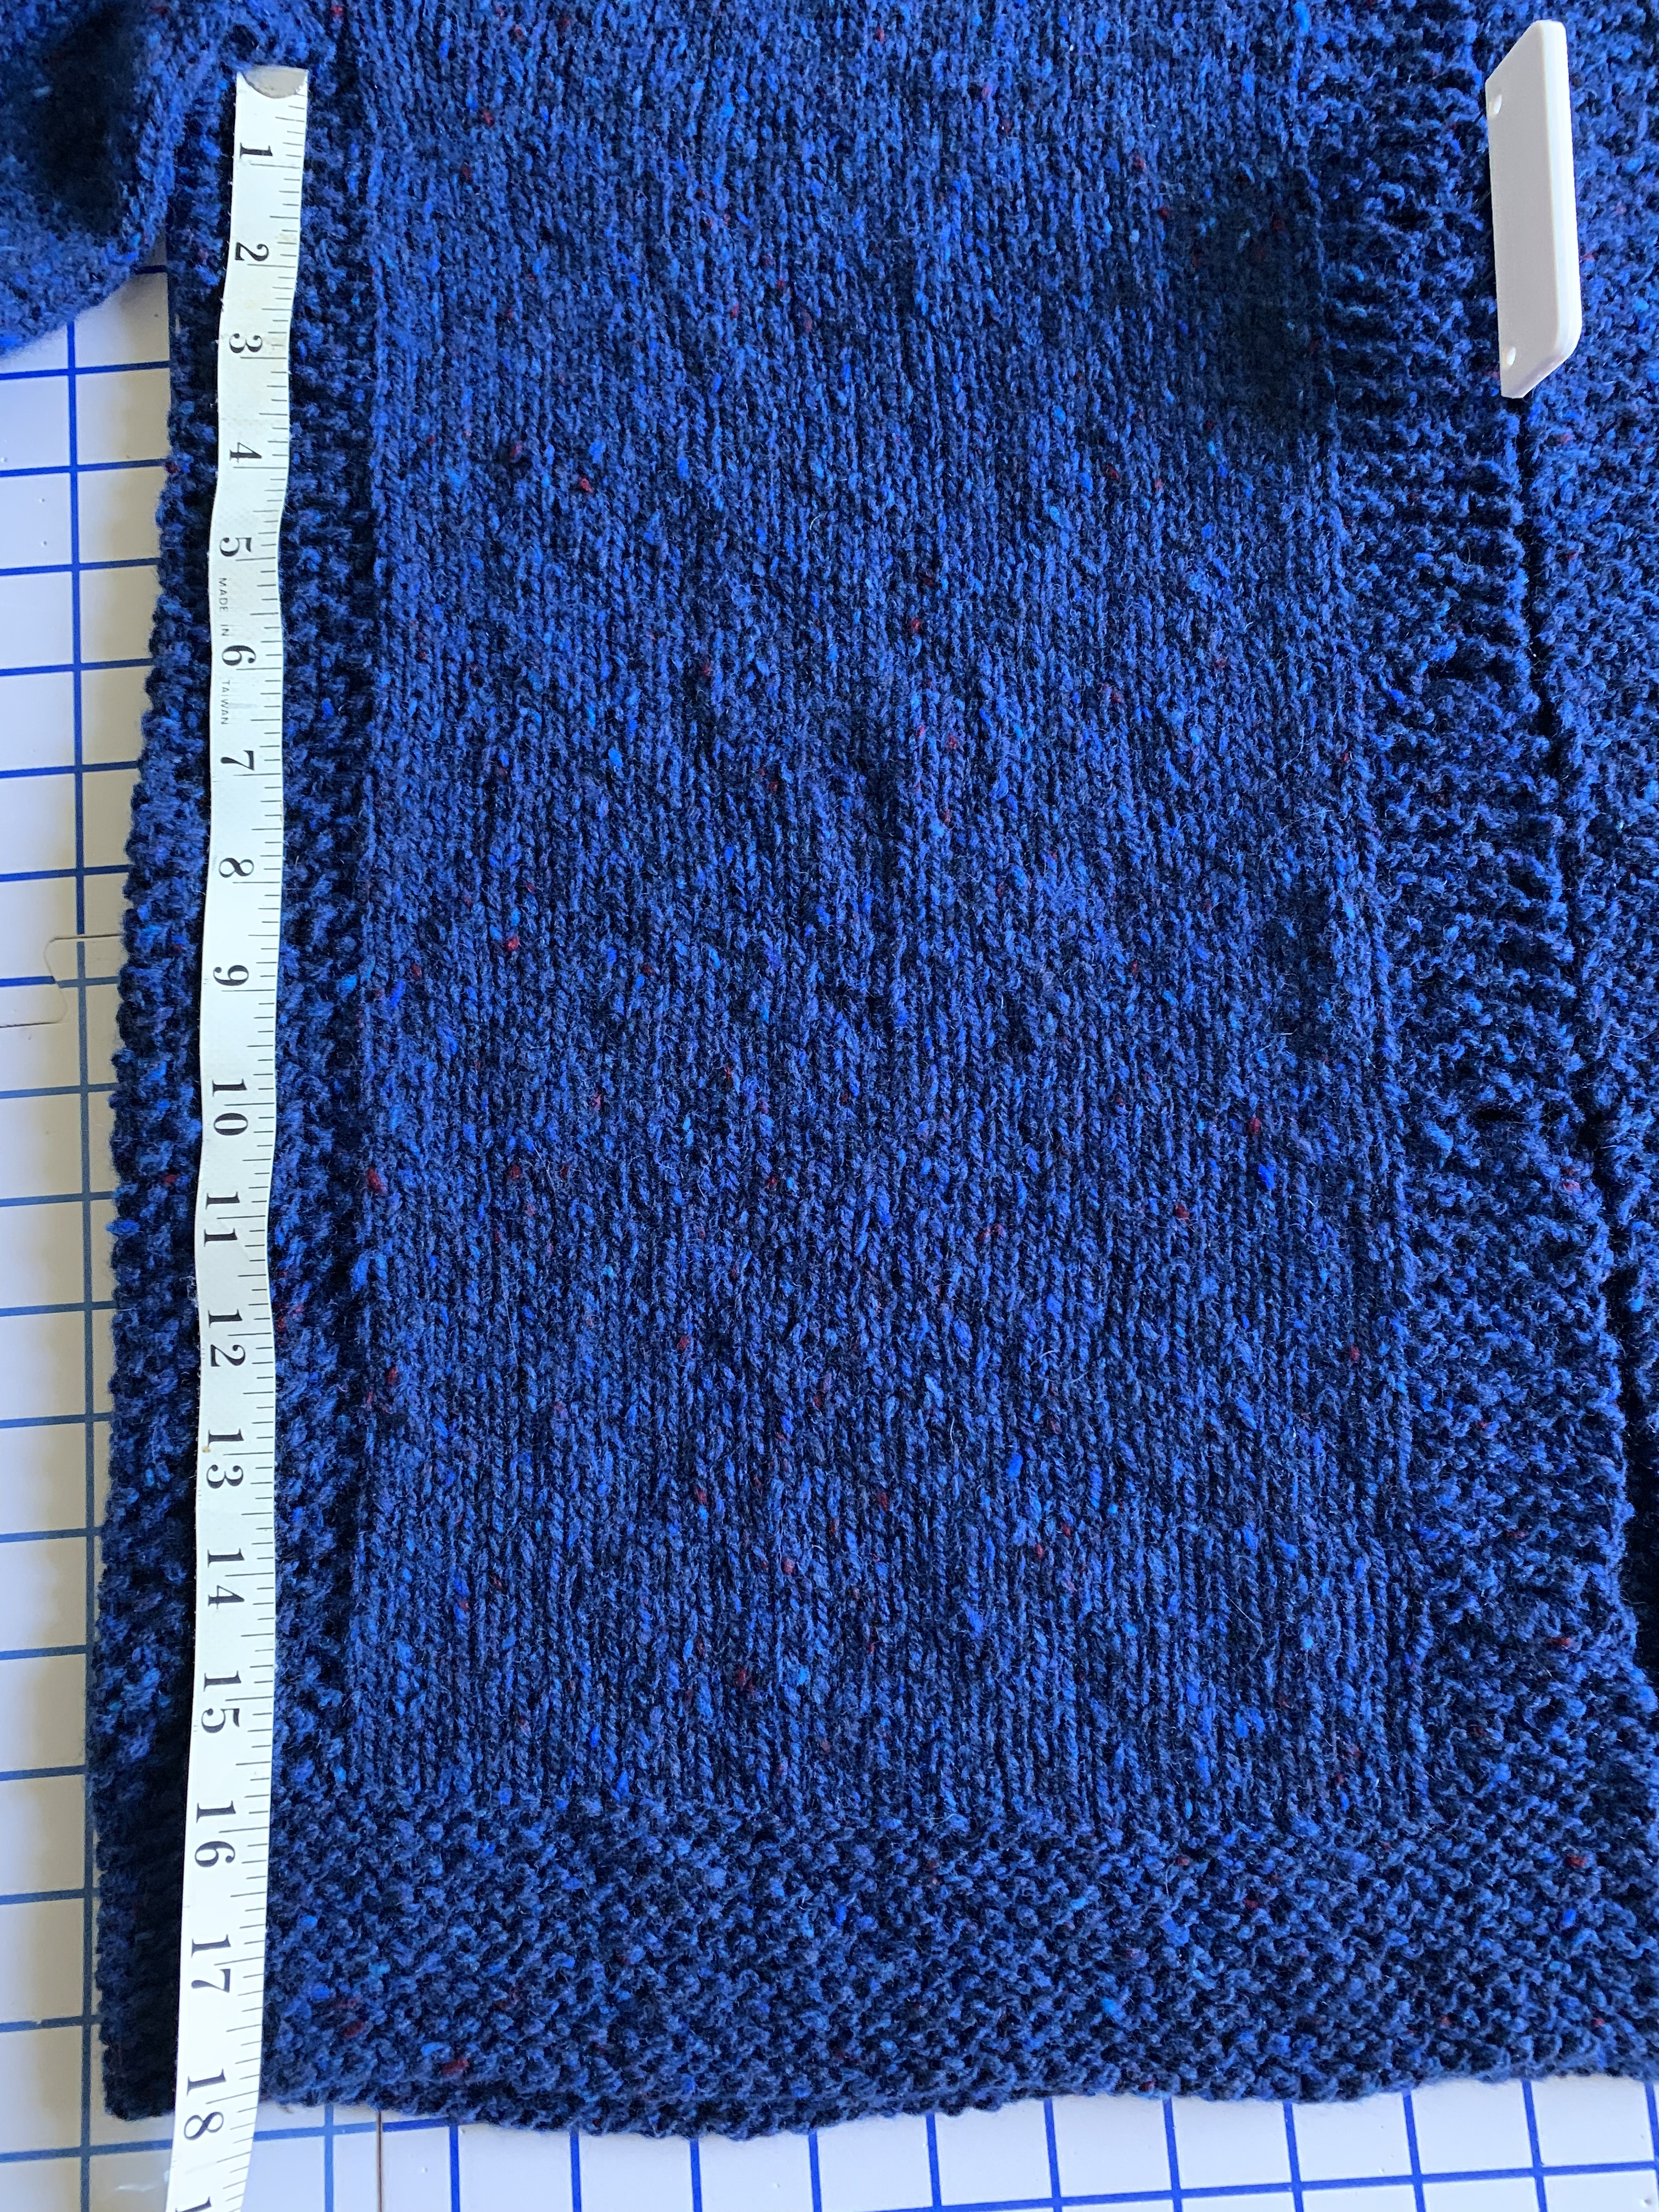
Along the sides of the sweater the pattern calls for garter sections. I decided to do seed stitch instead. The bottom is still done in garter rib, but I tried a new bind-off this time.
Seed stitch on sides
Finishing Up With The Icelandic Bind Off
Because I had plenty of yarn, I kept knitting until the body was around 18 inches. The pattern said 10.5 for my size 2, so I made it quite a bit longer. I did the garter rib and then did the Icelandic bind-off following the Brooklyn Tweed video. It’s a fairly simple bind-off and ended up looking great on this sweater because it’s meant for finishing off garter stitch.
The Icelandic bind-off is done with the knitting needles, and not a tapestry needle. It is fairly easy to do, but this yarn made it a bit tougher. I do like the outcome and would definitely use this bind off again.
The Icelandic bind off matches garter stitch
A New Sweater
In the end, I’m quite happy with my new blue sweater. I got some quick photos of me wearing it, but it was a very hot and muggy May morning. I knit this one in size 2 and it is still plenty big. Keep this in mind if you knit this pattern – it runs quite large.
Just need to sew on the buttons
When knitting my second Cobblestone, I learned a new buttonhole technique, and two new bind-offs. Fun! On to finding a new pattern to begin. If you have knit this pattern, I would love to hear what you thought.
After I saw how much my cat Skittle loved sleeping on my son’s new Lopi wool sweater, I decided to knit something for her. I have plenty of bulky wool yarn, which she seems to prefer. To make it interesting, I decided to try knitting a round blanket.
The Vogue knitting book has all kinds of useful information and I recall seeing how to knit shawls of various shapes. One is knit into a circle shape.
If you decide to make a round project like this, be sure you have lots of various lengths and types of needles! As that circle progresses, you’ll need to go from DPNs, to 16”, to 32”, and so on.
Casting On and Using DPNs
I’m using size 10 double-pointed needles because my yarn is bulky weight (Quarry to begin with, and then Alafosslopi).
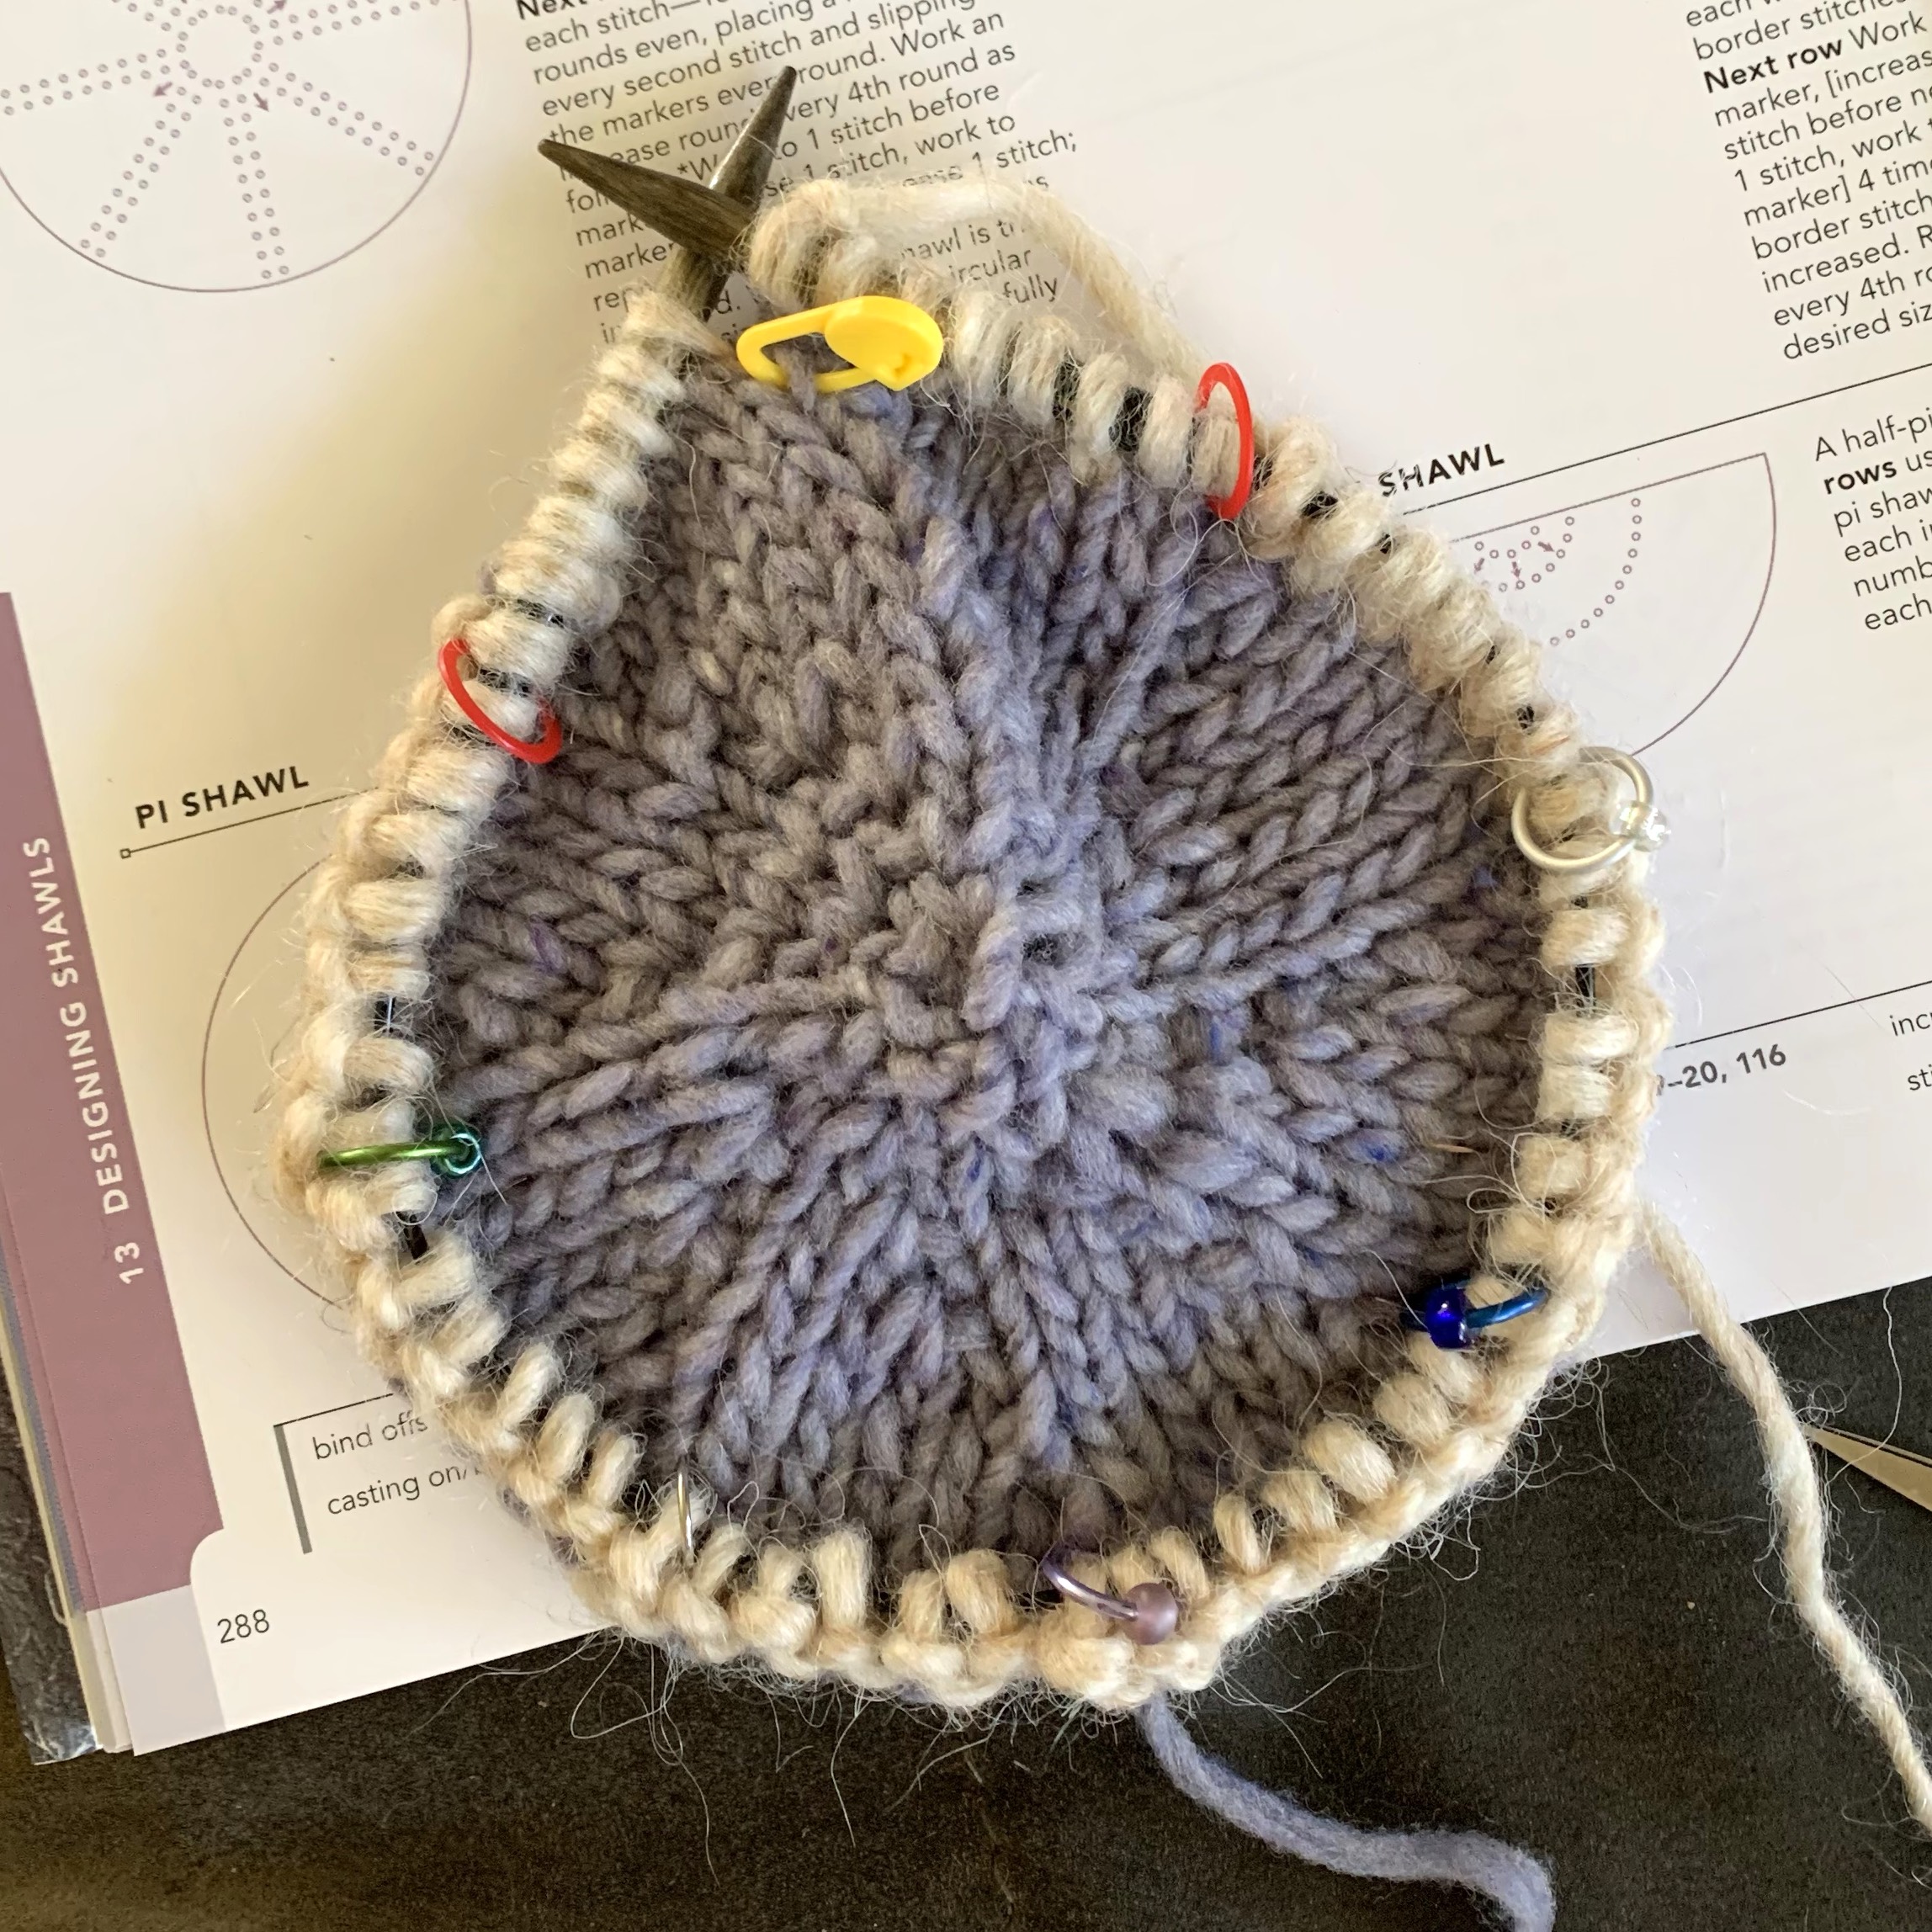
Cast on 8 stitches. I used the Old Norwegian cast-on, out of habit, but maybe a simple cast on would have been better. Move those stitches onto three needles – 3,3 & 2. Join to create circular knitting. I do this by swapping out the first and last stitches that were just cast on.
Knit a round on those 8 stitches. Now make increases in each stitch. Either do a backwards loop, or knit front and back. I did kf&b for my increases – mostly. I did use the backwards loop occasionally to try it out, but sticking to one or the other will probably look better.
Now you have 16 stitches on 3 needles. I used a clip on marker to mark the beginning of the round. (BOR)
Cast on 8 stitches
My blanket will have eight sections and each section will be increased just before the marker for that section.
With 16 stitches on the needles, knit 2 and PM (place marker). Divide the stitches so that a ring marker will stay on the needle to remind you of each section. Each needle does not need the same amount of stitches. Count the BOR (yellow) as one of the section markers and you will increase just before it.
After the 8 section markers are in place, do an increase round. Make one extra stitch (kf&b or backwards loop, or your preferred method) in the stitch just before each marker.
Alternate a plain knitting round with the increase round and just keep going.
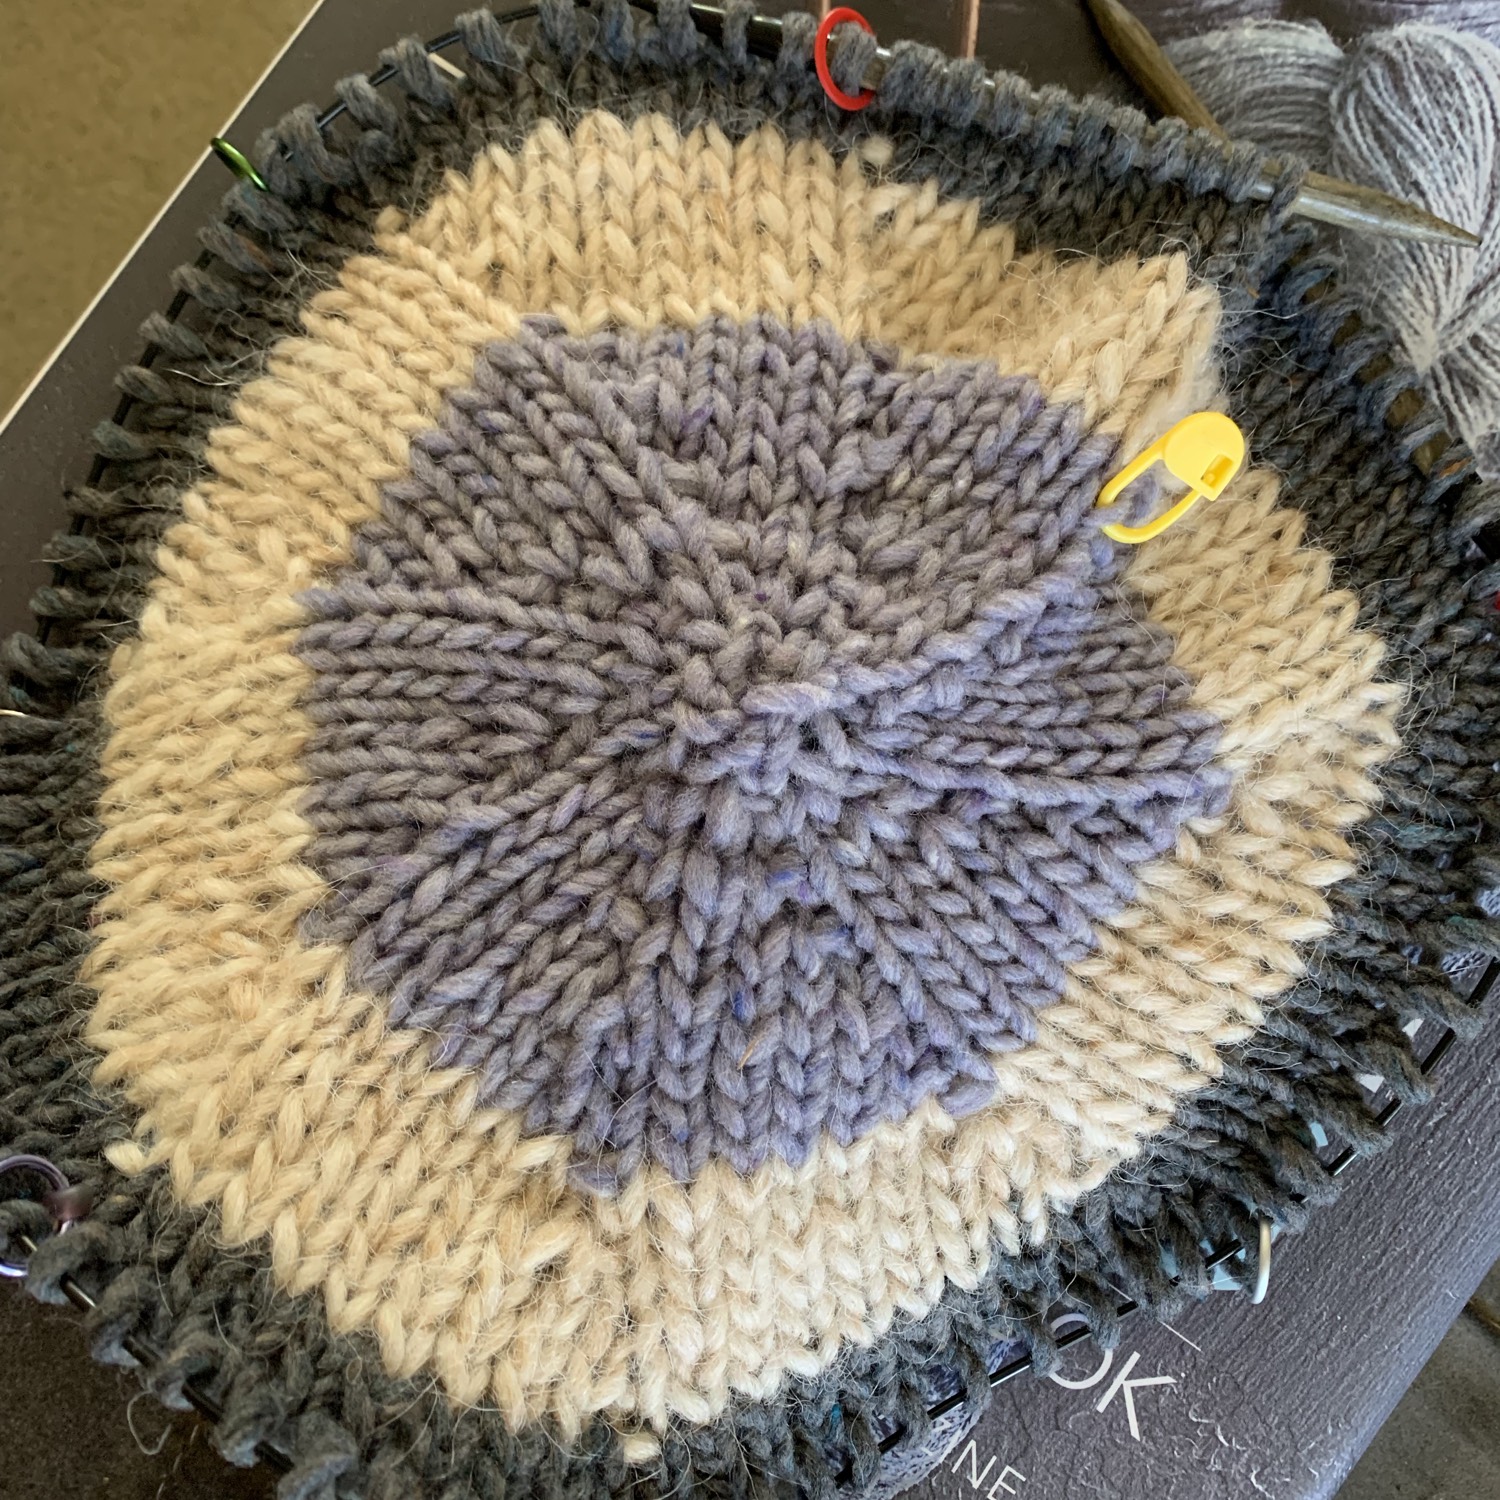
As the stitches expanded, I added a 4th DPN, and then switched to a 16 inch circular, ten a 32 inch.
Separate stitches onto four DPNs.I’ve added a new colorNew needle length needed
Currently I am using a size 10.5 US needle that is 40 inches long and that will have to finish up this blanket. I don’t have any longer needles in this 10 – 10.5 size.
I’ll probably do a few more rounds and then bind off. The blanket is for a cat so I intended it to be small. The project was fun, and I learned something new.
The yarn used is a combination of Brooklyn Tweed Quarry (the grays) and Alafosslopi (white and black).
Using up bulky wool to knit this round cat blanket.
Skittle’s blanket is washed and blocked to dry. I have the dehumidifier on in the bedroom so it won’t take four days to dry like the sweater did! The finished diameter is approximately 22 inches.
Wool Cat Blanket
Now all I need is to get a photo of Skittle enjoying her blanket. Photo coming soon.
This blog is full of knitting stories, please keep reading!
This bulky wool yarn sweater was knit loosely from the Joker pattern in the Lopi 41 book. It is made in a size XL for a man.
The warmest sweaters are knit with wool but caring for wool is not so simple. My son lives in a cold climate and I’ve wanted to make him something warm. I know he will never hand wash anything in a sink. So, finally I told him that he will never have to wash the sweater. If it gets a spill, rinse the spot and let it dry.
If he always wears the sweater over other clothing, it should be fine.
I’ve been looking for some simple sweater patterns that men would wear.
I’ve settled on the Joker pattern in the Lopi 40 pattern book – Ravelry page here. The pattern uses bulky Alafosslopi yarn which creates a nice thick sweater that will knit up quickly. I don’t plant to do all that colorwork on the yoke because my kids like subtle, dark colors. I’ve used Alafosslopi to knit the Carbeth Cardigan, which had no colorwork. And honestly I found that knitting stranded with two hands was a bit tough to do with this yarn.
Gauge Swatch and Casting On
My gauge is goo with needle recommended. I knit with a couple of black stripes with the main color green to see how well that worked. When there is a long cast-on like the beginning of the body, I do a two-stranded cast on using yarn from two skeins. That way I won’t have to worry about running our of yarn for the Old Norwegian cast on.
Alafosslopi in olive green and black heather.
Yarn Amounts Used
In the end, this is approximately how much yarn was used. Eight skeins total needed to knit size XL if done in one color.
Alafosslopi Green – 6 + a little
Alafosslopi Black – 1 + a little
The Joker pullover is knit from the bottom up. Then the sleeves and body are attached and a colorwork yoke is knit. I was not looking for a colorwork pattern, and ended up not doing much of it.
The Joker pattern is pretty straightforward for anyone who is used to knitting a sweater, but does not go into detail. Directions are in cm which I had to convert. Under the sleeves, the armpits have Kitchener stitch to close up the hole.
One note that I hope will be helpful to others, and to myself for next time, is to do a very stretchy bind-off around the neck. I had to rip back and re-do the neck. Binding off loosely is not enough. The neckline curls under so the bind-off is hidden.
How I did the stretchy bind-off: Like this video by Andrea Mowry, EXCEPT I only did 2 stretchy style, then did 2 regular style. I’ve found that doing the stretchy bind-off all the way around will often make that last row way too loose. So I alternated and it turned out great.
Stretchy bind off alternating: Knit one, bring yarn over needle to add another stitch. Knit one – 3 stitches on the right needle. Pass the first two over the last stitch to leave one on the right needle. Do this twice, then do a regular knit one, pass the first stitch over (twice).
We went camping for a couple of days at Long Point Campground, and the sweater was still damp when we returned home! It had been drying for 4 days! So I put the dehumidifier on which helped.
Done knitting, before the washInto the washDrying Joker
Sweater is finished – March 27, 2023, just in time for my son’s visit. He can take it back home with him! But first, Skittle needed to make sure it was good and comfy.
Closer to the true colorsA cozy sleeping spot for Skittle
Pay for your knitting patterns. Never accept a copy, or you are actually breaking the law. Designers work hard to create those awesome patterns for us. It’s only a few dollars, but designers need to earn from…
Hidden Gems was a popular free shawl knitting pattern. Since it is no longer available, I have found some similar patterns for knitters. Check out the list and let me know if you choose one.