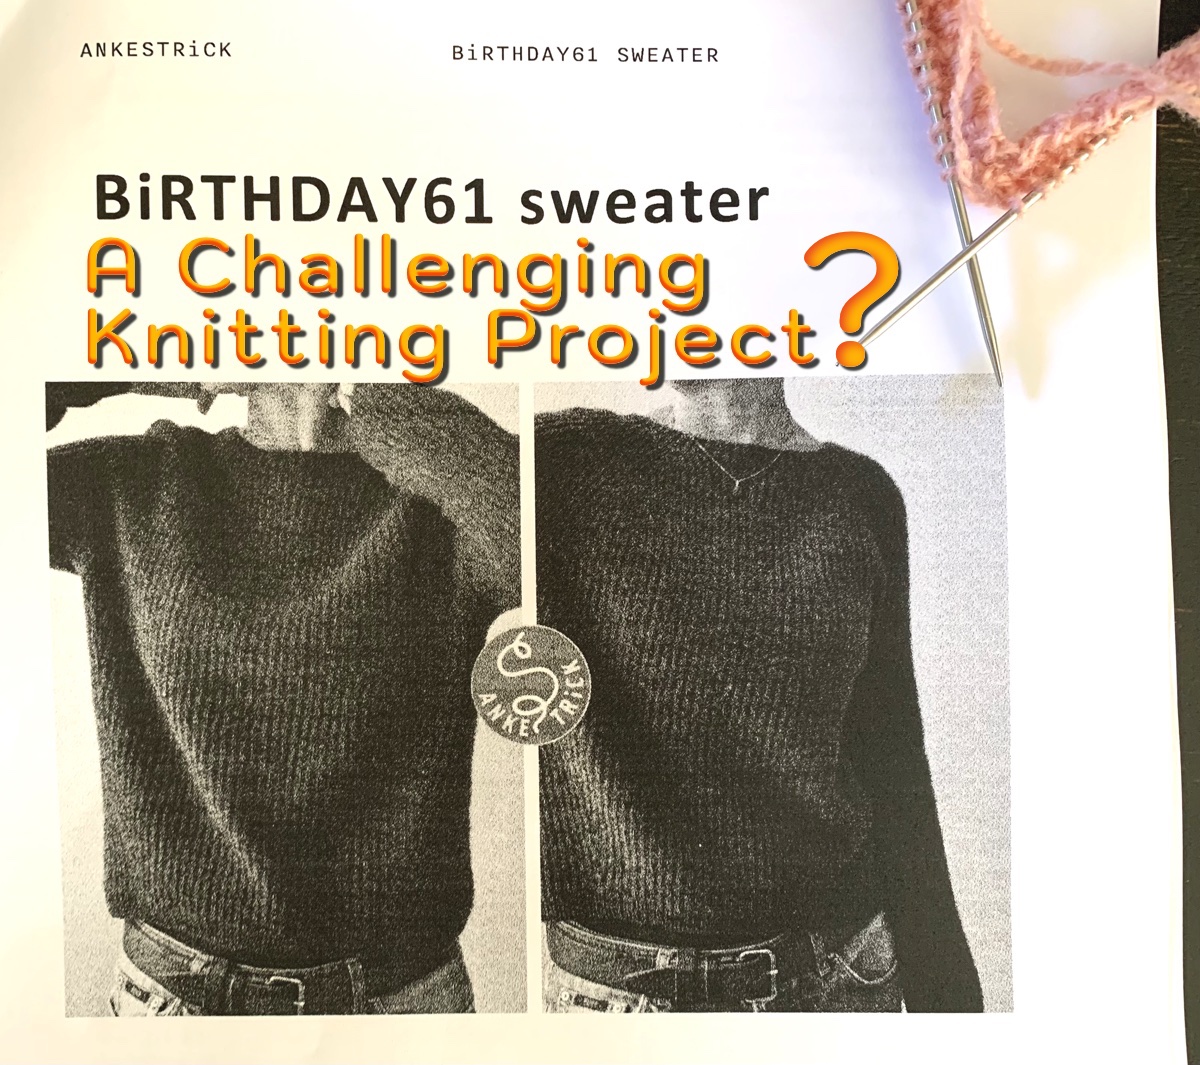
Birthday 61 Sweater Pattern Could Be a Challenging Knit

This simple (looking) pullover by ANKESTRiCK caught my eye. I love it for its one-color simplicity and squishy ribbed texture.

Looking further at the pattern, I realized that it may be too difficult for me to accomplish. I have my doubts, but will probably try it anyway. (See my trial below.)

First of all, the whole sweater is knit in a small size needle. Suggested needle size 0 to 1.5US, depending on gauge. That is tiny! This means lots and lots of stitches, that could take me months to finish. On top of that, it is knit in a “half fisherman’s rib” . The tags for this sweater include “brioche tuck”. Scary. I’ve tried knitting brioche a number of times and failed miserably.

Pattern Help

Fortunately Ankestrick has a full page of links for help. Some links will apply to the Birthday 61 sweater pattern and go to YouTube. I love it when designers give me lots of help to achieve success. She also has a Ravelry forum page for help with this specific project.

She has her own suggested invisible cast on, seamless join, and decreases worked in the half fisherman’s rib stitch. The pattern explains how to incorporate the rib stitch while making German short rows. The pattern lists many special techniques I’m unfamiliar with. But, I should be able to find help to create them while knitting the project. Will I understand and accomplish them? Who knows. I have successfully knit her Rebel cardigan pattern, and am already a fan of this designer.

The Yarn

A sweater knitting project can be quite expensive. Lots of yarn is needed to knit a size 3 or 4 sweater (which is my usual pattern size). This pattern calls for 1800 yards. This is a lot of yarn, and must be because of the stitch used.

*Note to self: knit this using a light color to easily see the stitches!

The second issue for me is the needle size. After looking through my smallest needles, I have the required lengths in size 1US only. Otherwise, I would need to spend money on new needles.

The Swatch, Or Jump Right In?

This leads to the question of how to knit a swatch for the Birthday 61 sweater. I may jump in and try the pattern with some stash yarn just to see how far I get.

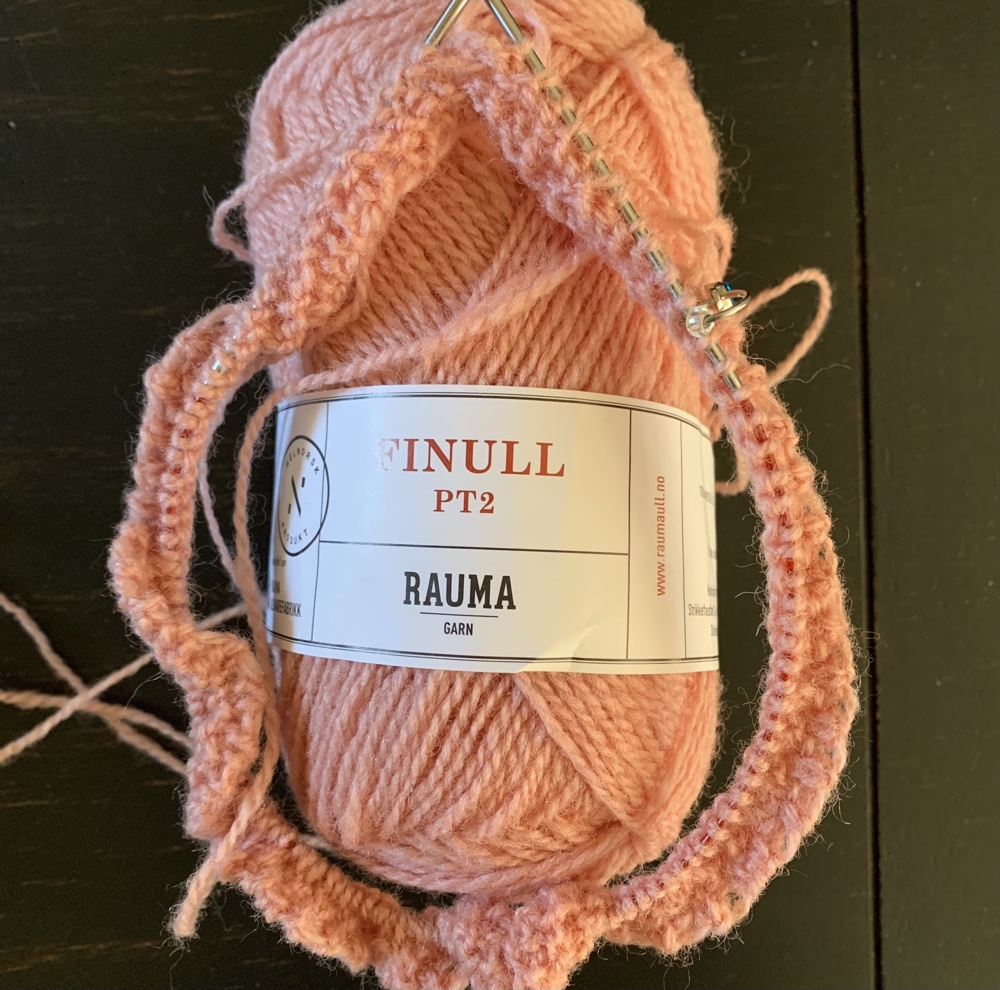
Okay, this is what I decided to do. I began the pattern using the smallest sweater size (my actual size will be 4). I dug out some Rauma yarn. I need to know if this pattern is something I can manage, so I’ll try out the special cast on and then down the yoke with increases and short rows.

A New Type of Cast On (for me)

Anke lists her cast-on as “Anke’s Invisible Cast On“. It seems very similar to the Italian Tubular cast on, except with better changes (IMO). She does her videos in Continental style, which can be confusing to those of us who knit English style. She also does not speak, but adds text to her vids.

For the cast-on, (use any length needle to begin, but switch to a 16″ for the join.) I watched the video, but then realized I could simply follow the directions in the pattern – this is easier!

This is not a super easy cast on for me, but with practice it will get better. I used my long 32″ size 1 needle. The first (set up) row is turned, and we work back across the stitches that were just cast on – without having to join in the round – yet. Get out the size 16″ for row 2 as that will be joined to knit in the round.

Yoke Markers and Short Rows

I did not knit all the first rows after cast on because this is a trial knit and not something I will wear.

Upcoming are the yoke placement markers for raglan sections and sleeve / body increases. Those are combined with working short rows – and I was thinking that this could get sketchy. BUT… every short row is explicitly described – all 14 of them!

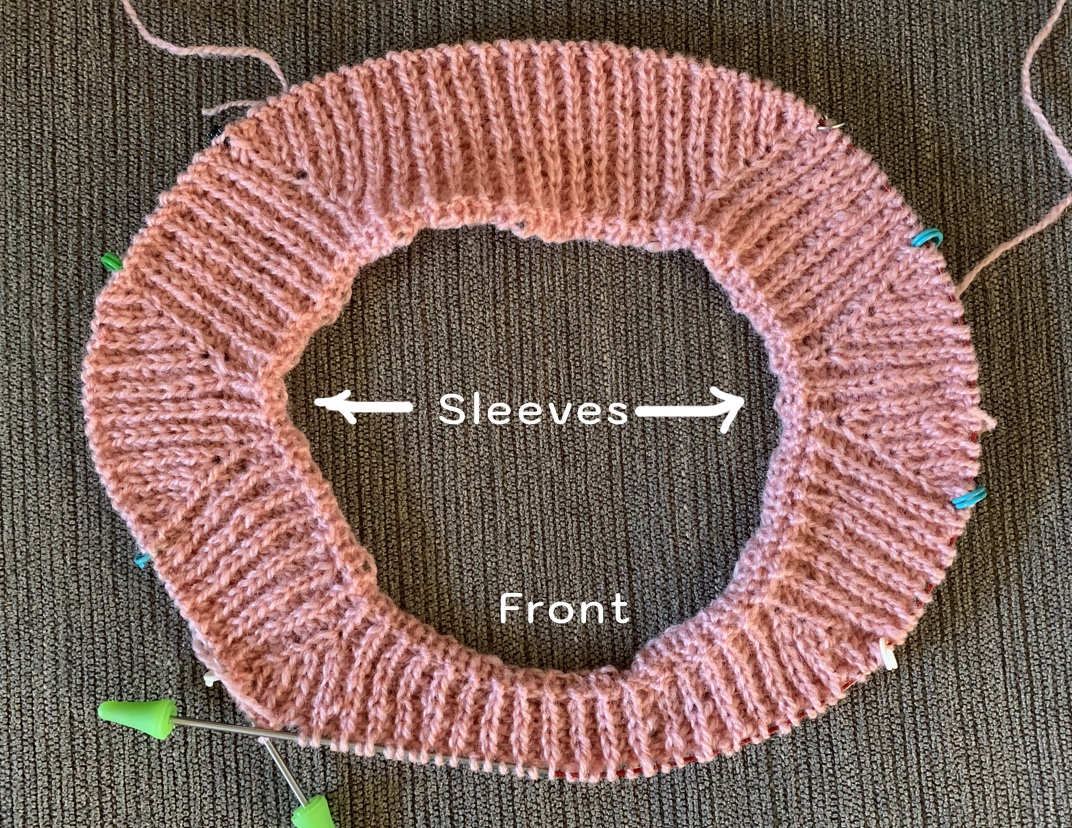
* When looking at the image showing marker placement, remember you are knitting counter clockwise from the BOR marker. Also, we are knitting down from the top of the sweater. Flip the page upside down if that helps to visualize.

Also, I suggest using various colored markers for the different sections. It helped me keep track of where I was (green means sleeves, white means front, etc.)

To get through the increases I need to know how to kbYOk. This is a knit below, yarn over, knit stitch. It is a two-stitch increase. See her video here. It is not difficult, but remember to do it because going back to fix a forgotten kbYOk is a bit tricky. And for some reason I kept forgetting to do them.

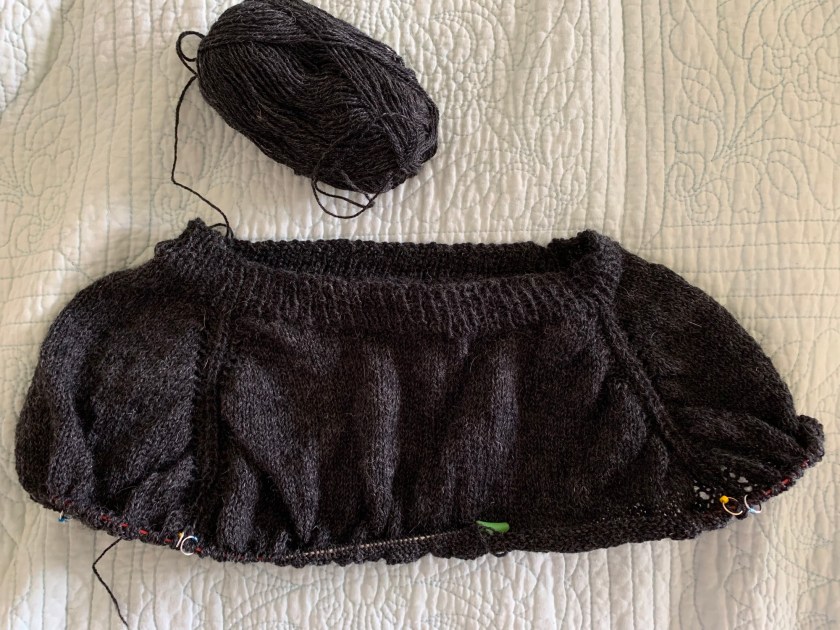
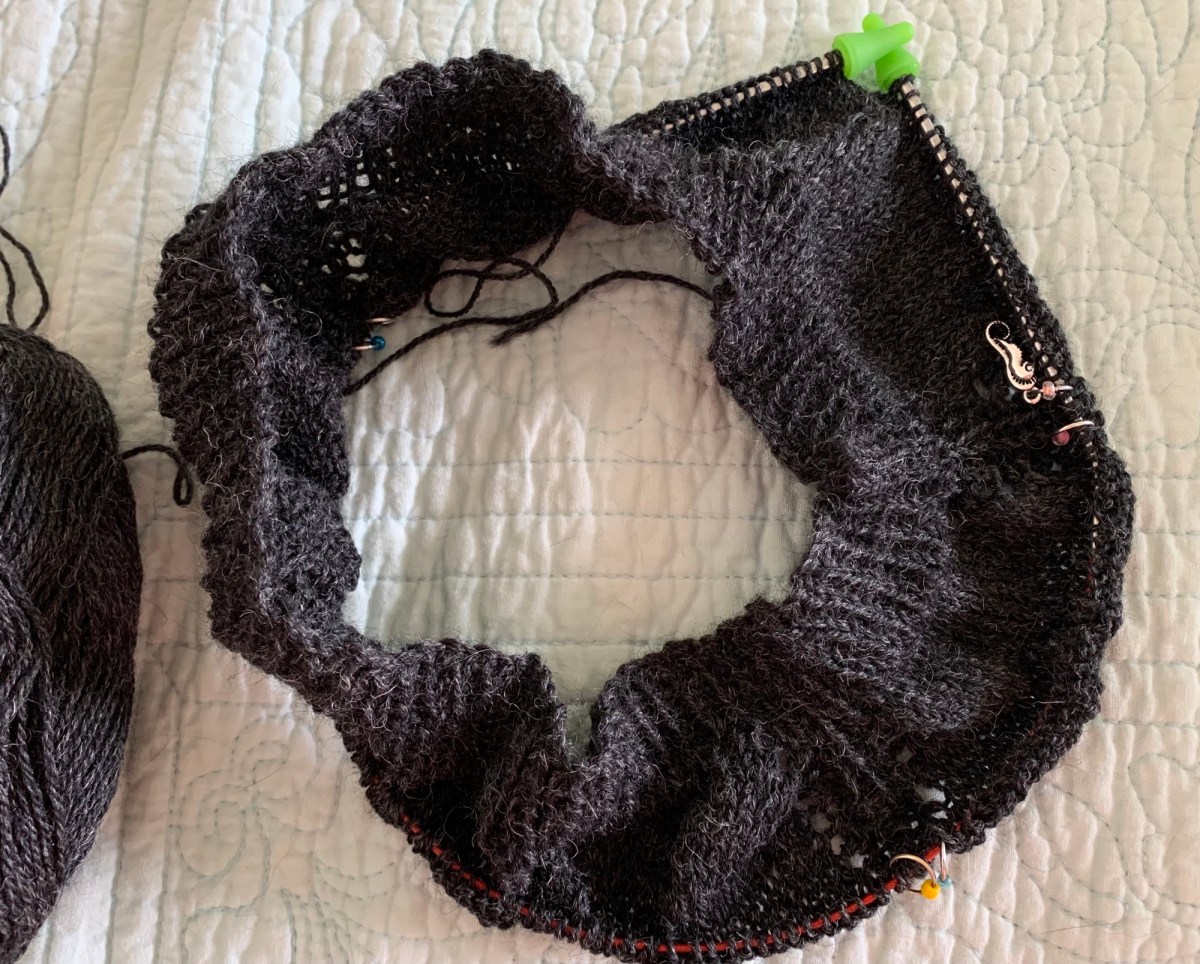
Below is my trial sample showing how the sweater top will look after all the short rows are complete. See how the very front is the shortest. Between each section of increases (sleeves and body) is a raglan section – four of them. Those do not change width.
birthday 61 sweater
Knitting short rows and increases

This sample is full of goofs (and the beginning neck rows have been omitted). I don’t like my cast on edge. I’ll have to practice that, or maybe not use it.

At this point I will be knitting increase rows alternating with purl rows. This continues to widen the sleeves and body. I probably won’t go much further as this is only practice. From this point on, I think I am able to continue and will plan to buy yarn and knit the Birthday 61 pattern.

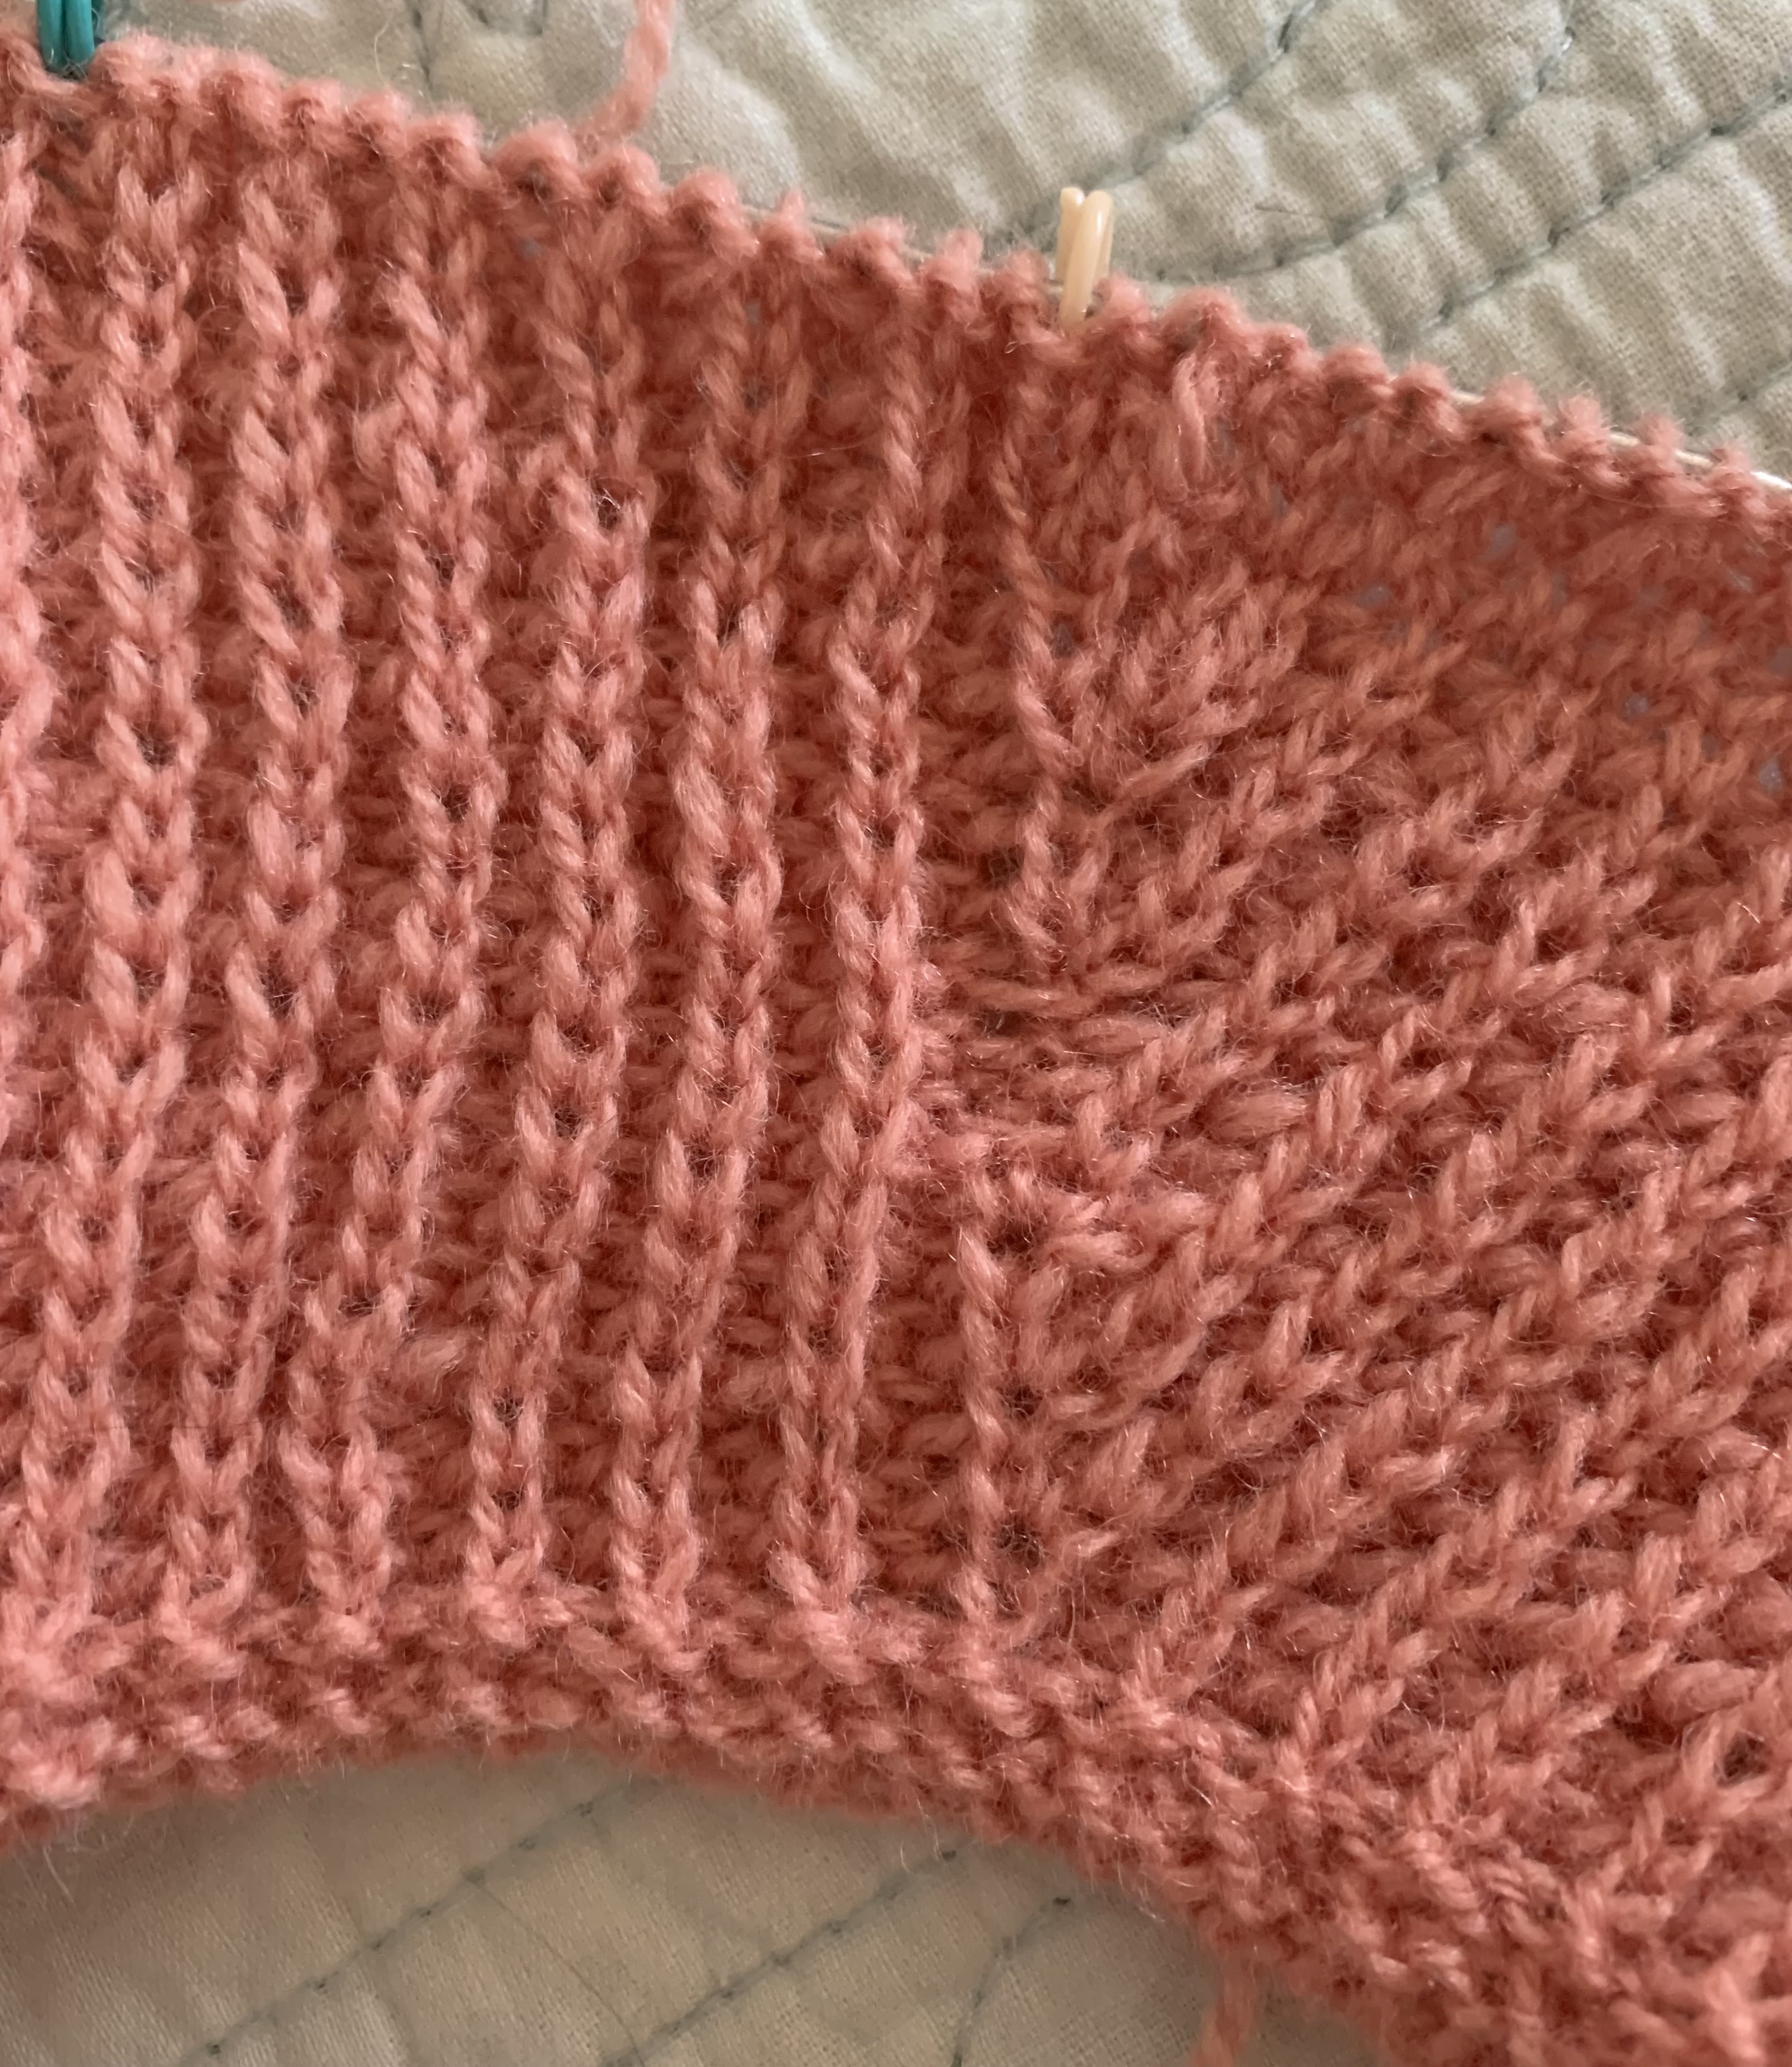
To keep track of knits and purls, here is what they look like. The purl stitch is “sunken” and the knits stand out.

half Fishermans rib knits and purls
Knits and purls.

So I have continued knitting on this trial piece and has you can see, I have made some obvious mistakes. I’m not happy with the cast on. I’ve messed up my knits and purls. Also, ripping back to fix something can be very tricky.

Birthday61 trial
A big goof!

More Advice From a Knitter’s Review

After viewing the test knits and other Ravelry knitters, it was brought to my attention that there is an alternate way of knitting the ribbing. On page three of the pattern, at the bottom, you’ll find the information. It replaces the purl row with a k1,p1 row. Apparently they look the same. I’m doing purls only for those rows.

Oh Gosh, More Yarn to Buy

I do not have enough of any fingering yarn to knit this project, so now I will be buying more yarn. The amount required is quite high – 1800 yards for my size 4. Once I begin this pattern for real, I’ll write another page all about it.

yarn ball divider
Knitters & non-knitters welcome – Keep Reading
Surprisingly Sweet Blueberry Vodka Lemonade Sweater Pattern

My experience and notes about knitting the Blueberry Vodka Lemonade sweater pattern by Thea Colman, aka Baby Cocktails.

After some summer top knitting, I needed to have wool in my hands again. I chose a new pattern and some new-to-me yarn and got knitting on the Blueberry Vodka Lemonade sweater (pattern link below).
I made a stupid mistake when beginning the first rows after the neck ribbing, and had to rip it all out and begin again. Believing I would be able to do those yarn-overs just fine, I began to screw things up again – because, no I did not do yarnovers correctly. This time I kept knitting and took a refresher in doing yarn-overs.

Once I had all that down, the knitting went smoothly and the yoke became fun to knit.

The Yarn

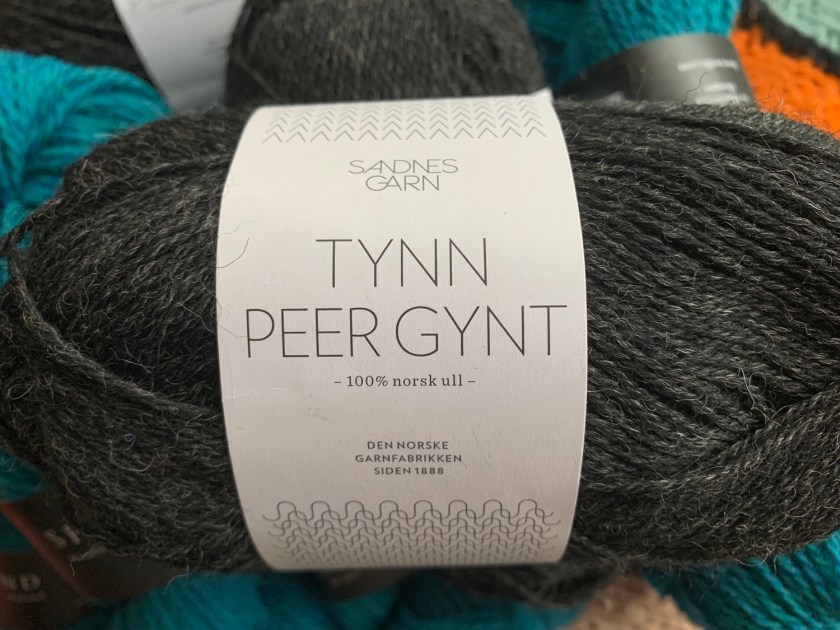
I am knitting with Sandnes Garn Tynn Line Peer Gynt wool yarn (link goes to Wool & Co.). I’ve never knit with it before, but it’s soft and beautiful. There are some thick to thin areas, but I don’t mind that and I think it’s typical.

Although I bought two types and colors of yarn as possible choices for this project, the Tynn Peer Gynt worked out better for the needle size. I’ve ended up knitting with the black yarn.

  • Sandnes Garn Tynn Peer Gynt fingering wool yarn
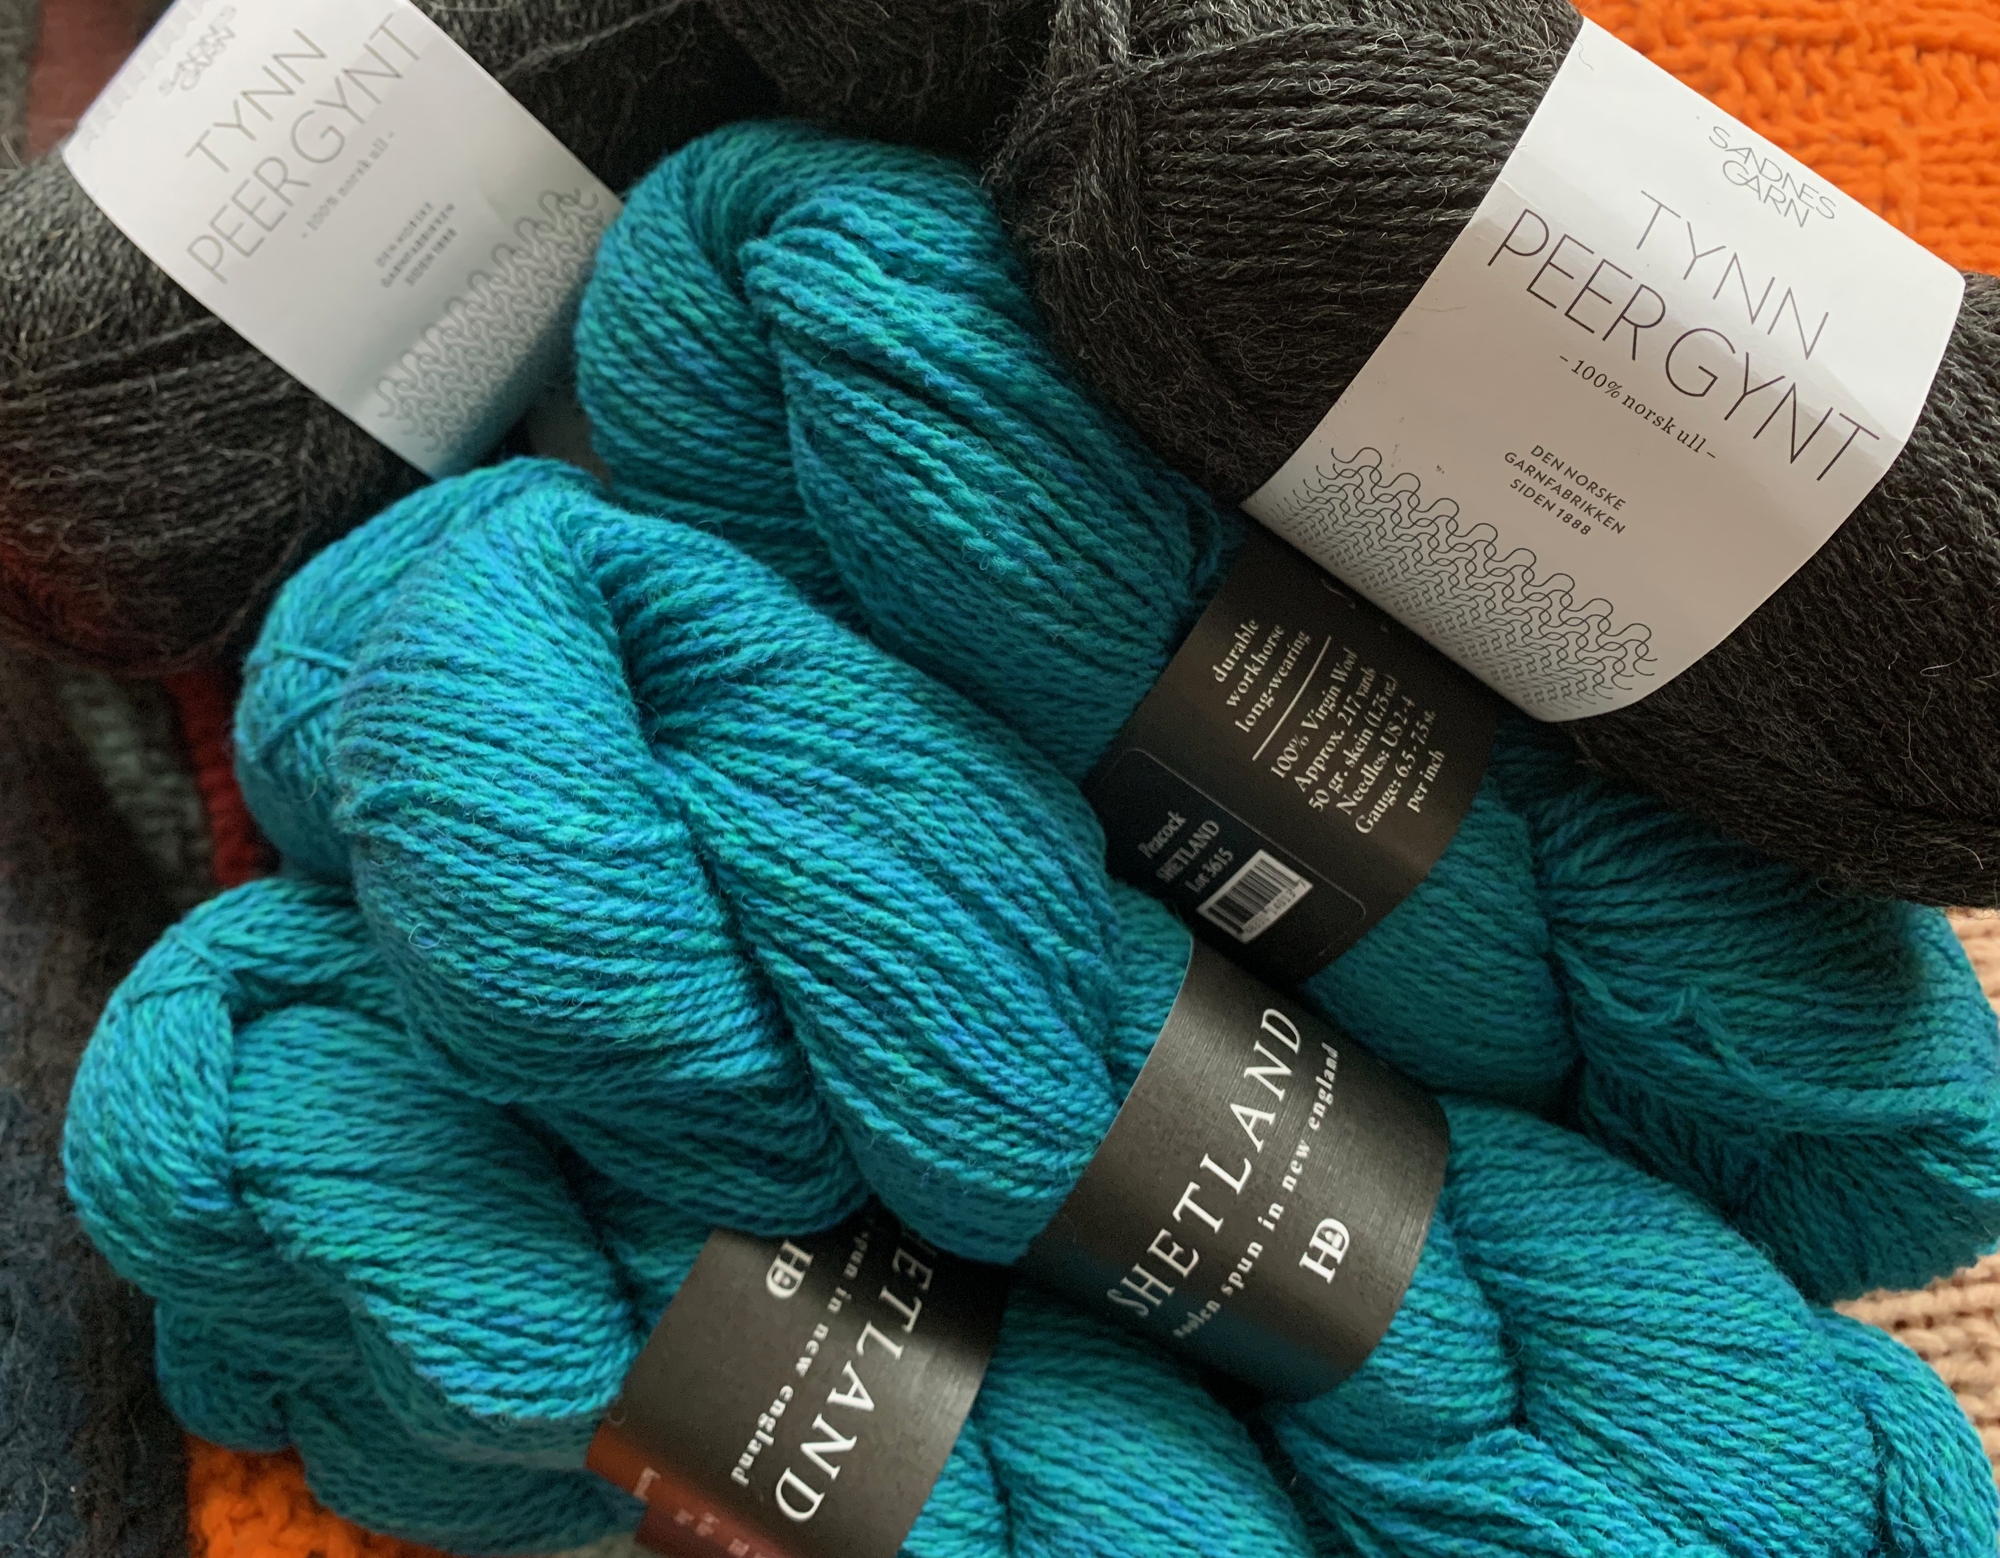
  • skeins of wool yarn
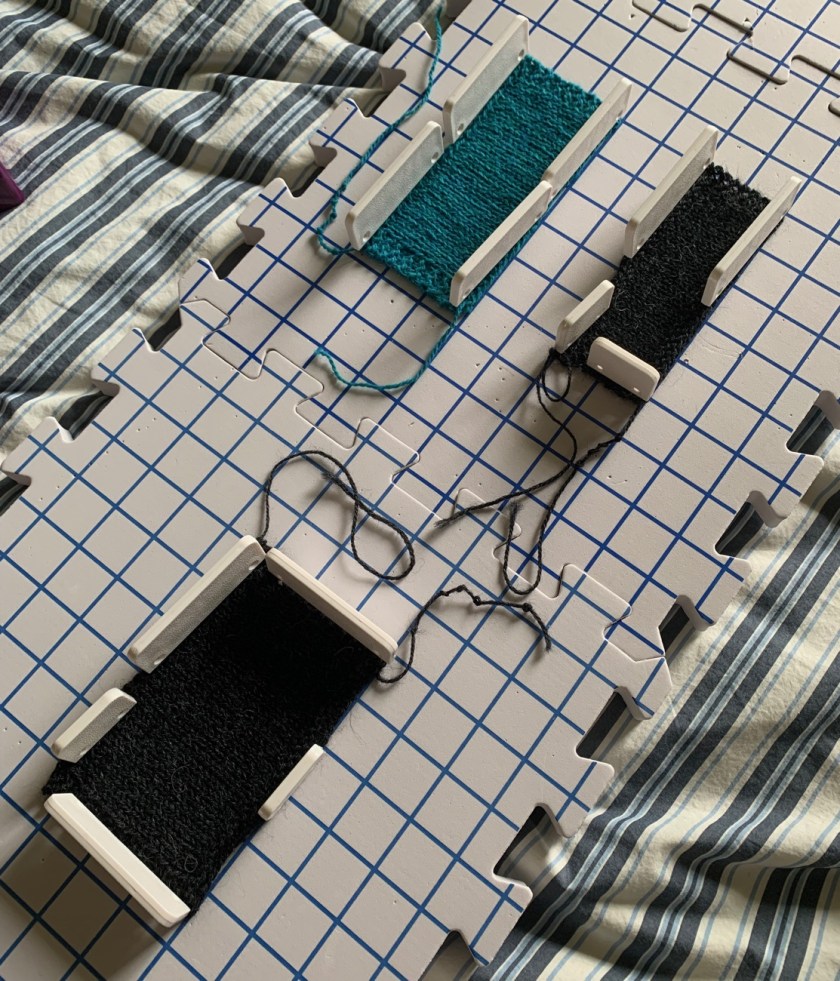
  • Knitting swatches drying
  • Harrisville Designs shetland wool

Let’s Try This Thing On!

Using fingering weight yarn to knit a sweater means lots of little stitches and many rounds of knitting. Surprisingly, to me, I was done knitting on this fun project in just a little over a months time.

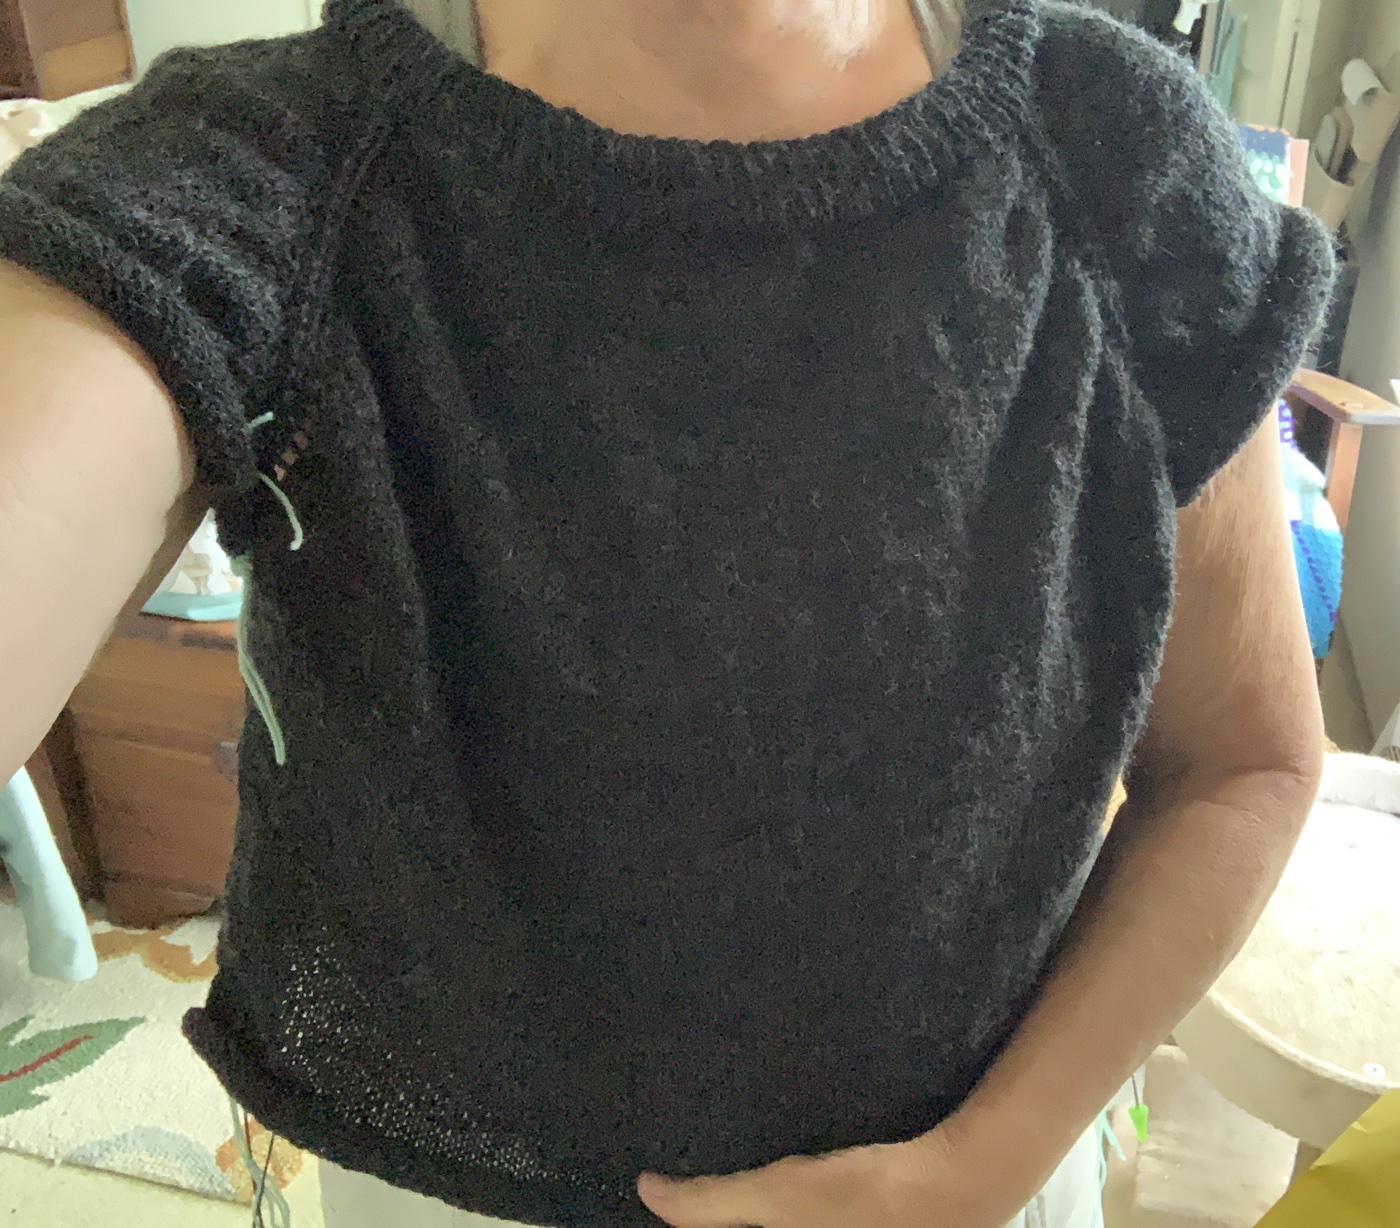
Finally I have split the body at the hem which means I can get this thing tried on! Yay…!

I am very pleased. That neckline seems perfect. A bit wide, but not too wide, just as the designer promised. I did knit for one more inch on the body, stopping at around ten inches and not nine. Two more inches of hem will be added, but first I plan to knit the sleeves.

We cannot run out of yarn on the sleeves, so I want to knit them without worry. IF I run low on yarn for the body ribbing, I can order another skein and not worry if it’s not a perfect match. *No problem here. I ended up with plenty of yarn even with adding a couple of extra inches to the body length.

Blueberry vodka lemonade raglan sweater knitting pattern
Hem split done, time to try it on

I began knitting this sweater on July 20th and today is August 15th, so it has taken almost a month to get this much done on the BVL sweater. *Then I finished on August 29th.

A few days later, I had one sleeve knit. They are 3/4 sleeves which stay wide until just before the short cuff. I ended up liking them a lot.

Decreasing for the Cuff

The knitting round where the many decreases are made, just before the cuff, gave me pause. Then I realized that the first set of knit stitches – in the parenthesis () – is done ONE TIME ONLY to begin the round. The next set of stitches – in the brackets [] is the number of stiches to knit along with the k2tog – and this is repeated in the round. The last set of stitches is what is left at the end of the round, and they will be knit – unless there are no stitches left and you knit zero.

For example: For my size, on this decrease round, I had to knit 2, then knit 4 + k2tog for the repeat, until I had only 2 stitches left at the end of the round, which were simply knit.

knitting sleeve cuff
Sleeve cuff
knitting sweater sleeve
Sleeve 1 done

Buy the Blueberry Vodka Lemonade Pattern

Finished and Happy

It took me about a month to finish knitting the Blueberry Vodka Lemonade sweater. I enjoyed knitting it because there was always something going on while knitting. The yarn-overs at the raglan sleeves, the texture down each side, and the bottom split rib, all added to the enjoyment.

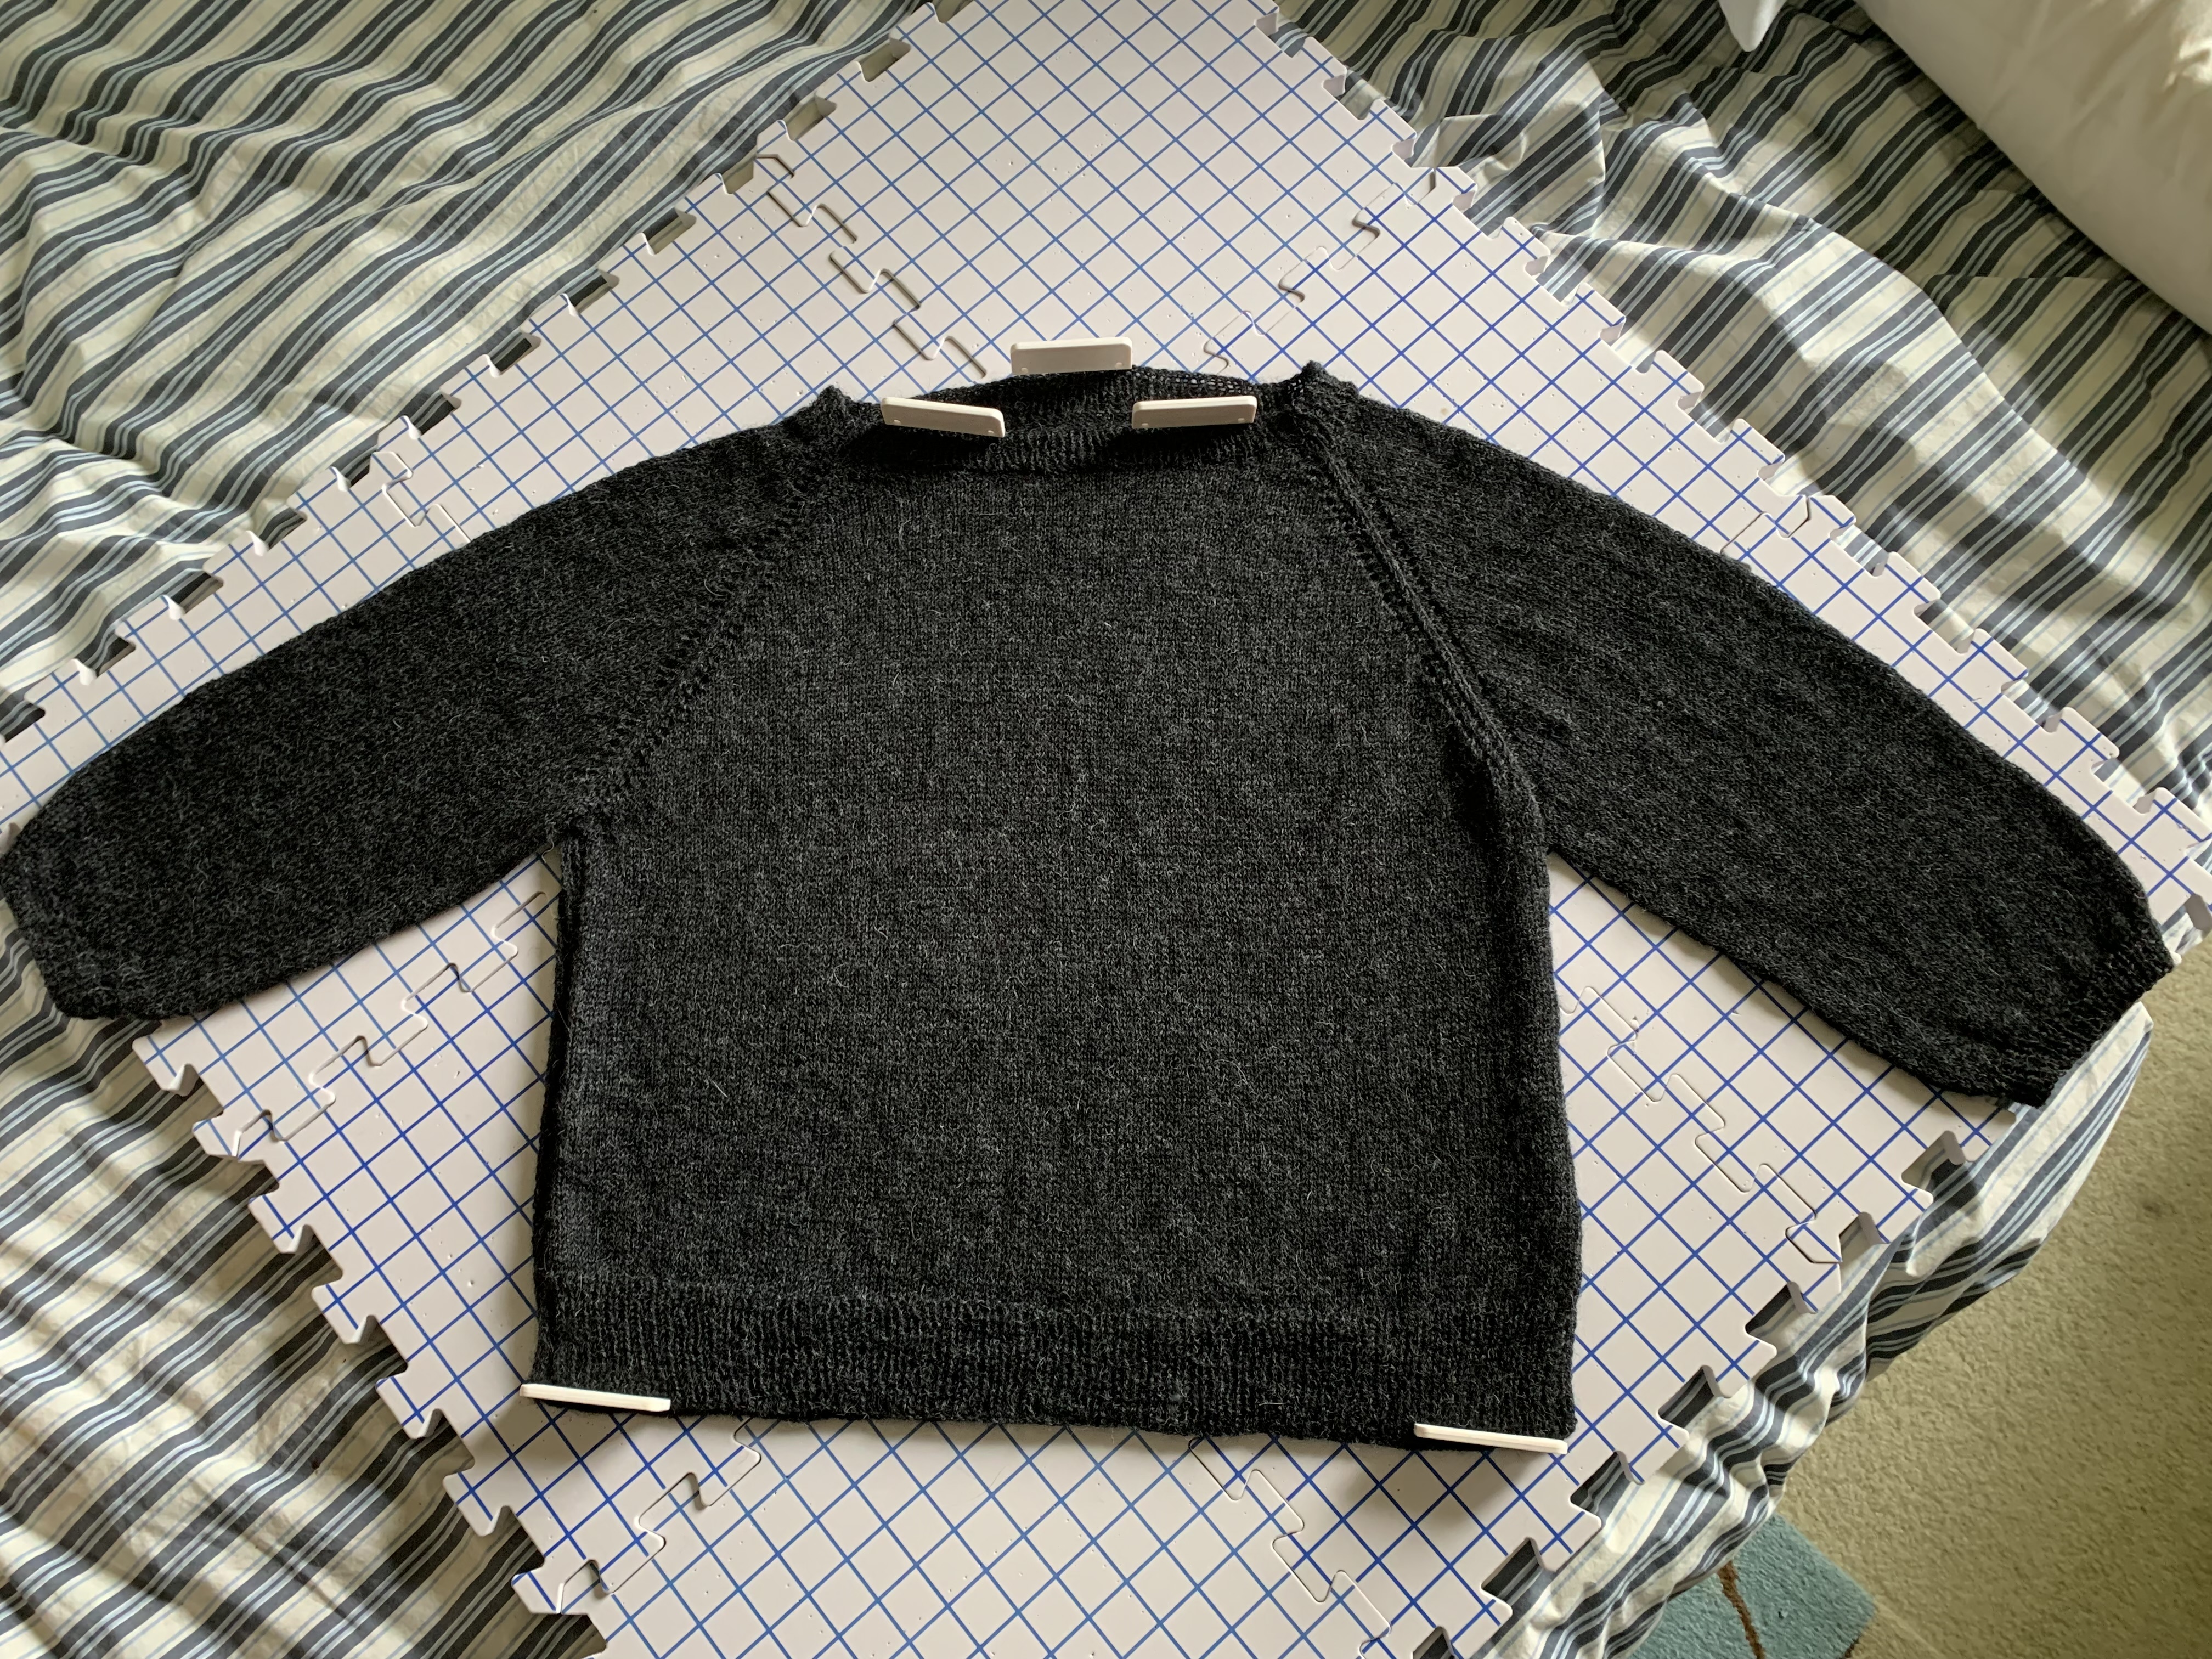
Blueberry Vodka Lemonade sweater

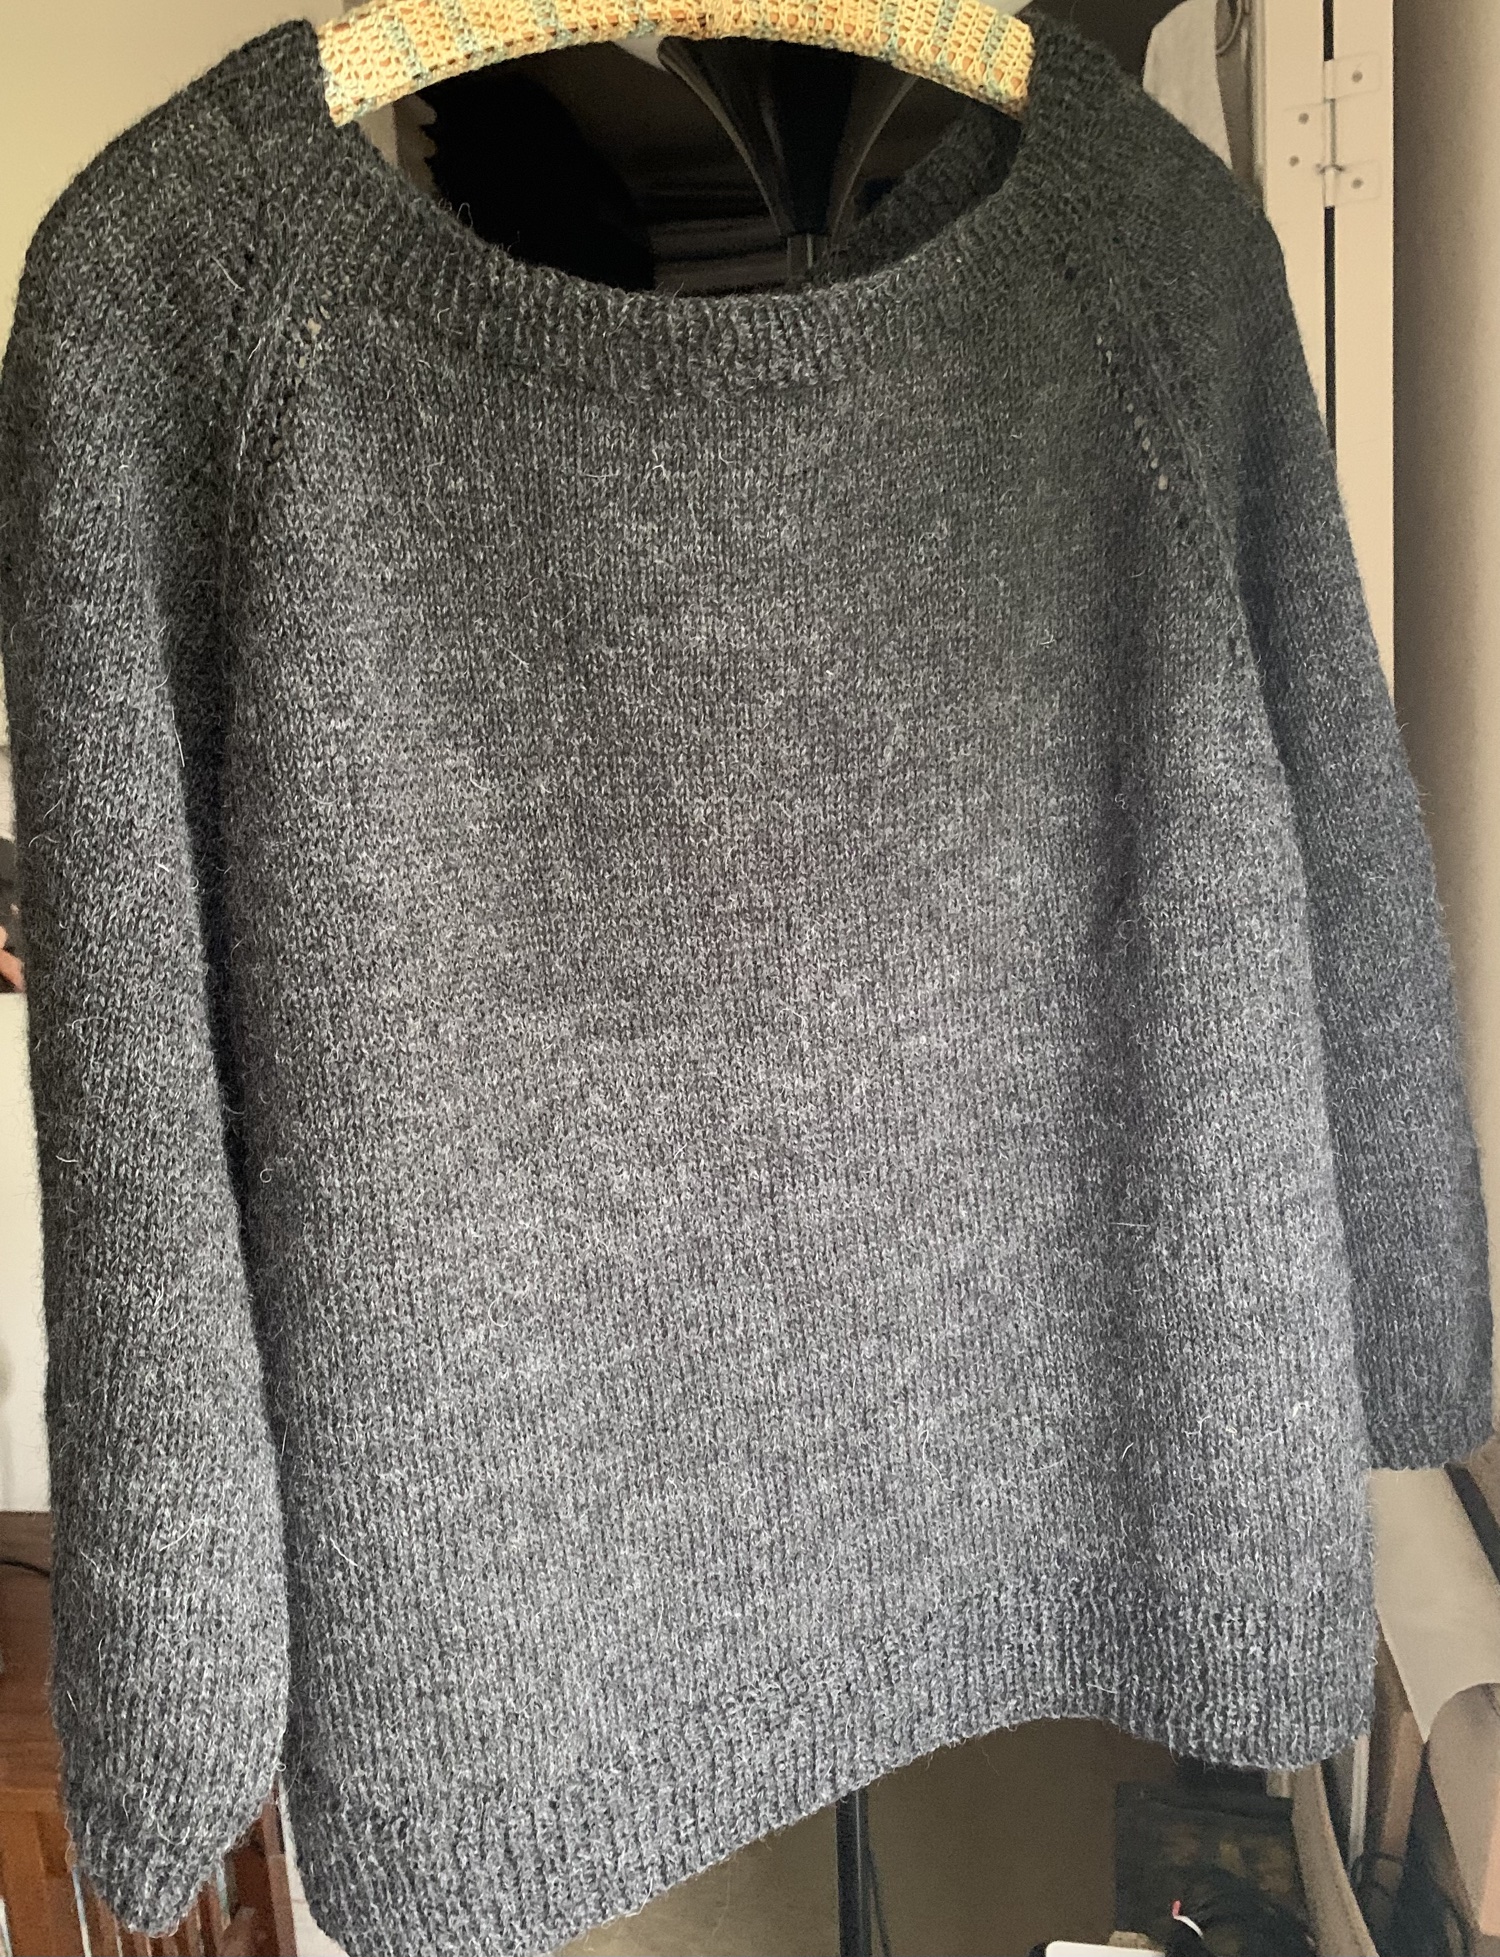
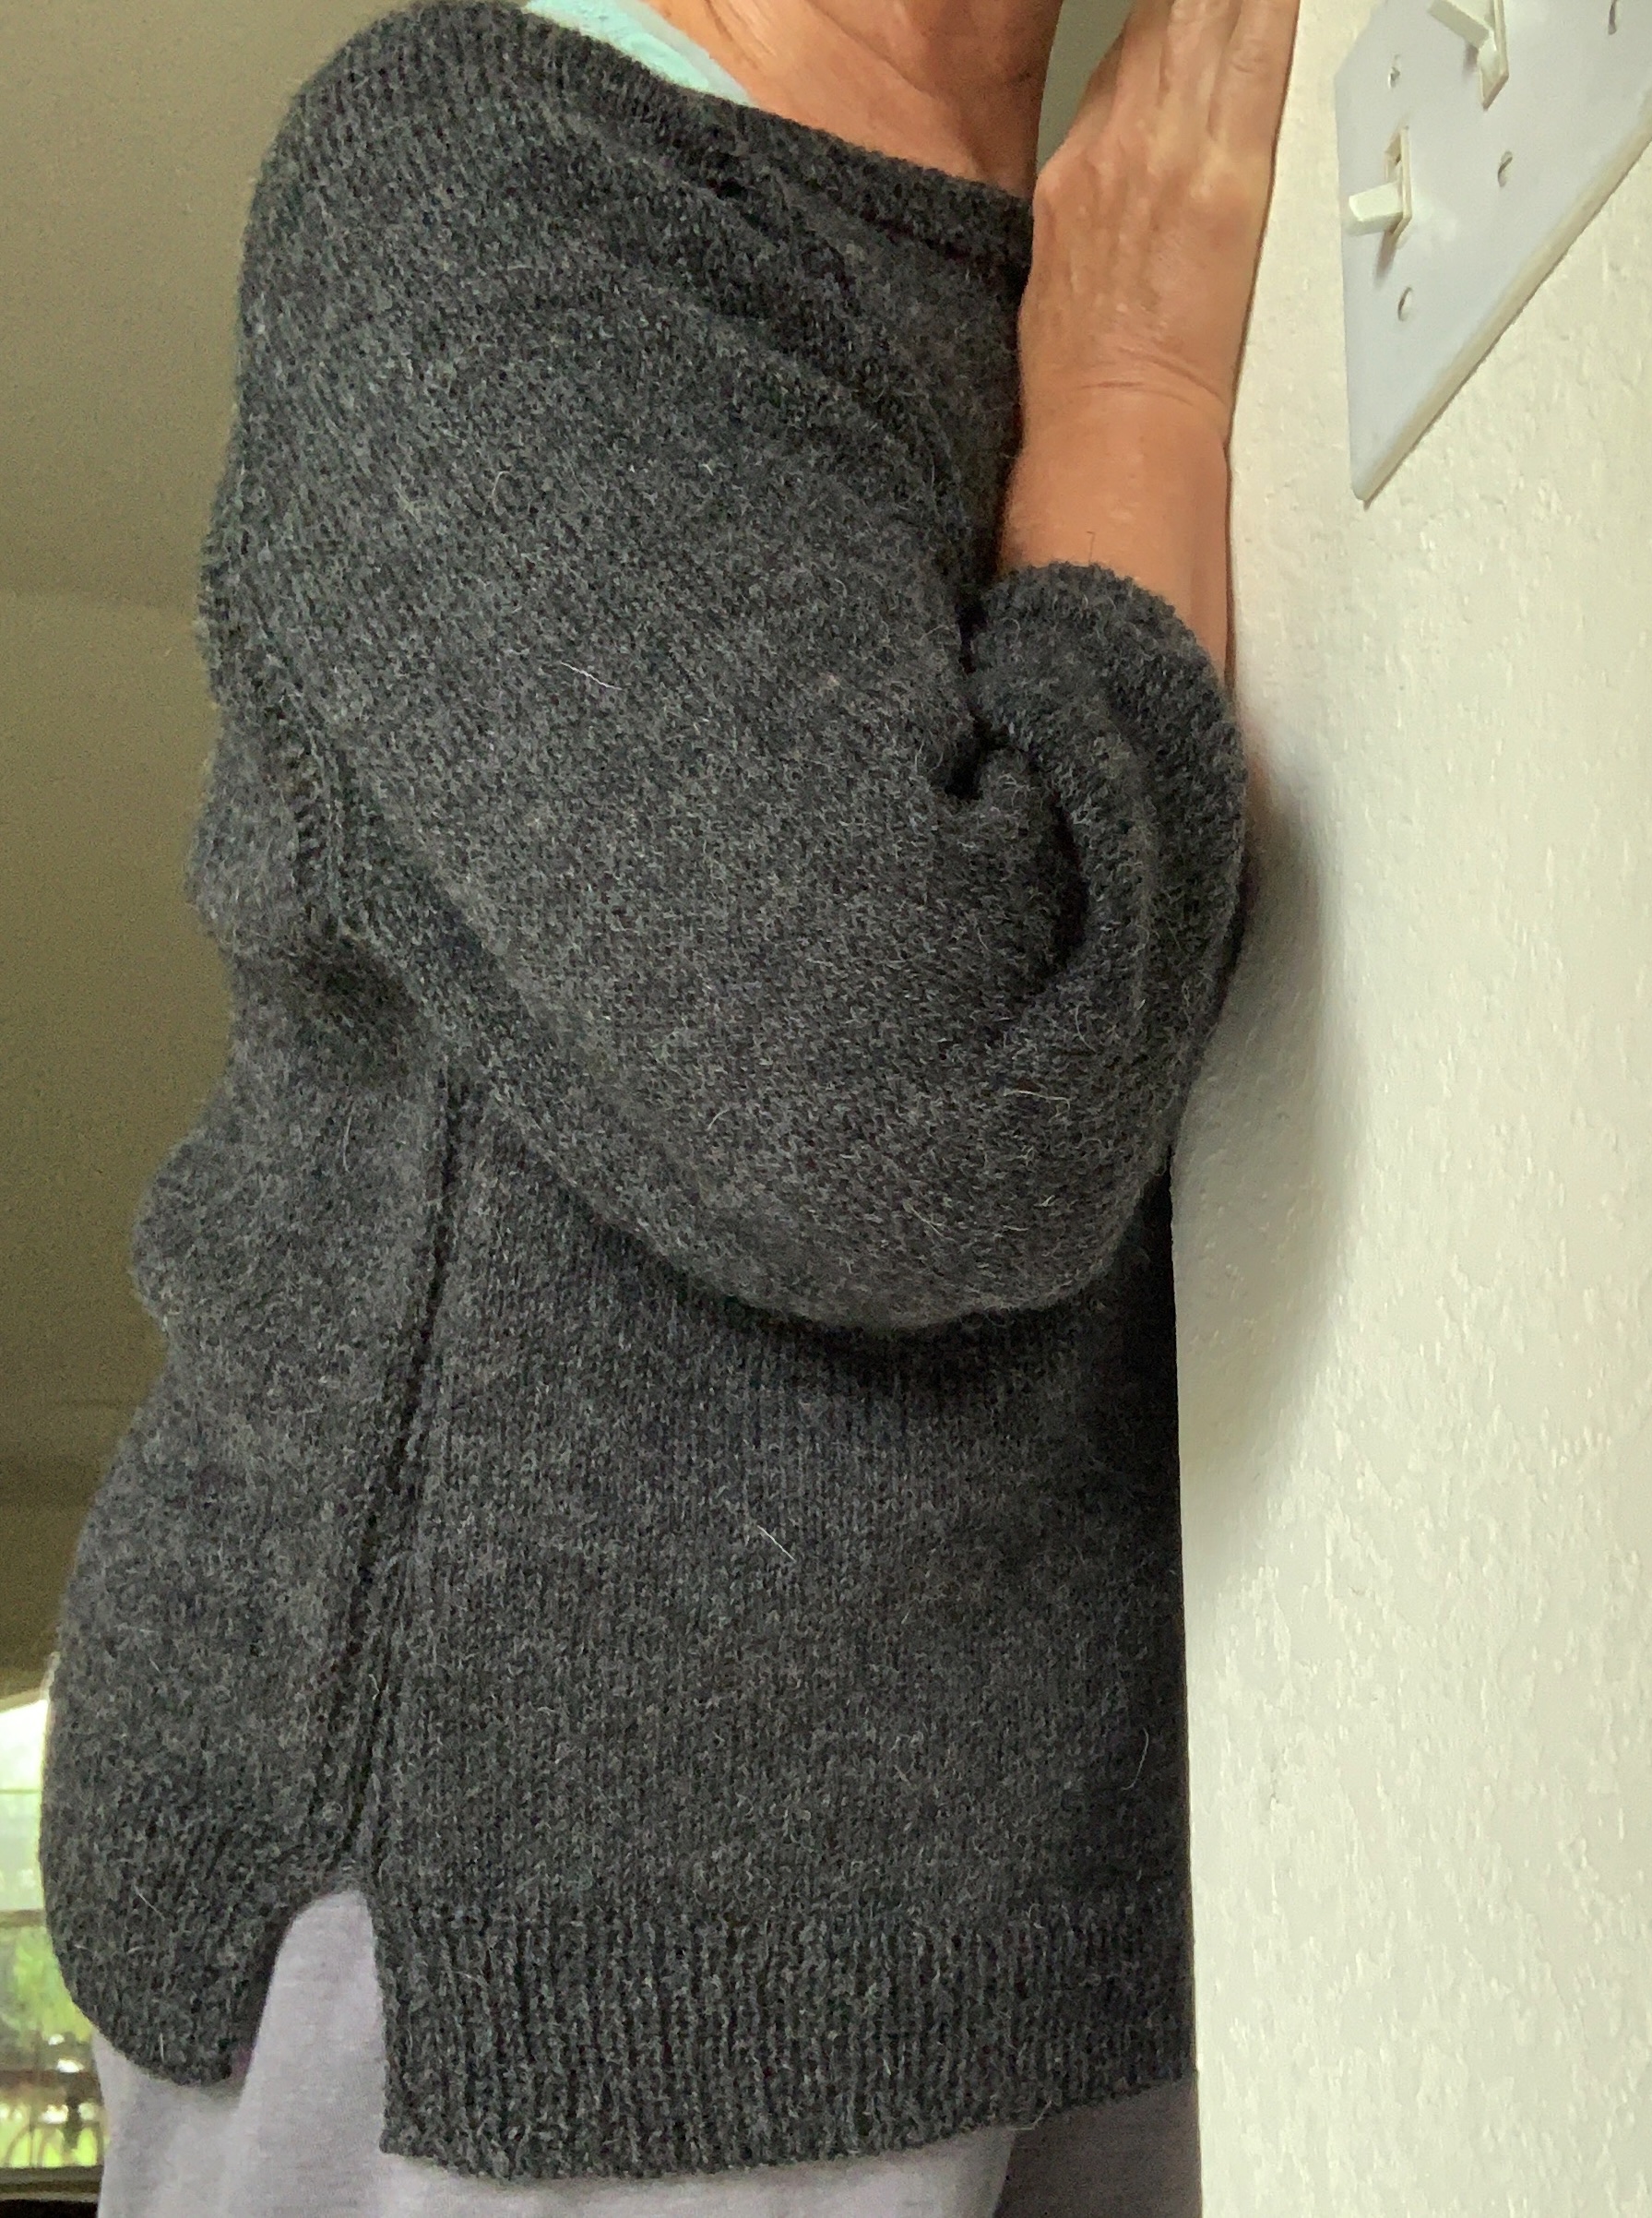
The sweater was dry after a day and I did a quick photo shoot. We were getting the outer bands from Hurricane Idalia, with wind and rain, so I couldn’t go outside.

I also love this yarn. It is wool, but very soft. I would compare it to Rauma, but it may actually be softer. The finished project is absolutely fabulous! I’m always amazed at much more lovely a hand-knit becomes when washed. I’m very happy with my new sweater!

I don’t often say this, because once I knit a pattern, I move on to something new, but this is a pattern I would absolutely use again.
  • Blueberry Vodka Lemonade sweater

Please keep reading the blog…

If at First You Don’t Succeed

Beginning to knit a new sweater pattern called Blueberry Vodka Lemonade, but I messed up and must begin again. It happens.
The motto, “If at first you don’t succeed, try try again” is one I have in mind after casting on for a new sweater, knitting a bunch, and then goofing up badly. I was so looking forward to knitting this new sweater, but I’m not as good a knitter as I had hoped! After knitting all the way through the entire neck ribbing of a new sweater pattern…. I ripped the whole thing out.

It was totally my fault and not the pattern. In fact, this pattern is written better than any I think I have ever knit. Everything is explained in detail, with stitch counts, measurements, etc. to help the knitter. I’ve never knit a pattern by this designer (info below) but wow, I’m impressed…!

sweater neckband
Starting over

I will be starting again, but it is disappointing to get so far and then mess up. I had no hopes of going back and picking up the rib stitches because the yarn is black and difficult for me to see. It’s part of knitting life to make mistakes… it’s how we learn to fix them, or learn to deal with inevitable re-starts.

The Pattern

This new sweater pattern is named Blueberry Vodka Lemonade and is a design by Thea Colman, who is also known as Baby Cocktails in the knitting world. I love the look of this pullover knit in raglan style, with split hem, and 3/4 sleeves. My last project (the Lakeland Tee) also had a split hem, and I really like the look.

The Yarns I Chose

I searched for a while before I settled on two yarn types I wanted to try. I’ve never used either before.

First, a beautiful black, fingering yarn by Sandnes Garn: Tynn Peer Gynt, which comes from Norway. It is really lovely.

The gorgeous turquoise blue yarn is color “Peacock” and is Shetland wool from Harrisville Designs. Another beautiful yarn, which is spun in New Hampshire. I have visited Harrisville Designs, as I lived in NH for many years.

The Shetland seems a bit heavier for a fingering weight. On the other hand the Peer Gynt seems pretty thin.

skeins of wool yarn Shetland by Harrisville Designs, color Peacock and black Sandnes Garn Peer Gynt.
New yarn order

The Swatches

Because the pattern calls for a size 5 needle for the main part of the knitting, I did two different swatches with that size. Both were too large. So, I knit up a shorter swatch with the black yarn using a size 4 needle. It was perfect. Usually I knit a larger swatch but I didn’t want to use up the yarn.

(I had to wind the Shetland, by hand over my knees, and it was very easy to do so.). The black yarn does not need winding. I pulled from the outside.
Knitting swatches drying
Swatches

Messing Up and Making Changes

I want to follow this pattern as it is written, so I used a needle one size larger for the neckband. I knit all the way through the set up row – for the raglan and then my issues began.

When I re-knit this, and I will soon, I plan to switch to the smaller (main) needle on that “knit around one row”. I found it difficult to switch needles while knitting short rows and making the lacy parts at the raglan. I kept getting confused as to which needle I should be using. This is probably just me and my inexperience.. AND the fact that I did something really stupid. When I made the short row turn, I began following the wrong part of the directions (mark your place !!!! – I’m yelling at myself here).

Once I did it incorrectly – with the yarn overs and such, I totally could not go back without making a mess. AND that dark yarn didn’t help … so difficult to see.

Before I gave myself some kind of stroke, I just pulled the needles out and said, “Oh well, I guess I’ll start over”. Keep calm and carry on… and all that. I’ll cast on again later today.

If you plan to knit this sweater, you will need to be good at yarn overs (YO) as that is how the open holes along the sleeves will be made. Purl Soho has a nice, short, to-the-point video to help with that. See it here if you need help: https://youtu.be/n6Bpde5wihE

cat and yarn image

More Knitting Stories on the Blog

Casting On and Beginning The “Arco Iris” Sweater Pattern

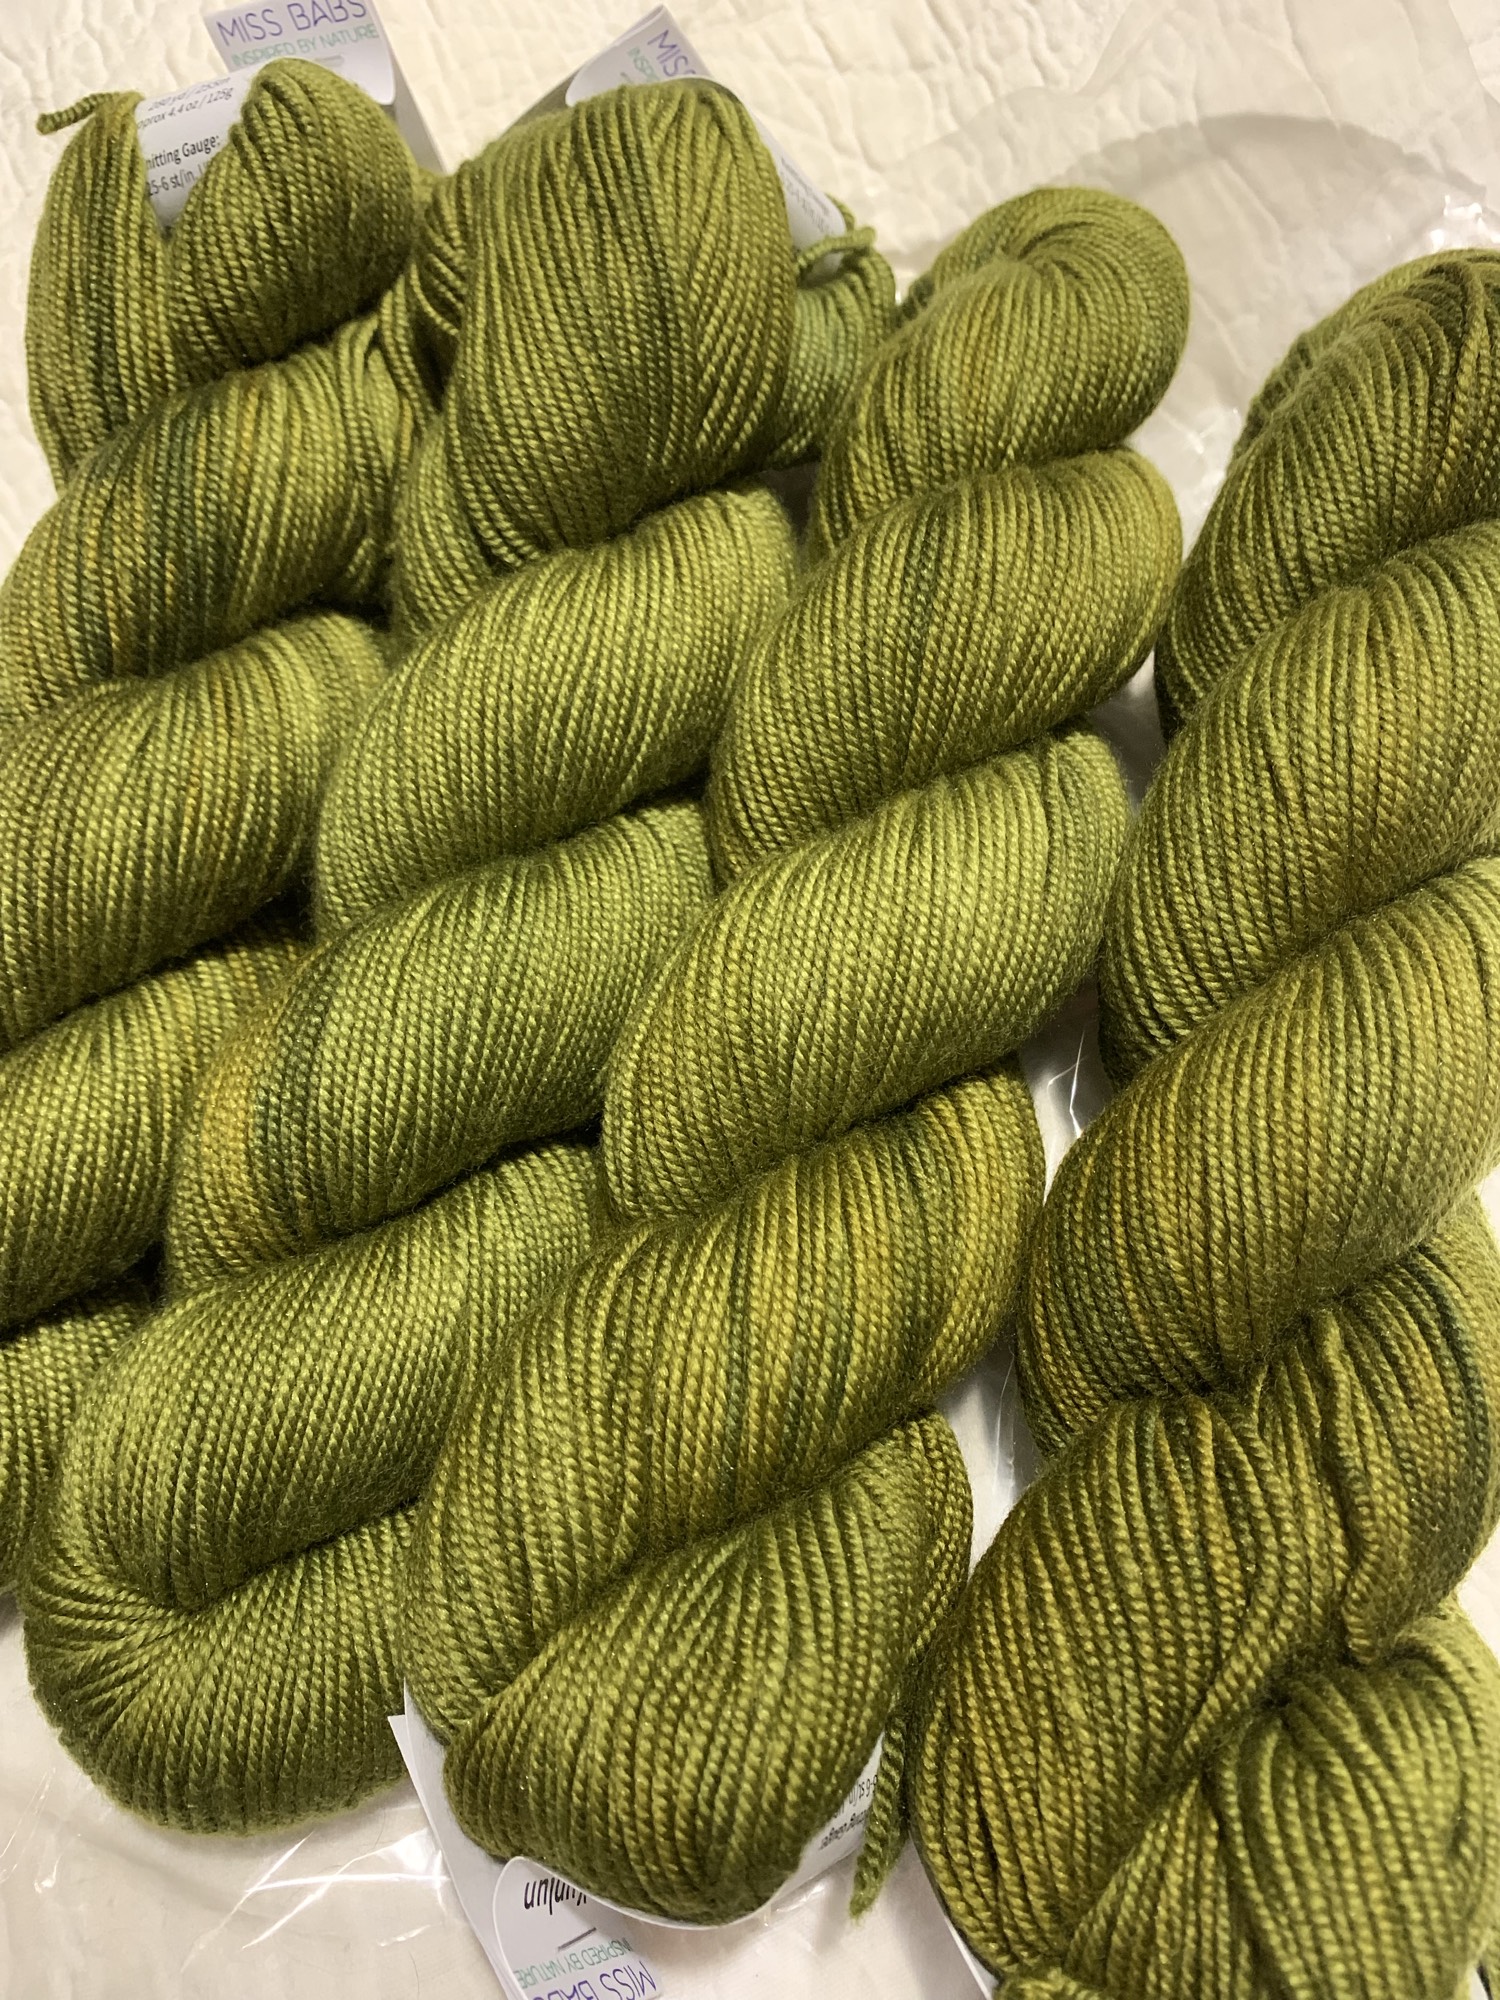
Knitting the Arco Iris sweater pattern by Joji Locatelli using Miss Babs Kunlun yarn in color Moss green.

I couldn’t pass up the Miss Babs yarn sale and grabbed some of my favorite “Kunlun” yarn. My intention was to knit the new Joji Locatelli pattern called “Arco Iris”.

The sweater is a v-neck with 3/4 sleeves and pretty, textured ribbing (pattern link below). It calls for a DK yarn so this merino, cashmere and silk blend should work nicely.

I purchased four skeins of color “Moss”. This was not my first color choice but the Miss Babs sale is popular, so I took what I could find that offered enough skeins (4) for my project. Green is good. It is one of my favorite colors to wear.

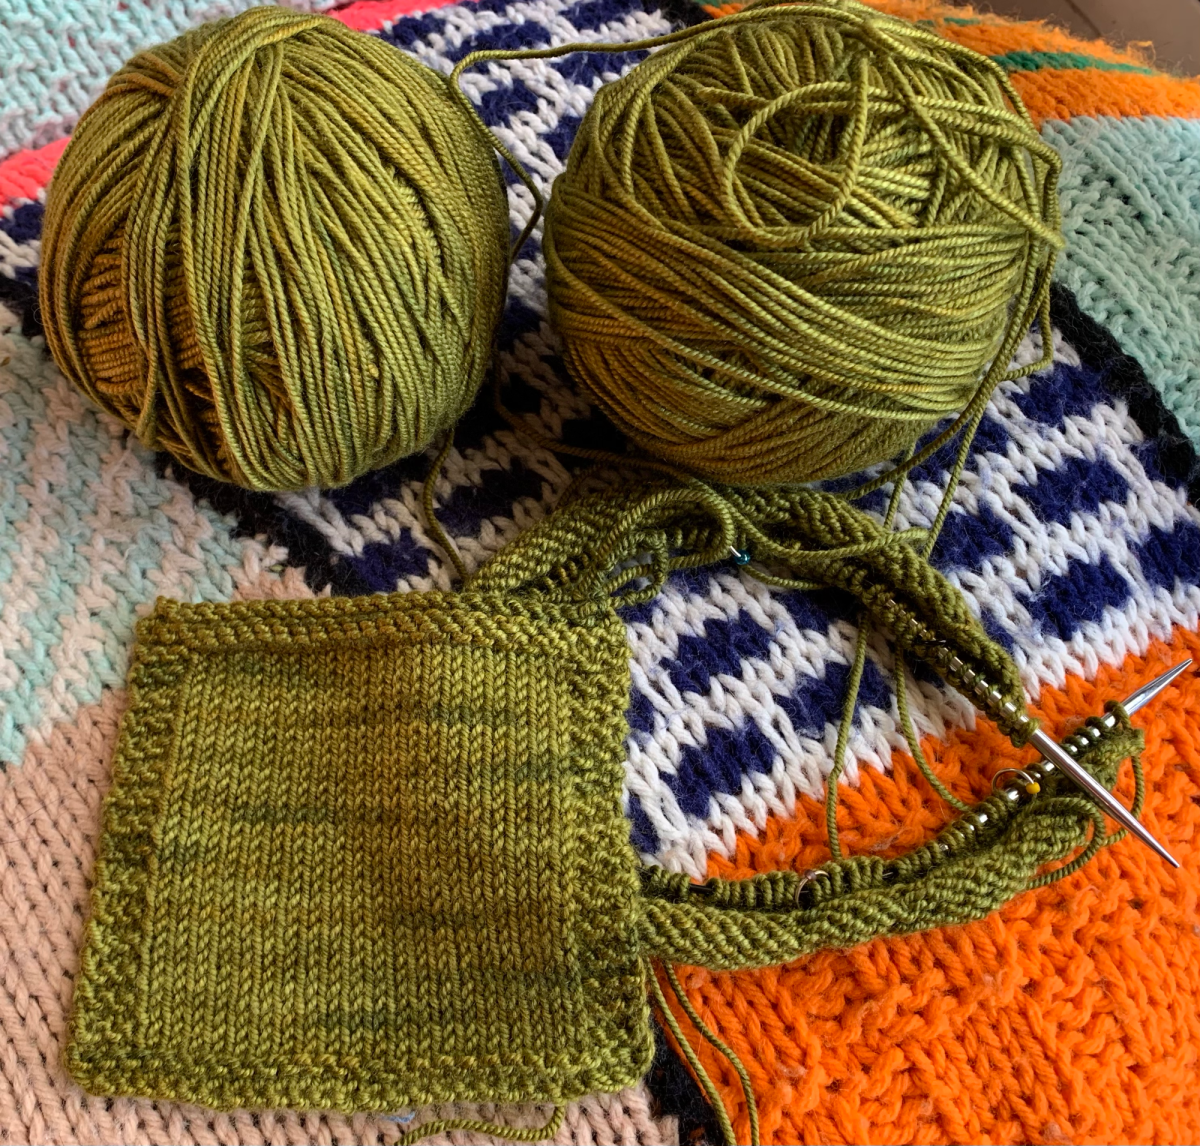
My swatch has been knit, washed, blocked and dried. My row count is off slightly as I have about 31 rows in 4 inches and it should be 29. But stitch count is exact, so I’m sticking with the size 6 needle. I will just watch the length. Some articles about swatching say that row problems can sometimes be fixed by changing needle types. I’m waiting for some new wooden Lykke needles to arrive.

Casting on January 12th with two skeins wound and ready to alternate. This is my first Joji pattern.

knitting raglan sweater

Once the 24 inch Lykke needles arrived I switched from the 16 inch metal, which was getting very crowded. The following day the 32 inch arrived and I’m now using that. View Lykke needles on Amazon – this is an affiliate link to the needles I purchased.

I need to say how beautiful this yarn is to work with. Look at those wonderful stitches, all lined up and perfect looking. I don’t know if I’ve ever knit with yarn that is so defined. I’m knitting two rows at a time from alternating skeins to keep the shading good.

So far the pattern is very easy to follow, with lots of stitch counts noted to keep me on track. The increases are easy to remember. There is a lot of purling – every other row – which I personally don’t mind.

Pattern Problem at End of Increases

Now that I have reached Section 3 the body and sleeves are divided and that all went well – until I decided to Tink back to add stitches – see Mods section below. This was not a pattern problem, just my choice.

The first confusion arose in Section 3 in the Note. We are told to continue neck increases “every 4th following row”. Apparently that “following” means the rows to come – from here on out. I would word that differently to be clearer. That means we knit the divider row as Row 1, Purl row is 2 and so on. That has us increasing on a purl row which is not what we have been doing.

The designer lists how to make those purl row increases, but it seems the directions for them are wrong. A fellow knitter left a comment on the pattern page that the the m1pl and m1pr definitions in the “abbreviations” section were incorrect. I checked that out by watching this Purl Soho video about how to do both increases. I have to agree that the designers directions for these increases are incorrect.

It also took me a bit to figure this all out. A couple of simple sentences could have made all this much clearer for me. Then again, maybe I am the only one who didn’t get it. It’s possible.

Mods

One test knitter (Toriyu) mentioned casting on extra stitches for the body when dividing the sleeves – even though her size did not include this. My size 4 directions also say to cast on Zero. So I tinked back to the separation row and cast on six stitches under each arm for a total of 12 extra stitches. I did this because I don’t want the body to be tight. The test knitter then decreased those extra stitches as she knit down the body.

To Be Continued

My next Arco Iris post is about knitting the v-neck ribbing with the cables. I decided to knit the neckline before I finished up the body. You can read that here.

Happy knitting!

Fontana’s face

More From the Blog