Meadow Moon is My First Jennifer Steingass Pattern

A while ago I decided to make 2021 a year for knitting sweaters. Now we’ve entered 2022 and I am finishing up my projects on the needles.

I’ve seen the Jennifer Steingass patterns around and love many of them. Her Ravelry store is Knit.Love.Wool and her sweaters have colorwork yokes, cuffs, and bottom hems. Many of her designs look to be nature inspired with patterns that resemble leaves, stems, and feathers. The pattern I chose looks like stems of wheat coming down from the neckline.

Sweater Knitting is an Investment

Choosing to knit a sweater means an investment of money as well as time. The sweaters I have knit have generally required around 1200 yards of yarn. Depending on the type of yarn purchased, it can be over $100 in material. Choosing a good quality (non-superwash) yarn is worth it. Wool will hold it’s shape and the sweater won’t stretch like crazy when it’s washed.

I purchased seven skeins of Rauma Finull wool in blue and decided on a hand-spun skein I already had as my contrast color. I had no idea how this variegated yarn would look when combined with the dark blue. So far, I think it’s looking quite good. I did not want a completely opposite yarn color for the contrast. With this yarn I have no control over what colors are coming up on the skein. It’s fun to see the colors emerge.

The Meadow Moon pattern is well-written and very easy to follow. This is big. I’m also knitting another sweater and the directions are difficult. Some designers go the extra mile to help knitters and some don’t. I’m learning to avoid some popular designers who have made me unhappy by not going that extra mile.

After the Fun Colorwork…

The body is a slog… it has taken a while for me to complete. Finally I bound off the ribbing and tried it on. Fit seems perfect. On to knitting the sleeves. At least there will be colorwork at the ends.

Although round and round knitting can be tiresome, it is great for car trips, late night television knitting, and knitting outdoors and soaking up the sun. I like the fabric being created, and would probably knit more sweaters like this one.

Meadow moon sweater knit
Body is done!

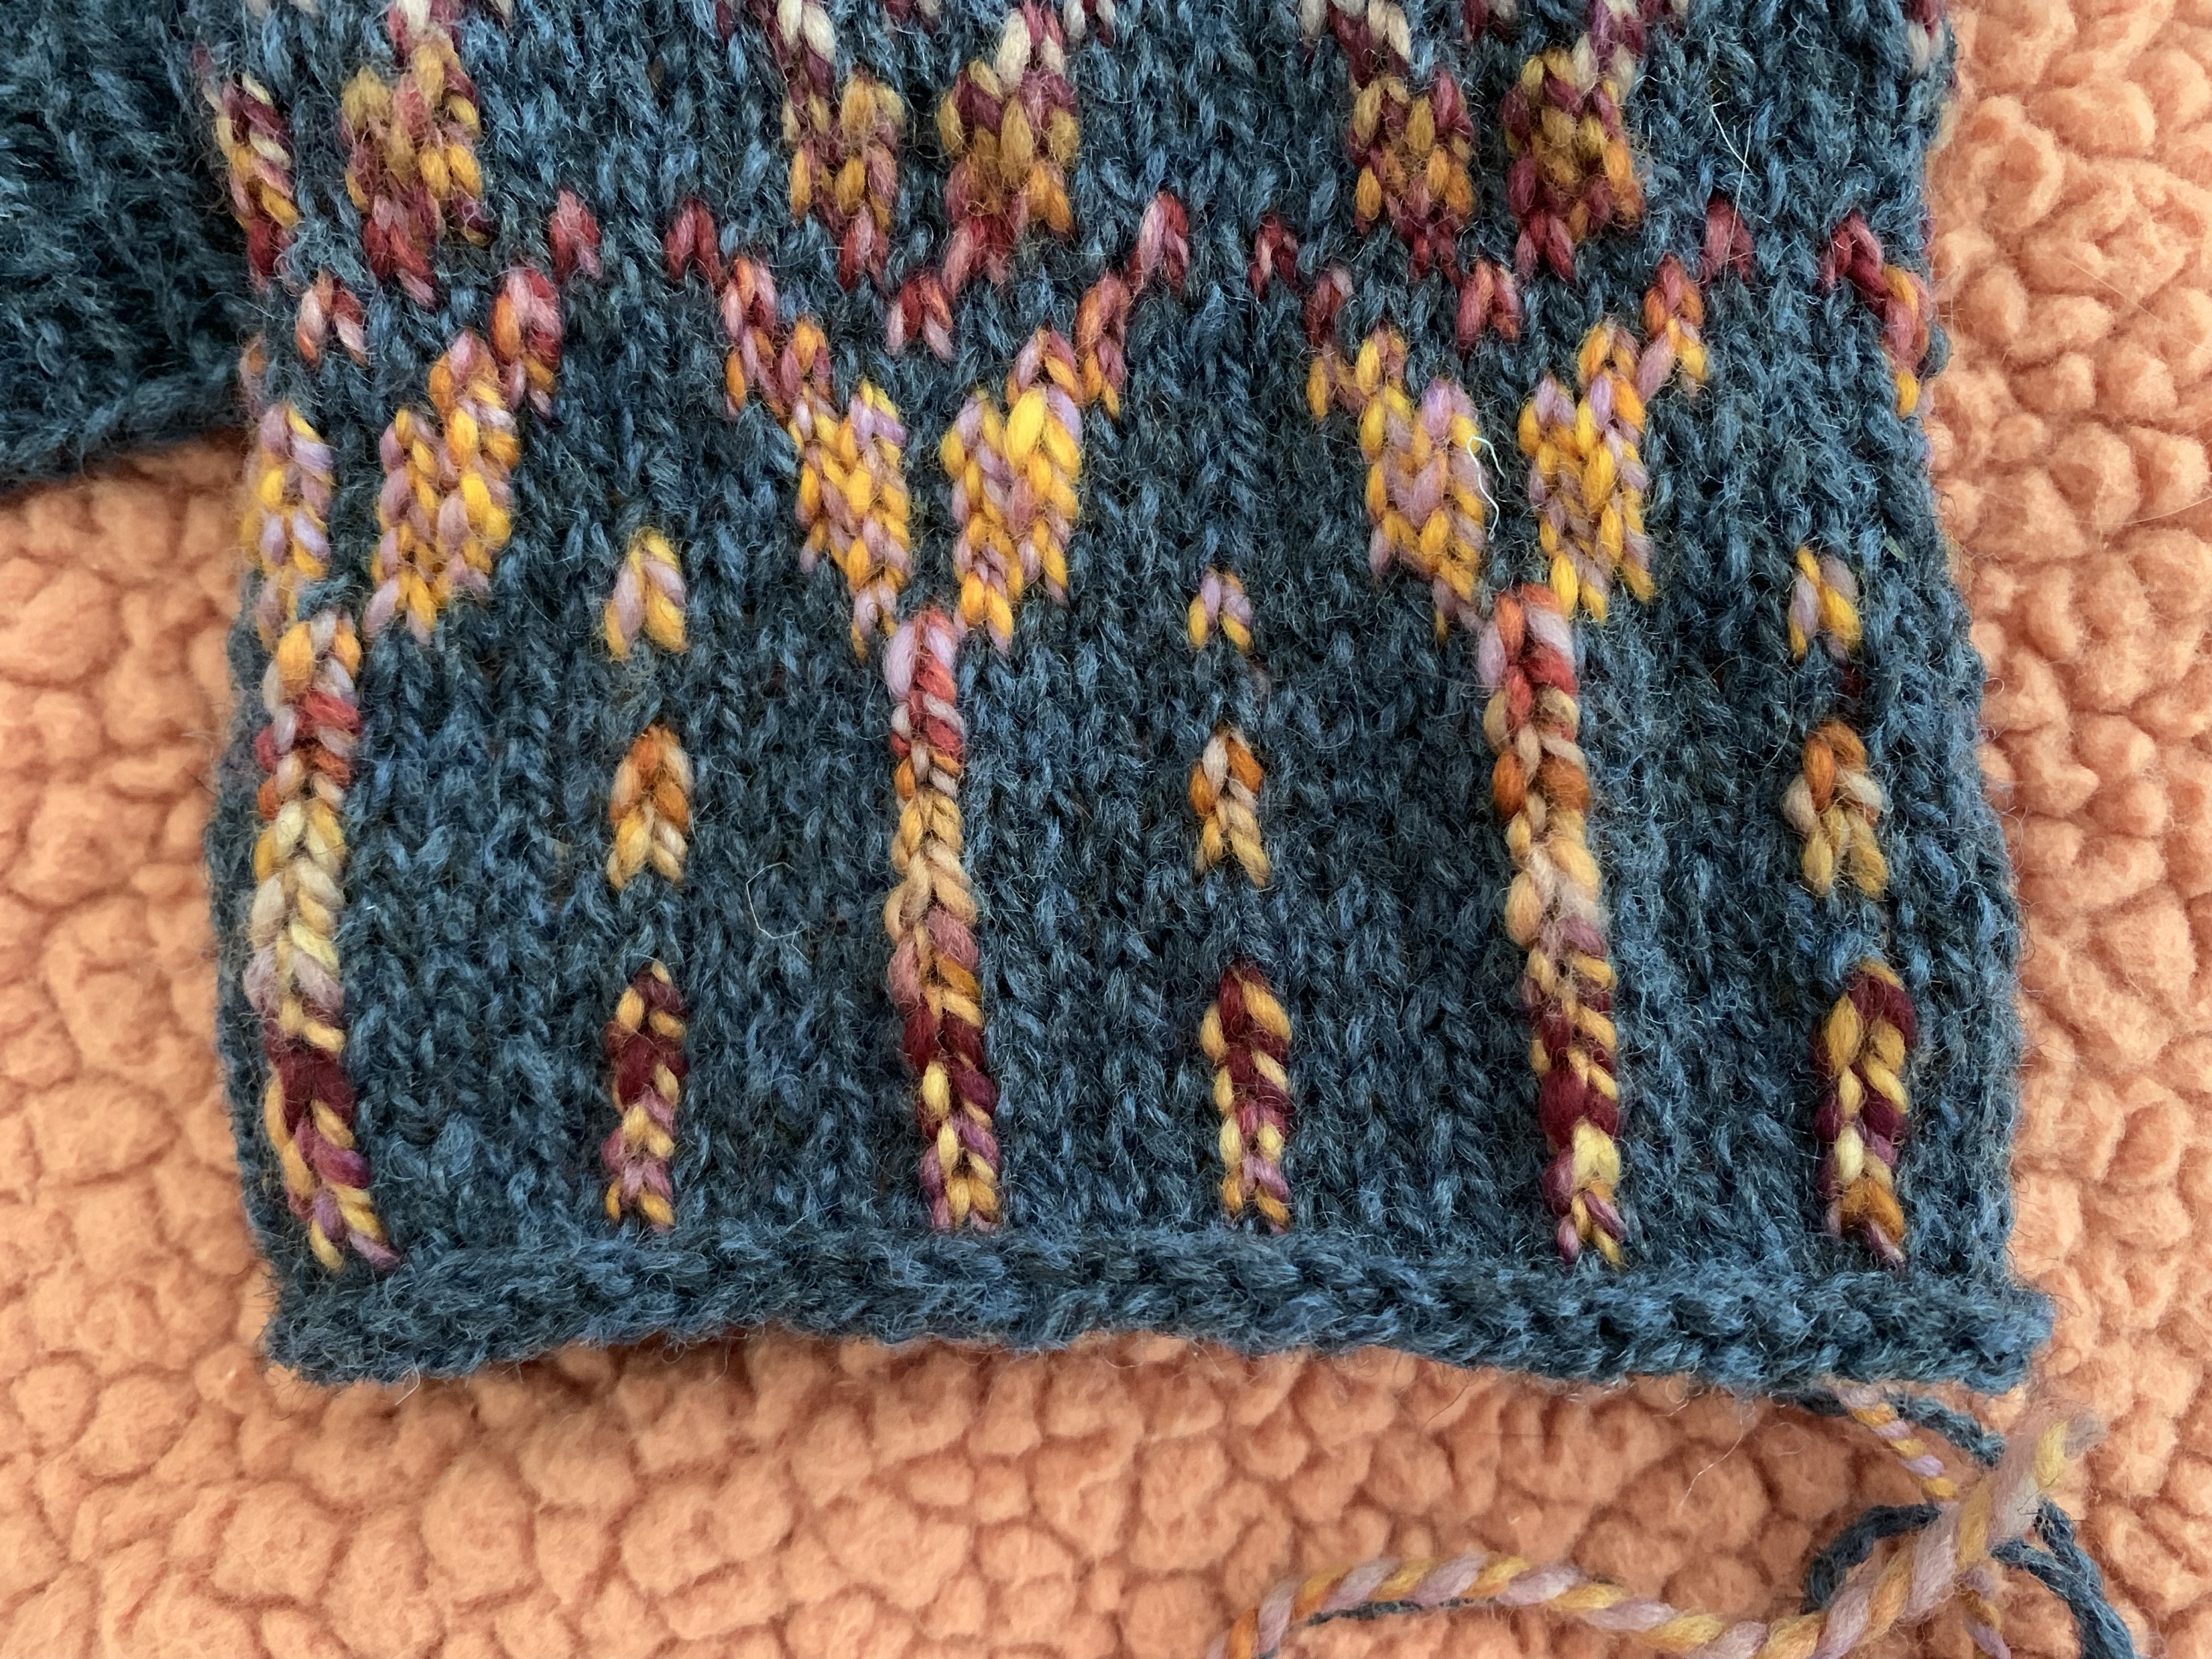
The first sleeve is finished. The decreasing was easy and looks nice and I followed the directions for length, which seems to be perfect.

One thing I changed was the bind off. I found the i-cord bind off directions in the pattern to be difficult. I began with it, but it didn’t look good. Possibly, I was doing it wrong. So I did it my way.

My i-cord bind-off resembles the one Stephen West shows in his video here. Except, I only cast on 2 – to the left needle, not 3, which follows my sweater pattern more closely. Then, *knit one, k2tog tbl, slip both stitches back to the left needle. Repeat from the star.

This bind-off takes some time to do, but it does leave a nice rounded edge.

With one sleeve to go I can see the light at the end of the tunnel

Finishing Up My Sweater Knit

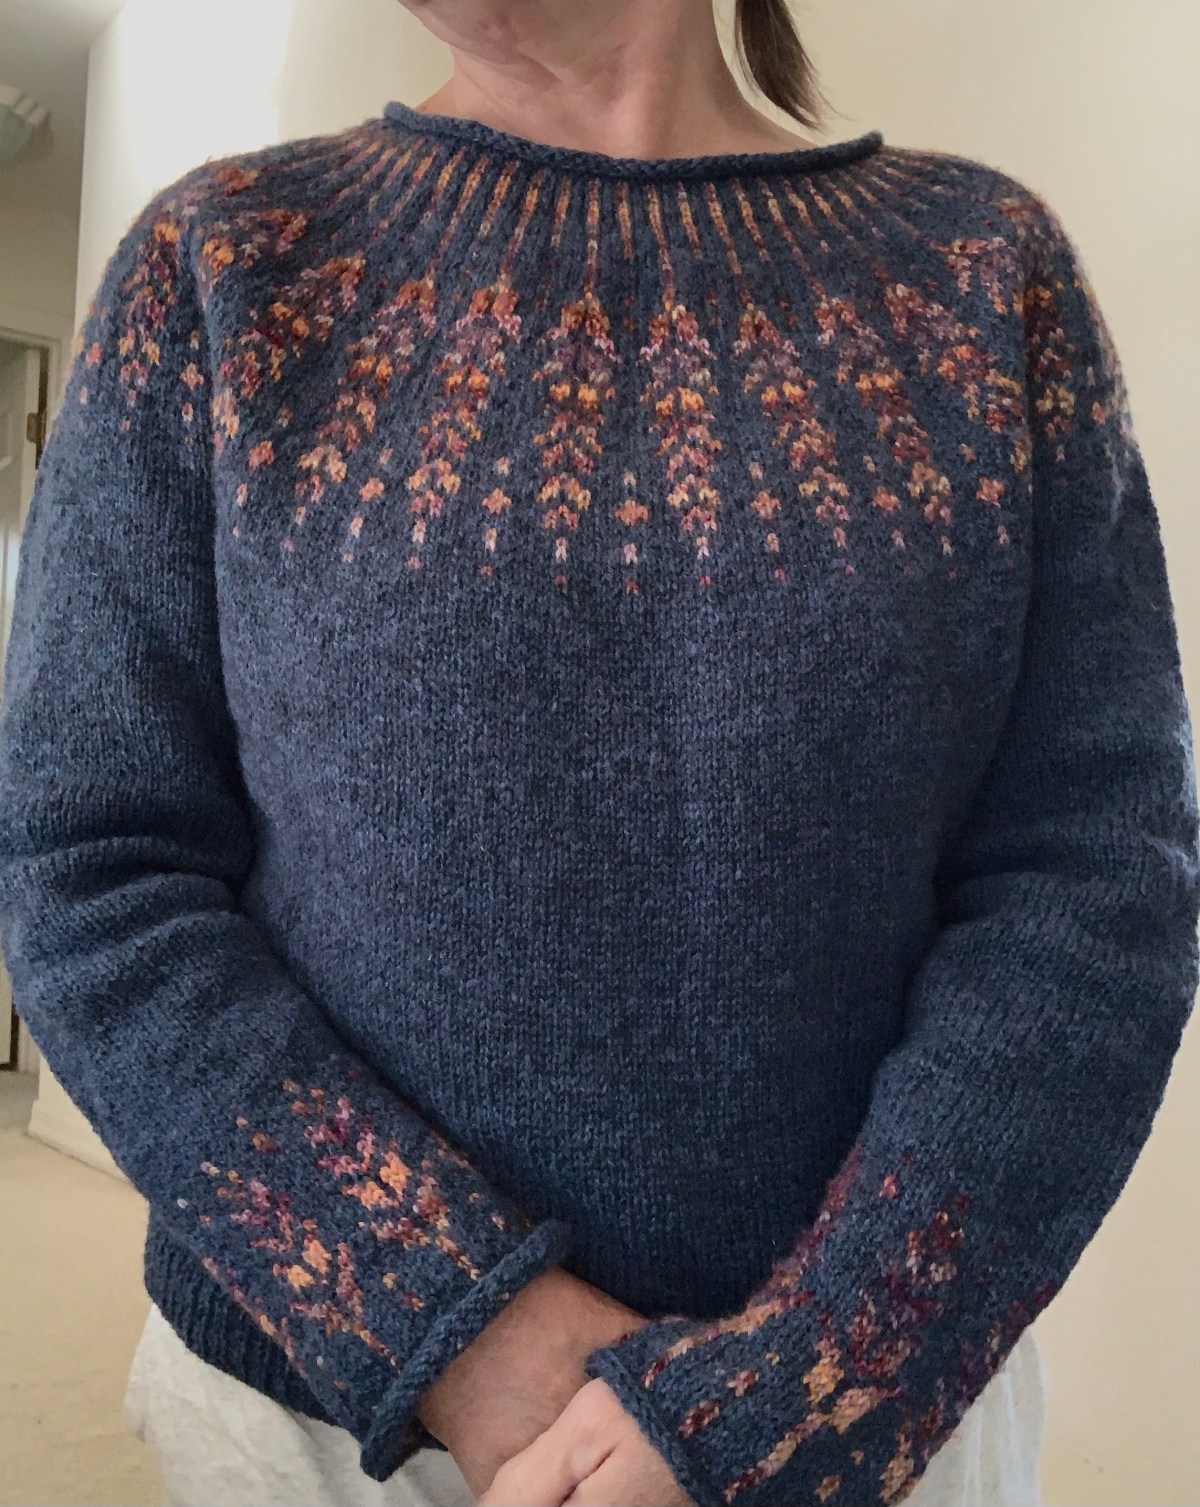
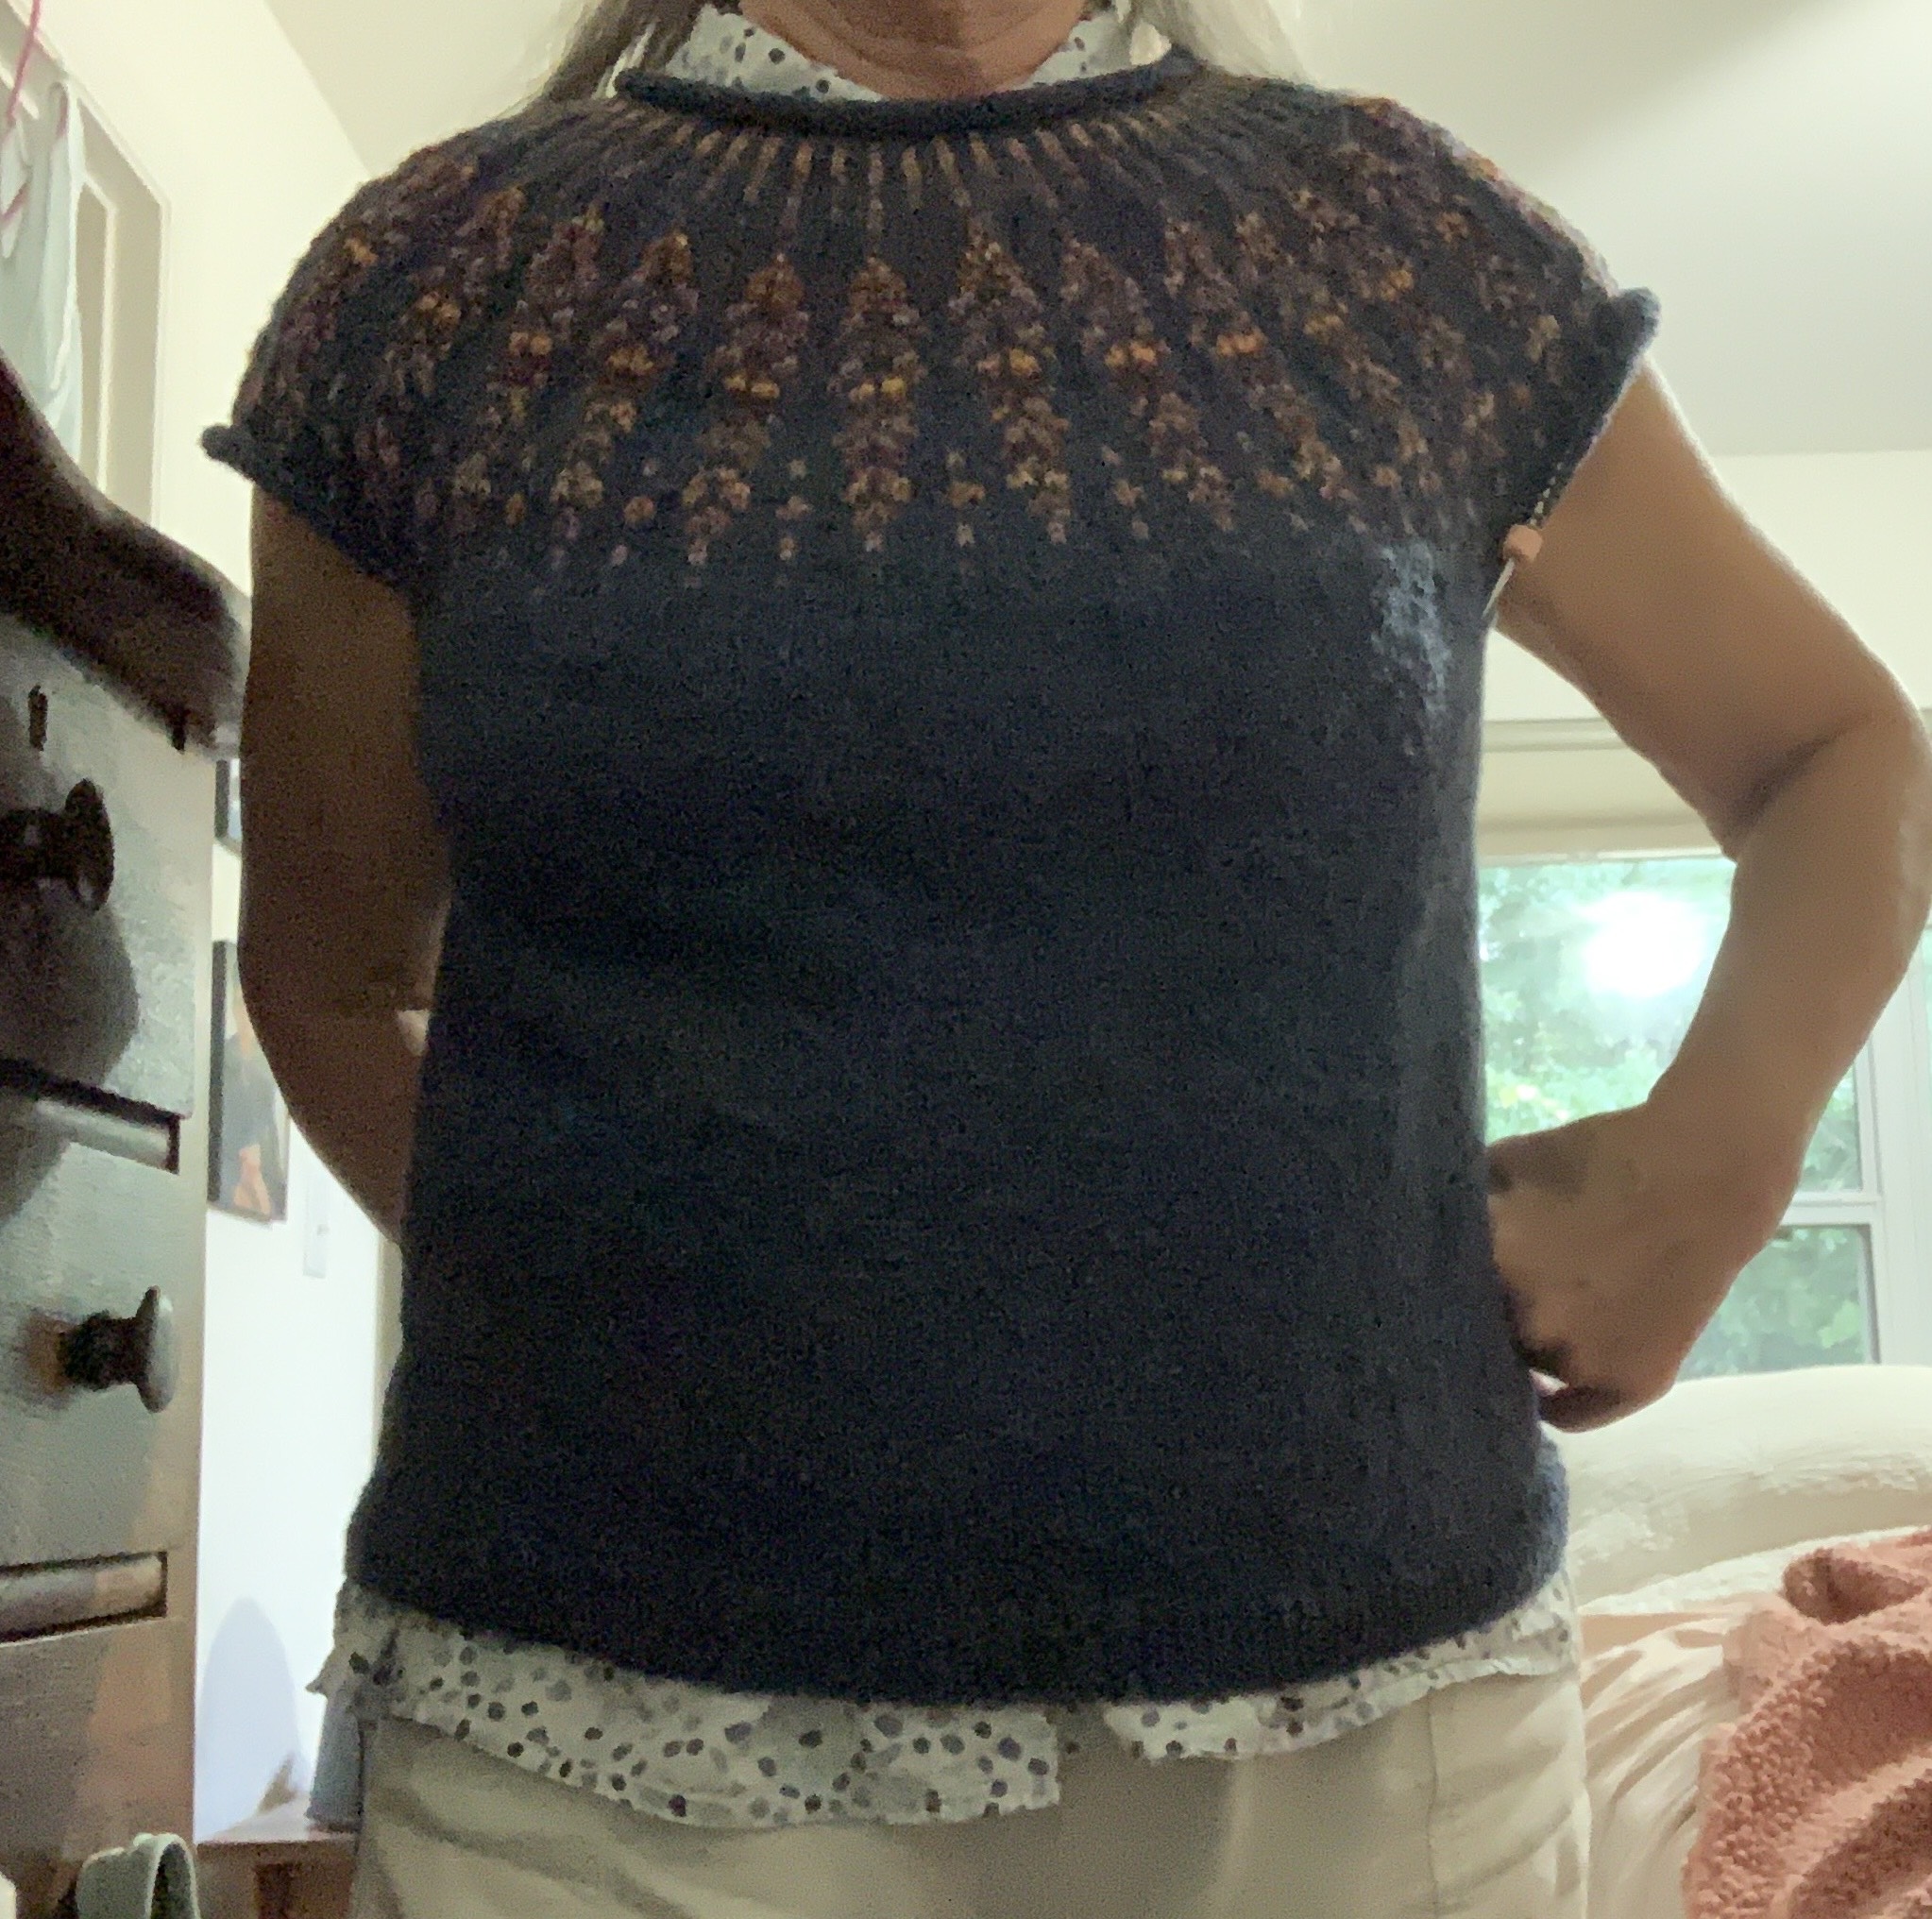
None of these photos are great, but here I am wearing the sweater BEFORE washing and blocking. The middle photo is AFTER the wash, and taken in the sun to show the colors of the contrast colorwork. All the bunching of the colorwork became flat once it was washed. Sleeve length is perfect for me.

The sweater is a perfect fit. I would do more short rows because I have a hard time figuring out which is the front / back!

The yarn has created a lovely, lightweight fabric. I think this is one of my favorite knits so far. *Also, it has become the most worn hand-knit sweater I’ve knit so far. It fits perfectly and is very light weight and comfy.


Read about what else I’ve been up to in my knitting world…

Knitting Projects On the Needles in February

It’s mid February and I’ve been good about not beginning any new knitting projects. Presently, on the needles, I have a sweater, hat, mittens and wrist warmers.

Meadow Moon

Meadow Moon is the pullover sweater that has been on the needles for months now. It’s not that I don’t like it, in fact I think it will be a favorite, but I knit it randomly. I’ve begun too many projects and let this one slide. Now I am on the end of the sleeve and finishing up the colorwork. I should be done in a day or so. I’ll have a few ends to weave in, and then the wash. I hope the cool weather is not completely gone here in Florida because I want to wear this one!

This photo is a horrible representation of the colors. The sweater is blue, not green. Once it’s finished, I will post a page review.

Meadow moon sweater nearly finished
Meadow Moon Sweater

Classic Watchcap

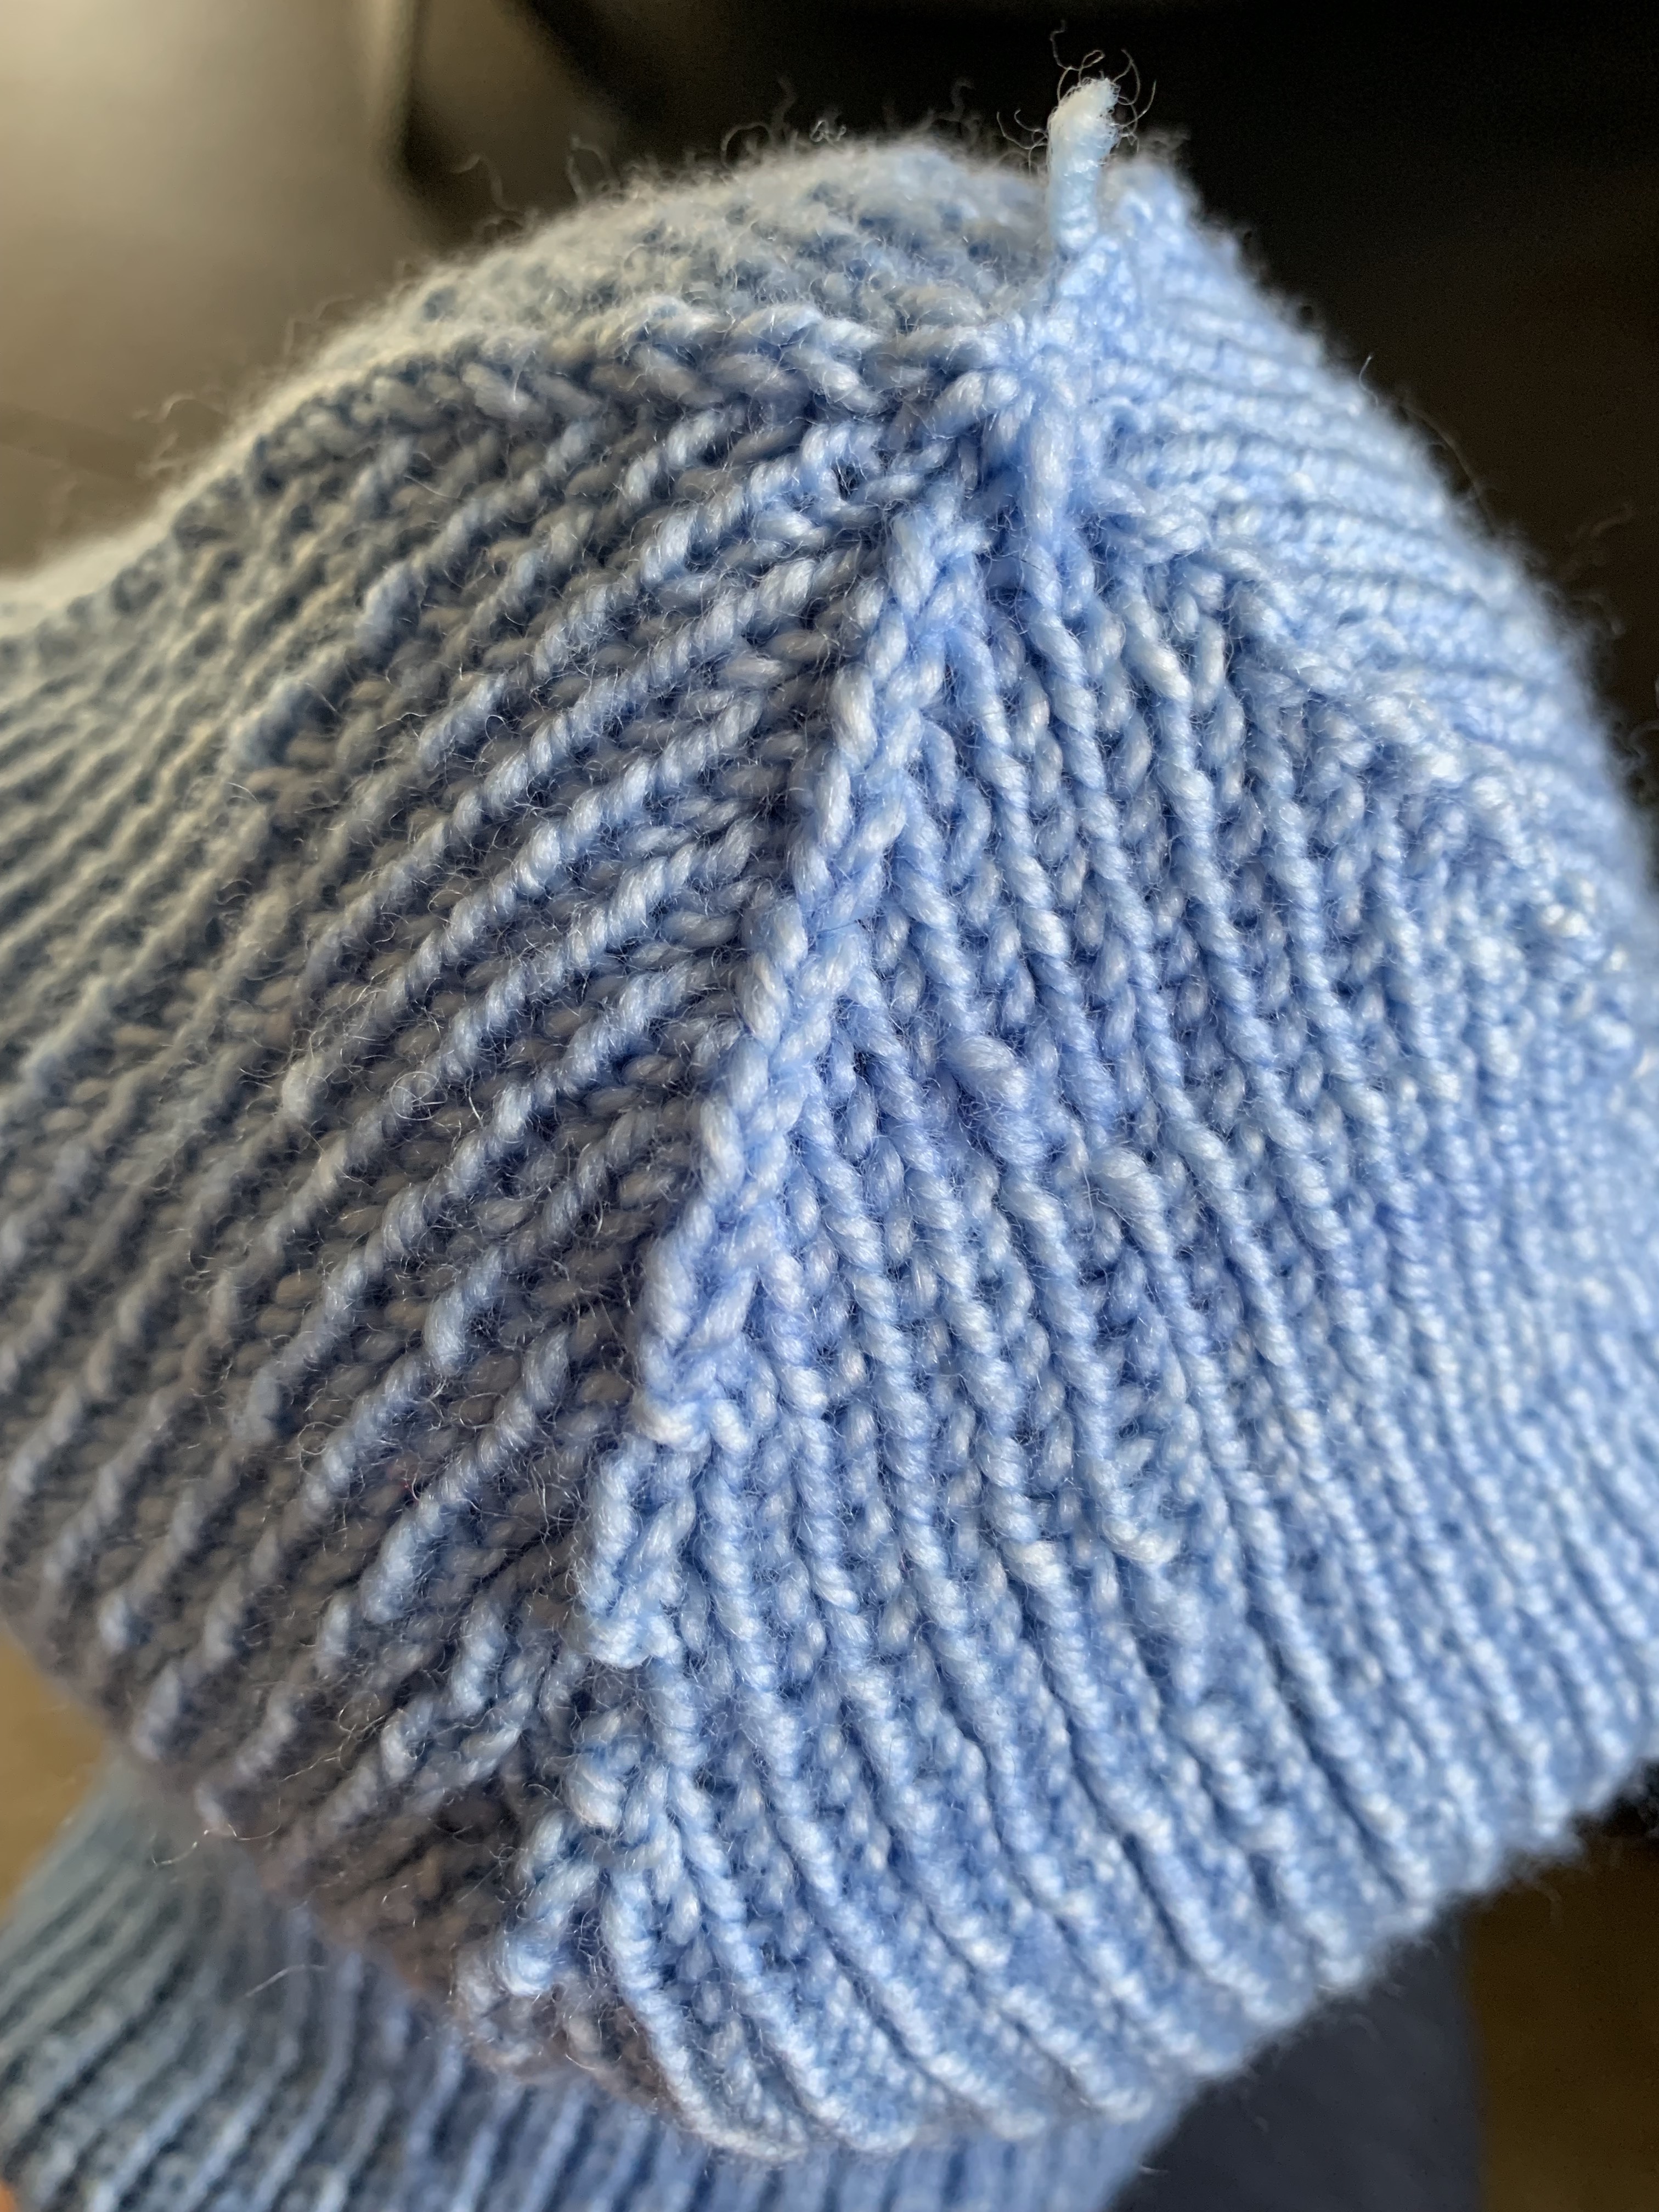
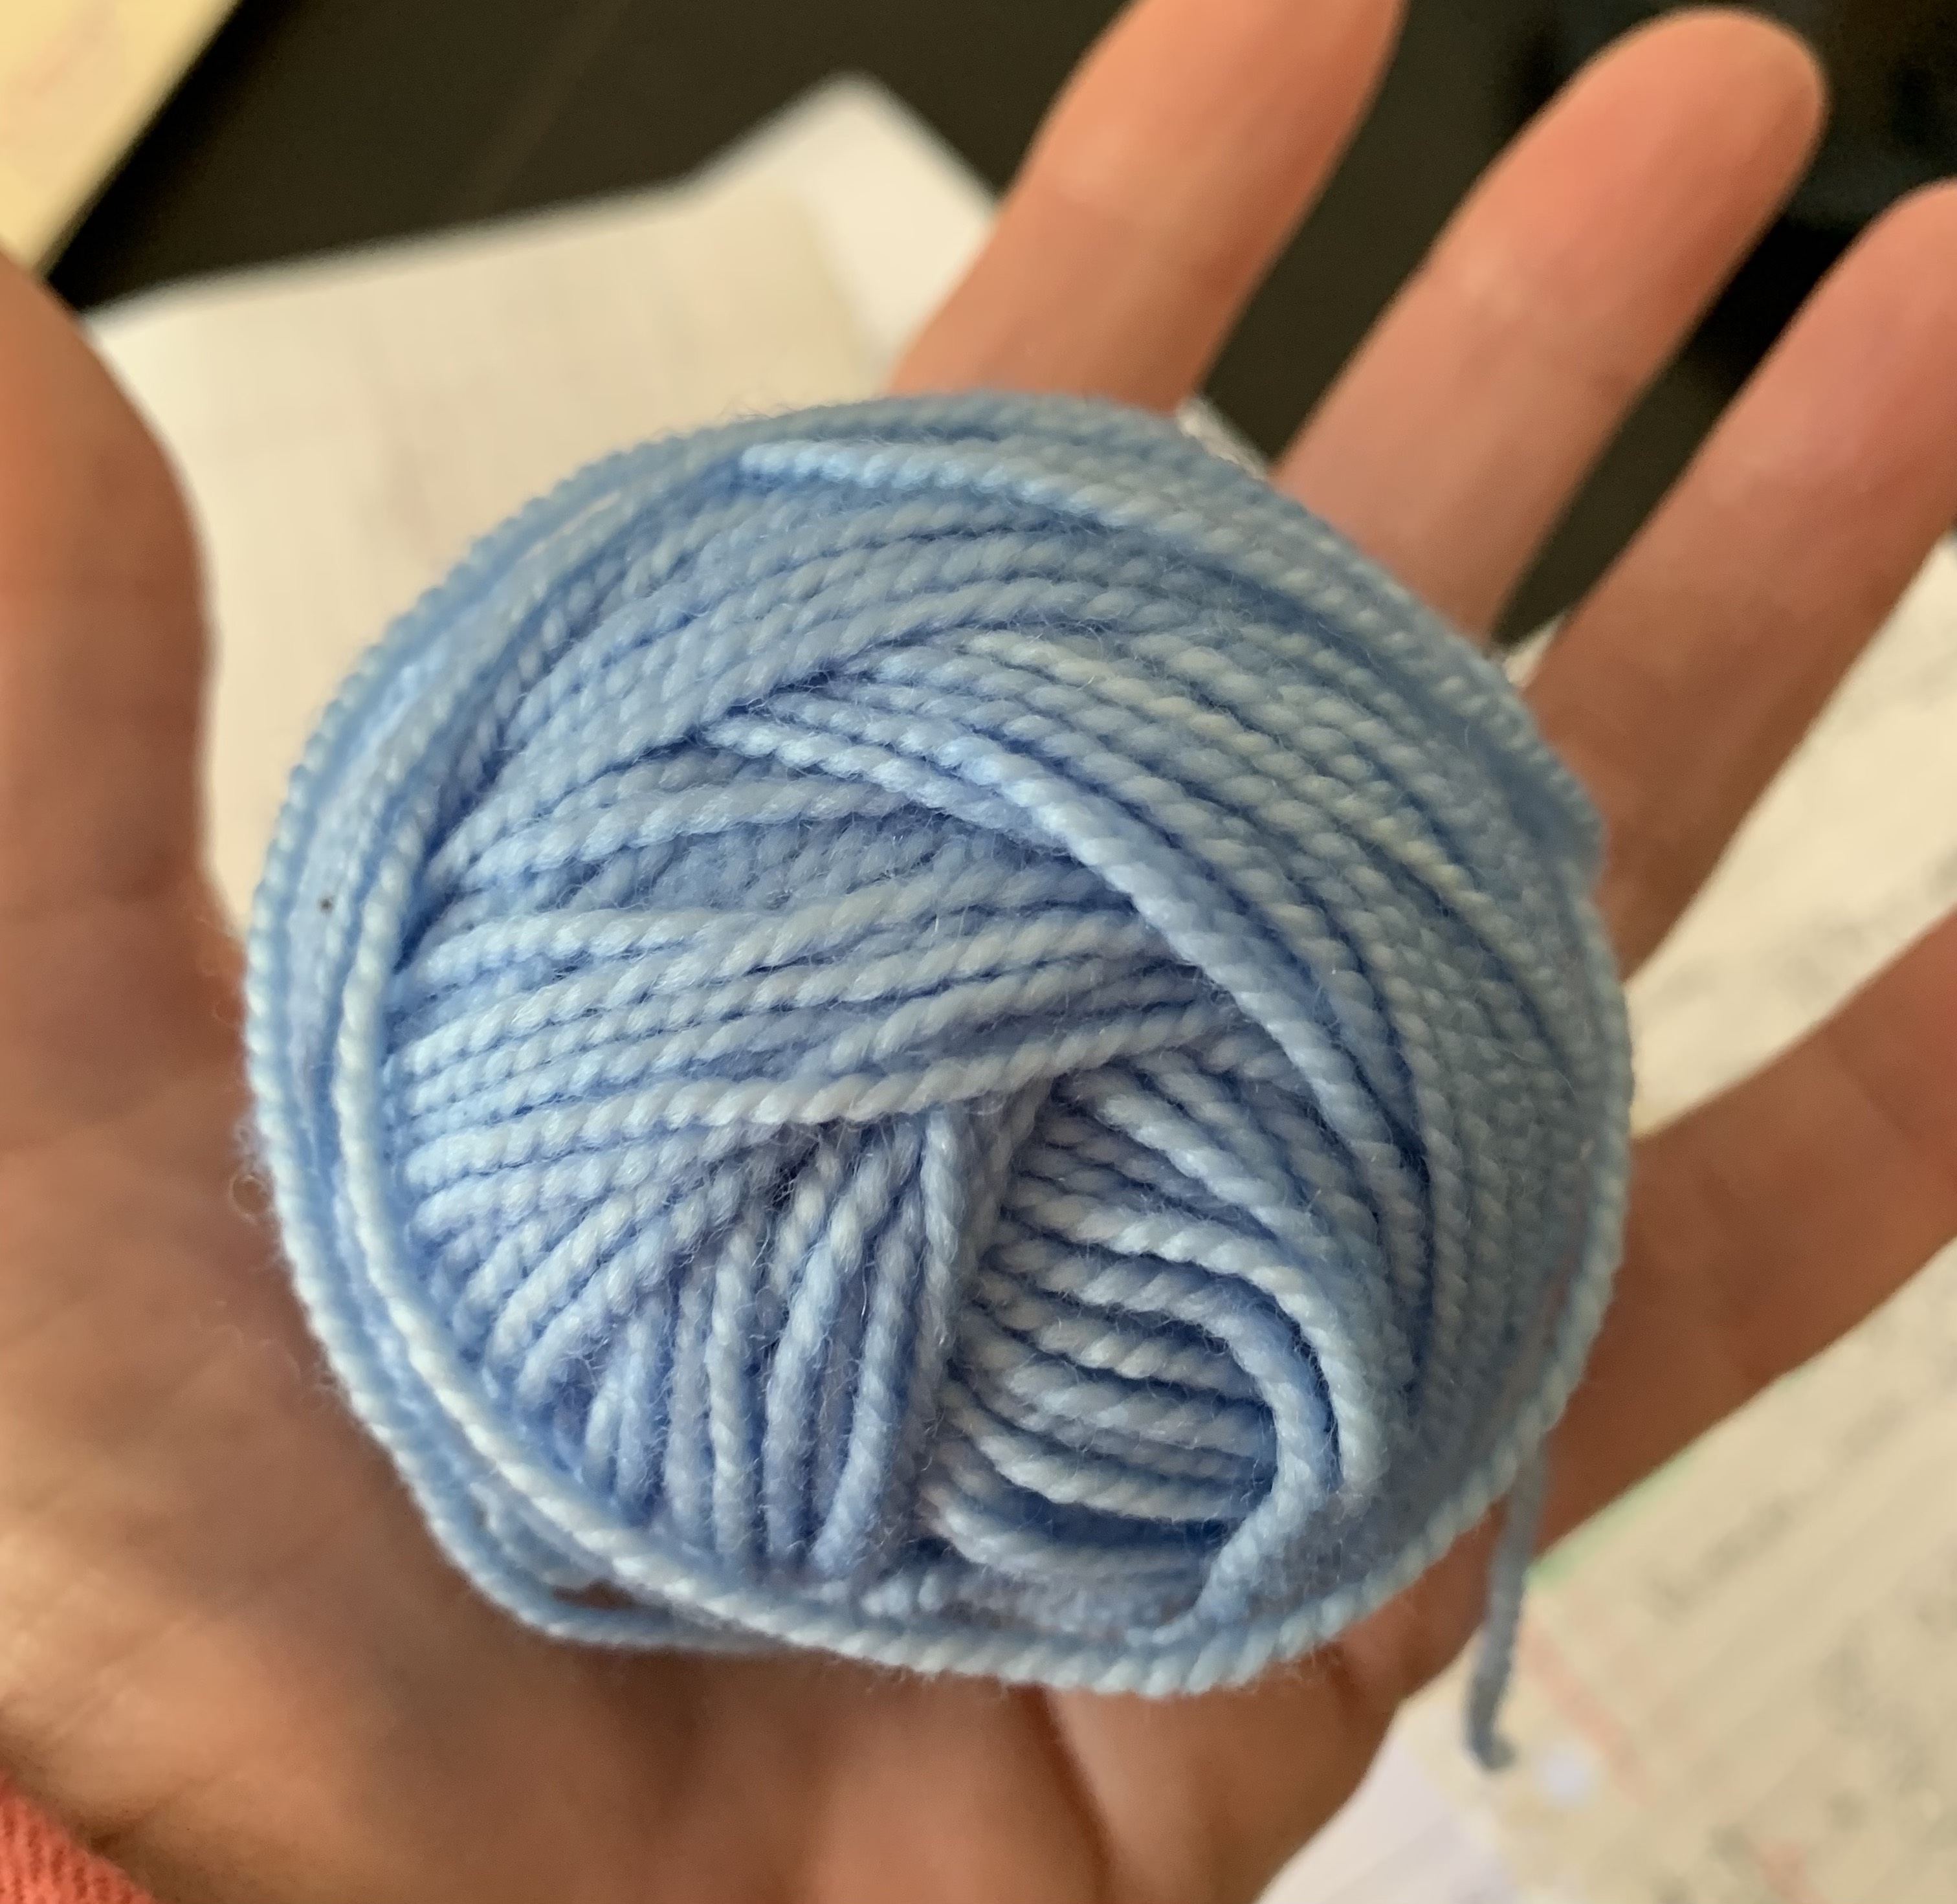
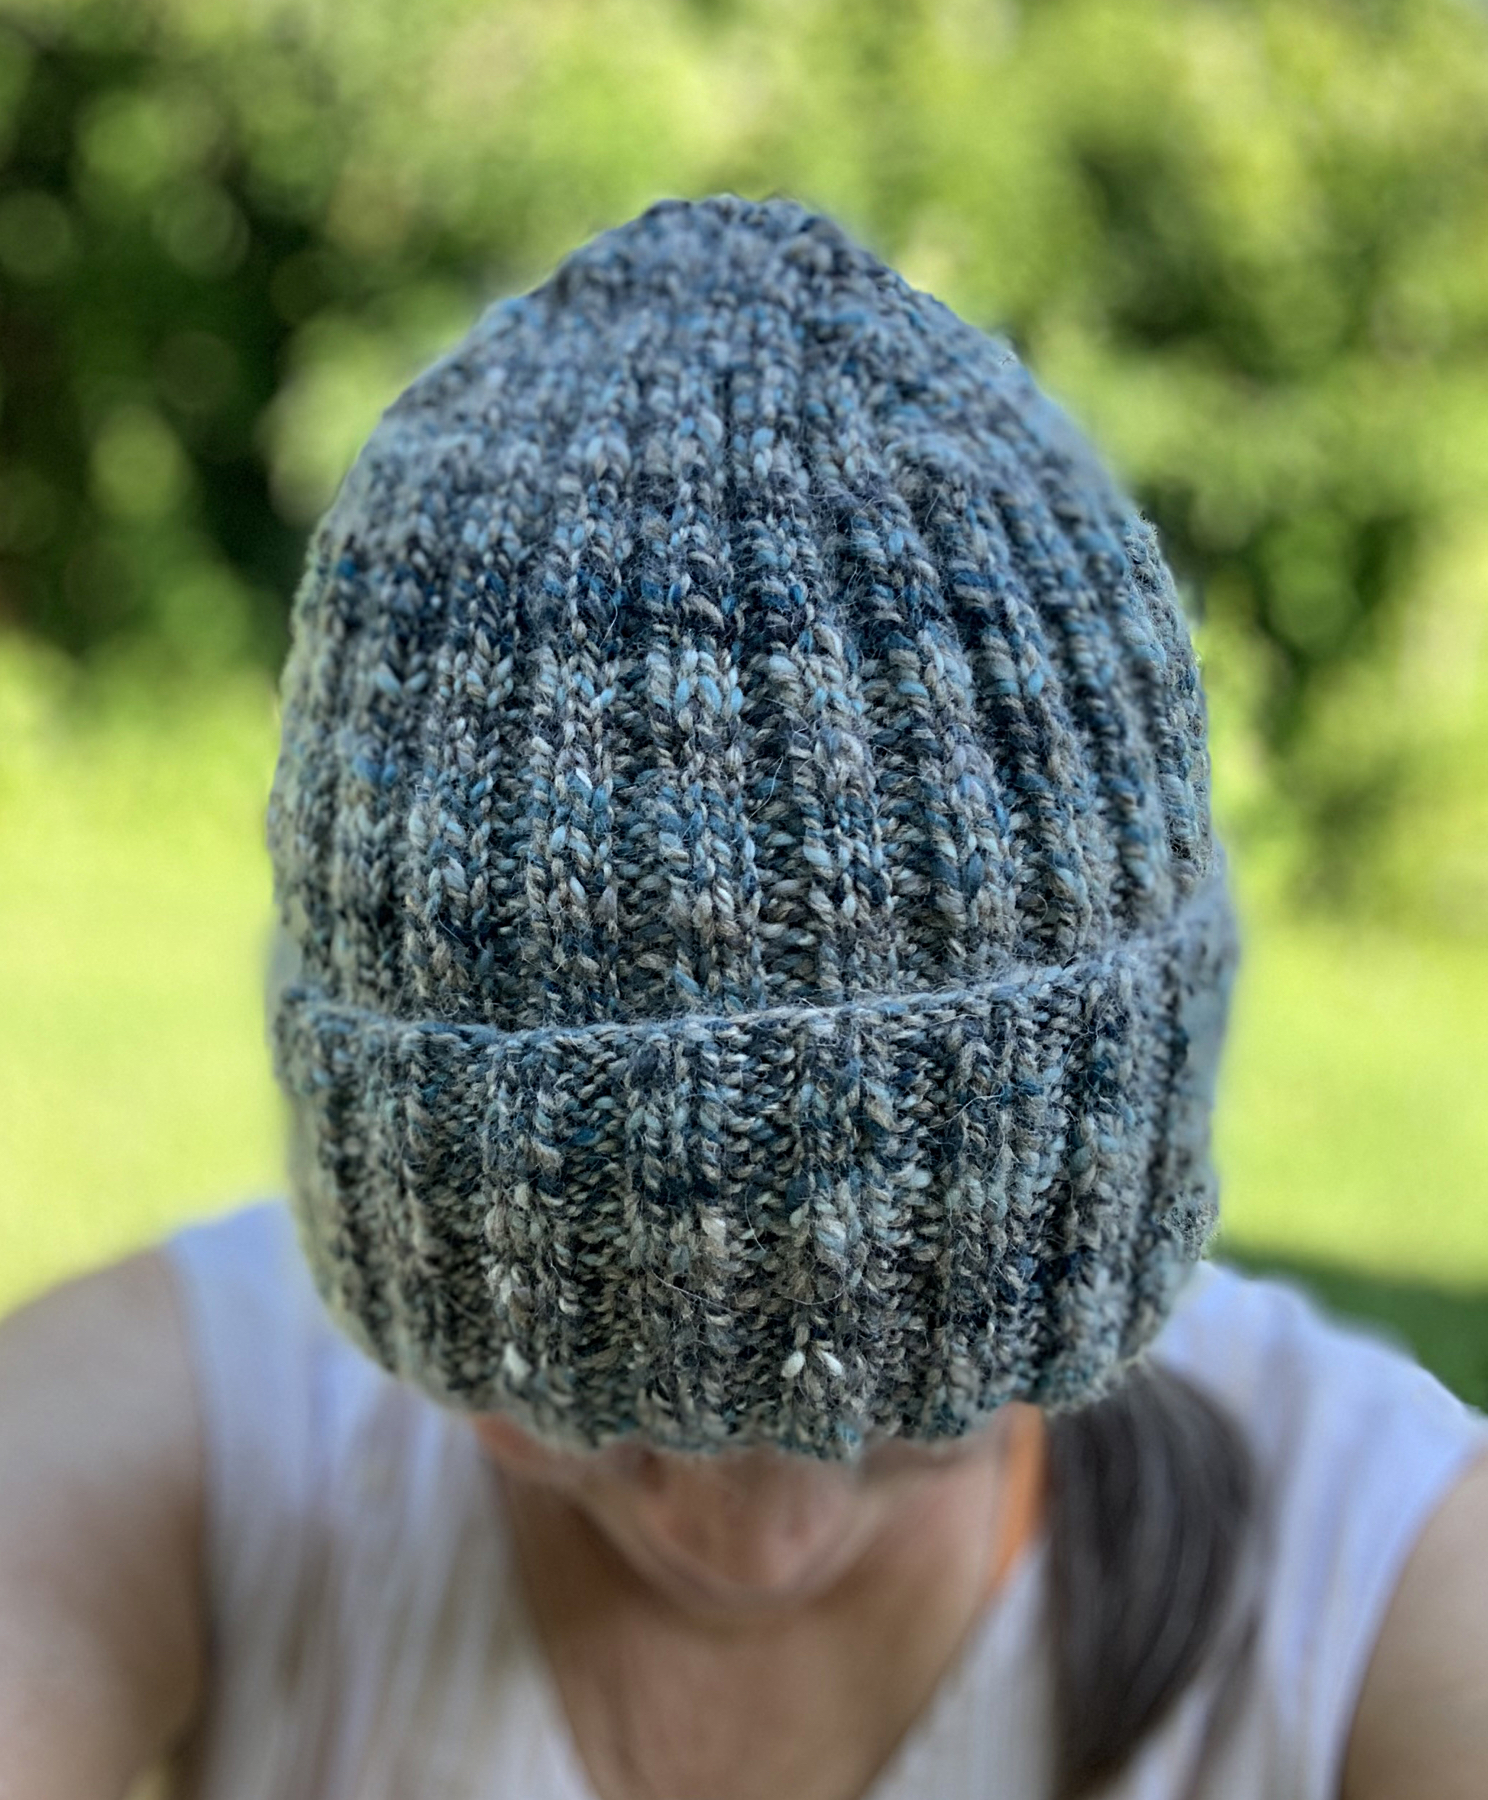
This little blue project is a Classic Watchcap and it is very monotonous knitting. I knew it would be, and save it for evening knitting. The light blue yarn is easy enough to see and the knit one, purl one… on and on… is great for TV watching. At this point I’ve knit for about six inches but have three more inches to go before the decreases. I want a slouchy version with the option to roll up a brim.

Ribbed Watchcap – My Ravelry page. Yarn is Camp Colors, CC fingering which is Superwash merino.

Light blue classic beanie knitting

Thrummed Mittens

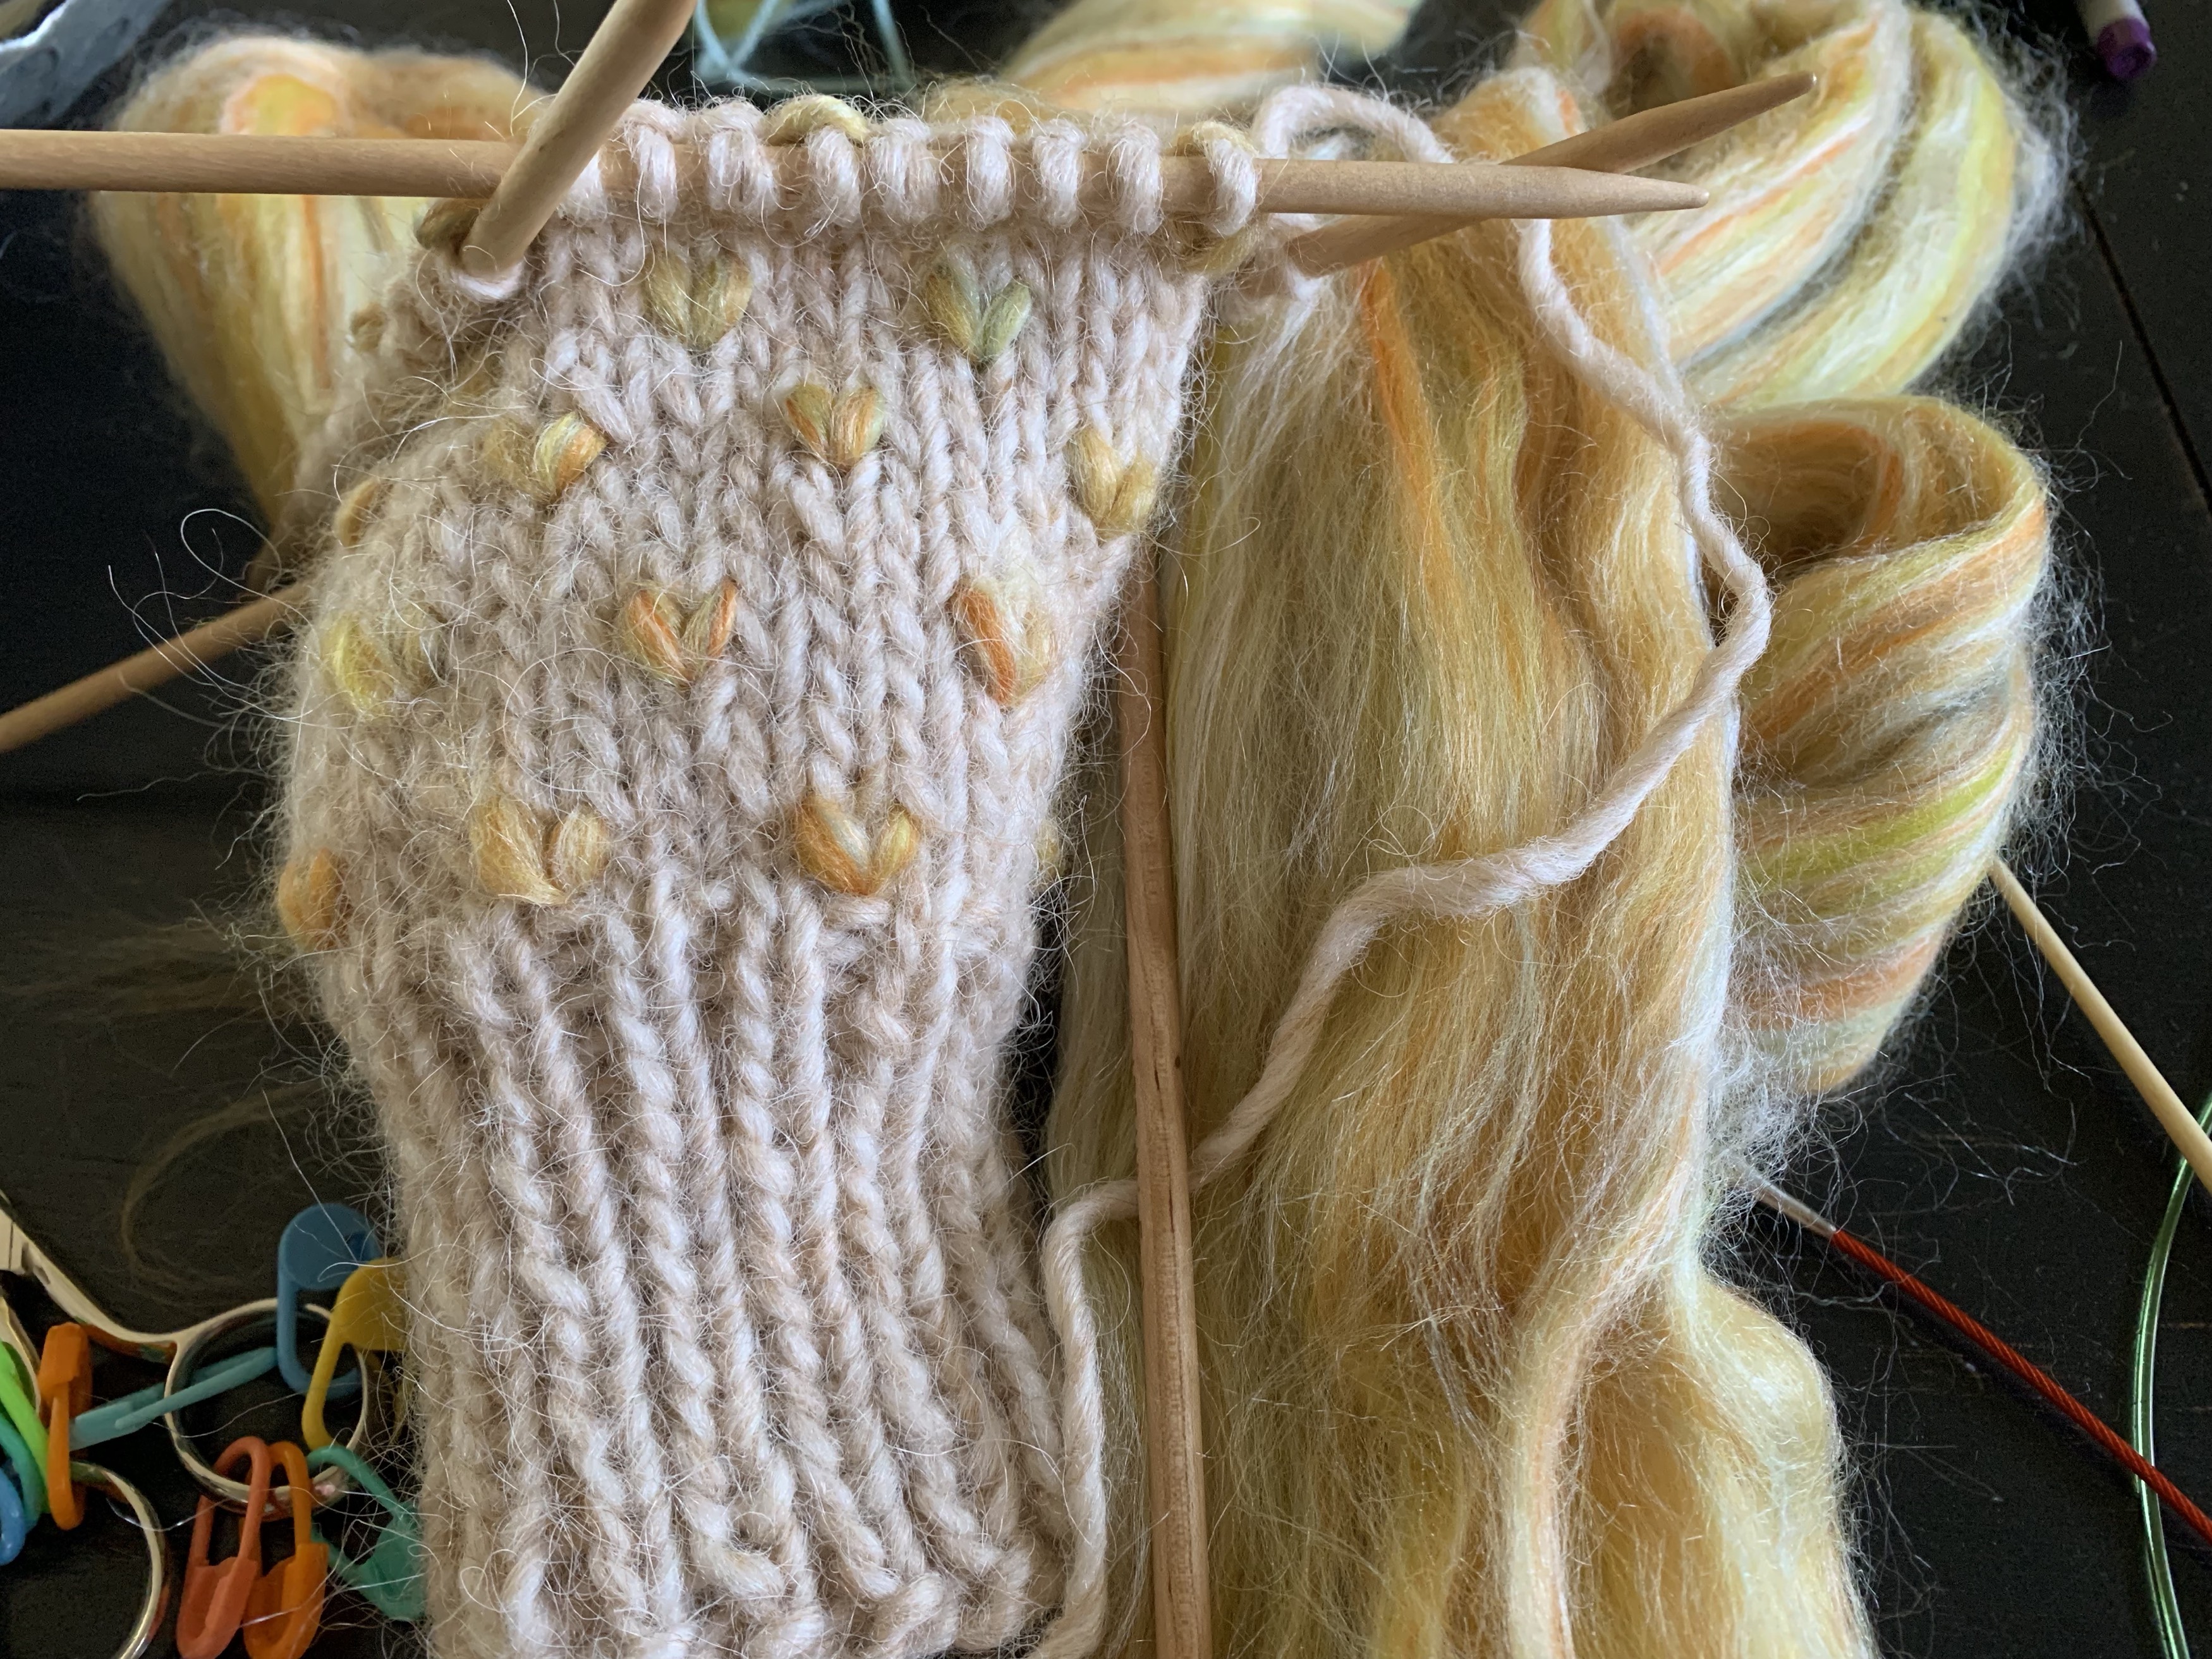
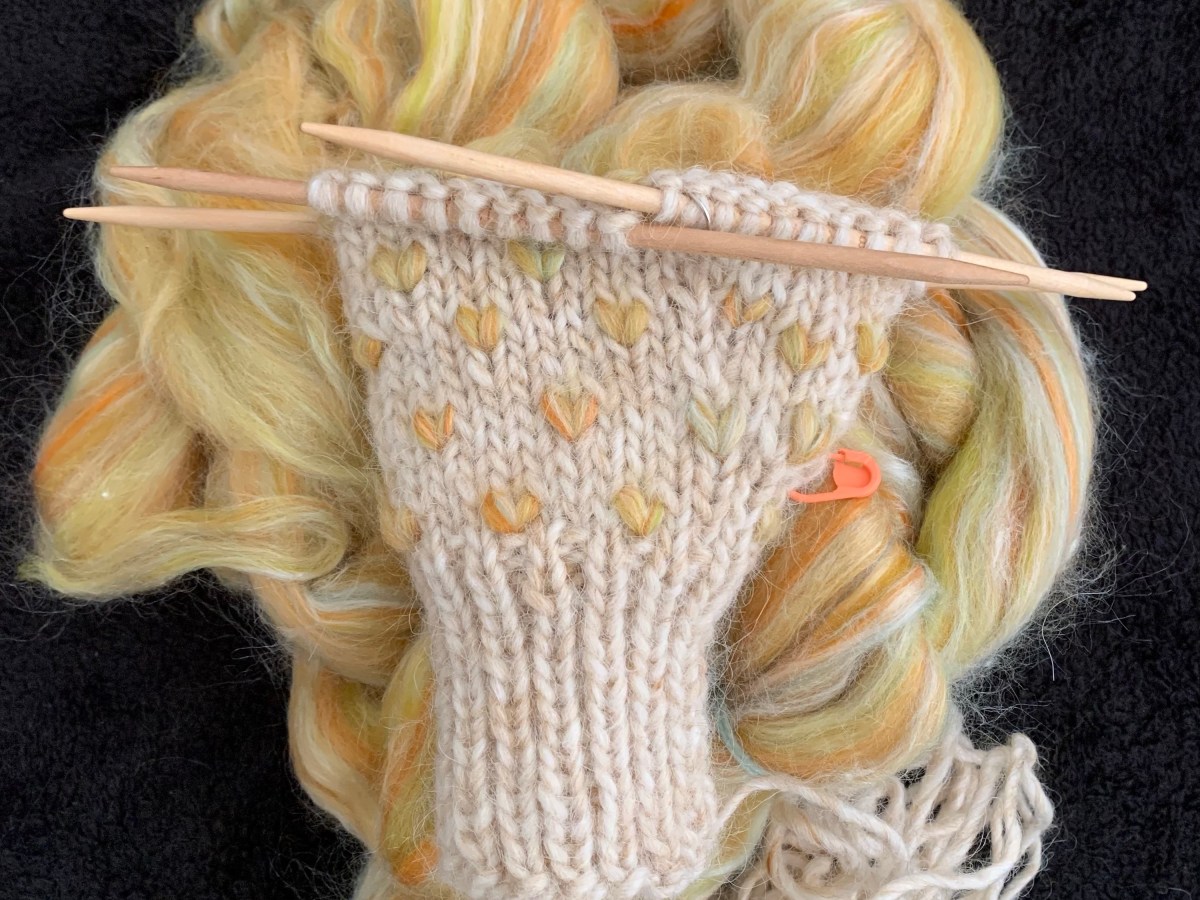
The Thrummed mittens are a new challenge. I got this far and then stalled. Maybe it’s because I rarely wear mittens in Florida and certainly would never need something so wonderfully warm.

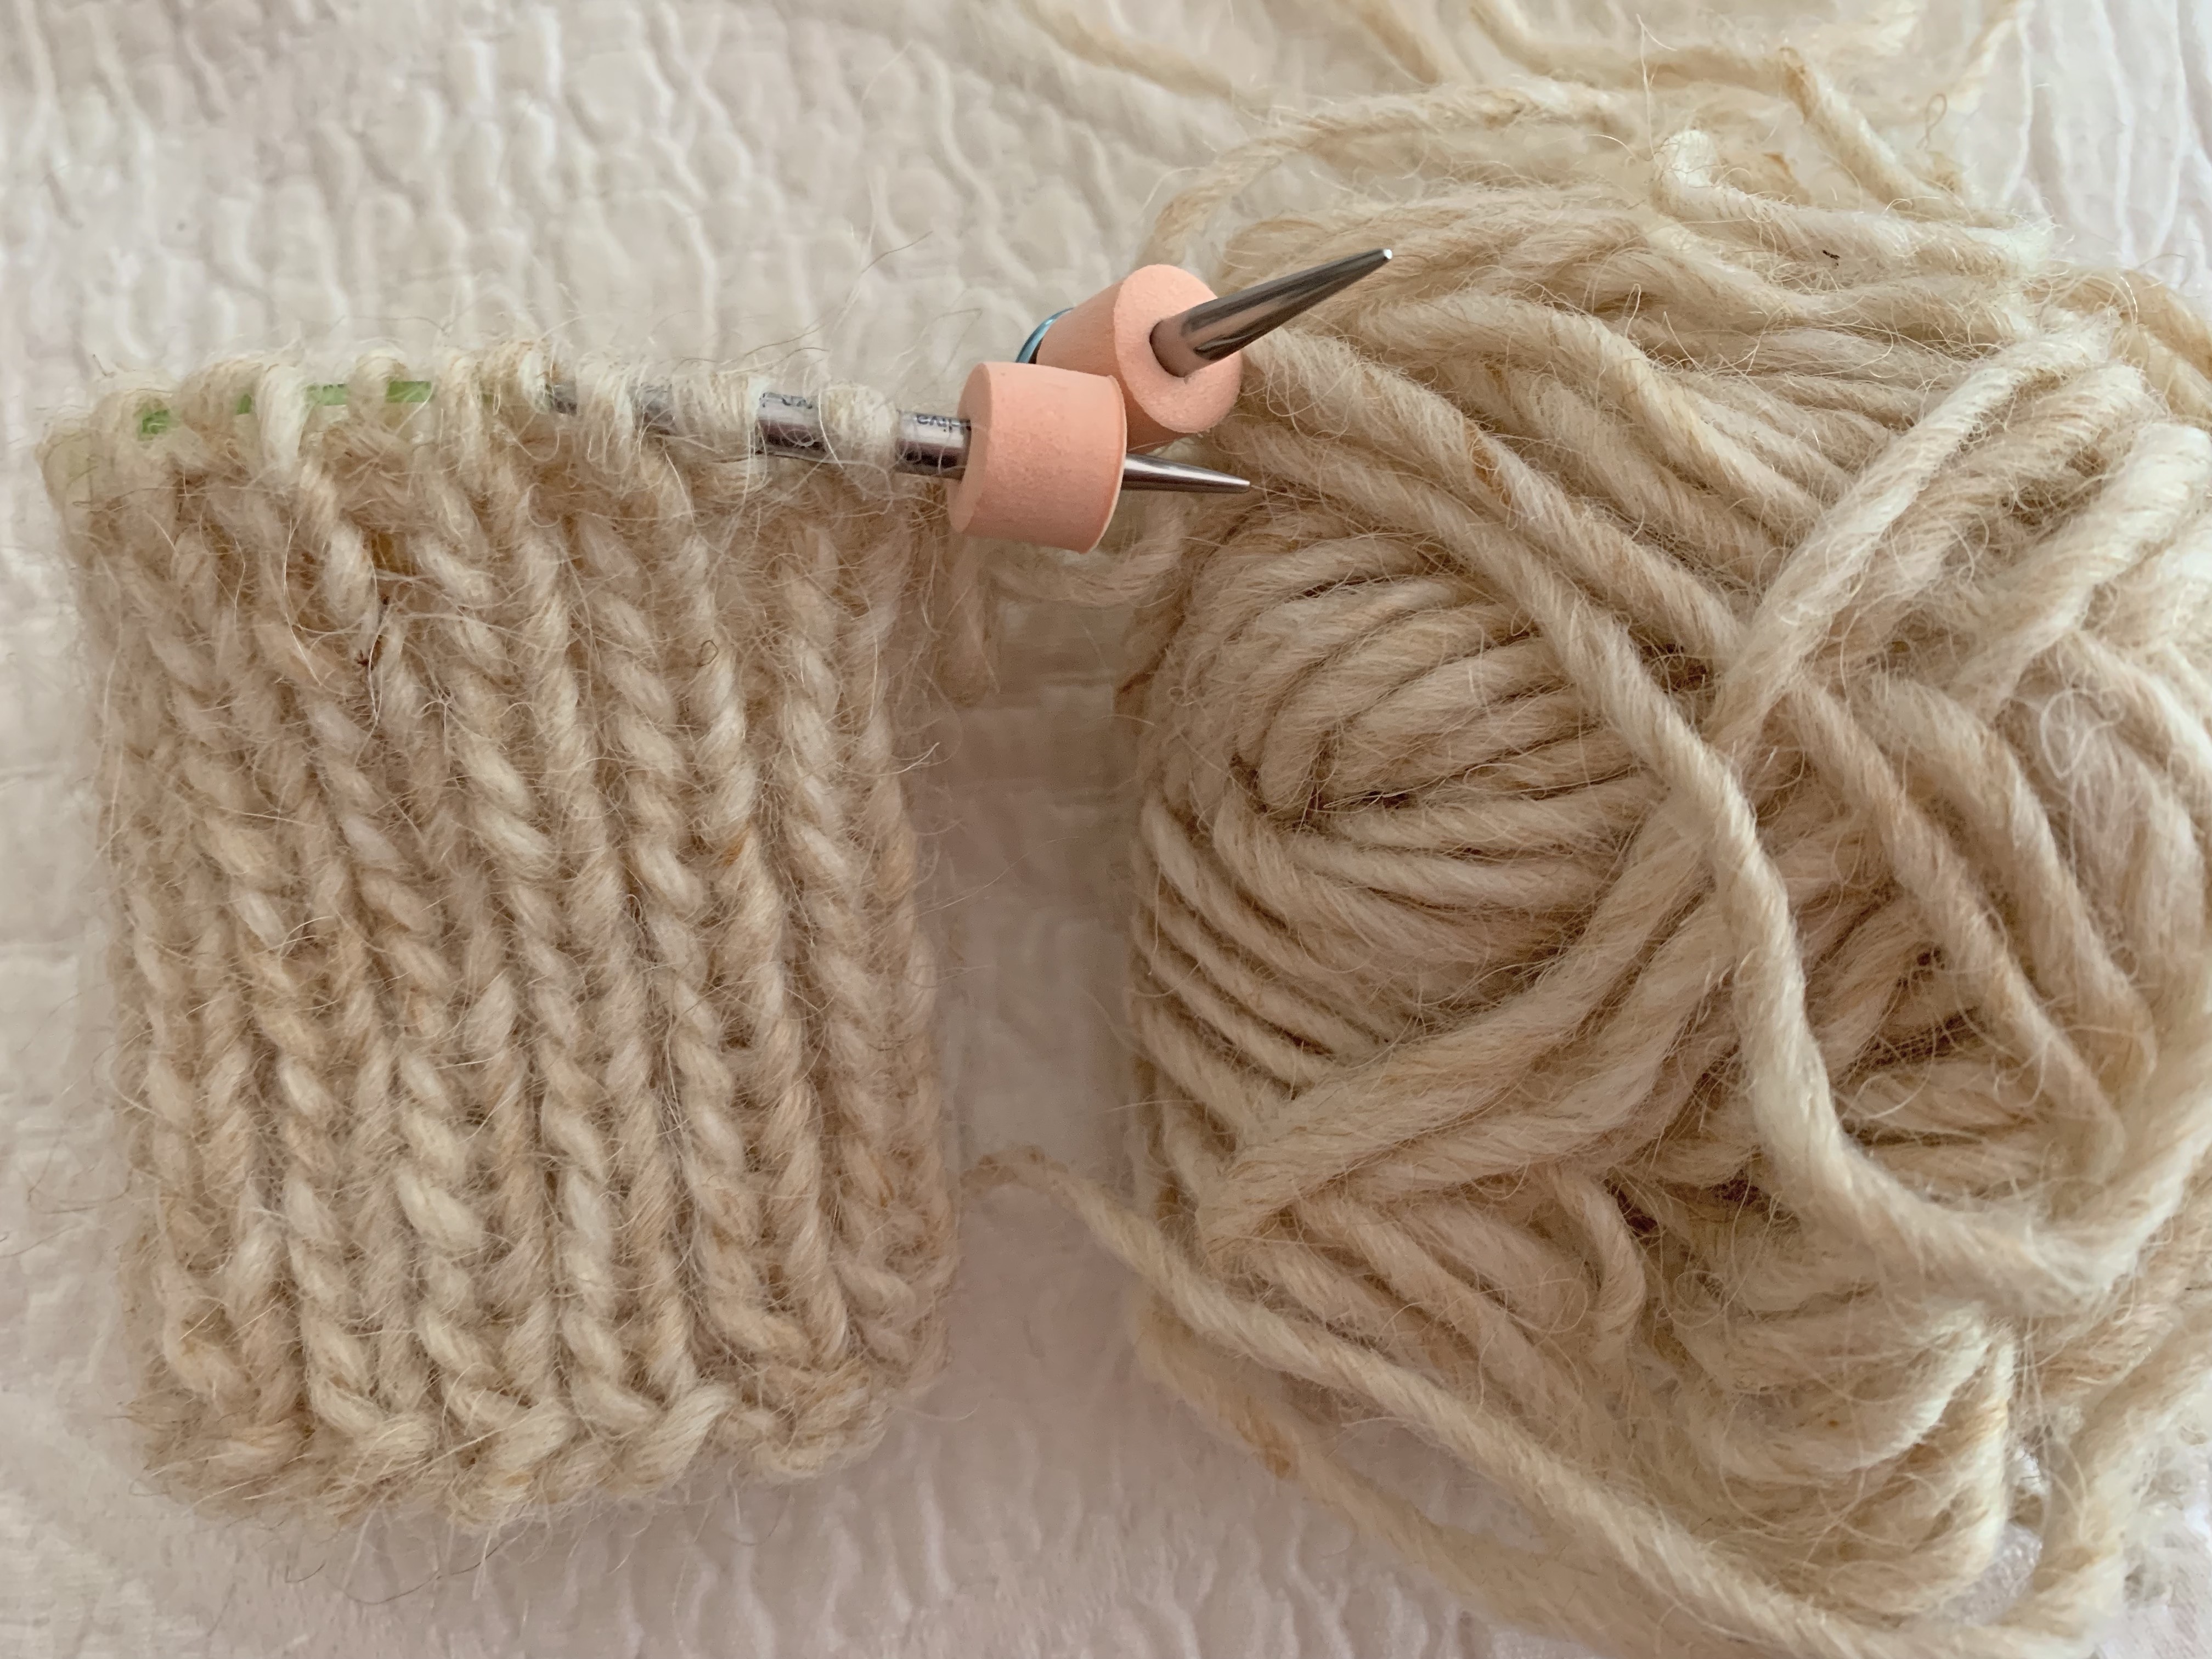
Yarn is Alafosslopi in Ecru Heather, with Merino Top from Paradise Fibers.

Wording on my thrummed mittens

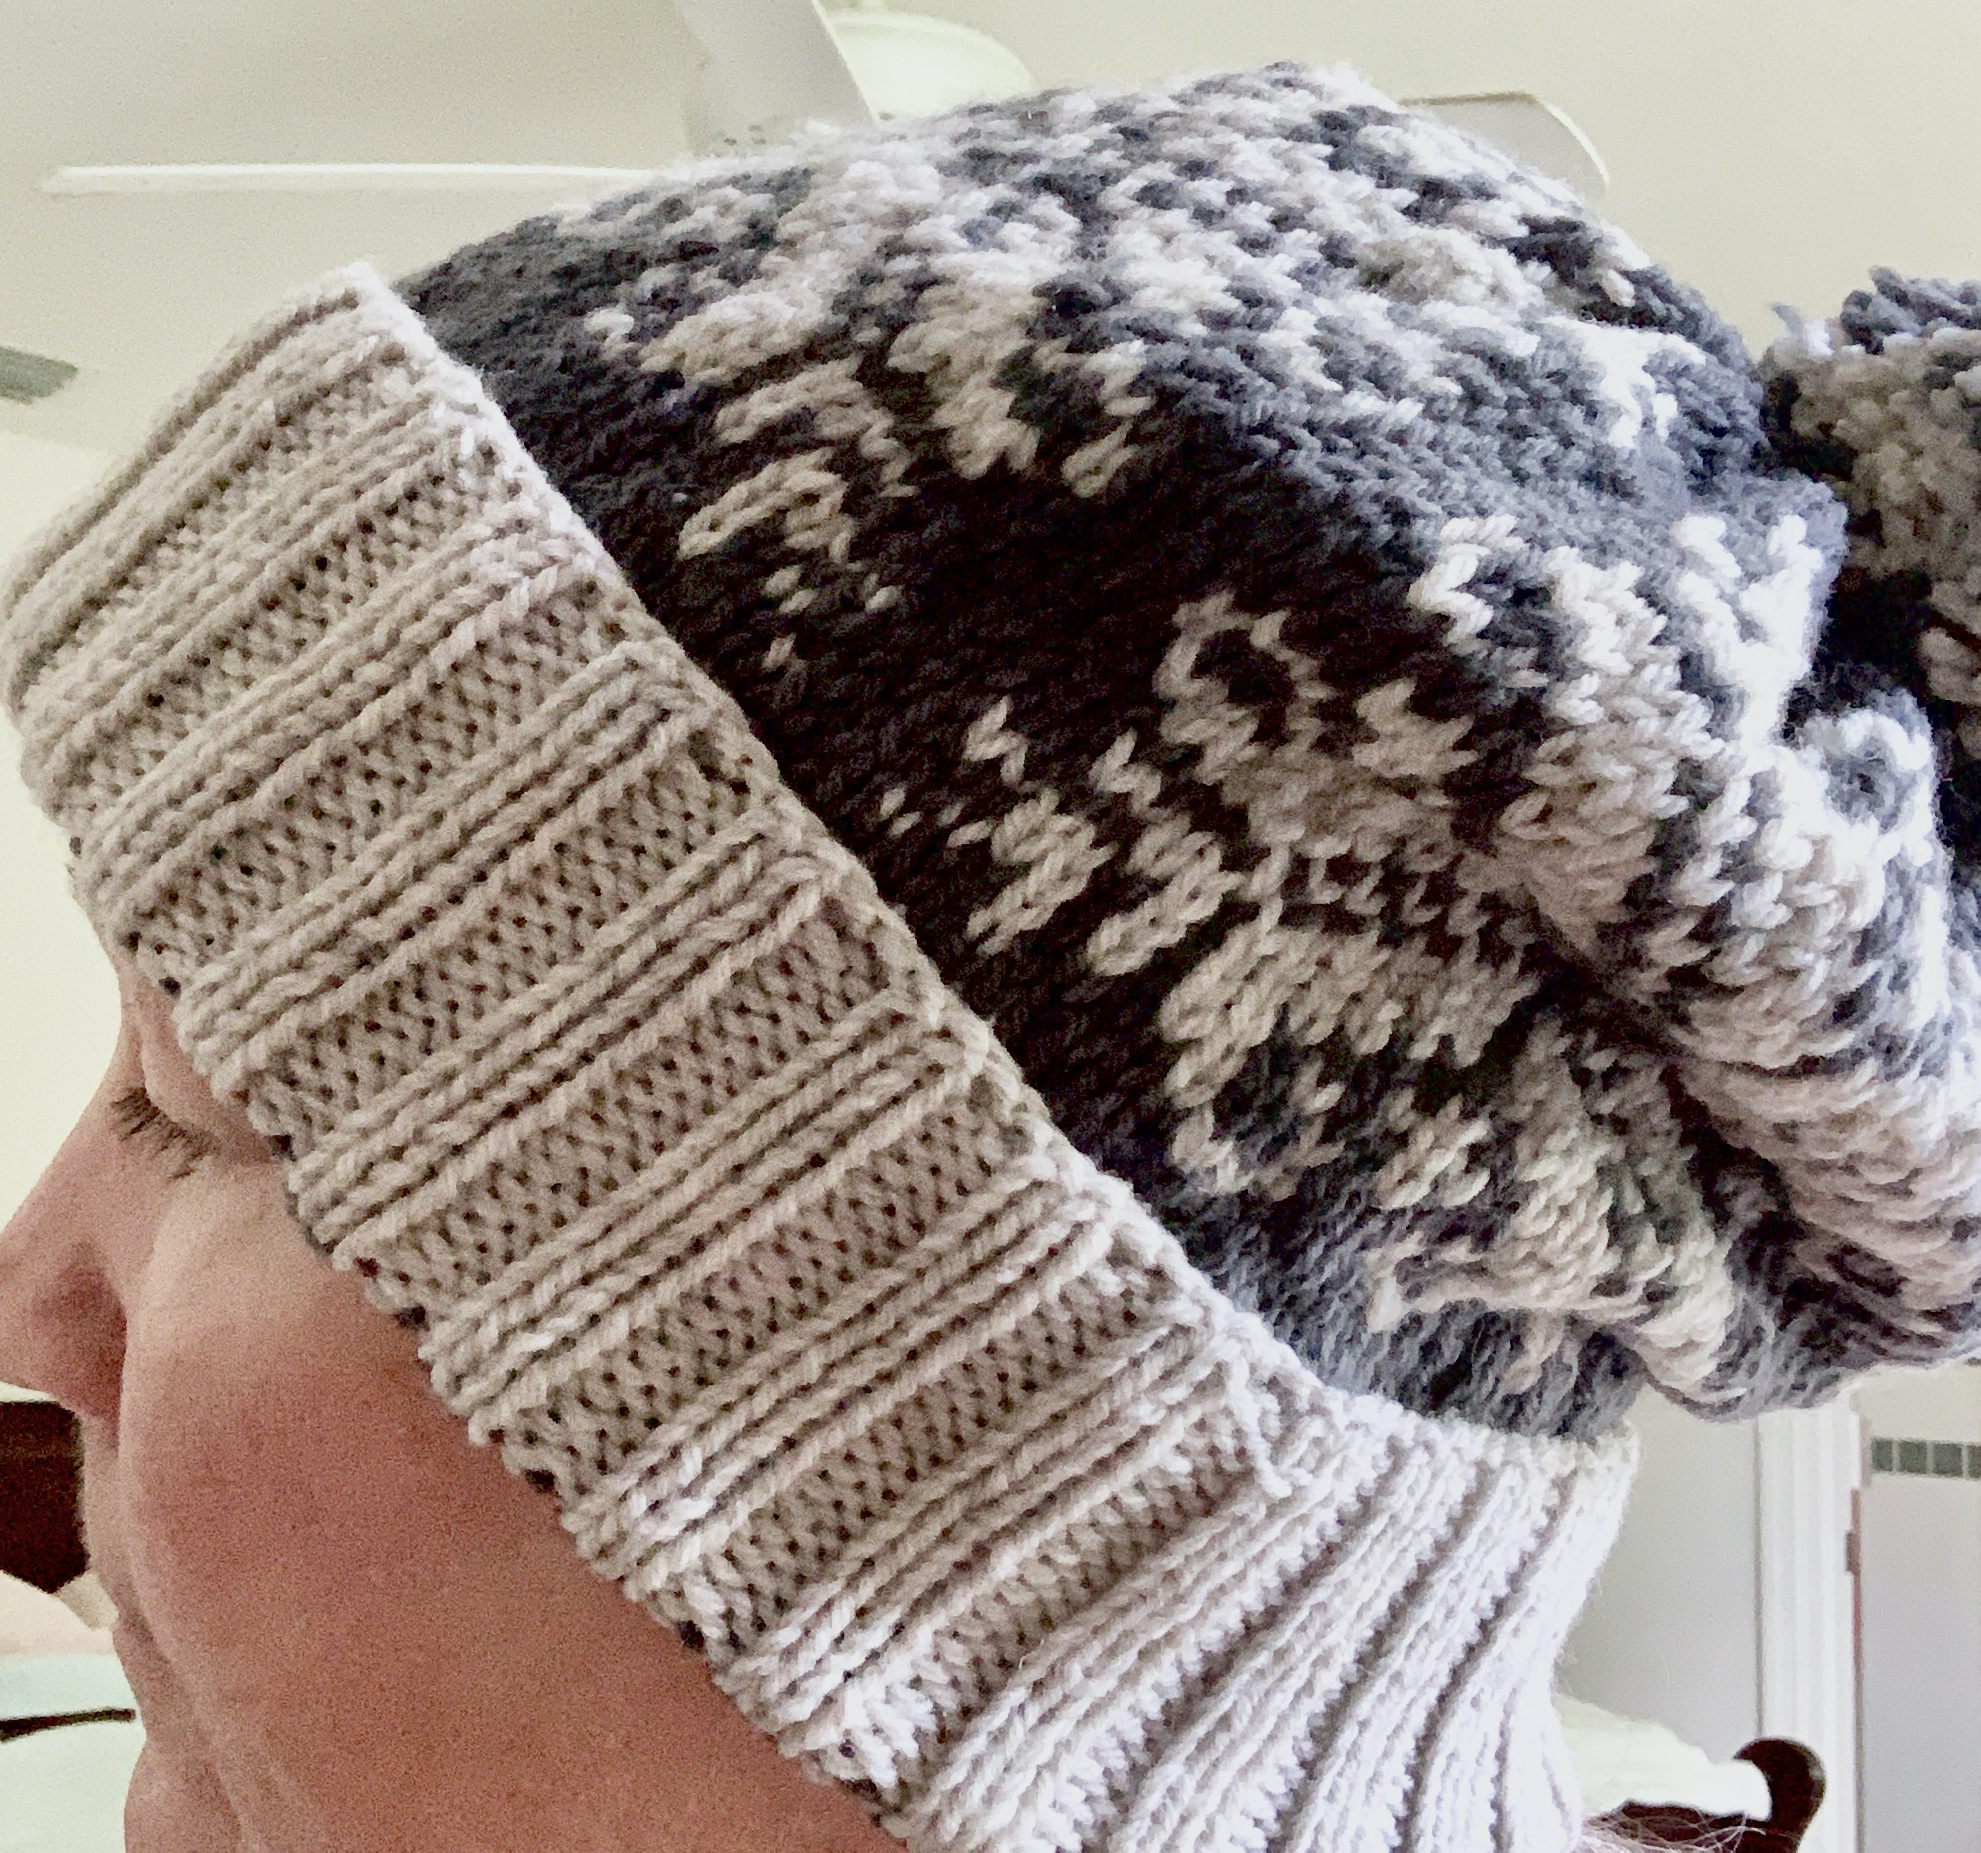
Fair Isle Wrist Warmers (mine)

These Fair Isle wrist warmers were fun to make. I began with a free pattern, but quickly went off-pattern to create my own mess…! Each warmer has it’s own colorwork patterns, so they don’t match. Why would they need to? I also messed up some of the patterning because I forgot how many stitches were on the needles! Oh well.

What I like is that I have this pair to learn from for the next time. My goal is to create my own pattern next time. I may even knit them to match.

Weaving in ends on Fair Isle wrist warmers

Fair Isle Wrist Warmer Knitting

Some knitter I was admiring mentioned that she liked to knit wrist warmers to match her sweaters. She used some of the leftover yarn so the warmers would match. I thought this was a wonderful idea! That is all it took for me to search for wrist warmer patterns.

The design is just a tube to fit the lower arm, so how difficult can it be? I wanted to knit colorwork, because I enjoy it. This type of accessory would be perfect for when I wear my Cobblestone cardigan. The sleeves are very wide which allows cool air to go right up my arm.

With quite a few projects unfinished at the present time, I really hate to begin something new, but Fair Isle pulls at me. There is great fun in combining colors and patterns to see how they turn out.

I began the wrist warmers by following a free pattern (Fair Isle Cuffs). It is written to knit flat (hmmmm?) but I wanted to knit around. My plan was to follow the designer’s chart to make things easy. Of course, things changed, as they usually do.

Yarn Colors Chosen

I decided to use many colors in this pattern – 12 to be exact! Most of the yarn is from Jamieson & Smith, but two skeins are Rauma wool and one is Tukuwool (the dark rust color). My only real plan was to mirror the colors on each end when knitting the corrugated rib.

Knitting Fair Isle wrist warmers

I began with a cast on of 64 and used a size 2 US needle. I love my 9-inch circular needles and use them as often as I can. No DPNs are needed! Yay…! About halfway in, I reduced the stitches to 60 by doing a couple of k2tog’s on two rows. I wanted a 60 count because it is divisible by many numbers.

The pattern says to discount the first and last stitch if knitting in the round. For some reason pattern chart ended up not matching evenly for me, so I gave up following the chart provided and went rogue…! I have a lot of good books that contain charts and began using those.

With a final count of 60 stitches, I could knit any chart that contains a repeat number that divides evenly into 60, and there are a lot of them.

BOR and All Those Ends

Here is a look at the join, or beginning of round stitches. Once the massive amount of ends are woven in, this will look better. I’ll close any gaps. Washing and blocking will even it all out better too.

Anyone who does a lot of colorwork knitting must learn to love (or at least like) weaving in ends.

  • Knitting Fair Isle wrist warmers
  • Knitting Fair Isle wrist warmers
  • Weaving in ends on Fair Isle wrist warmers

Making Wrist Warmer Number Two

My plans for knitting the second wrist warmer include using the same twelve yarn colors and matching the ribbing. Other than that, all I can say for sure is that the patterning will be different – at least in places.

Wrist-warmers are now done and washed. The pattern at the wider end (arm end) begins the same but then takes it’s own course. I enjoyed trying out different color combos and love that no DPNs are required.

Please Read On

I have a lot more to say about my knitting, so please keep reading!

Lots of Changes This Year

Writing a blog, sharing photos, and doing research and making links takes time. Lately I don’t think the time spent doing all…

Something went wrong. Please refresh the page and/or try again.

Planning to Knit – Mitten Patterns With Thrums

It is not a misprint – all mittens have thumbs, but not all mittens have thrums!

What is a Thrum?

Before fiber becomes yarn as we know it, it needs to be spun. The puffy fiber which is used to spin the yarn is called roving, or a carded top. (To get the roving to that point requires other processes as well.) To make thrums, that fluffy roving is knit, piece by piece, into a mitten. Knit a simple pattern, and add the roving – here and there – to create fluff inside the mitten. Each bit of fluff is called a thrum. Hence, when you do this you have thrummed mittens.

Yarn spinners buy roving to spin (and sometimes dye, if it’s natural) to create their own unique hand-spun yarn. What I call roving, is also sometimes called a top. I’m unfamiliar with it really, but just wanted some fluffy stuff to add to my mittens!

Thrummed mittens are perfect for those who live in cold weather climates. The Well Sweep Sheep shop at Etsy has handmade thrummed mittens for sale. Take a look at the photos if you are not familiar with the look of thrummed mittens.

For a good result, most knitting projects take some planning. When I first saw mittens knit with thrums, I wanted to know more. I can’t believe I have never heard of this until recently. Now, I will plan and knit mittens with thrums – for the first time.

A Little About Mitten Thumbs – Two Ways to Knit

Be aware that mittens can have either “side gore” or “peasant / afterthought” thumbs. I’ve only knit mittens with the side gore directions, which makes them interchangeable – no right and left. The thumb area begins to expand shortly after the cuff is knit by making increases. Once part of the thumb is knit, those stitches are put on hold to finish after the hand.

All mitts and mittens I have knit have a side gore thumb. These are not Thrummed.

An afterthought thumb is added by leaving an opening in the hand where the thumb will be added later. The thumb is placed more toward the palm, which means each mitten knit will be for either the right or left hand and are NOT interchangeable. Read this article at Just Crafty Enough to see the difference.

Free Patterns for Mittens With Thrums

When searching for mitten patterns with thrums, free patterns and patterns to purchase are available. While most people love free things, we must take into consideration how well a free pattern works. Some free patterns are great, but others don’t work out.

Since I have knit quite a few mittens, I’m really only looking for cast on number, and thrumming information. I can’t see paying for that. YouTube and knitting websites all have information about how to thrum. Basically, I need a knitting pattern in worsted or chunky / bulky yarn where I can add thrums.

Here is a list of free patterns I would like to suggest. I have not knit any of these myself. The patterns are listed at Ravelry and get good reviews and ratings.

  • How to Make Thrummed Mittens – (Worsted) Advice and Free pattern with side gore thumb! Source: Haveayarn.ca
  • Chroma Thrummed Mitts – (Bulky) I printed this free pattern out and it has an “afterthought” or “peasant” thumb. This is something I am not thrilled about as I’ve never knit that type of thumb. But, the pattern has nice directions and advice on thrumming.
  • Worlds Simplest Mittensnot a thrumming pattern, but Tin Can Knits has offered this free pattern to knit mittens in 4 different weights of yarn, including worsted and chunky. Also a toddler size is included. I’m thinking I’ll watch a thrumming video, and add thrums to any of these mittens. Should work, right? Thumb type is side gore style.

Pay For Thrummed Mittens Patterns

Although free thrummed mitten patterns may be fine for anyone who can basically knit a mitten, some people will want more help. There is nothing wrong with supporting designers by buying their patterns.

Roving

One question I had was about the roving. I know nothing about it really, but I assume a nice wool of some sort would make those thrums nice.

I couldn’t find much info about this. At Three Waters Farm on Etsy, I see nice roving made from all sorts of fleece, including BFL, Merino, Merino and silk, Falkland wool, Romney, Corriedale, Targhee, Polwarth, and … yikes! Now I am more confused. I do know that you want wool, which will felt after washing. So do not use Superwash! This way the thrums will mesh together to create a nice soft layer inside the mittens…. right?

I am making mittens that I want to be very warm. Wool is my first choice so I don’t think I could go wrong with any of the wools listed, as long as they are not superwash. Bits of the roving will be pulled from the braid to match up with the yarn I use.

I ended up buying my roving from Paradise Fibers. I bought a merino and silk blend mainly for the color – I love the swirls of gold and pale green. Etsy shops also sell roving, and so do many yarn shops.

The roving I bought

Bulky Yarn Ideas for Quick Mitten Knitting

Roving is puffy, so a worsted, chunky or bulky weight yarn would be nice for a first thrummed mitten project. Apparently you simply make smaller thrums if the yarn is lighter weight.

Here are some bulky yarn suggestions for knitting thrummed mittens.

Prices listed here are current to the writing of this post (Jan. 2022) and obviously may change.

  • Wool of the Andes, Bulky – Knit Picks, $6.99 for 137 yds. per skein
  • The Petite Wool, Bulky- We Are Knitters, $14.90 – $19.90 for 142 yds. (+/-) per skein
  • Alafosslopi – Bulky – Istex Icelandic wool – buy direct from Iceland for about $6.29 per skein, or find it available in many US locations, usually for $10 each skein (109 yds). (I’m using this type of yarn for my thrummed mittens.)

Read about knitting my first pair of thrummed mittens on a post soon to come.