For beginner knitters, I’ve written this page to help you begin a first project – a scarf. If you are very new to knitting, I’ve listed a free washcloth / dishcloth pattern for practice. Once you are used to knitting and purling, move onto the bigger scarf project.
If you already feel comfortable with knits and purls, skip the washcloth and go directly to the Wheat Scarf notes (scroll down the page), where you will find the pattern link. A scarf is an excellent beginner knitter project.
Small Project Practice – Begin with a Dishcloth
There is no reason not to make something useful when you first pick up a pair of knitting needles. A little dishcloth is the perfect item. All you need is cotton yarn and knitting needles.
This pattern link goes to Ravelry and is offered for free by Tia Stockton. Follow her link to a blog page where she shares the easy pattern.
Here are some dishcloths I have knit while trying out various stitches. They are excellent for experimentation because they can look bad, be full of mistakes, and still work well!

You will have to cast-on (see my cast-on videos page) and cast-off or bind off– video below. There is no getting around those two things. They are needed for almost everything you will ever knit. (Exceptions: hats and mittens don’t have a normal bind-off.) As a knitter, you will do these two things so often that they will become easy. And they are important parts of the project, so take your time.
Stitches to practice: Knitting and Purling, Casting On and Binding Off when finished.
Dishcloth Knitting: Choosing Needles and Yarn
Buy needles: Size 7 or 8 US (4.5mm or 5mm) circular knitting needle – length 32 inches. The scarf pattern below takes an 8. My preferred brand is Lykke (paid link) or ChiaoGoo (affiliate link to Amazon). OR buy straight needles (paid link). Either will work for these projects, but the circular will probably get more use down the road if you plan to continue knitting.
Better yet, borrow some needles! Use a needle size that is close to the recommended needle size. Find that on your skein of yarn.
Wood or bamboo needles are better for a beginner because metal needles will be slippery. The size 7 or 8 circular needle will also work when I want to knit a shawl (another good beginner project) or sweater because it is nice and long. Circulars work for any type of flat knitting project also – the projects on this page are knit flat.
Buy yarn: Only one skein is needed for this small project, and I can probably get a few dishcloths made with one skein. Look for a cotton yarn that can be washed in the machine. Generally cotton yarn is cheap. A dishcloth / washcloth gets lots of use and needs to be water absorbent. For this reason do not use wool or acrylic. Walmart carries cotton yarn, and if you have a LYS (local yarn store) they will carry cotton yarn. Amazon carries lots of Lily Sugar ‘n Cream (paid link) cotton in many colors.
Get practicing and have fun! If you make a little mistake keep going. Un-knitting is more difficult, so don’t worry about it. If you make a big mistake you can take it off the needles, wind it up and begin again. It’s all practice anyway.
At the end of every project – after the bind off – all the loose yarn ends need to be woven in. For this, you will need to have a tapestry needle, or a small crochet hook.

Knit the Wheat Scarf, A Beginner Pattern
When you are feeling confident, after knitting a few dishcloths, tackle the Wheat Scarf. It is an easy pattern, with knits and purls. This gives the knitter something to wear in the end!

The Wheat Scarf pattern is from Tin Can Knits. It is a PDF download with excellent directions. They offer a huge collection of FREE patterns for beginners (and not-so-much beginners). I wish I had found TCK when I first began my knitting journey.
Need to know: Cast-on, knit, purl, working between markers, adding a new skein when one runs out, and binding off.
NEEDLES: If I made the washcloth already, I have the needles. Whether I bought a size 7 or 8 doesn’t really matter because this project is a scarf. If you need needles, this pattern calls for a size 8 US (straight or long circular). You need some stitch markers (only 2) for this pattern as well. Something like rings from ChiaoGoo (affiliate link to Amazon) work fine. In a pinch, use anything that will fit around your needle and stay put. Earrings, colorful loop of yarn, safety pins, and twist ties come to mind.
BUY YARN: 400 yards is needed for the Wheat Scarf. The pricing in my list below reflects the number of skeins needed. Yarn is sold in various lengths so purchase the number of skeins needed according to yardage in each.
Hint: Light color yarn is easiest for seeing stitches.
For a scarf you want yarn that is comfortable around the neck. It should also be warm, unless your scarf is for looks only! Personally I avoid man-made acrylic yarn and would go with pure wool, a wool combo, or merino wool for scarves. But the choice is yours as long as it is worsted weight. Because a scarf will not be washed often, a non-superwash is also a good choice. You will wash it once after knitting and rarely after that. Be aware that Superwash wool tends to stretch and “grow” when it is washed.
Do I Need to Wind the Yarn? Winding vs. No Winding
Some skeins of yarn will need to be wound before using the yarn to knit. Some can be used right away. If the skein you buy looks twisted, like the images below, it will need winding. These are “hanks”. Yarn stores will usually do it for you, if you ask, but they sometimes charge a small fee. You can also wind the yarn yourself.


Scarf Yarns to Consider
Here are some yarn suggestions. Of course you can go to a local yarn store, if you have one, and pick something out. The shop owner, or workers, should be happy to help you.
I am in the US and like to order from Wool and Company because they have a large selection of yarn, and they will wind skeins and ship for FREE!
(Links and prices – at the time of this writing – go to Wool and Company)
- Cascade 220 Superwash – Solid colors, good value. No winding. Can wash in the machine. Not a favorite of mine because it is scratchy. Total Cost: 2 skeins = $26
- Berroco Ultra Wool – Superwash, good value. I’ve never knit with it, so can’t say how soft it is. Total Cost: 2 skeins = $24 approx.
- Manos del Uruguay Alegria Grande – This yarn has a bit of nylon with the wool. Must wind this yarn. Buying this yarn supports Uruguayan women and the yarn is beautiful in color and texture. It is not cheap but the color selection is so fun! I love Manos yarn. You will need 2 skeins for this project. Total Cost: 2 skeins = $52 approx.
- Madeleine Tosh Vintage – Comes in many colors. It is expensive. Must wind this yarn. I would choose the Manos over this but many people love MT yarn. Total Cost: 2 skeins = $58
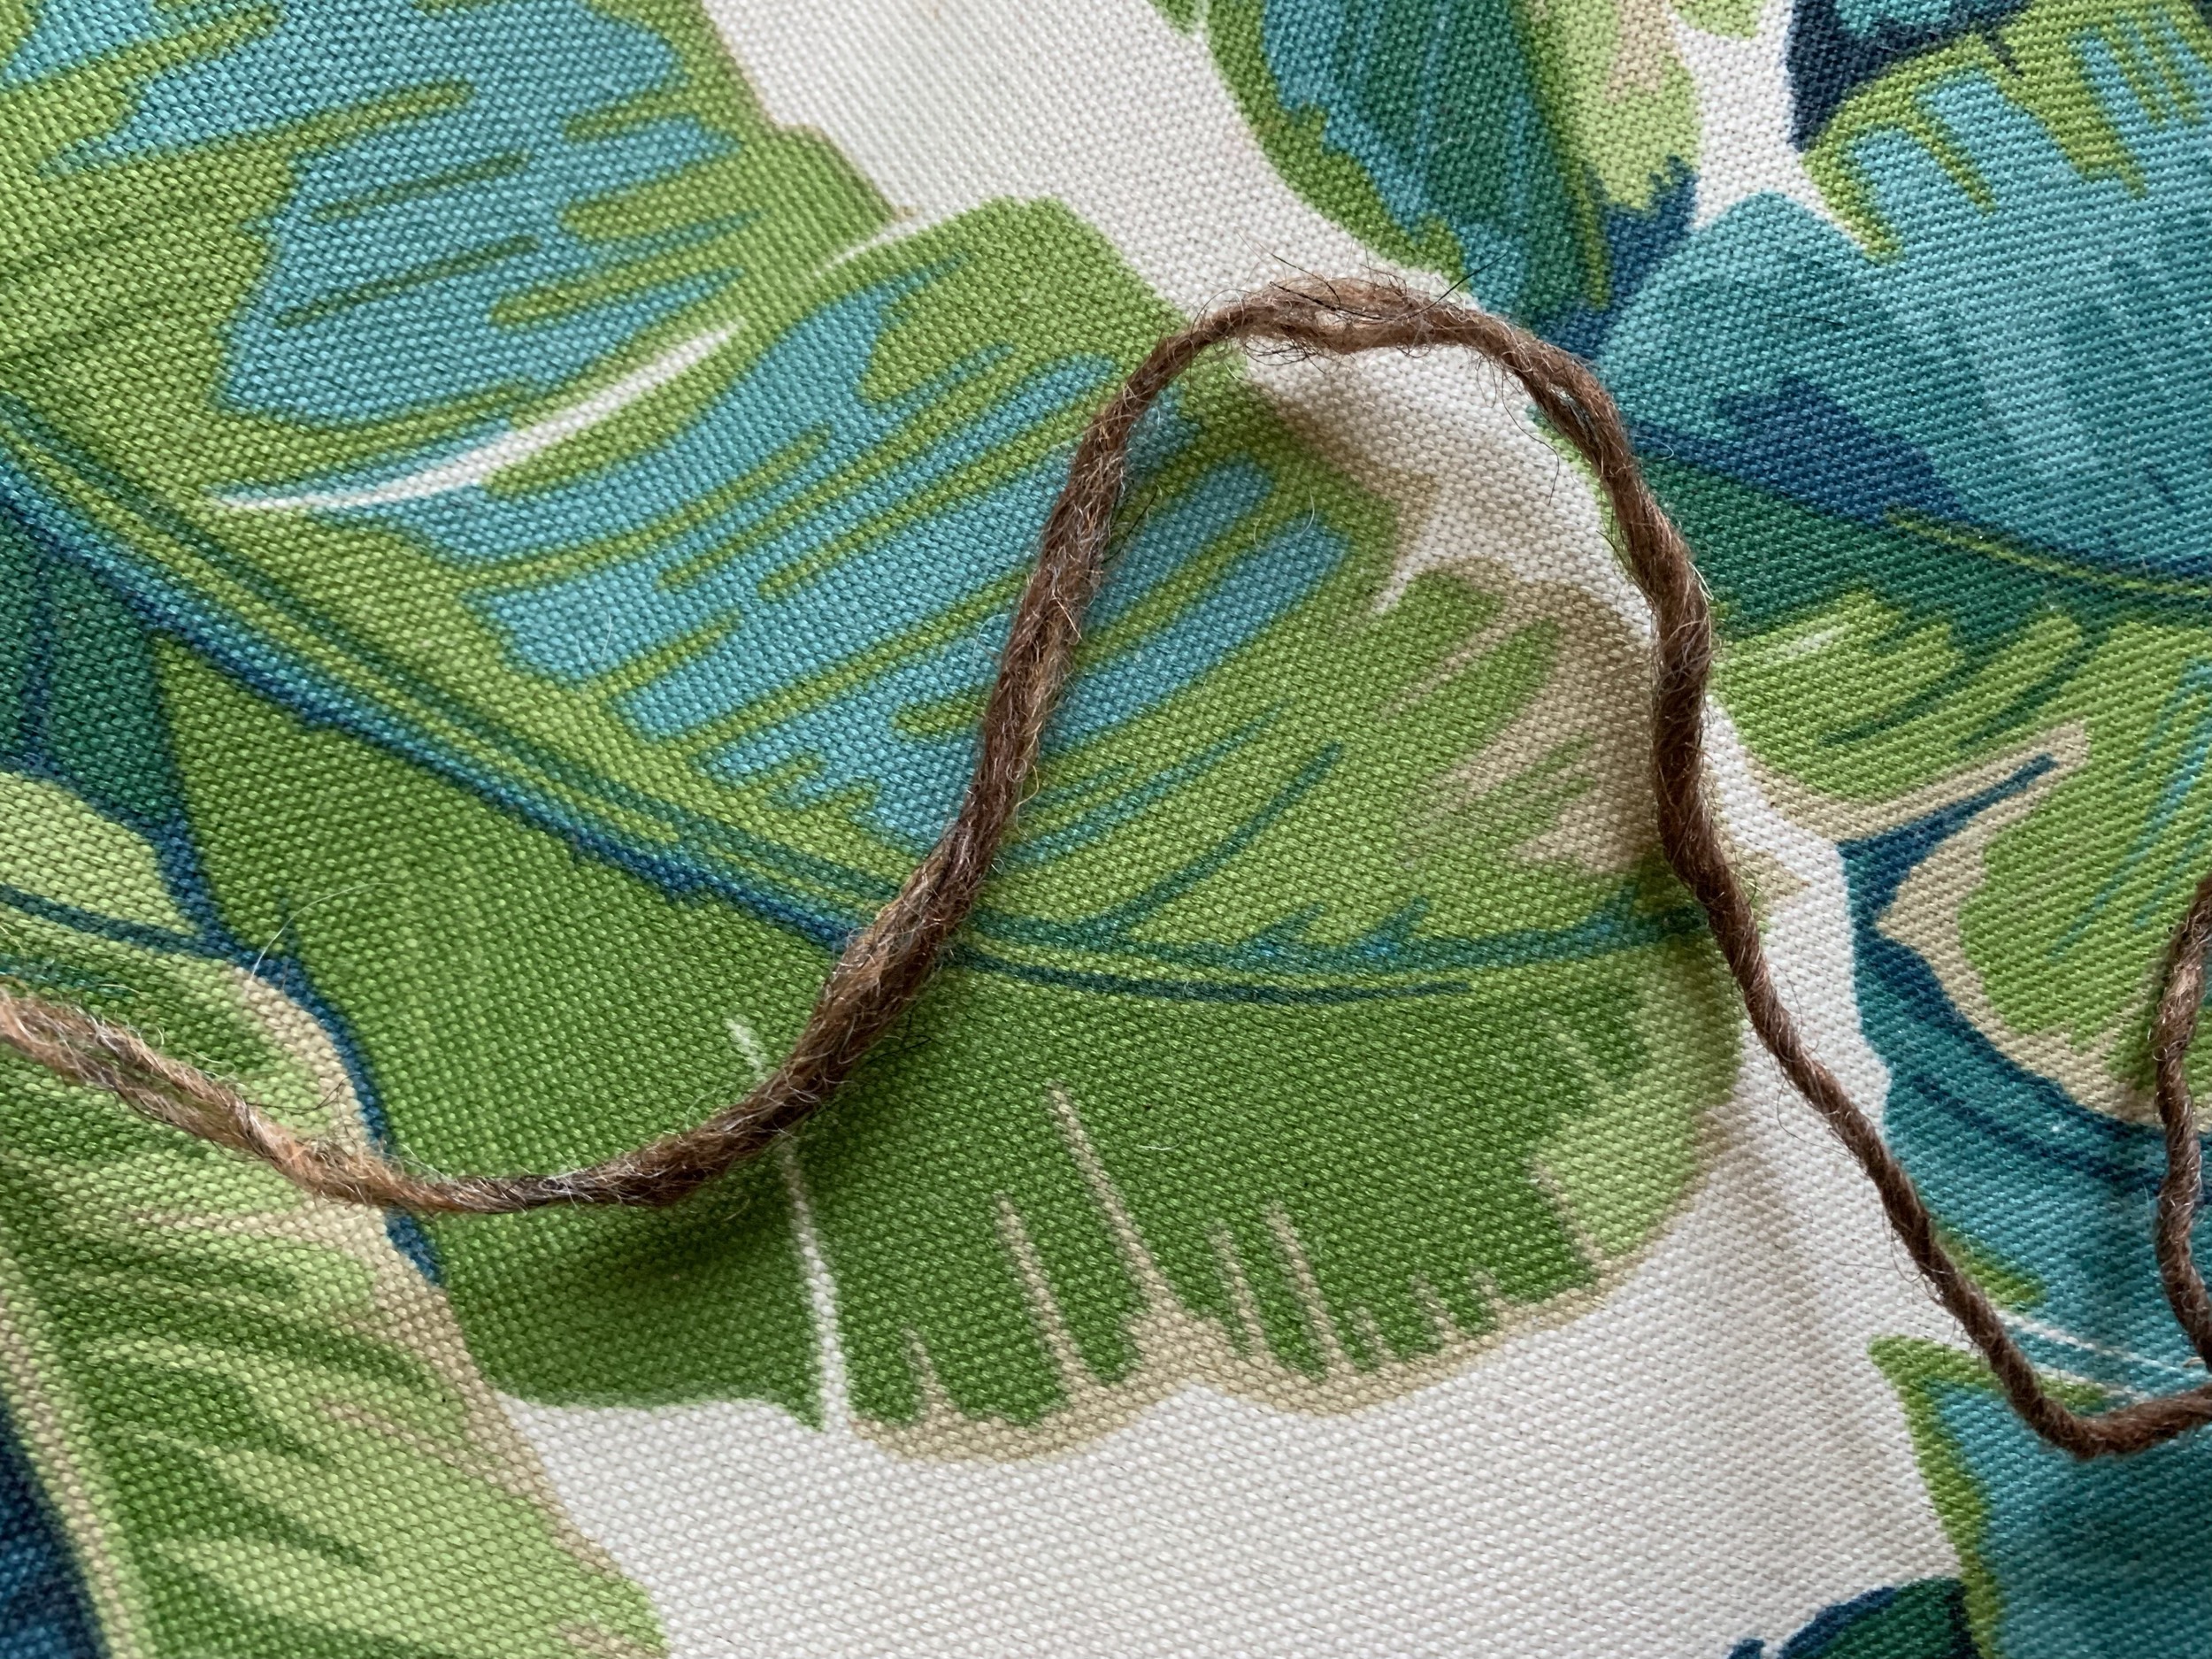
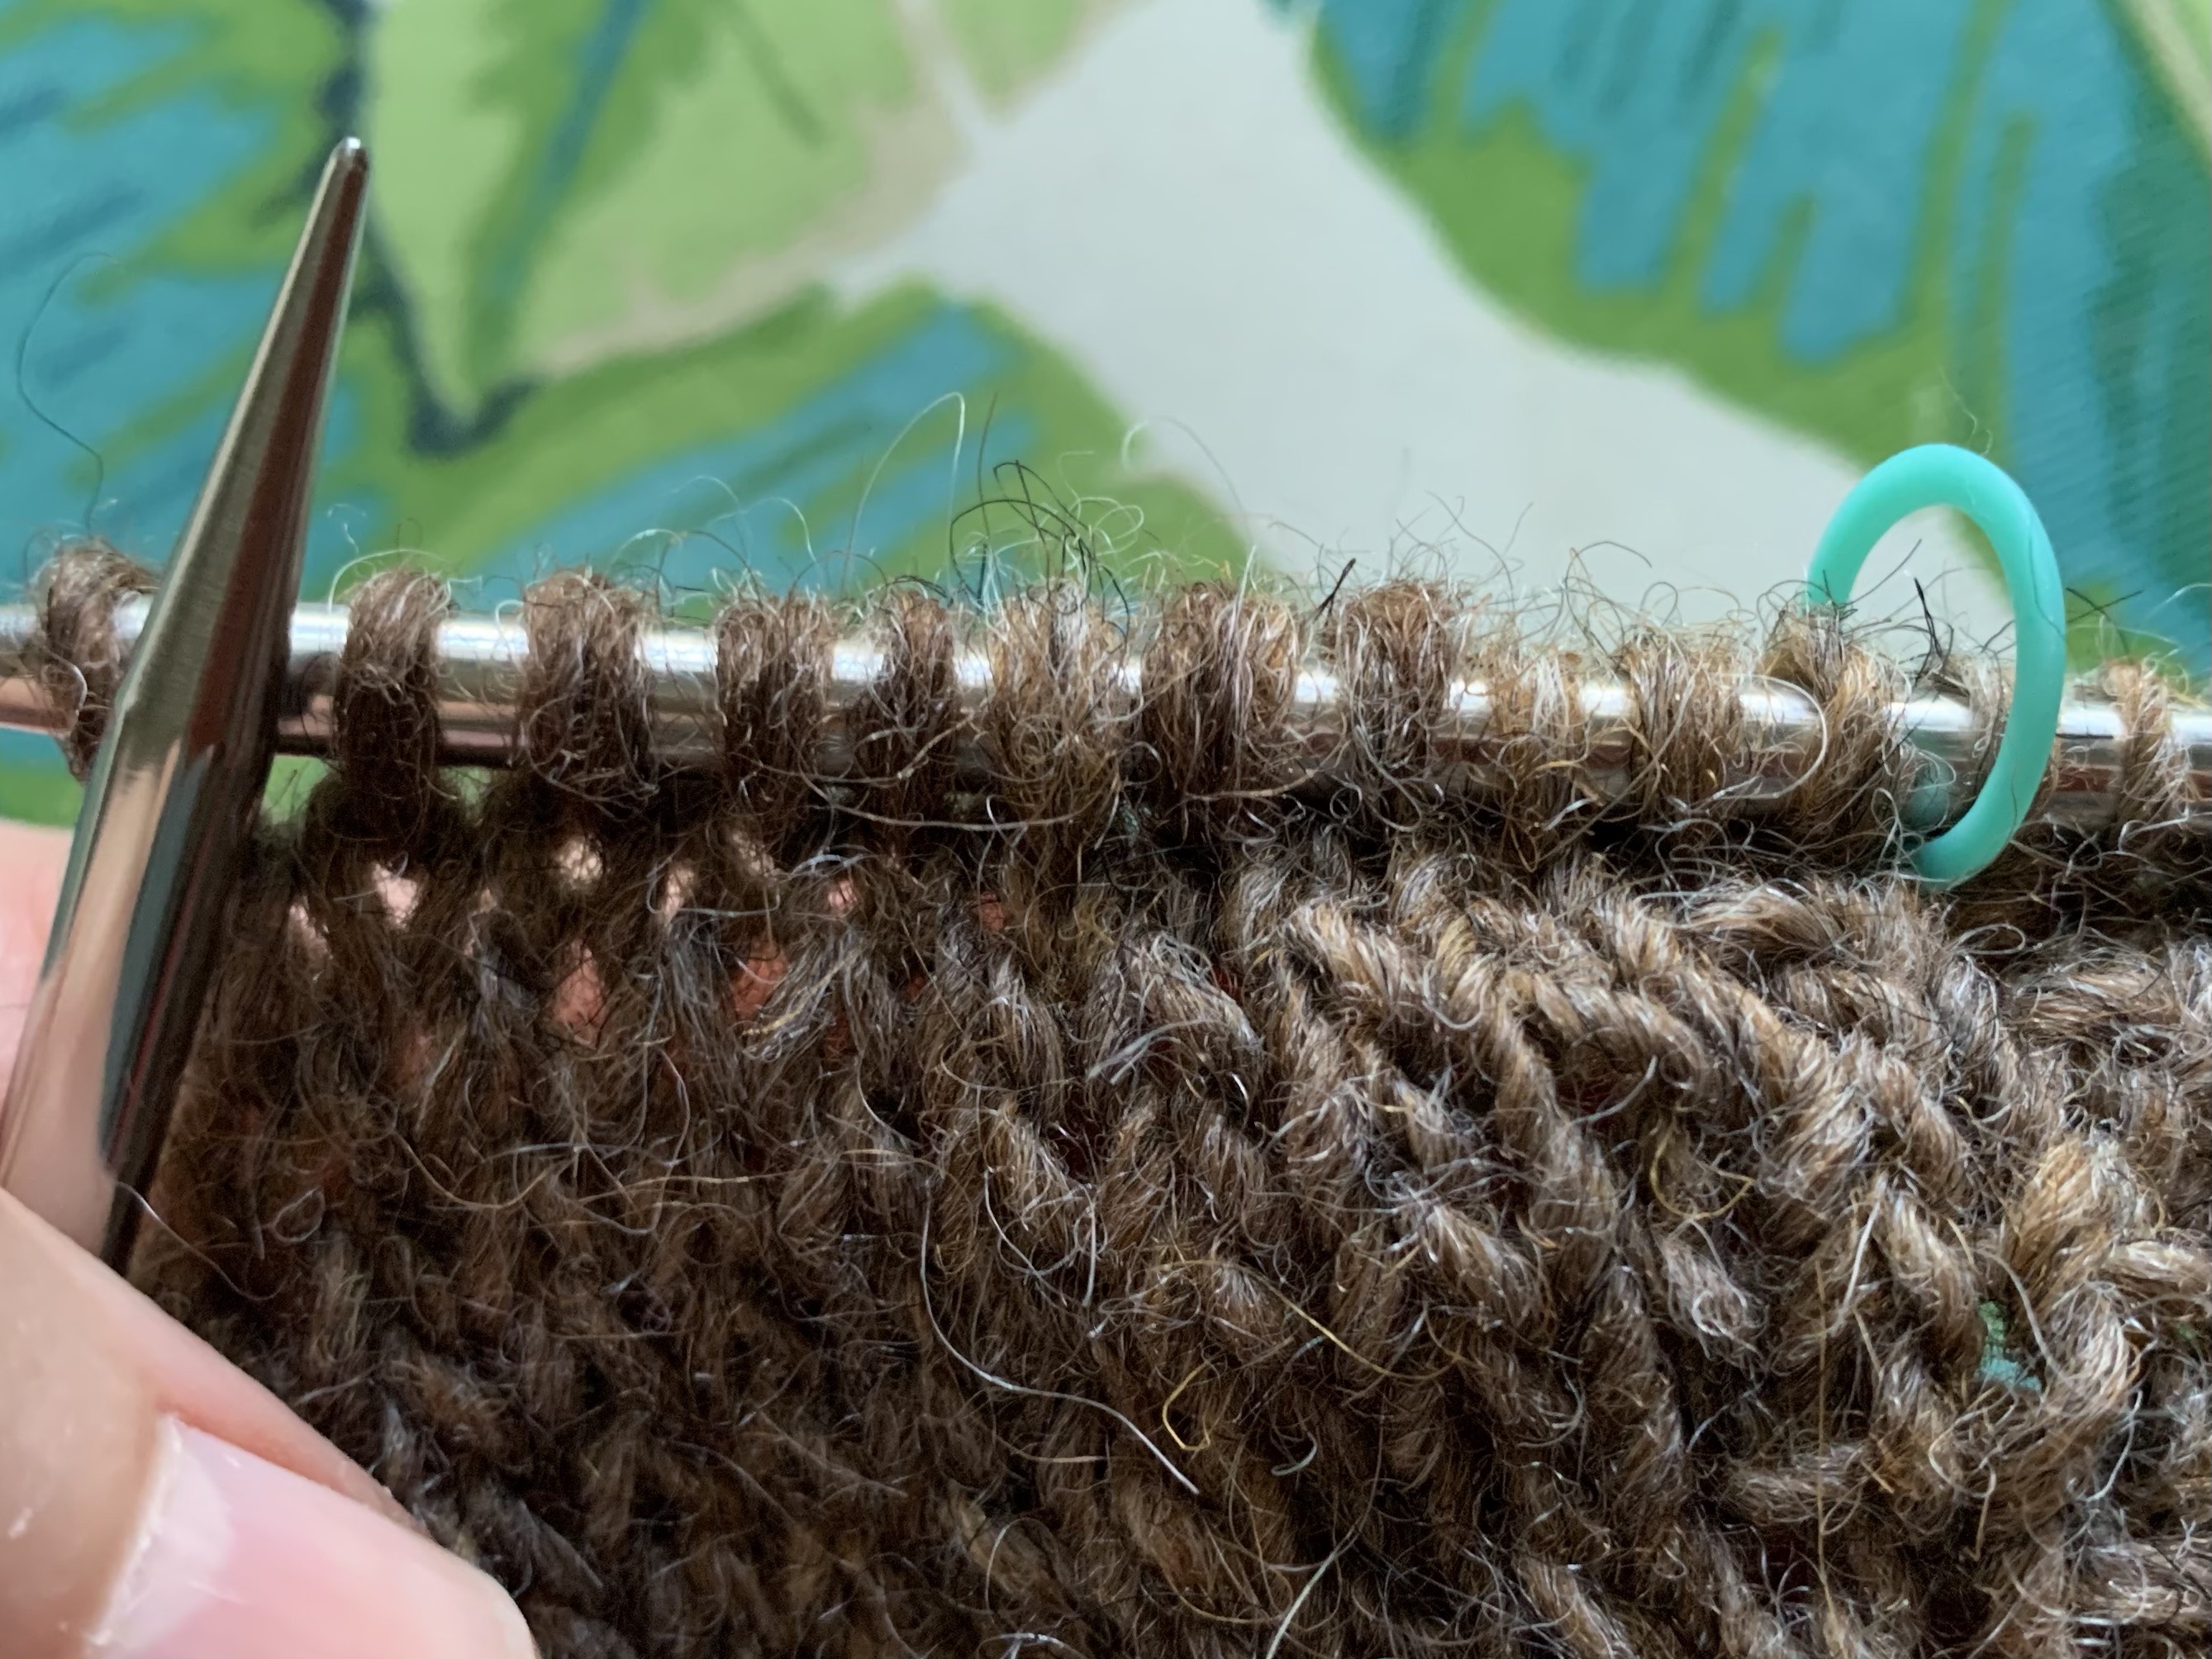
- Lettlopi worsted wool – comes from the sheep living in Iceland! There is no winding required for this yarn. This will make very warm scarf but it will be hand-wash only. This yarn is strong and after washing the fabric changes for the better. See my Migrating Birds sweater. The yarn is inexpensive. Total Cost: 4 skeins = $21 approx. (My white yarn photos on this page are Lettlopi yarn.)
You may think that a first knitting project should be created with the cheapest possible yarn, but have faith in yourself! Knitting with a nice, pretty yarn is fun! Cheapers yarns are from man-made fibers, or a combination of natural fibers and “fake”.
You should plan to keep that first project forever, as a reminder of your knitting journey. No matter what, choose a pretty color that you will actually wear … and get started!
Wheat Scarf Knitting Help
Basics of the knitting project.
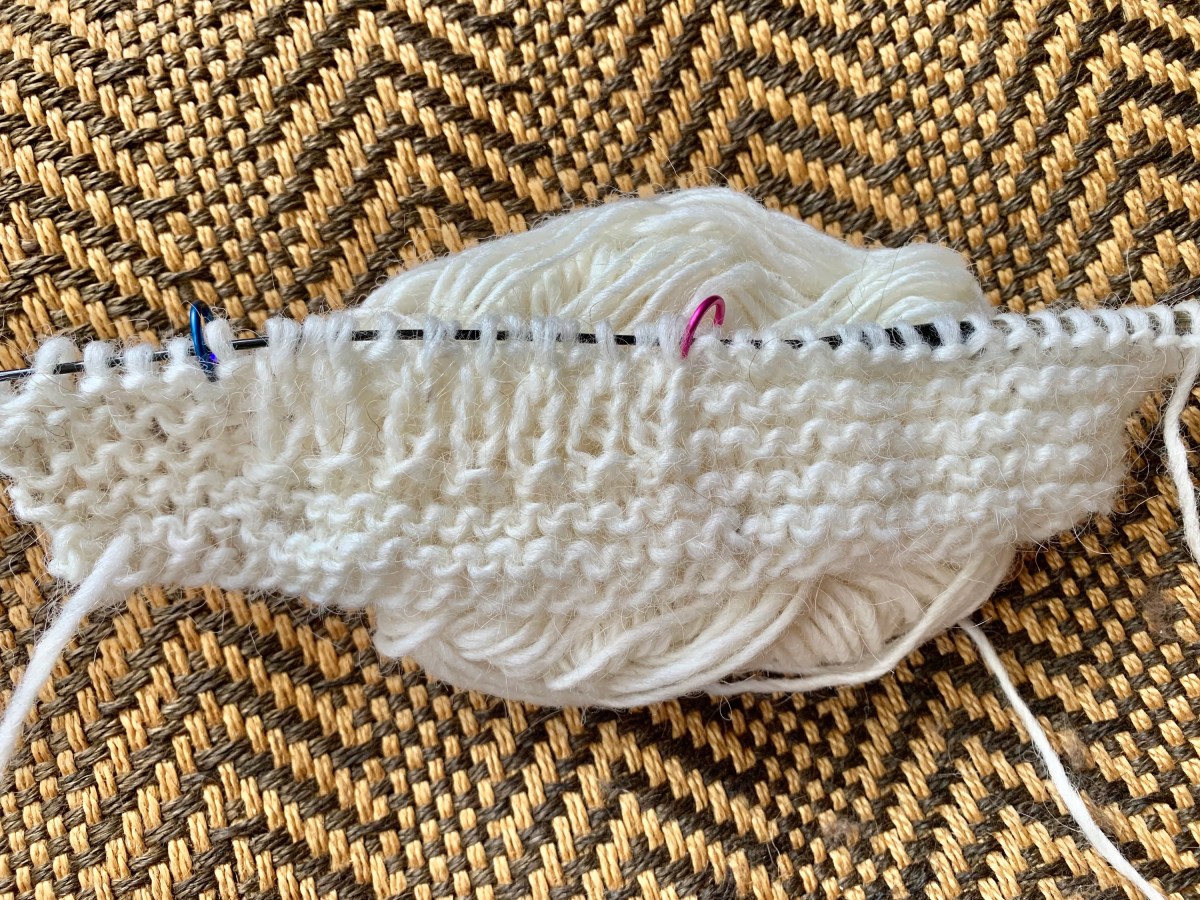
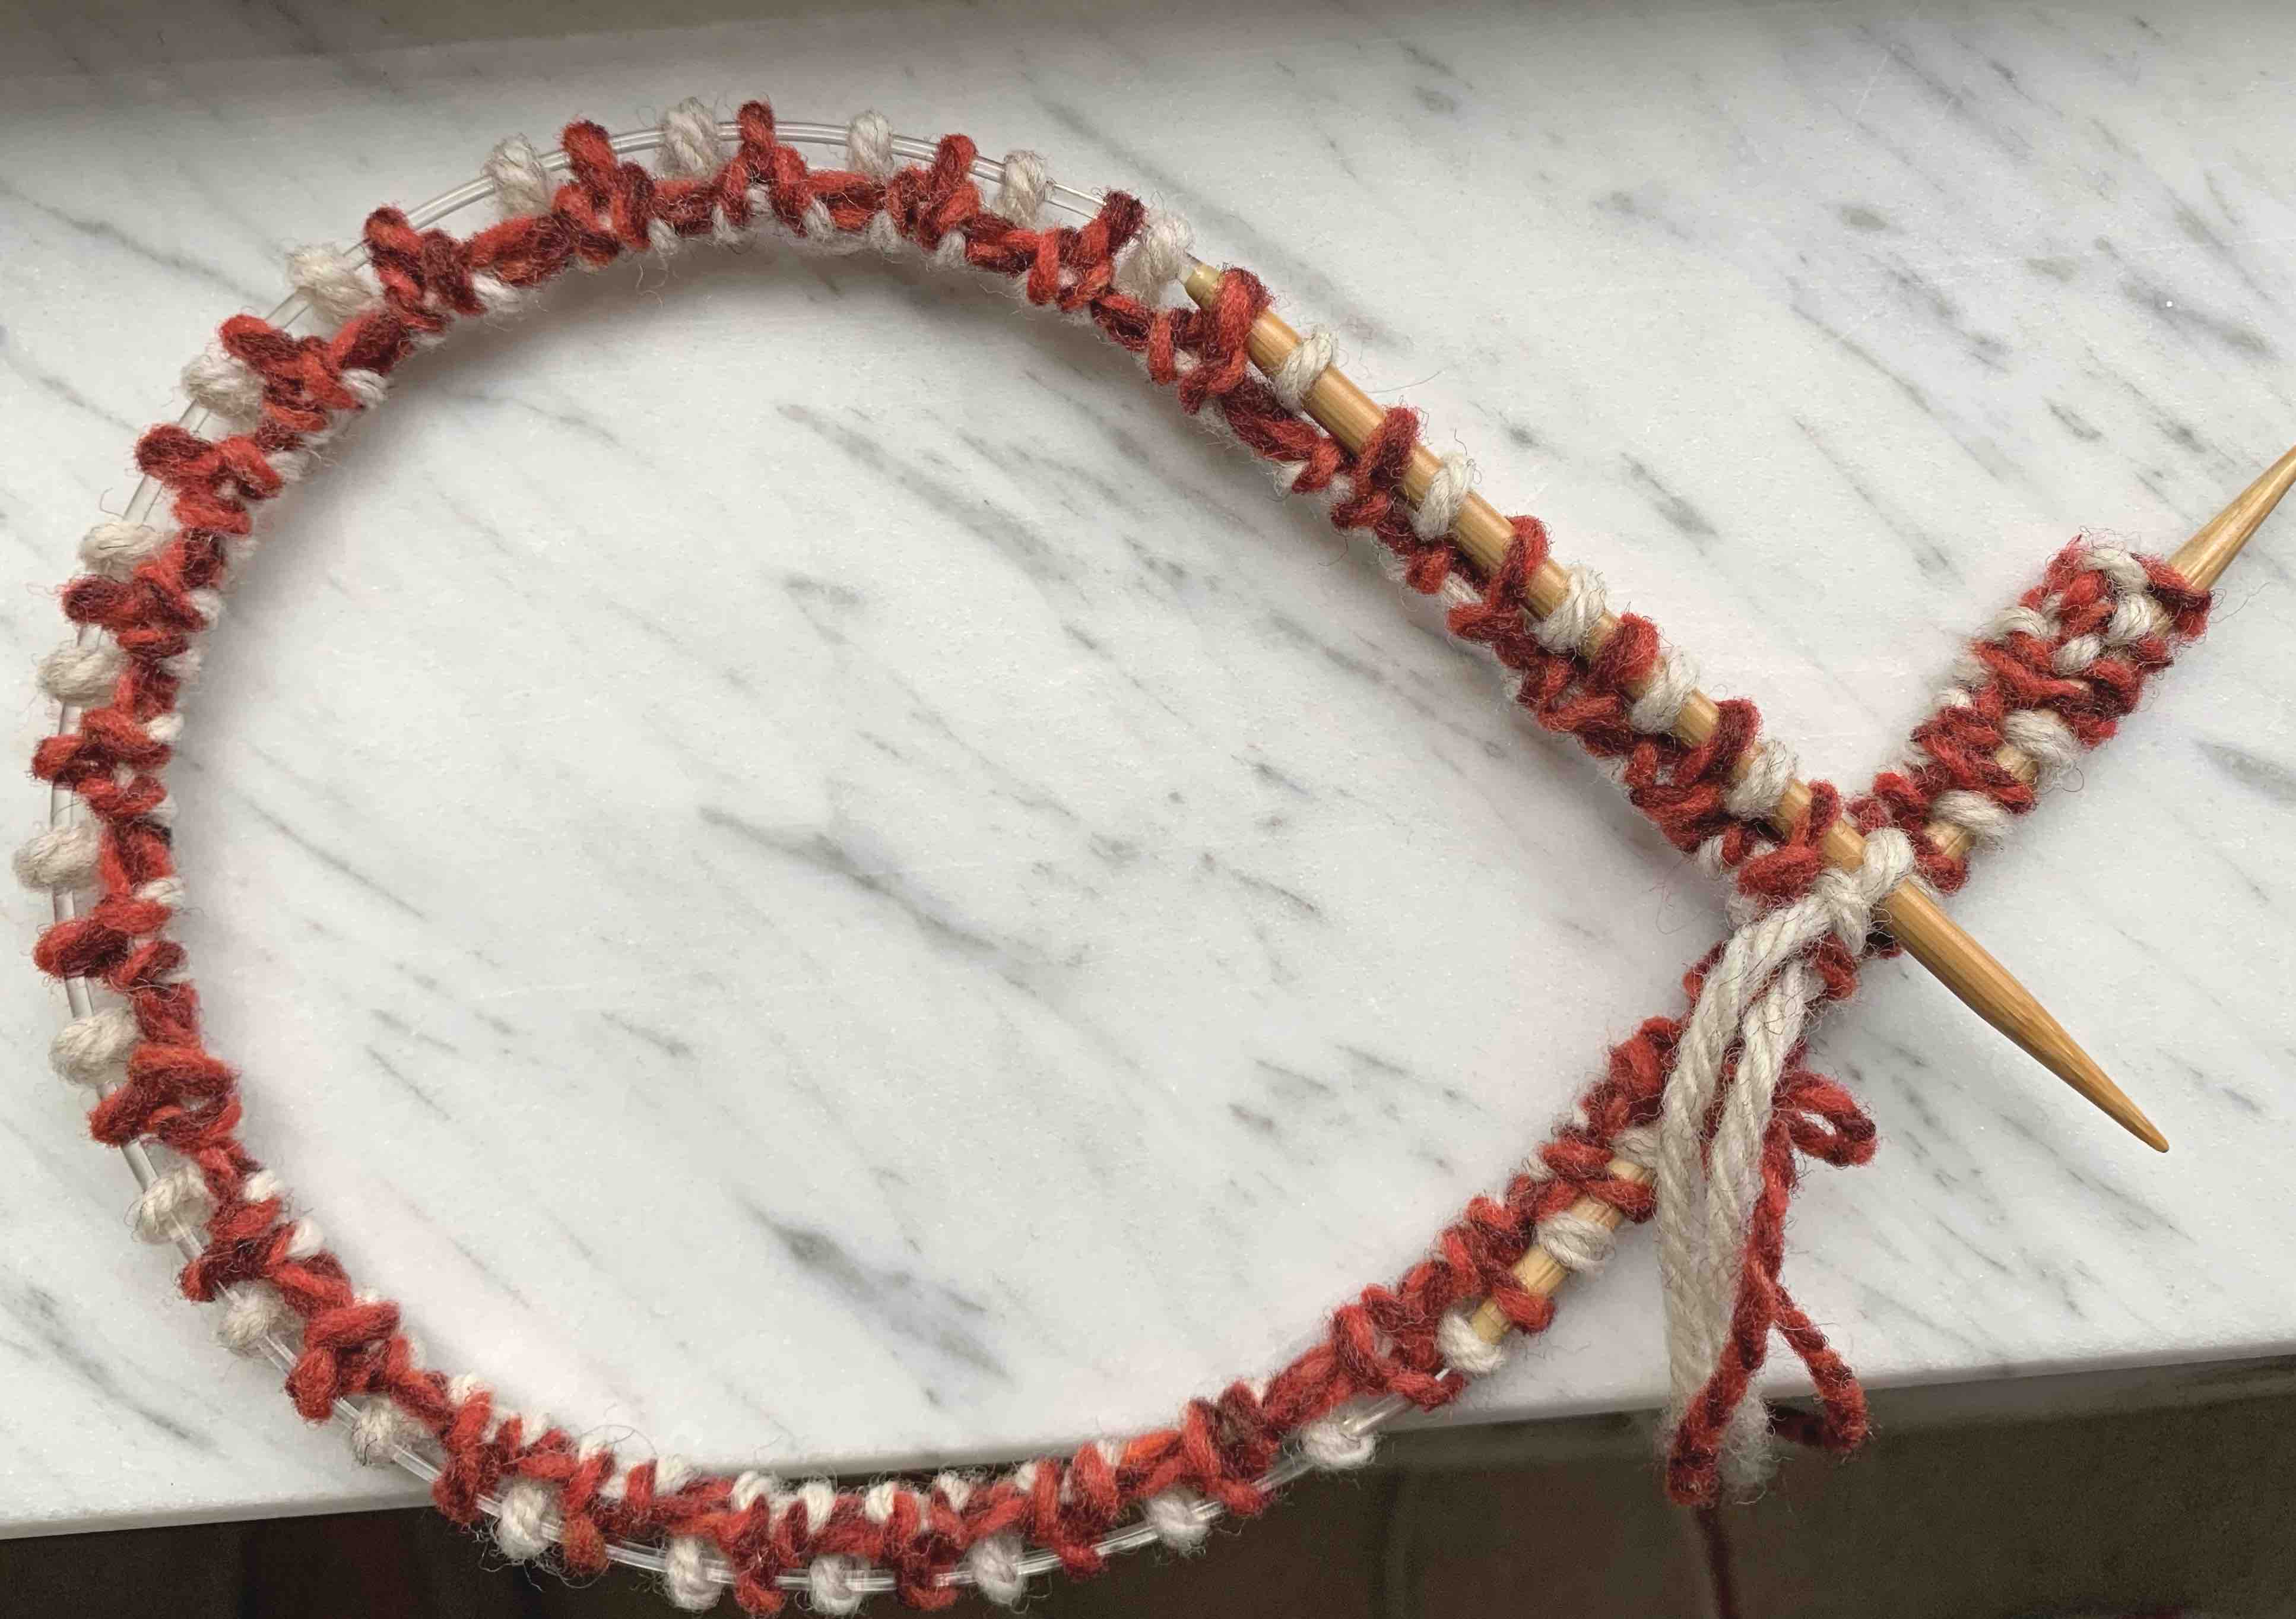
For the Wheat scarf you will cast-on and then knit back and forth (creates Garter Stitch) until you have three inches of knitting. (Please note that in my scarf sample I did not knit for three inches because I only wanted to show the patterning.)
Next is the set up row. The set up row changes things up a bit and sets you up for the remainder of the pattern knitting. Continue on until just before the desired length. The last bit will mimic the patterning at the beginning of the scarf to make the ends match. Bind off.


Pattern Reading Help
Some things to note when knitting a pattern: When you see something inside parentheses, such as (k1,P1) and the pattern says to repeat, only repeat what is in the parentheses. Sometimes a * is used. Often a row will begin and end a certain way with the pattern repeating in the middle.
I like to read through a pattern first to visualize the project. Use a highlighter for important information. Then, go back and begin the knit. Don’t worry about gauge at this point. Gauge makes sure your scarf comes out to the measurements suggested, but since this is a scarf, it’s not necessary.
Read the pattern line by line – do as it says – and move on to the next line, or section, of directions. Keep track with sticky notes if needed.
MARKERS
Knitting patterns are written using abbreviations and a key to the abbreviations is listed. For instance PM means “place marker” and SM means “slip marker”. Markers are used to remind the knitter that something happens / begins / ends at this spot.
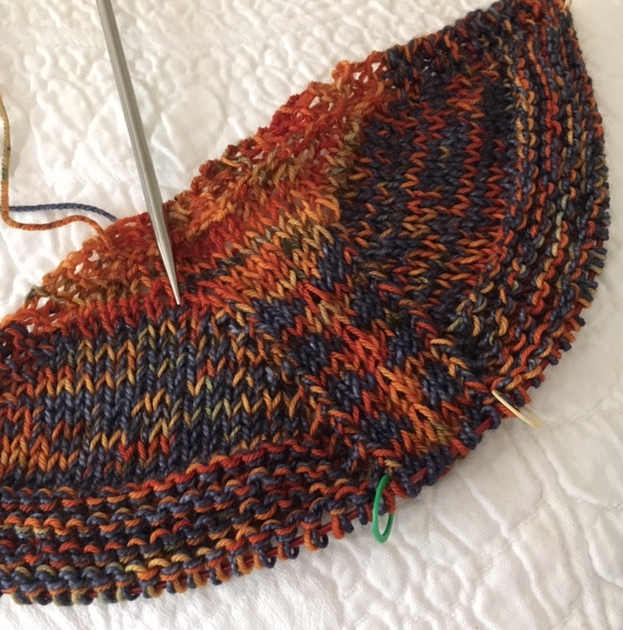
In the Wheat pattern, the markers remain on the needles to tell us when to knit the ribbing (the alternating knits and purls) – they divide one part from another. Put a marker onto the needle to PM (place marker) and slip it while knitting when it says SM. Remove all markers while knitting the last row that needs to use them!
IDENTIFY KNITS AND PURLS
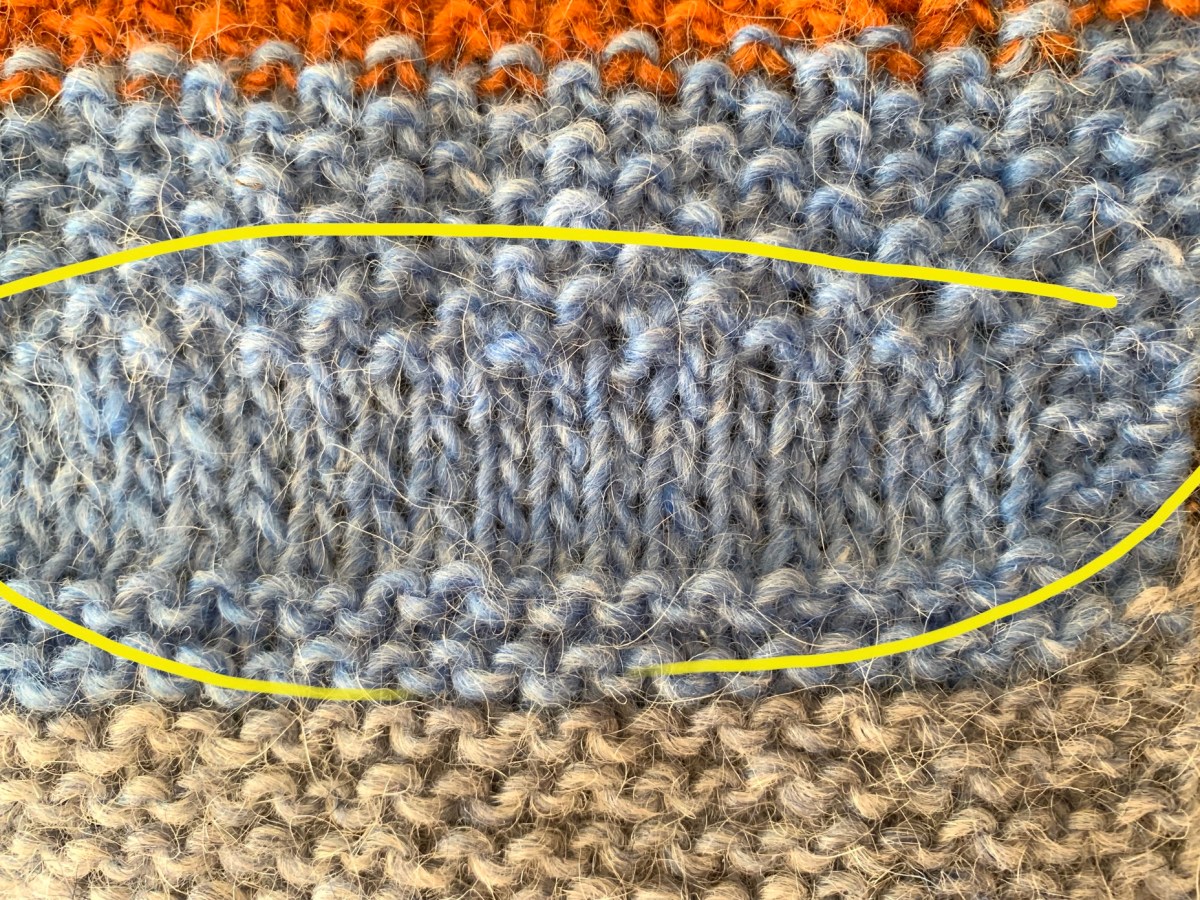
The knit and purl section of the scarf will make a “ribbing”. In case you lose track of where you are, it helps to be able to identify knit stitches and purl stitches. Purls have bumps and knits look like “V’s”. Each stitch appears different. The knits stand out, while the purls recede. Pull down on the section to view the stitches best. The purl bumps should be very visible.
The stitches alternate for the middle section of the scarf, but they are the same on every row. Knits and purls should line up. This creates a rib.

HOW TO ADD A NEW SKEIN
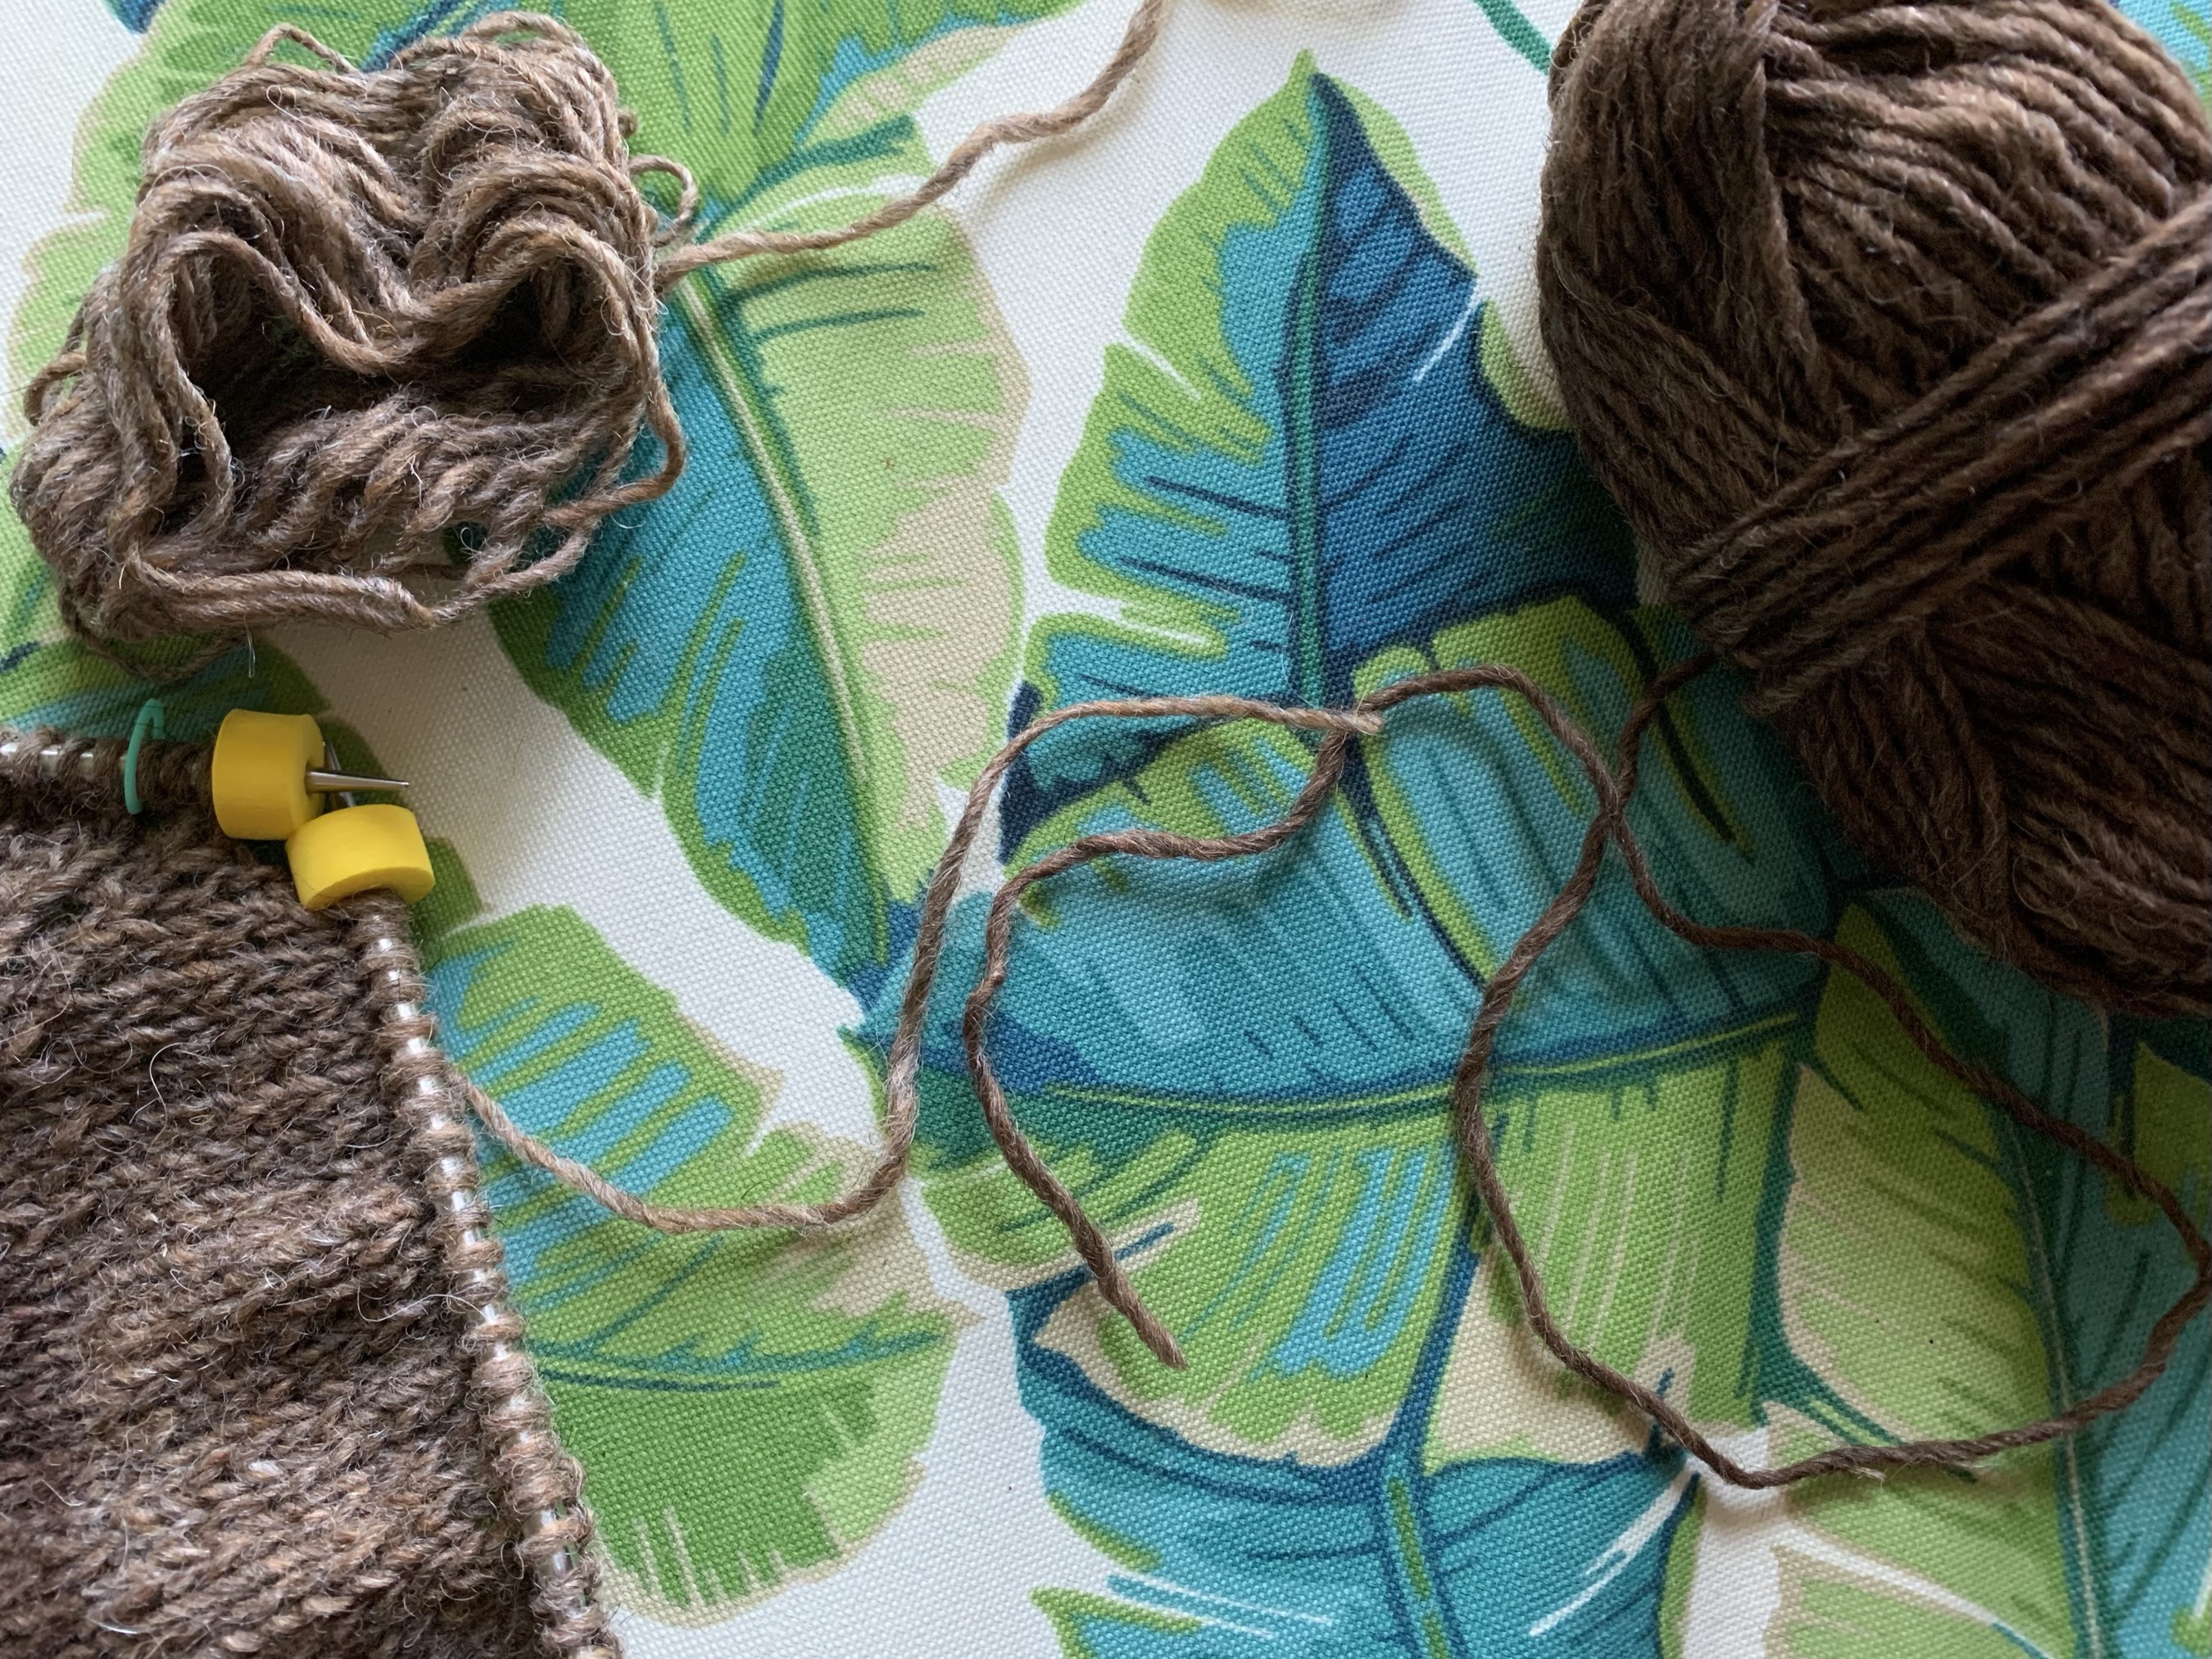
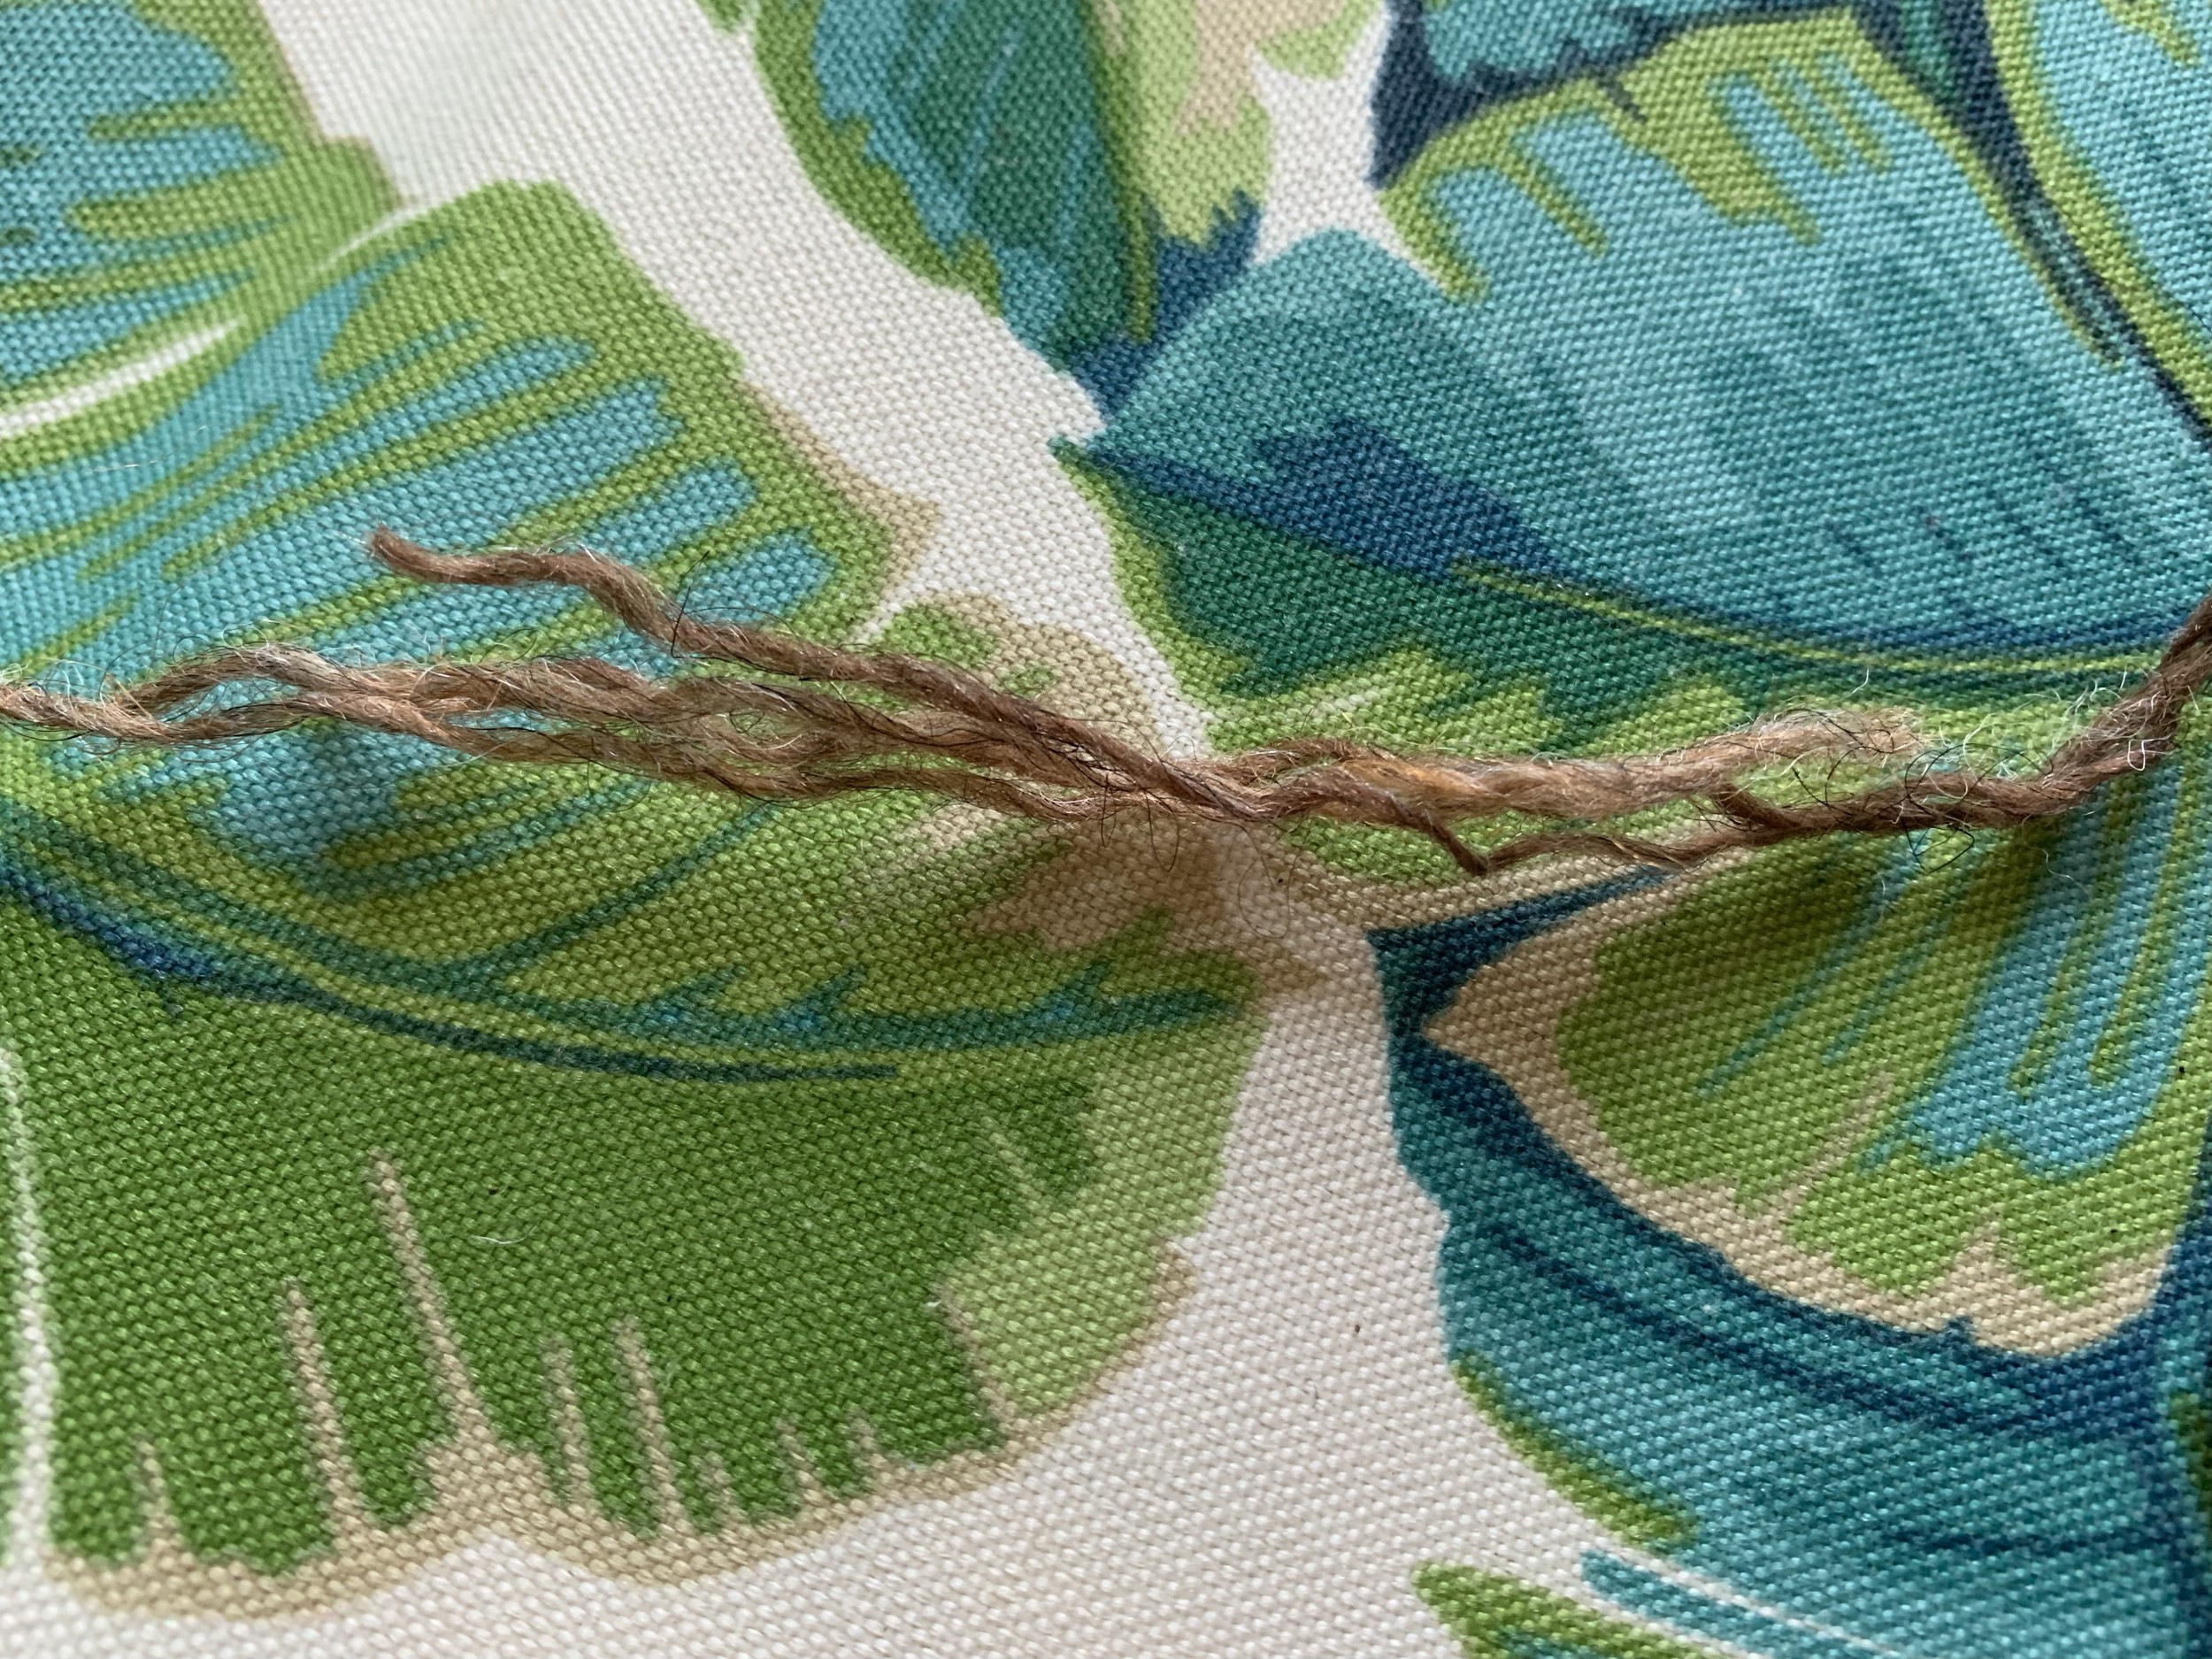
Well, I can’t find a decent video about how to do this simple thing. All I do is when I get near the end of the old skein – leave enough length so the end can be woven in (6 inches at least) – insert the needle as if to knit – wrap the strand from the new skein around the needle, pull it through and knit it – leaving a tail. This attaches the new skein. The two pieces of yarn hanging (from the old & new skeins) will be woven in when the project is finished. You may search on YouTube for “how to add a new yarn” “how to add a new skein” etc.
Once you bind-off, all that is left is the weaving in of ends. For that you need a tapestry needle (paid link) which has a large eye for yarn.
Knit in the Right Direction!
We all need to set down our knitting at some point. If you ended up finishing a row, starting again will be easy – start at the end where the yarn is. But in the middle of a row, things can be tricky.
TIP: When you pick up your project to knit, and are in the middle of knitting a row, be sure the yarn is coming off the right hand needle. Turn the project around to the correct position. This is a beginner mistake and I have done it! If you are not careful you will be knitting in the wrong direction.


For more patterns by Tin Can Knits, visit their pattern page. Many patterns are free and they are good for anyone from beginner to advanced. Choose wisely if you are just starting out, and go back and choose something more challenging later.
All knitters (and wannabe knitters) are invited to keep reading!
More of my scarf knitting adventures.



Something went wrong. Please refresh the page and/or try again.























 New England's Narrow Road