
Blue Playdate Cardigan for Baby Boy

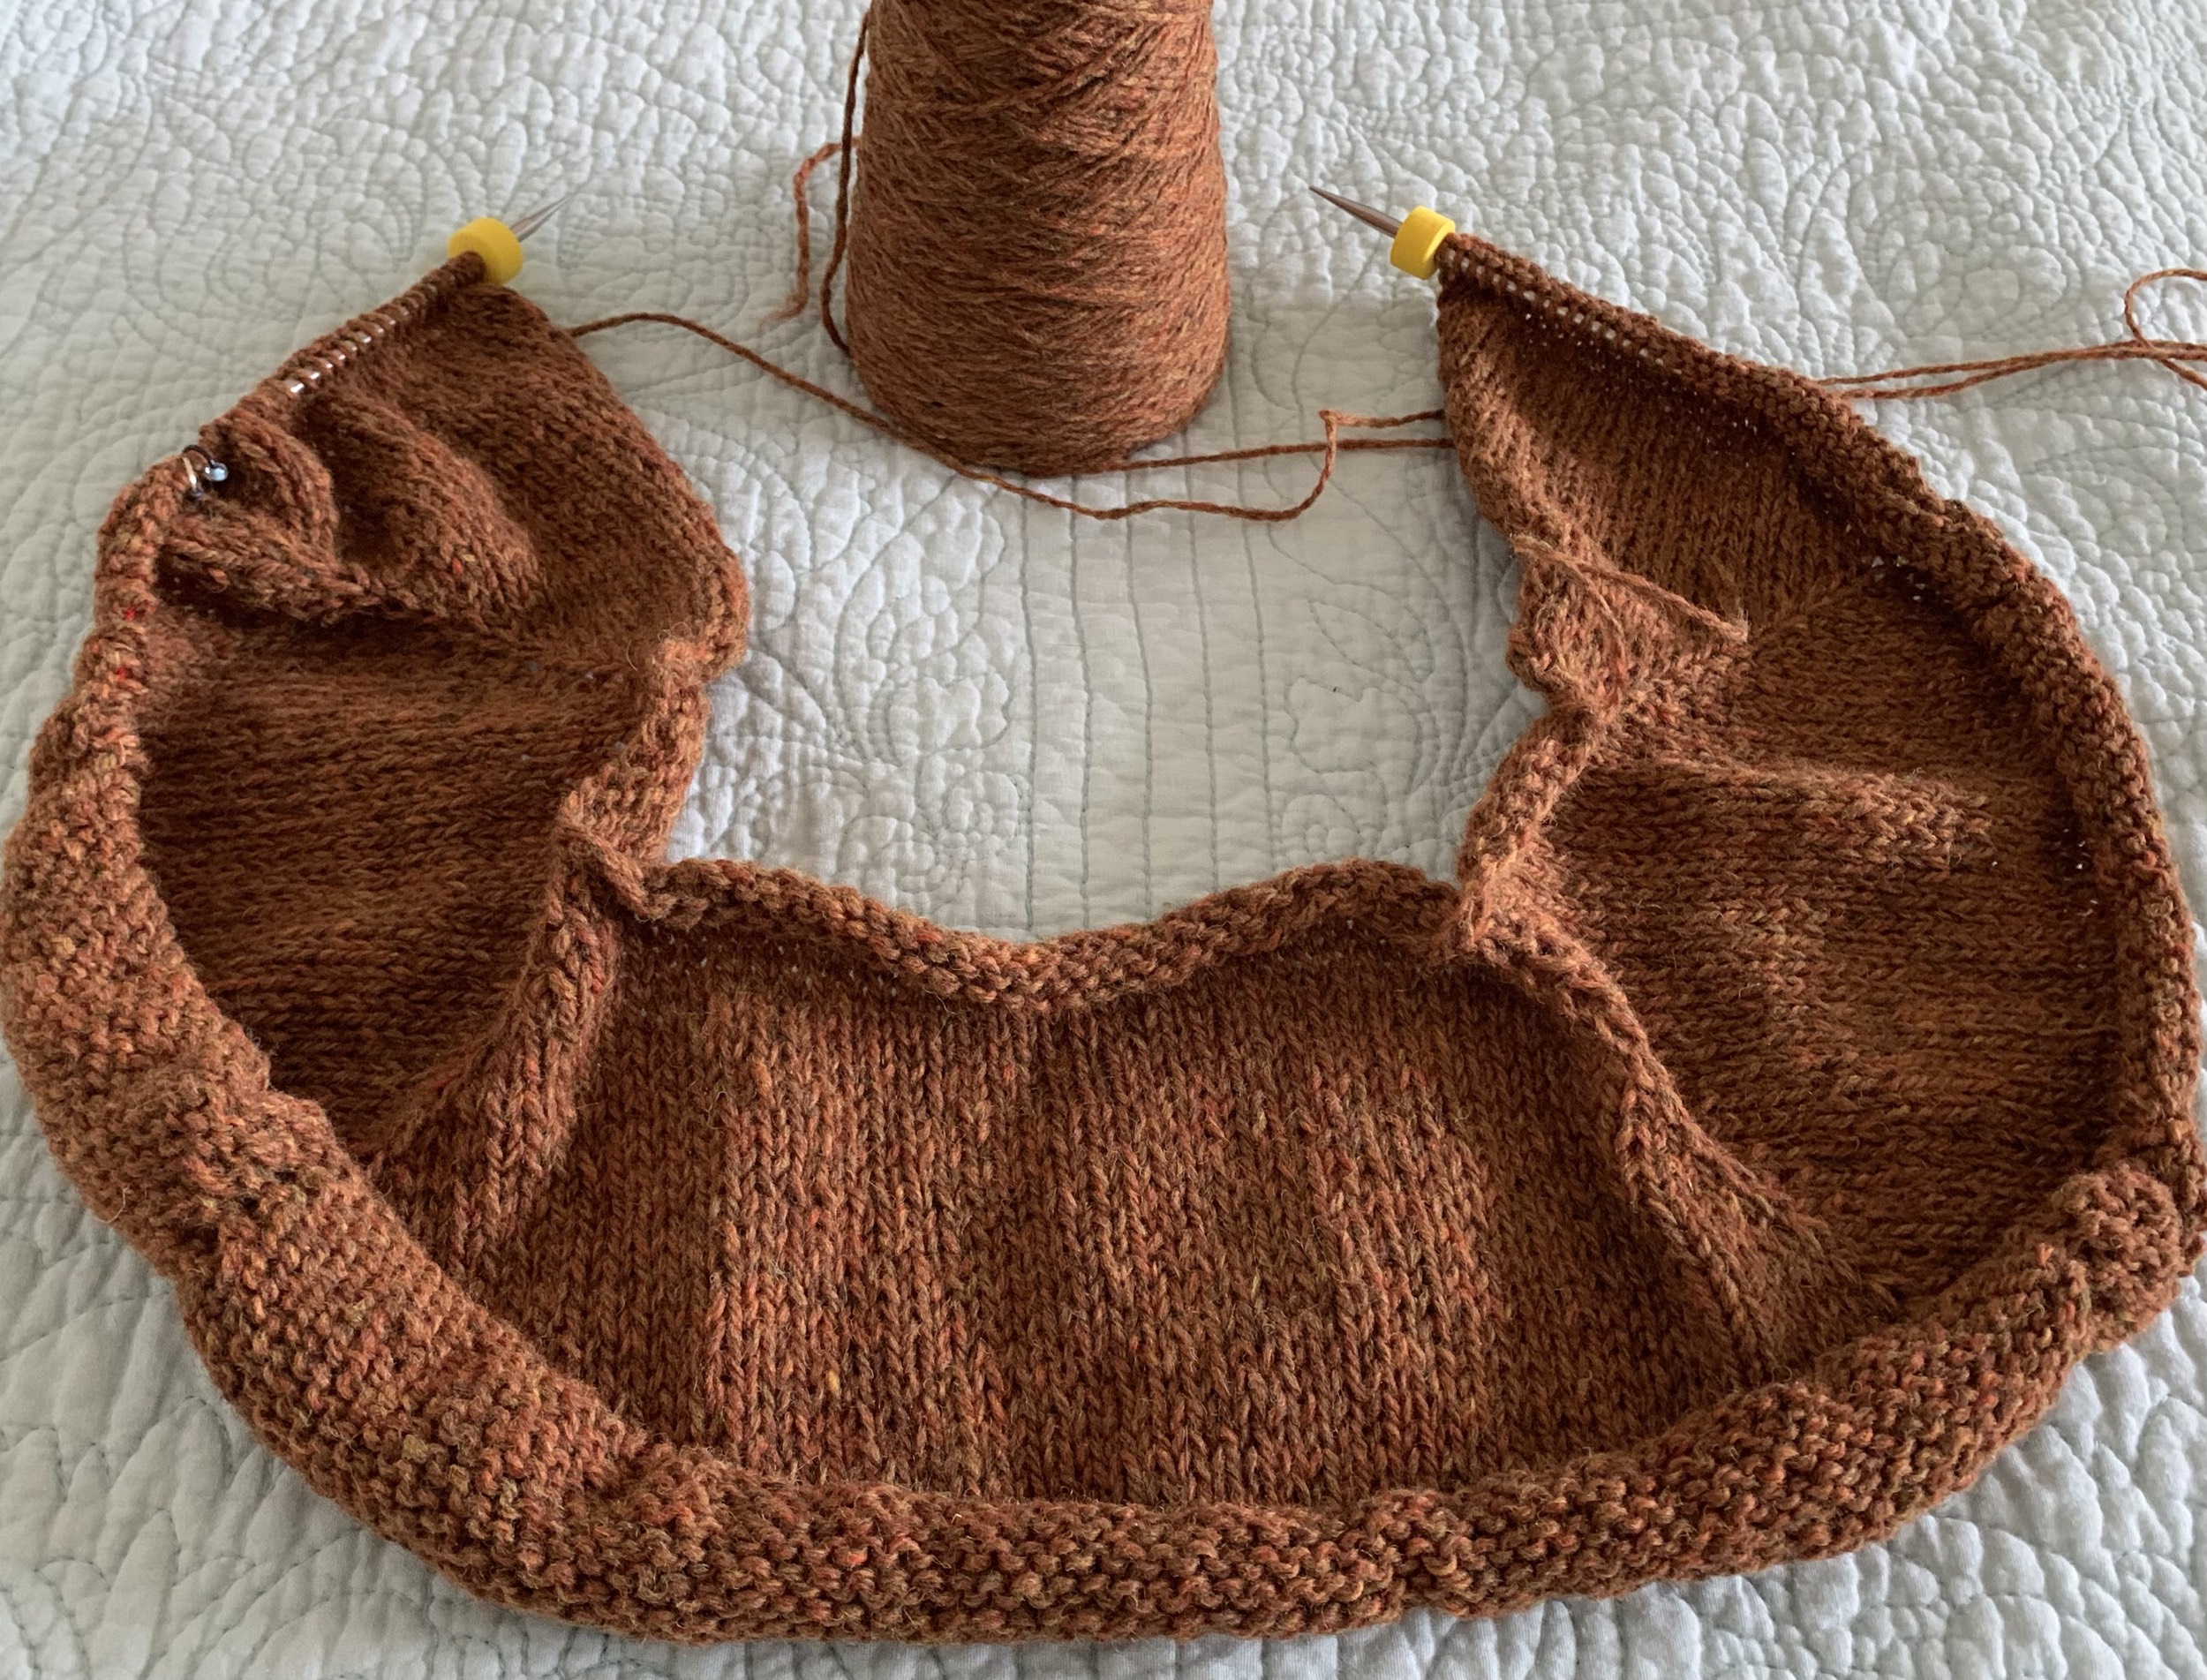
Knitting a little Playdate cardigan for a new baby boy. Blue “Putnam” yarn from Miss Babs is perfect for this little gift knit.

I’m so happy to have a reason to knit the Playdate Cardigan again! This is such an awesome pattern, with very good instructions from Tin Can Knits. The first Playdate I knit taught me about pockets and button bands. I think it was also one of the first times I did the Kitchener stitch.

Now, I am knitting this cute pattern again for a baby boy. The first Playdate (pattern linked down the page) was not for any particular child and I still have the little sweater. This time a good friend’s little boy grand-baby is arriving in December and he will be the recipeint.

The Yarn

I chose blue Putnam yarn, in color “Coos Bay”, from Miss Babs. The yarn is made up of 75% merino wool and 25% nylon, and is machine washable. Skein yardage is 400 and this size (3-6 months) sweater uses 350. (If you want to knit with some nice yarn, check out Miss Babs.)

October 21st, I began the project using the Old Norwegian cast-on. First, I had to knit the two pocket liners and then I began the body.

When I knit this sweater before, I used some merino wool with silk in it and the yarn was very slippery. This yarn is more suitable for a sweater. Playdate #1 page.

The more I knit with this yarn, the more I really like it! The shoulders of the Playdate sweater have been grafted using the Kitchener stitch. One sleeve is nearly complete.

I dislike using DPNs and began the sleeve with a 9-inch circular. Eventually I had to switch to wood DPNs but it is not a problem as there is plenty of room on each needle for the stitches.

Button Selection

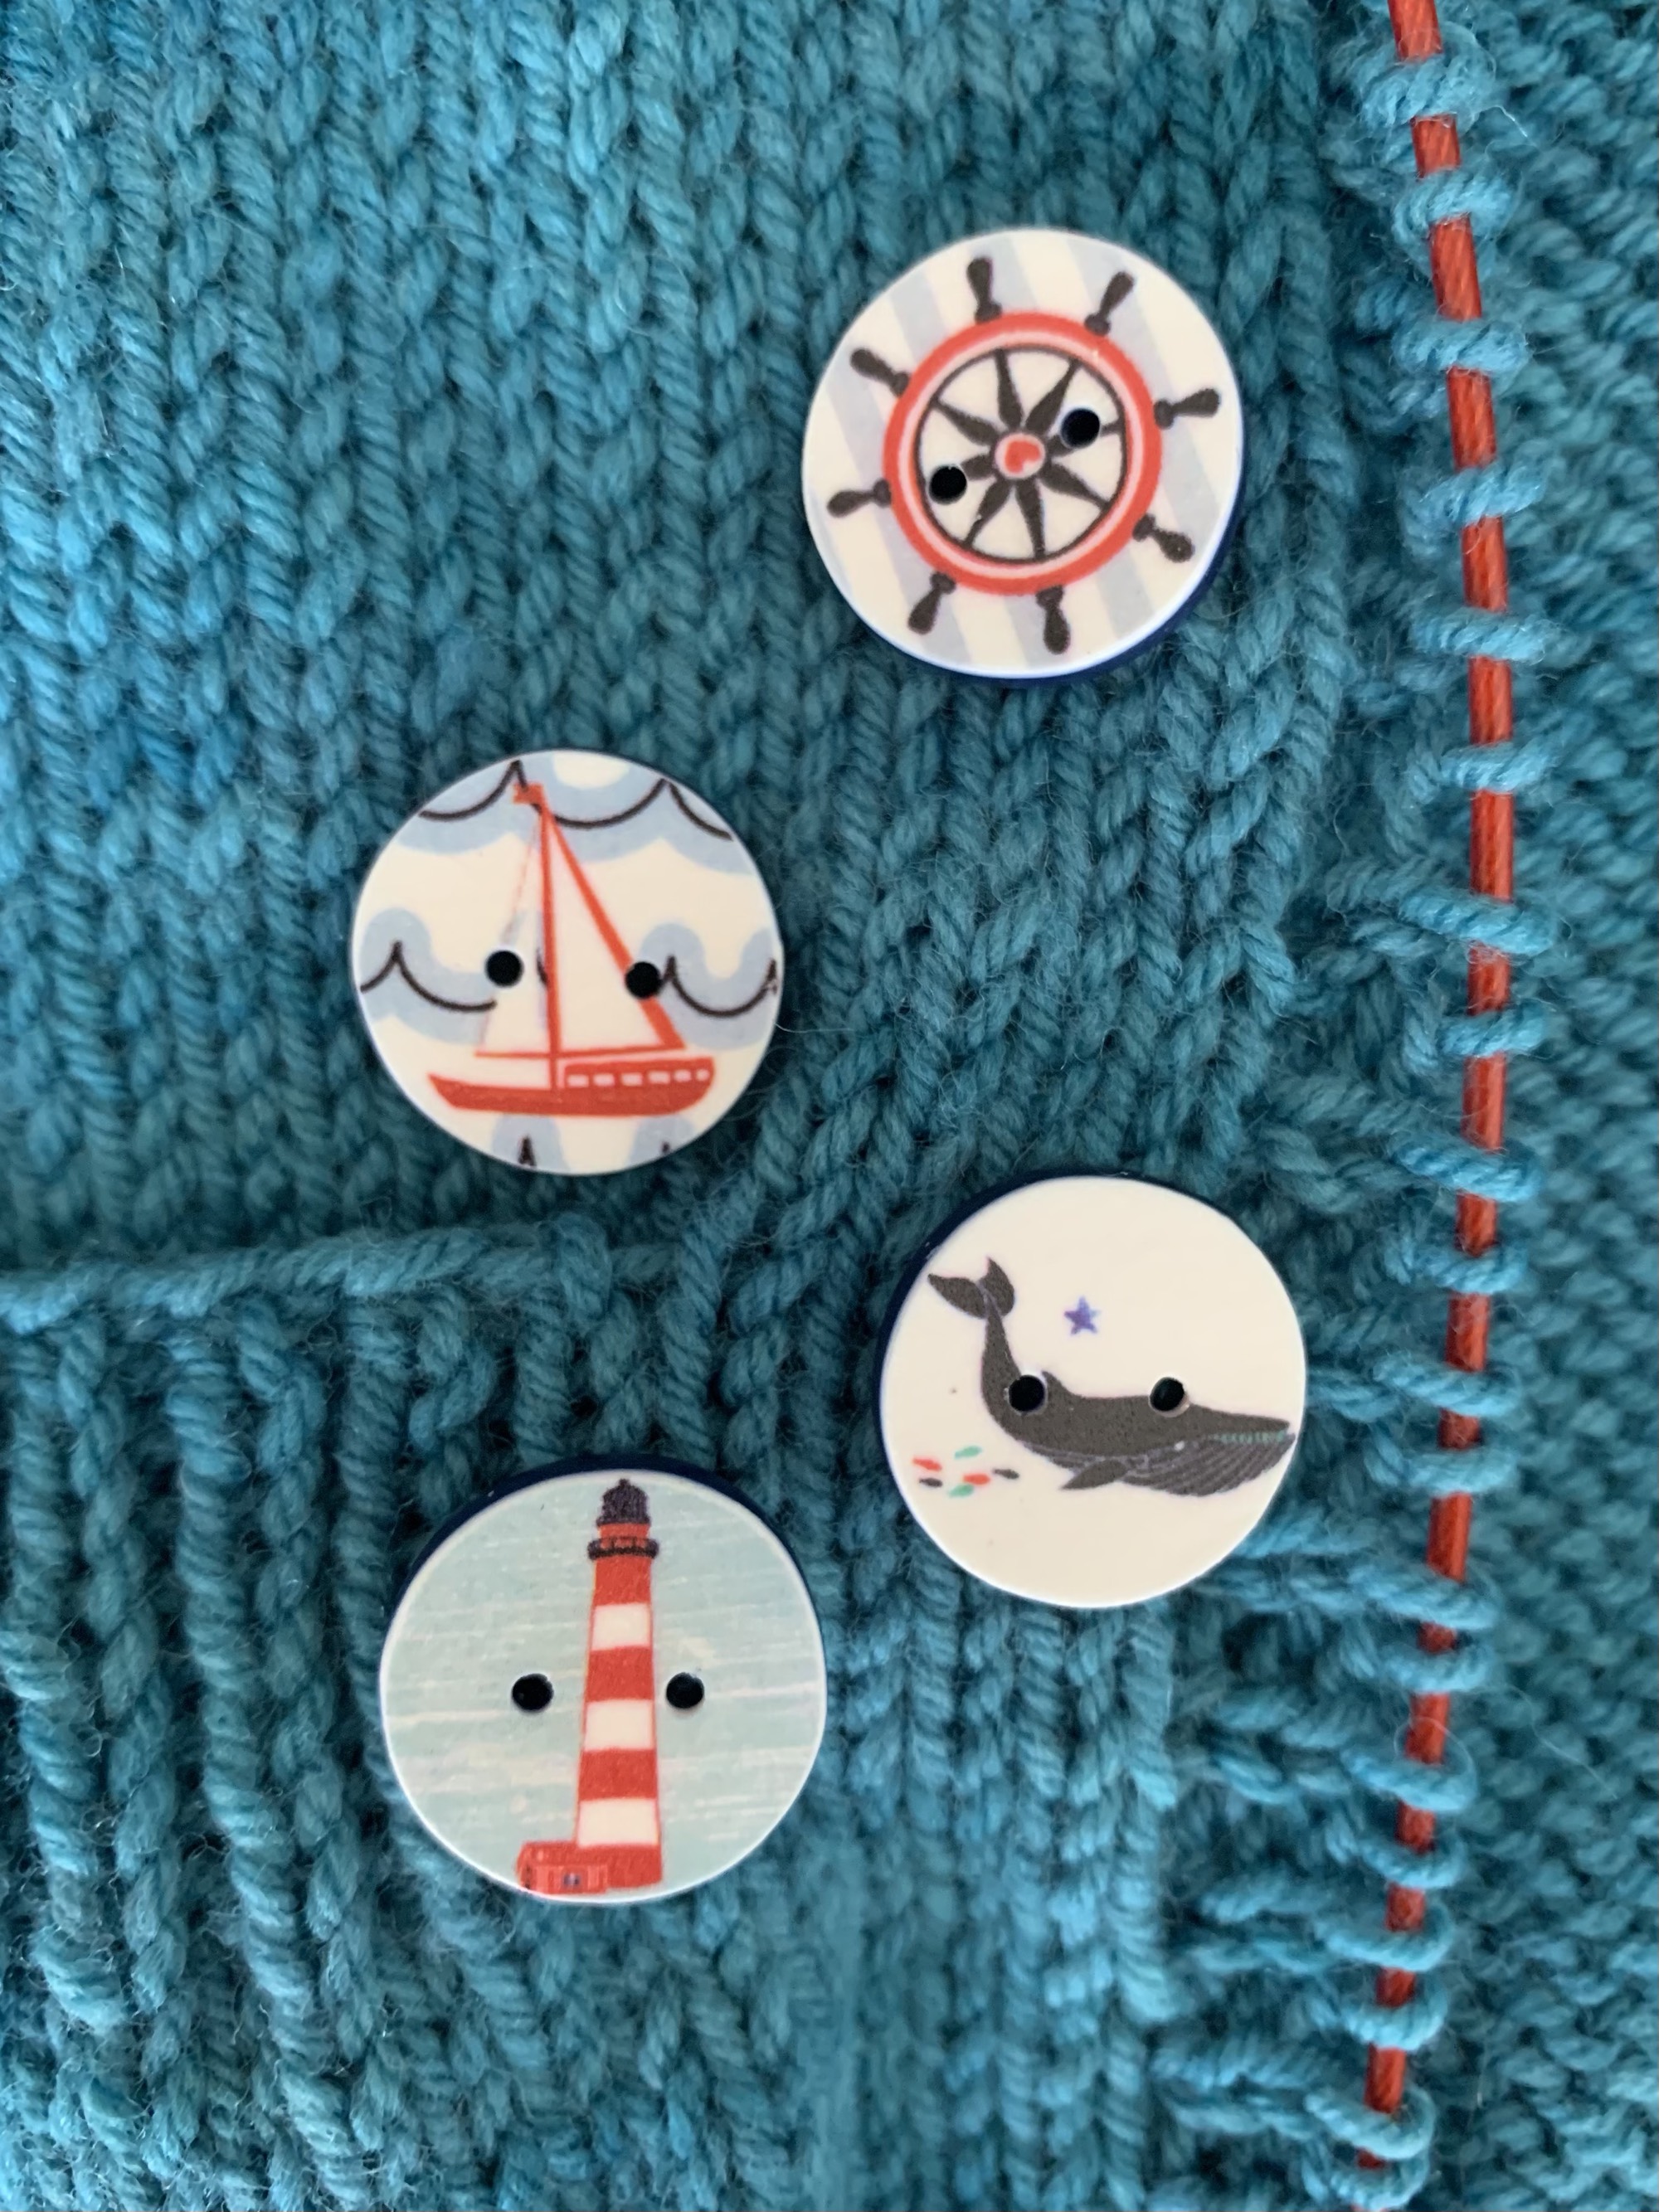
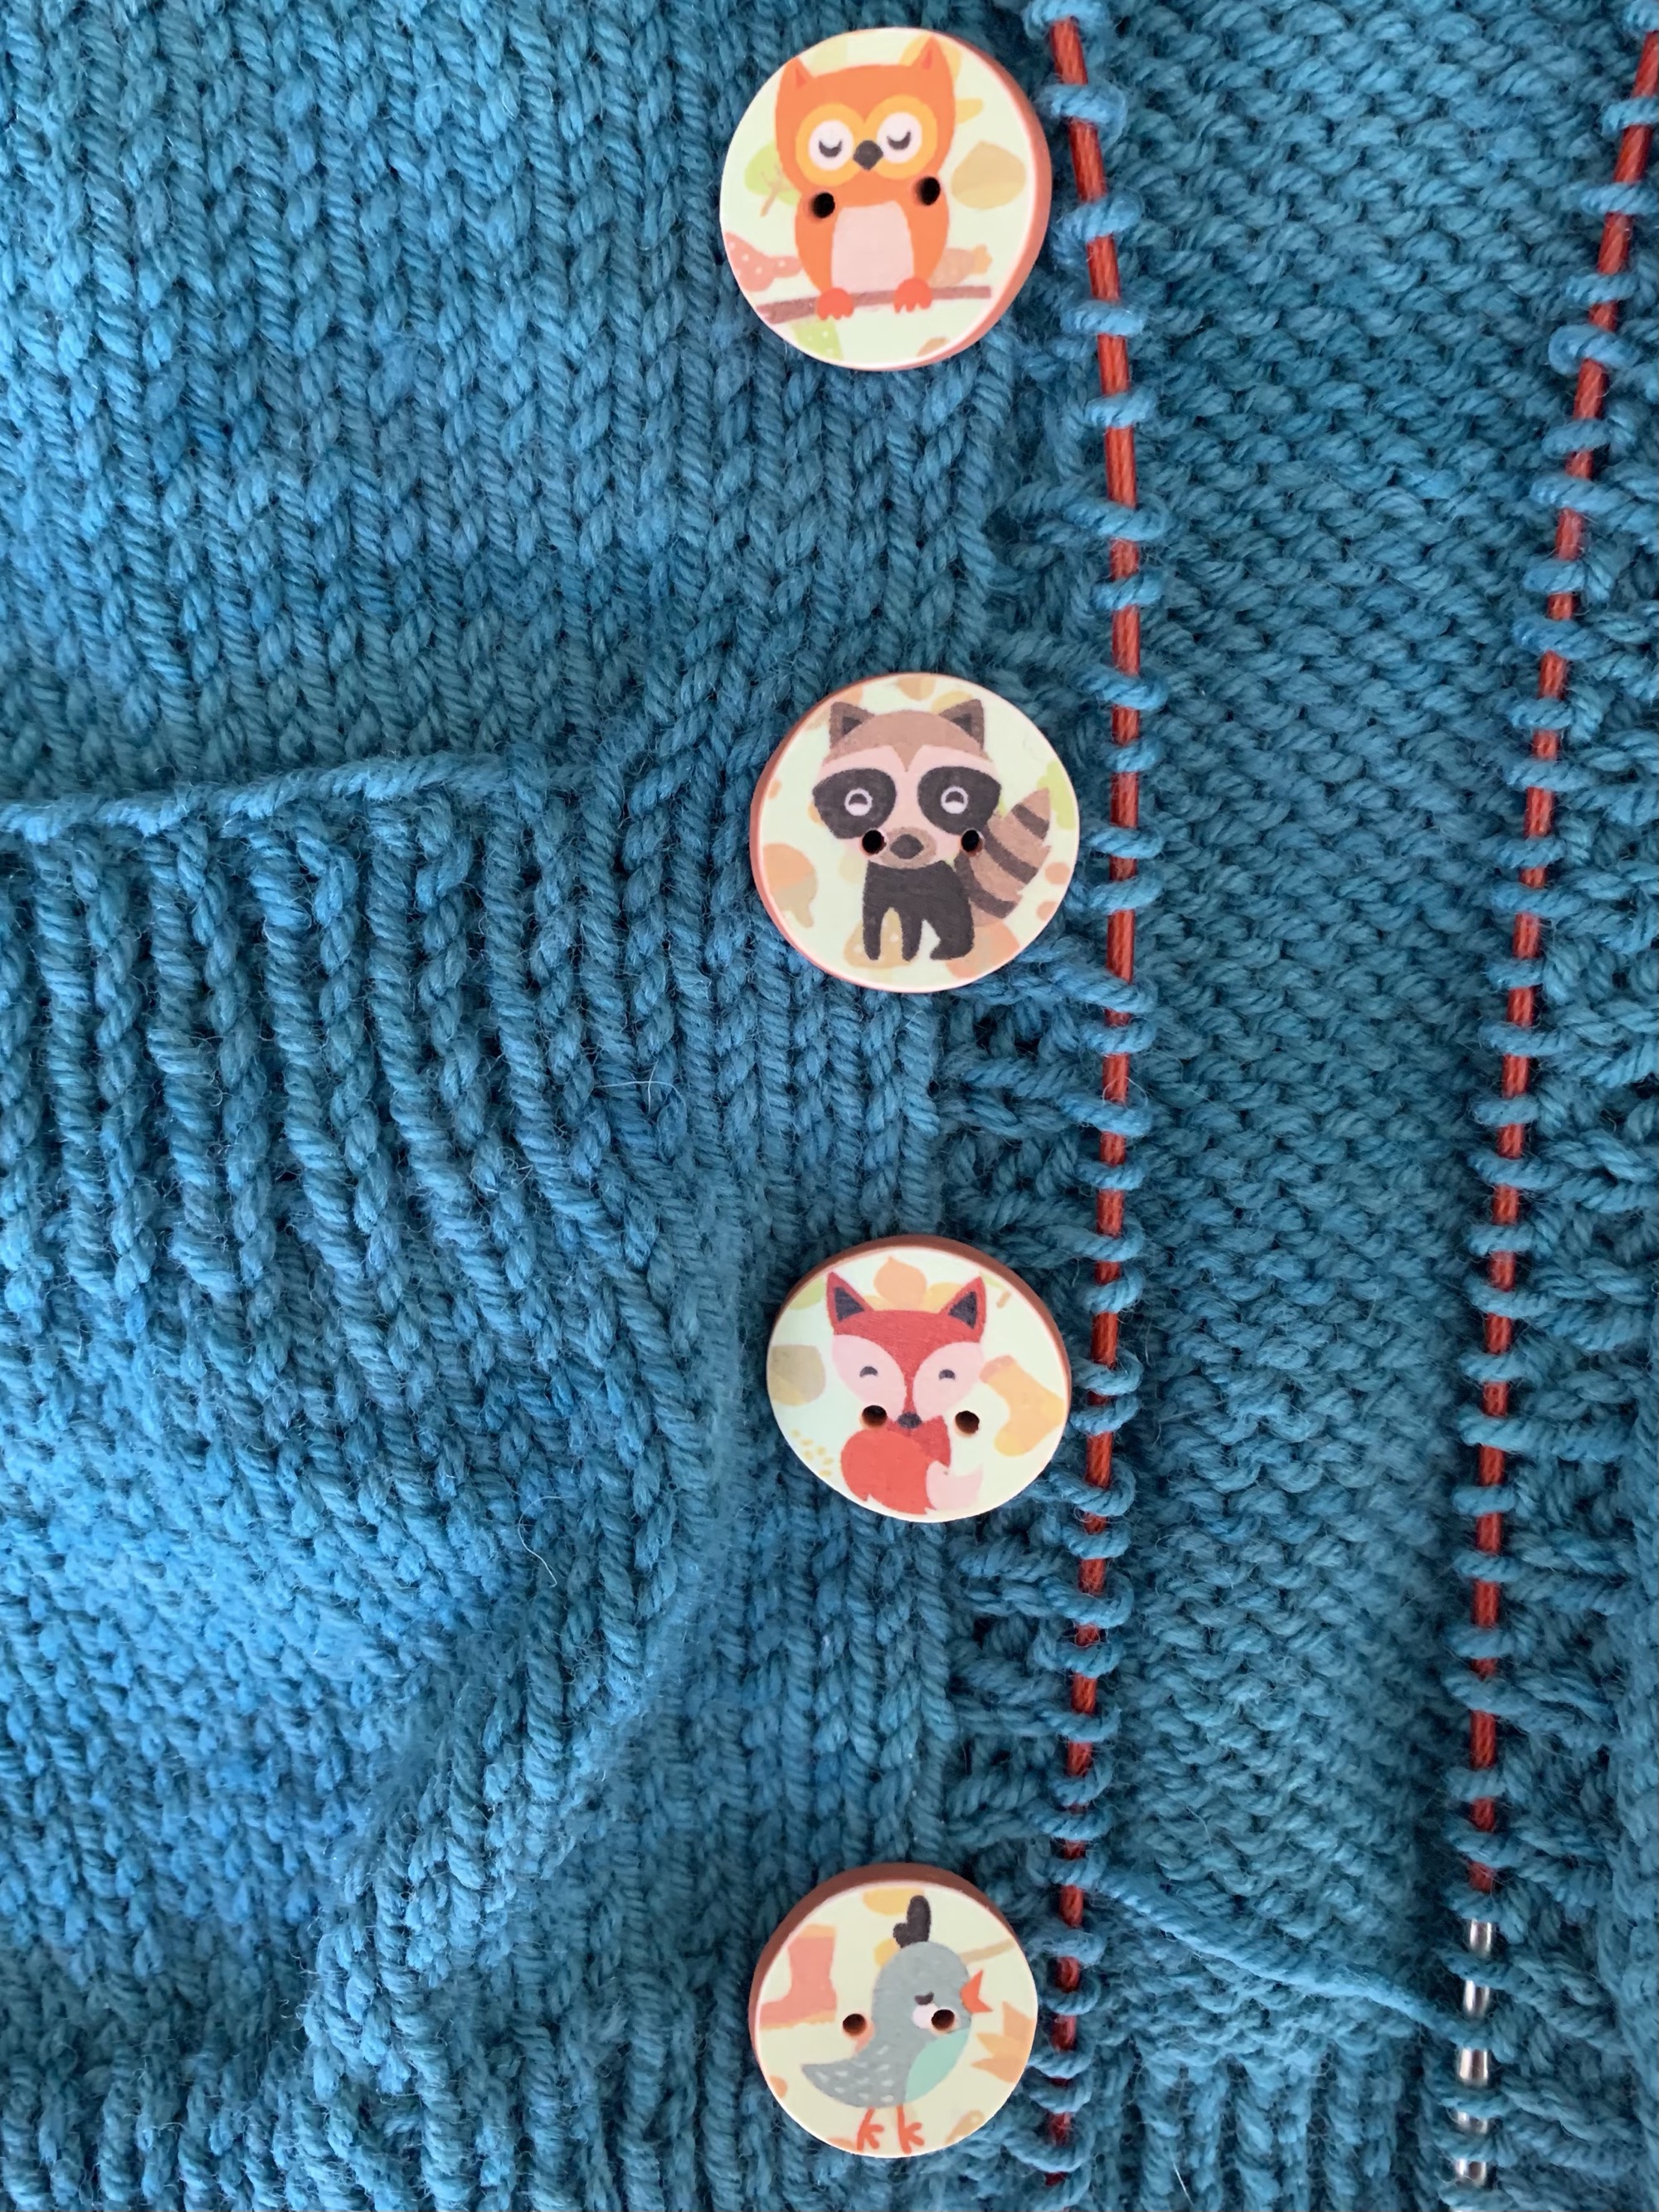
Because of the small sweater size, I plan to do only four buttons. My choices are nautical designs, little tractors, or cute animals. I’m leaning toward the animals.

Once the pockets are sewn up and the buttons are added this little sweater will be ready to go. I have already washed and blocked it. Quite a bit of yarn is left which means a little hat or baby socks could be knit to match.

Finished Photo to Come

Buy the Playdate Pattern, by Tin Can Knits.


Recent Stories From the Blog…

DIY Felted Wool Seating Pad Knitting Pattern

Knitting a simple wool chair pad to use up some heavy weight and worsted wool. This DIY pattern uses Fair Isle, colorwork that is simple and can easily be changed.

Five Cozy Scarf Knitting Projects For Fall

Five cozy scarf patterns to begin knitting this Fall. Keep for yourself or give to friends and family. The selection has small and long scarves, with many free patterns included.

Yarn Selections and Casting On For the “Easy V”

Planning to knit the Easy V pullover pattern by Caitlin Hunter.

Having grown up in the 60’s there is some bohemian / hippy blood in my veins. I love a unique boho pattern and the “Easy V” sweater caught my eye.

The designer is Caitlin Hunter of Boyland Knitworks. I’ve knit a huge shawl of hers, which was a lot of fun (see it at the end of this page). Also my very first sweater knitting project was one of hers called “Umpqua”. It was a fail for me because I used the wrong kind of yarn (superwash) and it grew huge! I didn’t know any better at the time.

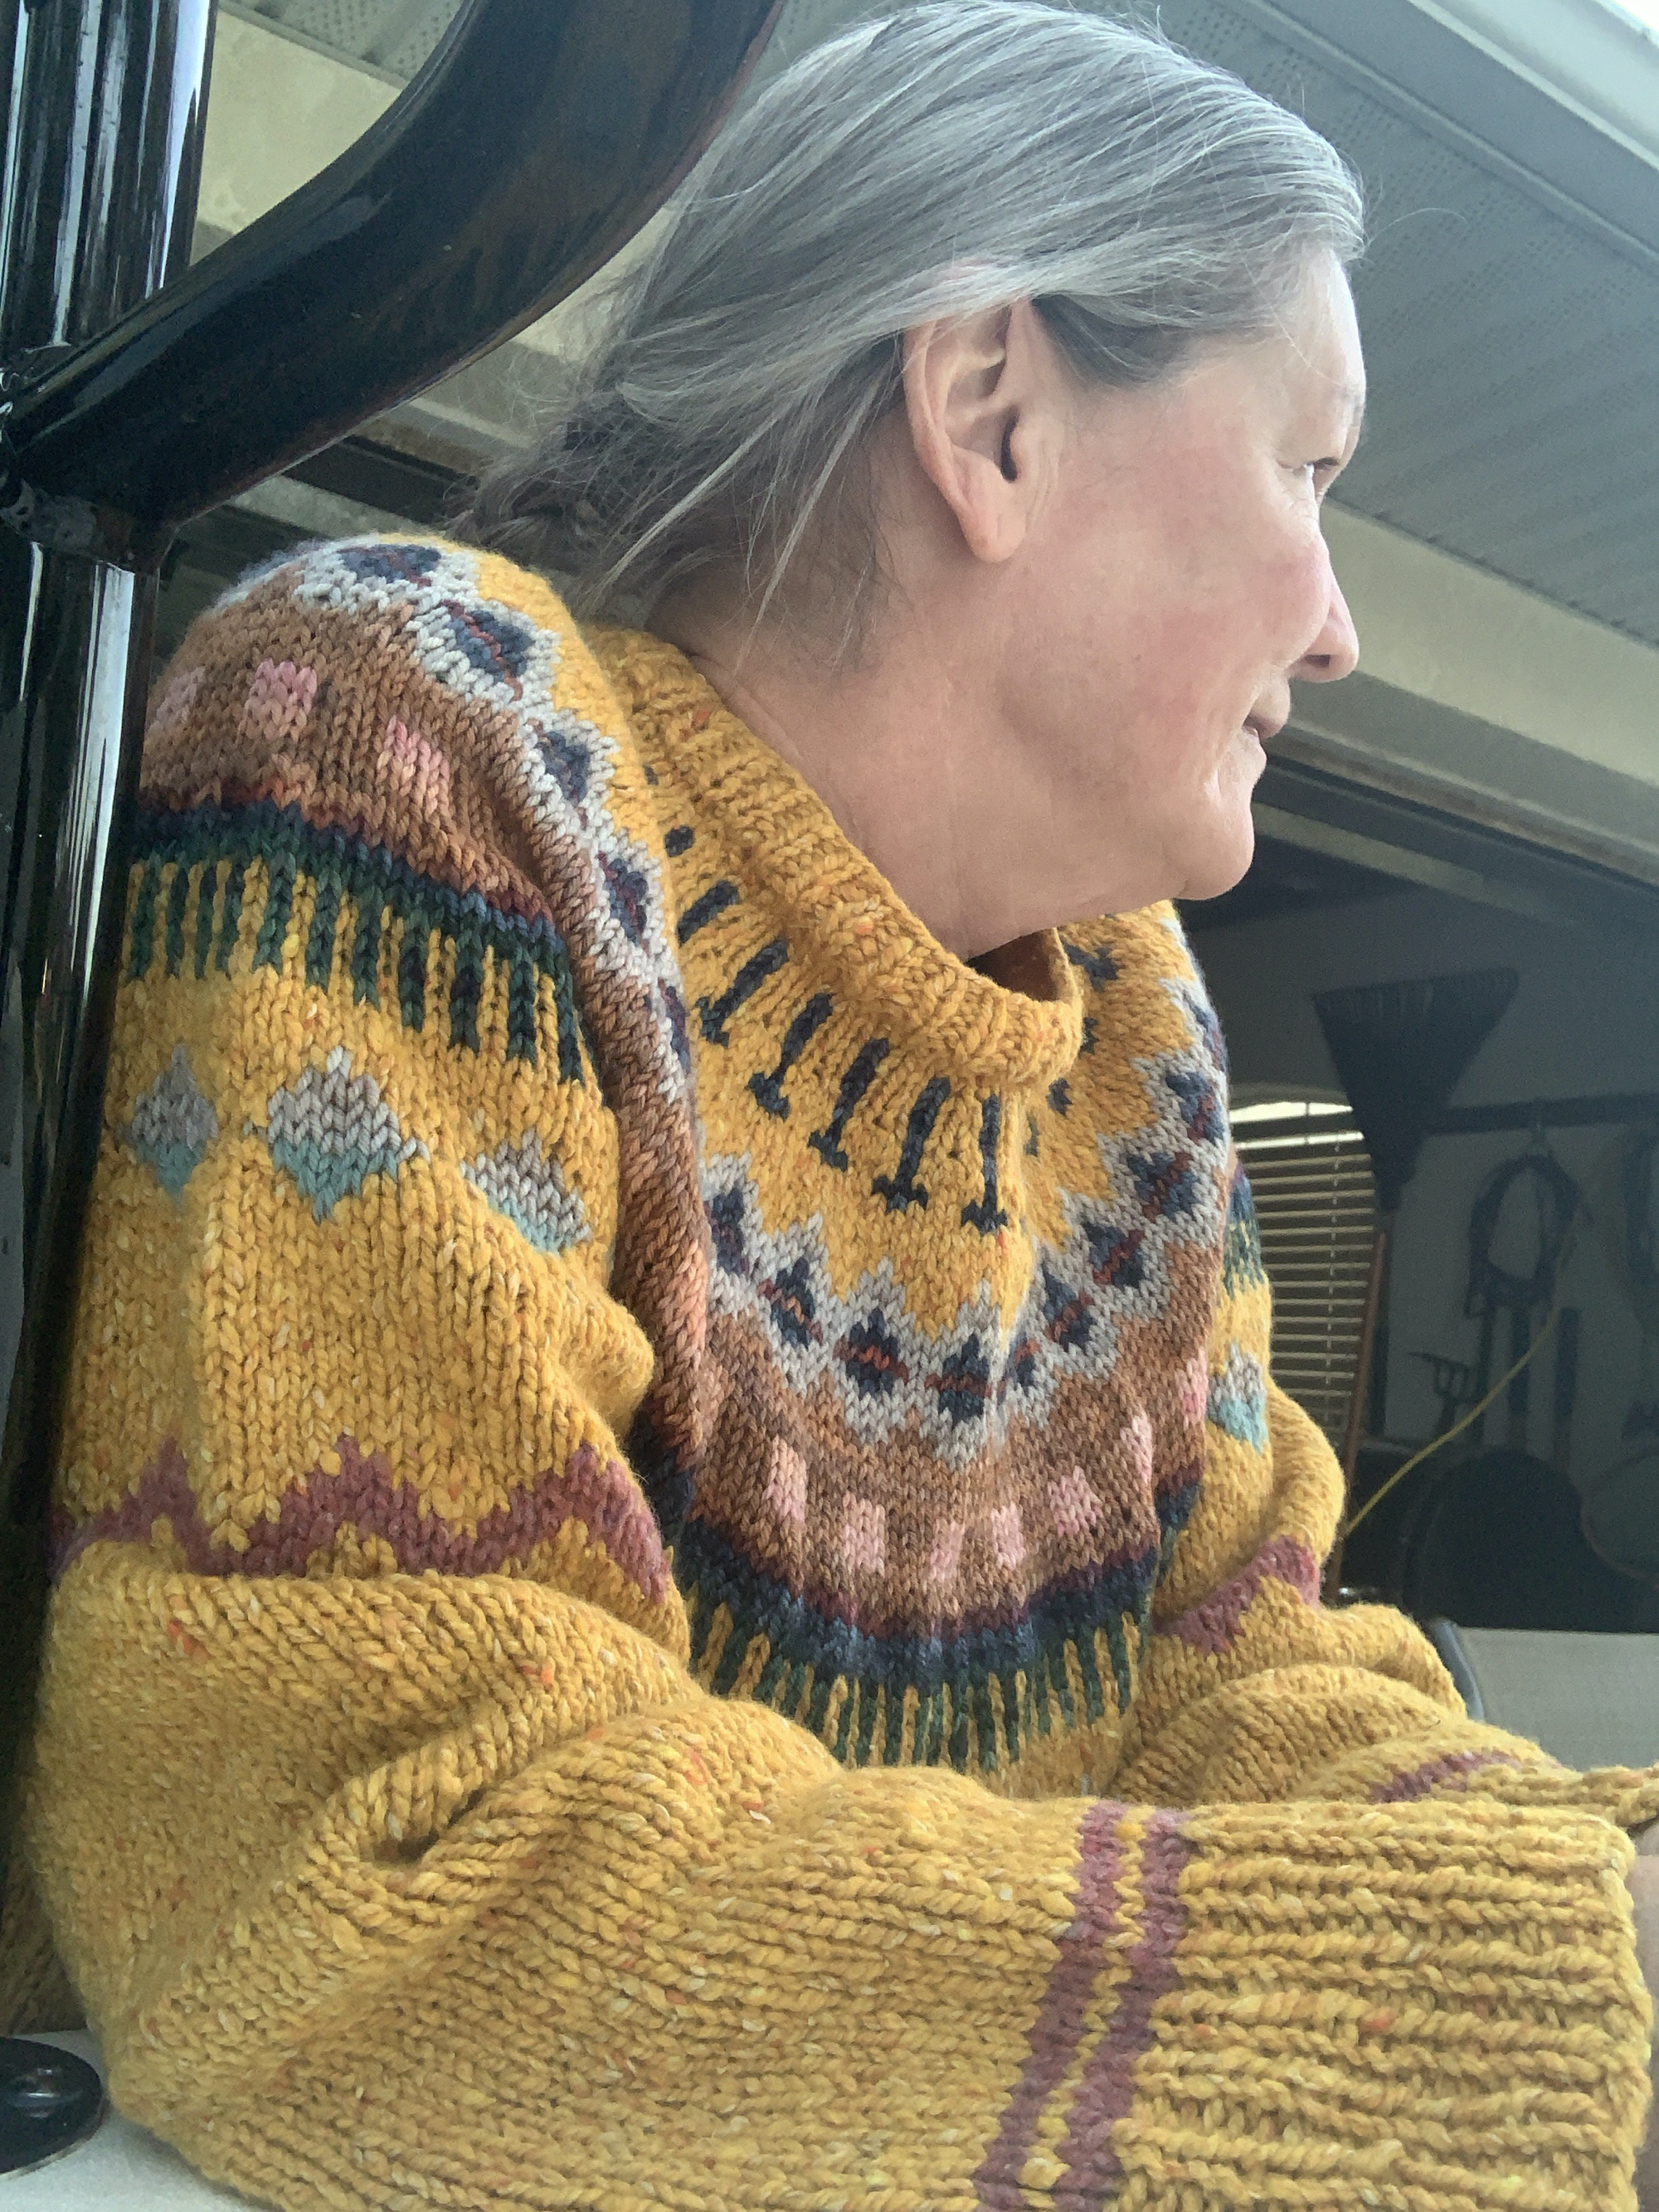
The Easy V has a colorwork yoke and colorwork on the sleeves. I believe it is meant to be a loose pullover. The pattern link is down the page if you’d like to see examples of the pattern and buy it.

Time to Cast On – Twice

I hope this is not a bad omen, but I had so much trouble beginning the cast-on. First I used the wrong needle size (I’m blaming that on the wine.) Before I realized my needle size mistake, I had decided to add some green mohair with the Plotulopi to give it strength.

I cut the yarn and didn’t bother to frog it. I began again with the correct size needle (size 4). This time I ran out of yarn in the tail of my Old Norwegian cast on! I finished it with a regular cast on.

Holding the two yarns together will be fiddly, but that Lopi yarn by itself breaks very easily.

I don’t know what is up with the cakes of Plotulopi as they are all attached together in the center. I have plenty of the yarn, so loosing a bit to that weirdness is okay. Getting a good color shot of that wool will be tough it seems!

Two Necklines Begun

After I had worked a bit on the green neckline, it began to look pretty large. I decided to begin again with a size 3 needle using some white Lettlopi yarn. It’s hard to tell a size on this sweater because the neckline is very unqiue. I did not do a gauge swatch mainly because I didn’t want to use up my hand spun yarn on a swatch. BUT… once some knitting had been done I did check my gauge and it’s very close. Of course the item has not been washed and blocked either.

I kept the green collar / neck and will end up making two of these sweaters!

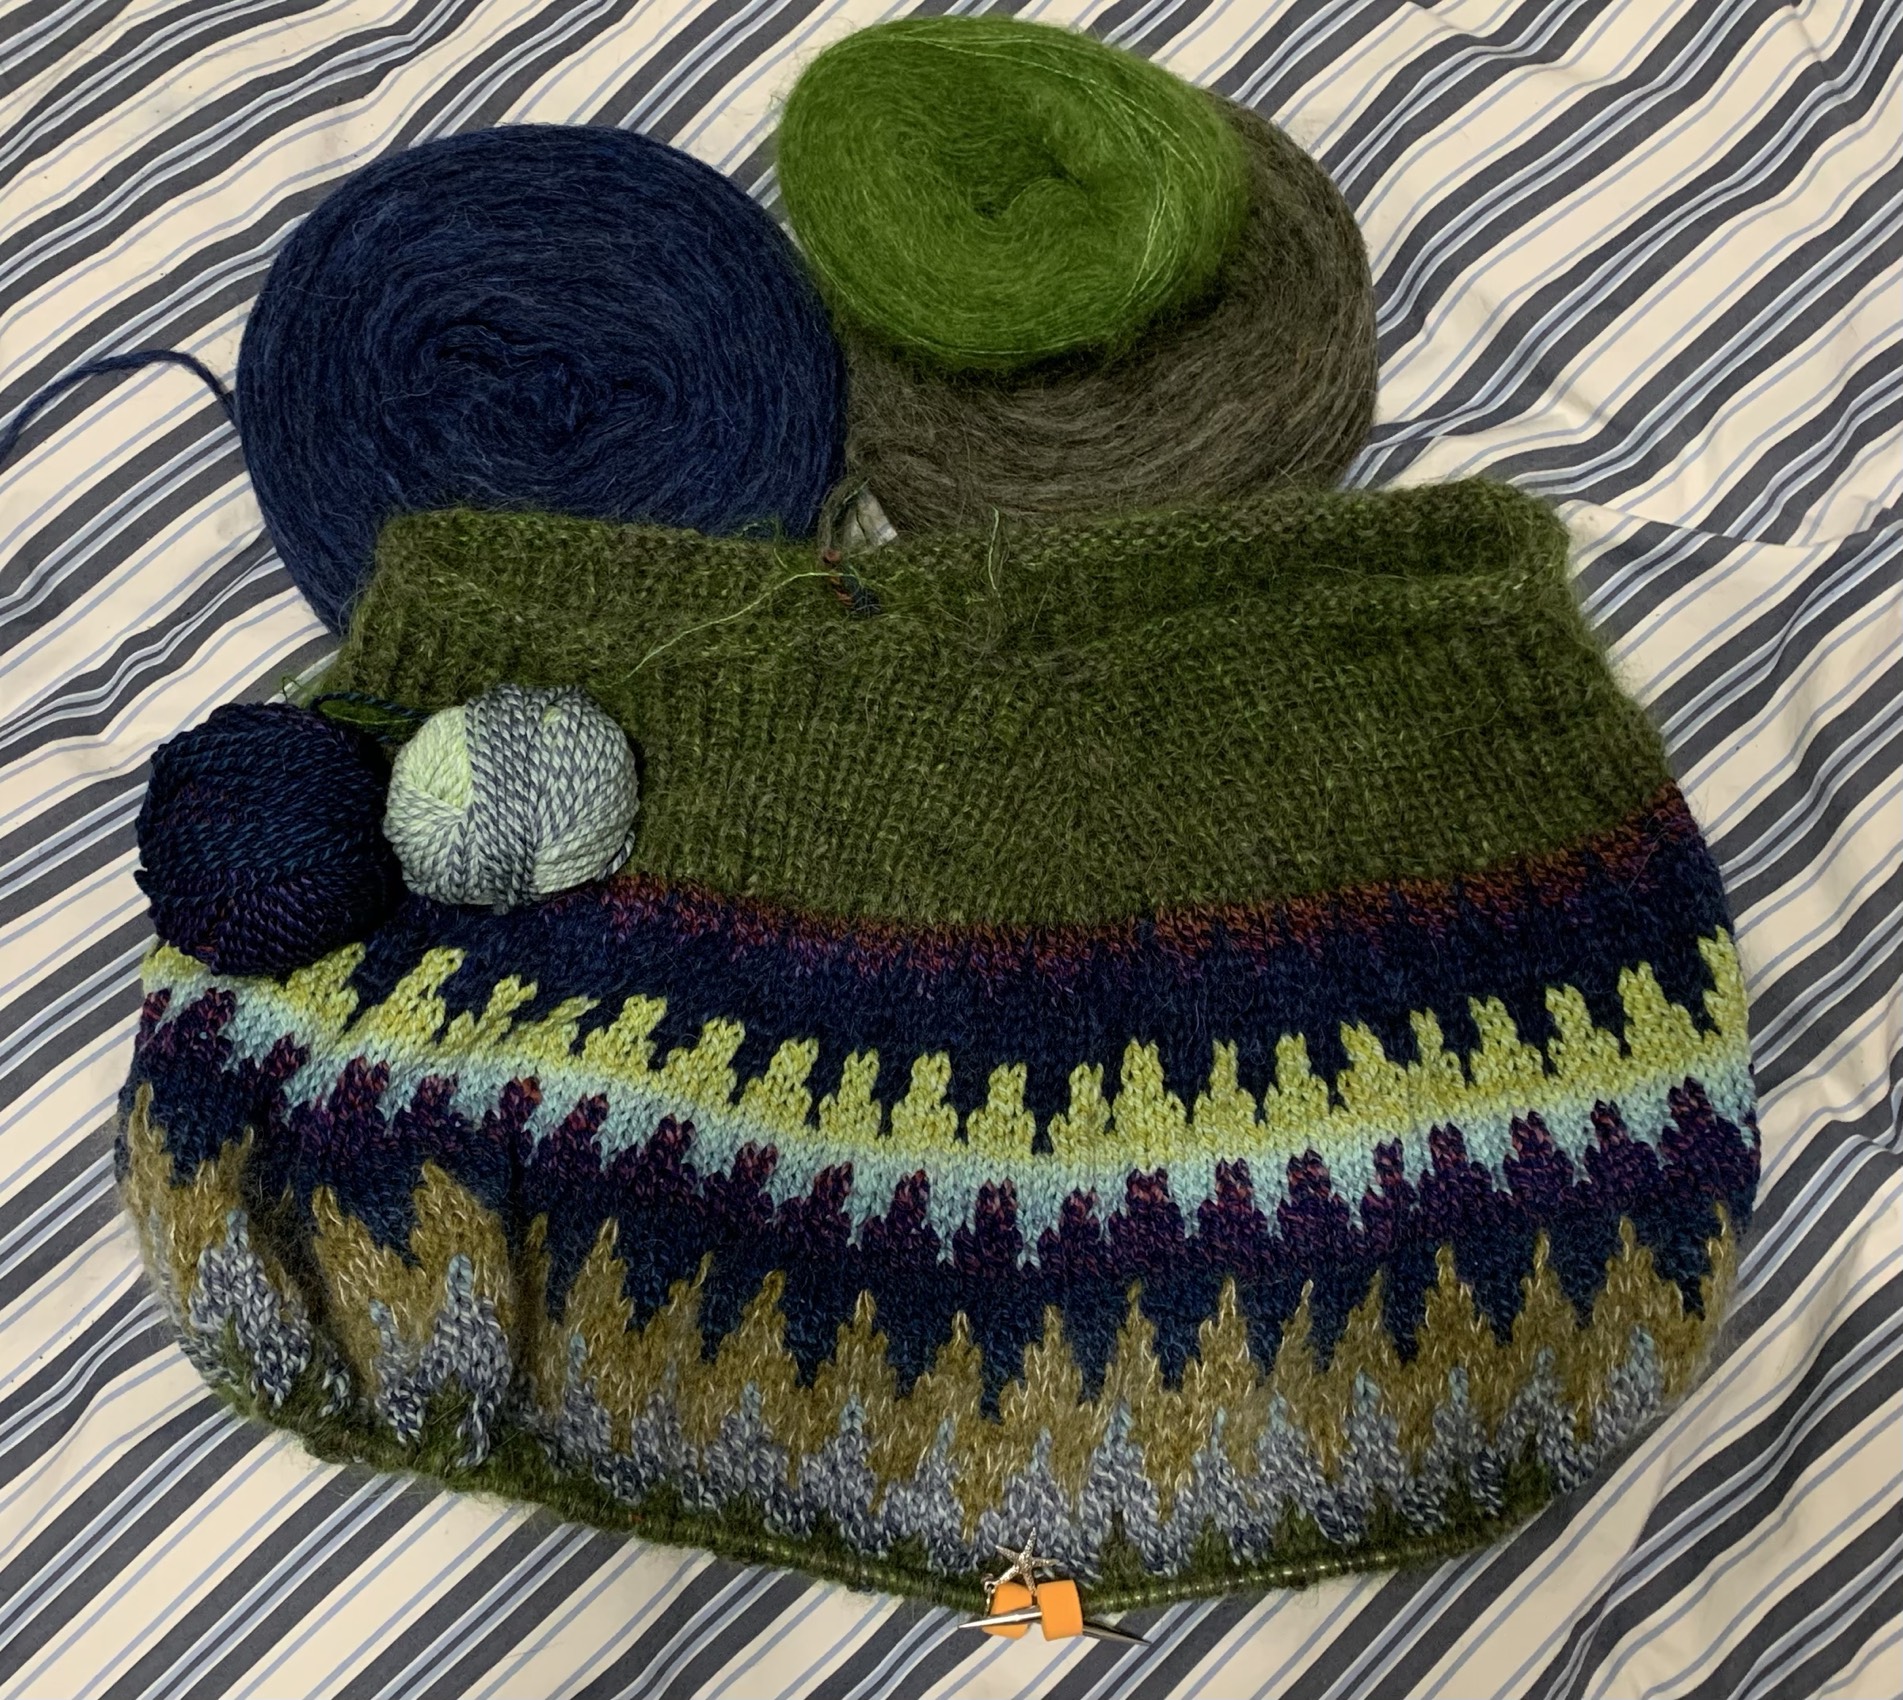
I began the colorwork using the size 6 needle, but ended up going up to a size 7. This yoke gets large around with over 300 stitches on the needle. I’m knitting sweater size 3.

Working with this type of colorful hand-spun yarn can be tricky. I love the colors, but they can end up looking very different once knit into a project.

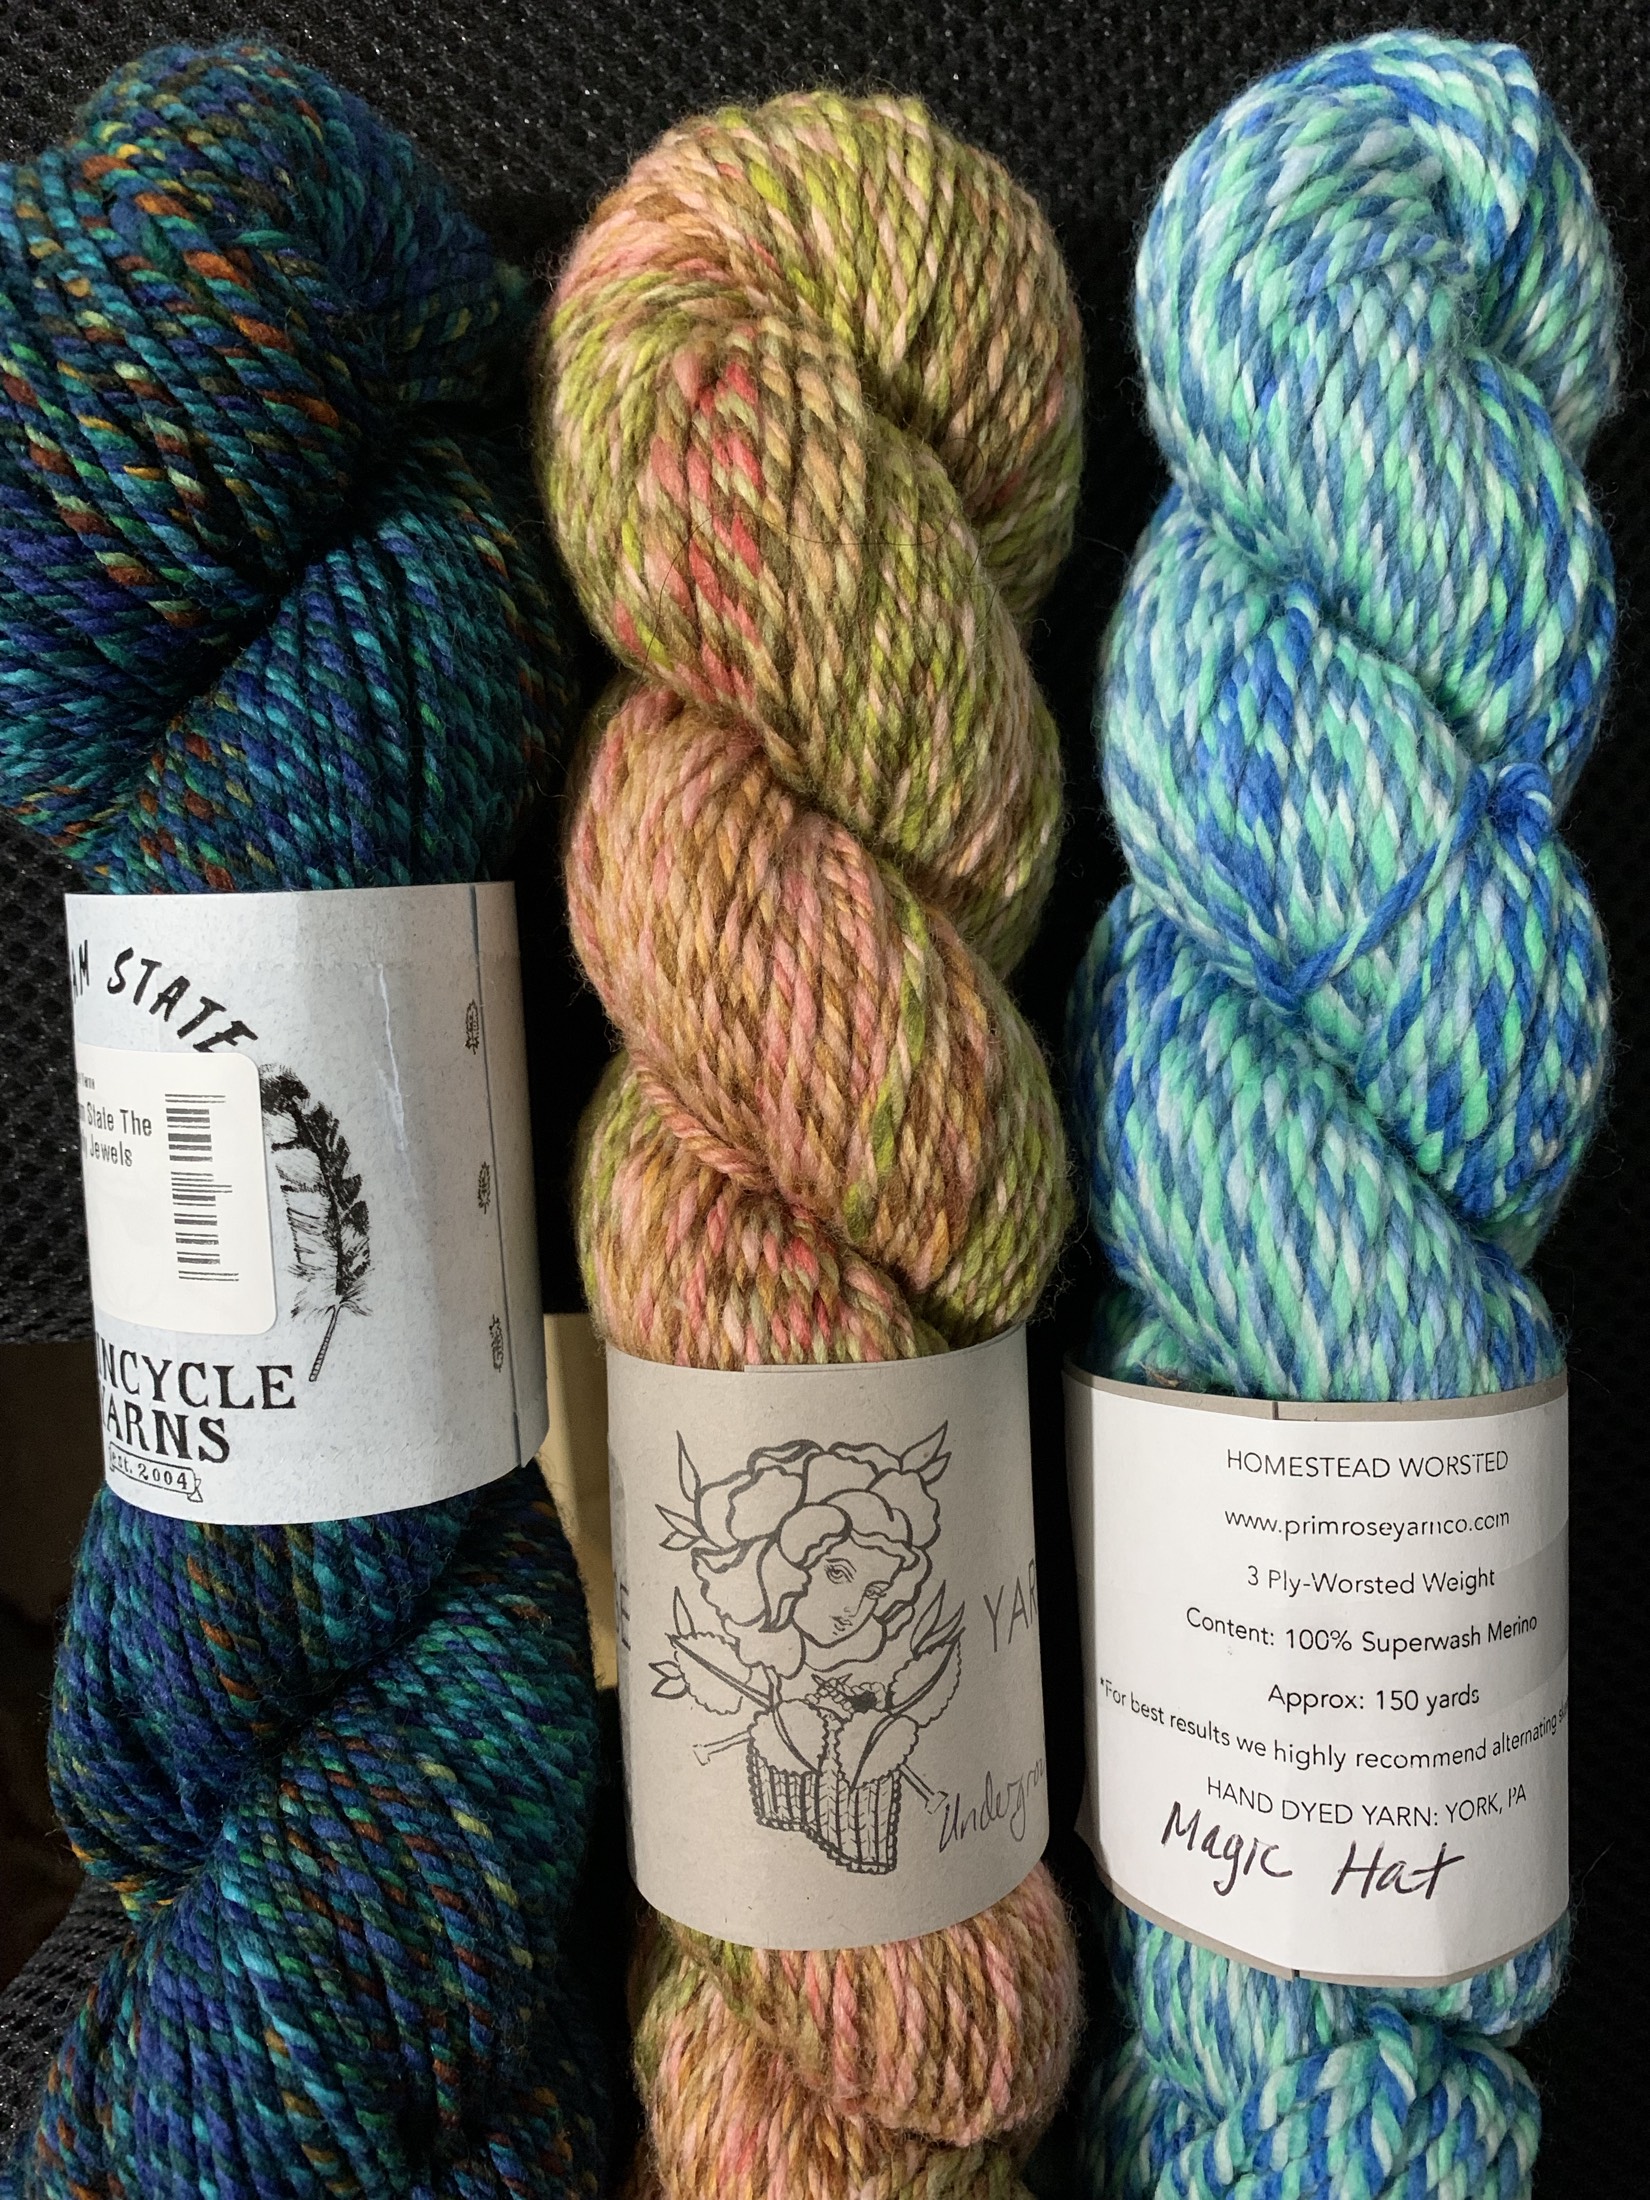
The yarn I chose for this colorwork yoke are: Primrose Yarn Company’s “Undergrowth” shown in the middle of the three skeins below. Also used the blue “Magic Hat” (below in skein and ball) and the speckled “Starling” (ball).

Looking at the skeins, I thought that “Undergrowth” would be more pink, but actually it is more tan / brown. Unfortunately you don’t really know until the item is knit. This yarn is too expensive to waste on a swatch, IMO.

The colors are good together, but not really what I had expected. The white color area used up nearly one skein of my leftover Lettlopi, so the main color for the body and sleeves will be brown Lettlopi.

Easy V in Green

My second Easy V is knit with Plotulopi and mohair held together. The colorwork yoke contains some variegated lime green-blue, dark blue plotulopi and other yarns I am using up.

Buy this pattern: Easy V Pattern Page at Ravelry

I will be writing another page about the completed knit of this pattern, but at least it seems I have finally decided on size and colors.

It turns out that this yoke had a line on the colorwork chart that used three yarn colors at once. I changed it to two for my yoke, but the designer has updated the pattern so they are all two colors.


More by this Designer – Moon Sisters – Shawl by Caitlin Hunter

The Moon Sisters shawl is a great way to use up yarn. It is done in mostly knits and purls with a fun bit of colorwork in the center.

Moon sisters shawl finished knitting with tassels attached.

Here’s what else I’ve been doing

Lots of Changes This Year

Writing a blog, sharing photos, and doing research and making links takes time. Lately I don’t think the time spent doing all that is worth enough to…

Knitters and Our Many Projects

How many projects do you have on your needles? It is not uncommon to find that fellow knitters have many things going at once.

Knitting in the Florida Heat

Florida knitters have unique challenges because of the hot climate.

Knitting with wool is a year round thing for me. My house is air-conditioned so summer is actually a good time to knit. And summer here lasts nearly year round!
The “good” parts of summer are cool enough to open windows occasionally, but the dead of summer is too hot and humid to ever do that. Even when the AC is running day and night the humidity is high inside the house.

Florida knitters probably knit more projects that are made with “summer” type yarn, such as linen, cotton, and sock yarn. Little shawls and lightweight sweaters might get some use here. Household cotton dishcloths and towels are a good choice too. Unfortunately for me, I like knitting sweaters. With wool.

Knitting In The Heat

I can’t wait for “sweater season” to begin knitting sweaters because that season never arrives here.

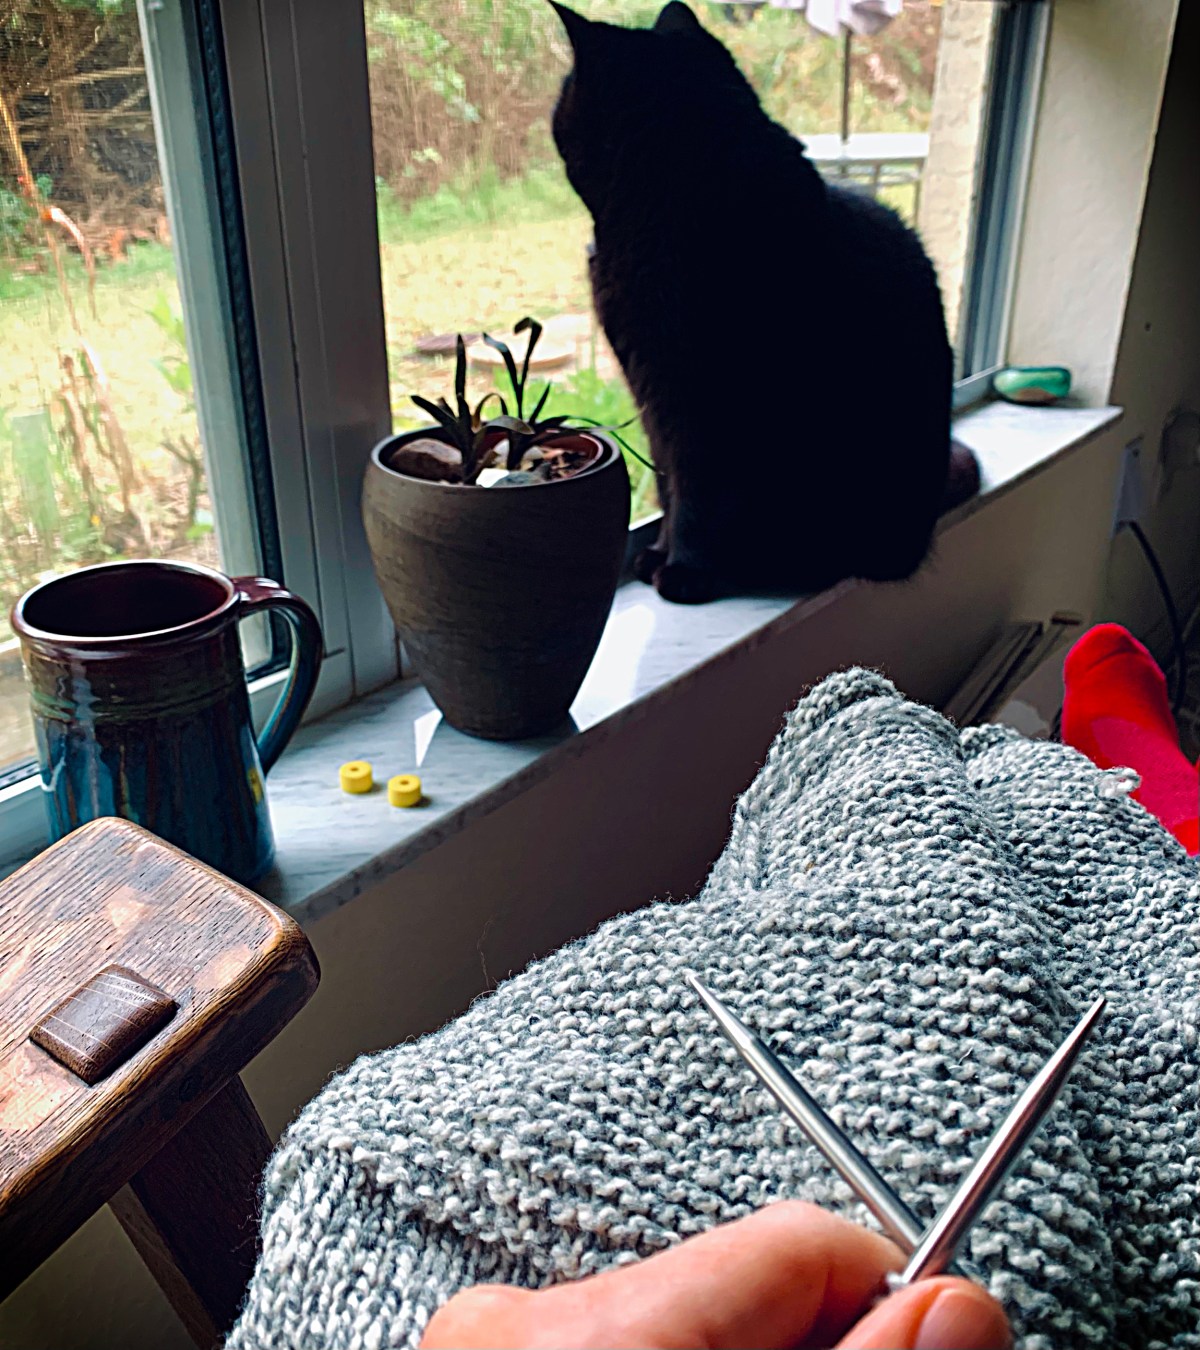
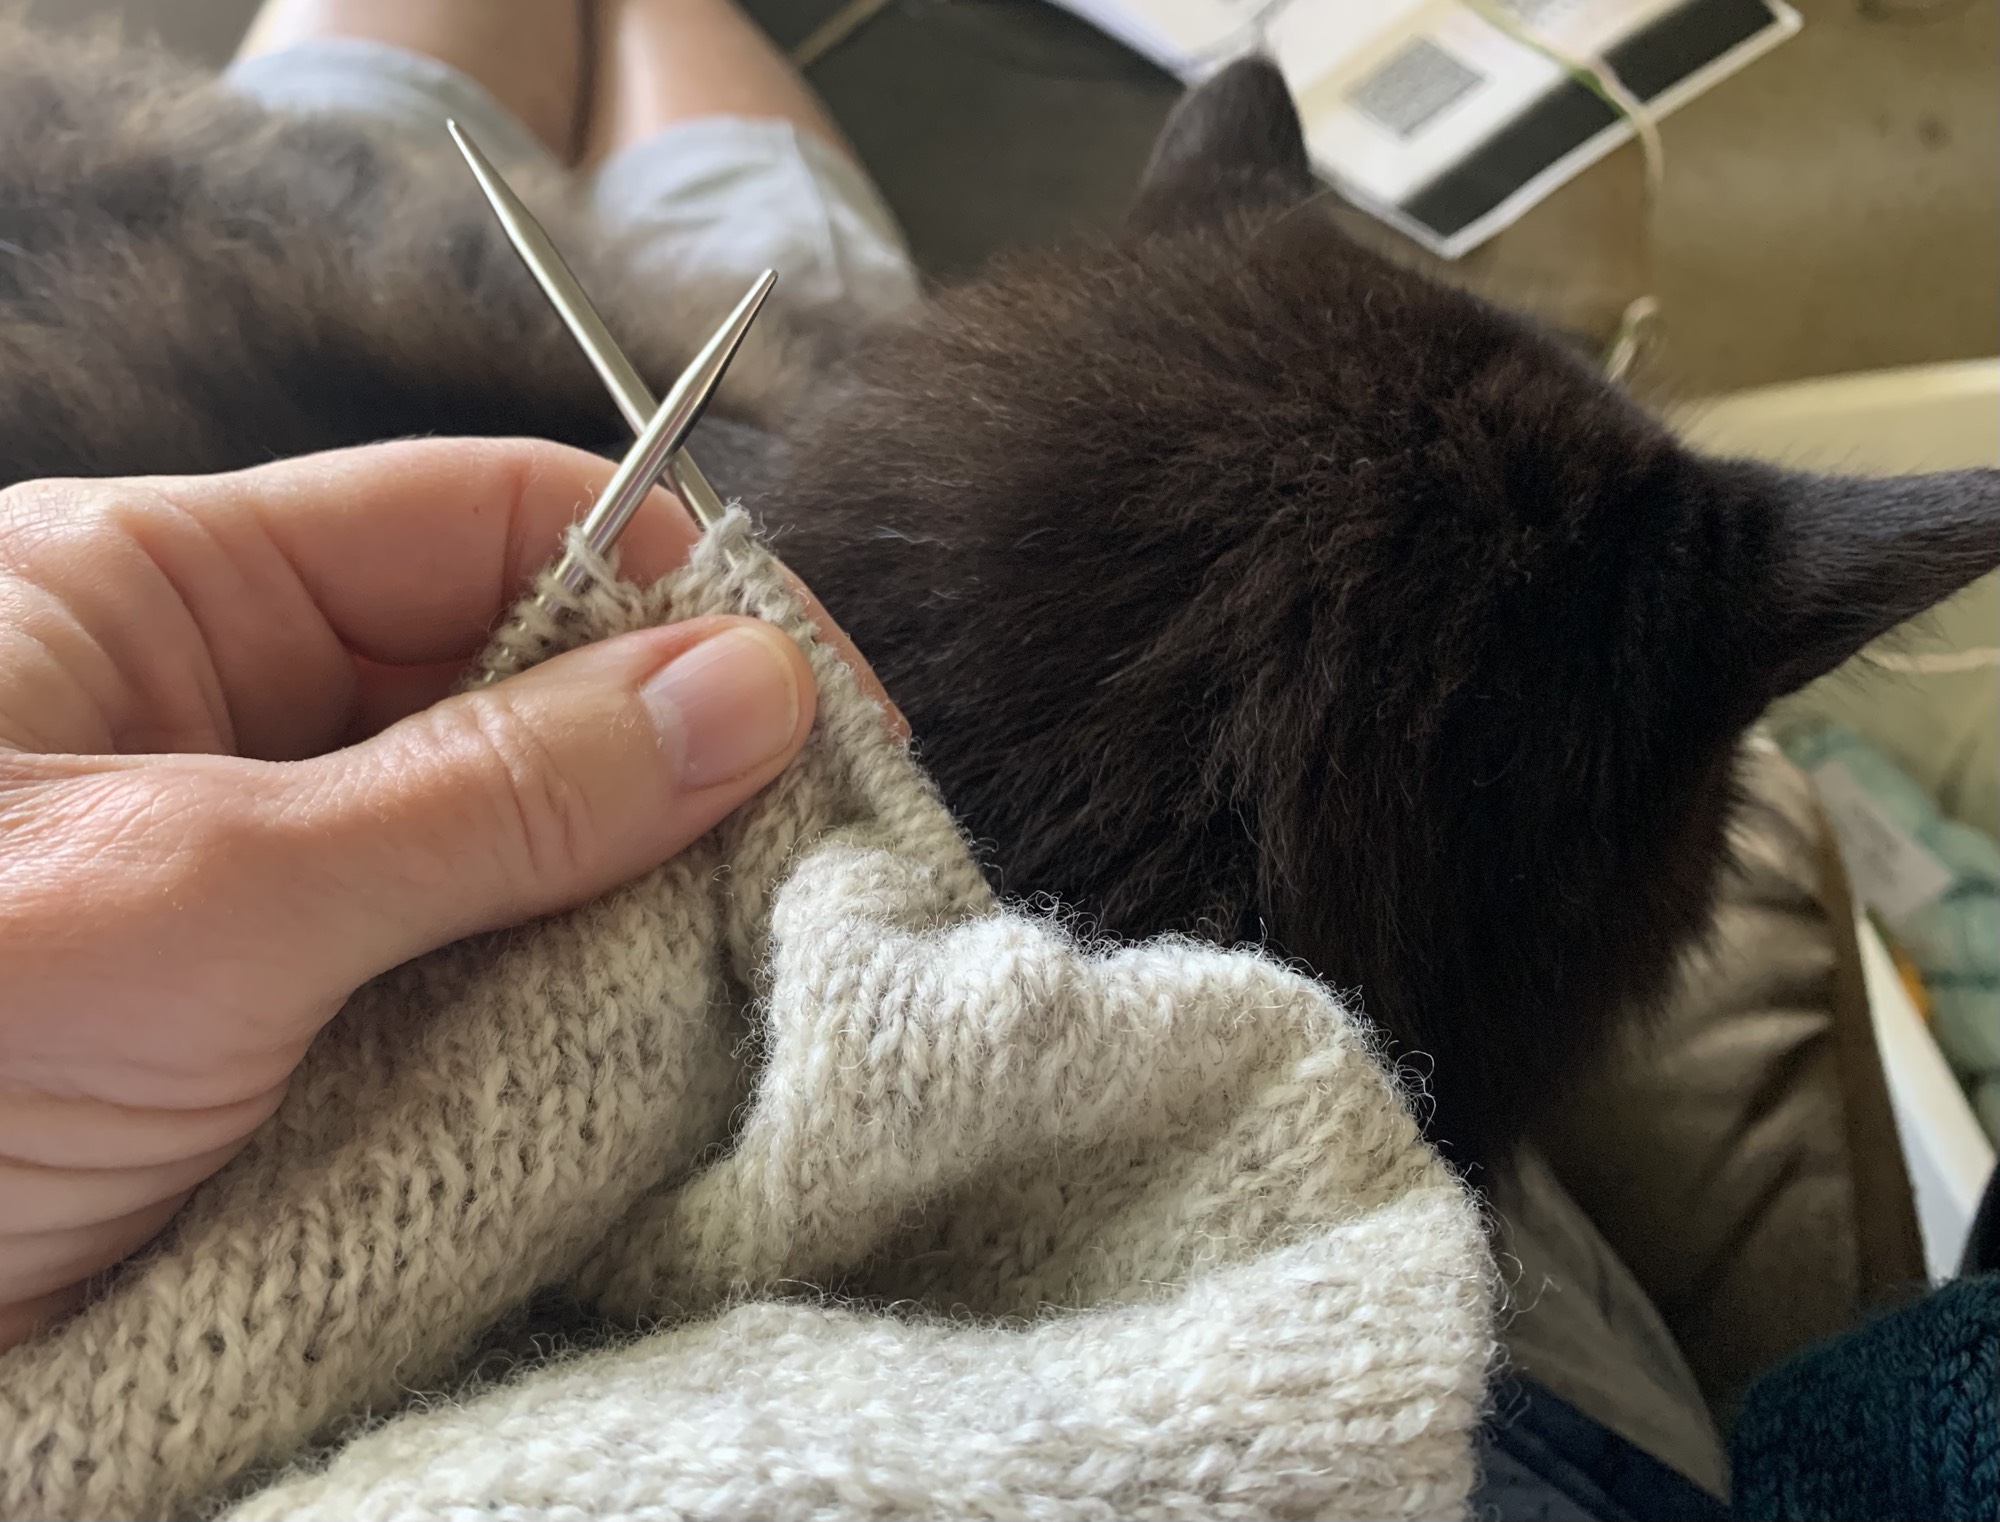
Sweater knitting can be tough when the body of the project wants to cover my lap while I knit the sleeves. Usually I knit in the living room chair where I can toss the body onto the arm. Then Fontana my cat decides to sleep on my lap! Double heat… LOL.

Knitting something like a sweater is actually easier to do in summer when the AC is constantly running. Once the windows open it can be too hot to knit with wool in my lap (plus a cat). So, I guess my sweater knitting season is summer!

knitting cat in lap

Drying Hand-knits in Humidity

My knitted projects can take a long time to dry.

Everything I knit gets blocked out in a spare bedroom. I’m lucky to have a bed no one uses now. The ceiling fan goes on to circulate air in the room and help the process. The dehumidifier I bought seems to help quite a bit too. I close the room off and that works well.

When the Cumulus sweater needed drying, I blocked it out on boards on the bed. The ceiling fan stays on day and night while the dehumidifier helps dry out the room.

Drying my wool sweater in Florida on a spare bed

Wool dries pretty fast. When I knit with Alafosslopi, which is a bulky wool, then drying can take longer. I think I was drying the Carbeth cardigan when I realized I needed help with the humidity. Carbeth was knit in Alafosslopi and had a bulky rollover neck. It took a couple of days to totally dry.

Even when the major heat is gone, the air here remains humid. I have to dry my hand knits this way even in winter – with the window closed.

Knitting Project Selfies

As you can probably tell, I take my own photos. The iPhone gets propped somewhere and I set the timer. It usually takes many tries before I get something I can crop to look okay.

But all that wool can be tough to handle wearing when the temps are near 100 degrees and the humidity is high! The photo sessions are done quickly. I guess I could wait until January and take all my sweater, hat and mittens photos on the few cold days.

I don’t get much sympathy for living in a place where there is no snow and very little ice – sometimes the birdbath freezes. When it comes to knitting, Floridians face different challenges.

When Hurricane Ian hit at the end of September 2022, we lost power in the house for four days. I spent much of those days knitting. In fact, I decided to try some mosaic knitting because my new book had just arrived. It was a great thing to have such a hobby on long days without electricity. I sat in front of the window with a breeze blowing and enough sunlight to see well. Because the storm came late in the season, the air was not so hot. Once Ian blew away, the weather became downright NICE!

Florida’s Lack of Yarn Shops

People in Florida see no real need to knit I suppose. All that heat keeps us in capris and sleeveless cotton tops. For that reason, there is quite a lack of yarn shops. And if I find one, there is a lack of the nice types of wool I like to knit with. It makes sense, but it forces me to buy all my yarn online.

The Four Purls yarn shop near Orlando used to come out to the coast and sell yarn out of their traveling truck. But they have not been here in a while. Probably because of gas prices. They don’t seem to sell the yarn I love to work with because no one wants anything made of wool here.

knitting divider

Keep Reading The Blog

Leave No Tails! Three Ways to Join Yarn Ends

Here are some ways to join two yarn ends together while knitting to eliminate yarn tails.

Knitting is fun! Weaving in endless tails of yarn is not. On this page, I’ve written about three ways to join ends of yarn together that will eliminate tails. There will always be the cast-on and bind-off tails, but we’re talking about joining in a new ball, or color.

Unless you are knitting a small item, you will probably have to join a new ball of yarn to the project. Sweaters and large items require many skeins, and if colorwork is involved, even more.

Fair Isle projects, like the mitts below (shown inside out), require lots of color changes and therefore lots of ends! It took me a very long time to do all that weaving.

weaving in ends on Stellar Parallax mitts
Colorwork mitts and all the ends left to weave in!

I’ve always simply slipped the end of the new yarn over the needle, leaving a tail. That leaves two tails (the old and new) that must be woven in when the project is finished. These tails can add up, and the weaving in can be a project all on it’s own!

The ideas for joining yarn on this page make knitting a bit easier by NOT leaving any tails. Not every technique will work for every project. Know your yarn, and choose the join accordingly.

How to Do a Magic Knot – Works for (almost) any yarn, but might not be good for every type of project.

This is a simple way to join two yarn ends. But, I would not be inclined to use it except in certain circumstances. Personally, I don’t like knots. I’d be a little skeptical of the knot staying knotted, or popping through to the front side and looking bad.

Any yarn that comes apart easily would not work as the ends have to be tightly pulled.

Knitter’s Pride has a good page, with images and suggestions on when it’s best to use the Magic Knot.

Very Pink Knits has a good, slow-motion video on this technique.

I just knit the VENLIG sweater pattern with some Woolfolk nubby yarn. The skeins had a few knots here and there and I simply knit them in. With the fluffy texture of the wool, it would be hard to see this tiny knot even if it was on the front of the sweater.


How to Do a Russian Join – Uses a needle

The Russian join in knitting uses a tapestry needle to weave the yarn ends together. This method of joining two ends of yarn seems a little time-consuming, but looks better than a knot, IMO.

This join seems perfect for any type of yarn where a magic knot wouldn’t look okay, or the spit splice (read on) wouldn’t work.


How to Spit Splice Wool – No tools needed

The first two methods for joining yarn would work for nearly any type of yarn, but the spit splice is meant for wool. The water (or spit) and the friction of rubbing the yarn, are what turns two yarn strands into one. This splice will not work on Superwash, or any manmade washable fibers.

I’ve written before about how to do the spit splice because I used it on the Warm Up Sweater and Kate’s Poncho very successfully.

On the Warm Up pullover I created wide stripes, using two different brown yarns. This meant I had to change colors a lot. Because I used this yarn splicing method, I ended up with only a few tails – the cast-on, bind-off, and under the arms where I picked up the sleeve stitches.

I find this to be an easy and nice splice to do. Unless two different colors are being joined, it’s tough to find the join section once it’s done. If knitting with wool is your preference, you must try this method.

A Spit Splicing How-To Video

Tin Can Knits has a short and to the point (my favorite kind) video below. What I do differently is unravel the yarn a bit to attach the strands. I suppose on smaller yarn like the type she is using, it wouldn’t be necessary.

A knot in a wool skein can be unknotted, or cut out, and re-joined using this method.

Do you have a favorite way of combining yarn ends? Please leave a comment.


More Knitting Adventures

First Attempt at Knitting Clotilde

I didn’t get far when I began the Clotilde Cardigan pattern, but it’s a good looking cardigan, and I’ll try knitting the pattern again.

Something went wrong. Please refresh the page and/or try again.