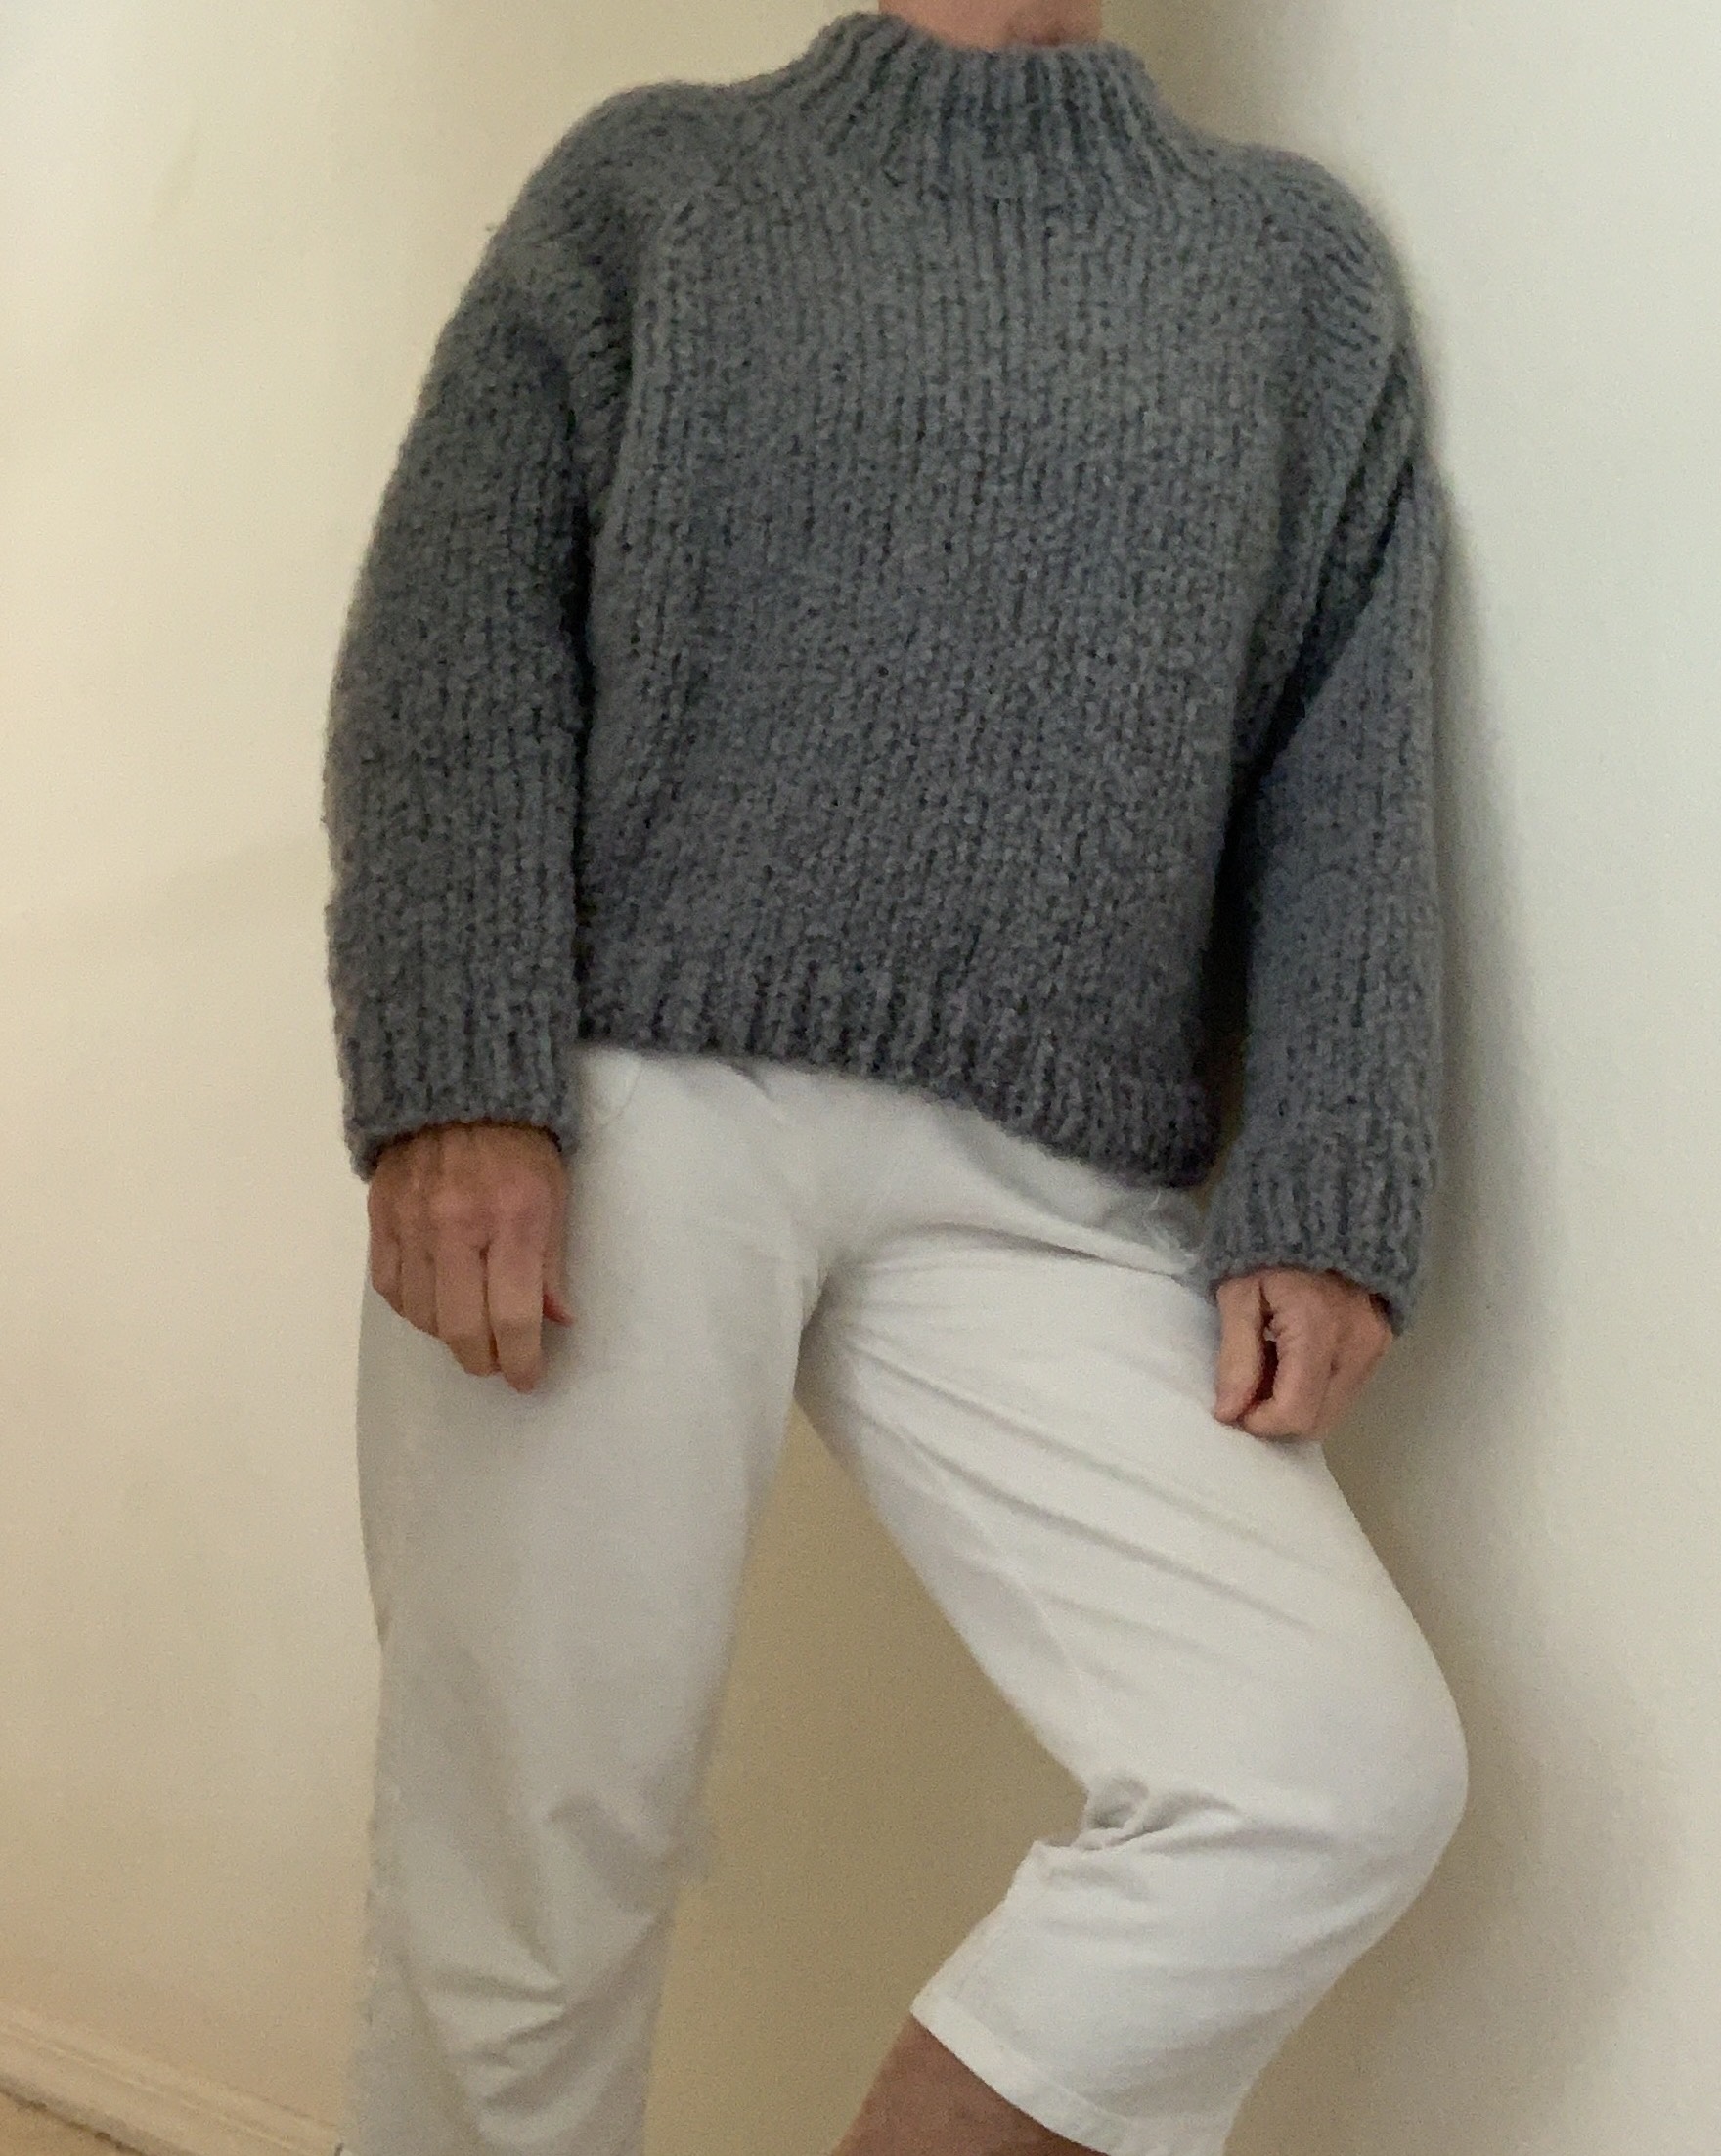
The Chunky Turtleneck Sweater in Alafosslopi

Knitting a bulky pullover using Alafosslopi wool and pulling directions from two different patterns.

This page is all about how I combined notes from two different patterns to create a chunky, turtleneck sweater. Jumping into a knitting project without one simple pattern to follow has expanded my knitting proficiency. I tried some new things here, some of which worked well, and others that did not. I was happy to have had this learning experience, while making a new lovely sweater.

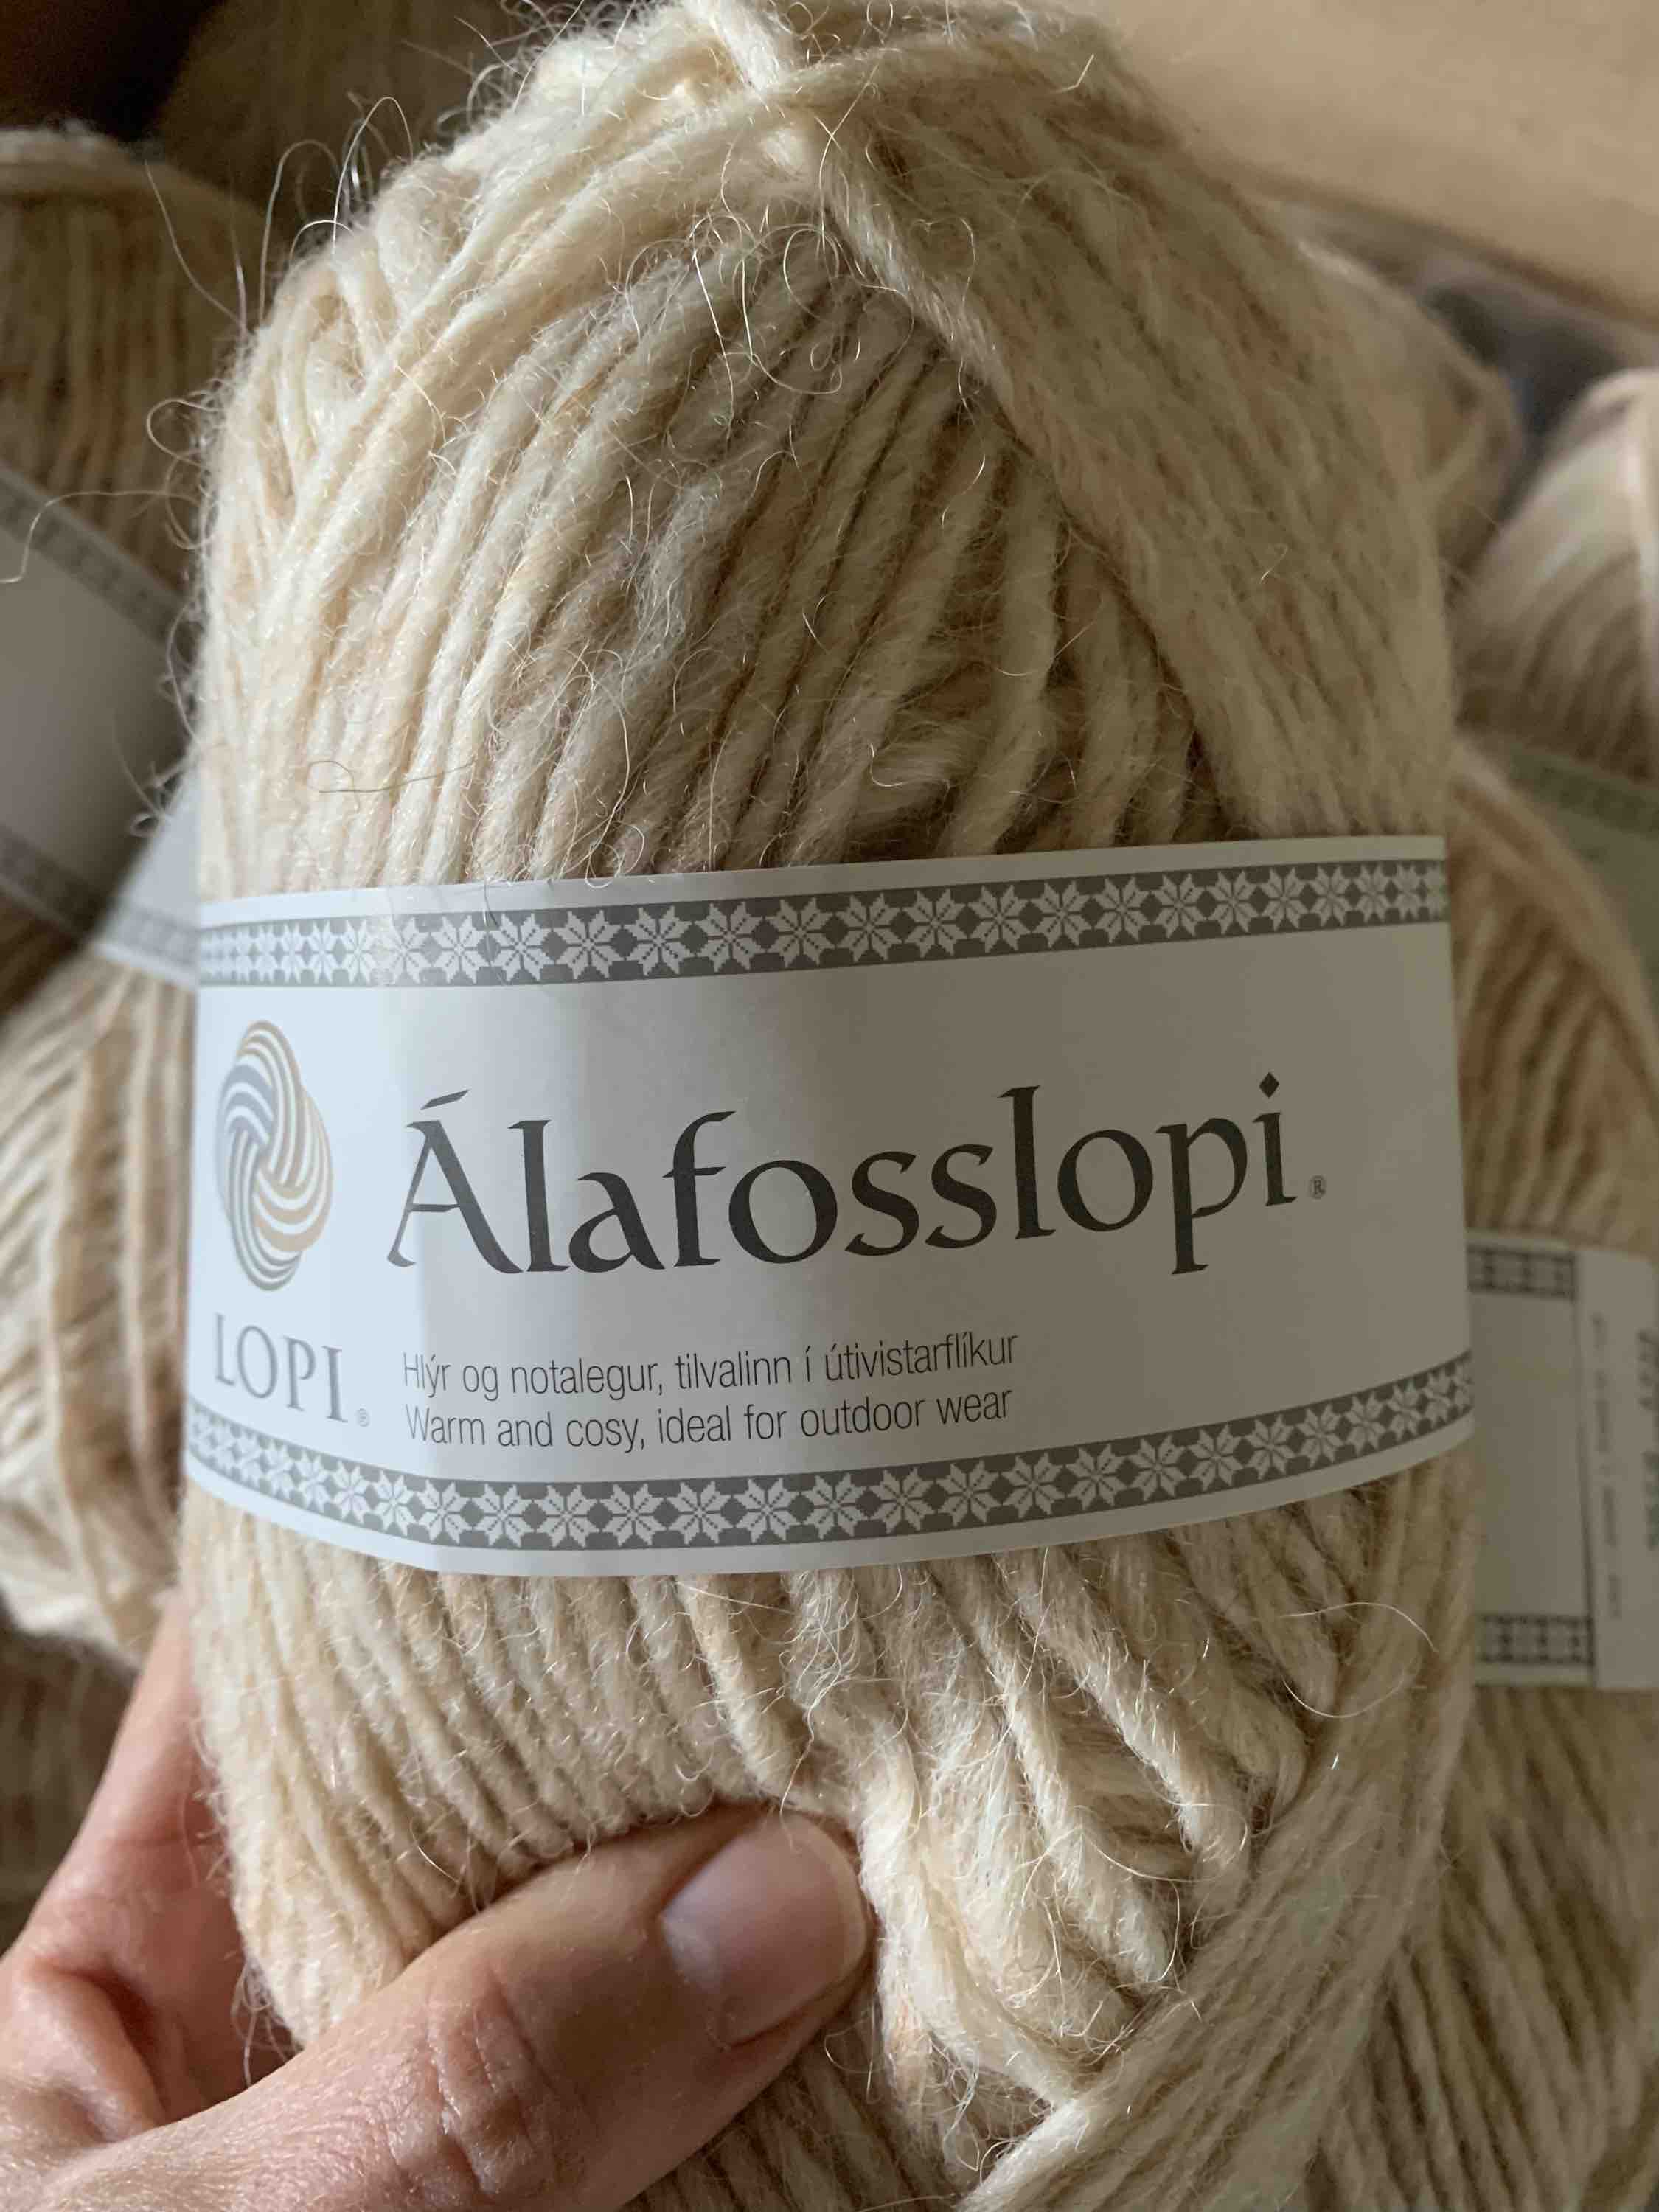
I’m continuing on in my quest to find patterns to help use up stash yarn. Although I did use quite a lot of my Alafosslopi when knitting the Carbeth Cardigan, I still have quite a bit leftover. It would be perfect to use for a chunky turtleneck.

In my search for a pattern on Ravelry, I found the VENLIG pattern, which is knit with Woolfolk’s newer yarn called Flette Bulky. I love the look, but thought maybe I could also use the pattern and knit it with my Alafosslopi.

My gauge with the Lopi was off for the Venlig pattern, so I had to make adjustments (which I should have done from the very beginning) – see my notes further down. Venlig’s pattern directions for short rows and raglan increases were needlessly difficult. Because of this, I gave up, frogged, and began over with a pattern I knew was easy to follow.

Starting Over With The “Turtle Dove” Pattern

The Turtle Dove pattern is free, from Espace Tricot, and I have already knit it using bulky yarn.

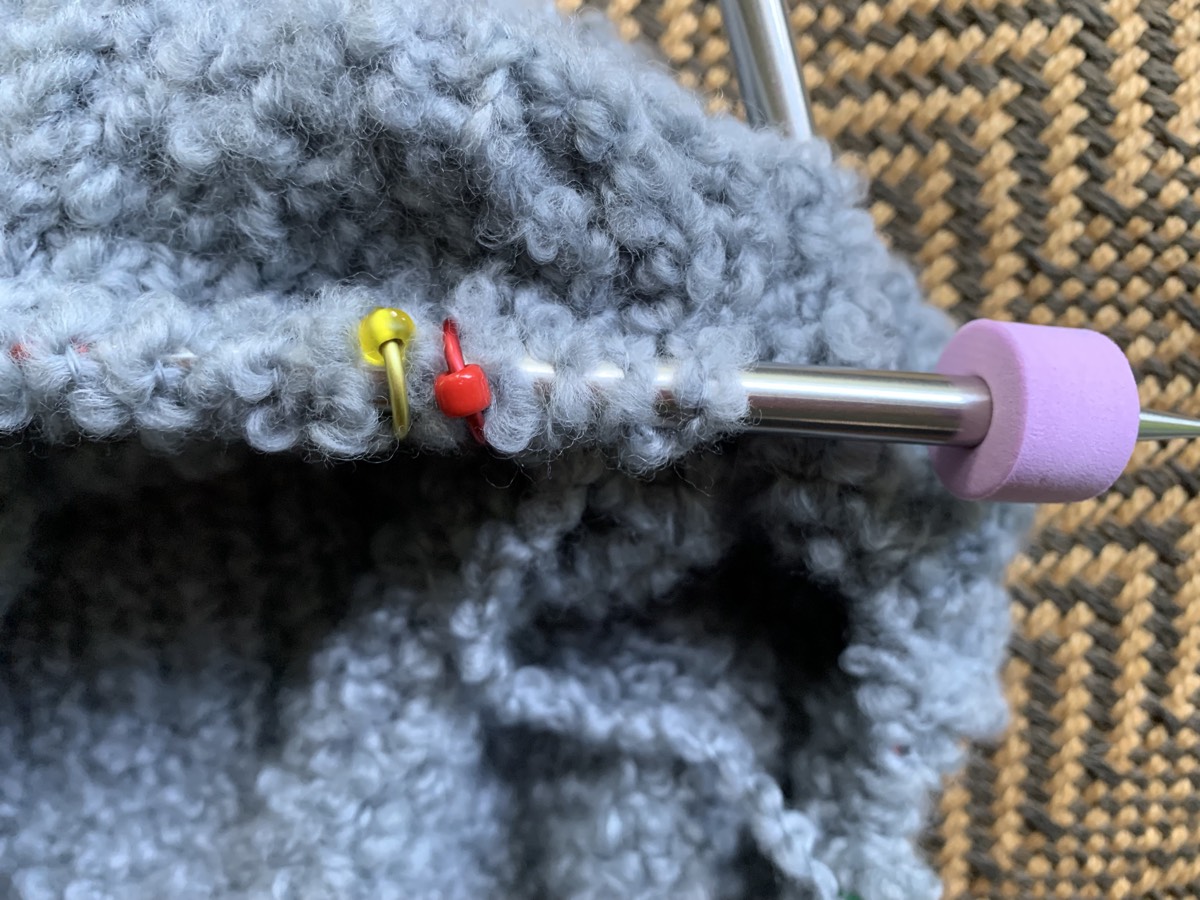
I am using a size 11 needle. My cast on number was 60 and I did six inches of 2×2 ribbing for a rolled neck. After that, I followed the short rows section on Turtle Dove, which are done before any increase stitches. This is much simpler to follow than the Venlig.

The Turtle Dove pattern knits up with big, wide, bat-wing type sleeves, which I do not want. You can see my finished original Turtle Dove sweater on this page. It came out huge – probably because I knit it long ago and didn’t check my gauge!

So, when it came time to knit the raglan increases, I went back to follow VENLIG.

When my body, back and sleeve stitches match up with the number in the Venlig pattern, I will continue and separate for the body and sleeves as VENLIG says.

Fixing Gauge Problems

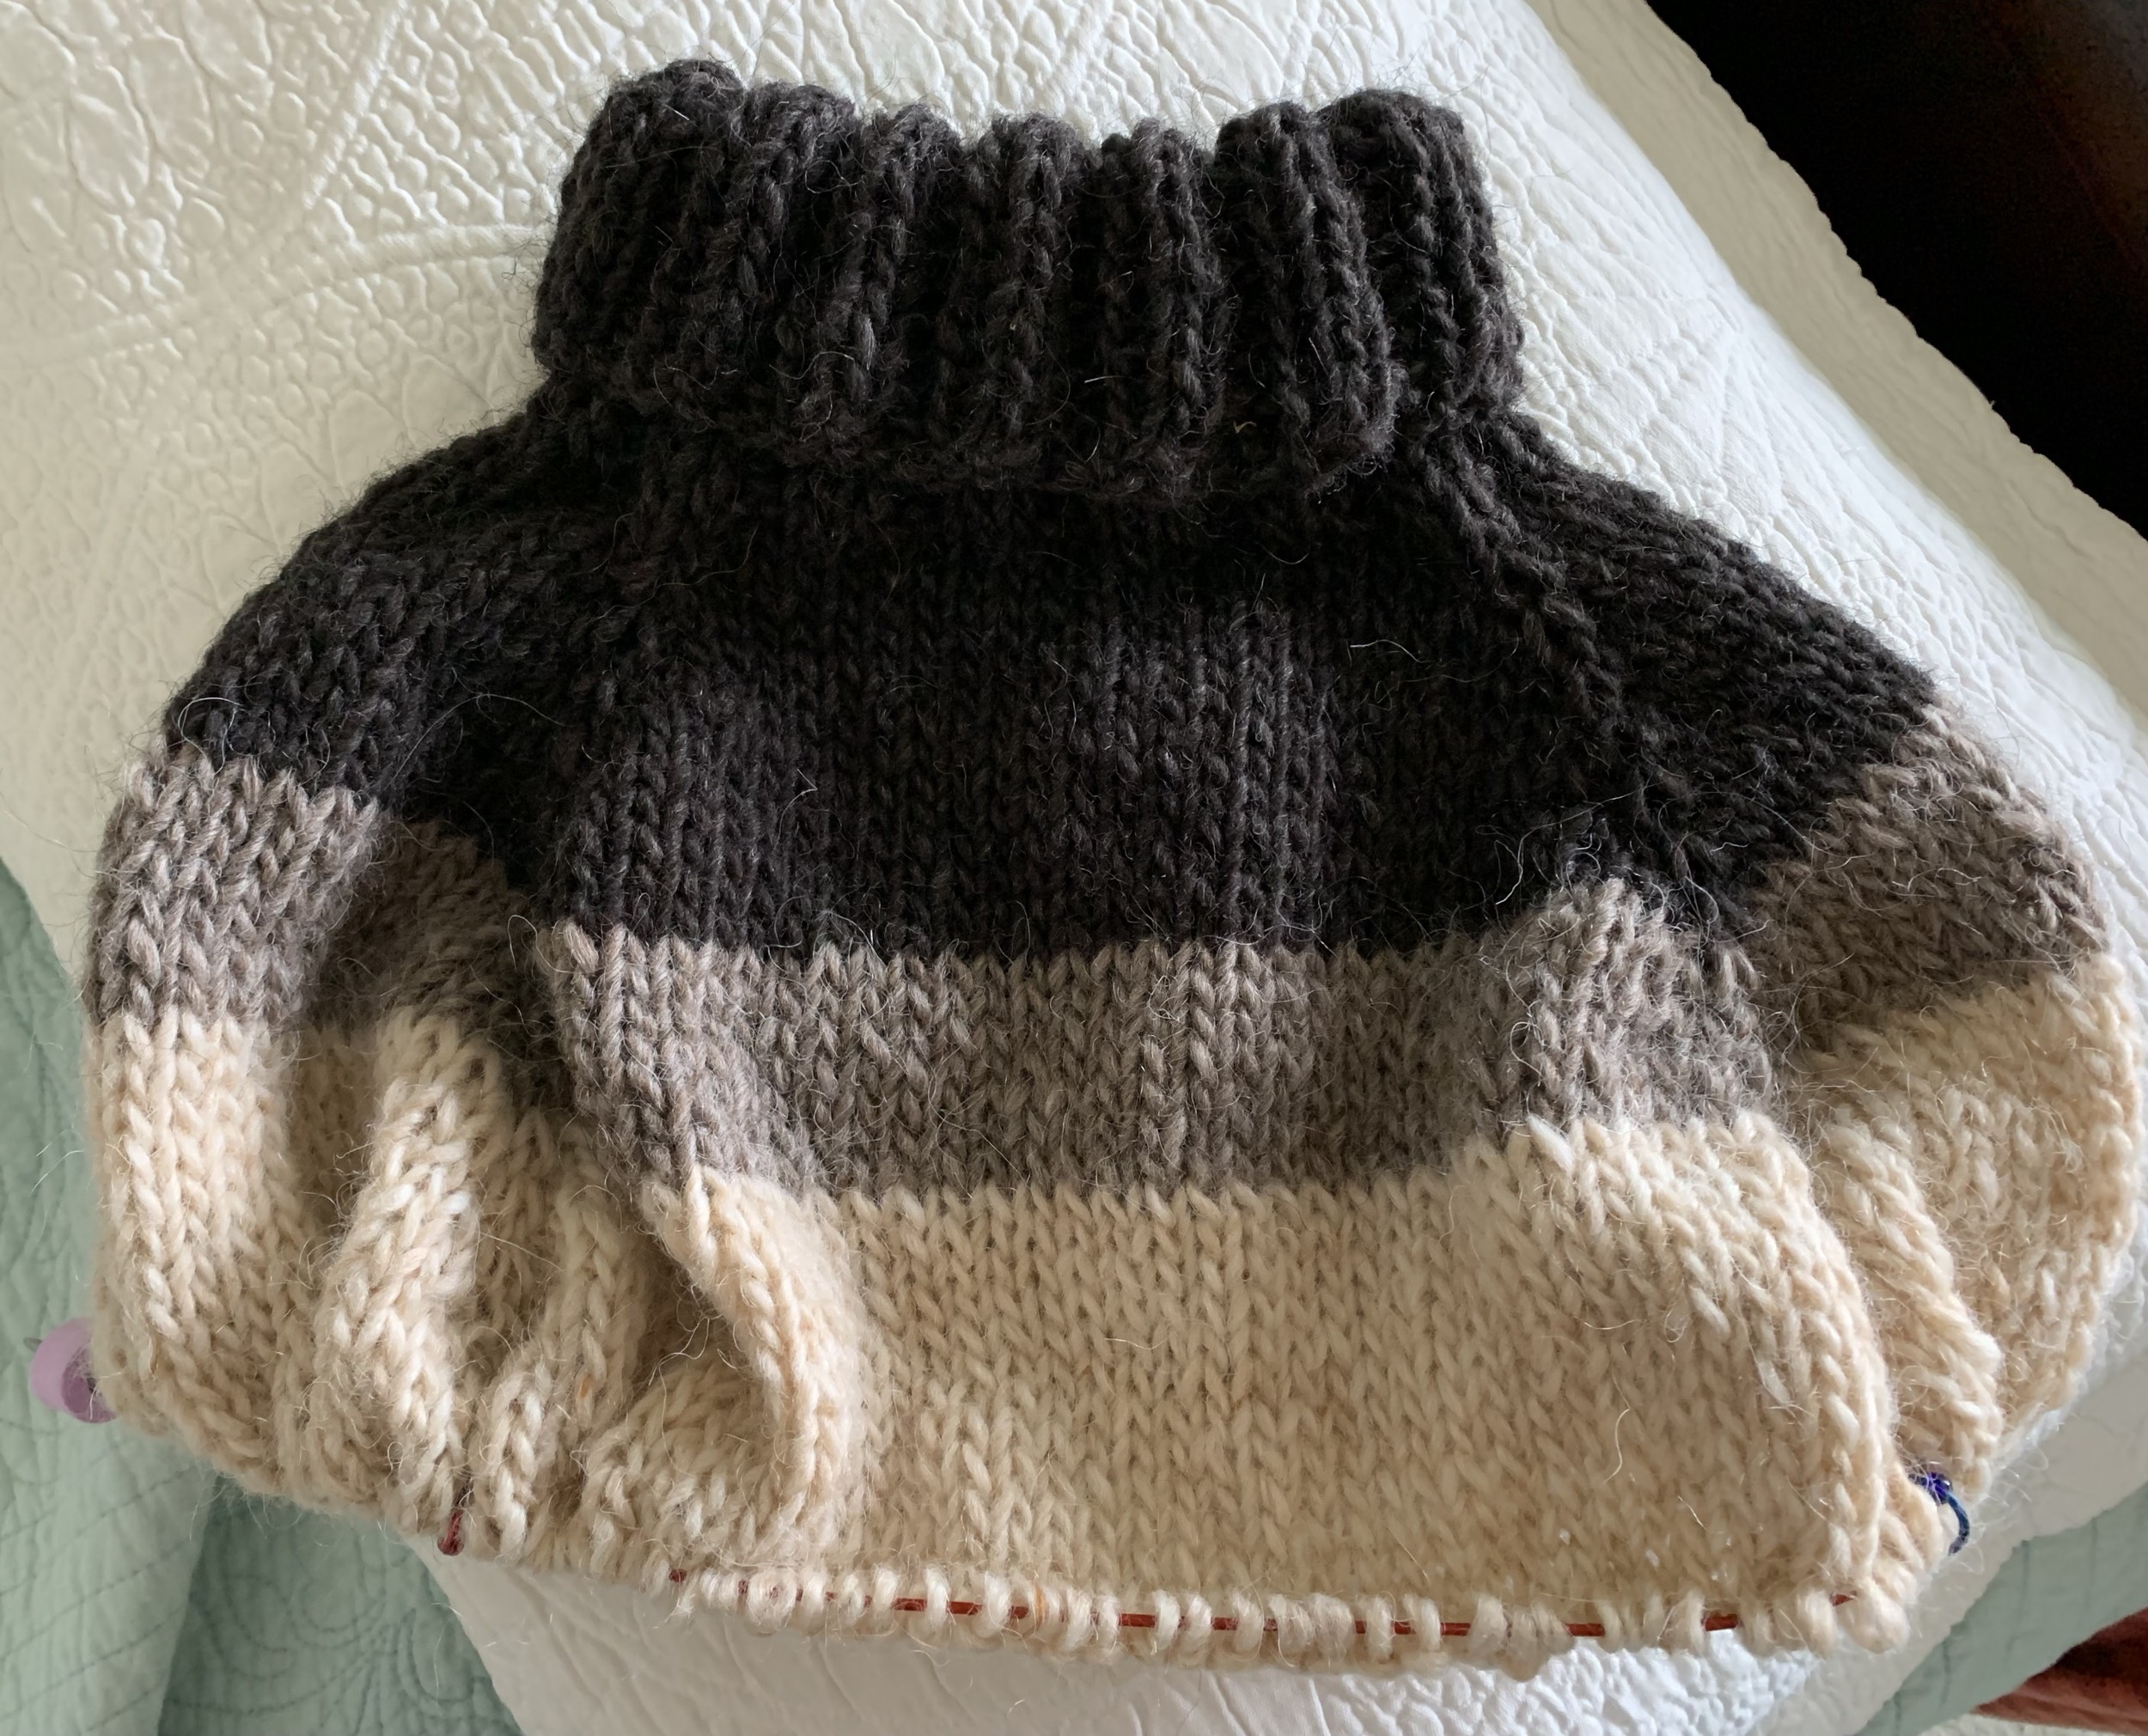
After 18 increase rows my totals for the body will be 57 front and 57 back, which is a total of 114 for the body (I should have increased more stitches here). The row count (height) is perfect, but stitches are way off.
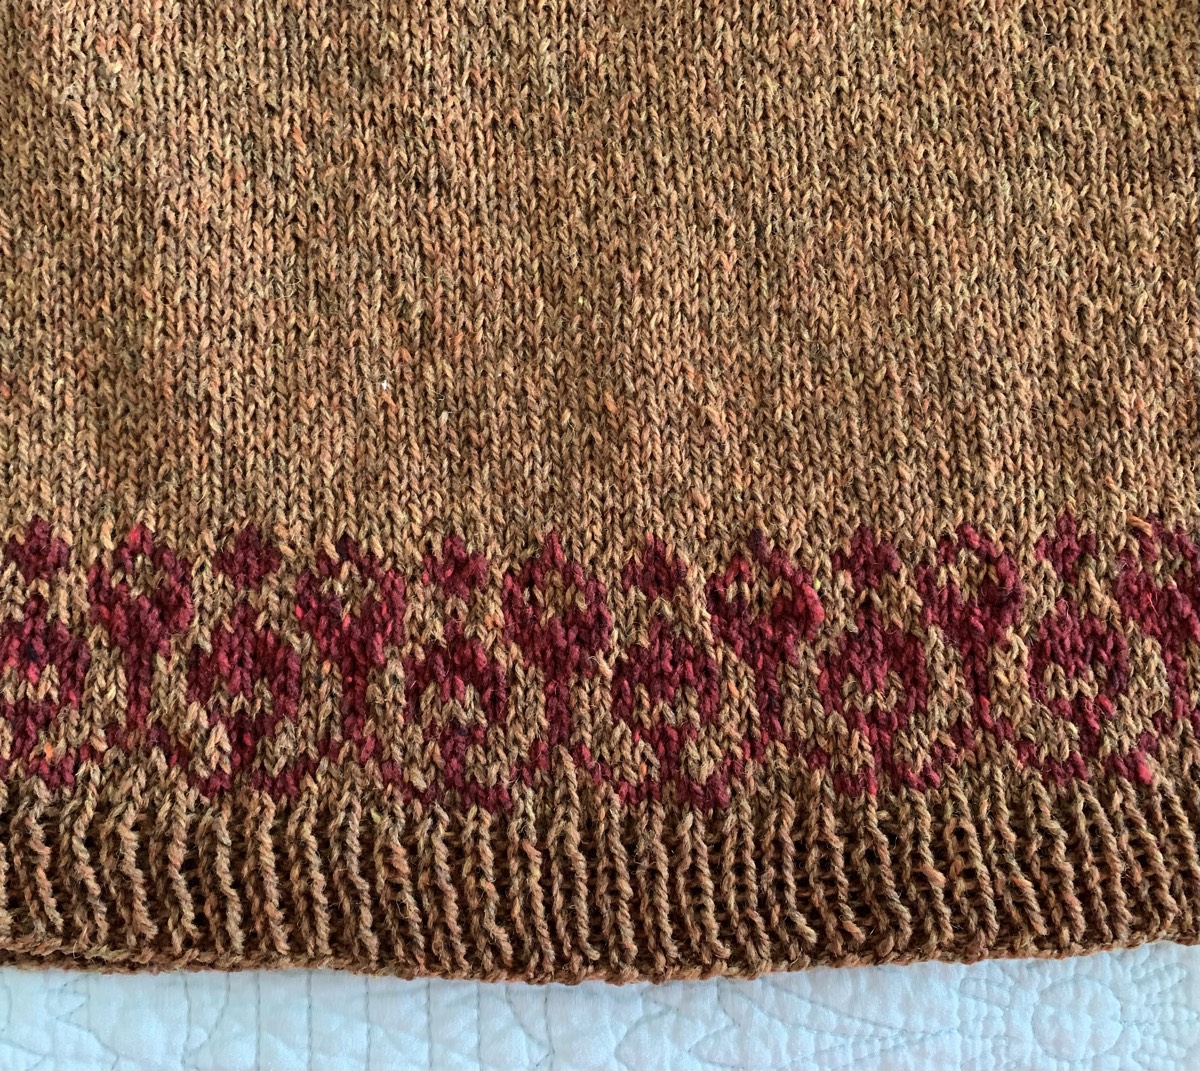
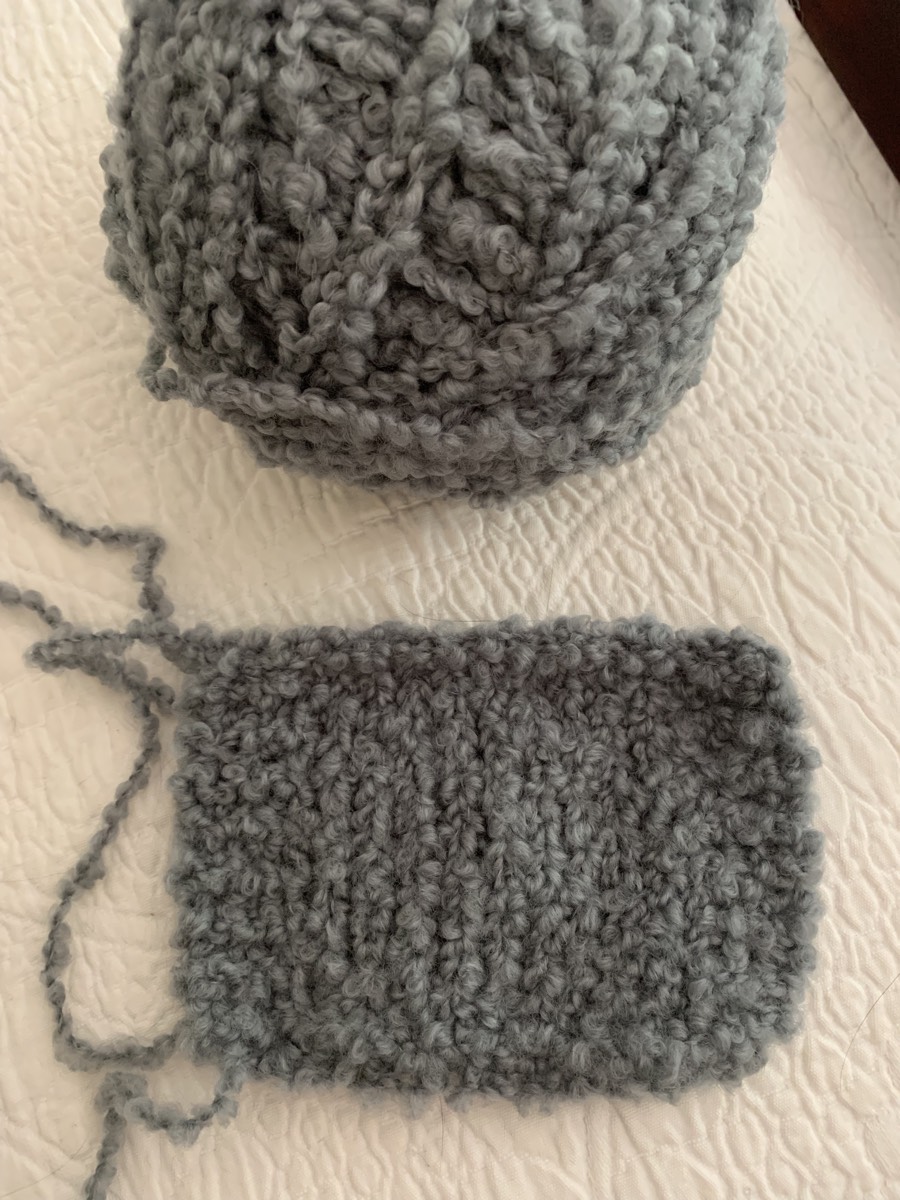
My gauge is 12 stitches and 15 rows. VENLIG calls for a gauge of 10 stitches with 15 rows. I have 2 more stitches than I should. This changes things.

I have too many stitches within the gauge of 4 inches, which means … that my sweater will end up being smaller than it should be. I need to adjust for this by adding more stitches.

Because I have too many stitches in my gauge, the fix would be to go up a needle size. But, here is my problem – I am already using the largest needle (size 11) that I have! The next size up is needle size 13 US which I suspect would be too big. I’m not investing in size 13 needles just to see if my knitting gauge will work!

Here is a great page at Making Stories that explains gauge and how to fix it. Wish I’d read it before I began knitting this one.

What I should have done (as explained in the link above) is to take my gauge of 3 stitches per inch (12 stitches divided by 4 inches = 3 stitches per inch) and used it to measure size for my needs and adjusted my stitches accordingly.

Bust measures 40 + positive ease of 5 = 45 inches around. 45 x 3 = 135 stitches needed at largest part of body. This does not help me with the cast-on, but at least I know what my stitch count should be on the body. I had to increase to get there because as you read above, I have only 114 total stitches for the body! I created those increases under the arms on each side as I knit down the body.

Corrugated Ribbing at Bottom of Sweater

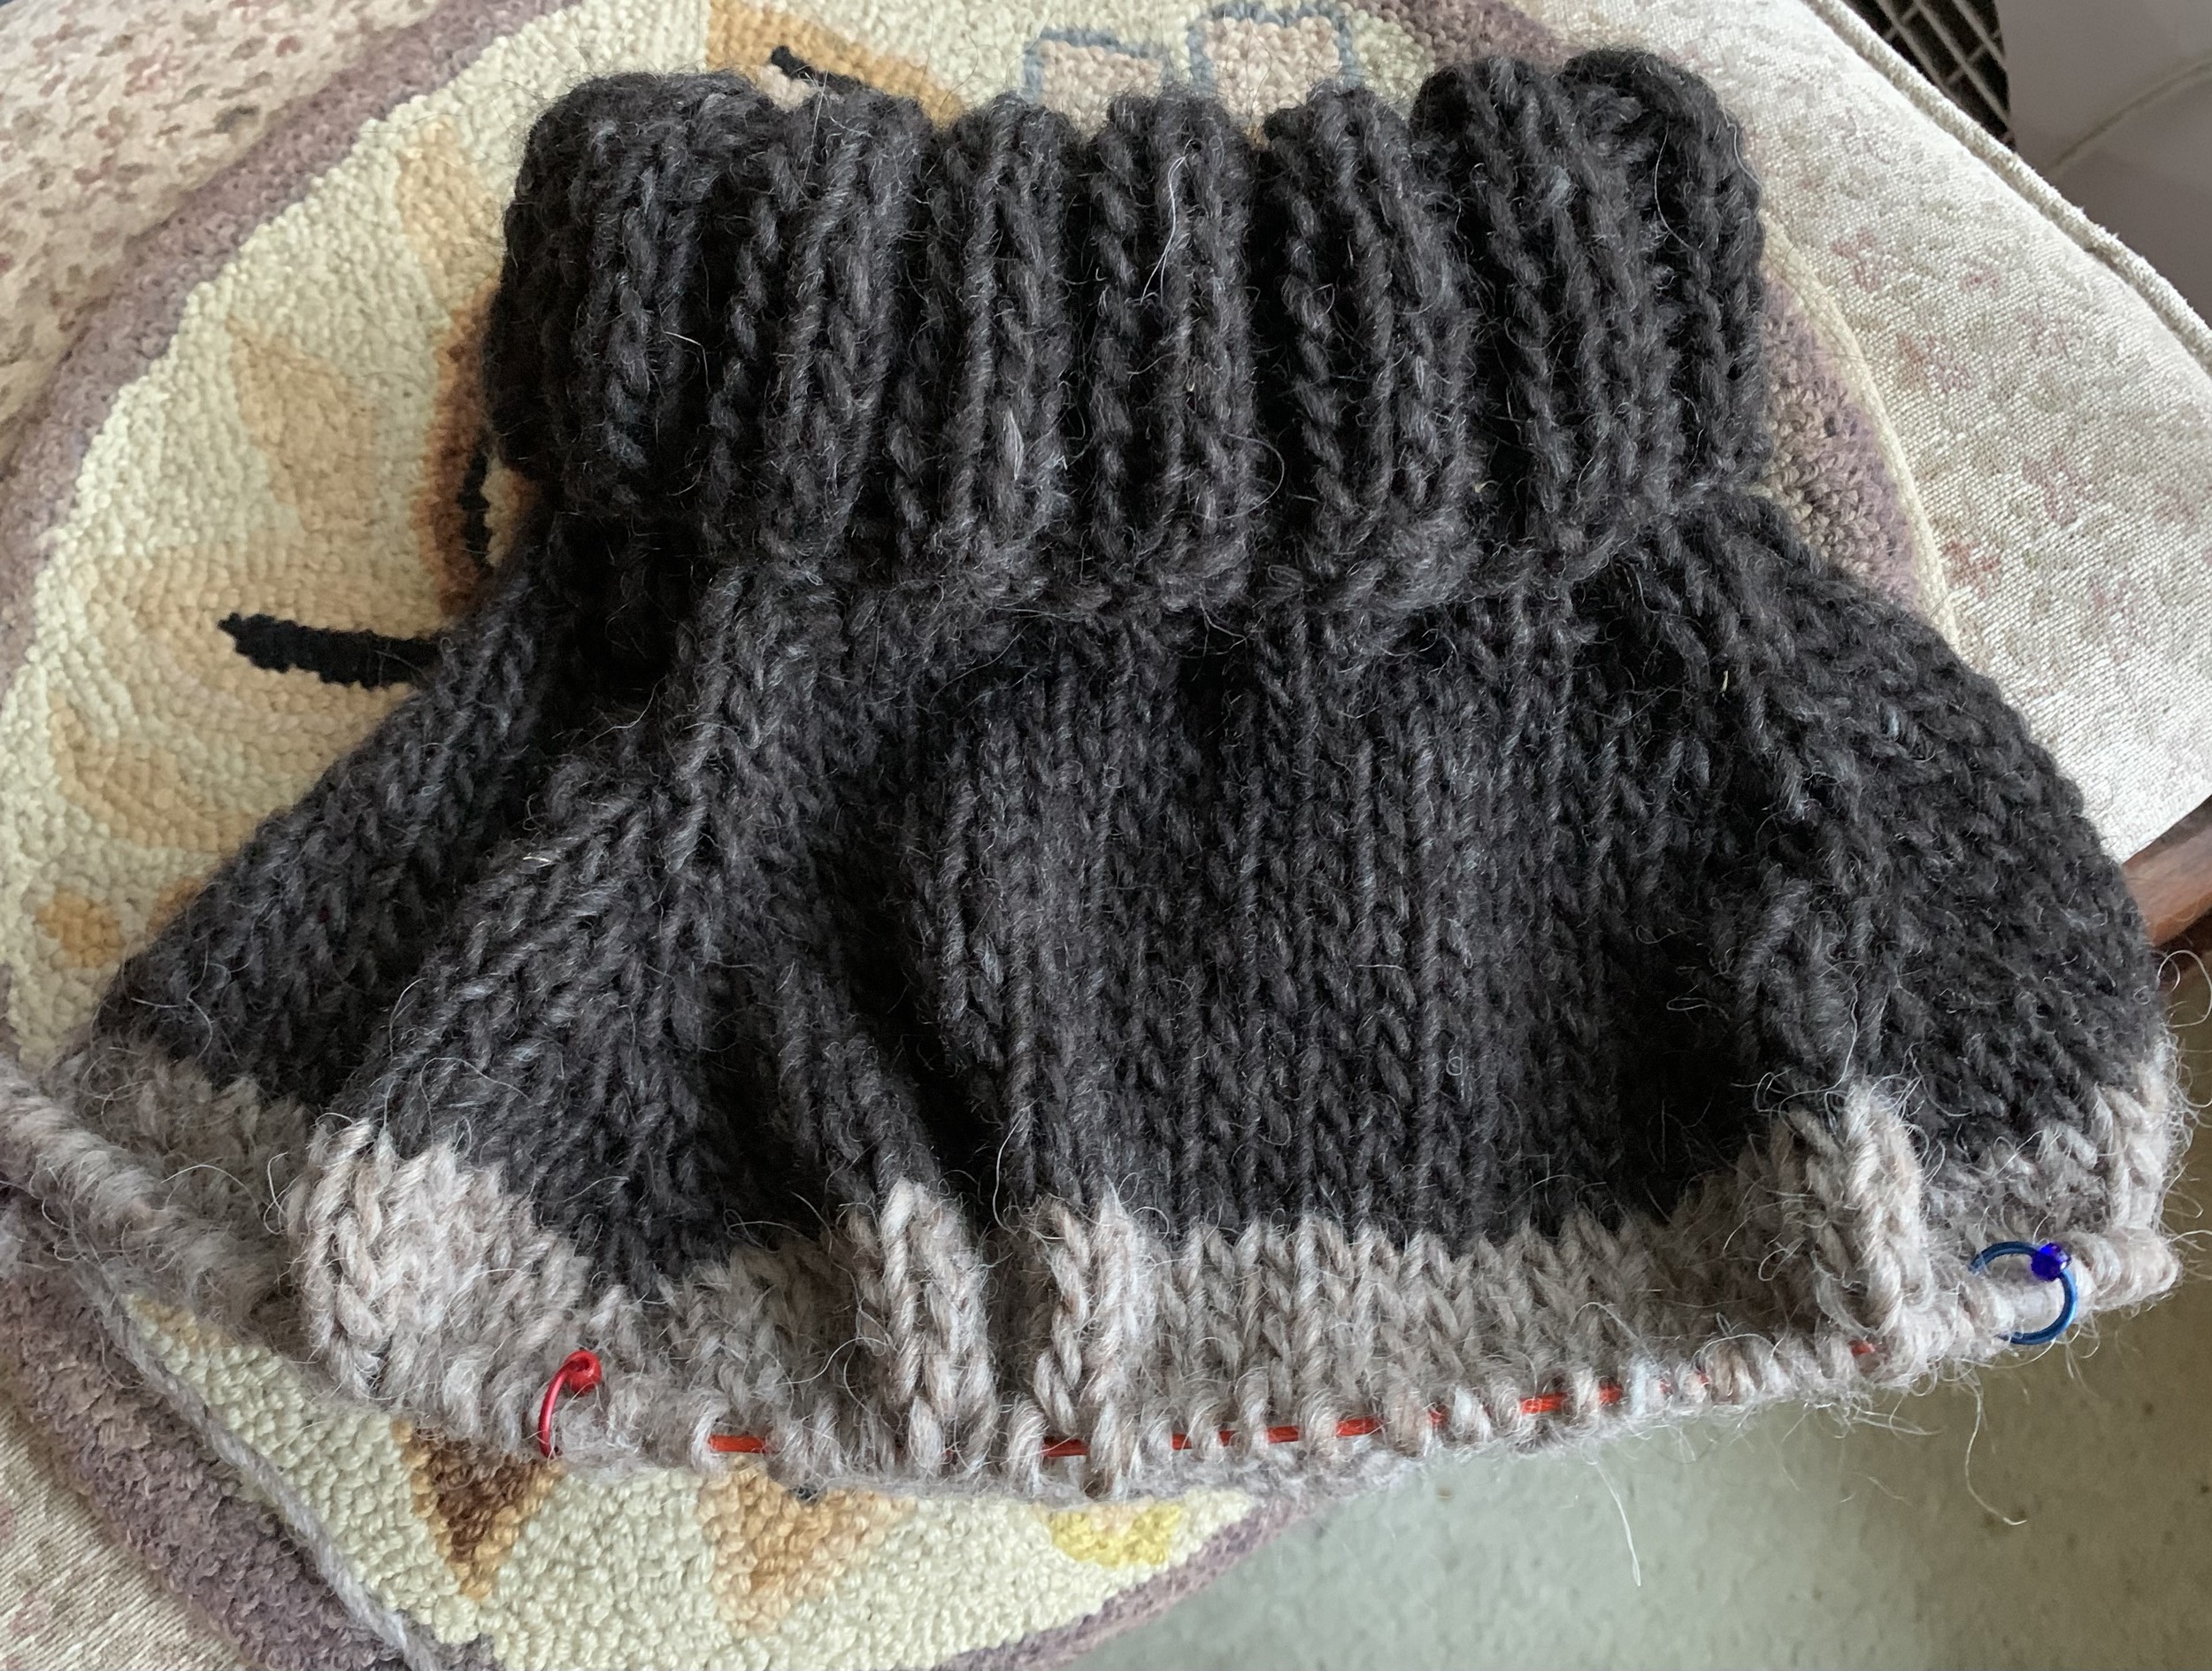
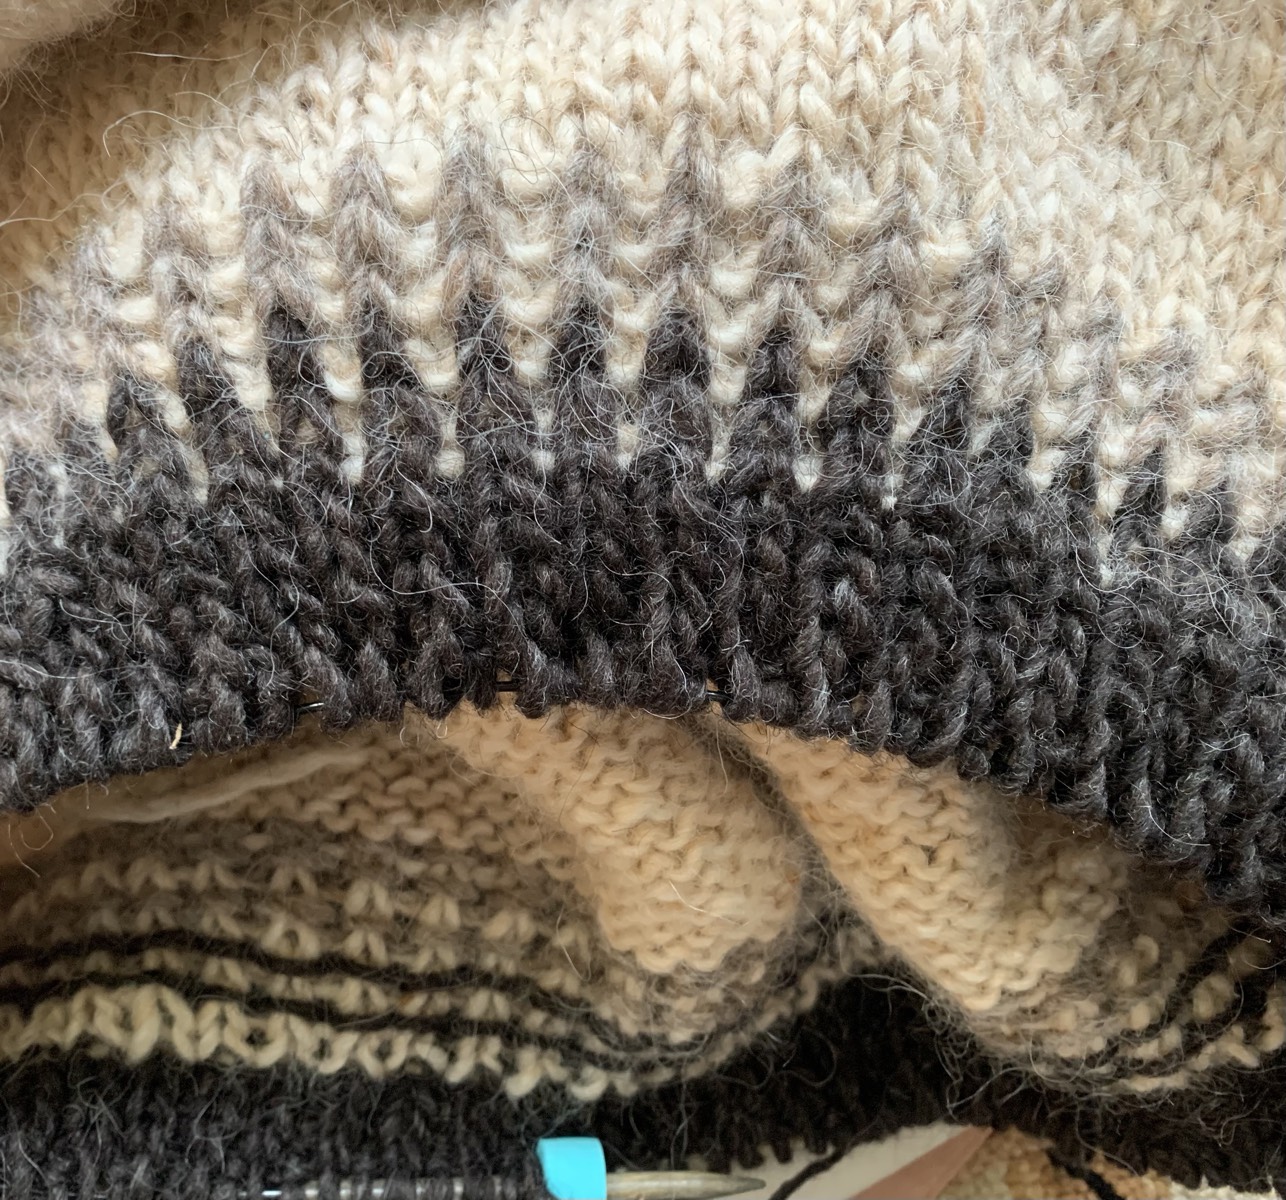
I’ve been trying to decide what type of ribbing I should knit at the bottom of the body. I’ve decided to go with a corrugated rib using the white with the light gray and black.

To this point, all my corrugated rib knitting has been done on hat brims. Cast-on, do ribbing and continue knitting. I’ve never added it to the bottom of a top-down sweater.

After searching for helpful advice, all I read was that when using corrugated rib I would NOT go down a needle size. This type of ribbing is not stretchy like a 1×1 or 2×2 knit and purl ribbing would be. So I am continuing with my same needle, size 11.

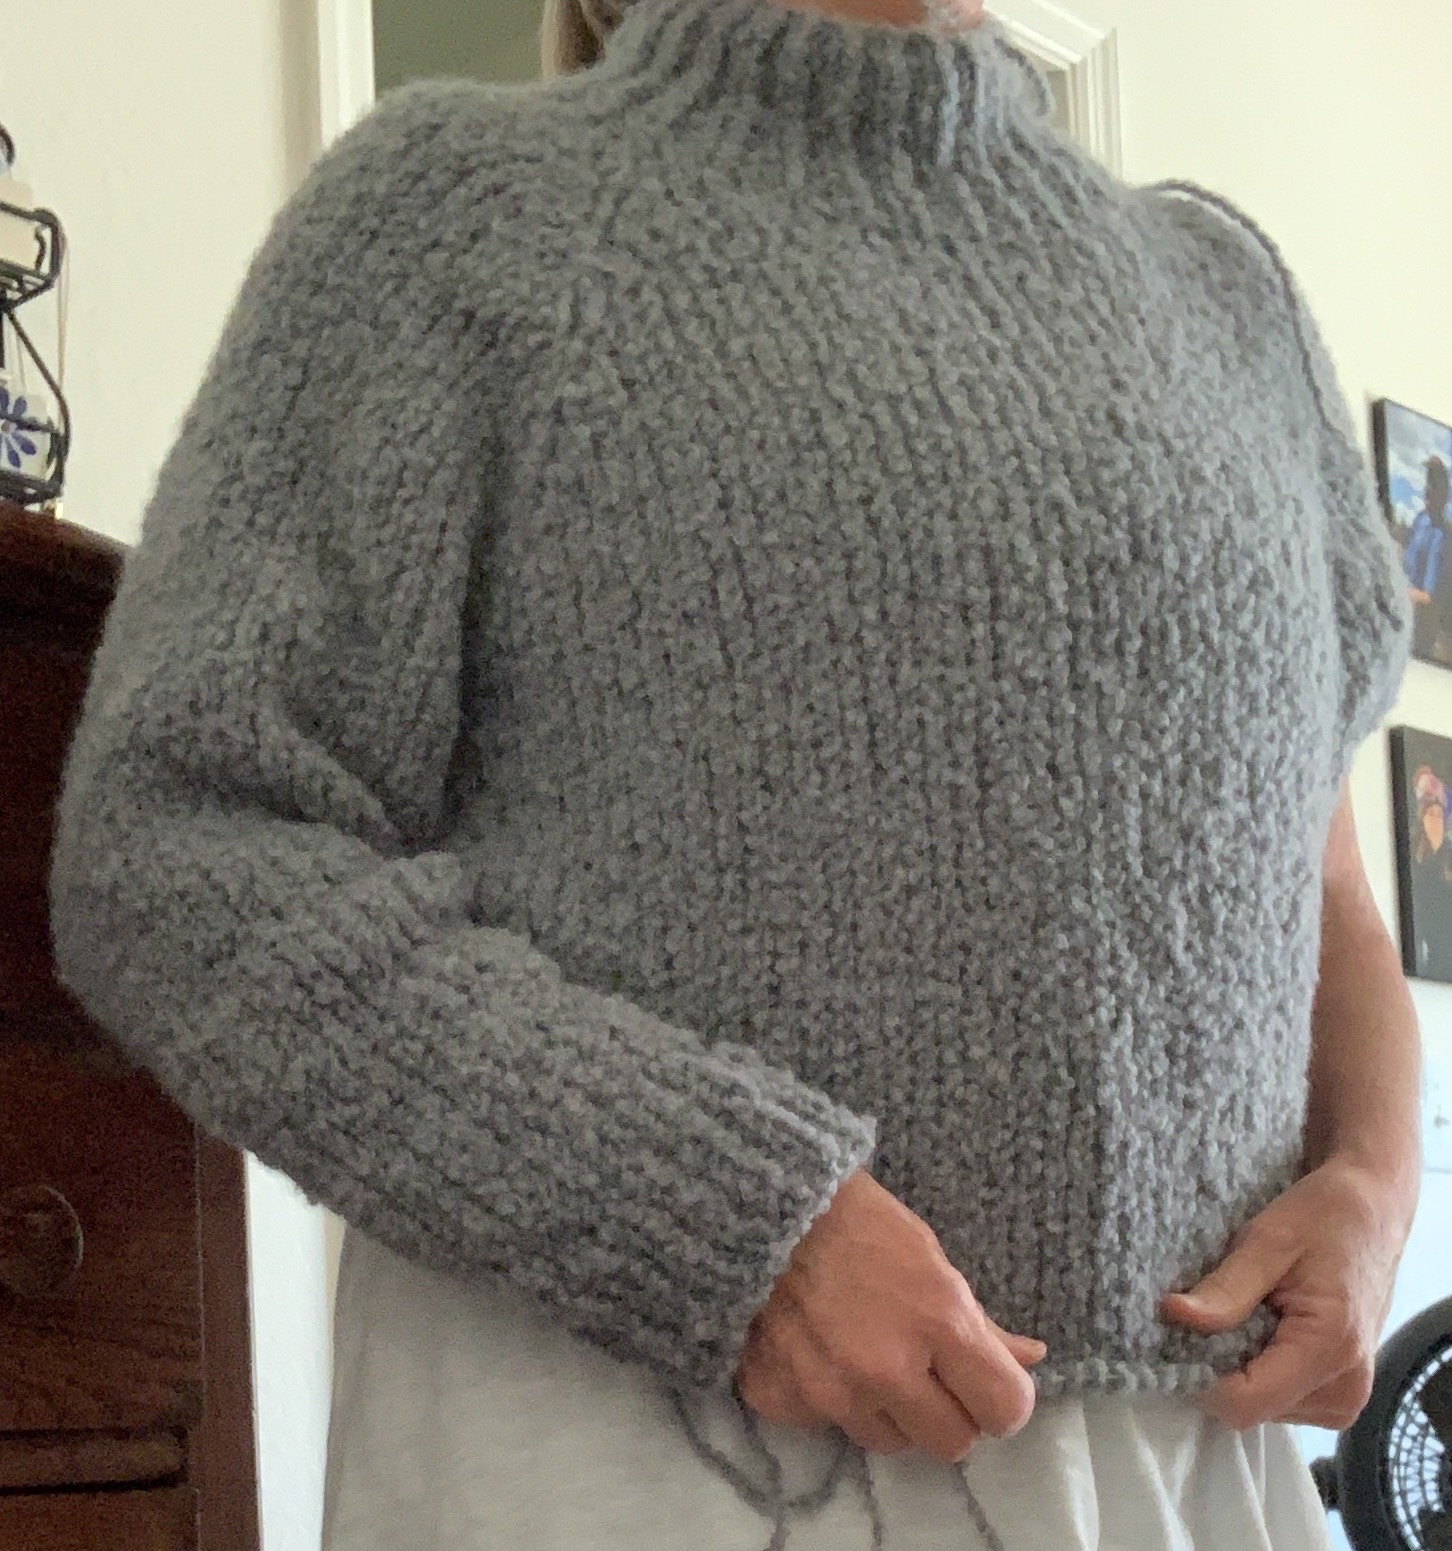
Tried on when the body was finished, and yes that bind-off curls up. *In the end I decided to re-do that bottom.

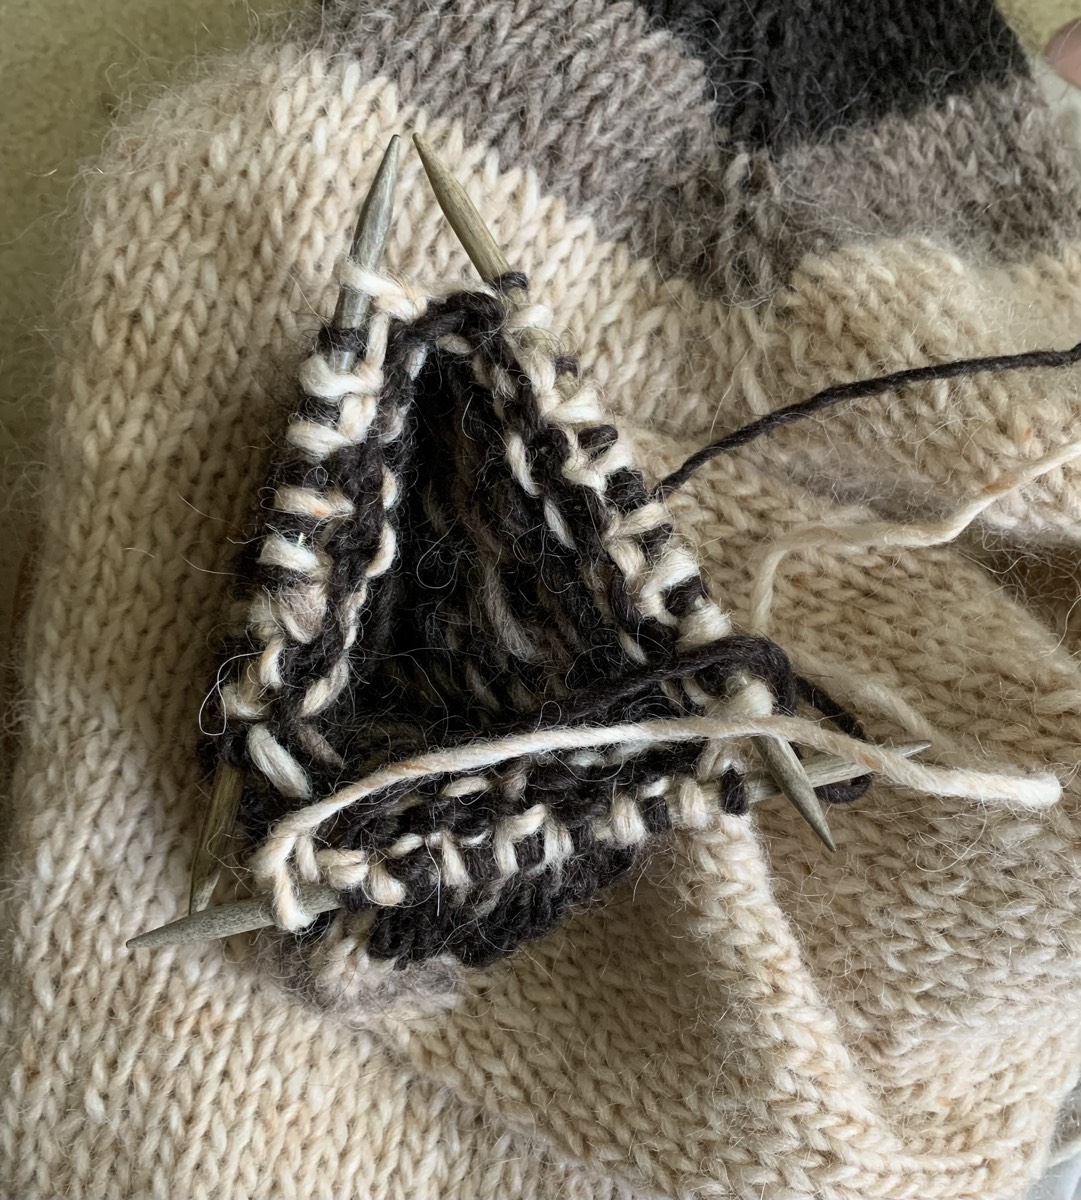
Once the sleeves were finished I went back and picked up the body rib stitches, then unraveled my corrugated rib. I had no idea how to pick up those stitches, and I ended up having to do it twice – the black stitches were on the needle, but the white were not. It all turned out okay, and then I began knitting the 1×1 ribbing in black. I used a size 10 needle for that ribbing – down one size from the 11 for the body. (I used a size 9 on the sleeve ribbing.)

Knitting The Sleeves

So I know that my gauge is off and that means my sleeves may end up being too narrow. I will do only a few of the decreases down the sleeve and then continue to the cuff without more decreases. *I ended up doing only 3 decreases and ended up with 42 stitches on the needles.

I’m considering some colorwork near the cuff. I also don’t know what type of cuff I will do. I like the colorwork on my other Lopi sweater sleeves, so maybe something like that.

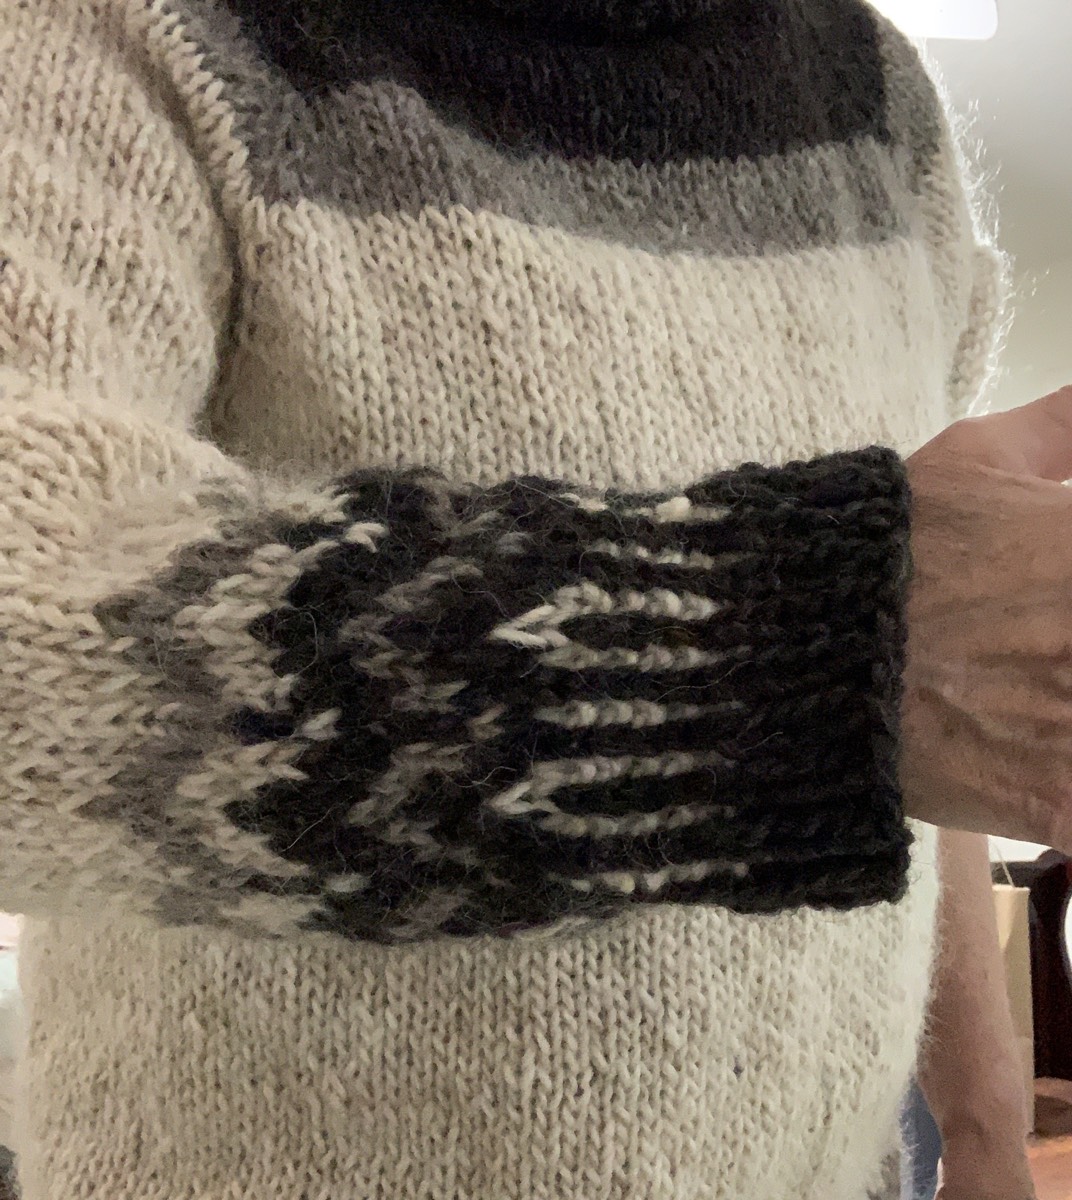
After the three decrease rounds (done as pattern directed), I knit round and round until the sleeve was 11 inched long before beginning the pattern incorporating the gray and black. For the colorwork, I chose to follow a chart on pg. 92 in Alice Starmore’s Charts for Color Knitting (Amazon link to the book) continuing to use the size 11 needles. I know colorwork will pull in a bit.

Next, I changed to size 9 dpns – right after the patterning part – and did a few rows of corrugated ribbing. To finish the sleeve, I did a few more rows, in black only, of 1×1 rib. This way the end of the sleeve won’t roll. I’m very happy with the sleeves!

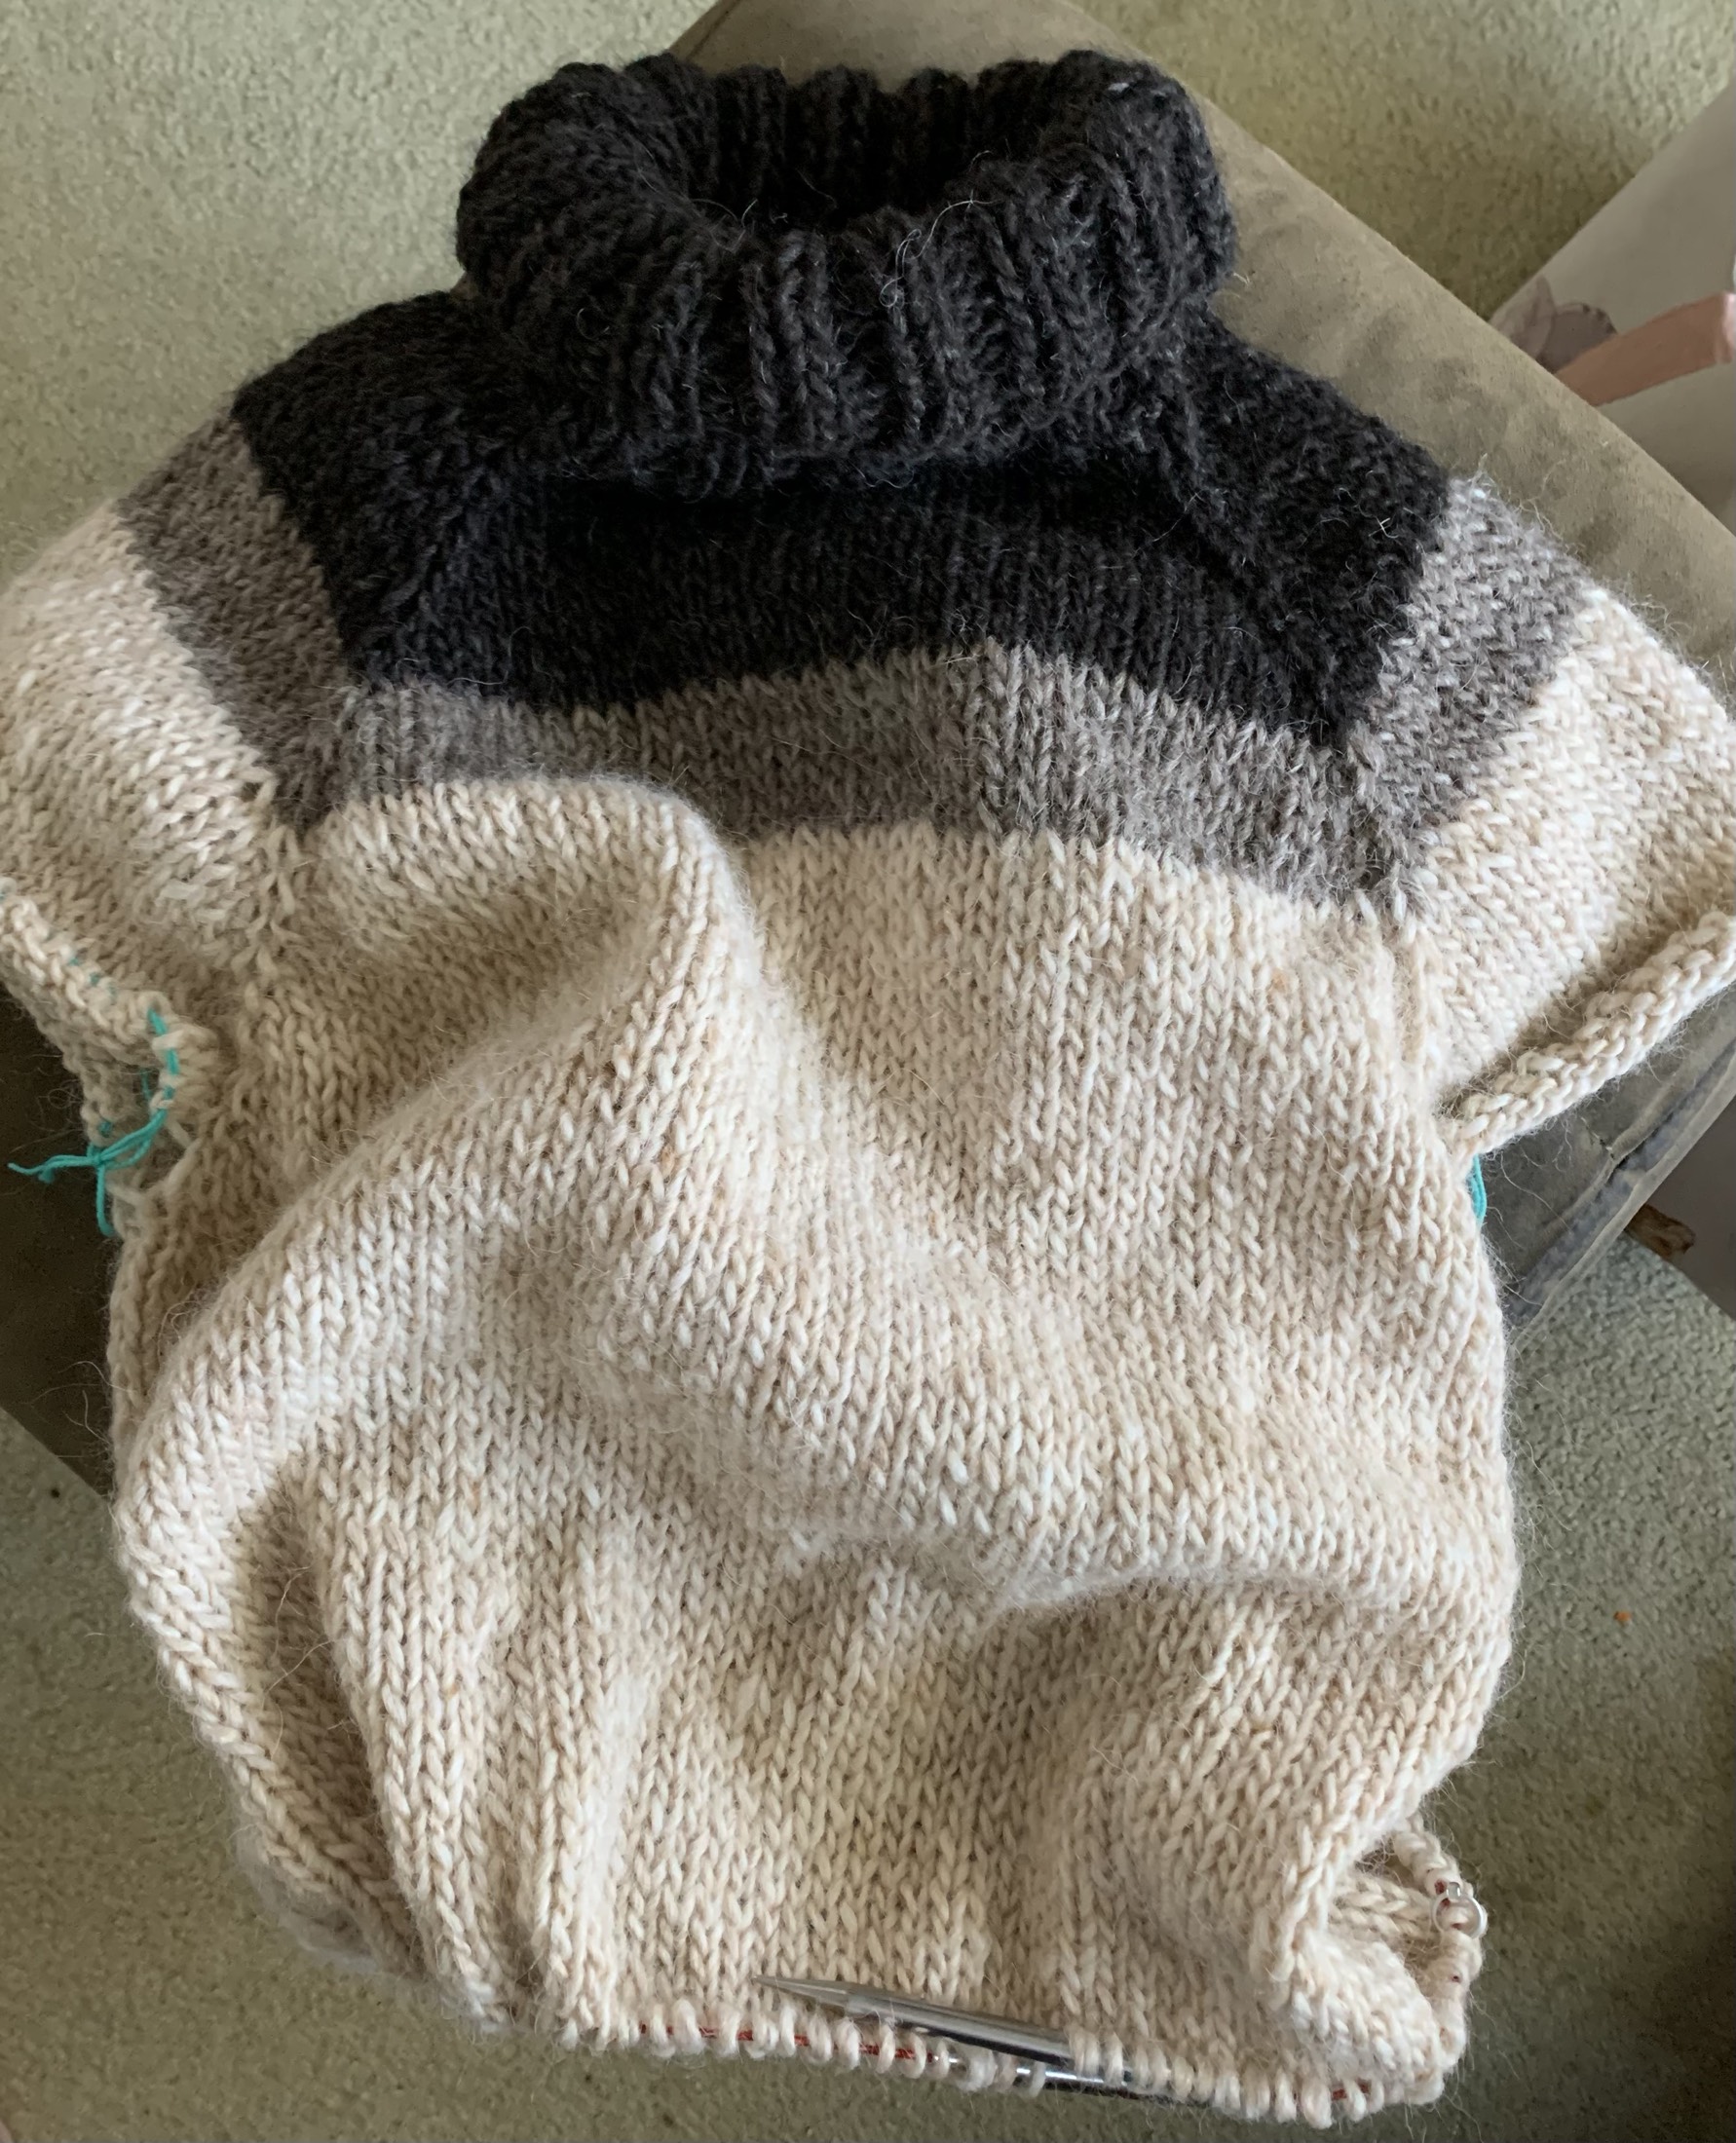
Bulky turtleneck sweater is done.  Knit in three colors of Alafosslopi wool doing Fair Isle colorwork and corrugated ribbing in ecru, gray, and black yarn.
Finished knitting the sweater

In the end…

I’m happy with the end product and just need to give it a wash and block. I’ve decided to wait for cooler weather and have a photo shoot day for this, and all my other wool sweaters.

Now that I know a little more about sweater knitting than I did in the beginning of my knitting journey, this type of project expands on my list of accomplishments. The more I knit things that I’m happy with, the more I will have to draw from as I continue my knitting journey.

The collar may need to be tacked down, but otherwise this sweater is great. I’ve decided that the reason most of my hand-knit sweaters come out large is that I have a weird body. Most patterns have you choose a size according to bust measurements. My entire middle is large, but my shoulders and arms are not. Even though I get gauge, many of my sweaters come out too big. I’ll have to begin adjusting for that.

More Patterns and Reviews Here

Cumulus Blouse, My First V-Neck Sweater Knit

The reason I chose the Cumulus Blouse was the v-neck construction. I thought I would use a heavy yarn instead of the designer’s choice, but the pattern really wasn’t written for wool. I ended up with something a little different.

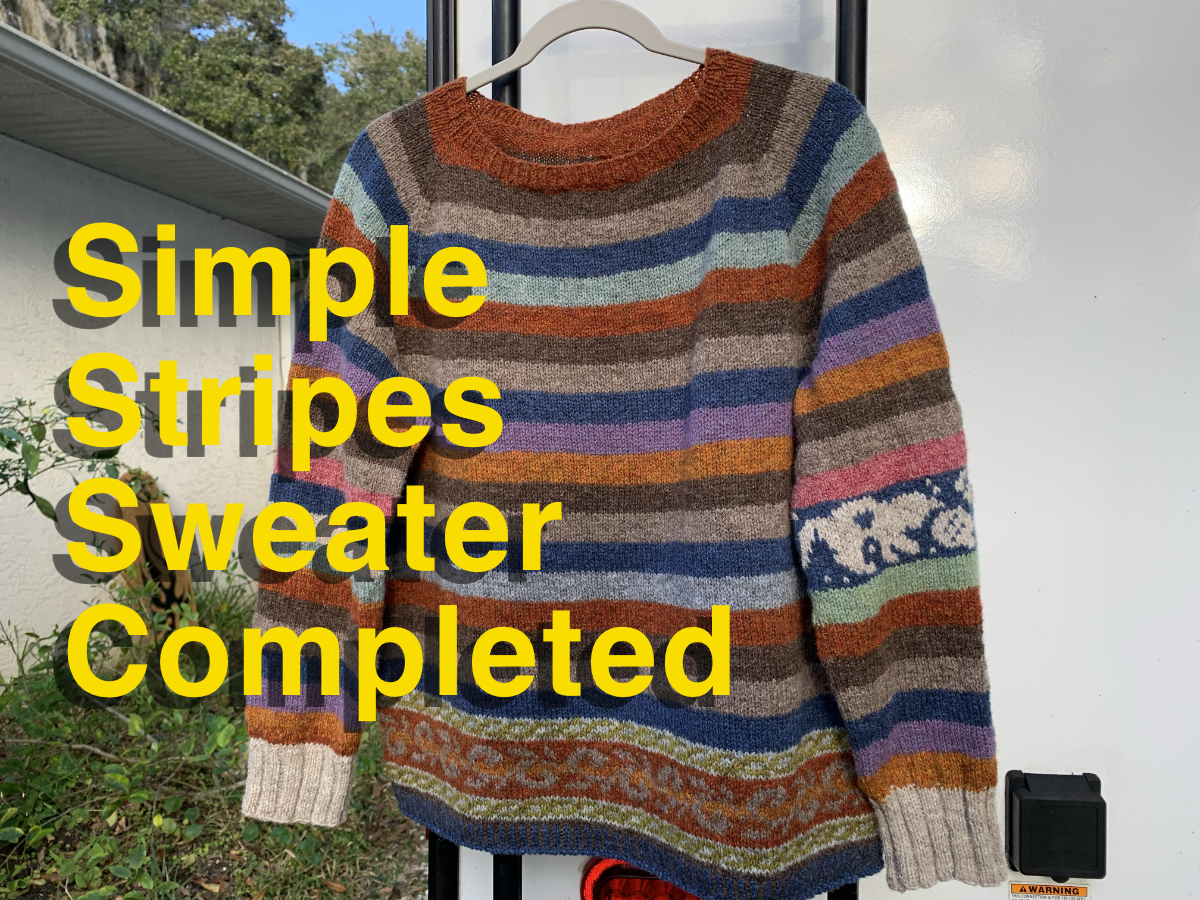
I’ve been dealing with being sick from Covid for about a month now (July 2022). Simple knitting is about all I’ve done while sitting in front of the television. Most days I couldn’t get off the couch and took a few naps off and on. I’ve been pretty miserable. I finished the Honey Cowl #3 and did a lot of round and round knitting on my orange watchcap. I even sat outside one morning and did a little knitting on the striped sweater which I eventually finished.

stranded knitting with red yarn
Knitting Cumulus

Now I am ready to begin a new sweater and I want a v-neck. My choice, in the end, was the Cumulus Blouse by PetiteKnit. I’ve been eyeing her sweaters on Instagram for a while now. They are very cute but she likes to knit holding two yarns together, and the Cumulus is no exception. It calls for two strands of Mohair type yarn held together and knit with a size 7 needle. I don’t plan to do that, so I have named my version the Cumulus Sweater.

Any time you must use two strands of yarn together in a sweater the cost of knitting that sweater doubles. Also, I am not a huge fan of Mohair fuzzies. I plan to use some Harrisville Highland wool I’ve had for a bit. Her little sweater is not something that would look good on my body either!

Cast-On Day

Today (July 6th) I did my cast-on and set up the raglan increases. The cast-on row ends up being the back of the neck area and then the increases are made to expand the shoulders and make the v-neck front. I’m not crazy about “make ones” and there are a lot of them in this pattern. Also, every other row is a purl row – so there’s that. That will change once the body is joined in the round.

Cumulus sweater in wool

I am also knitting from a cone for the first time. Cones generally save money because you get a lot of yarn for much less than a normal few skeins of yarn. I honestly can’t remember where I bought these cones, but I have two in this color as well as an extra normal skein. (I ended up using nearly all of both cones. Without using that red contrast color, I would have needed more than the cones to finish this sweater.)

I made a mistake right off the bat when the pattern said to set up the markers. I knit across the row to add ring markers when really I should have simply added attachable markers along the needles. So I had to purl back across and THEN begin the four row increases. Because of this, I have two extra rows of knitting.

Cumulus sweater beginning the knit

I’ve looked through the entire Cumulus Blouse pattern and the designer calls for an i-cord bind-off with decreases. And then the neckline is done in an i-cord, but without the decreases. This was confusing. She directs knitters to her website with a Petite Knit videos page and after searching, found the i-cord bind off under the section “Tips and Tricks”. Once I watched the video (which is not in English) I realized that the decrease part of the bind-off is the k3 together part, so that will be left out when doing the bind-off around the neck. Great, I’m all set! (Actually, I did this differently with fewer stitches because my yarn was heavy.)

I do not plan on doing an i-cord bind-off for my body and sleeve cuffs as my yarn is not mohair. A normal ribbing will work fine – going down a needle size to a 6.

I am ready to continue on with my new sweater knitting project.

Now that I have done most of the V part, I am re-checking my gauge. My gauge is good. Onward!

Cumulus v-neck sweater knitting
Knitting the body after separating the sleeves

I finished off the neckline before I finished knitting the sweater. Because my yarn is stiffer, I only did a cast-on of 2 for the i-cord bind off, and knit from there with a k1, k2togtbl. Now I could try the sweater on to see the v-neck, and it is low. For this type of sweater, it doesn’t matter as I would have a shirt on underneath.

I’m not real happy about my neckline. It is puckering a bit and there is a tiny hole that I had to close up in the end. That is all on me and my lack of skills.

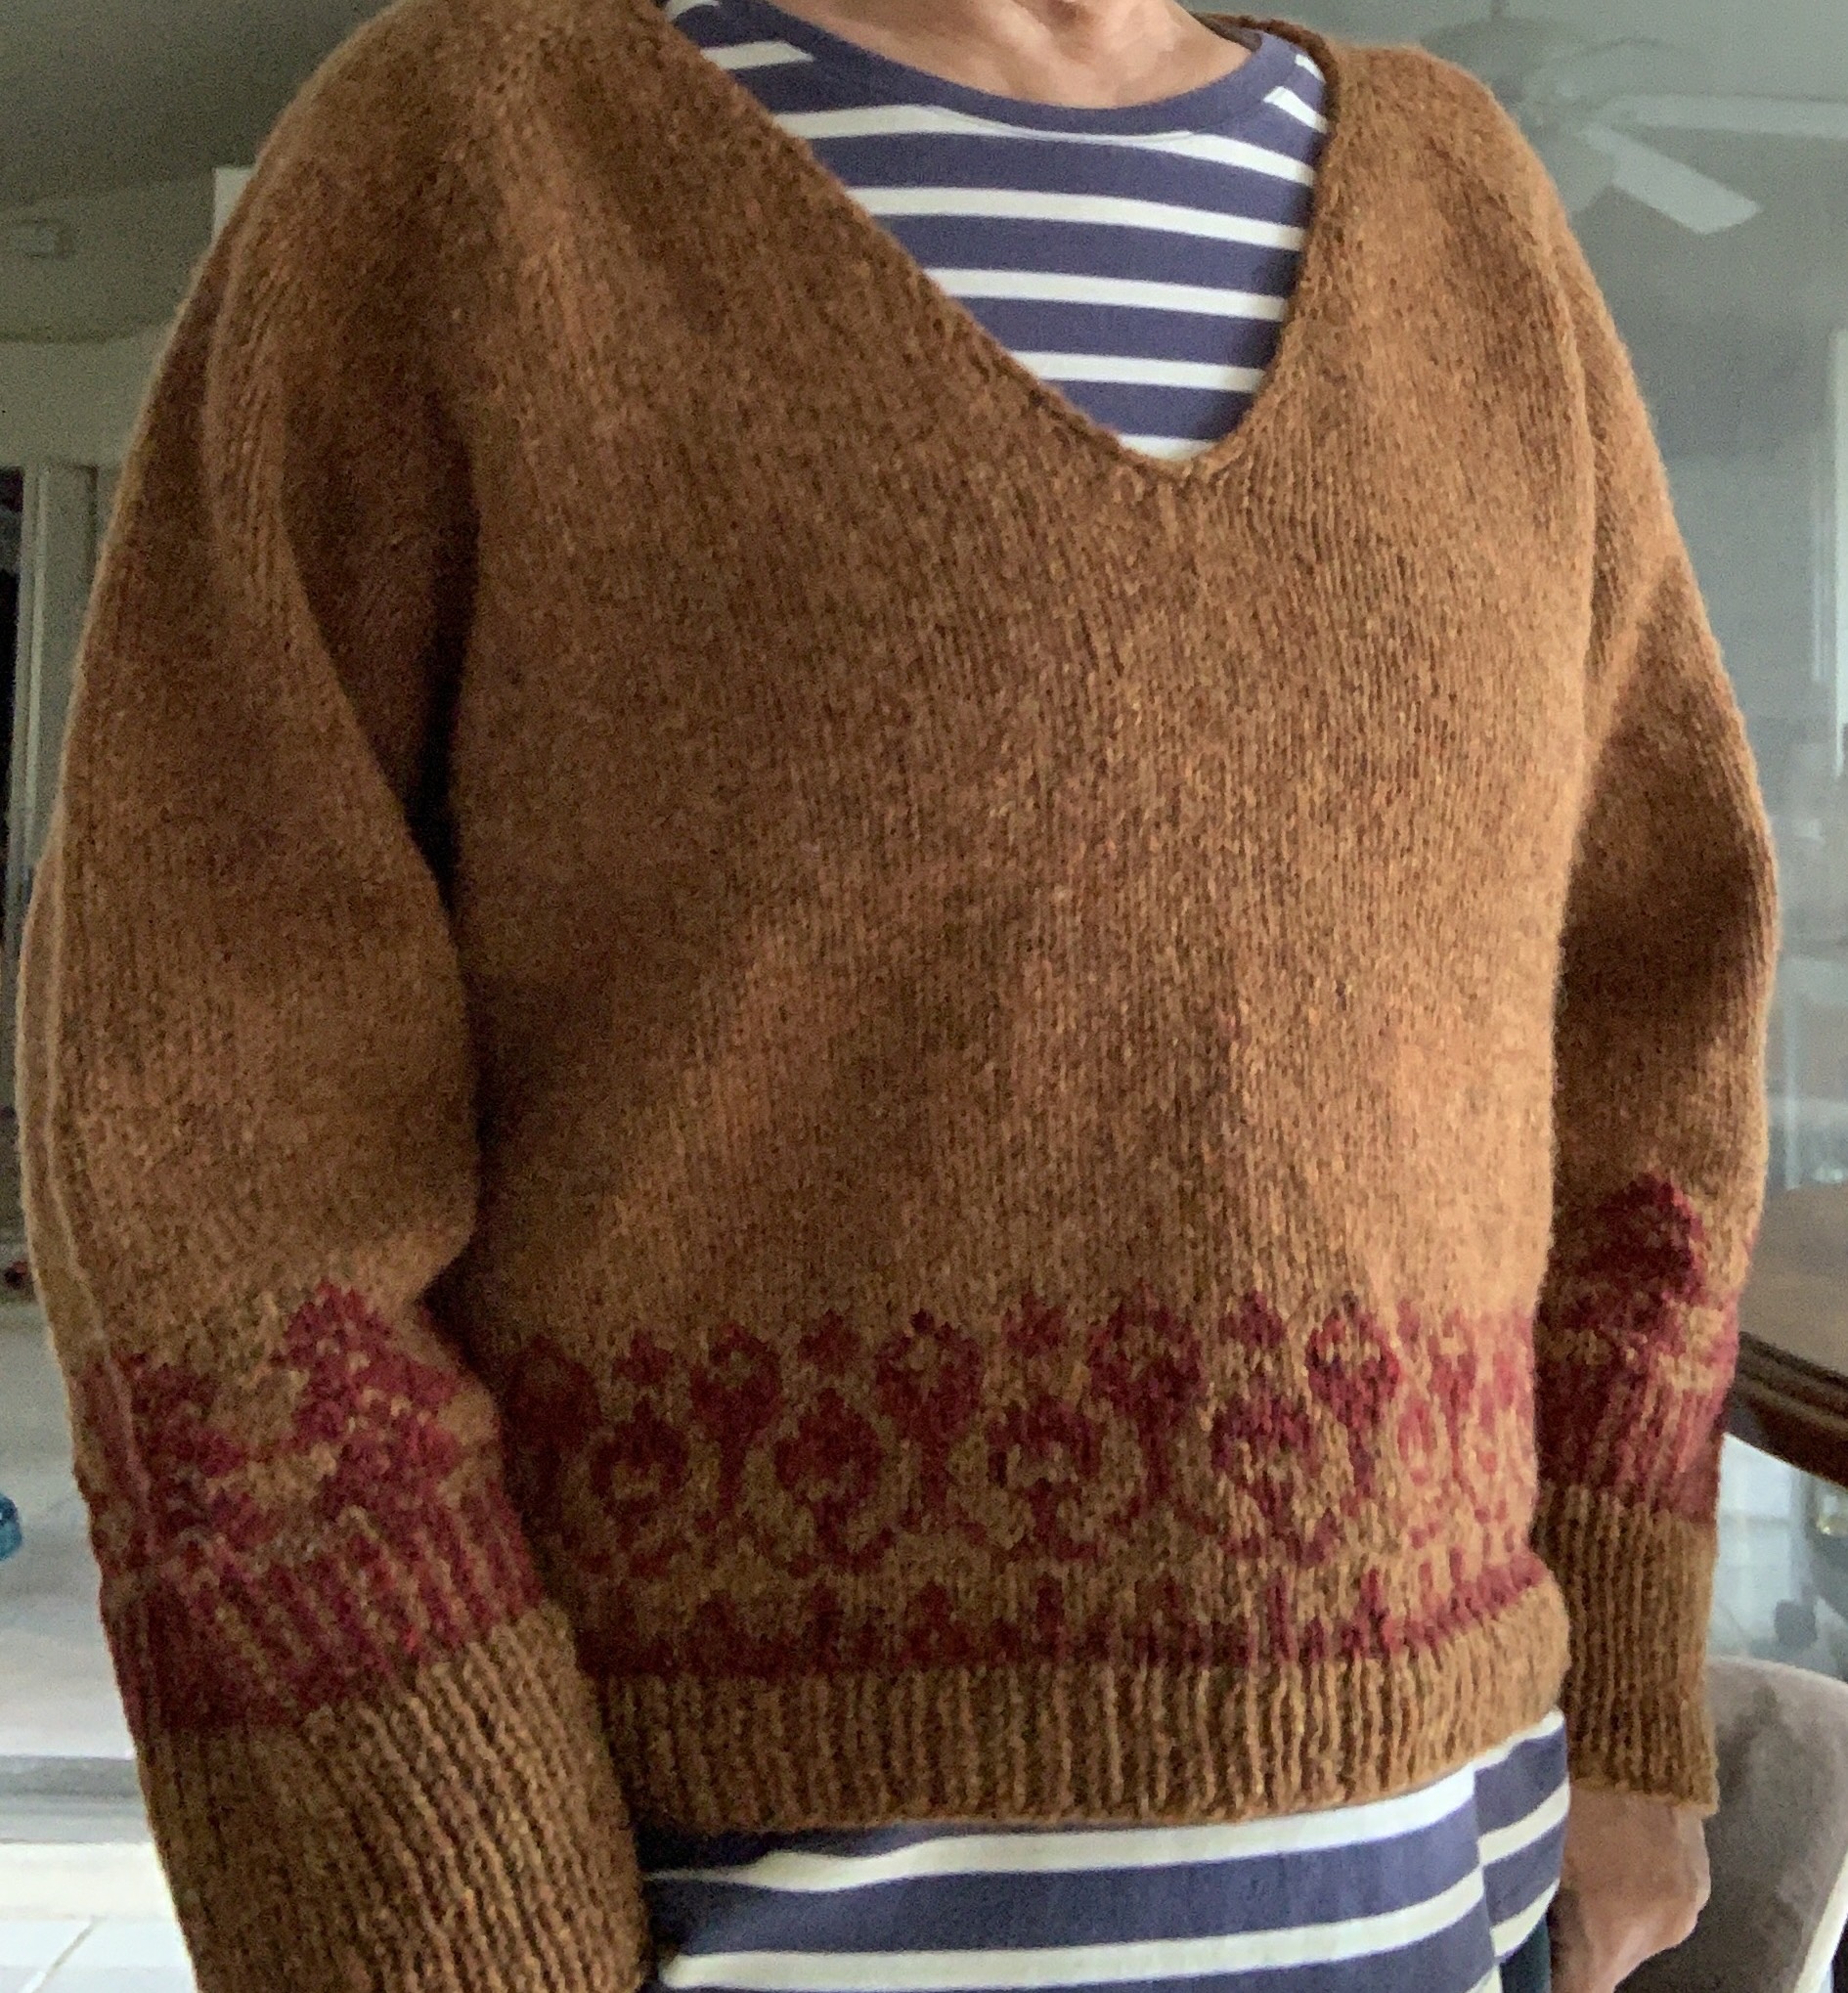
Colorwork in red yarn (Brooklyn Tweed Shelter – color “Long Johns”) was added along the bottom of the body. I went up to a size 8 needle for that. Then, I did the ribbing in size 7, but I wish I had used a 6. I may go back and redo that ribbing. (I did.)

One sleeve is done. I only did a total of 7 decreases down the sleeve. Used a size 8 to work the trees, then decreased for five rows doing k1, k2tog (BOR) and SSK, k1 at end of round, while knitting one brown and one red around.

Both the flowers and trees patterns came from Fair Isle books I have.

With 60 stitches I began the ribbing using size 6 DPNs and made the cuff long enough to roll up.

Re-doing the body ribbing

I have finished knitting the Cumulus sweater but have decided to rip out the body ribbing. It will be done over using a size 6 needle (originally it was knit in a size 7). I ended up adding a bit more red before the ribbing.

So the Cumulus sweater was officially done on September 8th. It took me almost exactly 2 months to knit – between knitting on other projects along the way. It has been washed and is drying in the spare bedroom. Then I will get a photo of me wearing it.

The pattern was very easy to follow and straight forward to knit, but I did not do the bind-offs the same as the pattern directions. I also did not hold two light weight yarns together.

My sweater is quite roomy and comfy. If I ever did knit this pattern using the type of yarn suggested, I would knit the Medium size – one size smaller. My gauge was correct, and I checked it twice.

You can buy the Cumulus Blouse pattern from PetiteKnit on her Ravelry page. It is very pretty when knit in light weight yarn, and if you have the body for it – go for it!

V-neck sweater with colorwork in worsted wool
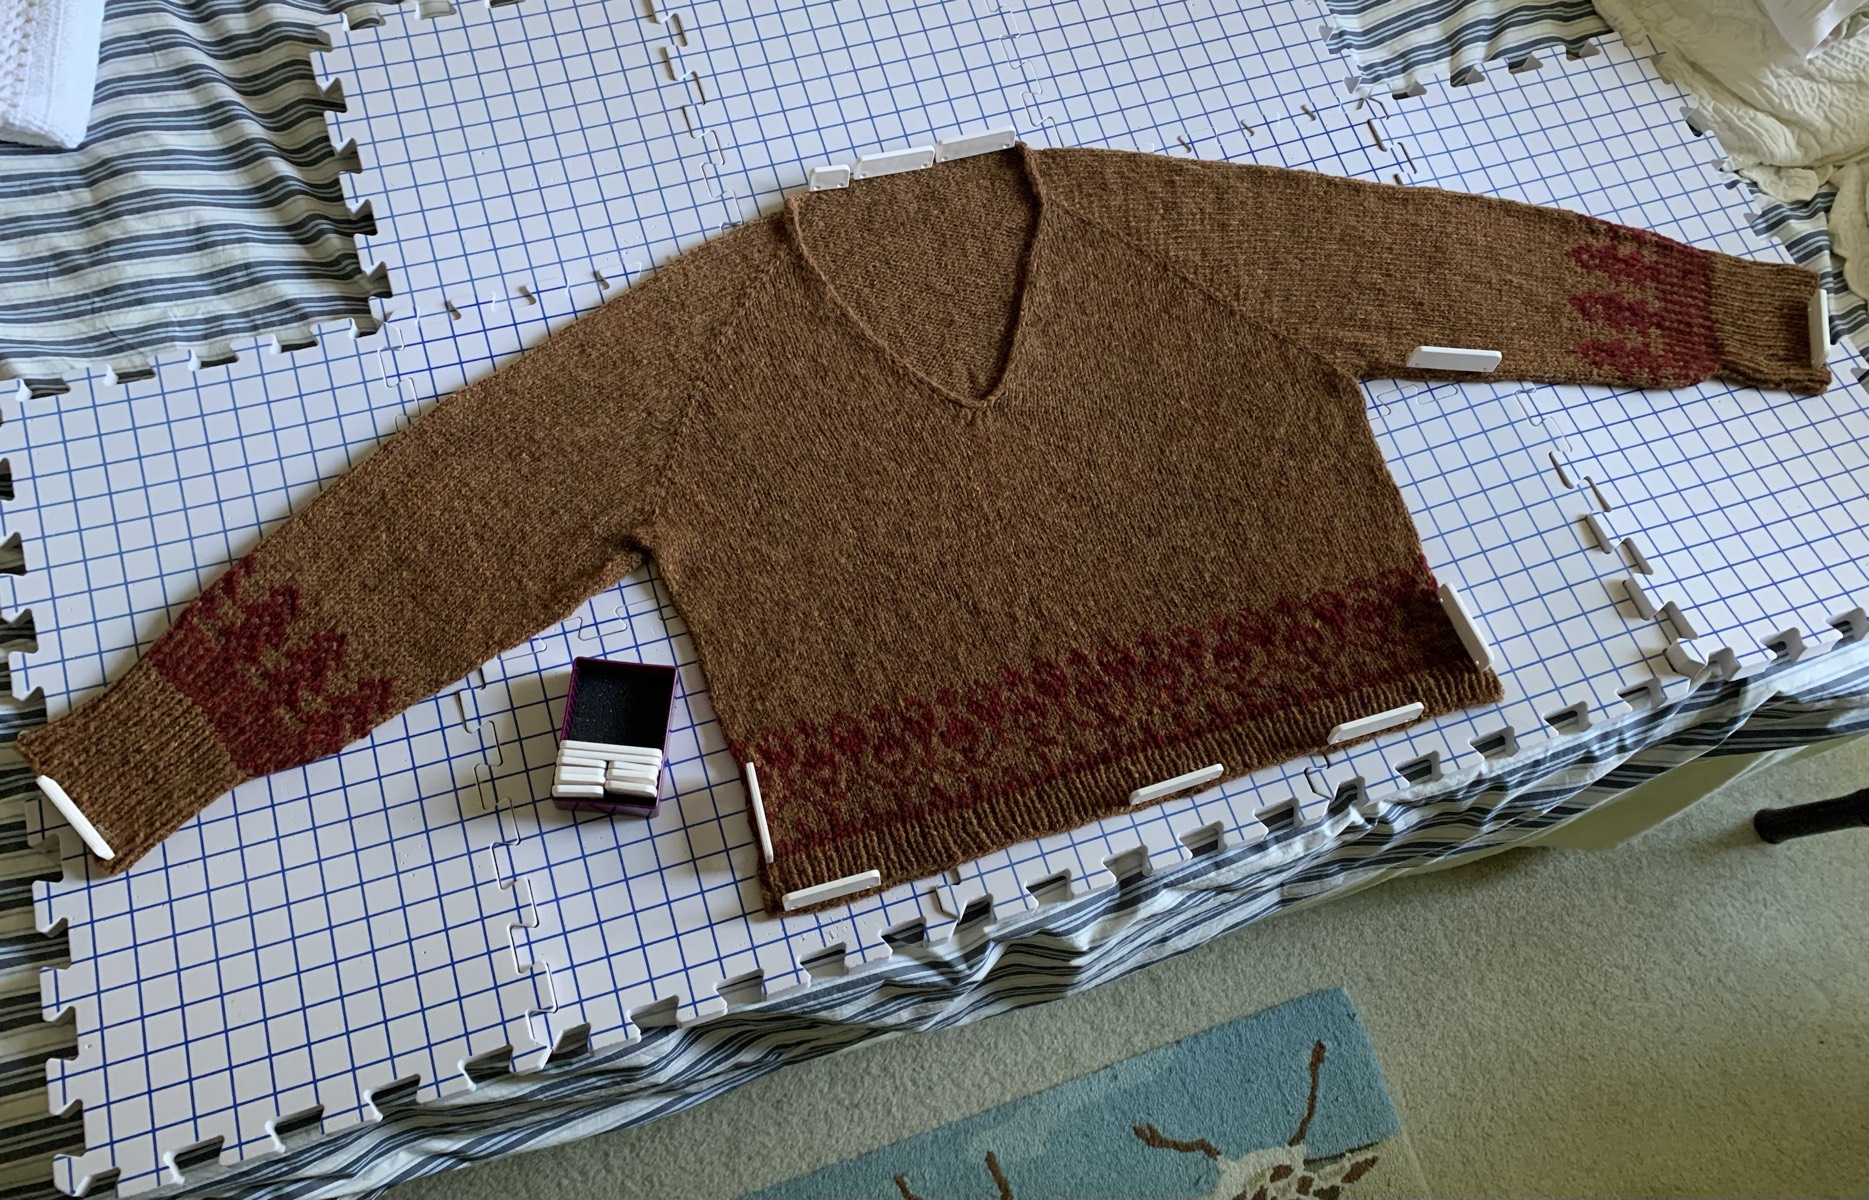
Done knitting, before the wash

January Photos


More Pattern Reviews and Stories From the Blog

Baby Knitting Patterns For Free and To Purchase

Find some free knitting patterns for baby.

Free knitting patterns for baby include booties, hats, mittens, and tops / sweaters.

I don’t have any babies or grand-babies in the family. But I have done some knitting for friends who now have grandchildren.

Remember to find nice, washable yarn for baby knitting projects. New moms and dads won’t have time to hand wash!

The pink “Beloved” baby hat is a pattern to purchase from Tin Can Knits. I made it along with the Newborn Socks for a friend’s grandbaby.

Continue reading “Baby Knitting Patterns For Free and To Purchase”

Knitting a Short Poncho in Tweed Wool

Short poncho hand knit in Soft Donegal tweed wool in color “oatmeal”.

After searching for a poncho pattern to knit, I have narrowed it down to Kate’s Poncho (pattern link below). It is a cute, short poncho with some seed stitch on front and back. The collar is also seed stitch but I changed it to a short rib. I’m knitting it for my daughter who works in a cold office. I figure a shorter neckline will be more comfortable.

Finding Tweed Yarn

I knew I wanted to use all one color and a neutral one at that. There is a lot of stockinette and I thought that a tweed yarn would look nice. If the yarn could also be machine washed, that would be a plus. The poncho is not for me, and I’d like it to be easy to care for.

Well, I didn’t end up buying washable yarn, but I did find some tweed wool from Ireland that I hope will be beautiful. The Soft Donegal merino wool is on order from the Dublin Bay website where I found each skein for about $5.00 CHEAPER than many other sites…!! It pays to shop around. They also have free shipping for US orders over $35… ! Yay… what a deal. They also had my first color choice, “Oatmeal” in stock. I bought three skeins for a total of 630 yards.

Although this poncho will have to be hand-washed when needed, it shouldn’t need washing very often. Maybe a spot clean here and there.

Soft Donegal tweed yarn
Tweed wool to knit a poncho

The yarn’s here..!!! Not only was the price of this yarn excellent, the shipping was super fast – it arrived in two days – but the yarn itself is superb. It is very soft wool. If you have ever used Brooklyn Tweed’s Shelter yarn, it feels exactly like this. I had no trouble hand-winding the skeins (over my knees).

This is the first yarn I have purchased in a while. I’m trying to use up my stash, but unfortunately I don’t have a lot of matching skeins. The Soft Donegal gets very good reviews from knitters at Ravelry and now I can see why!

Knitting The Pattern: Kate’s Poncho Review

A size 9 needle is suggested and I do not have a 16-inch size 9. I had to go down to a size 8 until I could get my stitches onto a 24-inch size 9 needle. I did that after the first increase row on the patterning.

Kate’s poncho stitches and markers

The Neck

I am changing up the neck for this poncho so it won’t be high. The pattern calls for a seed stitch cowl type neck. I knit a 1×1 rib for about 1.5 inches. By the way, you must cast-on an even number of stitches to do this, so I added one stitch to the normal cast-on number.

Using the Old Norwegian cast-on has created a nice stretchy neck. Once I had the stitches on a 24 inch circular needle, I pulled it over my head to make sure.

I’ve ended up with 13 markers on this project. Each section of knitting is marked and I added four more markers to show where the increases are made. This helped me at the beginning of the project.

This is a fairly simple pattern to knit. Once the knits and purls are marked out, it’s one normal round of following the pattern and one round of increases.

The spit splice method of attaching yarn works very well for the Donegal Tweed. I really love this way of attaching skeins. I used it throughout my striped Warm Up Sweater and had very few ends to weave in. This time I only had two strands when I finished!

I’m doing a twisted rib around the bottom. I like the way it looks. and am hoping it will be good for finishing up this poncho. I am not doing any kind of stretchy bind off, just a normal loose bind off.

Buy the Kate’s Poncho Pattern

Mods: I changed the collar and did a simple 1×1 ribbing. I did a twisted rib along the bottom. I added length and knit to a total of 19 inches long after blocking.

Hand knit poncho drying
Finished – washed and blocked

I used up nearly all of my three skeins of yarn. I could have done one or two more rounds for the ribbing, but chose to leave it at two inches as the pattern called for. If I had knit the normal “cowl” collar, I would have definitely needed all three skeins and possibly more to make the poncho longer.

Kate’s poncho on recipient
My favorite model

What Knitter’s Need to Know

What you need to know how to do in order to knit this pattern:

  • Cast-on with preferred method. See my Cast On Page if you need ideas, but choose a stretchy cast on. I did the German Twisted / Old Norwegian which is what I almost always use.
  • Knit, purl, Make One Right, Make One Left
  • Seed Stitch (see below)
  • Place markers where pattern says – you will need 9 (I used 13 total- 4 extra to mark increases)
  • Cast-off and weave in ends

How to Do a Seed Stitch

Just in case you don’t know what a “seed stitch” is, I will explain here.

Alternate knits and purls by row. The seed stitch sections on the poncho are bordered by a simple knit stitch. Those border stitches will always be knits. After the knit, your seed stitch section would begin (first row) with a knit one, purl one, across for the number of stitches in the pattern. When you come to the seed stitch section again, alternate the knits and purls. If you had a knit in the row above, do a purl and alternate across the row. *Remember to always do a knit stitch for the border stitches in this section.

This yarn really became more lovely after washing and blocking. This item was not knit for me, but as a gift to my daughter who works in a cold office setting. She is taller and slimmer than I am, and I hope it will fit her well and keep her warm.