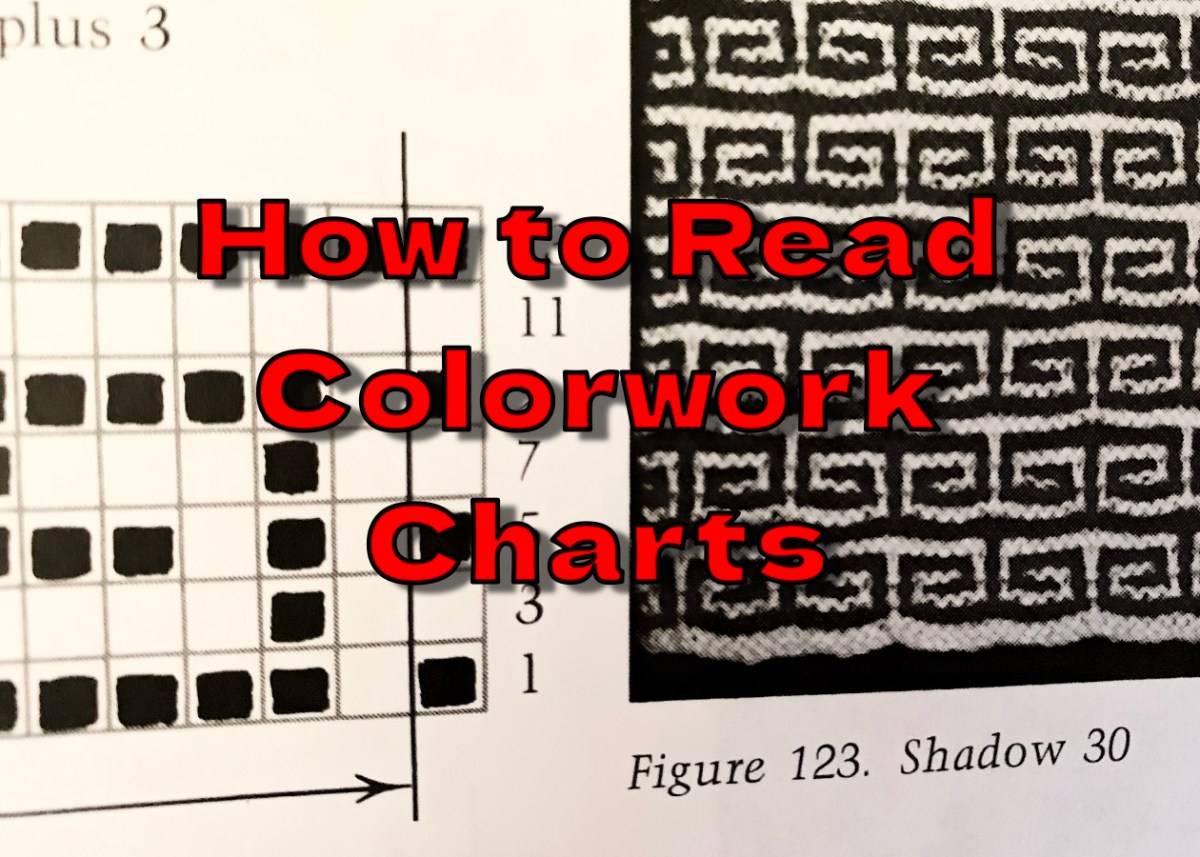
How to Read a Knitting Colorwork Chart

How to read colorwork charts for Fair Isle and mosaic knitting.

When I began knitting I was afraid of knitting from a chart. This was because I had never done it. Reading a chart is not really hard at all. The only time a chart gets tricky is when cables are involved. A lace chart can be a little tricky also.

What I am covering today is the easiest of charts, in my opinion, and that is the colorwork chart.

Fair Isle Colorwork, Two-stranded Knitting

The main type of chart I use in a pattern is when I do colorwork knitting. A chart will be used to show the various colors used – or when colors will be changed. Some charts will be in color and others are only black and white.

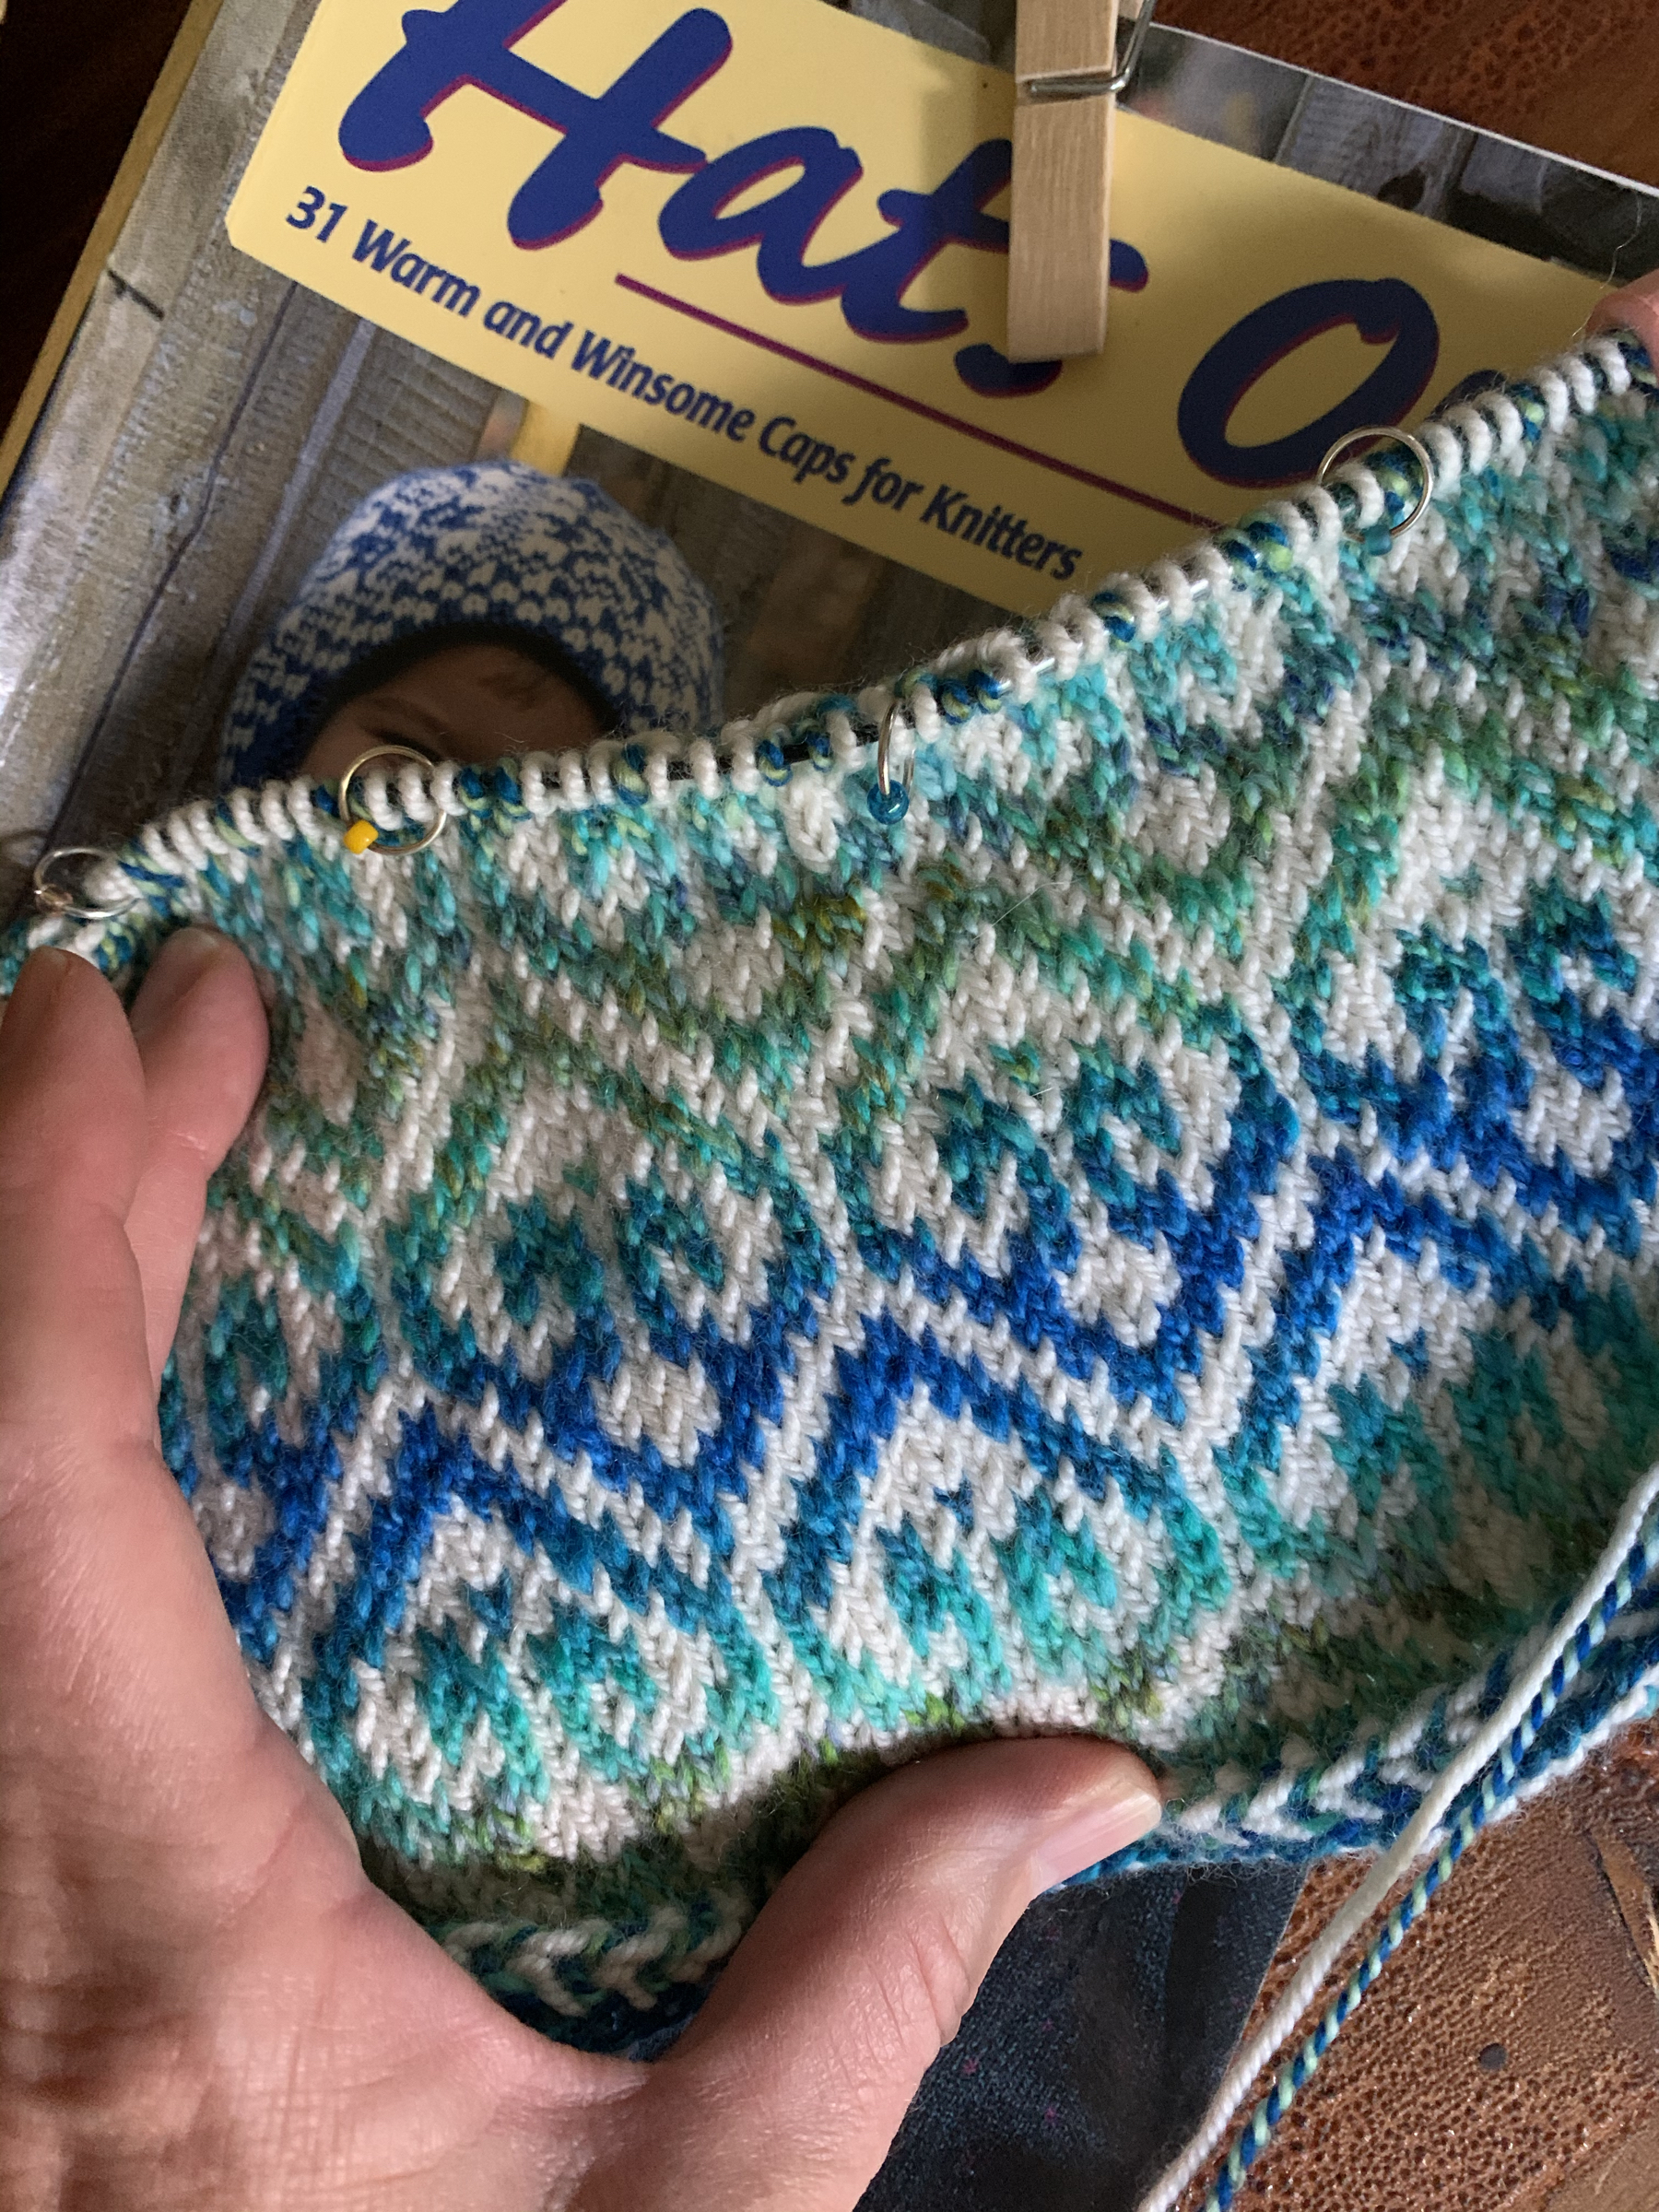
Fair Isle is a style of knitting using two different colors of yarn in the same row. Only two – no more. Those colors can change row by row to create an interesting and beautiful pattern that may look much more difficult in the end.

Most colorwork is knit circular – round and round – such as a sweater, hat or mittens.

Here is an example chart for colorwork.
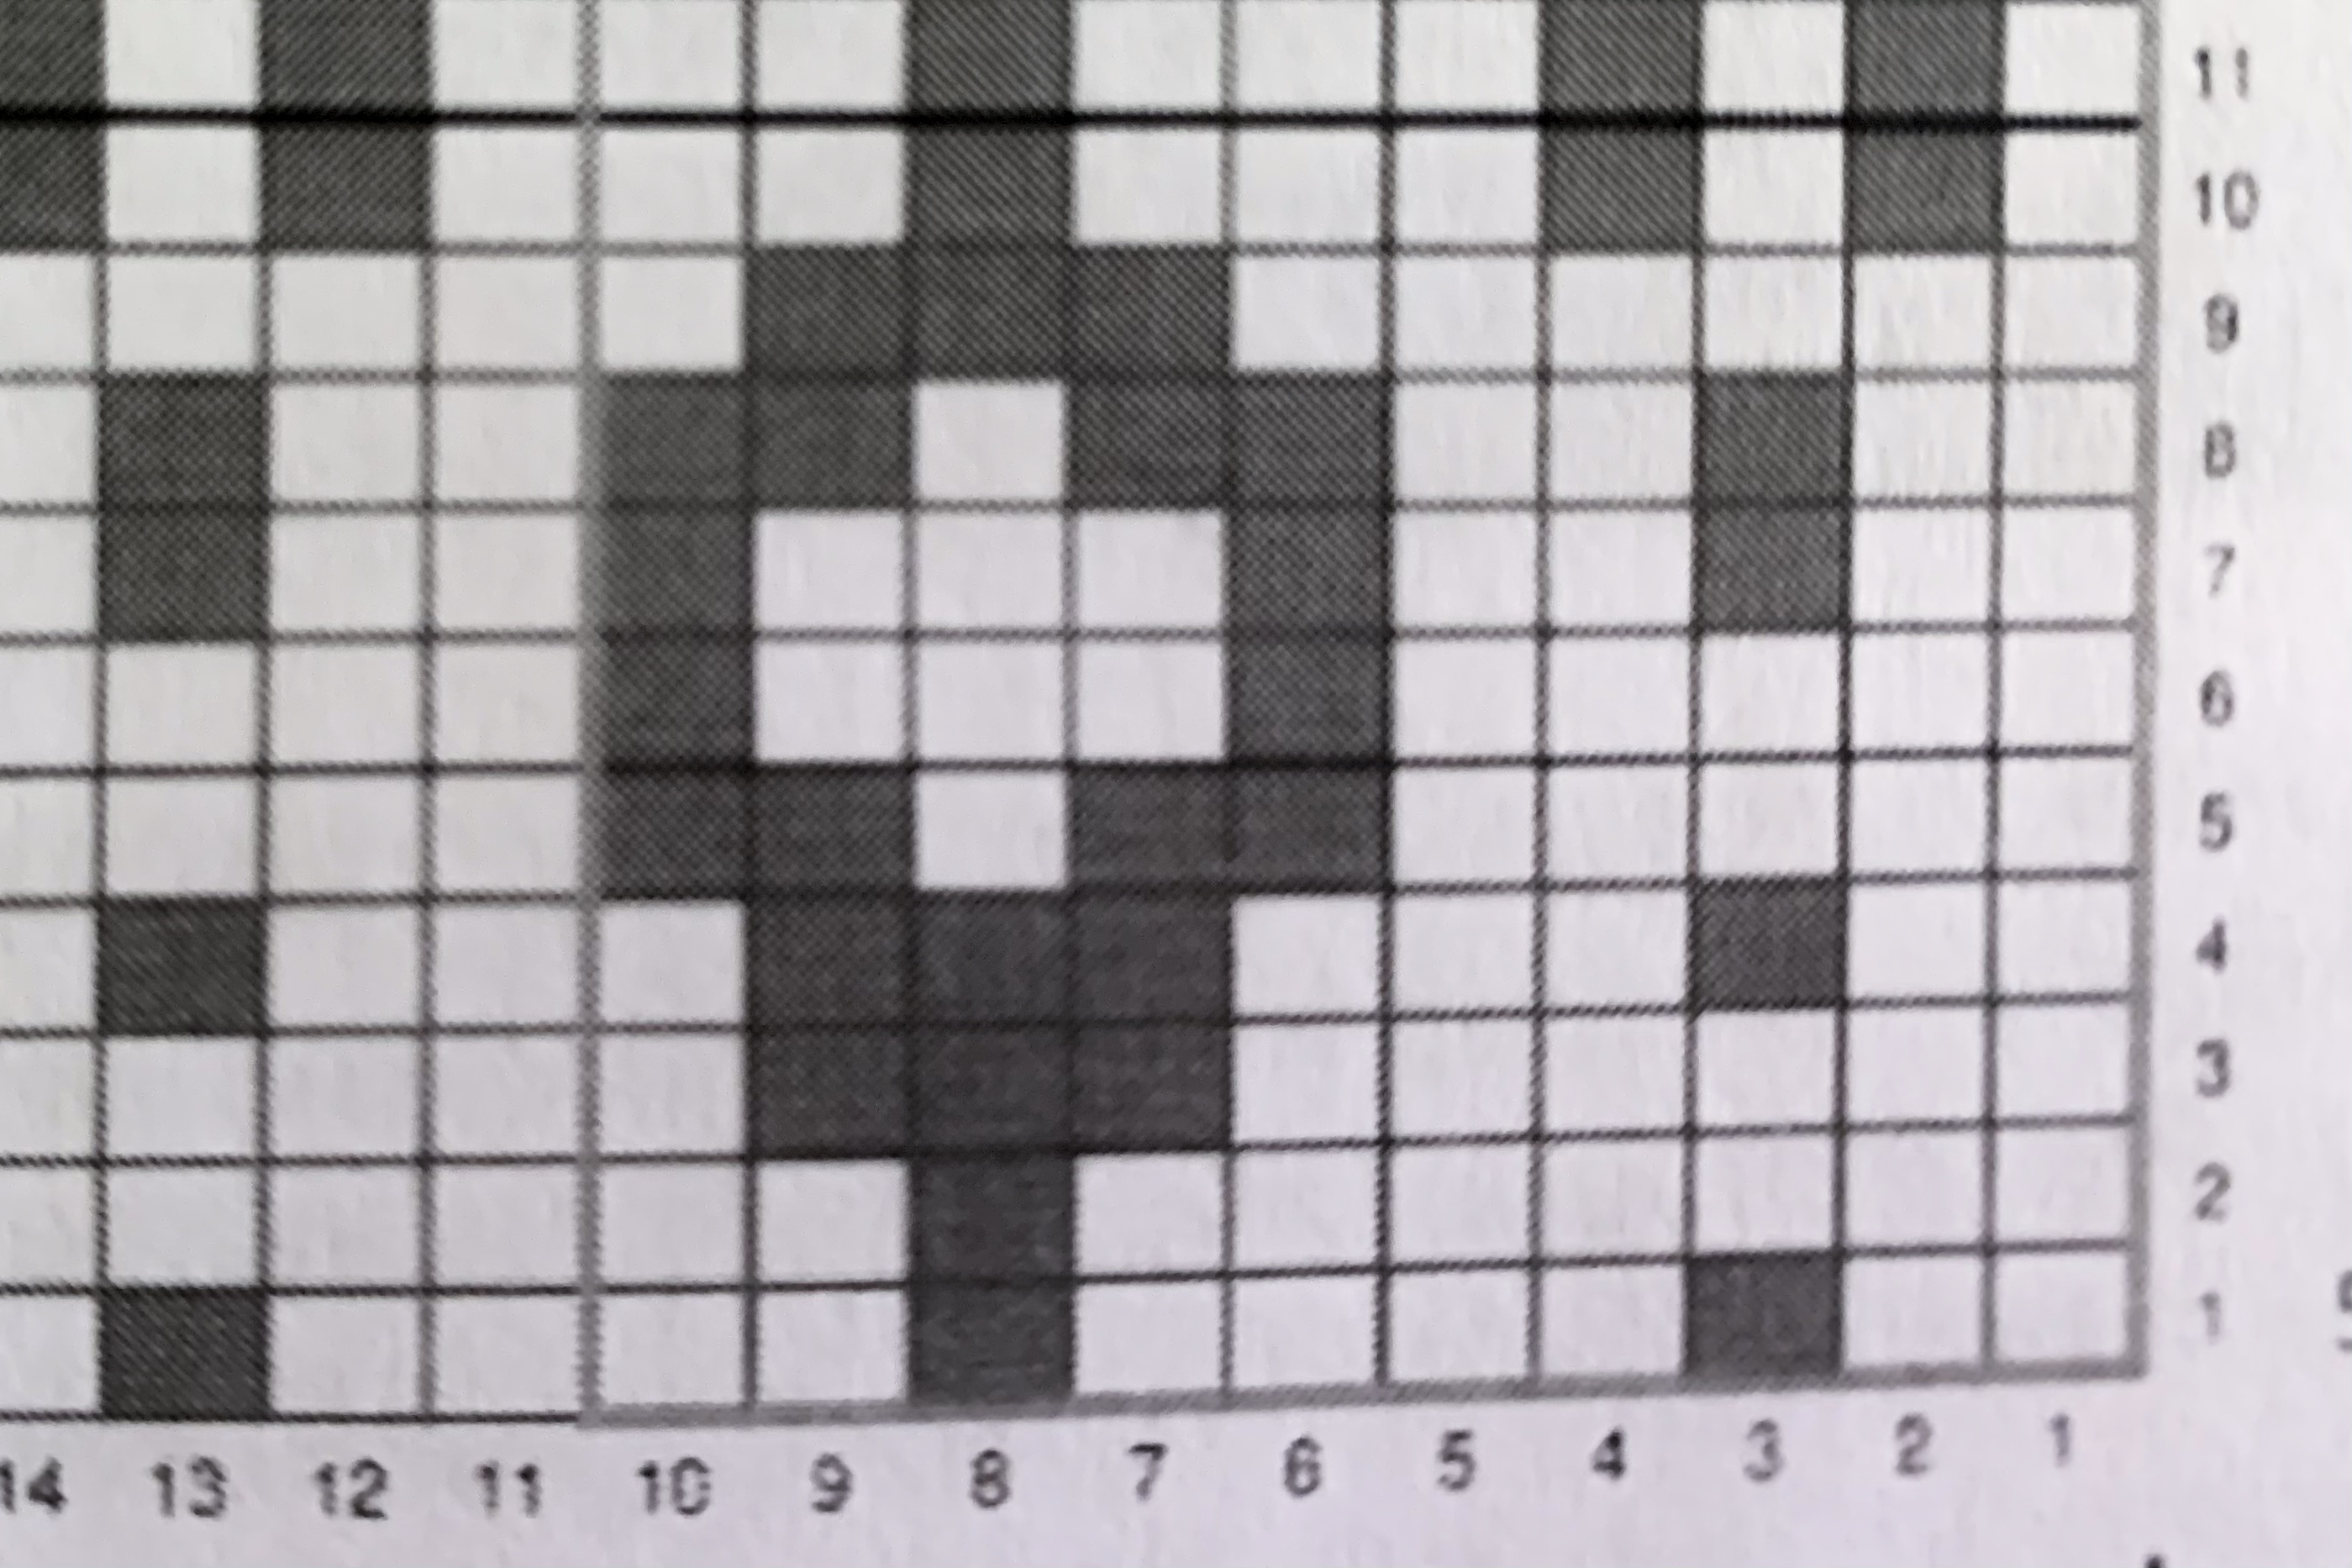
Numbers on the bottom go right to left because that is how we knit. Those are your knit stitches. Numbers up the side are for rows.

In this case let’s say I am knitting with yellow and red across. The “white” squares will represent my yellow yarn, and the “black” squares are for red.

I will knit 2 yellow, 1 red, 4 yellow, 1 red, 4 yellow, 1 red… and so on. There will be a repeat somewhere in your colorwork. It could be a quick repeat – like two sitches (1 yellow, 1 red – around) or it could be a long repeat. This depends on the motif. In the image above the repeat is at 10 stitches.

I like to place stitch markers at each repeat if the repeats are long – say 10 stitches or more. That way if I make a mistake I will catch it within that 10 stitch repeat. The markers will stay in place until the motif is finished.

This way you don’t have to follow the entire row – just the repeat area. I usually print out my patterns and use a long post-it note to underline the row I am following. Or, use Knit Companion, a digital program, which is an easy way to mark rows too.

Once the entire row has been knit, move up to row 2 and begin again. In the chart above I will knit seven yellow stitches and then one red. And then nine yellow and one red, according to the chart.

This is how the repeat will go which means the red yarn will be carried behind the work to be used after nine yellow stitches. You need to know how to carry yarn – called “catching floats” when you have long stretches of one color.

Often Fair Isle knitting won’t have long stretches of same color stitches. I like to pick up my floats every 4-5 stitches.

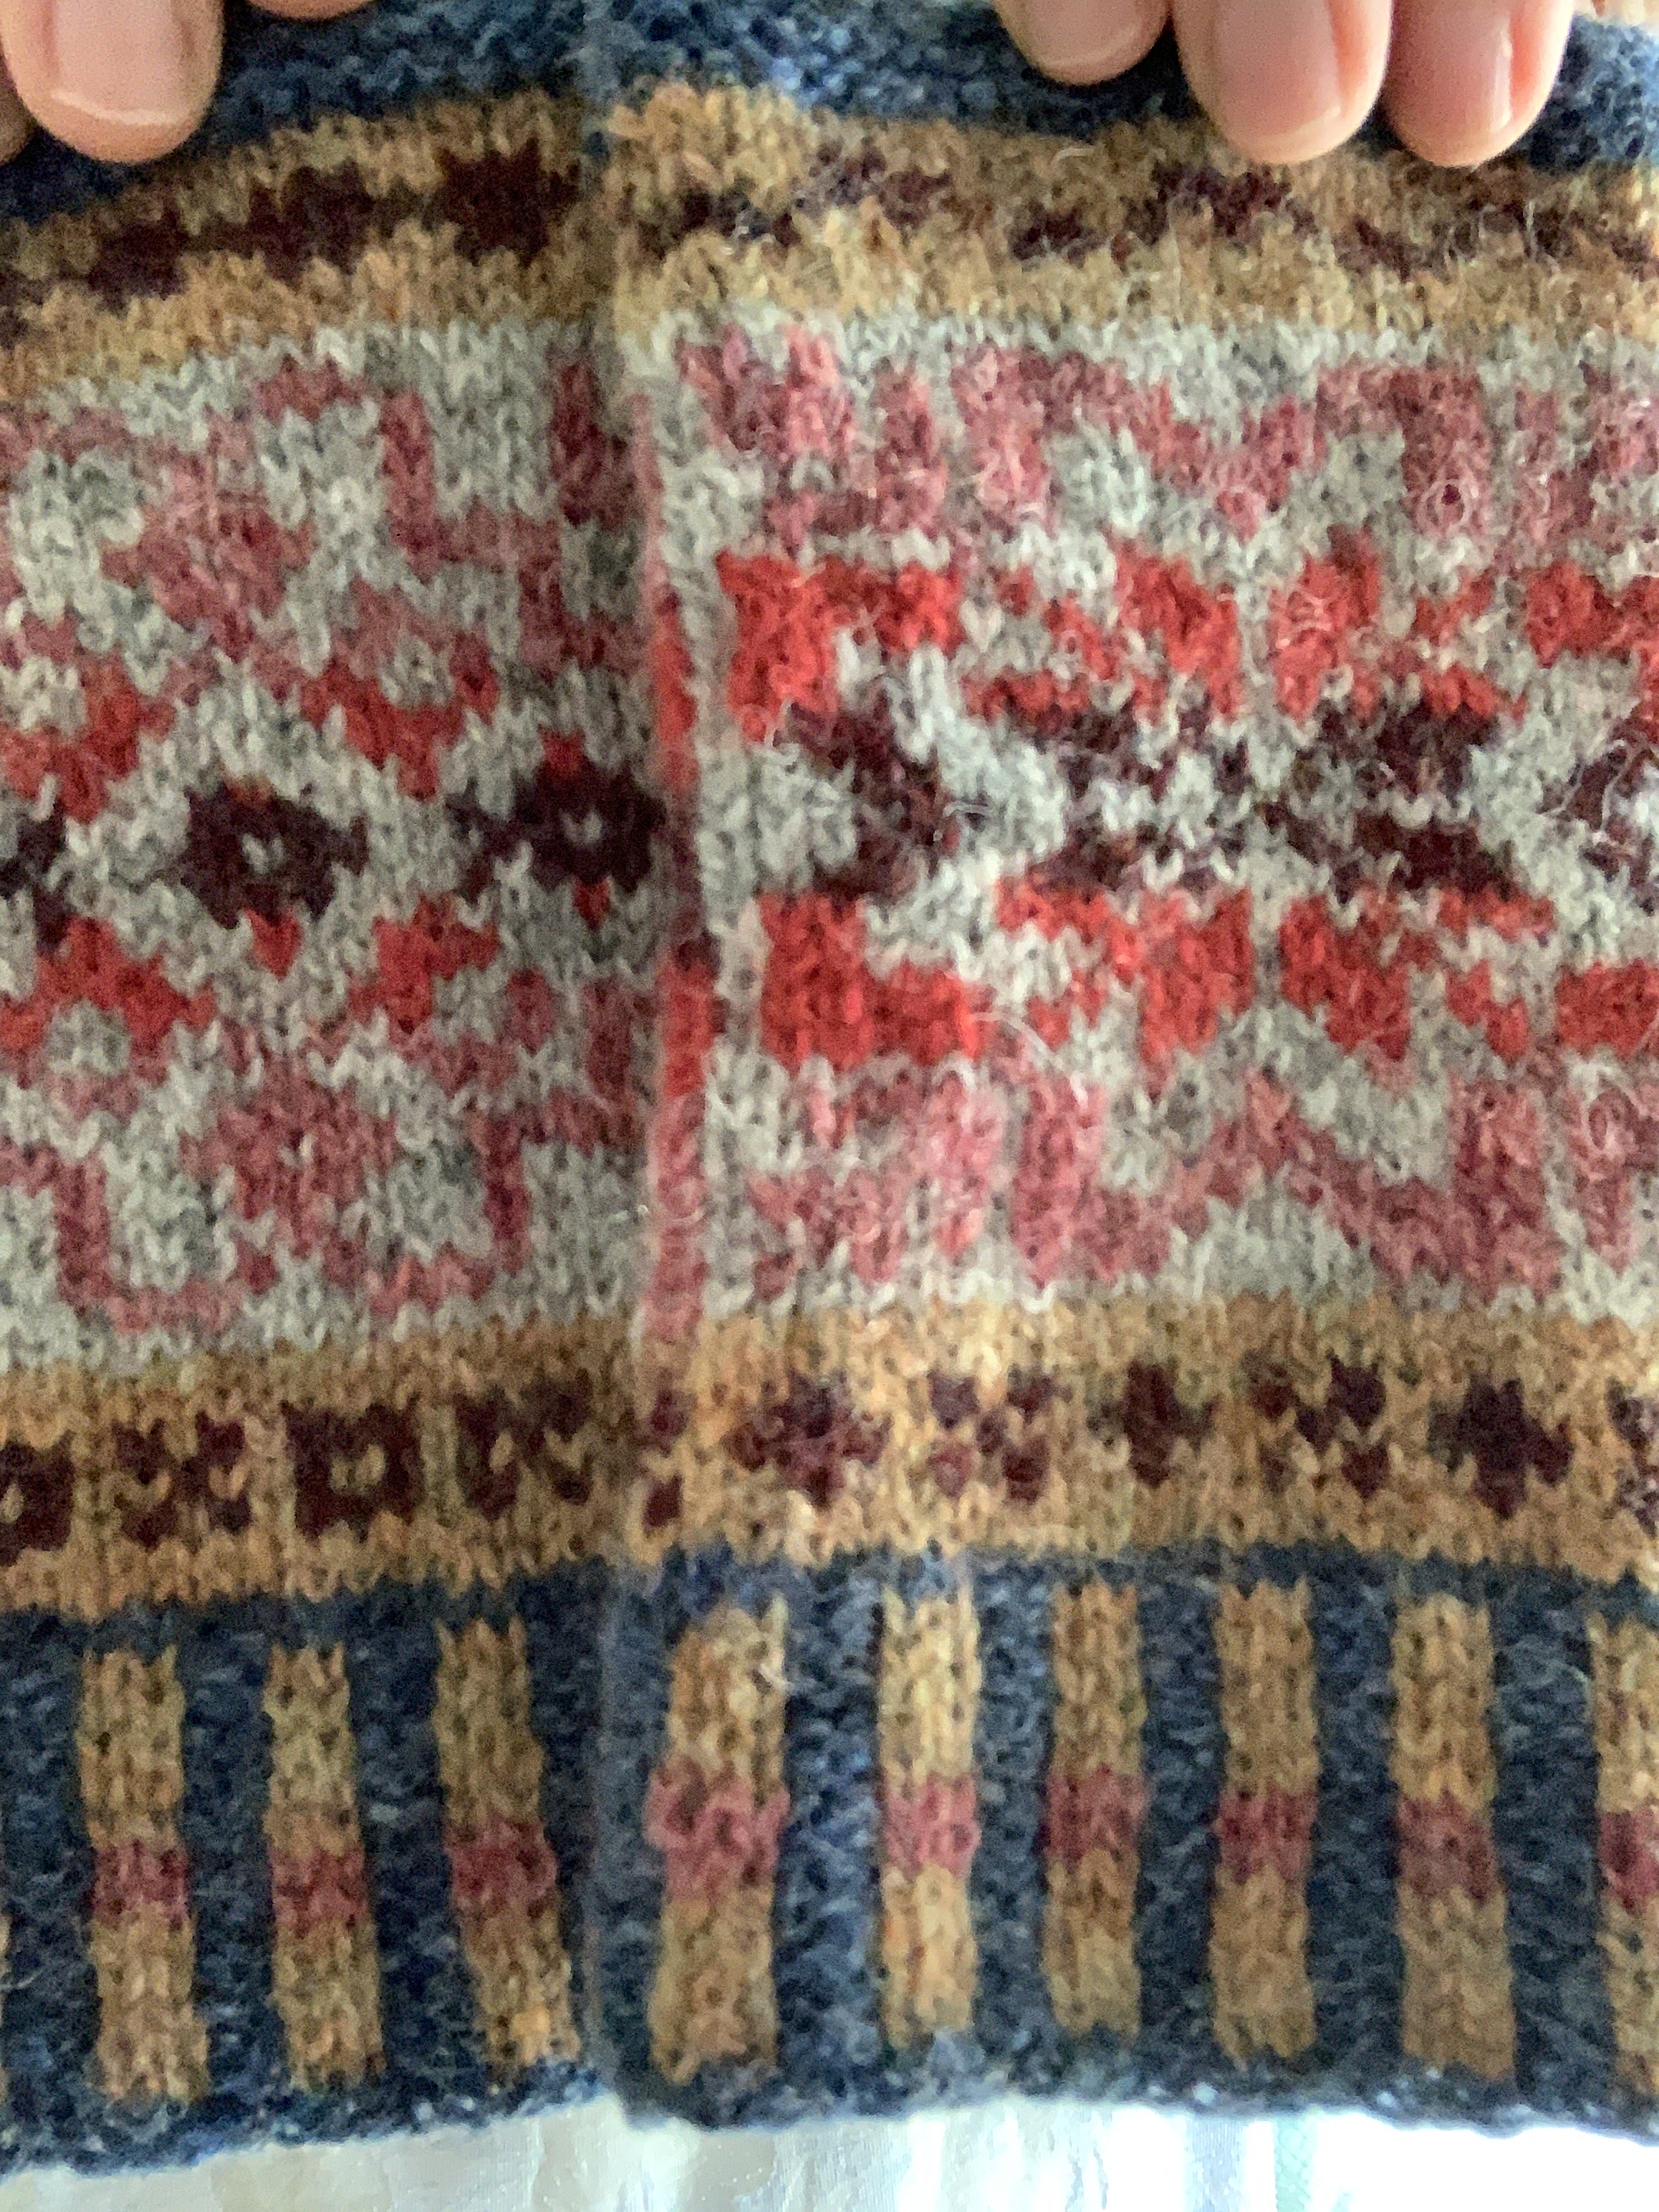
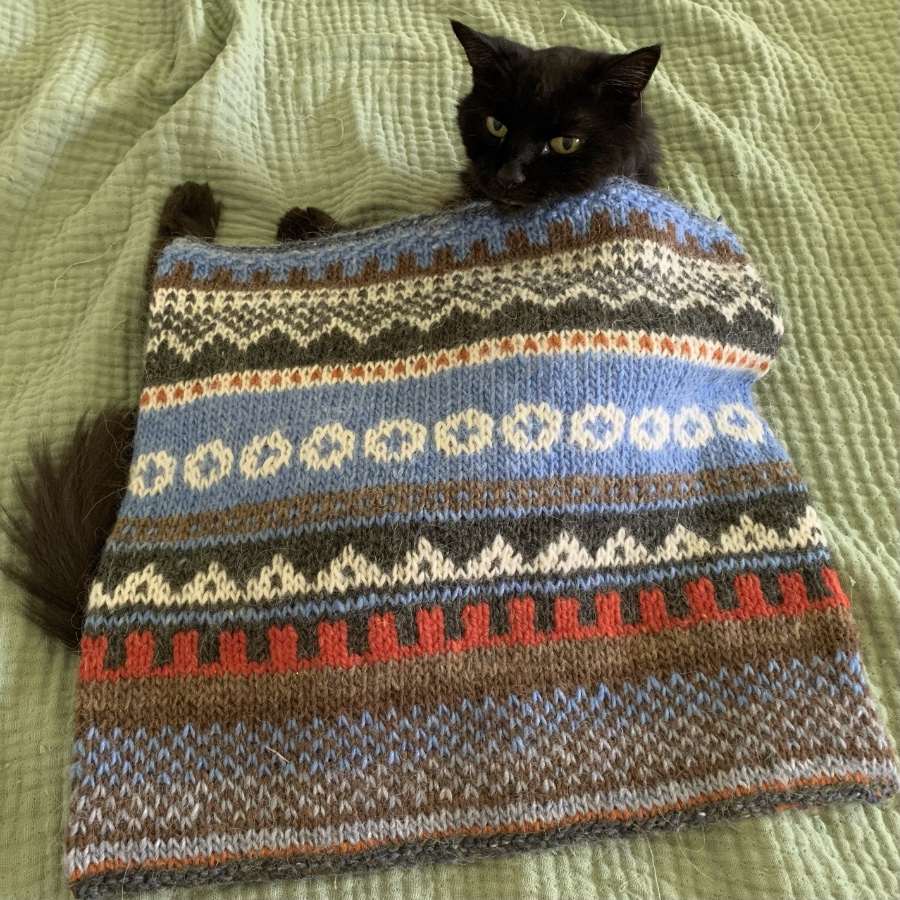
Projects completed using Fair Isle charts

If you are unsure of how to hold yarn to create colorwork, read my (old) post here, which includes a video by Suzanne Bryant showing how to do it. It works if you want to use only one hand and switch the yarns, but a much easier way is to knit with one color yarn in each hand. The left hand will work in Continental style, while the right will do typical English – throwing – style. It is not difficult, just takes practice.

ball of yarn divider

Flat Colorwork, or Mosaic Knitting

Another fun way to create colorwork patterns is to do Mosaic knitting. This is done back and forth to create a flat project, like a shawl or scarf. It does not require holding two colors at the same time.

You will knit using one color at a time, but create a two-color pattern. Many knitters will find it easier than Fair Isle, once you get the hang of it. But it creates a different type of fabric.

Mosaic patterns are made by slipping stitches at specific times on front and back rows. You can read my post about Mosaic Knitting here.

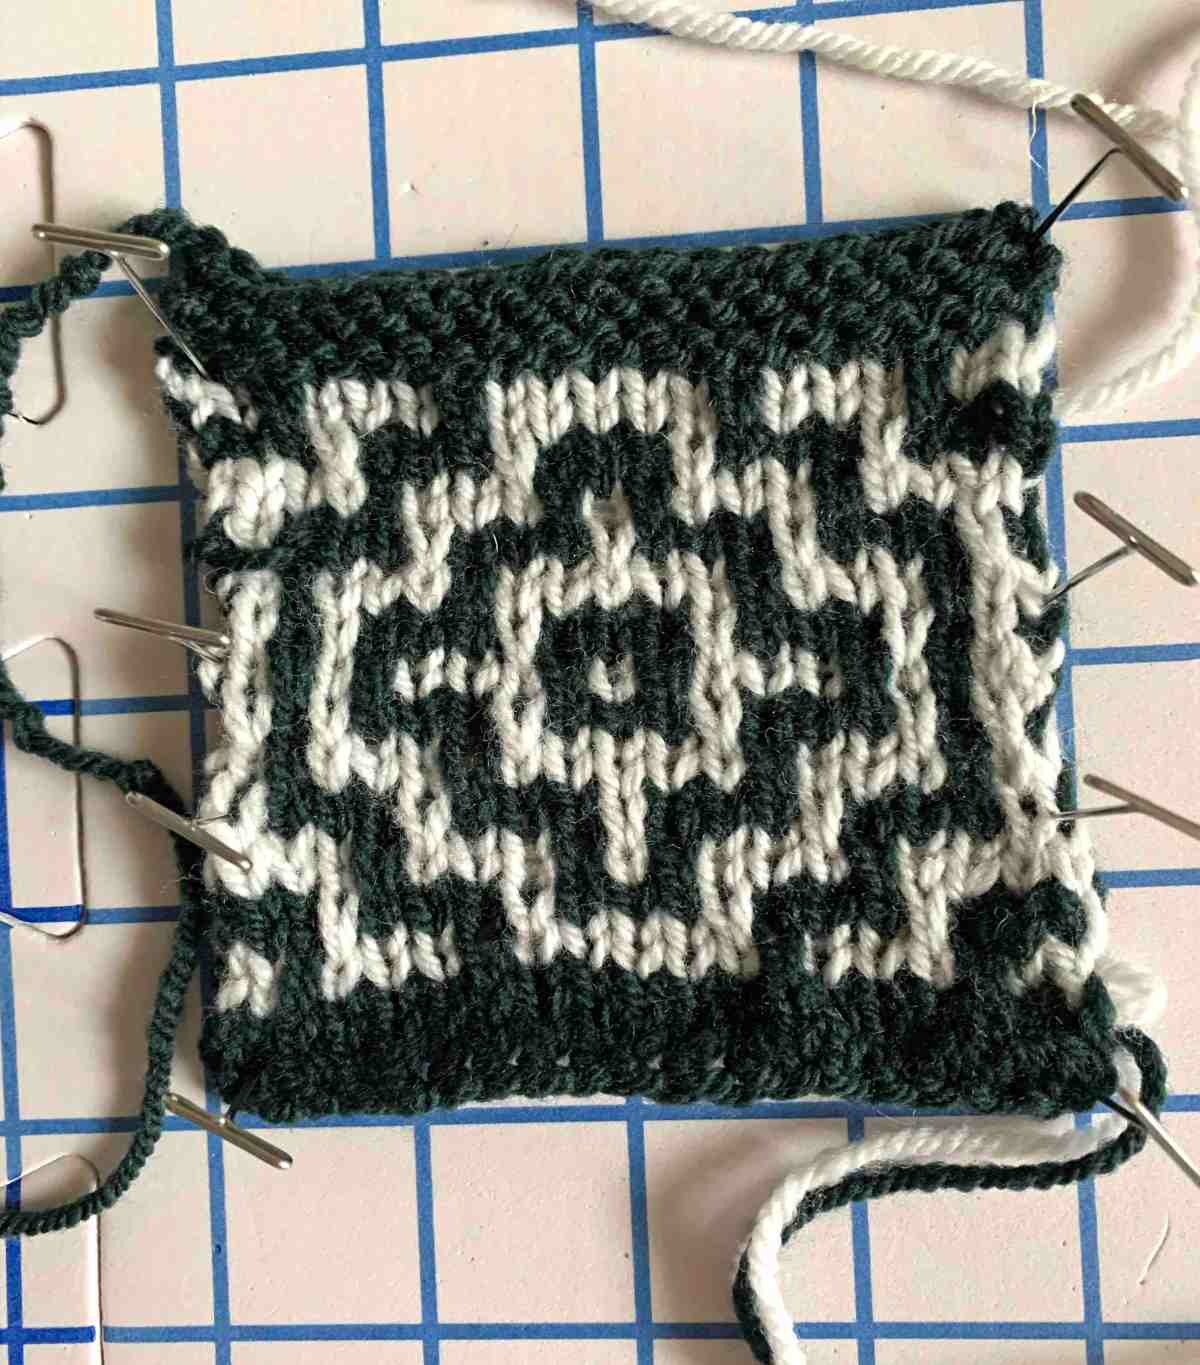
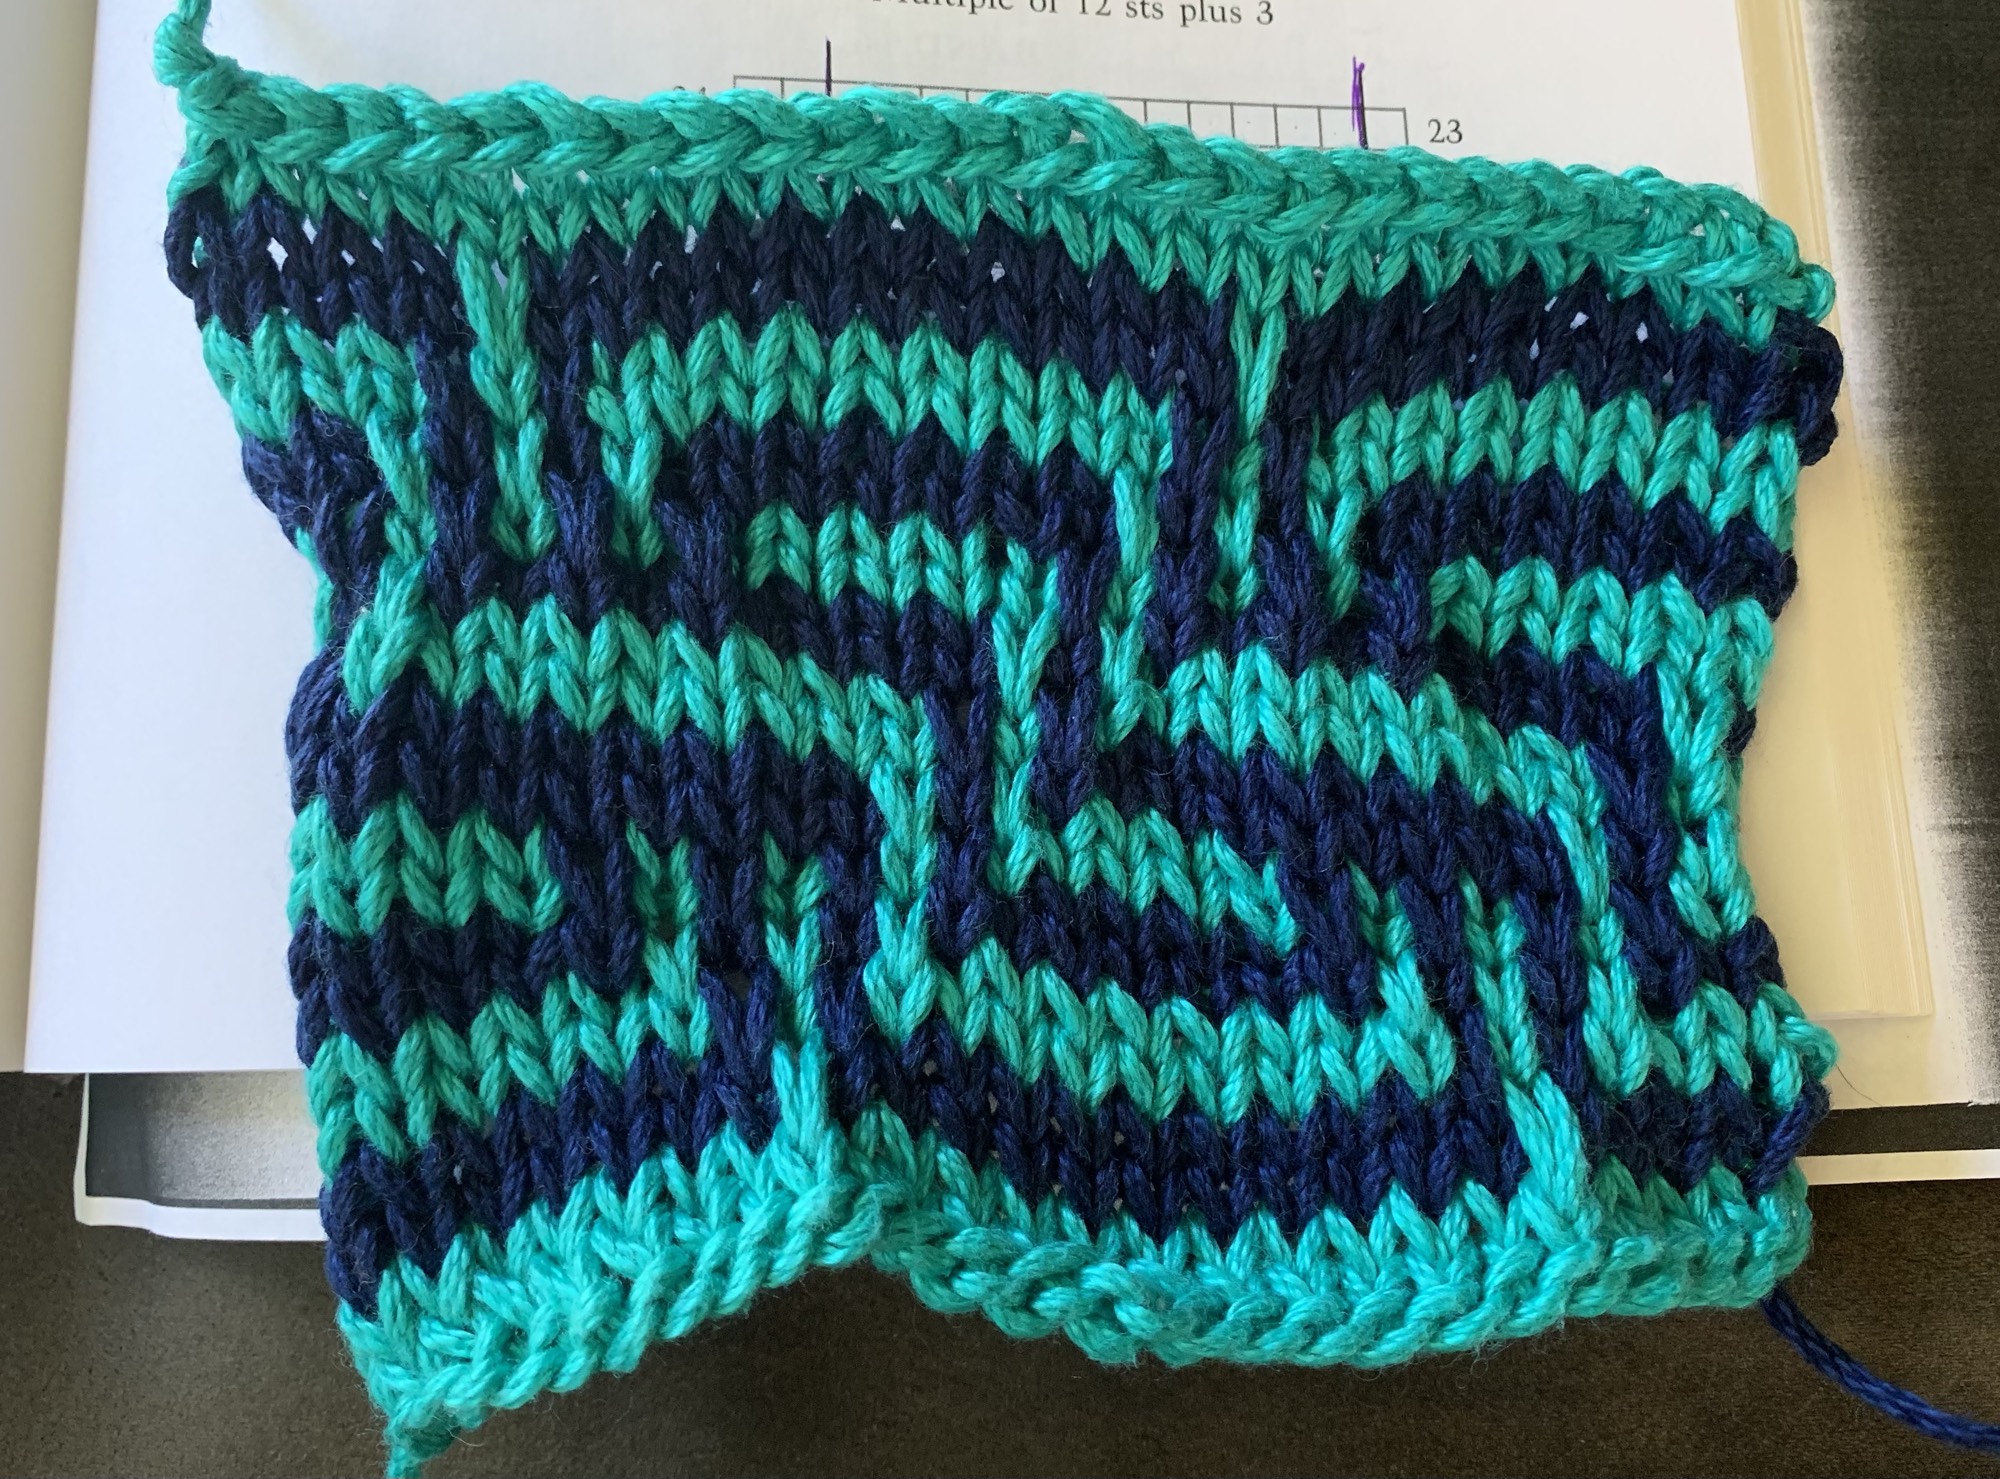
See some of my attempts at Mosaic knitting below. I’ve only ever made swatches, but no projects. You can’t do anything fancy, these are basic knits, purls and slip stitches.

Mosaic Chart Example

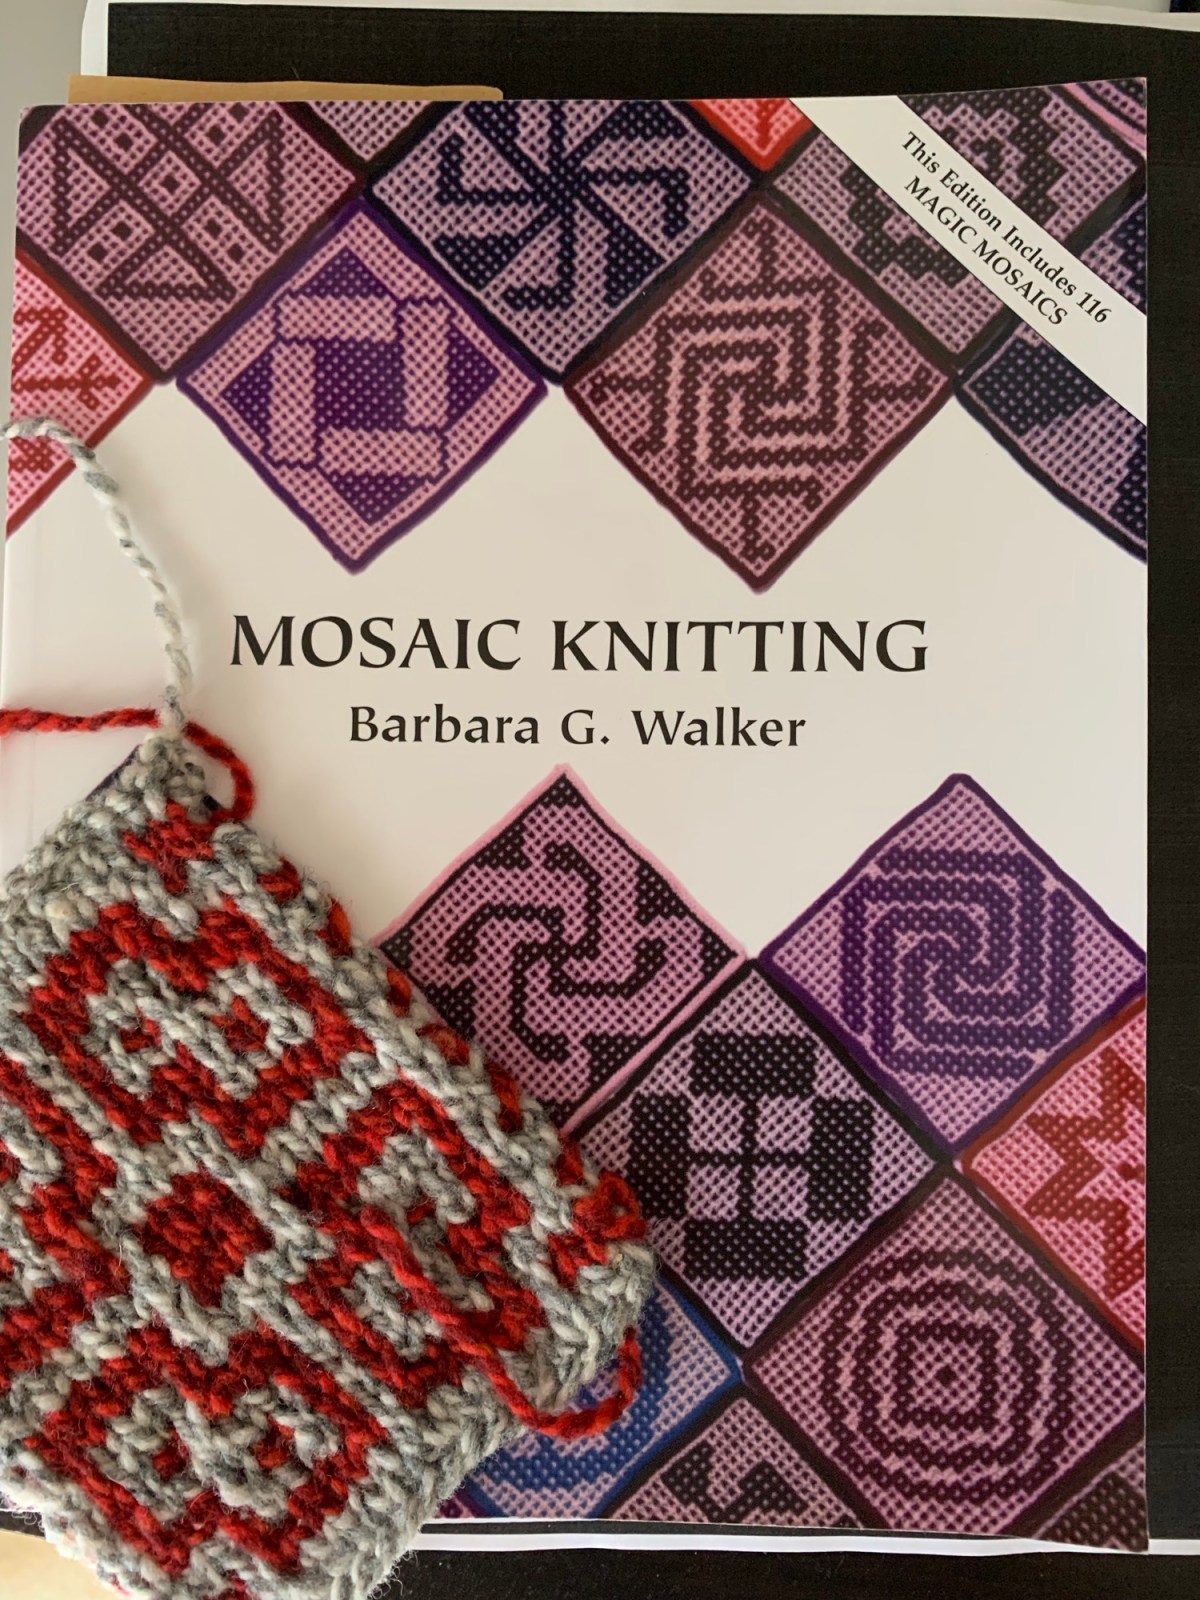
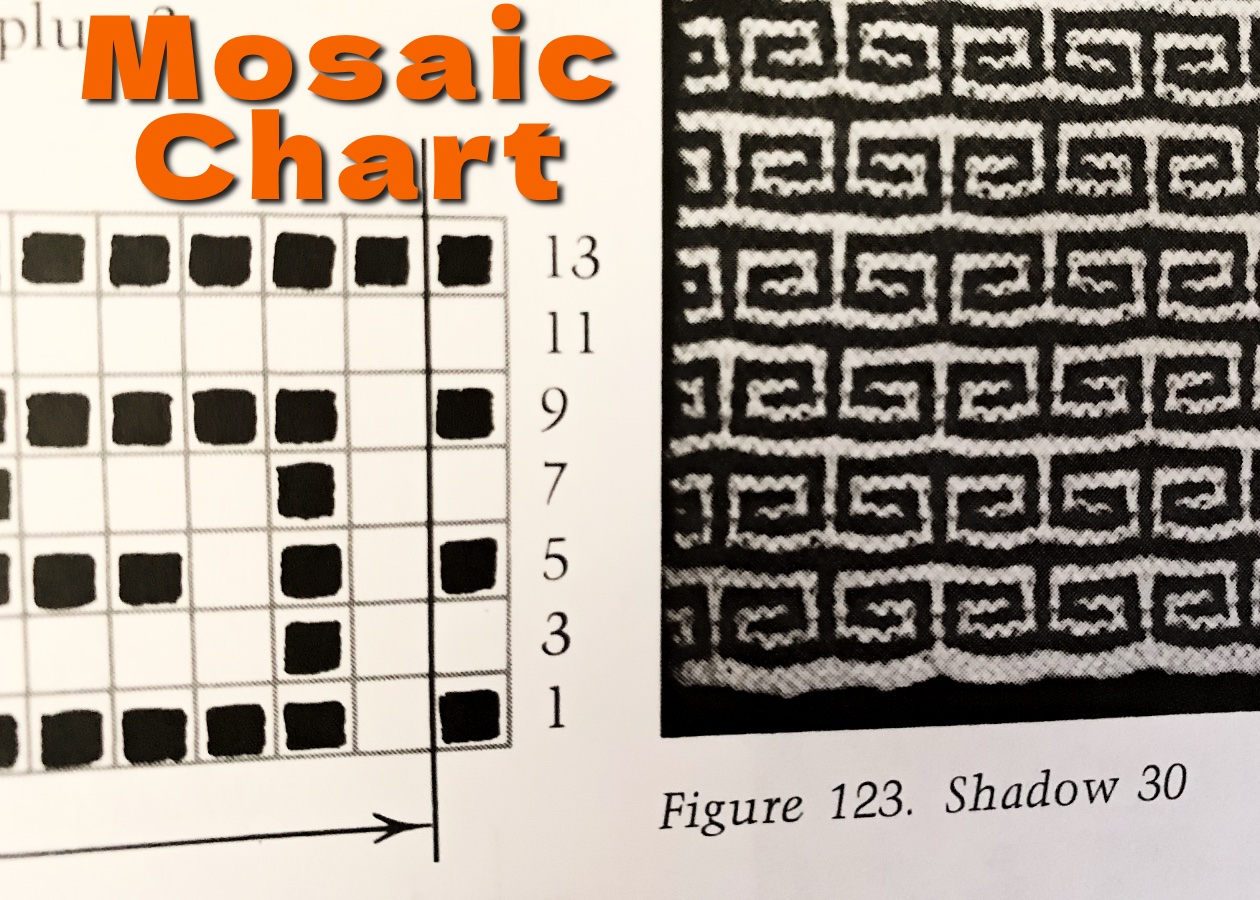
This little image below is a piece of a mosaic colorwork chart that can be found in Barbara G. Walker’s book – Mosaic Knitting – (Amazon paid link) which I own.

It shows the (partial) chart on the left that would complete the pattern on the right (if you had the entire chart). I highly recommend this book as it has loads of patterns – NOT patterns for making garments, but patterns you could use to make something by using a chart like this one.
Mosaic knitting chart example

Reading a Mosaic Chart

Looking at the partial chart in the image above you can see that even numbered rows are not mentioned. That is because you will always do the same thing on the reverse of the fabric (the even rows). The stitches are made by following the colors knit on the front side rows. There is no need for a chart. It might not make sense until you try it.

In the sample chart above, that line that the arrow points to is where the repeat happens. After the first stitch, which is before the arrow is made, you begin the repeat. The first stitch is not included in the repeat – it is a border stitch. Just like in Fair Isle, you will complete the charted row to the end.

I’m not going to get into explaining in depth how the chart is knit, as I am talking about recognizing parts of a chart. If you buy the book I linked above, the author goes into a detailed description of how to work her charts. YouTube most likely has some tutorials for Mosaic knitting as well.

It may seem confusing at first, but just do it. I promise you will find it fun and easy once you get into the rhythm. I always forget how to do it and then have to re-learn, but it is so easy – really!

Fair Isle vs. Mosaic

I find colorwork knitting to be fun no matter which type I am doing. Fair Isle takes a bit more practice but can complete beautiful colorful designs. Fair Isle lays flat and smooth once it is washed and blocked. Fair Isle knitting is worth learning as it leads to making some really beautiful garments.

Mosaic knitting for me is simply fun. I might make a scarf or shawl one day using the technique. It creates a bumpy, thicker fabric.
Thanks for reading, please leave a comment!

Hurricane Knitting, Mosaic Swatches

Learn to do mosaic knitting, which is an easy form of colorwork that even beginners can accomplish.

It’s been a few weeks now since we had Hurricane Ian to deal with. Knitting was what helped me keep my sanity while the power was out for four days (read more about that at the end of this page). I decided to learn mosaic knitting and knit three pattern swatches from my new (used) book “Mosaic Knitting” (link is down the page).

I’ve done mosaic knitting before, but I had totally forgotten how. It is a fun, and very easy, way to create colorwork patterns. I used some pretty wool (the red and gray swatch) and cotton for the others.

Often knitters will choose mosaic as the simple way to make colorwork patterns. This is not why I am learning it.

I love to knit stranded colorwork, or Fair Isle, and I enjoy using two colors to knit. I have made many patterns doing just that (mitts, mittens, hats, socks, pullovers). But, if I want colorwork on a cardigan, or anything that is knit flat, and not in the round, Fair Isle must be steeked and I don’t do steeking – yet. I’m thinking that mosaic is the way to go. I plan to knit a cardigan and incorporate mosaic colors.

How to Knit Mosaic Designs – Stockinette

Even beginner knitters can do mosaic. Only one color yarn is used at a time. All you need to know is how to knit, purl, and slip stitches. It’s super easy.

Find two colors of yarn to work with. One color will be represented by the dark blocks in the pattern and the other will be the light. The way these designs (the red and the blue) were knit began with doing a purl row after casting on. This puts you on the RS (right side) of the fabric.

Begin to knit, following the chart, right to left, across. You go right to left because that is how you knit. All knitting is done that way, unless you are left-handed I suppose.

The color used to knit each row will alternate. When you get to the end of the row, the same color will be used to go back to the beginning. Then, change colors for the next row.

For each row – use the color needed. If you are on a MC (main color) row – knit the black MC blocks, and slip the white CC blocks. Slipping is done purl wise. The yarn thread is always on the backside of the work. While you are knitting, on the front, the yarn is naturally behind the work and will remain there.

Mosaic knitting is one-sided with a definite wrong side.

Once the end of the row is reached, the back of that row is worked. Each knit stitch – color you are using – will be purled, and each CC stitch will be slipped (no following the chart, just do that!) – the yarn stays in front because you are working the WS (wrong side). Back to the beginning of the row.

Begin again with the other yarn color and keep alternating. Knit the white (CC) stitches and slip the MC stitches. This time you will purl the CC and slip the MC stitches on the back, or wrong side.

Mosaic Knitting Videos

Watching good YouTube videos can be very helpful. Here are a couple I found.

This video will help with the ability to read a mosaic knitting chart. She is knitting round and round, and not flat, like my swatches, so there is no mention of what to do on the wrong side of the work.

Suzanne Bryan has a good video showing how to knit garter stitch mosaic. This means you will knit all the stitches – no purling. But the yarn must be moved to the WS when doing the backside stitches.

My swatch below was knit in garter stitch. It’s bumpier and I really didn’t like the end result as much. Also, every time you slip stitches on the wrong side the yarn has to be moved to the front, and then back again to knit.

mosaic knitting swatch
Knitting stitches on the wrong side (as opposed to purling) creates a bumpy pattern.

Stockinette mosaic is flatter, and my other two swatches were done that way. Purling is done on the wrong side rows. The yarn doesn’t have to be moved back and forth, and I like the look better.

A Book For Mosaic Knitting

The Mosaic Knitting book (Amazon link), by Barbara Walker, is stuffed full of various mosaic patterns. Many pages are dedicated to explaining – very clearly – how to knit this way. I purchased a used copy and spent $21.00.

If you want to try this type of knitting for free, see this page, where I did my first mosaic knitting swatch found on a blog post. When you see how easy it is, and are hooked, then buy the book.

All images and charts are in black and white except for the cover images. I think the book could have been improved slightly by including color when showing finished work. Black and white is perfectly fine for the charts. Charts are what you will use to knit – not written directions – except for the beginning chapter where she will guide you through understanding chart knitting.

I don’t need to say more, because if you buy the book, it will all be explained in detail. You will also have access to many, many charts to use for swatching (my cotton swatches become dishcloths) and garments.

Mosaic knitting book

Hurricane Ian in a Nutshell

This is the reason I decided to do mosaic knitting. It was a good time to learn something new as I had many boring, grid-down, hours and days to get through.

On September 28th Hurricane Ian arrived on the east coast of Florida. It had left devastation along the western, gulf coast and now wreaked havoc on central and east Florida.

We got wind, but nothing like when it first made landfall on the opposite side of the state. Our gusts were around 70-90mph (we heard). The rain was tremendous, and although Florida is a huge sponge, it is also flat. This area got nearly two feet of rain within 24 hours!! That is a lot of water.

Our yard is small and cleanup was quick. Mostly we had fronds from the palm tree out front and some branches from the oaks, but nothing big. We will need a new roof, because we lost a bunch of shingles, but we were lucky because the house did not flood.

We have a generator and ran it for the four days while we were without power. It kept our fridge going so we didn’t loose food. We cooked on a single electric burner. Once the internet went out there was no connection to news or anything and it got super boring! I’m glad to have a knitting hobby for times like these.

I know many people are still dealing with the devastation from wind and flooding. Flooding was the biggest issue in my area on the central east coast of Florida, and the debris piled along the roads gives an idea of the ongoing troubles.

Please keep reading the blog

See what I am knitting, and read my pattern reviews.

Something went wrong. Please refresh the page and/or try again.

Learning How To Do Mosaic Knitting

Do you ever wonder how color-work knitting can be done flat? I’ve wondered if that is possible because I’ve only ever done color-work in the round.

Well, mosaic knitting is not really the same thing, but it can have the same effect with a pattern knit into a flat item, like a scarf, shawl, or cardigan.

I’ve been keeping my eyes peeled for my next sweater project. My top choices are either a stranded colorwork pullover, or a cardigan. Unless I do steeking, which I’ve never done, a cardigan can’t have patterning on the body because it’s flat knitting. Color-work is done during circular knitting. Unless… you do mosaic knitting.

The Boho Style Mosaic Cardigan pattern caught my eye. I love Bohemian styles. And this loose, flowing, cardigan has beautiful color-work on the body and sleeves. It is done with mosaic knitting as the name suggests.

Printable Mosaic Knitting Chart For a Swatch

If I am going to commit to knitting a big sweater using mosaic knitting, I’d like to know how it’s done. Before I began wading through bad YouTube videos, I thought I’d look for an article online explaining mosaic knitting. The Interweave site has a good article with a little chart to print out.

Basically if you can knit, purl and slip stitches, you can do mosaic knitting. It is a fast and easy way to create an interesting pattern.

I chose Chart 2 from the Interweave article. This chart does not show the purl side rows, but you don’t need them. (Read my article about how to read a colorwork chart.)

If chart knitting is not your thing, believe me, you will catch on quickly anyway. This little chart is great for a beginner. Once you follow the first couple of rows it will make sense, and you won’t believe how easy it is.

Go to the Interweave page and print out Chart #2.

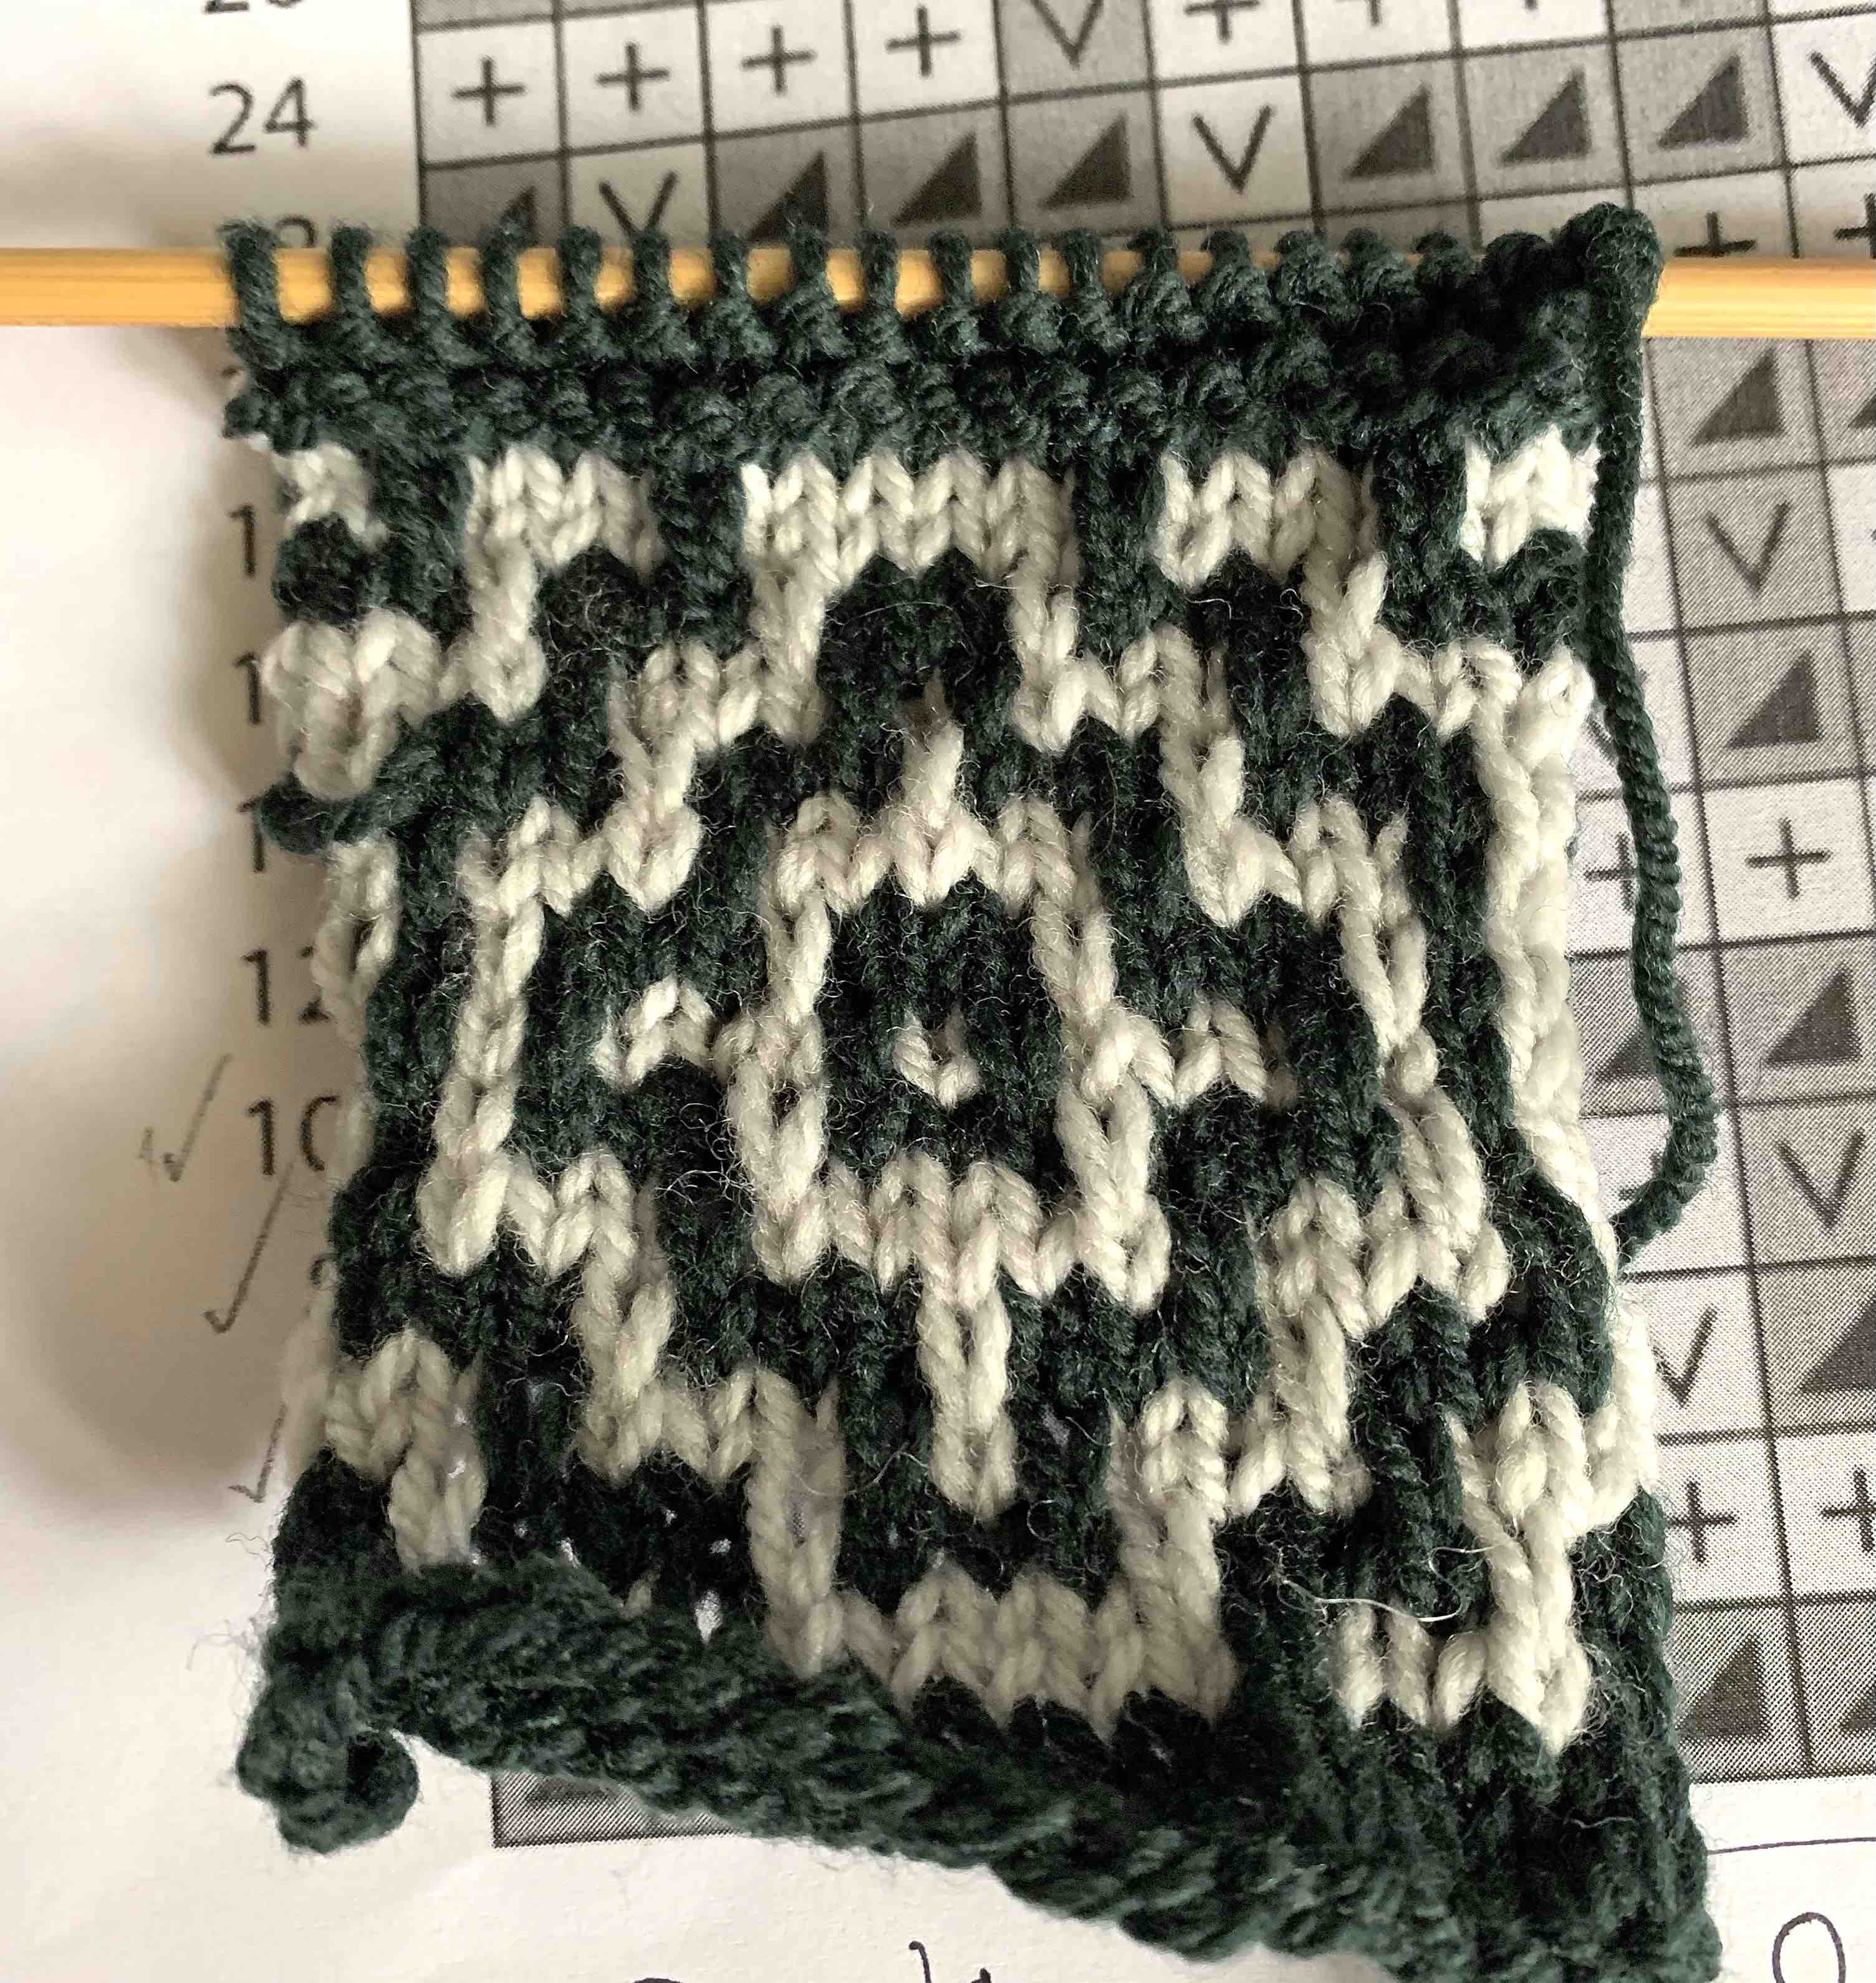
mosaic knitting swatch
Quick swatch to practice mosaic knitting

How to Follow This Mosaic Knitting Chart

Read the chart beginning at the bottom, reading right to left. This may seem weird, but that is how our knitting goes – we knit our stitches right to left.

I simply knit back and forth for the first few rows before beginning the chart.

Row 1 is all dark triangles and it’s all knit stitches in the darker color (green for me). At the end of the row, turn to the wrong side and purl all stitches to get back to row 3.

Now add the white yarn beginning at row #3. Knit 2 white, slip the next green stitch. (To Slip: put the needle in purl wise in the next stitch and slip it onto the right-hand needle… simple!) Continue across the row and turn to work the wrong side.

For the back of the work – the purl side – all stitches are purled with the color yarn you are holding. The other color stitches you come to will be slipped. There is no need to follow a chart because you can see the stitches you just knit as you come to them. If you just finished knitting with green, you will now purl those stitches with green. White stitches are slipped.

Also, wherever the yarn is – front or back – it will stay there while you knit or purl. On the Right Side / front of work, you will be knitting so the yarn will stay in back while you slip stitches. On the Wrong Side / back of work, you will be purling so the yarn will remain in front while you slip.

slipped stitches knitting mosaic swatch
Slipped stitches on back of swatch

All Purl Sides, back of work: Whatever color yarn you are holding – purl the same color stitches and slip the others!

For the next row, grab the correct color yarn – in this chart the dark triangle means the dark yarn – and begin knitting – and slipping the V blocks in the row. The yarns will travel up the side of the swatch as you change colors. This is not the best edging, and I would do something different if I were truly knitting a garment, but it’s fine for the swatch.

mosaic knitting

This is a very easy way to add an interesting pattern to a garment and I think the style itself looks a bit Boho! I don’t know yet if I will knit the Boho Style Cardigan, but at least I know what mosaic knitting consists of.

Mosaic vs. Fair Isle

For the mosaic type of knitting you are only knitting with one yarn at a time compared to Fair Isle where two yarn colors are held to knit a pattern across a row. That makes mosaic knitting quite easy to do. It can be worked on circular projects as well.

Fair Isle has a smoother finish as you can see in the images below, which are projects of mine. It’s a lot of fun to do, but must be used for circular knitting projects only. Cardigans can be knit in Fair Isle, but steeking is needed… yikes. I haven’t worked up to that yet.

This makes mosaic the perfect choice for adding designs to anything worked flat – including a cardigan.

Pictured projects L-R: Turkish Patterned Cap, Fair Isle Mitts (free pattern), and Wild Angelica Socks.

YouTube Videos on Mosaic Knitting

If reading how to do this type of knitting is confusing, a decent YouTube video can help. Unfortunately I can’t find any really good videos on this, but this one shows mosaic knitting in a shawl. It’s not exactly the same as I’ve described here because she is not purling the back of her work and the slipped stitches need the yarn in front for the slipping. But it shows a pretty way to add color to a shawl.

This video shows how to follow a chart, but as usual, there is a lot of talking. I didn’t watch the whole thing.

Free Mosaic Knitting Patterns