Finally I have figured out a good way to sew buttons onto knitting.
One reason I haven’t knit many cardigans is because I have to make a button band and then sew on buttons. I love the knitting process, but the finishing up is not as fun for me.
Eva Cardigan buttons being added on the wide band.
Recently I knit the Eva Cardigan pattern which calls for four buttonholes with, of course, four buttons. I decided it was time to figure out how to correctly add buttons to my hand knits.
This page is being written as a reminder of how I added the buttons, and is as much for me as anyone!
There are a lot of videos, but I only watched one. It was very basic, but someone commented, below the video, that beginning from the FRONT of the sweater would hide the knot left by tying the yarn ends. I like that idea. I went a step further and pulled the little ends under to weave in. Here is how I did it.
Ceramic buttons for the hand-knit Eva Cardigan sweater
How to Begin
If possible, use the same yarn you used to knit the project. The Eva Cardigan was knit with a DK weight wool yarn. I pulled the yarn strand apart – in half – in order for the yarn to fit through my needle eye.
You will need a needle small enough to fit through the button’s holes. Then, you need to get the yarn through that needle eye. Figure that out first.
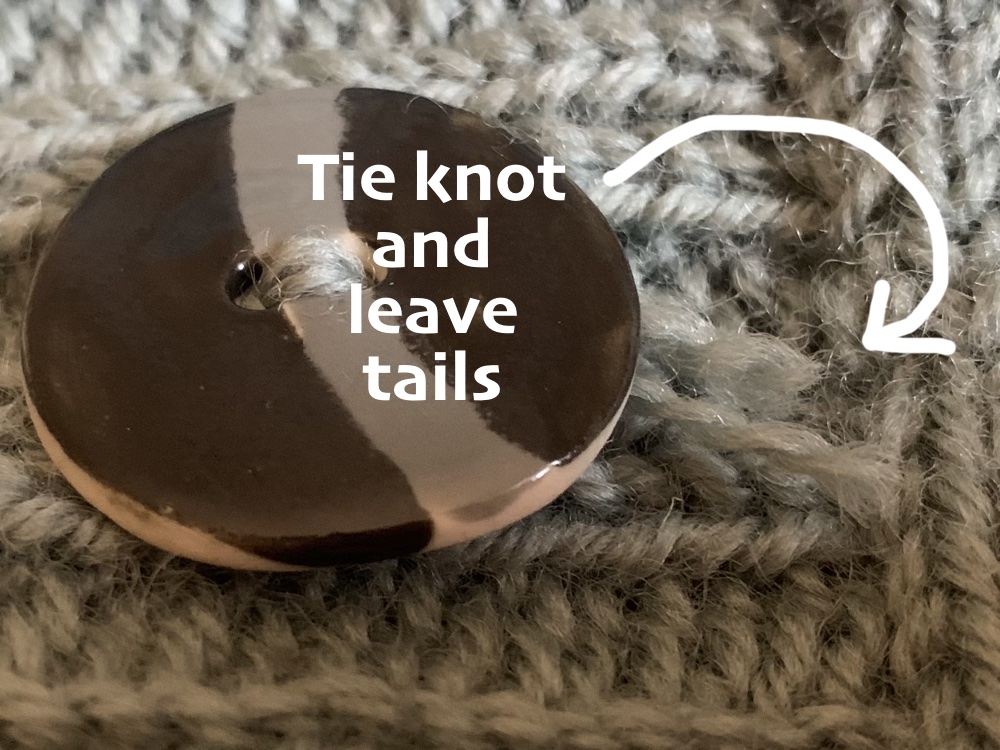
Decide where the button will go on the band – to match up with the buttonhole on the opposite side. With the threaded needle, go into the button-band from the front (no button added yet), and leave a tail – image below. Then, come up and go through the button hole and down through the other hole. My buttons only had two holes. Even if you have four holes, just knit the button on and ignore that tail until the button is secure.
Begin sewing the button on
I went up and down through the holes until they were full – only a few times. Then, I wrapped the yarn around the base of the button for a bit more security. Then, using the two tails, tied a few knots tightly. They are underneath the button, and can’t be seen. Lastly, cut the ends of the yarn a bit short.
The commenter suggested that this would be enough, but on my first button I could still see the ends. And my buttons are fairly big! So I pulled the ends through to the back, using a small crochet hook, and then wove them in. For the remaining three buttons, I left my ends a little longer and wove them in on the back.
Leave tails to pull through to the back.
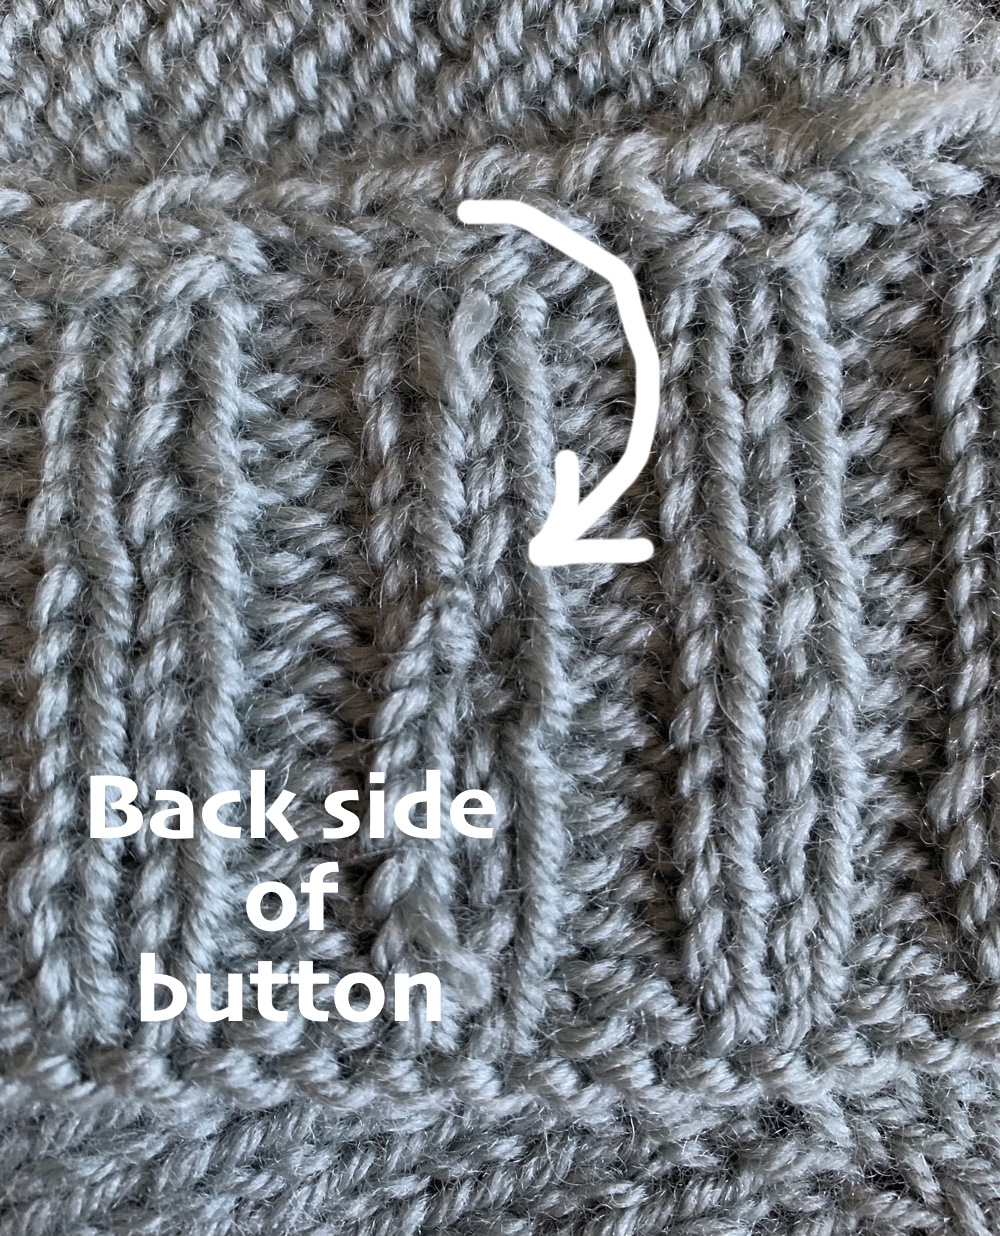
Here is how the back of the button looks. It’s pretty neat looking and the buttons feel secure.
Finished back side of button
I’m quite happy with this way of sewing a button onto a sweater knitting project. I would love to hear from experienced knitters who have suggestions for sewing buttons onto sweaters. Please feel free to help fellow knitters out by leaving a comment! Thank you.
Figuring out how to knit the yarn over eyelets for the Blueberry Vodka Lemonade sweater knitting pattern.
These days I find most of my new knitting projects while browsing Instagram. I’m pretty clueless about the tech side of Instagram, but I have found some very interesting patterns.
The Blueberry Vodka Lemonade pullover is the newest, and I have just cast on to knit it. This pattern is by designer Thea Colman, aka Baby Cocktails, and it is a raglan style with a wide collar and eyelets down the sides of the sleeves.
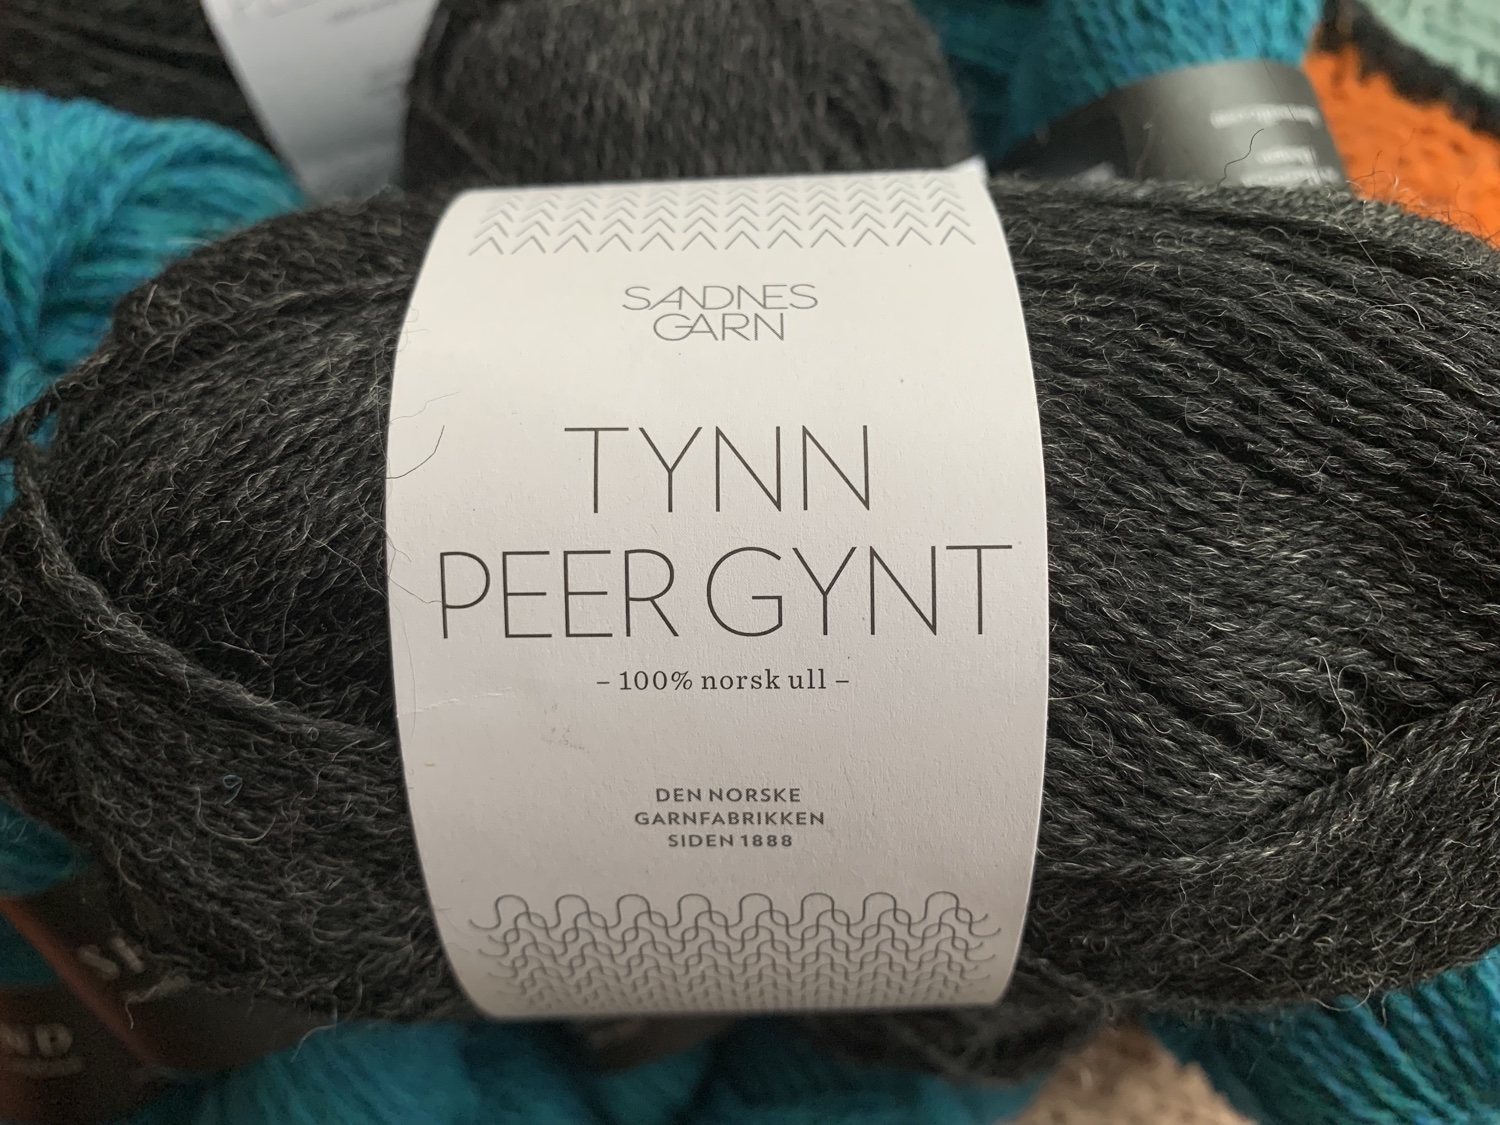
It calls for a fingering weight yarn and I have chosen to use Sandnes Garn Tynn Peer Gynt. A mouthful, but a beautiful wool that comes from Norway. It is a bit thin, so I had to go down a needle size to get gauge.
Two firsts here for me: I’ve never knit anything by this designer. The pattern is one of the best I’ve ever followed. It’s 9 pages long, and full of good info needed to successfully knit the project. I did have some trouble in the beginning and had to begin again, but it was totally my own fault for not paying attention.
Pretty black woolShort rows have been completed and I’m on to knitting my way down the yoke.
Help on Knitting the Eyelets
This sweater has eyelets, or little holes, along the edges of the sleeves. To create them, you must be familiar with yarn-overs. And I was not! I never knit much of anything that calls for yarn-overs, but I have done them before. I needed a refresher.
The YouTube video from Purl Soho is very good and covers all the ways a yarn-over is made. But the pattern yarn-overs are made at stitch markers so a “slip marker (sm)” is included, and that is where I got confused.
For instance, the directions will say, “Yarn over, slip marker, purl”. What this means is to do the yarn over (forward) and it will be on the needle before the marker. Then the marker is slipped, and when the purl is done – by wrapping the yarn back around the needle (watch that Purl Soho video if you need to), that purl strand must stay on the needle to the right of the marker. Not doing this throws off the stitch counts between the markers – the strand will be next to the purl when it should be behind the marker. I was doing it wrong, and it took me a few rounds to figure it out.
By the time I knew what I should be doing, my stitch counts for the back section and sleeves were off. I had to add in some stitches as I continued knitting.
So, the sweater is a big mess already… LOL. I already had to re-start this project, so onward I knit. My counts are good…the eyelets are a little off in some places, but …. It’s all good.
I thought I would share this info just in case anyone else is having the same kind of trouble doing the yarn-overs.
I look forward to seeing how this sweater turns out. More to come about knitting this pattern.
Learning to alternate skeins while knitting with variegated yarn in the round.
For the Arco Iris pullover I am knitting with yarn that needs to be alternated. This means knitting with a strand from one skein for one or two rows, then switching to a strand from another skein. (The pattern link is at the bottom of this post.)
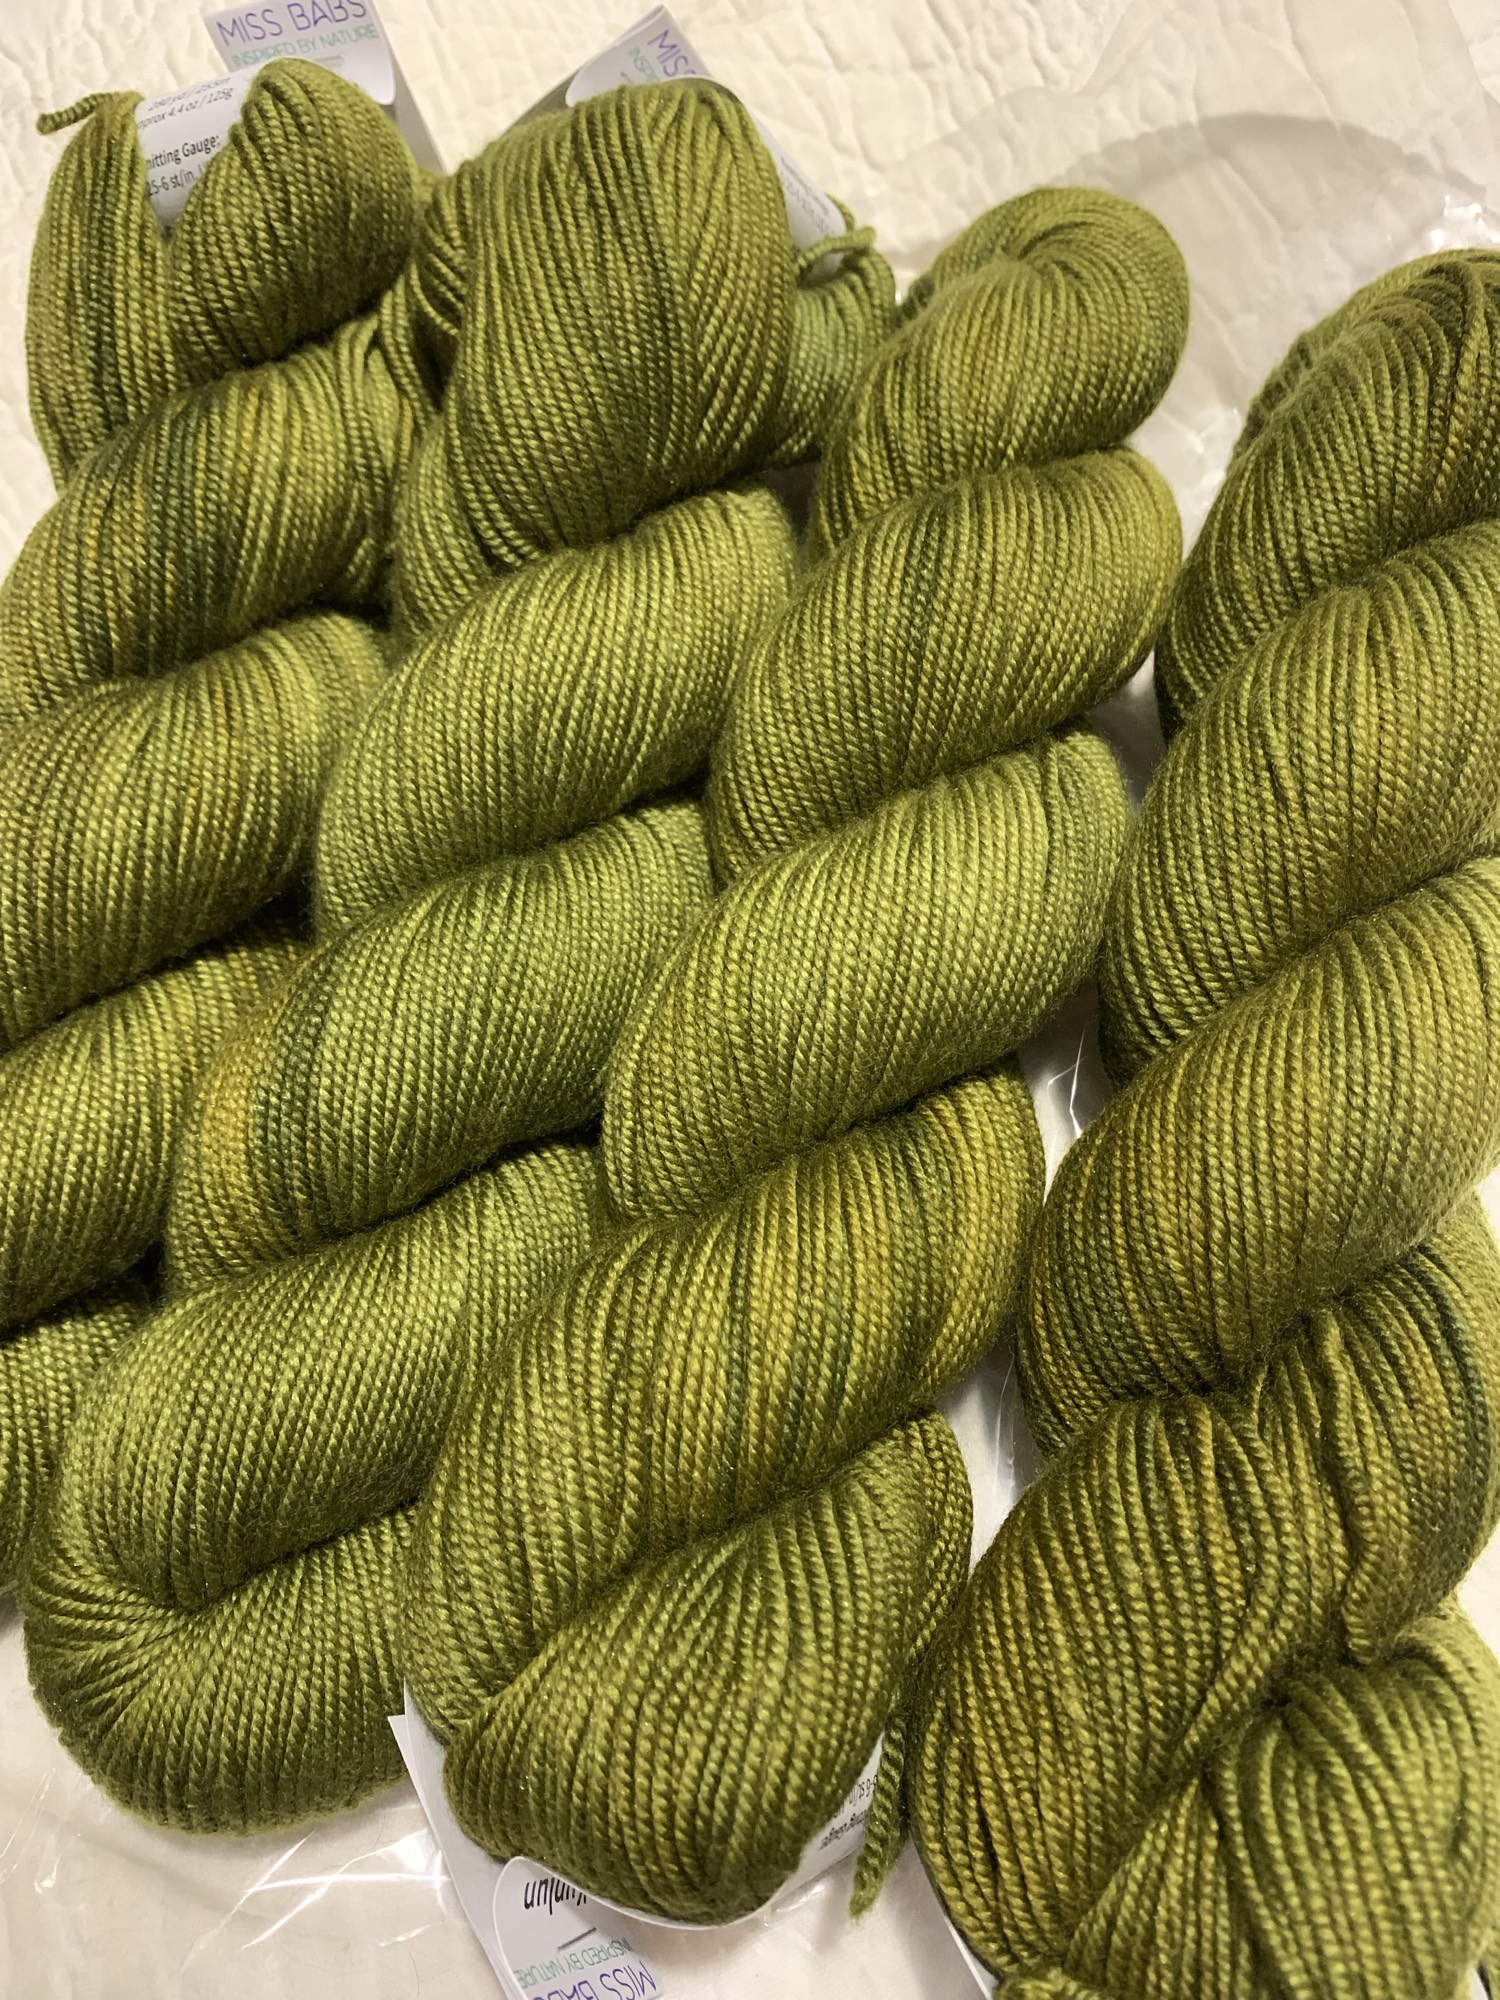
You really should do this whenever you have yarn that is not evenly colored, such as hand-dyed yarns. The yarn in the photo below is from Miss Babs and it is very pretty, but not uniformly colored. This type of dying process creates pretty skeins. It is very popular with knitters because you get a solid color garment that has interesting shades.
However, if the skeins are not alternated, there could be an obvious color difference between them, and / or a pooling of colors.
Miss Babs “Kunlun” in Moss greenAlternating skeins while knitting flat
Color Pooling of Yarn
Yarn color pooling happens when the project being knit has just the right number of stitches to line the same yarn colors up over and over. My green yarn has subtle shading, but this could still happen. In fact Miss Babs made a note on my yarn receipt to alternate skeins. Thanks Babs!
Below is an example of color pooling when knitting. A pretty blue and white variegated yarn was used when I knit this pair of socks. Yes, they should have looked the same, but I had trouble with that faux cable design too and omitted it for one sock. If I had knit this pair correctly I should have divided my skein and alternated strands as I knit. These are socks. I didn’t really care. Now they are a good example of how pooling can effect a project.
Color pooling
Alternating Skeins While Knitting – Sounds Easy, Right?
A new lesson learned. Alternating skeins is not that easy. Well, it’s easy, but not easy to make it look right when you totally do it wrong!
I began alternating skeins from the beginning of this sweater project, BUT the knitting was done flat for the top part of this sweater. I simply carried the yarn up the side and switched strands as I went. Simple.
Then I knit the “V” neckline and I did not alternate skeins. There is some ribbing and cables there, so I didn’t need to.
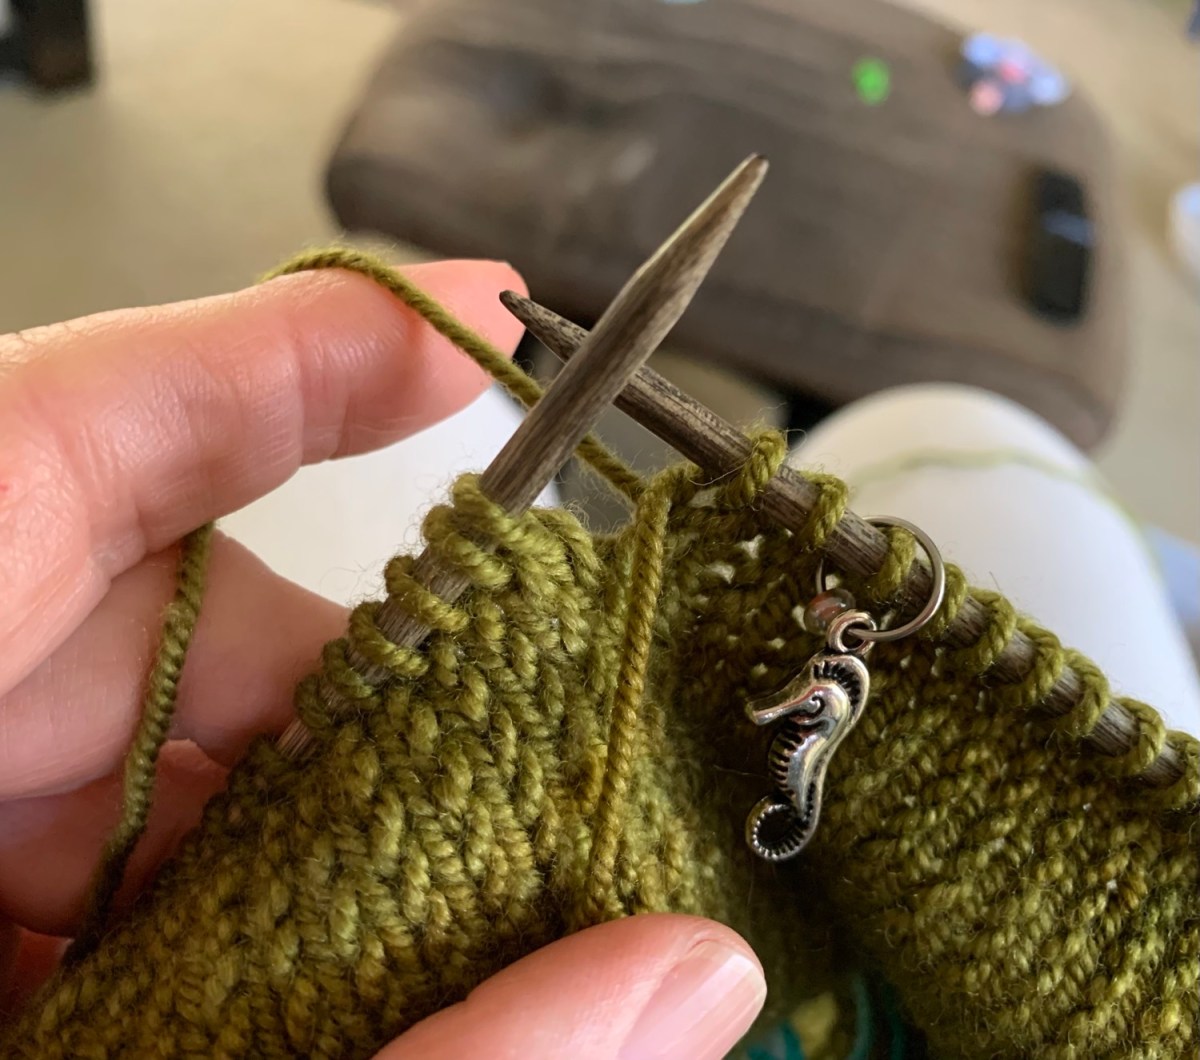
After that, I had to begin knitting in the round. So I added a new skein, knit two rows (NO – don’t do this), swapped out the yarn and knit two more… and so on. This is how it looked.
Re-doing thisGoing bye-bye
Hideous!
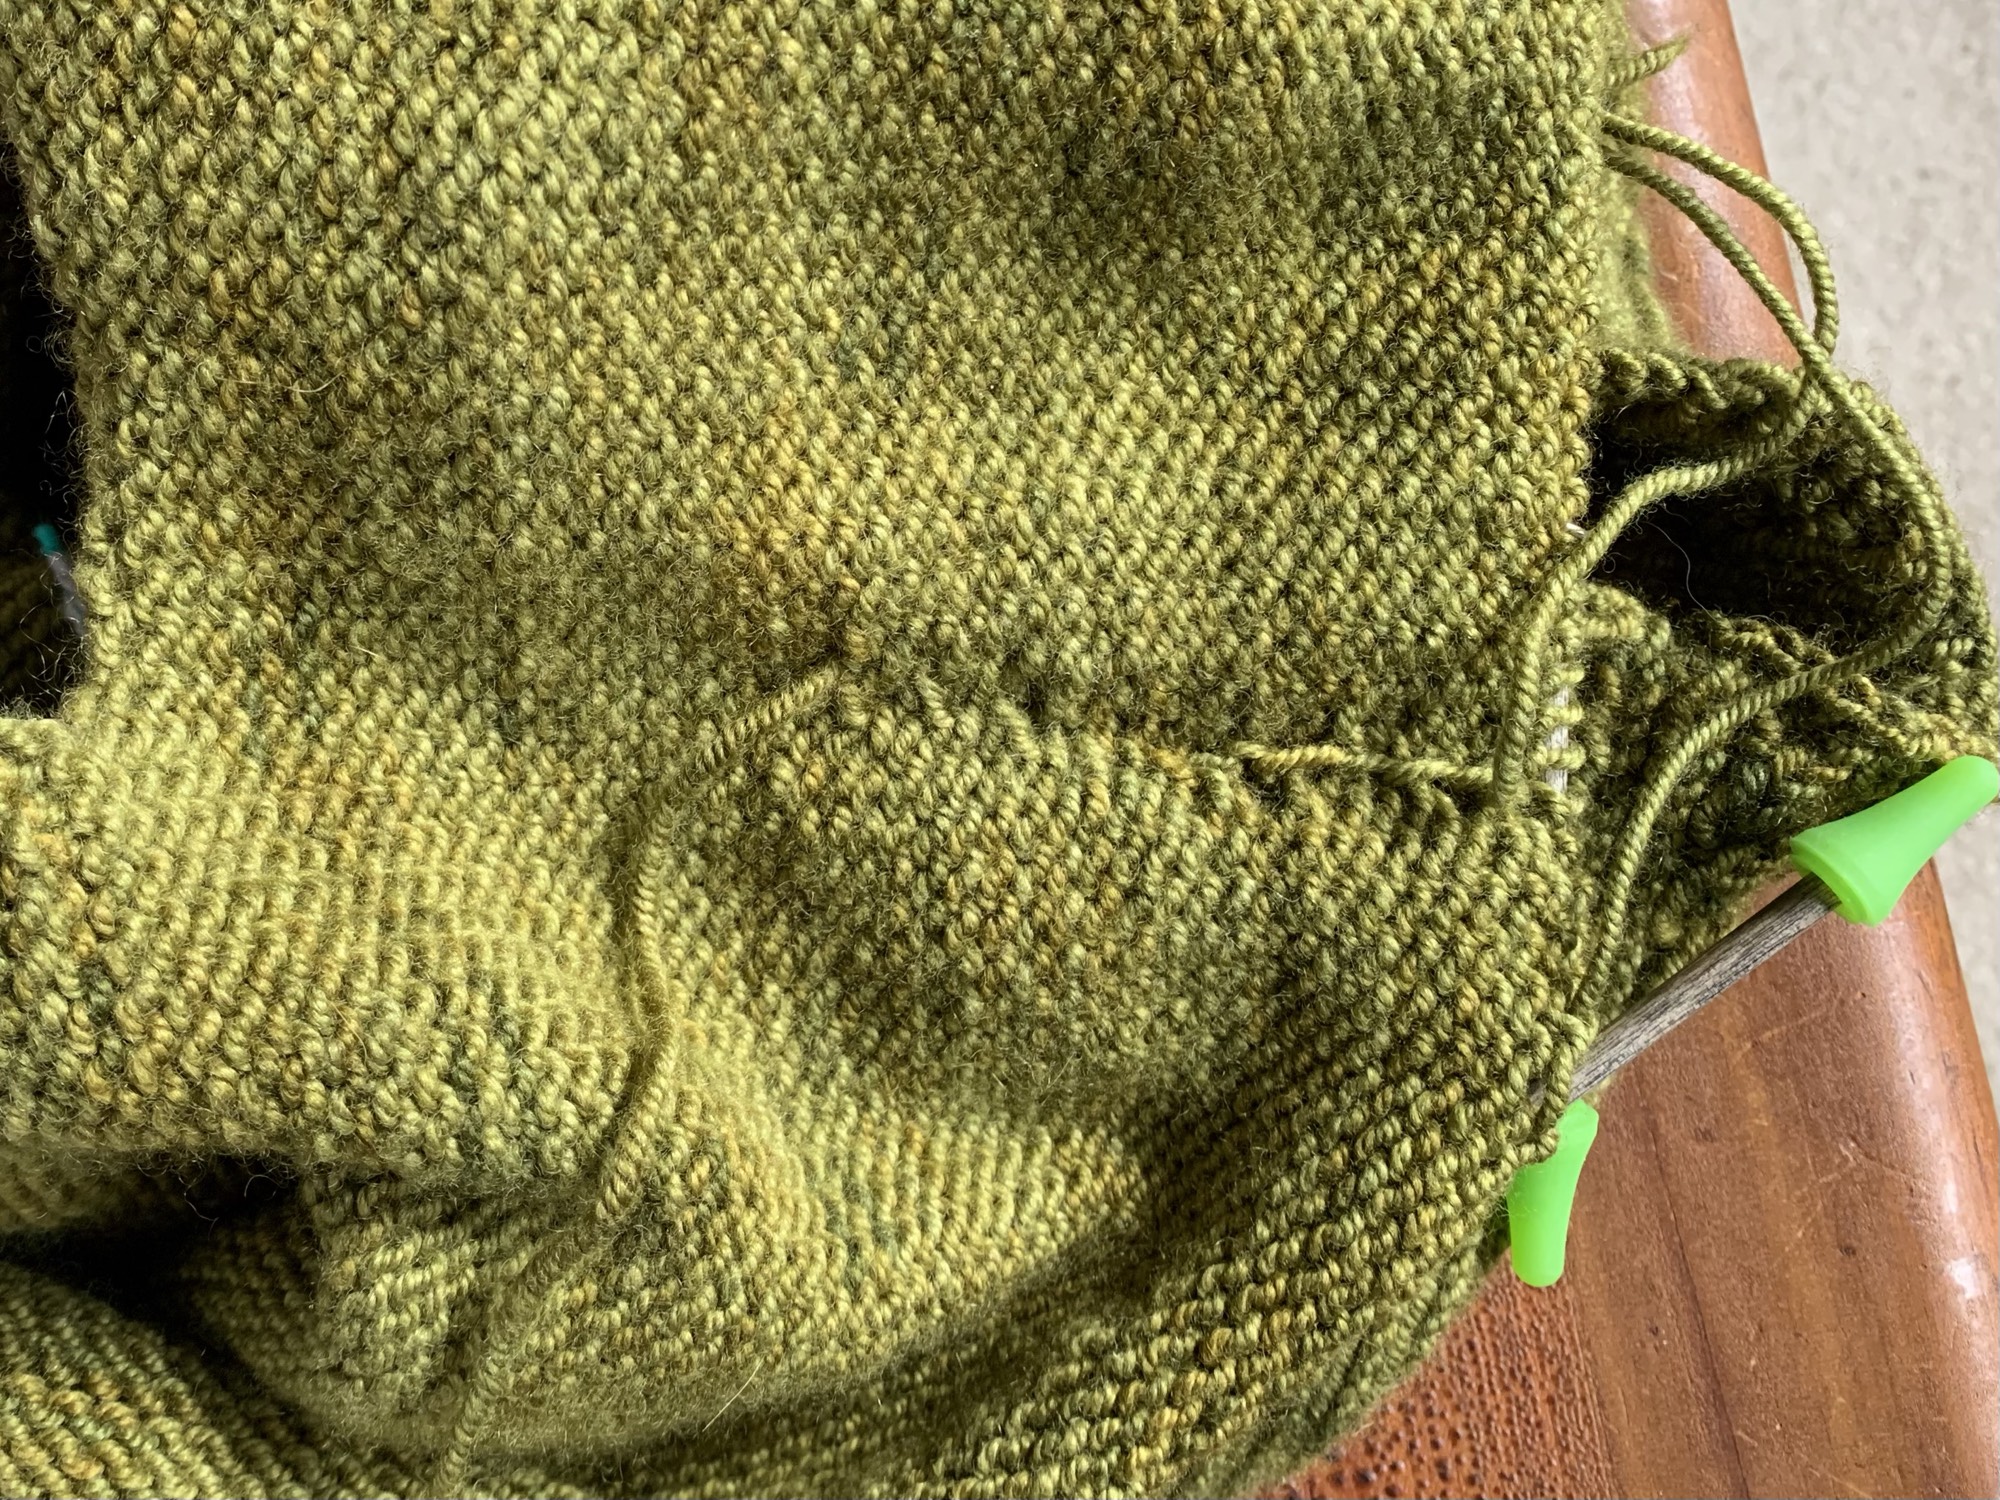
After I did some knitting and alternating skeins, I saw that my carrying of yarn looked pretty awful. The carry line was uneven and also was puckering! I knew I would have to re-knit this area.
Now I needed to learn the correct way to do this. YouTube had some videos, and the one I found to be most helpful was where the yarn strands are brought forward when changing. (Video link below in “How To” section.)
Ripping Back and Starting Over
This yarn gives very clear stitch definition so finding the stitches in a row above the mistake was fairly easy. Here’s a pretty good video about picking up stitches to frog back a large chunk of knitting by Knitty Natty – which is what I did.
My knitting was done in the round and as I got close to the end, my needle pick up got tough. I got the last group of stitches with some yarn. By the way, you can use a much smaller size needle to pick up those stitches, as long as you being knitting again with the correct size.
I messed up a bit when adding my new skein (don’t ask me why), and therefore I have a little wonky place, but once I began the “yarn forward” technique, the rows looked much, much better.
Ripping back to knit this againSwapping yarn placement
How to Do the Yarn Forward Alternating Skeins Method
I have chosen to do the yarn forward swapping yarn on each round. Here’s how to do this method:
Pull the yarn you have been using to the front of the knitting and let it hang there.
Add the new yarn (for the first new skein round) by wrapping it around the needle as you would to begin knitting with any new skein.
Knit around using the new strand.
Once you arrive back to the place where the yarn is in front, swap it out. Yarn in front goes to the back and will now be used to knit the next round. Previous yarn used goes to the front and hangs.
Here is the best video I found that shows how to to do this.
Back / wrong side with yarn forward methodFront of fabric using the Yarn Forward method.
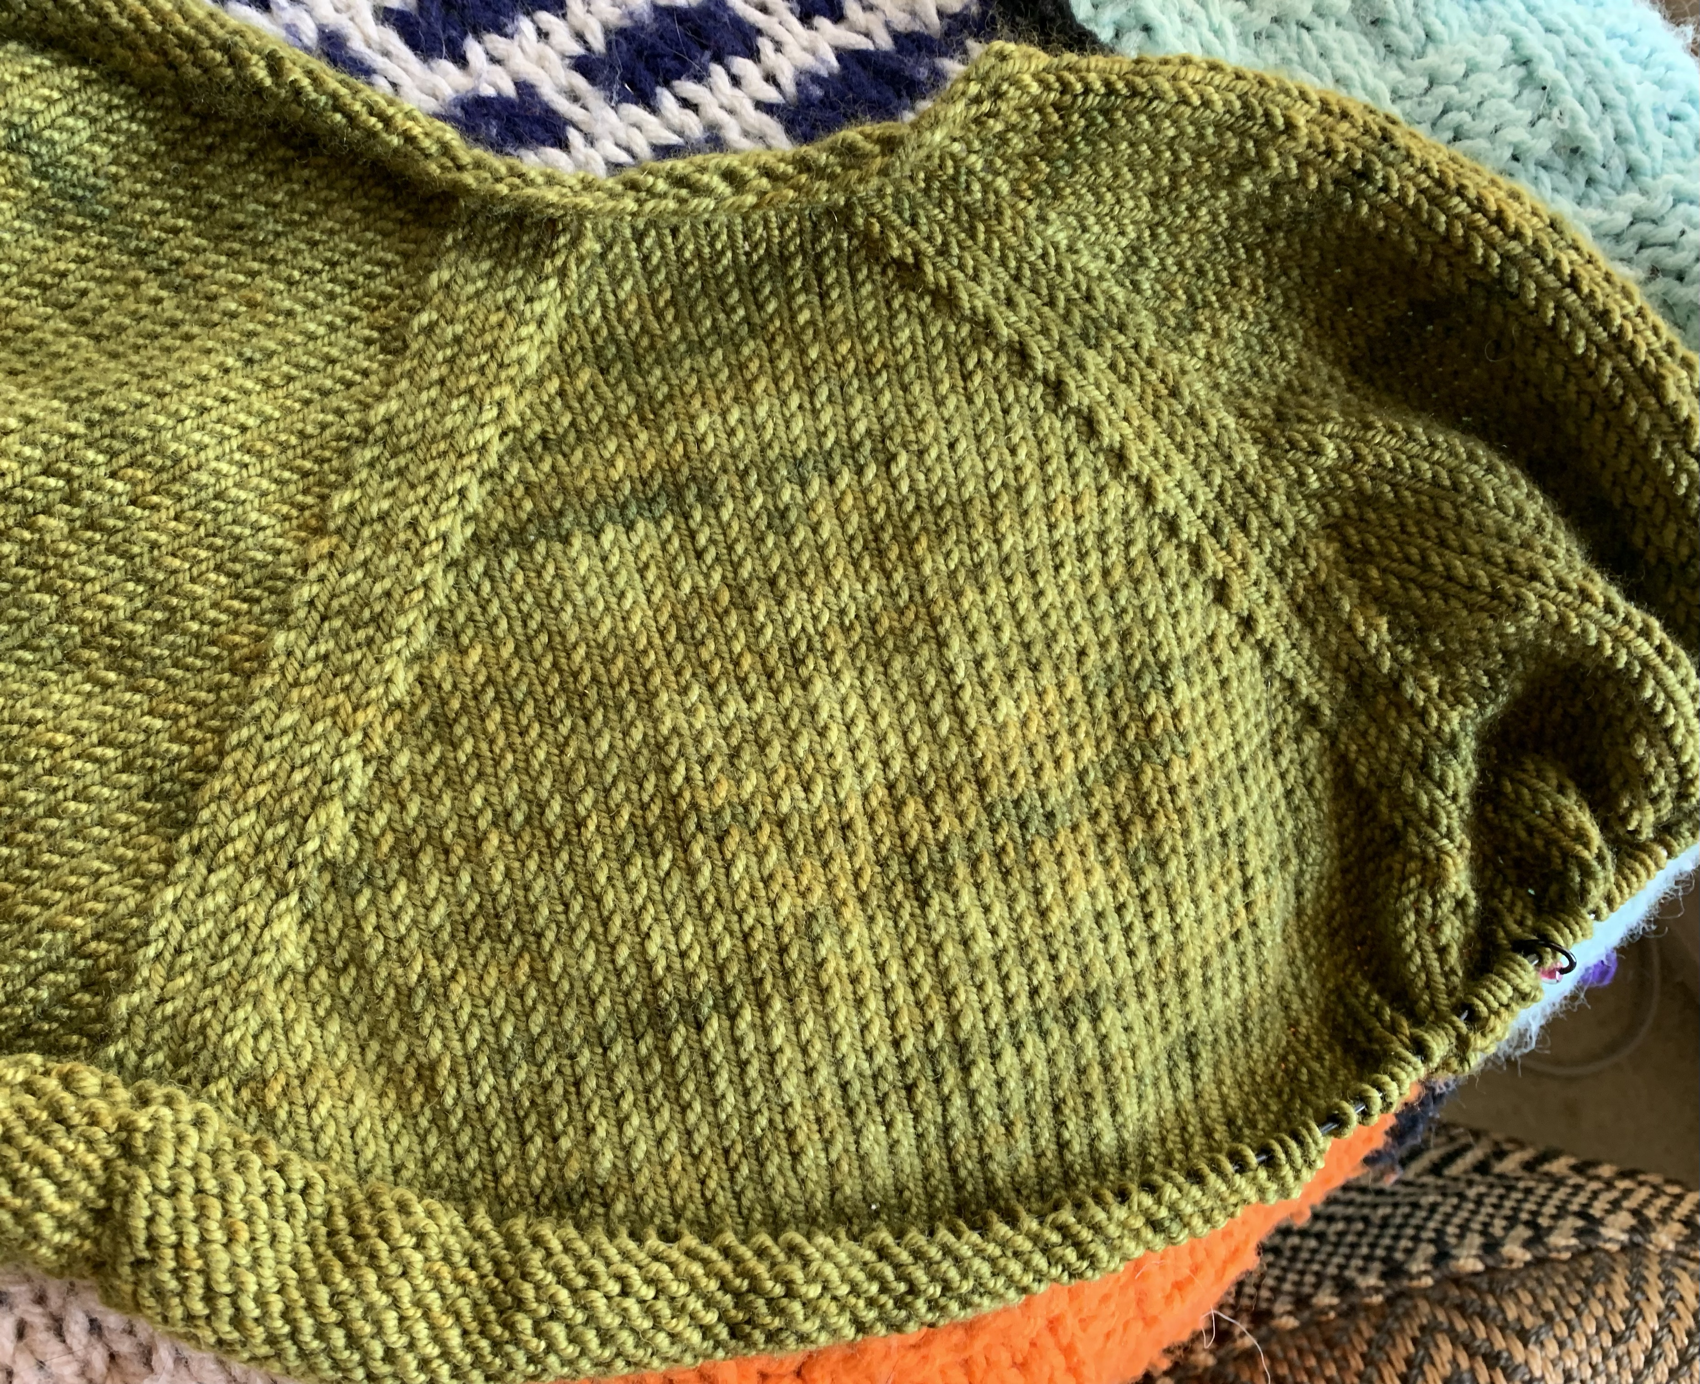
For me, this line of alternating yarns will run down the side of my project – beneath the arm of the sweater. It will not be noticeable and hopefully even less so once the sweater is washed and blocked. I forgot to do this (alternate skeins) for the first couple of inches. The arrows show where I added the new skein.
The other method of swapping out strands every row creates a line up the inside of the project, which is fine too. The Miss Babs video about Alternating Skeins for flat and round knitting, shows that method. (Watch the woman knit while she looks into the camera! Impressive.)
You must swap the yarn EVERY ROW for both methods (in the round).
I mistakenly began by knitting two rows before I swapped, and that should only be done for knitting flat (back and forth) where you must knit a second row to get back to the place where the yarn is waiting.
New Technique For Me
Although I have knit many sweaters, this is the first time I have used this technique. My attempt is not perfect because I watched too many videos and did not follow the good video directions, but I am not ripping back again.
Usually I knit with wool and I don’t have to swap out and alternate yarns. I prefer simple wool for knitting, but I wanted a pretty, variegated yarn for this sweater pattern.
The peaceful days of camping in the wilderness go perfectly with knitting. What could be better than having coffee outside, with knitting on my lap? We…
Here are some ways to join two yarn ends together while knitting to eliminate yarn tails.
Knitting is fun! Weaving in endless tails of yarn is not. On this page, I’ve written about three ways to join ends of yarn together that will eliminate tails. There will always be the cast-on and bind-off tails, but we’re talking about joining in a new ball, or color.
Unless you are knitting a small item, you will probably have to join a new ball of yarn to the project. Sweaters and large items require many skeins, and if colorwork is involved, even more.
Fair Isle projects, like the mitts below (shown inside out), require lots of color changes and therefore lots of ends! It took me a very long time to do all that weaving.
I’ve always simply slipped the end of the new yarn over the needle, leaving a tail. That leaves two tails (the old and new) that must be woven in when the project is finished. These tails can add up, and the weaving in can be a project all on it’s own!
The ideas for joining yarn on this page make knitting a bit easier by NOT leaving any tails. Not every technique will work for every project. Know your yarn, and choose the join accordingly.
How to Do a Magic Knot – Works for (almost) any yarn, but might not be good for every type of project.
This is a simple way to join two yarn ends. But, I would not be inclined to use it except in certain circumstances. Personally, I don’t like knots. I’d be a little skeptical of the knot staying knotted, or popping through to the front side and looking bad.
Any yarn that comes apart easily would not work as the ends have to be tightly pulled.
Knitter’s Pride has a good page, with images and suggestions on when it’s best to use the Magic Knot.
Very Pink Knits has a good, slow-motion video on this technique.
I just knit the VENLIG sweater pattern with some Woolfolk nubby yarn. The skeins had a few knots here and there and I simply knit them in. With the fluffy texture of the wool, it would be hard to see this tiny knot even if it was on the front of the sweater.
How to Do a Russian Join – Uses a needle
The Russian join in knitting uses a tapestry needle to weave the yarn ends together. This method of joining two ends of yarn seems a little time-consuming, but looks better than a knot, IMO.
This join seems perfect for any type of yarn where a magic knot wouldn’t look okay, or the spit splice (read on) wouldn’t work.
How to Spit Splice Wool – No tools needed
The first two methods for joining yarn would work for nearly any type of yarn, but the spit splice is meant for wool. The water (or spit) and the friction of rubbing the yarn, are what turns two yarn strands into one. This splice will not work on Superwash, or any manmade washable fibers.
On the Warm Up pullover I created wide stripes, using two different brown yarns. This meant I had to change colors a lot. Because I used this yarn splicing method, I ended up with only a few tails – the cast-on, bind-off, and under the arms where I picked up the sleeve stitches.
Joining two yarn endsWarm-up SweaterKate’s Poncho – Splice done!
I find this to be an easy and nice splice to do. Unless two different colors are being joined, it’s tough to find the join section once it’s done. If knitting with wool is your preference, you must try this method.
A Spit Splicing How-To Video
Tin Can Knits has a short and to the point (my favorite kind) video below. What I do differently is unravel the yarn a bit to attach the strands. I suppose on smaller yarn like the type she is using, it wouldn’t be necessary.
A knot in a wool skein can be unknotted, or cut out, and re-joined using this method.
Do you have a favorite way of combining yarn ends? Please leave a comment.
This sweater knitting project was a fun one. Although there were a few things to figure out, I recommend the pattern to any fairly experienced knitters…
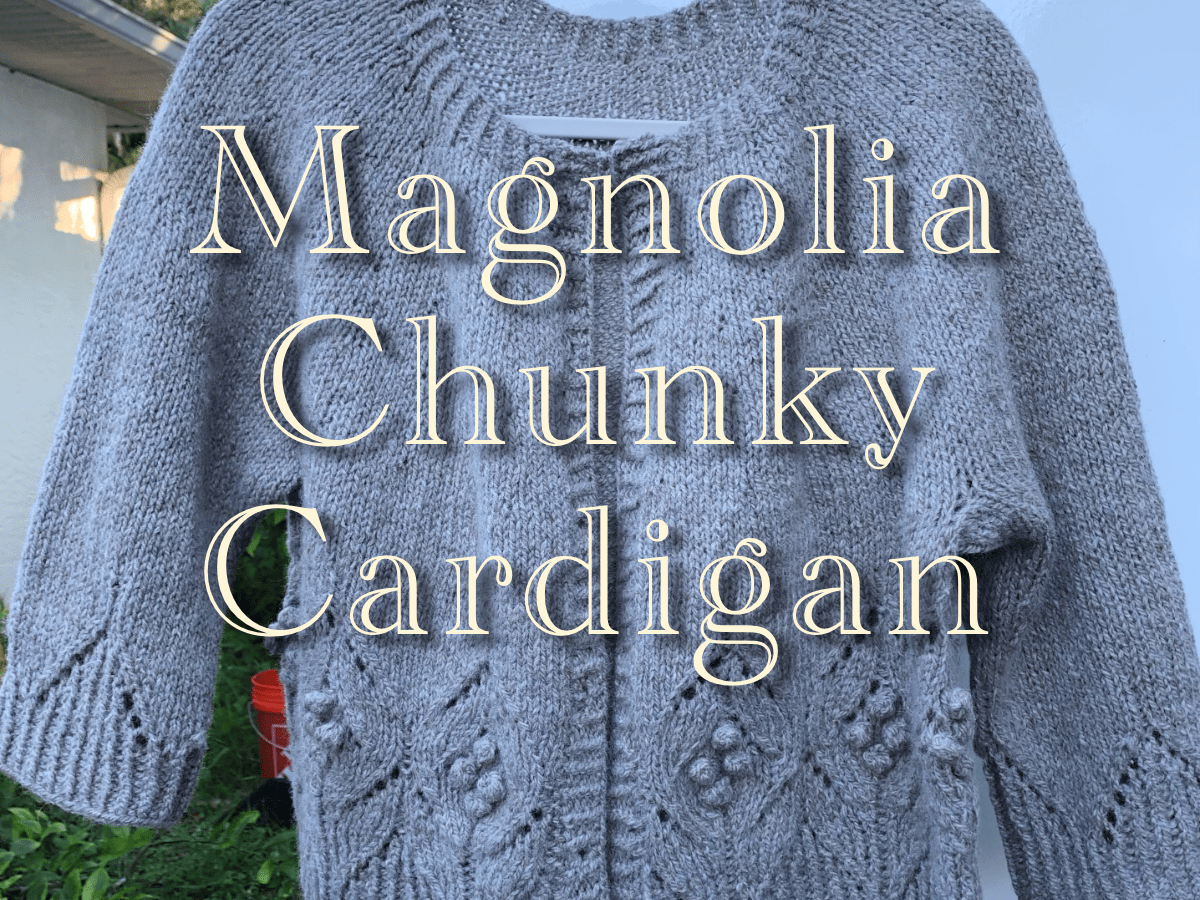
I’m knitting a beautiful cardigan pattern by Camilla Vad. The Magnolia Chunky Cardigan is knit top-down with lace and bobbles on the body and sleeves. On…
Something went wrong. Please refresh the page and/or try again.