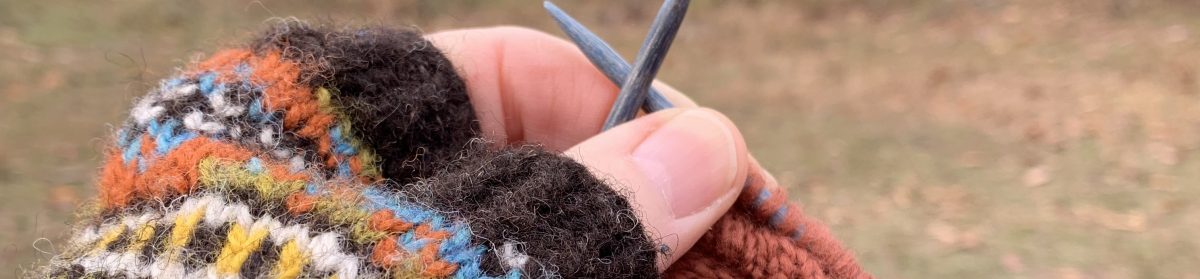
Field Sweater Helpful Videos For Making the Grains

As I begin knitting the Field Sweater pattern, some video tutorials have been very helpful.

The Field Sweater, by Camilla Vad, is pretty popular and very beautiful. The pattern I am knitting is a pullover, but a cardigan pattern is also available. 

I’ve continuously seen some form of this sweater all over Instagram. The yoke is textured with “grain” pods, which are made by wrapping the yarn to create a bump. However, it’s not that simple.

This is a top-down knit and I quickly knit the neck ribbing, which is basic. As I read over the grain rounds I became a little confused and went in search of videos.

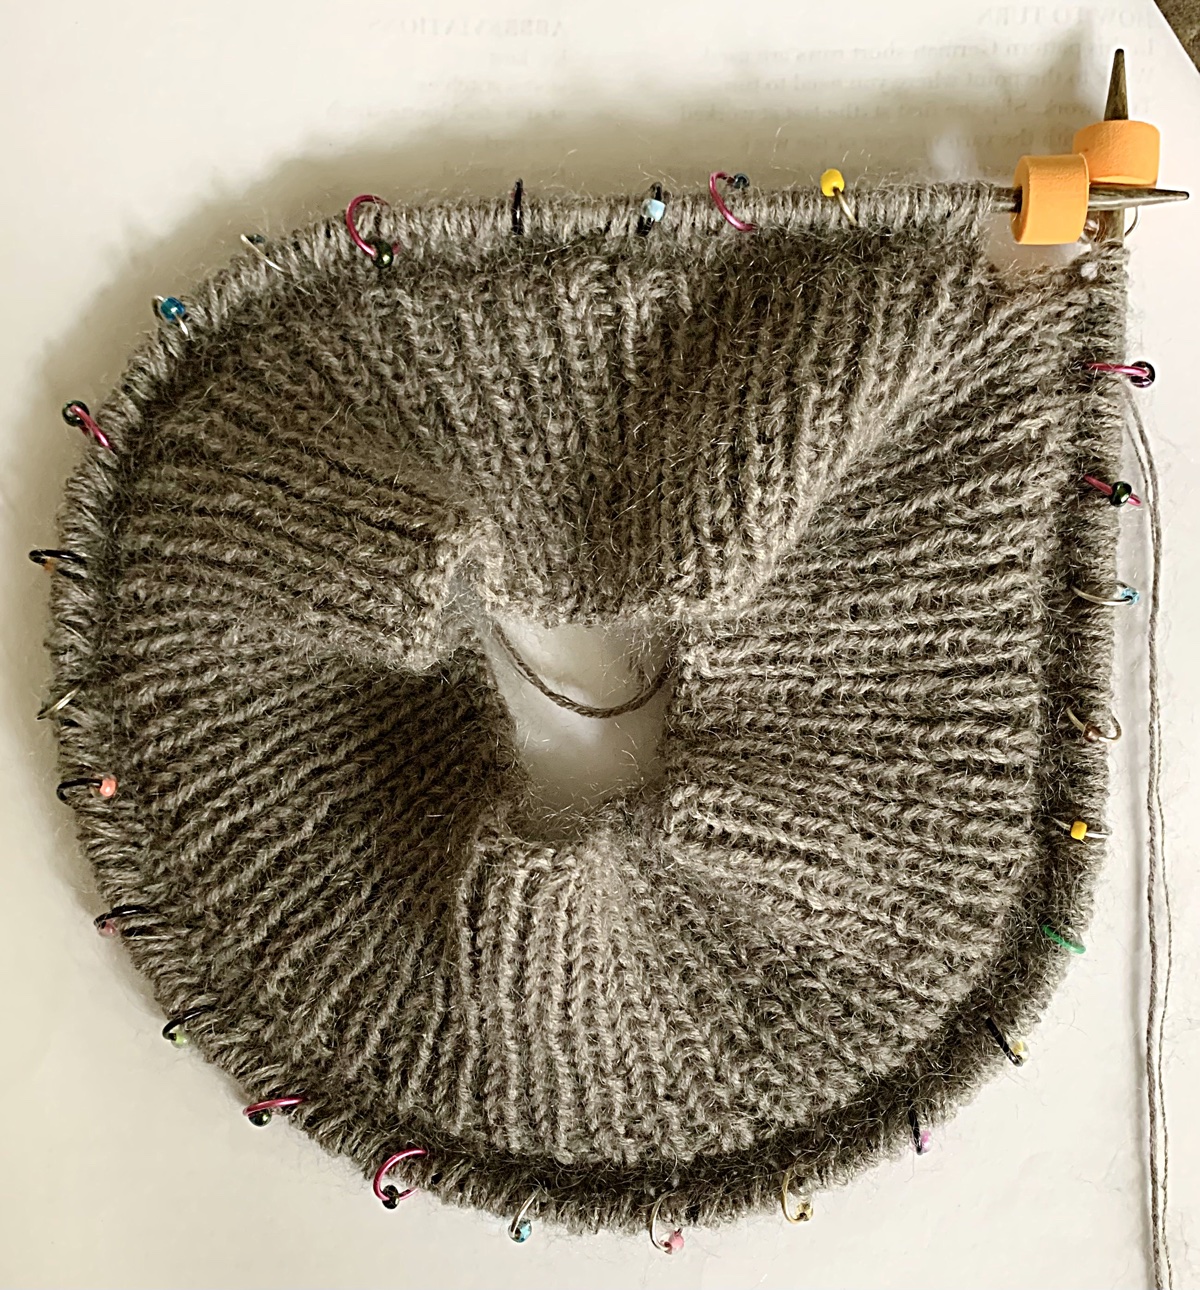
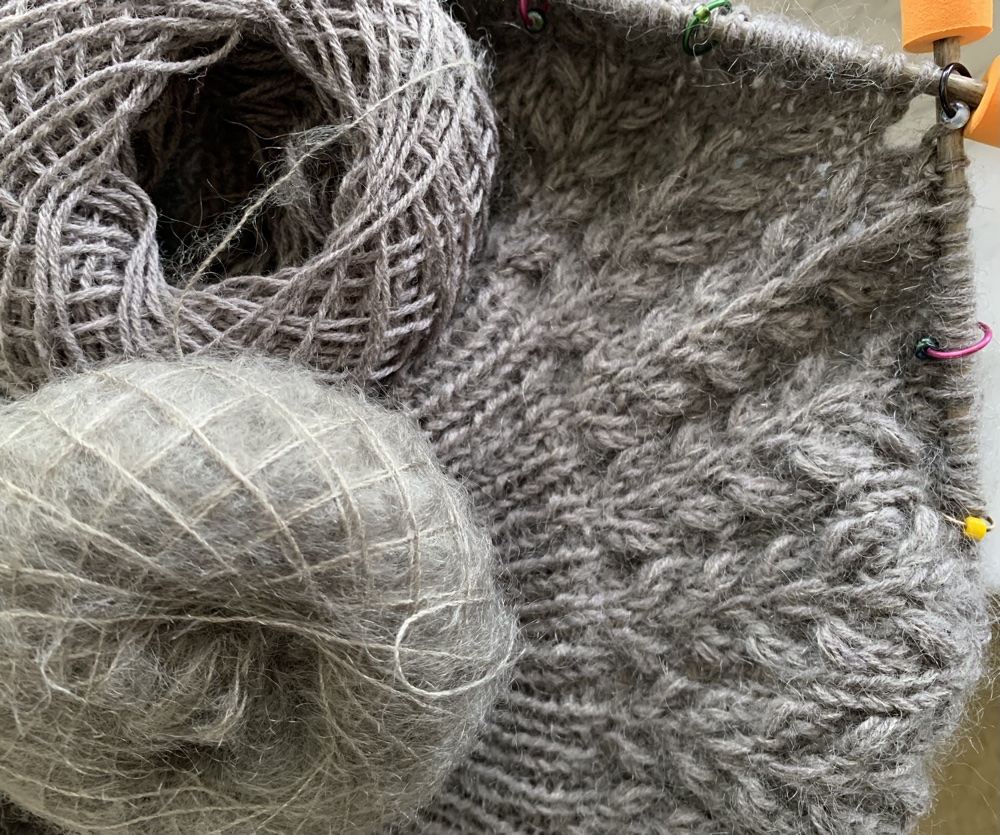
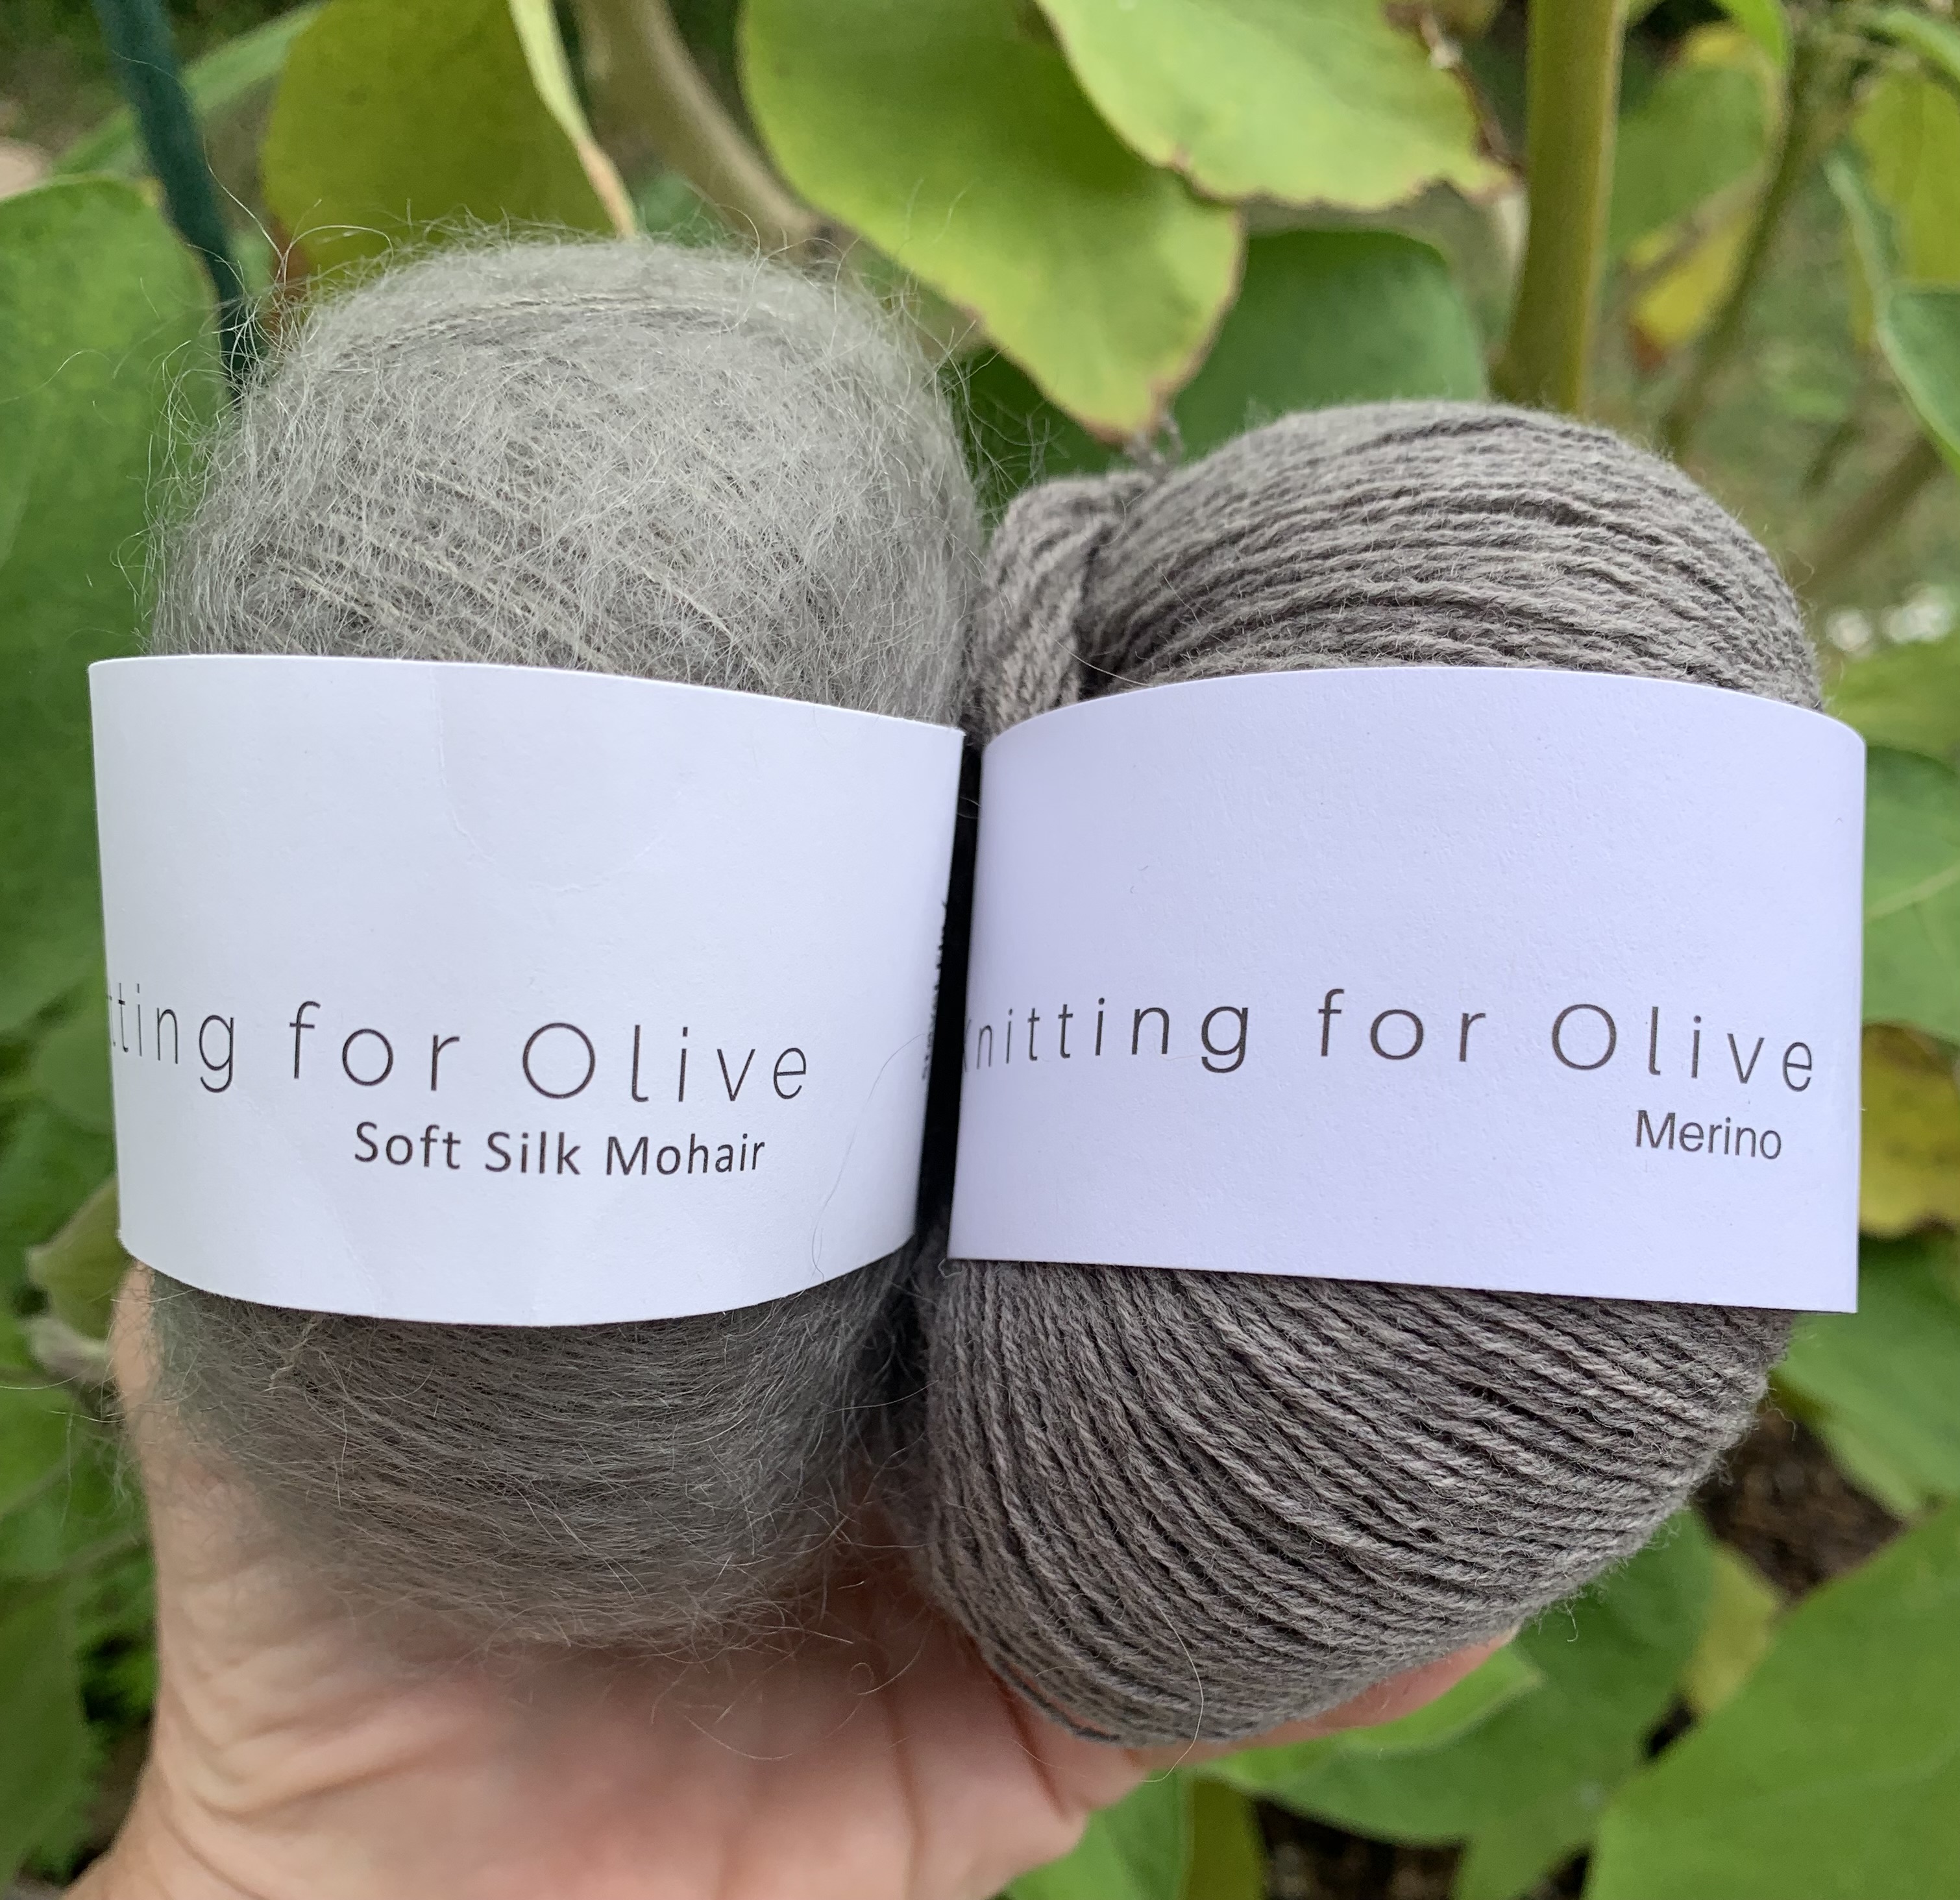
Knitting for Olive merino and mohair
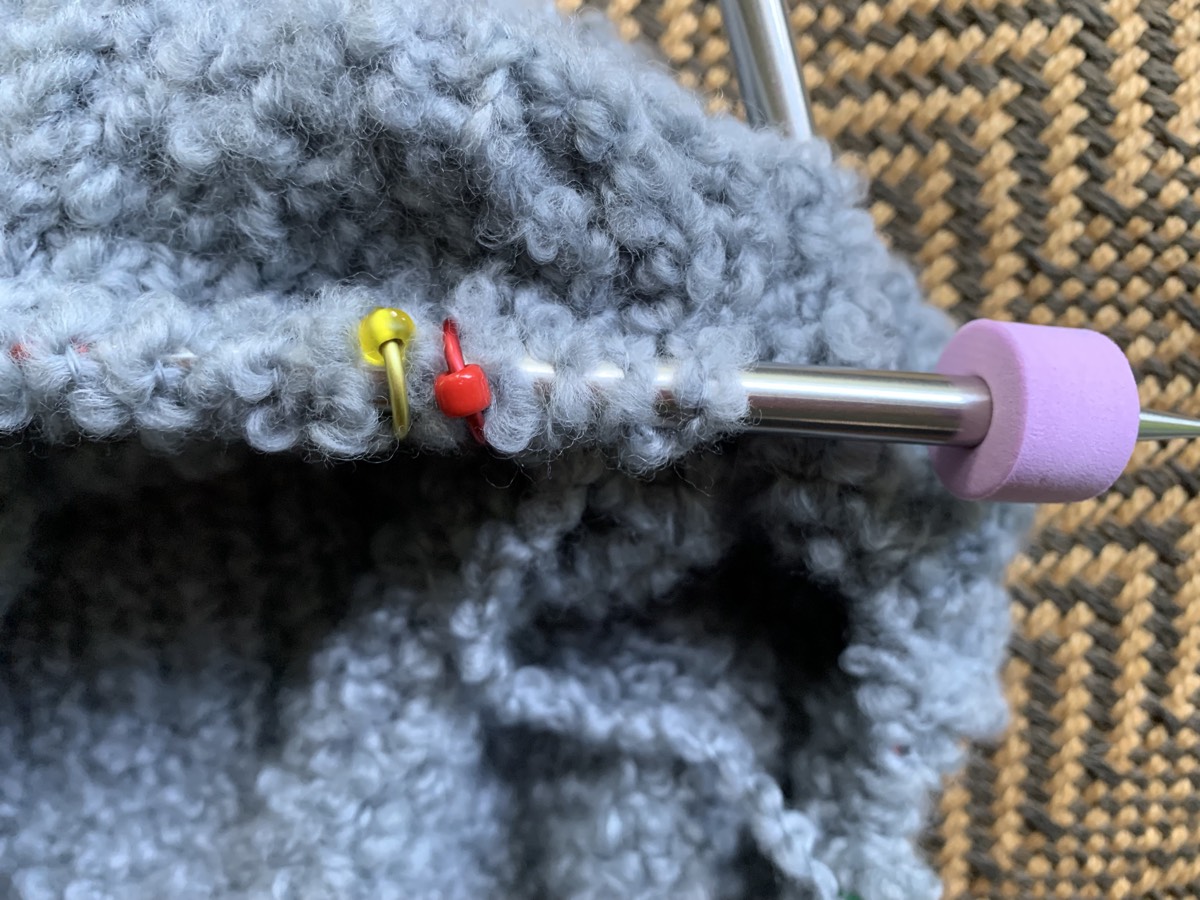
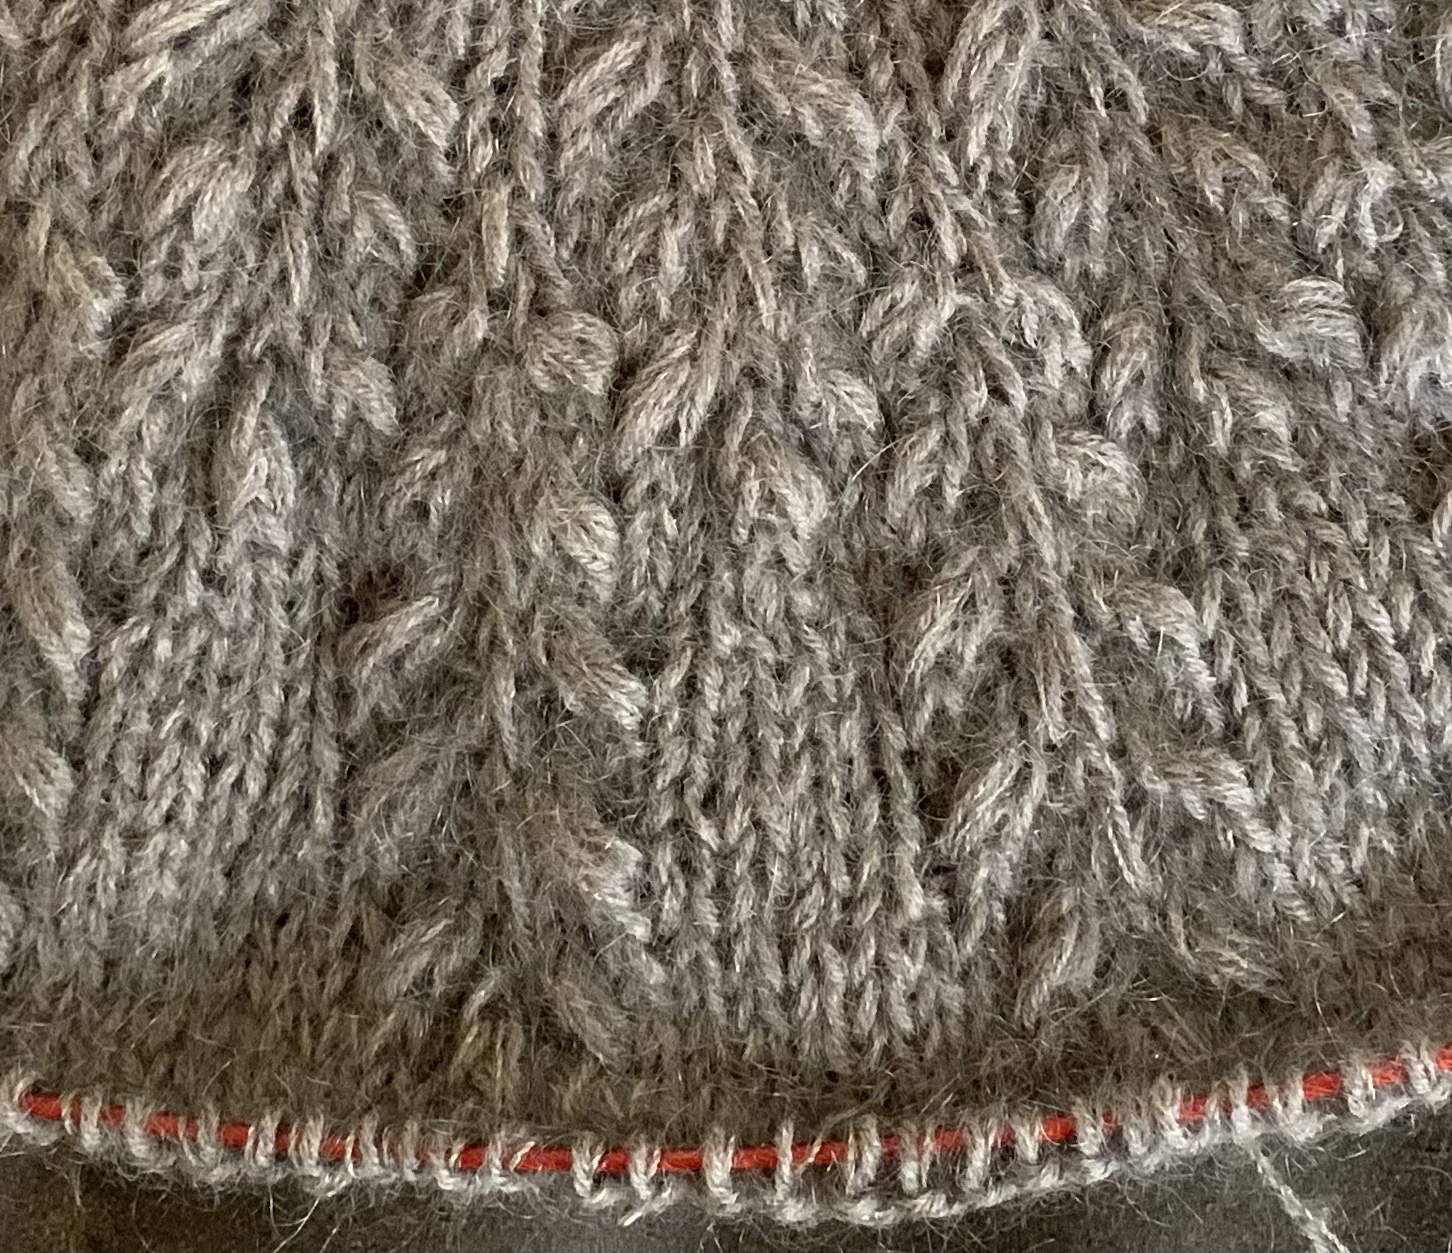
13 round swatch

My yarn choice is Knitting For Olive fine merino combined with Soft Silk Mohair (also by Knitting for Olive). Both are in color Dusty Moose, which is a gray brown color. Bought at an end-of-year sale, I’ve never knit with this yarn before. (Now that I have begun the sweater, I absolutely love this yarn.)
Video Help For Knitting the Grain

The Making Grains tutorial by Mostly Knitting is the first one I watched and it is very easy to understand. She covers how to do the rows that make the smaller grain. (There is also a Large Grain to make further down the yoke – she covers that also in another video – Making the Large Grain.)

The grain is a bunch of stitches that make a texture around the yoke. Each grain takes many rows to accomplish. The directions are written out, row by row, in the pattern, with the “grain” part written as “make grain”. Making the Grain and Large Grain is also explained on the first page of the pattern directions. HOWEVER, it is helpful to watch someone actually knit this grain stitch.

Knit a Little Swatch

The only way to know if I would be able to manage this pattern, while holding two strands of yarn together, (or even one strand) was to try it out. I don’t want to get into the yoke area only to find that I hate what I am attempting, mess it all up, and then be sorry. 

So I knit a little swatch which is similar to the one shown in the video. The strands of yarn were carried across the back to mimic knitting in the round. I knit up to Round 13 and did 2 increase rounds.

Some of my strands were too tight so I cut them after the swatch was washed. *After knitting this swatch I realized I had accidentally used a smaller needle size than I should have! Chalk it up to bad eyes and tiny print on needles.

Use Stitch Markers

In the video, linked above, the knitter uses stitch markers to separate her two example sections of the grains. As I started the grain sections, I separated each section with markers. It’s a lot of markers, but will help me with this intense knitting project.

Knitting Combinations

How do you eat an elephant? One bite at a time.

As we knit, each round will have its own combination of stitches. Some rounds are fairly simple, and some will be a struggle – for me.  Using a cable needle and knitting many stitches together, slipping stitches, yarn overs – and other types of increases, are all needed to create this interesting texture. For any semi-experienced knitter, these stitches are not difficult. And that is how I have to look at it going in. Knit one small section at a time and hopefully keep mistakes contained…!!

Many Thanks to Mostly Knitting

Thanks to Mostly Knitting – link goes to her YouTube channel – and her excellent video tutorials that seem to answer the many questions knitters have concerning the Field Sweater pattern. 

I think the pattern itself is well written, but in places, not as well explained as it could be. For example; “pick up the strand between the sts and knit it tbl” could be stated as “make one left” – see how it’s done in Mostly Knitting’s video “Round 9 of the Field Sweater“. There are two ways to pick up that strand, and if you do it wrong, you will be making a hole.

So far I’ve seen three different ways that the yoke increases are made. I guess it’s kinda fun to change things up. I like knowing that I can look up a video for help with this intricate knitting project. Onward I knit, with more to come.

Here’s my progress…

When I began the yoke texture (making the grains), I realized that going slowly is key. Having markers for each section is very helpful. As I finished up a section, I would go back and count the stitches to double check. As the yoke expands, the sections do as well, and there is more and more to do for each one.

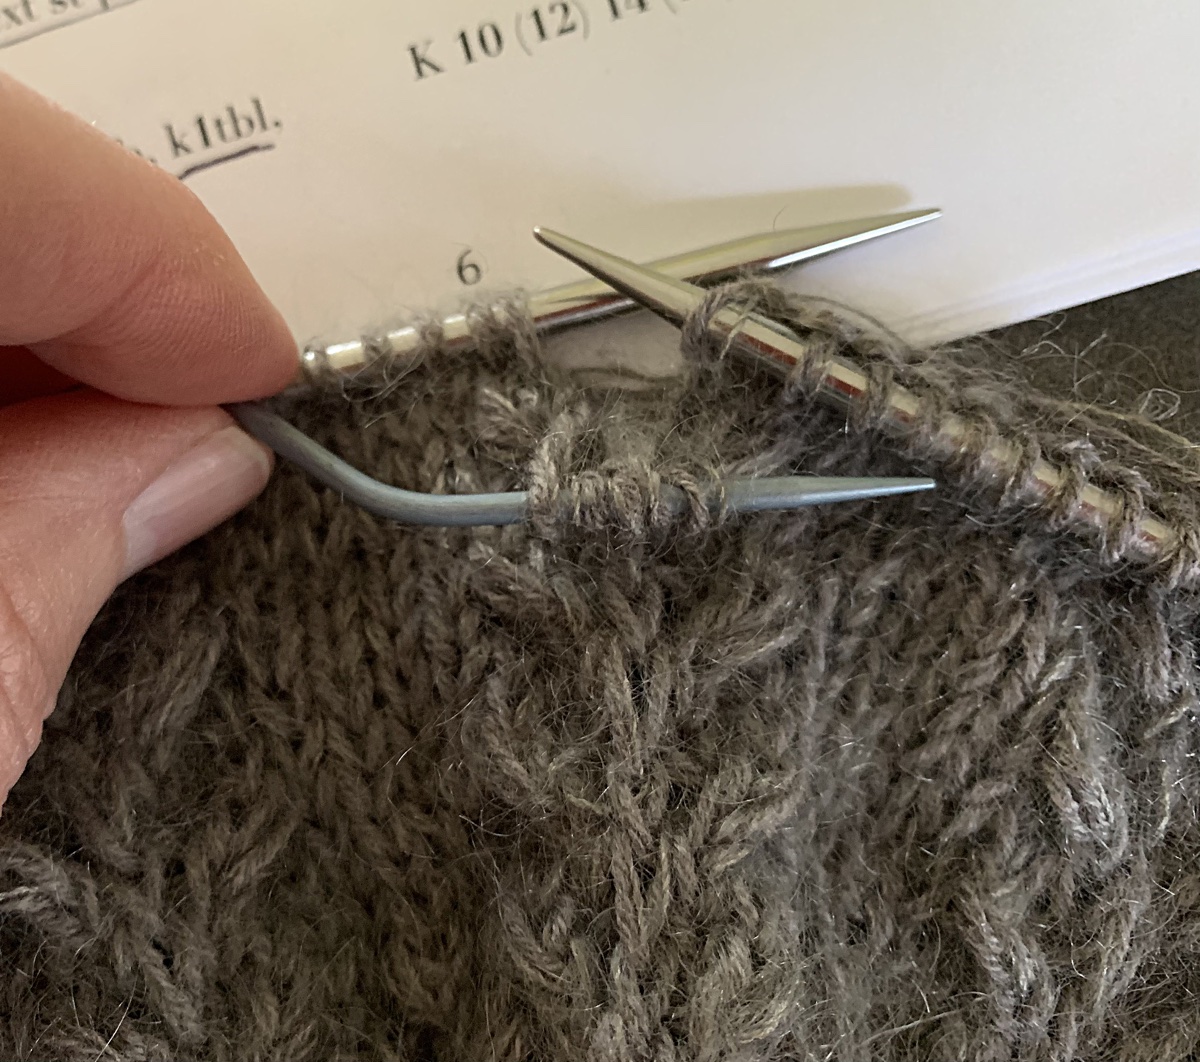
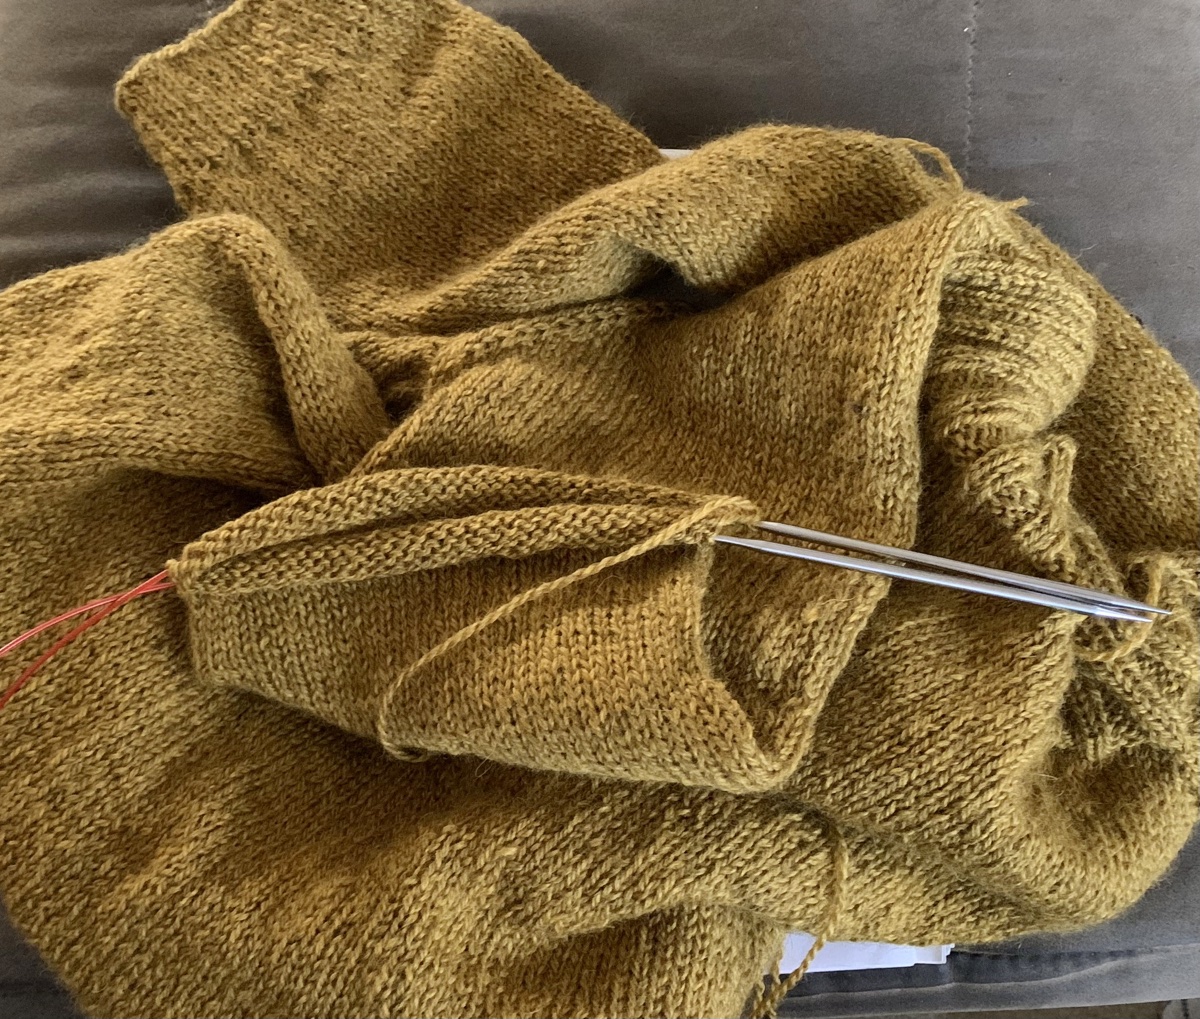
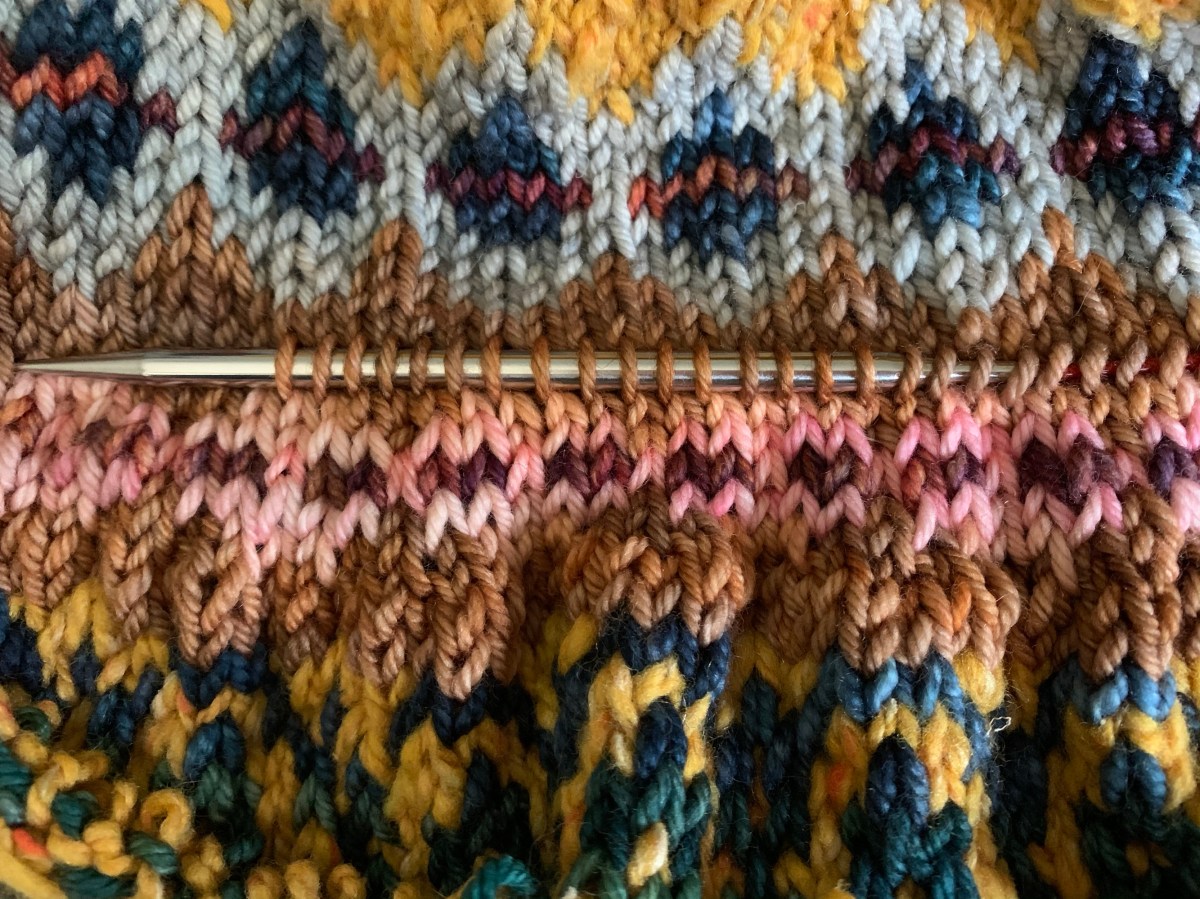
I began knitting using a wooden Lykke circular needle (24 inches), but switched to metal Chaio Goo (32 inch) in Round 27 (photos below). The metal needle made things much easier!

Making, and Closing, the Large Grain

Later in the yoke: Making the Large Grain is part of Round 27. And closing the grain in round 29. See the easier way to close the grain, or knit all five stitches together, this in this video.

Making the large grain is not as difficult as knitting the five stitches together through the back loop. 

When I got to the last row that completes the Large Grains, I ended up using the cable needle to hold the five stitches that were to be knit through the back loop. The cable needle is smaller than my knitting needles leaving larger loops to pick up.

I am enjoying this knitting project. The directions are very good, and completely written out. Having the additional videos is very helpful as well. 

Weighing In

On the designer’s page for the Field Sweater page there are 145 comments (at the time of this writing) and many are angry words aimed at the designer for not including much larger sizes. In some opinions, this pattern is not size inclusive.

The measurement goes up to 142 cm , or 55 inches around. That seems pretty inclusive to me. Here’s the thing, if a designer only wants to go to a certain size, it is his/her prerogative. This is HER business. She is in control of her pattern size configurations. I’ve never written a pattern, but I’m sure a lot of math and figuring goes into creating the various sizes. Just like politics, could we please leave the size inclusive bickering out of knitting?

More knitting stories and reviews

Something went wrong. Please refresh the page and/or try again.

Knitting Magic Loop is Common Sense and Easy

If you have considered learning how to knit the Magic Loop, do it! This technique will help will all small circumference knitting needs.

For some reason I have not tried to knit using Magic Loop until recently. I’ve considered it, but most of the video tutorials I watched seemed to make it look difficult, or more difficult than it really is. Now that I understand how it’s done, it’s basically common sense.

Three Ways to Knit a Small Circumference

Magic loop is used when stitches are too few to knit with a normal size circular needle. When faced with knitting narrow part of a sleeve, or sleeve cuff, socks, hat crown, or any small circumference, there are three different ways it can be done. 

If there are enough stitches, a 16″ needle can be used. I usually use this size for the beginning of top down sleeves and also for beginning adult size hats. 

As the amount of stitches become fewer and won’t fit around the 16″, we must switch to a 9″ circular, or double-pointed needles (DPNs). But, knitting with a 9″ needle can be a challenge. Also, many of us (me included) despise DPNs with all their awkwardness.

With Magic Loop, all that can be knit with one long needle. It keeps knitters from needing to buy shorter needles and therefore can save money.

magic loop sleeve knitting
Using one long needle to knit this sleeve.

How to Knit Using the Magic Loop

Picture your knitting as you would using a smaller needle, or DPNs. You are knitting around the same exact way, just splitting the stitches on a long needle.

In order to do this you need a long circular needle – 32 inch or longer for a sleeve, but a 24 inch might work for smaller items. A bit of the needle sticks out of each side of the project, so figure it from there.

Pull some of the cable from about halfway around. Now you have split the knitting into 2 sections. They don’t have to be exact for most items. Knit one side following your pattern (mine for this sweater is simply knitting around). When you reach the pulled out cord, figure the needles to continue knitting around as usual. It means pulling one needle out – the one where the yarn is hanging. Then, use that needle to continue knitting. Mark the beginning of round so you don’t get confused.

A video I watched mentioned holding the stitches tightly when starting that new row. This way there are no loose stitches where the needles split – which is called ladders.

Best Times to Use Magic Loop

  • Hat crown
  • Sleeve – part, or all
  • Socks – some people knit both socks at once using Magic Loop!
  • Mittens
  • Two at once – socks, mittens, mitts
  • Baby & kids apparel which is overall smaller.

Videos For Magic Loop

How To Sew Buttons on Knitting

Finally I have figured out a good way to sew buttons onto knitting.

One reason I haven’t knit many cardigans is because I have to make a button band and then sew on buttons. I love the knitting process, but the finishing up is not as fun for me.

sewing buttons on a sweater
Eva Cardigan buttons being added on the wide band.

Recently I knit the Eva Cardigan pattern which calls for four buttonholes with, of course, four buttons. I decided it was time to figure out how to correctly add buttons to my hand knits.

This page is being written as a reminder of how I added the buttons, and is as much for me as anyone!

There are a lot of videos, but I only watched one. It was very basic, but someone commented, below the video, that beginning from the FRONT of the sweater would hide the knot left by tying the yarn ends. I like that idea. I went a step further and pulled the little ends under to weave in. Here is how I did it.

buttons to sew onto a cardigan knitting project
Ceramic buttons for the hand-knit Eva Cardigan sweater

How to Begin

If possible, use the same yarn you used to knit the project. The Eva Cardigan was knit with a DK weight wool yarn. I pulled the yarn strand apart – in half – in order for the yarn to fit through my needle eye.

You will need a needle small enough to fit through the button’s holes. Then, you need to get the yarn through that needle eye. Figure that out first.

Decide where the button will go on the band – to match up with the buttonhole on the opposite side. With the threaded needle, go into the button-band from the front (no button added yet), and leave a tail – image below. Then, come up and go through the button hole and down through the other hole. My buttons only had two holes. Even if you have four holes, just knit the button on and ignore that tail until the button is secure.

sewing on a button
Begin sewing the button on

I went up and down through the holes until they were full – only a few times. Then, I wrapped the yarn around the base of the button for a bit more security. Then, using the two tails, tied a few knots tightly. They are underneath the button, and can’t be seen. Lastly, cut the ends of the yarn a bit short.

The commenter suggested that this would be enough, but on my first button I could still see the ends. And my buttons are fairly big! So I pulled the ends through to the back, using a small crochet hook, and then wove them in. For the remaining three buttons, I left my ends a little longer and wove them in on the back.

sewing on a button
Leave tails to pull through to the back.

Here is how the back of the button looks. It’s pretty neat looking and the buttons feel secure.

sewing on a button
Finished back side of button

I’m quite happy with this way of sewing a button onto a sweater knitting project. I would love to hear from experienced knitters who have suggestions for sewing buttons onto sweaters. Please feel free to help fellow knitters out by leaving a comment! Thank you.

More stories about yarn projects

New Sweater Pattern and Yarn Overs to Learn

Figuring out how to knit the yarn over eyelets for the Blueberry Vodka Lemonade sweater knitting pattern.

These days I find most of my new knitting projects while browsing Instagram. I’m pretty clueless about the tech side of Instagram, but I have found some very interesting patterns.

The Blueberry Vodka Lemonade pullover is the newest, and I have just cast on to knit it. This pattern is by designer Thea Colman, aka Baby Cocktails, and it is a raglan style with a wide collar and eyelets down the sides of the sleeves.

It calls for a fingering weight yarn and I have chosen to use Sandnes Garn Tynn Peer Gynt. A mouthful, but a beautiful wool that comes from Norway. It is a bit thin, so I had to go down a needle size to get gauge.

Two firsts here for me: I’ve never knit anything by this designer. The pattern is one of the best I’ve ever followed. It’s 9 pages long, and full of good info needed to successfully knit the project. I did have some trouble in the beginning and had to begin again, but it was totally my own fault for not paying attention.

Sandnes Garn Tynn Peer Gynt fingering wool yarn
Pretty black wool
knitting the yoke of a sweater in black wool
Short rows have been completed and I’m on to knitting my way down the yoke.

Help on Knitting the Eyelets

This sweater has eyelets, or little holes, along the edges of the sleeves. To create them, you must be familiar with yarn-overs. And I was not! I never knit much of anything that calls for yarn-overs, but I have done them before. I needed a refresher.

The YouTube video from Purl Soho is very good and covers all the ways a yarn-over is made. But the pattern yarn-overs are made at stitch markers so a “slip marker (sm)” is included, and that is where I got confused.

For instance, the directions will say, “Yarn over, slip marker, purl”. What this means is to do the yarn over (forward) and it will be on the needle before the marker. Then the marker is slipped, and when the purl is done – by wrapping the yarn back around the needle (watch that Purl Soho video if you need to), that purl strand must stay on the needle to the right of the marker. Not doing this throws off the stitch counts between the markers – the strand will be next to the purl when it should be behind the marker. I was doing it wrong, and it took me a few rounds to figure it out.

By the time I knew what I should be doing, my stitch counts for the back section and sleeves were off. I had to add in some stitches as I continued knitting.

So, the sweater is a big mess already… LOL. I already had to re-start this project, so onward I knit. My counts are good…the eyelets are a little off in some places, but …. It’s all good.

Knitting eyelets with yarn overs

I thought I would share this info just in case anyone else is having the same kind of trouble doing the yarn-overs.

I look forward to seeing how this sweater turns out. More to come about knitting this pattern.

balls of yarn graphic

Keep reading…

Something went wrong. Please refresh the page and/or try again.