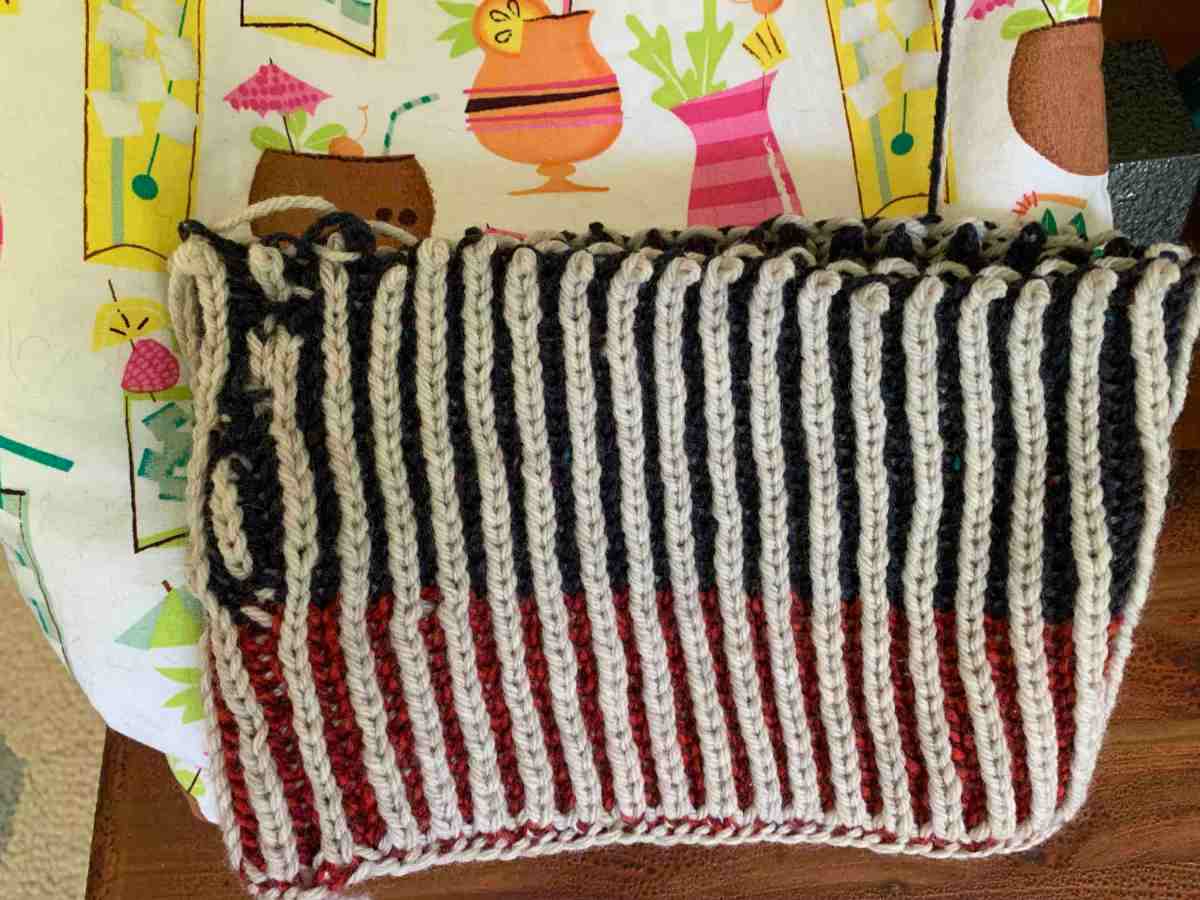
Sorry, Giving Up on Knitting Brioche

I began writing this post in the hope of being able to easily explain how to knit brioche. It turns out that I simply can’t do it. This project was ripped out, but I do have some good notes, and videos, to reference for anyone trying to knit brioche in the round.

Where’s the Brioche Hate Club, I need to Join

After much difficulty with casting on, (I did learn some new cast-ons) I am on my way to successfully knitting brioche in the round – or so I thought. Well, honestly, I am making lots (and lots) of mistakes – ya, it looks horrible!, but that’s okay, I am practicing. But, at each BOR (beginning of round) the yarn color changes and I’m either going to knit or purl. This can be daunting for us beginners. And sometimes downright impossible.

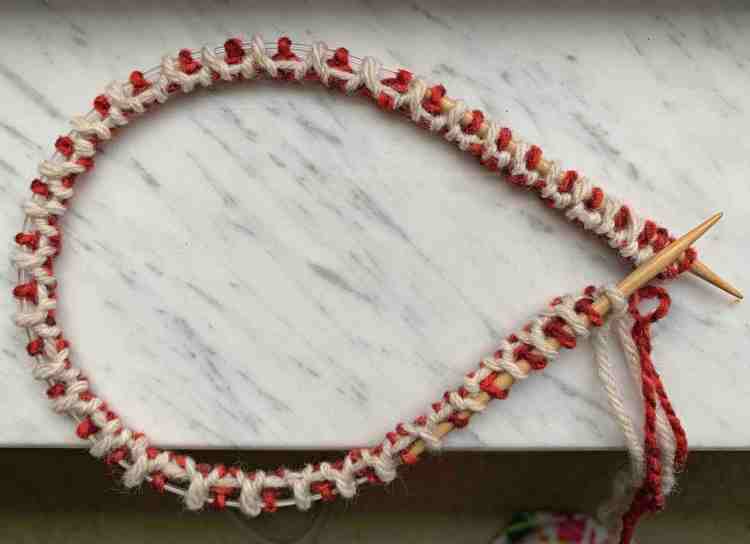
After my many efforts to complete a nice cast on for brioche in the round, I gave up and simply used some sort of long tail cast on which is what I usually use. My cast on edge looks bad, but I needed to begin practice on brioche stitch.

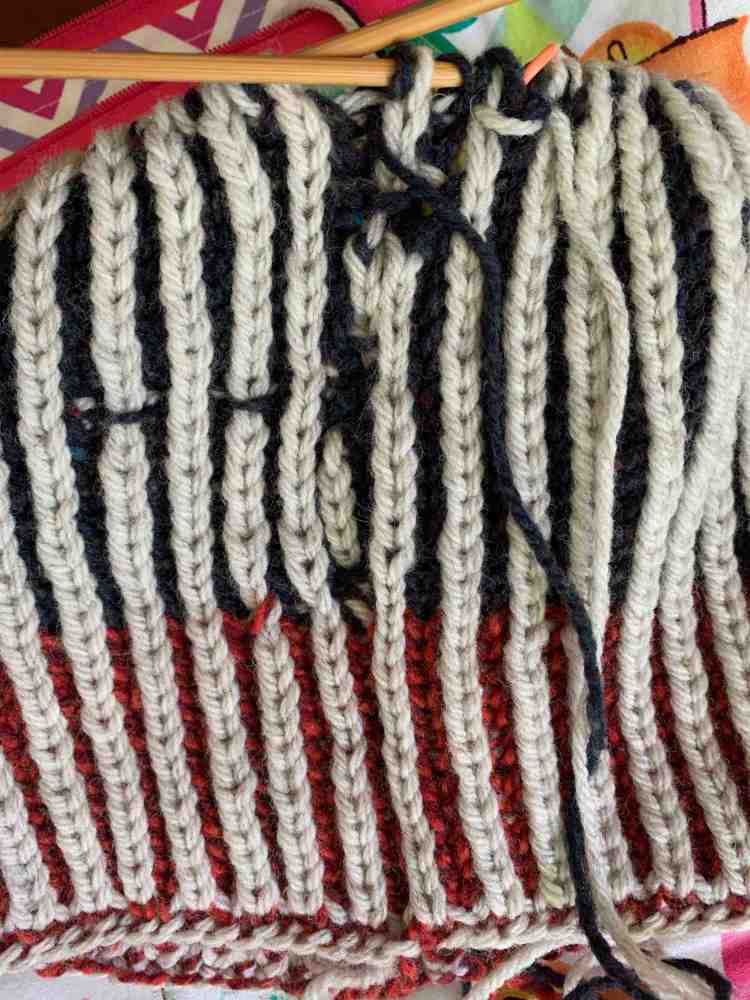
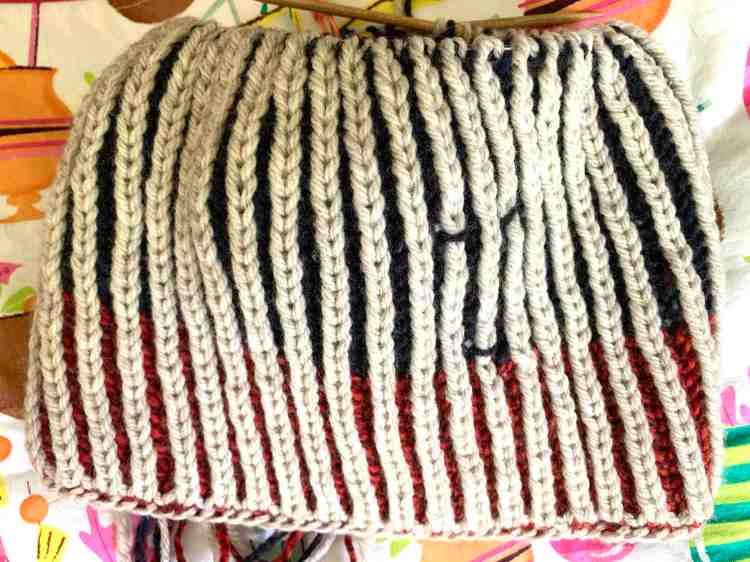
My Practice Hat in Brioche Stitch – which I ripped out

I cast on 80 stitches using worsted wool and this was a good number. The Skipp hat pattern called for fingering yarn, so I tried to estimate with worsted, just to try out the pattern. Before I ripped out the hat, I tried it on and the fit was good. If I ever learn to knit brioche in the round correctly, 80 stitches are a good amount to cast on.

The light gray is unknown yarn and the red is Brooklyn Tweed’s Shelter. I’m using up stash with only a small ball of red yarn left, then I switched to dark blue.
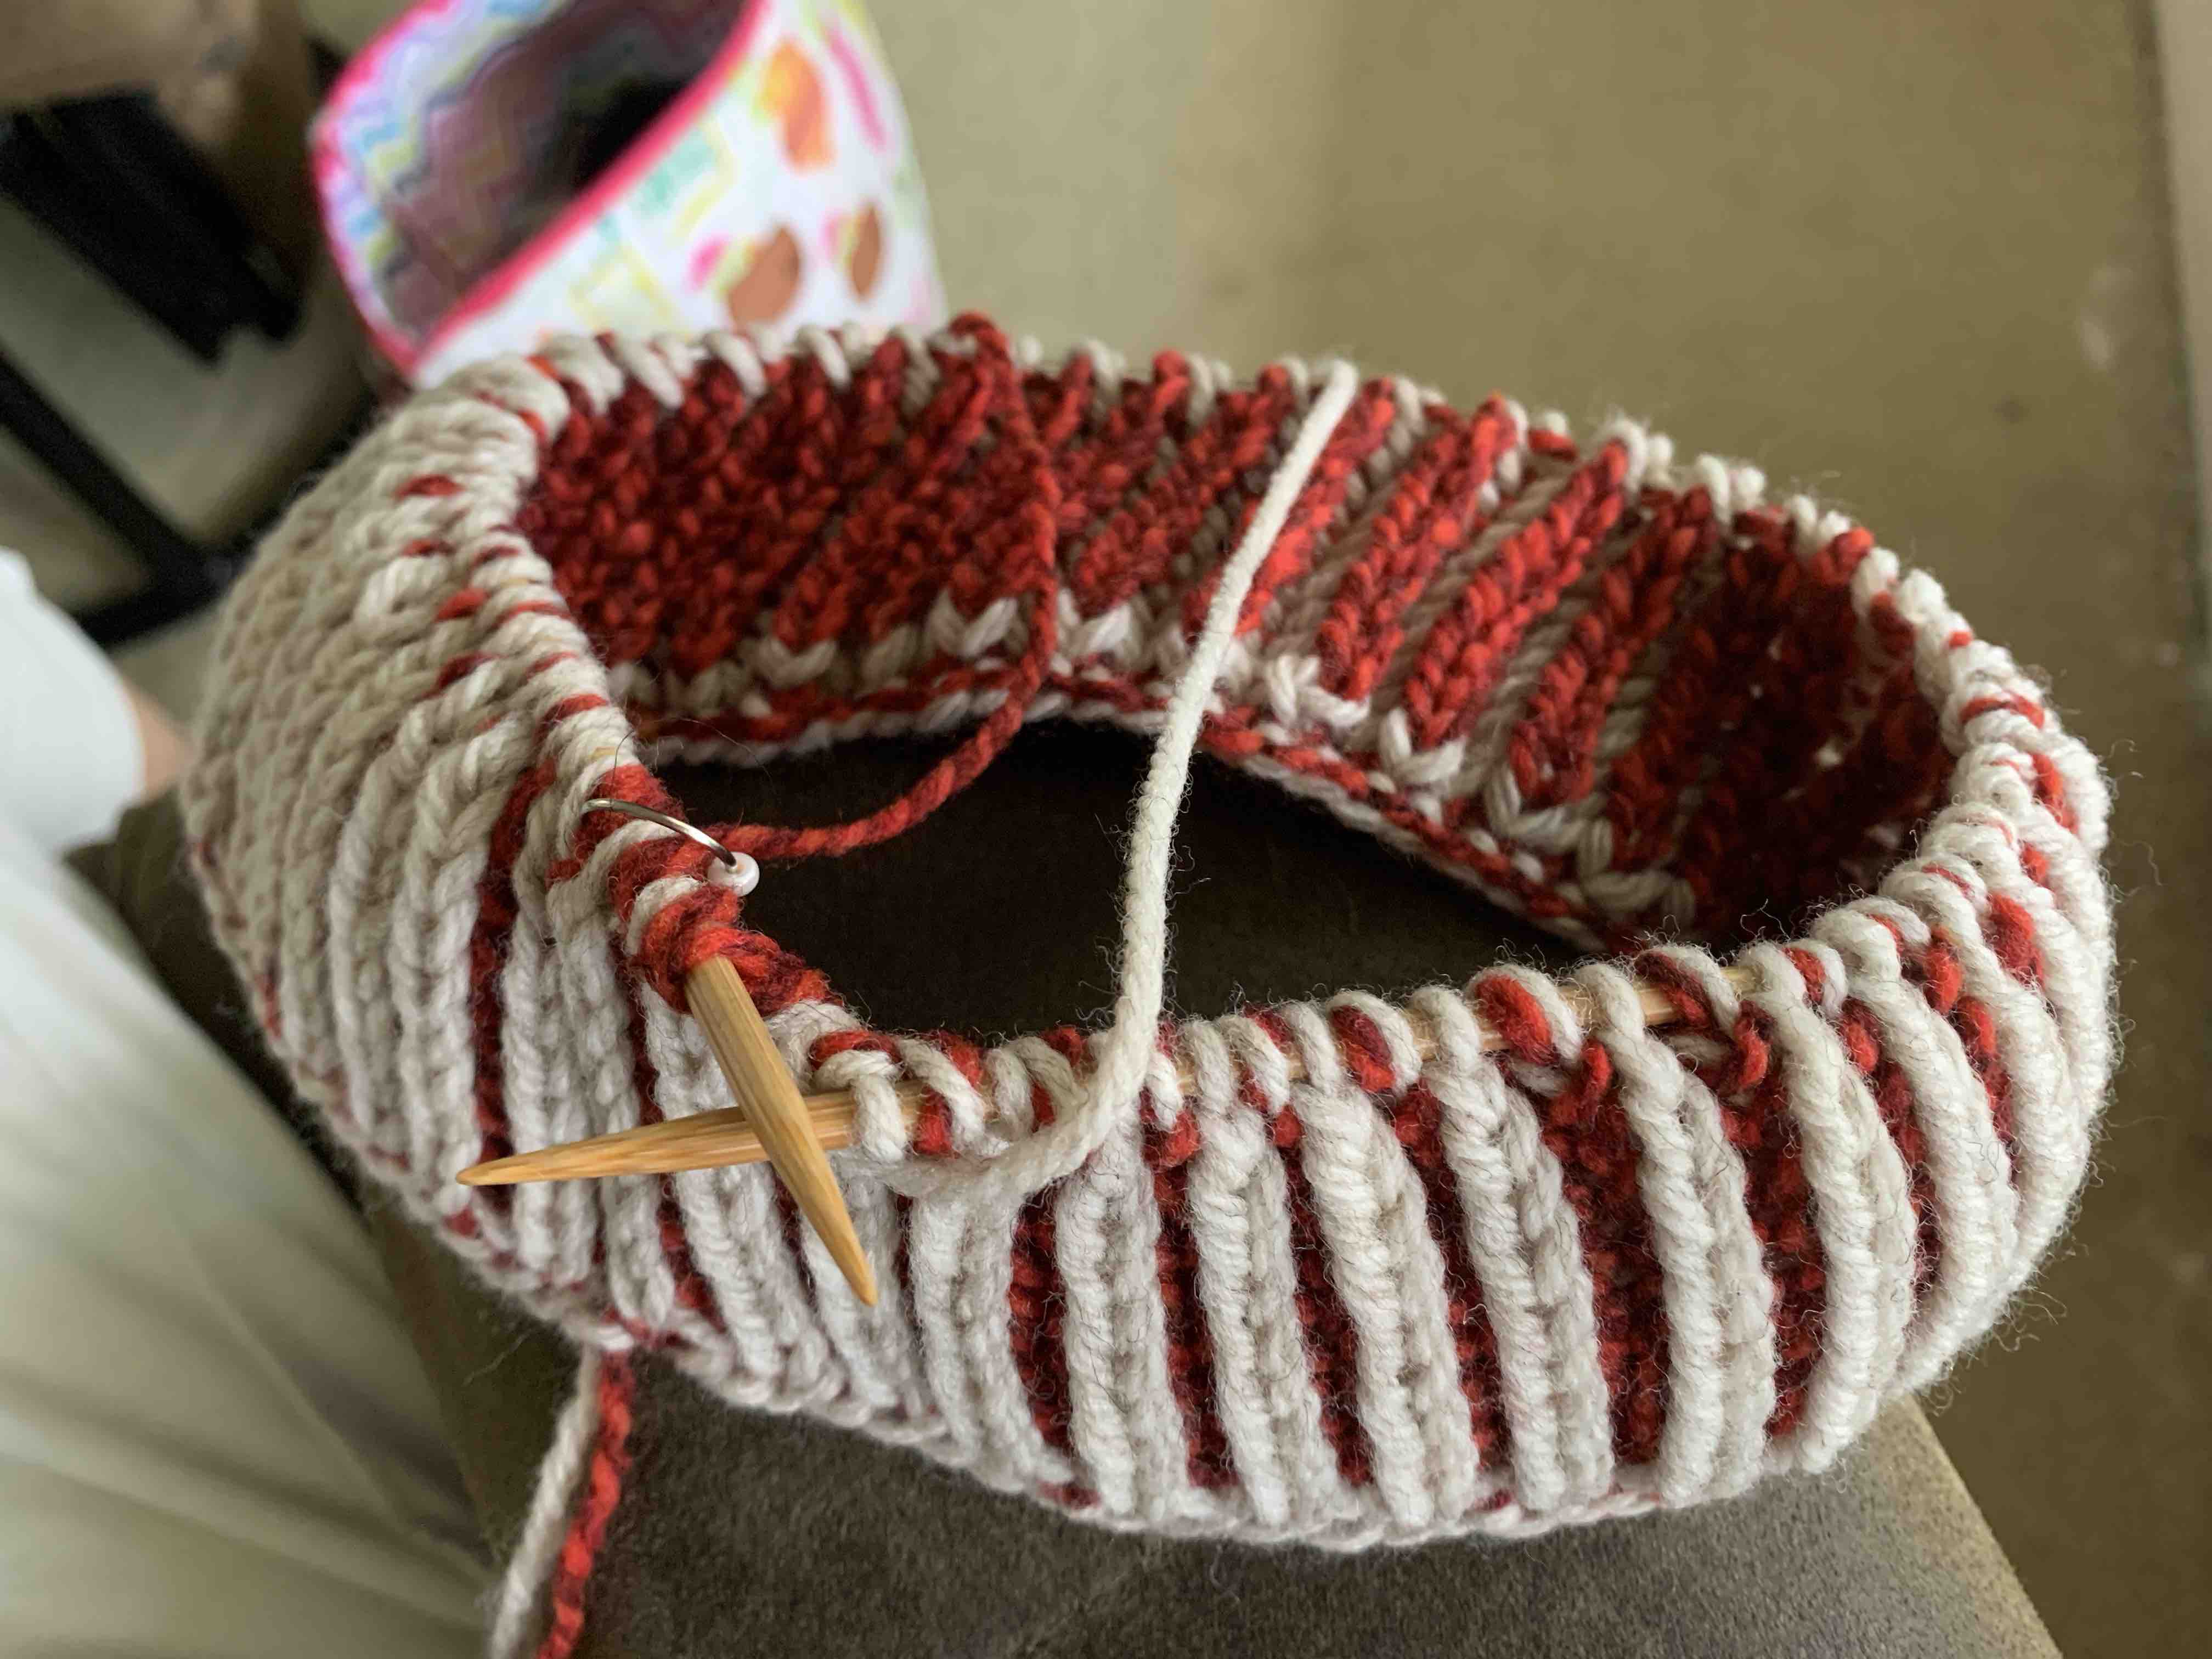
Brioche hat knitting two color
Brioche knitting

My Brioche Knitting Advice For Beginners

To practice brioche knitting, I’ve found that doing the following makes things easier

  • Use worsted weight yarn
  • Choose two very opposite colors and NOT variegated
  • If you can’t get a good cast on done, do whatever you can so you can just knit! Consider this practice.

Figuring Out Beginning of Round Knits and Purls

Brioche knitting is not really all that difficult, but at the beginning of each round I get very confused. This mainly happens when I don’t see the yarn stitches I’m supposed to see for the next round! I guess I have some kind of mental block because so many people CAN DO THIS! What’s wrong with me?

With only two yarn colors and two types of rows (knits and purls), this shouldn’t be all that difficult. But as a beginner, who makes lots of knitting mistakes, I dreaded that BOR stitch – because it screwed me up….!!!

So here’s how it goes for two yarn colors, and two row changes. This much I understand.

Know your yarn and what it means. My knit row yarn is my MC (main color) which for me is light gray. That makes red yarn my CC (contrast color) and it is my purl row yarn.

  • MC Gray yarn = Knit Row
  • CC Red yarn = Purl Row

But in brioche, knit and purl rows are not all that obvious unless you know what to look for. This information is for “brioche in the round” because flat brioche is probably different – I don’t know. (Oh yes, I tried that too and still couldn’t accomplish it! – see the free pattern links below for brioche scarves.)

BOR Stitches – The Knit Row

At the BOR, when I see a purl stitch as the first stitch to work (photo below), and it’s in my CC (red) yarn, it means I will be using the MC (gray) yarn for this row. That means it’s a KNIT row.

The knit row is worked as follows: *Gray yarn forward, slip that purl stitch (purl wise). Leave the yarn in front as I pick up the next TWO stitches (a gray and a red stitch – you can see them crossed in the image below) and bring the working yarn up and over the needle to knit those two stitches together. This creates a yarn over (YO) for the next round of knitting. *Do it again until I finishing knitting this round. It helps to repeat this in your head when you get going on the round…yarn front, slip, yarn over purl (2 – counted as one).

It’s not that difficult. It’s basically a slip and k2tog – but those two together are counted as one stitch. The yarn just needs to be in the correct position to create that yarn over with the knit.
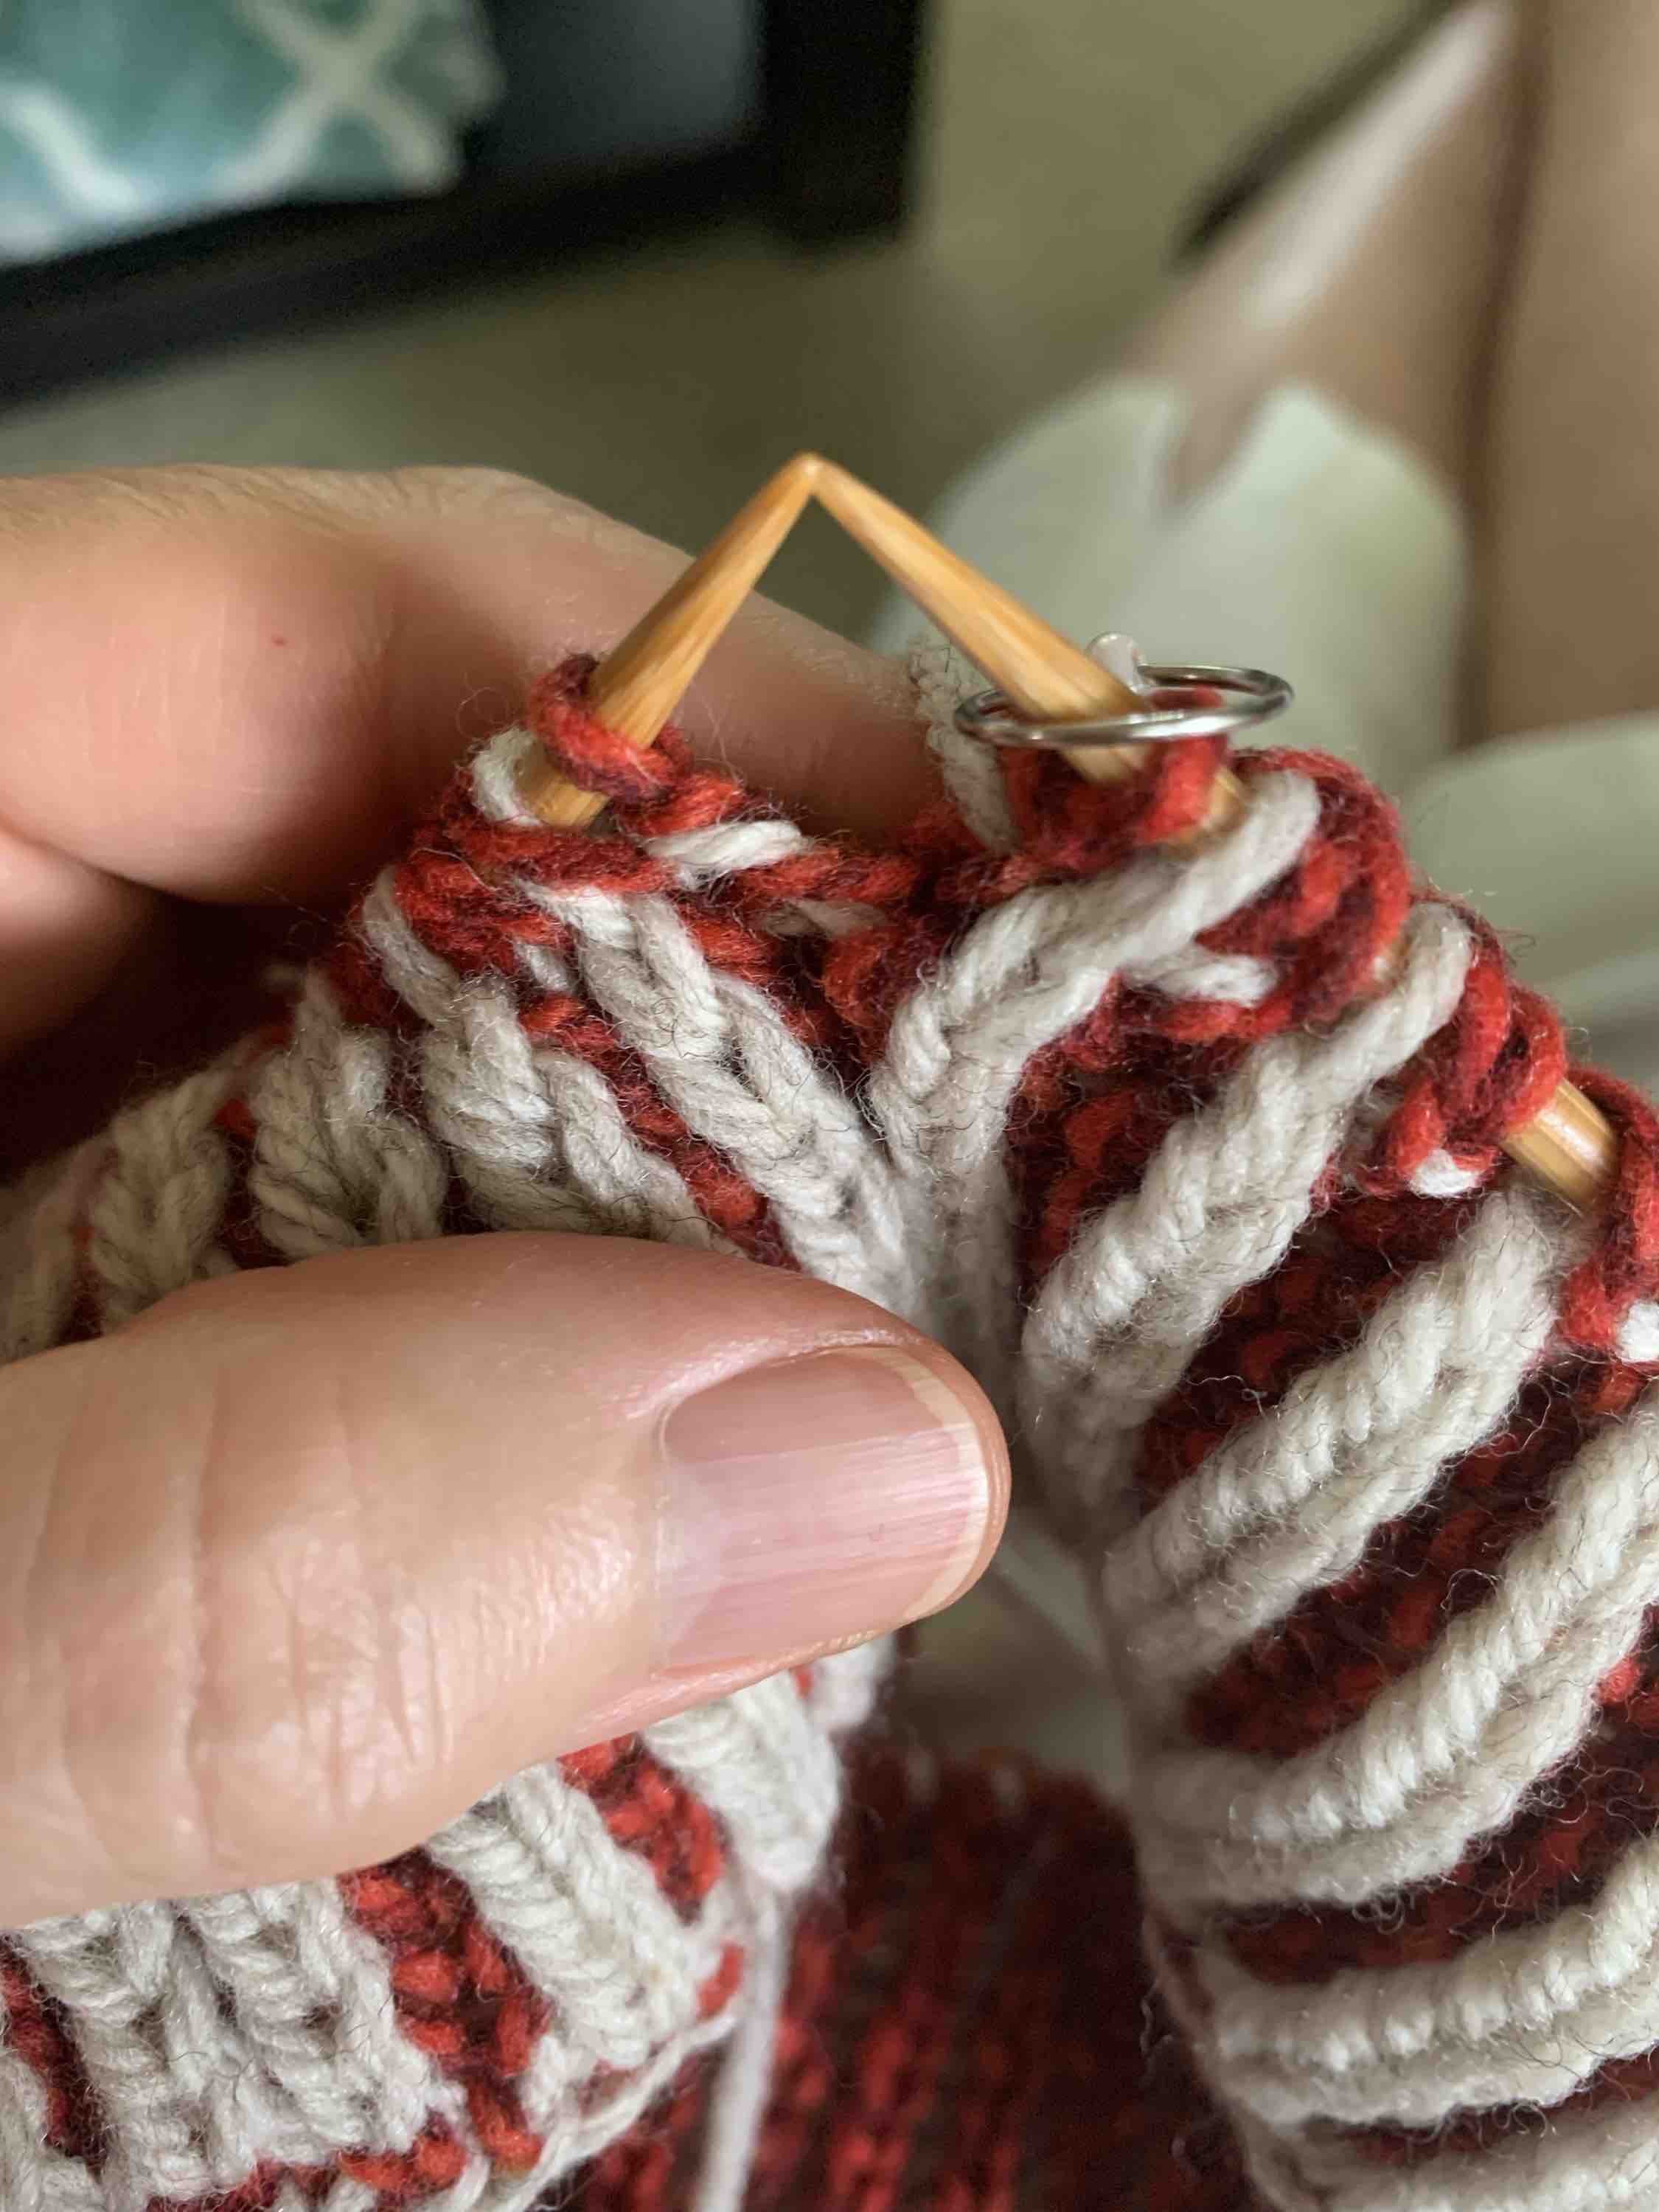
brioche in the round, two color row stitch appearance
BOR, a slipped purl stitch begins this round, so I am knitting this row and using the MC yarn which is gray.

BOR Stitches – The Purl Row

My purl row begins incorrectly. This goes back to my difficulties in casting on. If I can’t make the right kind of cast on and join, I won’t have the correct stitch set up!

My photo below is in the middle of the round, but the beginning of the round would start with a knit stitch like this – at least I think it would. A gray knit stitch means I will slip it – using the other yarn color. Dark blue yarn has replaced my red so I am working with the CC color and purling this row.

Work the Purl Round / Row like this: *Yarn forward and slip the knit stitch. Yarn up and over the needle to purl the next two stitches together. *Continue around. Once the purl has been done, the yarn is in the front so just slip the next stitch. Yarn up and over and purl the next two. Pretty simple. Hahahahaha… do I sound insane?

Adding a New Yarn Color

Eventually I ran out of red yarn so I have added a dark blue. The yarn was added at the beginning of a round and it now takes the place of the red yarn. Blue is now my CC.

I’ve made a ton of mistakes on this practice hat, which may not ever end up being a hat (No, it won’t) because I have no idea how to decrease at the top while knitting brioche – Oh Lord, I’m far from being able to do that!

Brioche in the round, hat knitting practice
Dark blue yarn added

My Brioche Hat Photos, Before I Ripped it All Out

The actual stitches were fun to do, but every now and then I would make a mistake on the round. The Beginning of round stitches, and end of round stitches, did not line up and I would lose it (glass of wine anyone?). Also, it’s easy to not carry the yarn correctly – front or back – which will make unwanted lines of yarn where they shouldn’t be.

This is nearly impossible to fix. Jared Flood suggests adding life lines to brioche and it’s definitely some great advice. See the link to his video below where he shows you how to do that.

The cast-on’s in my photos above were done following Andrea Mowry’s “Two Color Tubular Cast-On” which is really nice and a great cast-on to master. A couple of rows are knit back and forth before the join and the video is a very good one. BUT… and this is another big BUT… like so many other videos, it stops after the cast on – how do I join? How do I continue to knit from this? There is no explanation. The video ends. So the cast on is as far as I went, and then ripped it out.

Patterns For Practicing Brioche

Some patterns listed here are free, and some are not. I did buy the Jared Flood hat which I couldn’t complete. Then I found some free patterns for knitting brioche flat (should be simple right?), which I also couldn’t complete. It’s so sad that I am incapable. If you can’t do brioche, join my club. I may try again in a couple of years, but at this point I am OVER IT.

I’ve spent nearly two weeks trying to figure this out. I have all these patterns and saved videos to reference for later. I’m not one to give up easily and in general I believe that if others can do it, I can. Not so with knitting brioche.

Brioche Knitting Tutorials at YouTube

Lots of people have made tutorials for YouTube showing us how to brioche knit. Here is a list of some of my favorites. No videos I came across shows me how to create a good join and knit from there.

  • Stephen West
  • Brooklyn Tweed – Jared Flood – Brioche in the round – This video is awesome for everything except casting on and joining in the round. Jared explains what to do at the end of the round – with that other color yarn which is just hanging there waiting to be used. He also shows how to add a life line – which is a great idea for knitting something where mistakes could easily be made and be difficult to fix.

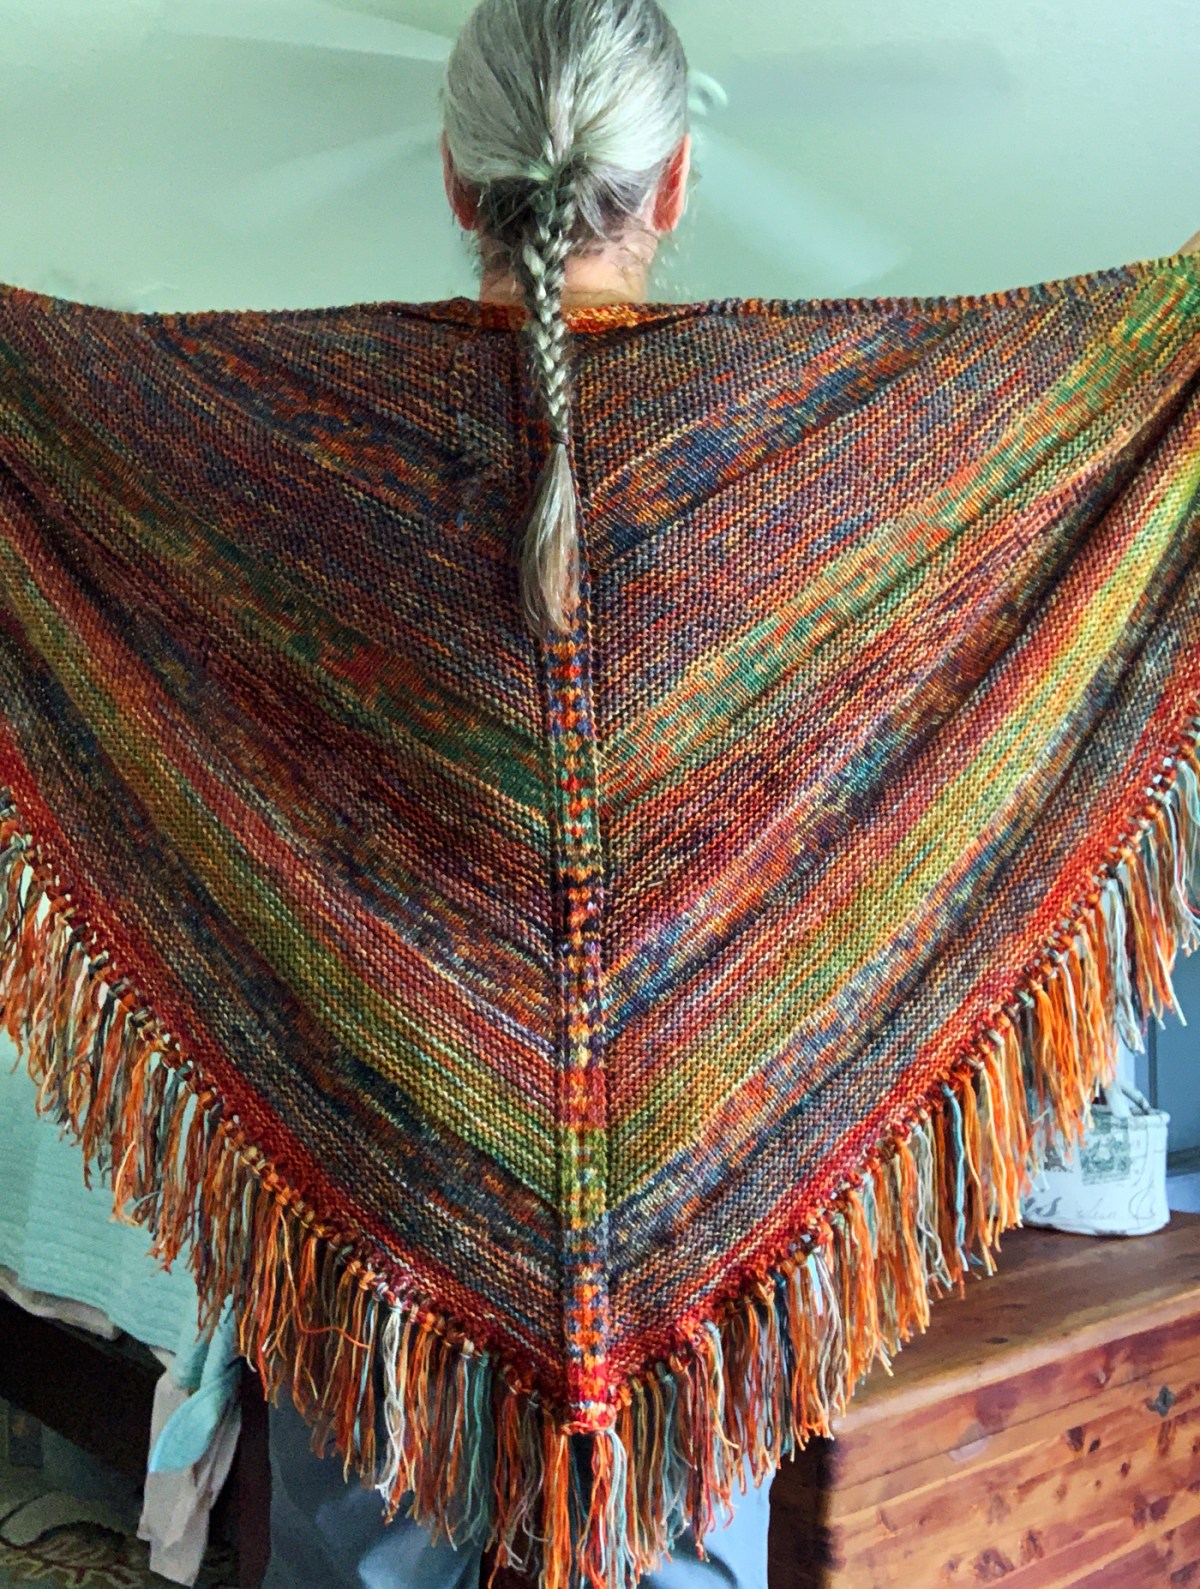
Picking Up Stitches The Easy Way For Garter Tab Cast On

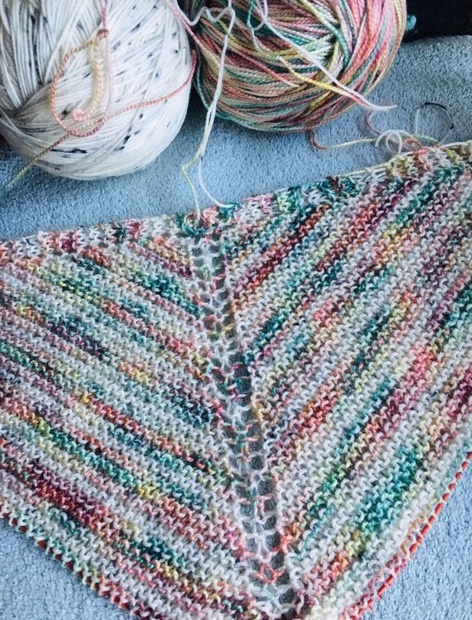
When I began knitting a few years ago, I had no idea what it meant to “pick up and knit” or how to “pick up stitches”. Then, I knit a crescent shaped shawl and had to do a garter tab cast on. I remember watching a video that really didn’t help me much. I made a mess of the garter tab after four tries I said enough!

The garter tab cast on made absolutely no sense to me. It is often used to begin a shawl that is knit outward from the center top. Eventually I figured out that using a crochet hook to pull that yarn and pick it up was way easier than using a knitting needle – as I’d seen in some videos. But I was looking at the whole thing the wrong way. Use two needles and knit the stitches!

Often it’s difficult to find good knitting videos and if you find some you like, stick with those creators. For instance, Very Pink Knits has some good videos, although they are usually long because she likes to talk. Purl Soho has a few good videos – they get right down to business – but they don’t cover some techniques I’ve searched for. Brooklyn Tweed and Andrea Mowry are other video makers I like to watch.

For the Garter Tab cast on, I found Andrea Mowry’s Garter Tab video to be very helpful. Even after all this time, I finally learned how to do garter tab easily! Use a spare needle to pick up the stitches, and then knit them. It couldn’t be easier.

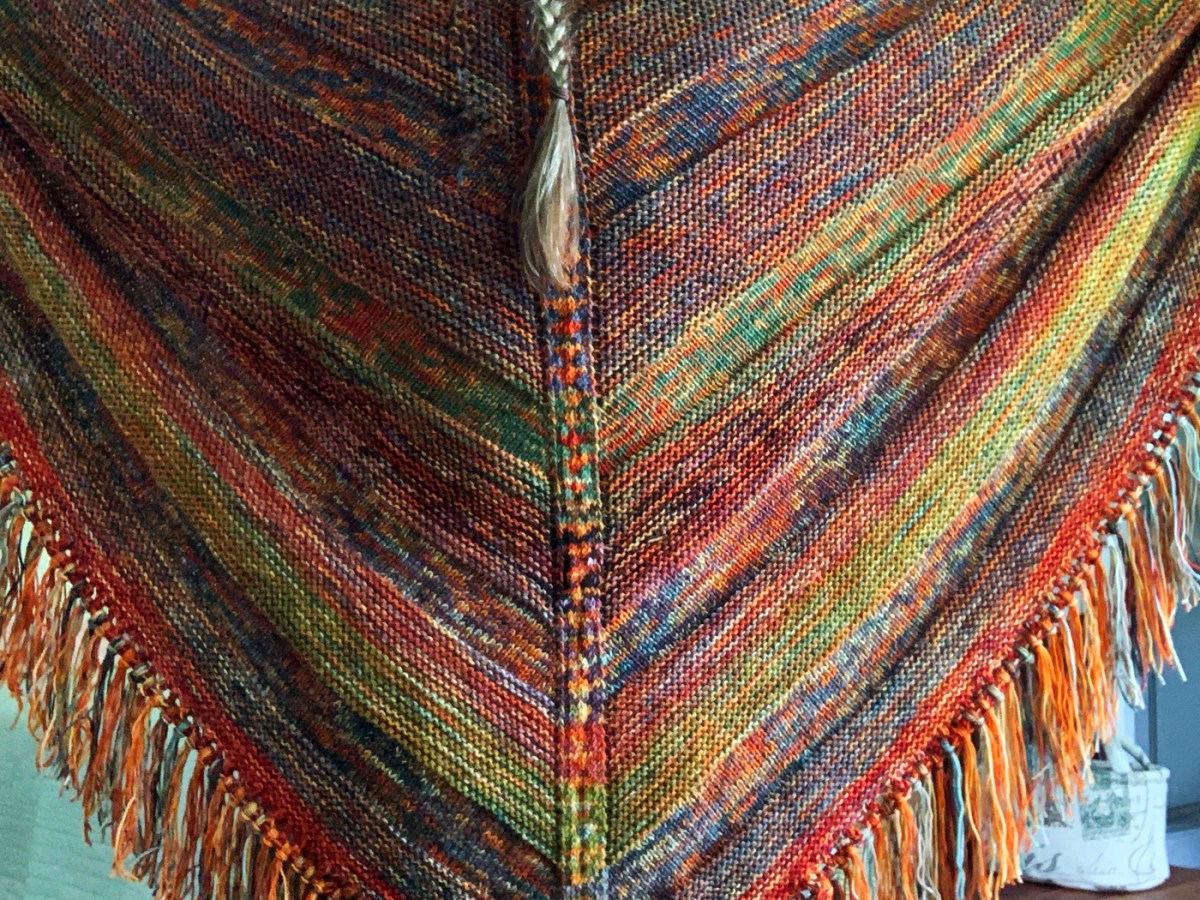
Some shawls I have knit which required a garter tab cast on.

  1. Moon Sisters – orange
  2. Sun Kissed – variegated
  3. Bays Edge – green
  4. Spindrift -purple (my first ever shawl and I’m not sure this one required a garter tab)
  • Moon Sisters Shawl
  • knitting sun-kissed shawl
  • knitting the Bays Edge shawl
  • knitting a shawl

Stephen West also does a garter tab video and shows off his fantastic shawls too (at the end). I’m not much of a shawl knitter but he made me want to start one. He’s also quite a character to watch.

In fact I would use this same procedure for picking up gusset stitches while knitting socks. This is truly the “pick up and knit” I’ve heard about.

Anyway, these are some links to help you get going with a shawl so you won’t dread that garter tab cast on.

More About Knitting Shawls

Grab That Hand-spun Yarn If You Can Find It

What is hand-spun yarn? I’ve wondered about this for a while now. But the answer seems to be simple. Yarn which is spun by hand, by a person and not a machine is labeled “hand spun”.

Learning about the different types, weights, plys, fibers, and dyes of yarn can be intimidating. I don’t have any family or friends around me who knit these days, so all my knowledge has been learned over time from viewing discussions online. When I came across gorgeous yarn of all different colors and textures, I fell in love.

Yarn can be hand-dyed and still not be hand-spun. Hand-dying is something many people do. They begin with un-eyed, natural fiber and then experiment with dying in their home or business. Lots of skeins may say proclaim to be hand-dyed. Hand-spun on the other hand is more difficult to find.

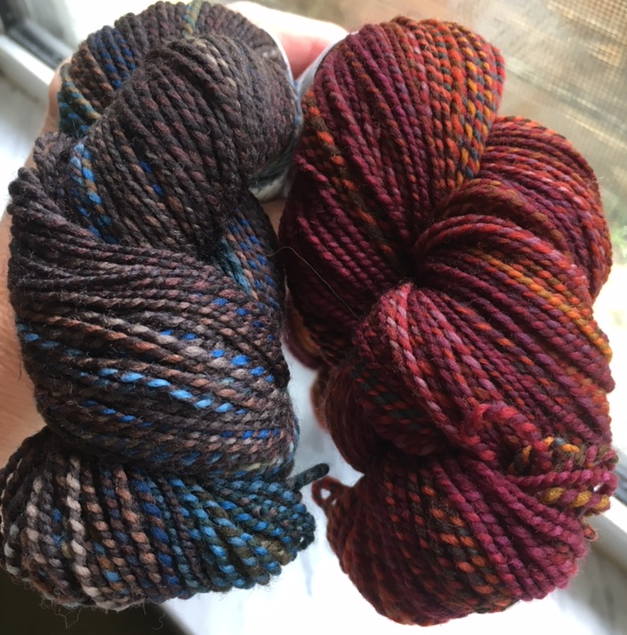
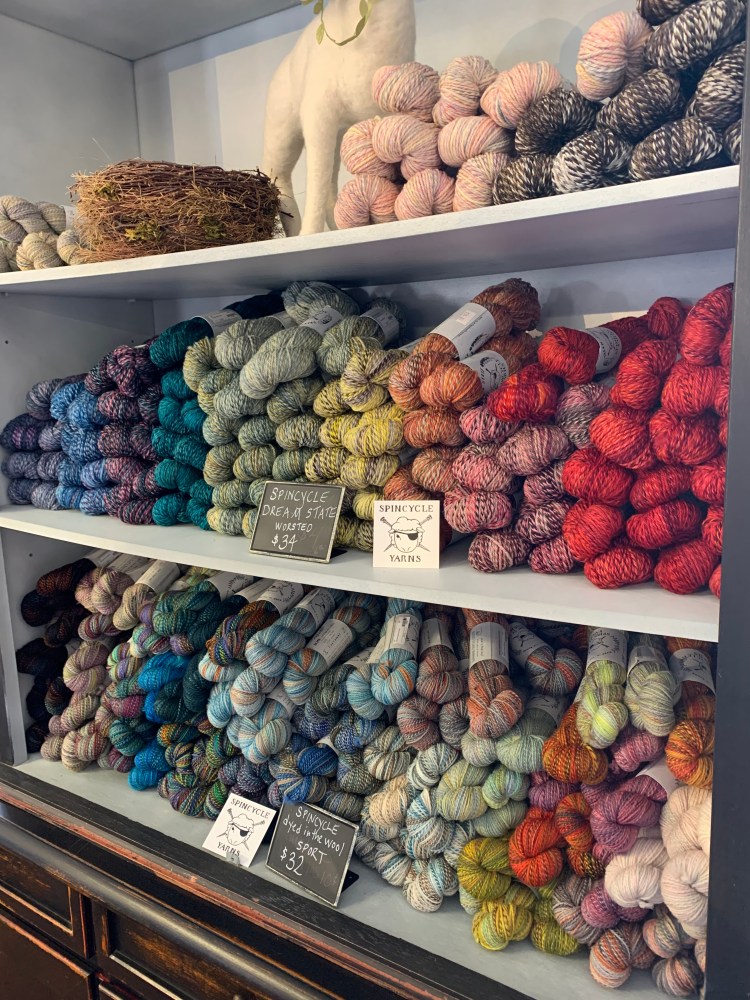
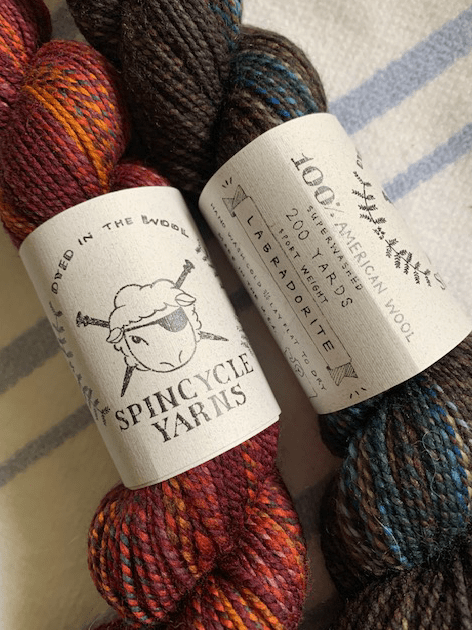
Spincycle yarn has a hand-dyed look, but technically it is not spun by hand. With various colors spun together in this unique way, knitting with these skeins will produce beautiful garments. Not all hand-spun yarn looks like this. It can be a single color (single ply), the natural color of the animal, or spun with beads, glitter, and whatever to create art yarn. Hand-spinning means the one doing the spinning can do what she / he wants!

Where to Buy Hand-Spun Yarn

Hand-spun yarn is difficult to find to buy. Even at Spincycle, who creates look-alike hand spun on machines, many colors seem to constantly be out of stock. And hand-spun yarn is not cheap!

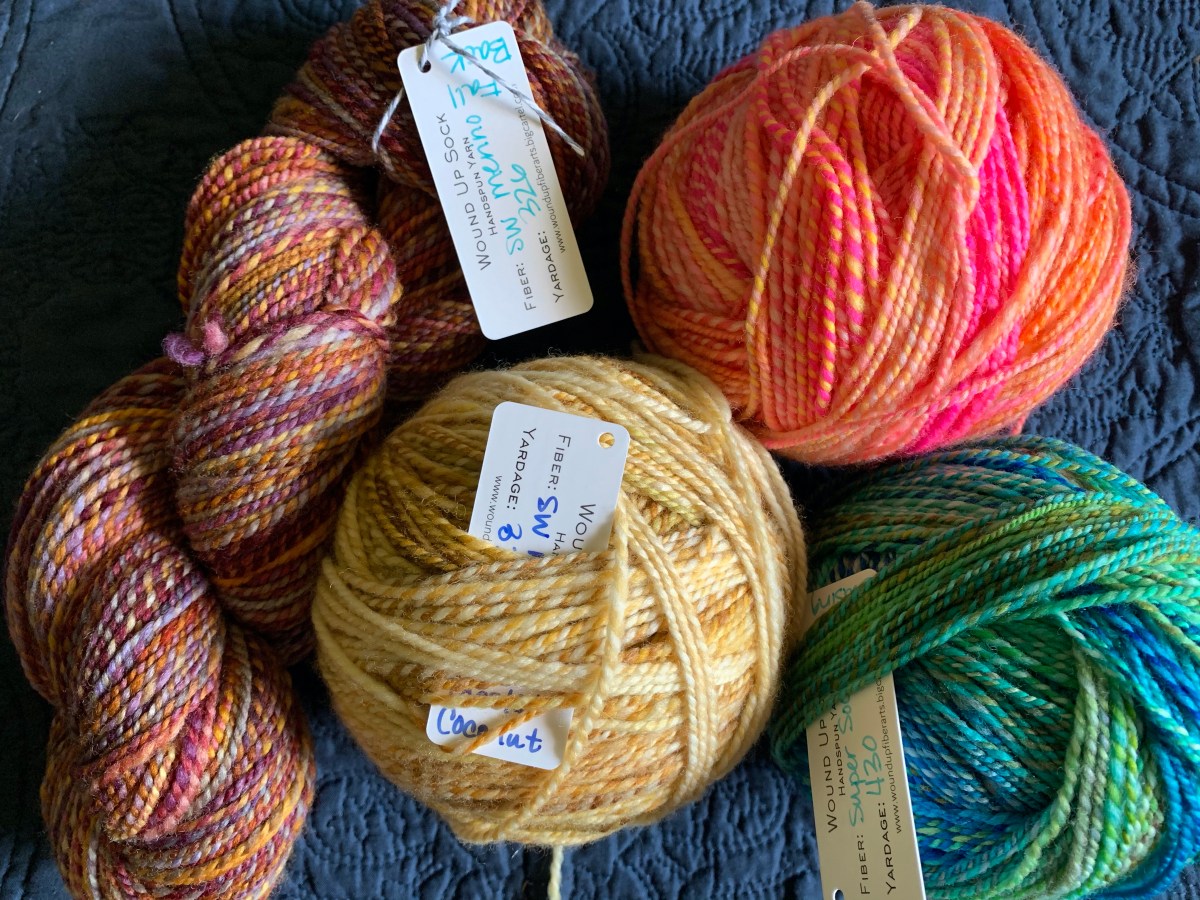
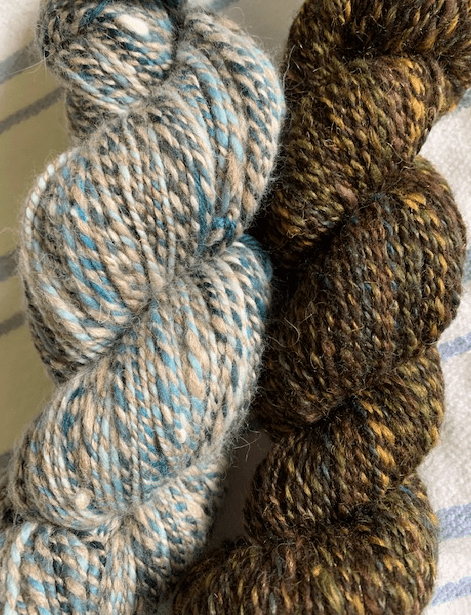
A good place to search for hand-spun yarn is Instagram. I find many useful yarn / knitting related things there. Wound Up Fiber Arts advertises her yarn and if I see something I like, I buy it immediately because it goes fast. Mostly I only see roving for sale on her sight. The pink and yellow yarn below came from her store.

Another store I found through Instagram is Blush and Bloom Fiber Co. She spins her yarn on a spinning wheel, and it is very beautiful, but you will pay big bucks for it – around $70.00 per skein!

What Do People Knit With Hand-spun

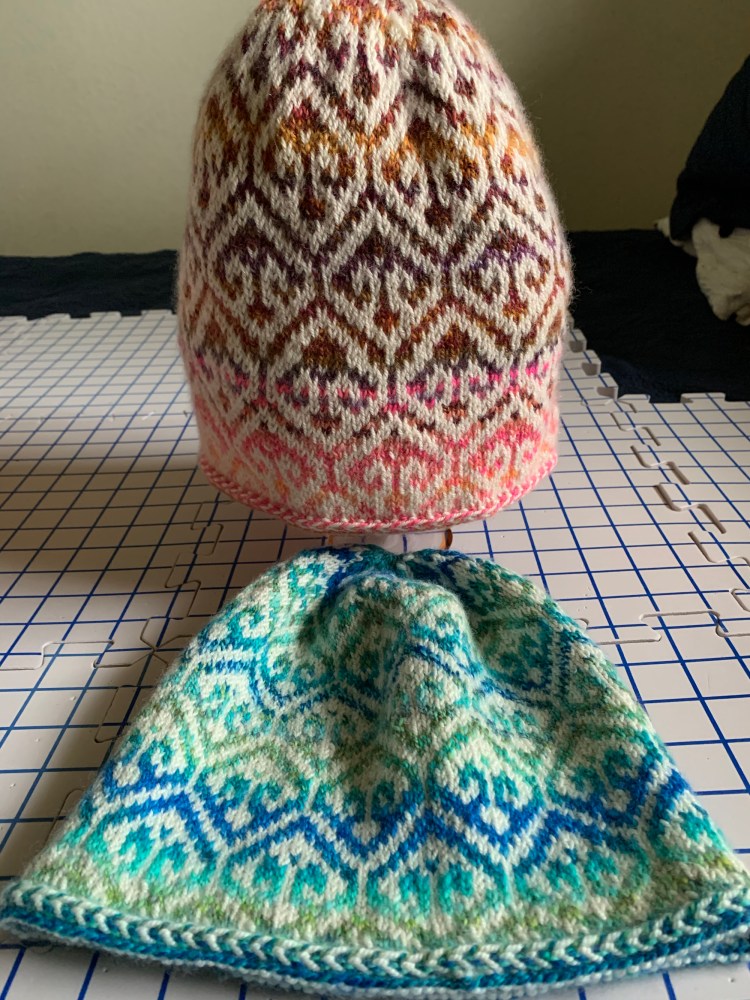
Colorful handspun can be used in colorwork knitting to be the contrast color. My hats pictured below were knit with handspun which creates a gradient look when combined with a solid main color. Often designers will knit sweater patterns with handspun as the yoke contrast color. This looks especially nice, if you can find the right hand-spun color. The pullover sweater patterns Newleaf and Hinterland feature Spincycle yarn.

Because it’s often “superwash” this yarn is good for knitting socks, although I’m not sure I’d do that with this expensive yarn! Usually I’ve seen it as fingering, sport, or DK weight, but Spincycle has some in worsted. It’s usually sold out.

More Hand-spun Yarn I’ve Bought

I used hand-spun along with a solid white for the Fair Isle hats shown here (Turkish Patterned Cap).

Buying Hand-spun Yarn at Etsy

Some Etsy shops carry hand-spun yarn. Some yarn looks better than others. I’m a bit leery of buying hand-spun when I have no idea how the yarn was actually created. Etsy sellers are usually very small business owners who sell out of their house and are not widely known. Don’t get me wrong, I love Etsy, and I’ve had great customer service over the years. It’s just that I wouldn’t know an experienced spinner from a beginner. Some sellers will explain in detail how they made the yarn, and that’s good. Also read reviews from previous buyers.

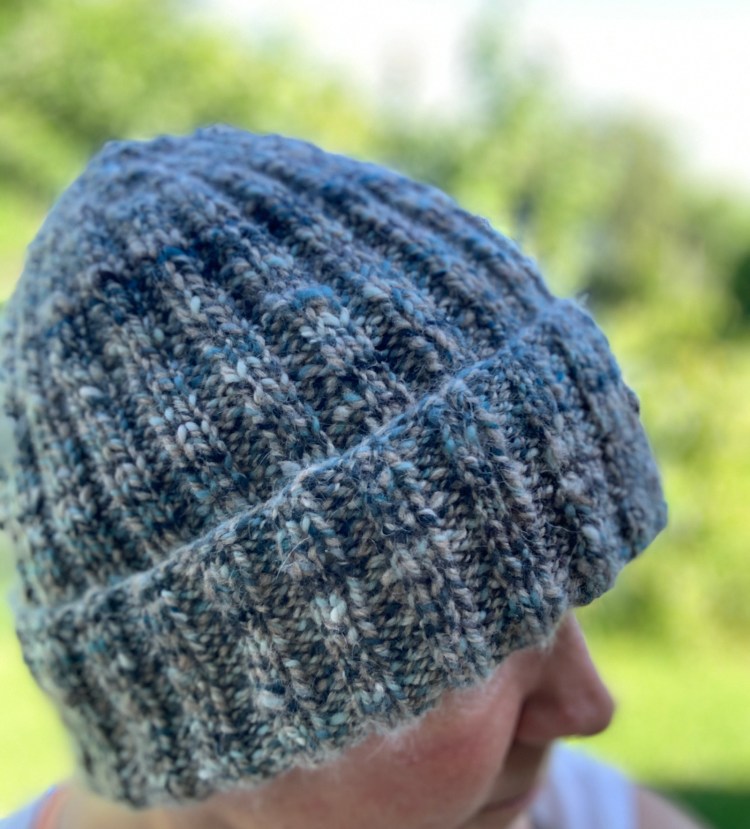
I made the blue hat above with hand-spun yarn from Clarion Call Fiber Arts at Etsy.

How is True Hand-Spun Yarn Created?

Here is how I understand it: First, find the wool and / or other natural fiber needed to create the yarn. If you bought fleece or sheered your own animals, it has to be washed, carded, and be prepared for spinning. Then, a drop spindle or spinning wheel is used to spin it. Somewhere along the line it may also be dyed. And if more than one fiber will be spun together, you get it all ready and then turn it into plyed yarn. Here is a link to The Joy of Handspinning site which explains the ins and outs of hand-spinning. I think you will be impressed.

In a nutshell… hand-spinning is a lot of work! And the tools needed are not cheap. I imagine that most people who do it keep the yarn to use themselves, or sell locally. How much would you charge after all that time and effort to create one skein of this unique yarn?

Keep Reading: Recent Blog Posts

Why Knitters Need to Swatch and Get Gauge

Learning the importance of knitting a swatch and keeping that info for later. It’s not a waste of time, but a necessary part of knitting patterns.

I’ve been seriously knitting (as much as possible) for a couple of years now. I still consider myself a newbie to the knitting world. The more I knit, the more I realize I still have a lot to learn. (Photo at top: Miss Babs sends along this little bits of yarn to try out whenever I place an order, which I think is so cool!)

I want to say that I am a beginner in many ways. Swatching and getting gauge is still something I need to work on. I am searching for information on these subjects myself. This page is full of good links to help me as much as any reader.

Swatching is Not a Waste of Time

When I first began to read about swatching I thought it was going to be a tremendous waste of time. And then I would just have to unravel the swatch before I began knitting the item. What was this gauge thing and how off could I be? Plus, I really didn’t understand how to make a swatch.

This Very Pink Knits video was very helpful in making me understand more about making swatches.

Tie Knots For Needle Size Used When Swatching

In the Very Pink Knits video above, around 7:15, she will show you this handy trick to remember needle size used when swatching. Leave a long tail and tie one knot for each size. In my swatch samples below you can see I have 5 and 7 knots tied which means the dark green swatch was knit in a size 5 (US) and the lighter was knit with a size 7.

knots for needle size used in a swatch
Knots in the tail represent needle size used

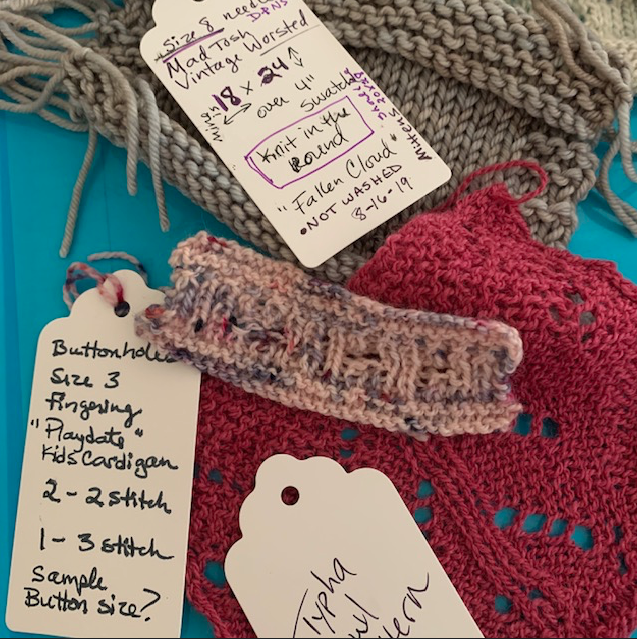
I was thinking about swatching incorrectly. Each swatch can be kept as a reference to go back to and use when knitting something in the future. A swatch, made correctly, can be stored with other swatches to build an inventory over time. Of course labeling each one is important to remember the yarn used, needle size, etc.

using tags to save swatches
Tags can be used to save swatch info, but must be attached to each swatch

Gauge is found by counting stitches across and also rows (up and down). Rows aren’t as important for scarves or items that can be a bit longer or shorter without a problem.

Changing needle size will help with gauge. Most times I need to go up a needle size to get gauge. This means I knit tightly and get more stitches in my 4 inch swatch count than there should be. When I go up to a bigger needle my stitches are bigger so there are fewer within the measurement. The type of yarn can also be a factor.

As you can imagine, not all knitwear designers knit the same, and they probably don’t knit the same way you do. And if you change yarn type – that matters too! This is why gauge is important to figure out before knitting something like a sweater. Pattern designers will give you the recommended gauge and you keep trying to knit swatches until you get that gauge – or very close to it.

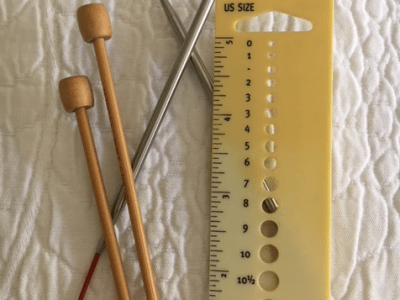
Convert suggested needle sizes using this excellent chart (link below) which lists US, metric, and UK / Canadian sizes.

Knitting Needle Conversion Chart


Keep Reading: Recent Blog Posts