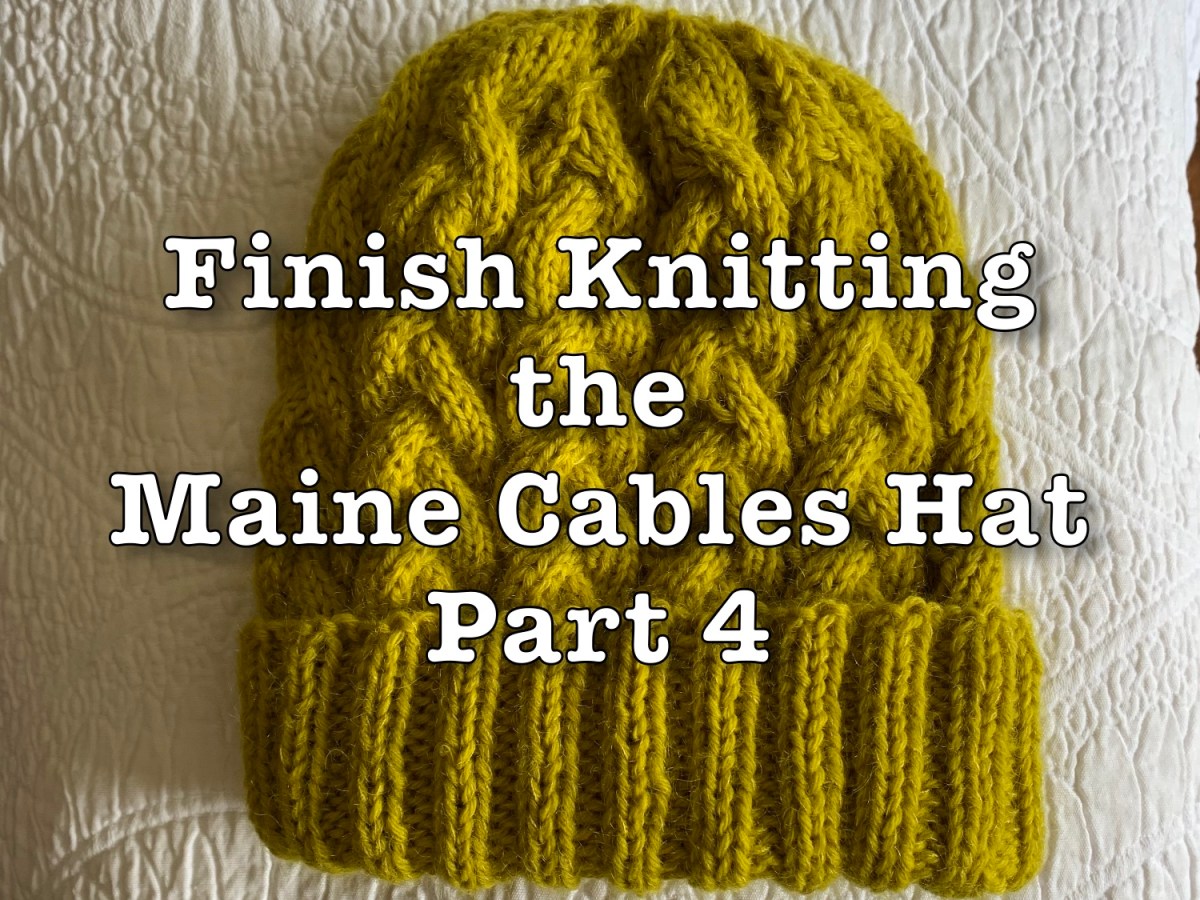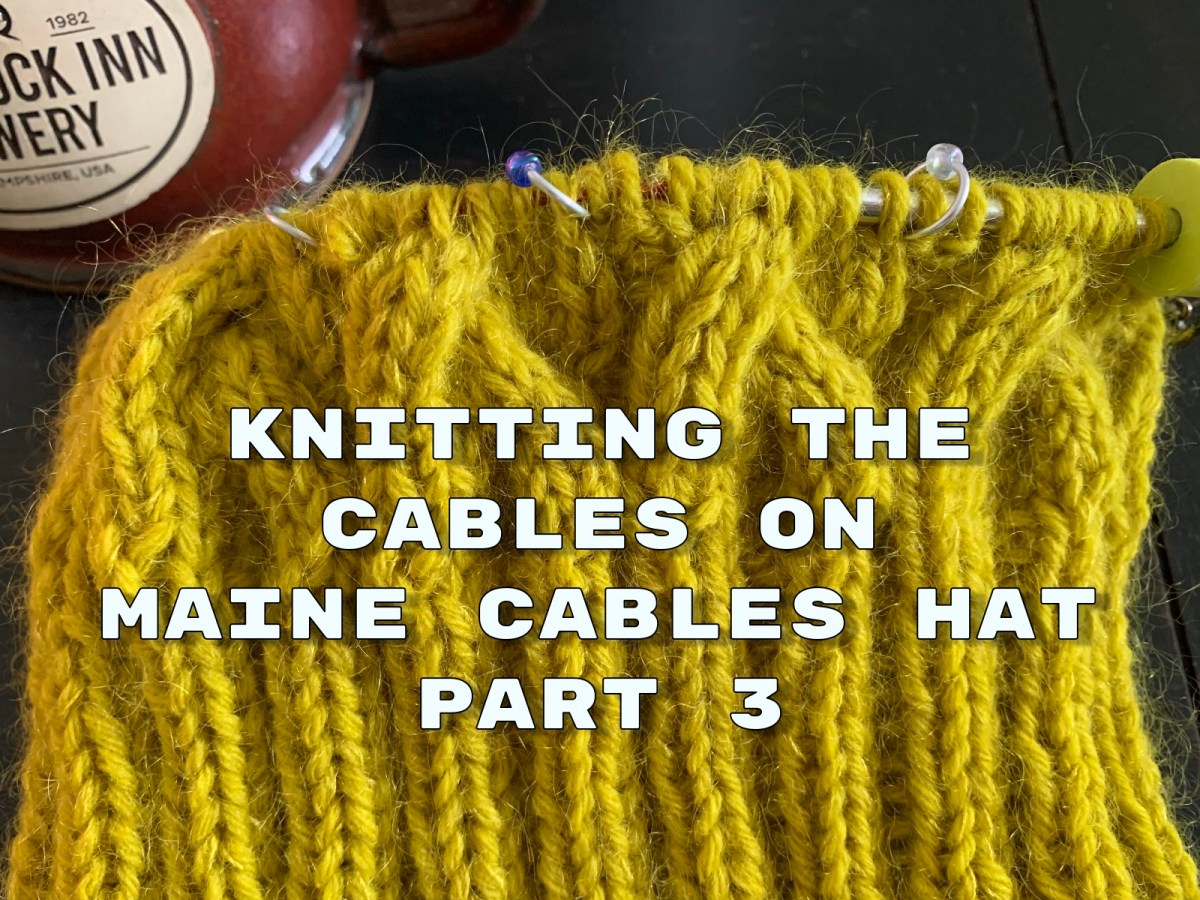
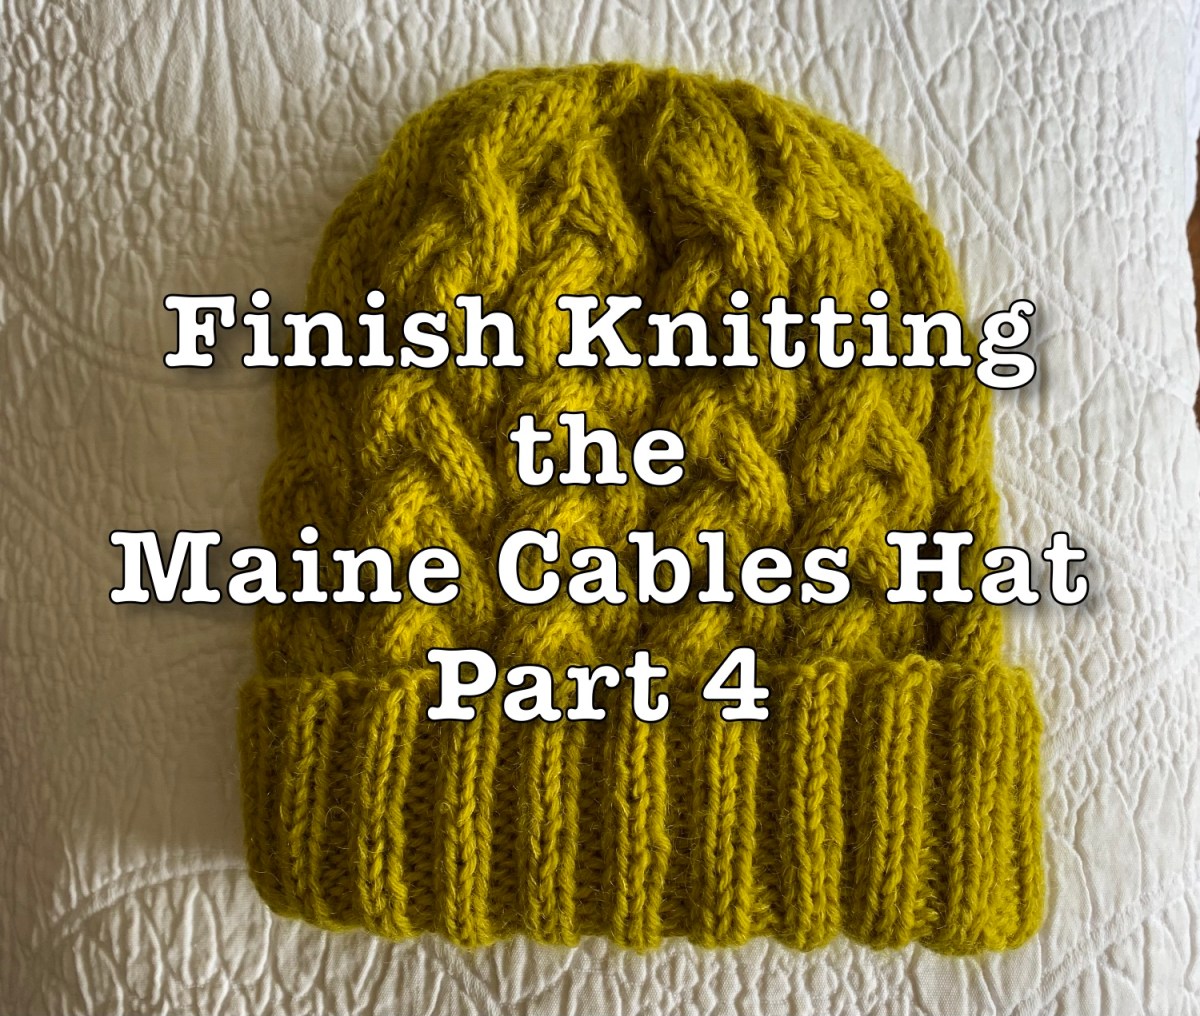
If you have been knitting along with me, and creating the Maine Cables Hat, this is the last in the series. In Part 4 we will decrease and finish knitting the project.
After we knit all the normal rounds for making the cables (see part 3), we come to the crown decreases. This can be the trickiest part of knitting a hat. The reason for this is that at some point our stitches will be too few to fit on the 16″ circular needle. We will have to switch to double-pointed needles (DPNs). (If you know how to use Magic Loop, and prefer it, feel free, but I don’t cover it here.)
I always try to keep my 16″ needle for as long as I can. But, once the stitches become too far spaced, we have to get the stitches onto those four DPNs.
Switching Over to DPNs
The crown decreases in the Maine Cables Hat begin in Round 9. We just finished knitting Rounds 1-8, five times.
Each round in 9-22 will be a little different, so follow the pattern. The last cable row will be Round 12. The others will require some k2tog and p2tog stitches.
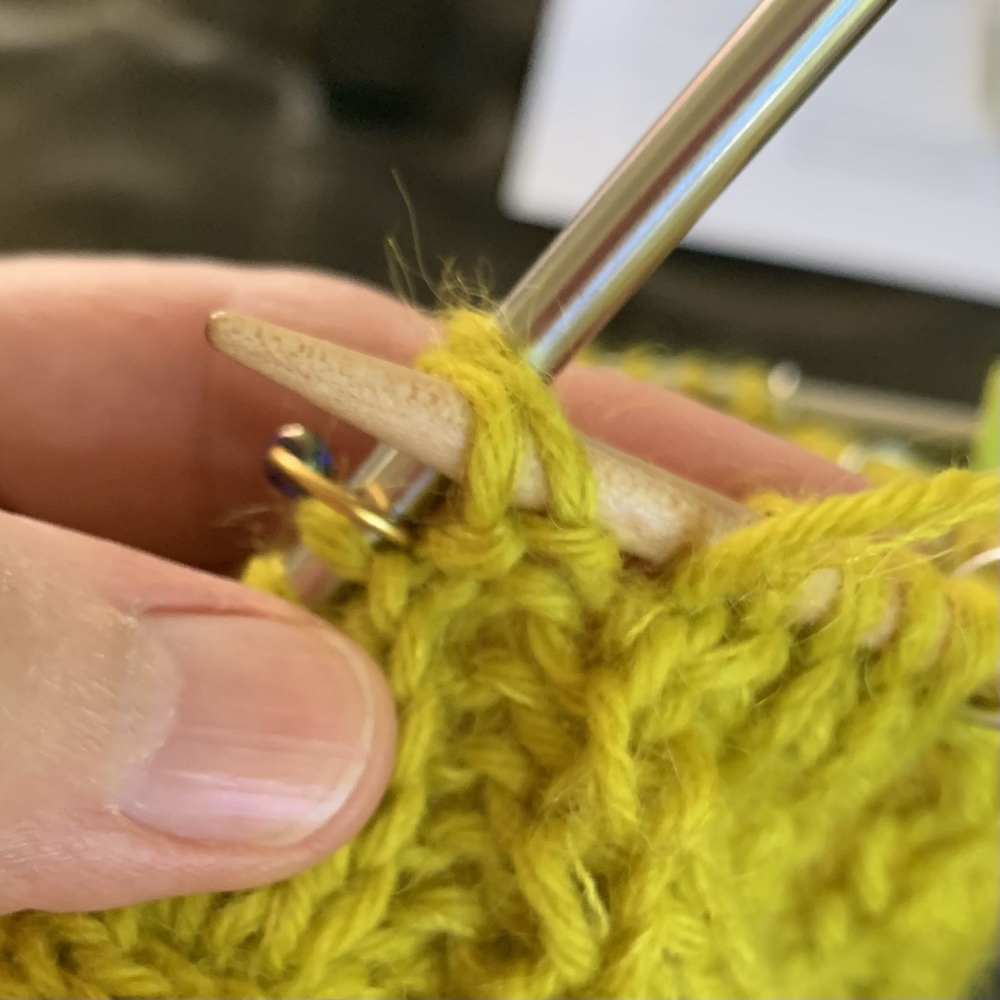
When the time comes, divide the stitches up between four DPNs in the size that matches your original knitting needle. My needle is size 8, so my DPNs are size 8. DPNs come in sets of five needles. Four will hold stitches and one is used to knit with. (You can also do 3 needles for stitches.)
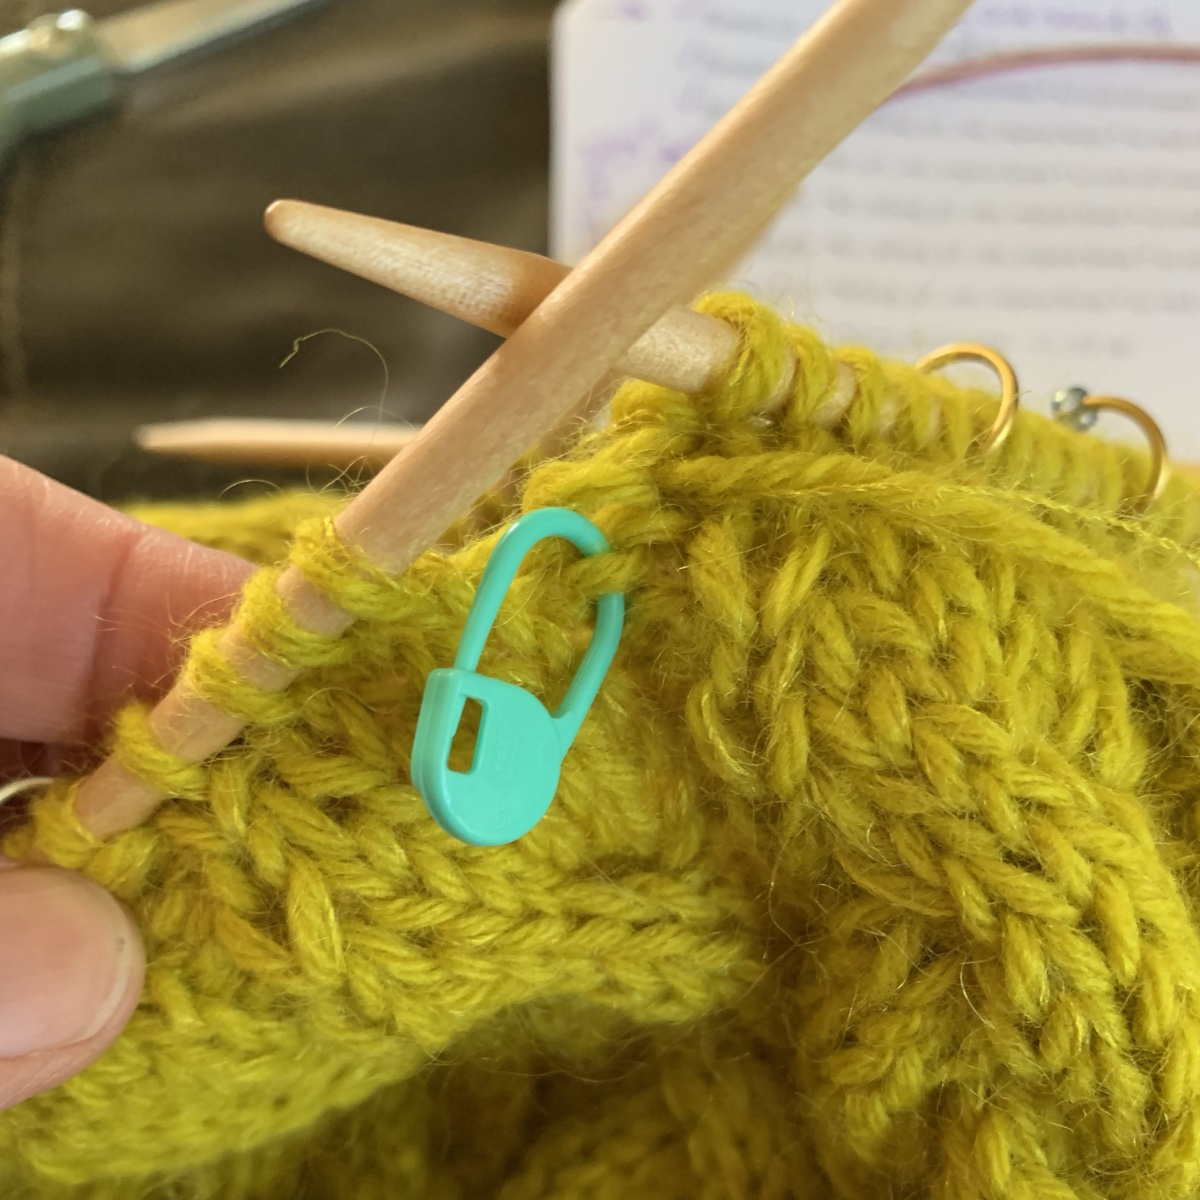
I like to make the switch to double-pointed needs at the beginning of an easy row. I am choosing Round 18 because I will be down to 55 stitches total (Small size hat). This round is made up of only knits and purls which makes the dividing easy. There are no decreases in this row.
Leave all the stitch markers as they were, except to switch out the BOR marker. Remove the original marker and place a removable stitch marker which is not on the needle but on the fabric. This way it will not be in the way on the needles, but will remind you of the row beginning.
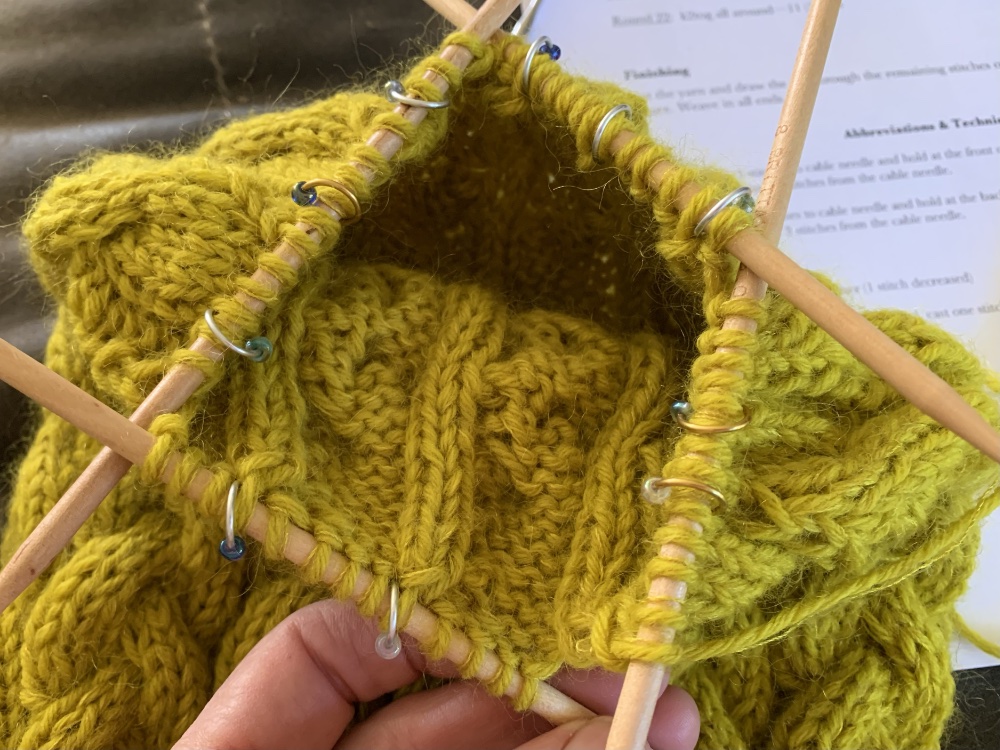
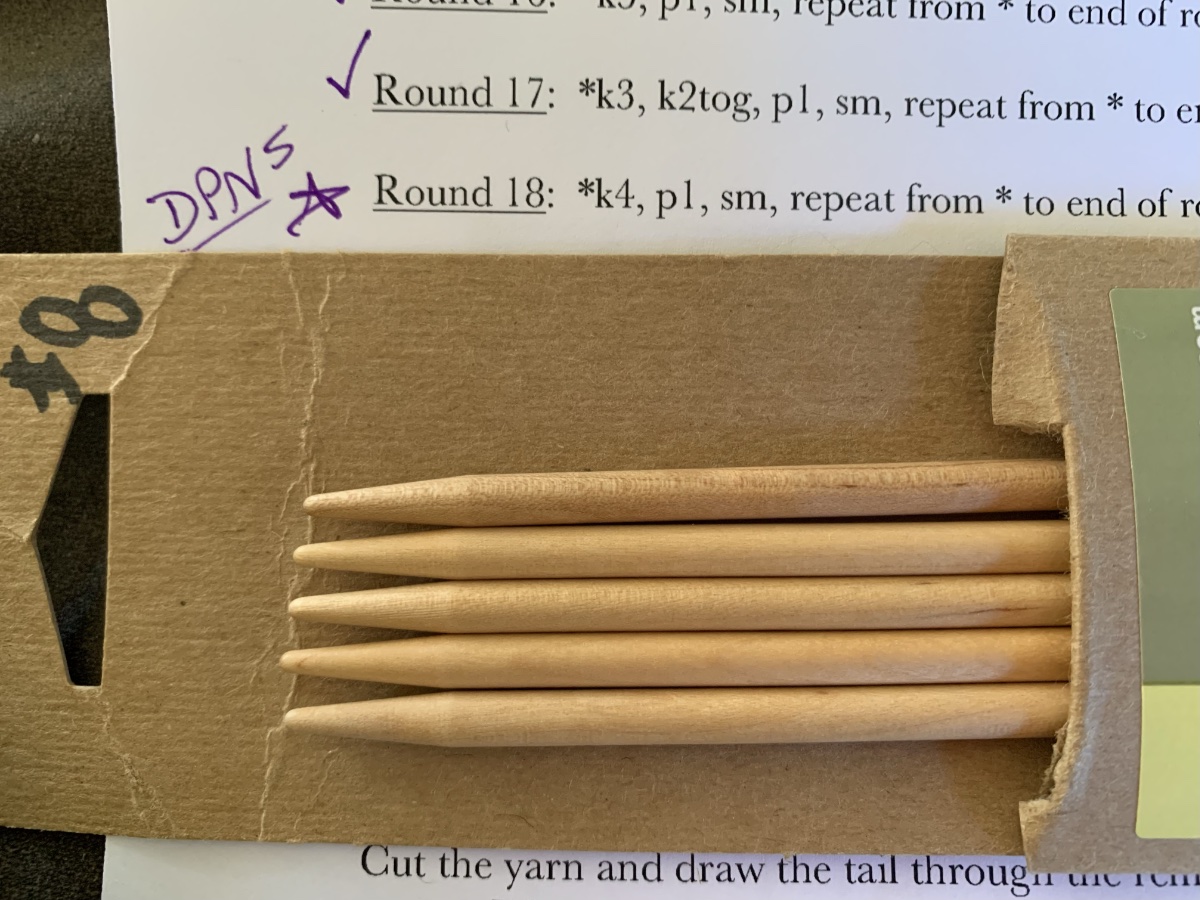
For the Small size hat – 55 total stitches = 3 DPNs holding 14 stitches, and 1 DPN holding 13 stitches. You really don’t need to be exact. I try not to drop a stitch marker, but it is pretty easy to count the in-between stitches at this point.
For the large size hat – 60 stitches total = 4 DPNs each holding 15 stitches.
Continue to the End
The stitches on the 4 DPNs do not have to remain the same. As the decreases are made, switch to 3 DPNs, but keep the stitch markers until the last row (or next to last row). Remove them as you finish up with the k2tog stitches.
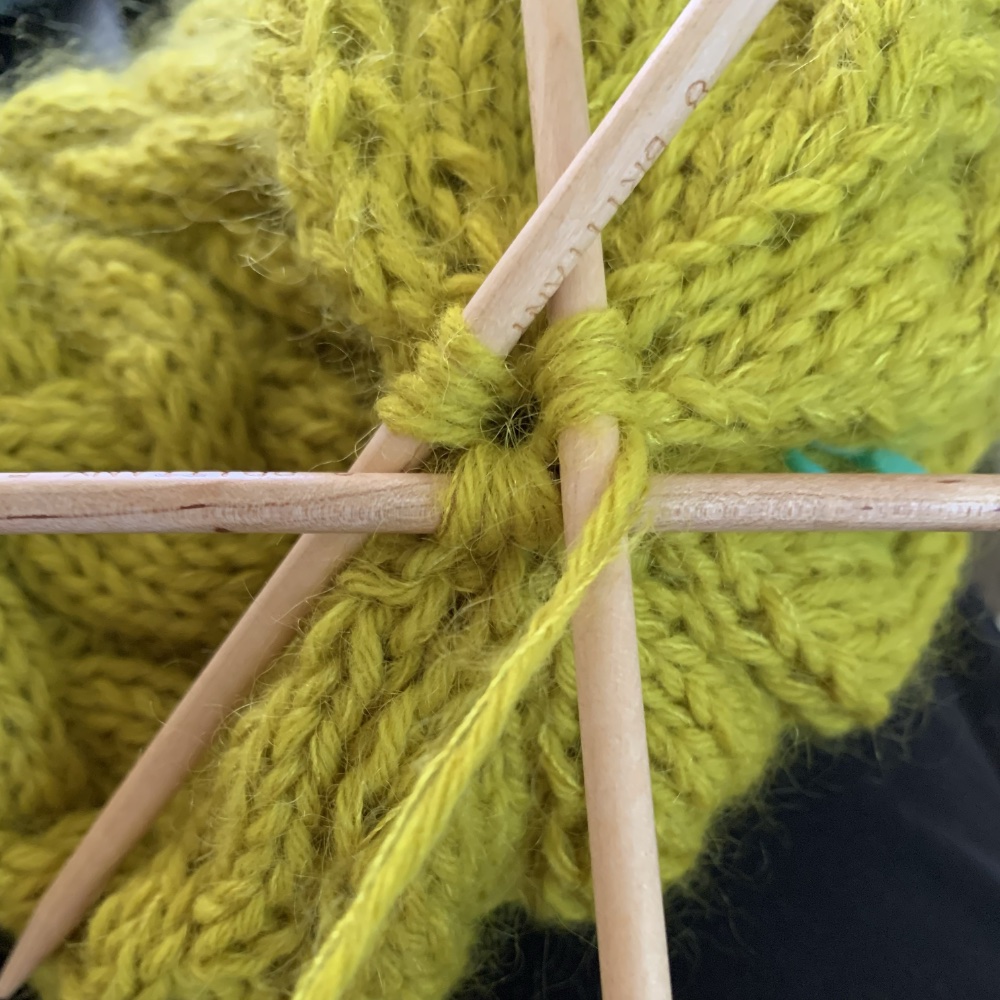
At Round 22 there will be either 11 or 12 stitches left on your DPNs. Now it is time to cut a long tail on your yarn, and get your embroidery needle.
Use the embroidery needle to go through all stitches twice – I like to do twice, but you don’t have to. Go around to the left, leaving the knitting needles in place, just as you would be knitting, and include all stitches. Pull them pretty tight, and then go through them again – while removing the needles, and pull to close up the top.
Stick the needle down through the top to the inside of the hat. This is where you will weave in that end. (Weaving in quick video here.)
Weave In The Loose Ends
All that is left to do is weave in the remaining loose ends.
Turn the hat inside out and weave in the yarn that is already on the needle. If you added new yarn, weave in that tail. Then, weave in the end that is hanging where we first cast on our stitches. *Remember how the brim will fold (or not fold) and weave in on the wrong side so the weave will not show.
Congratulations – Go Try On Your New Hat!
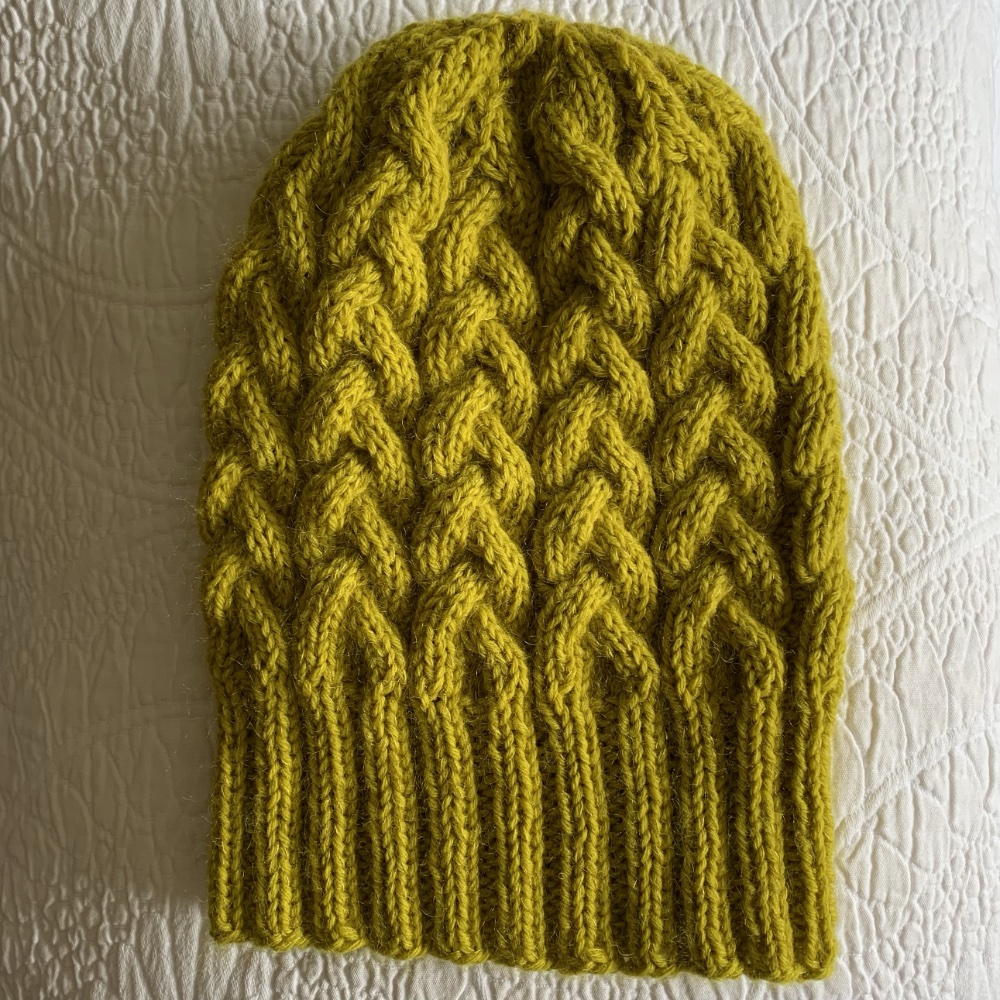
You are finished knitting the Maine Cable Hat! Congratulations on your new winter accessory that I’m sure is extraordinarily beautiful.
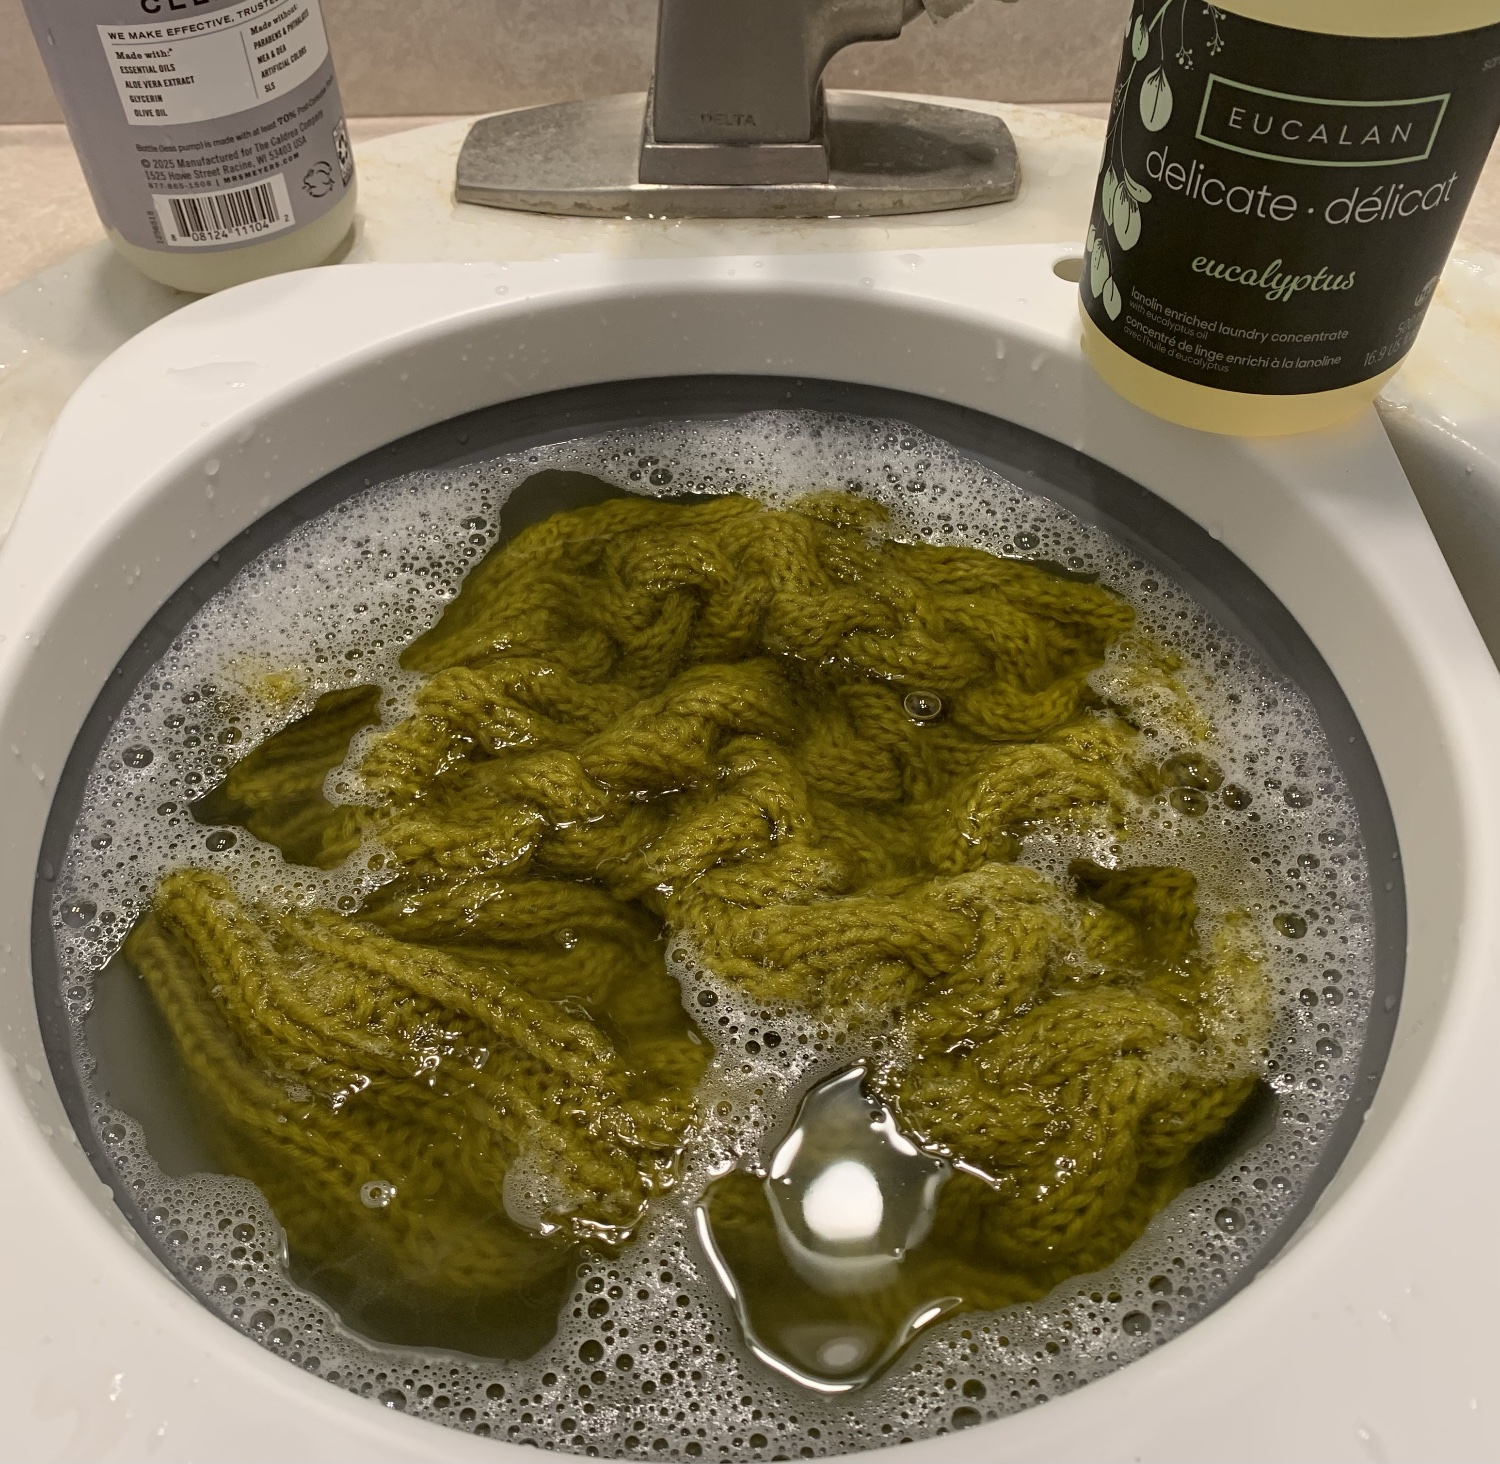
Now for the wash in Eucalan (paid link), which is a no-rinse wool wash. Only use it if you used wool yarn to knit your hat!
Add your photos to Ravelry, if you are on there, and add pictures to your social media accounts – if you like to do that. Please leave a comment on this blog and let me know how it went. I’d sincerely like to know! I’m guessing that other knitters would also like to know.
Did you find this pattern easy to follow? Did my notes help you? Are you happy with the size you chose? Will you make another hat like this one, or branch out and try another cable hat?
Knitting My Hat – Review
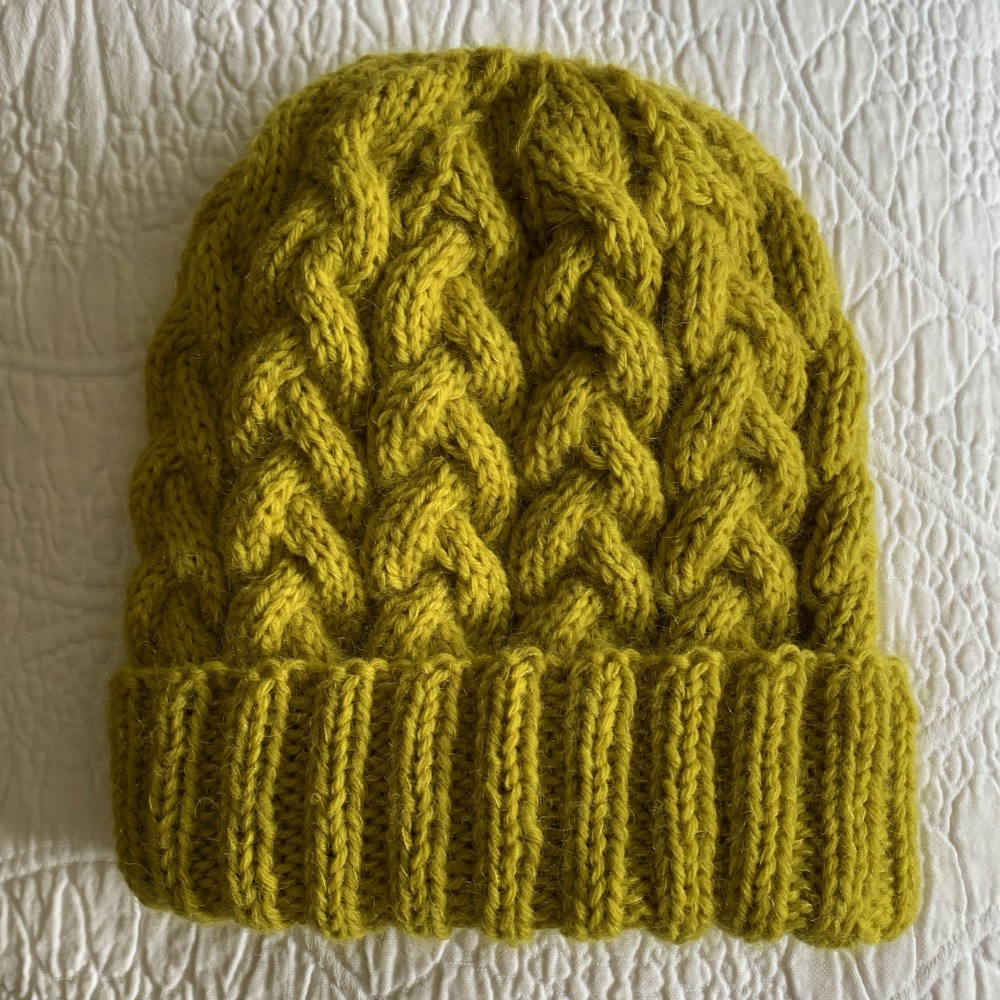
I like how my hat came out, even though I messed up on the crown. Round 15 has a p2tog, which I completely missed! I added my p2tog’s on Round 18. Oh well, it happens.
I’m glad I knit the small size, but remember I also used a larger (size 8US) needle. The hat is nice and tall, so the brim can fold way up over the cable area.
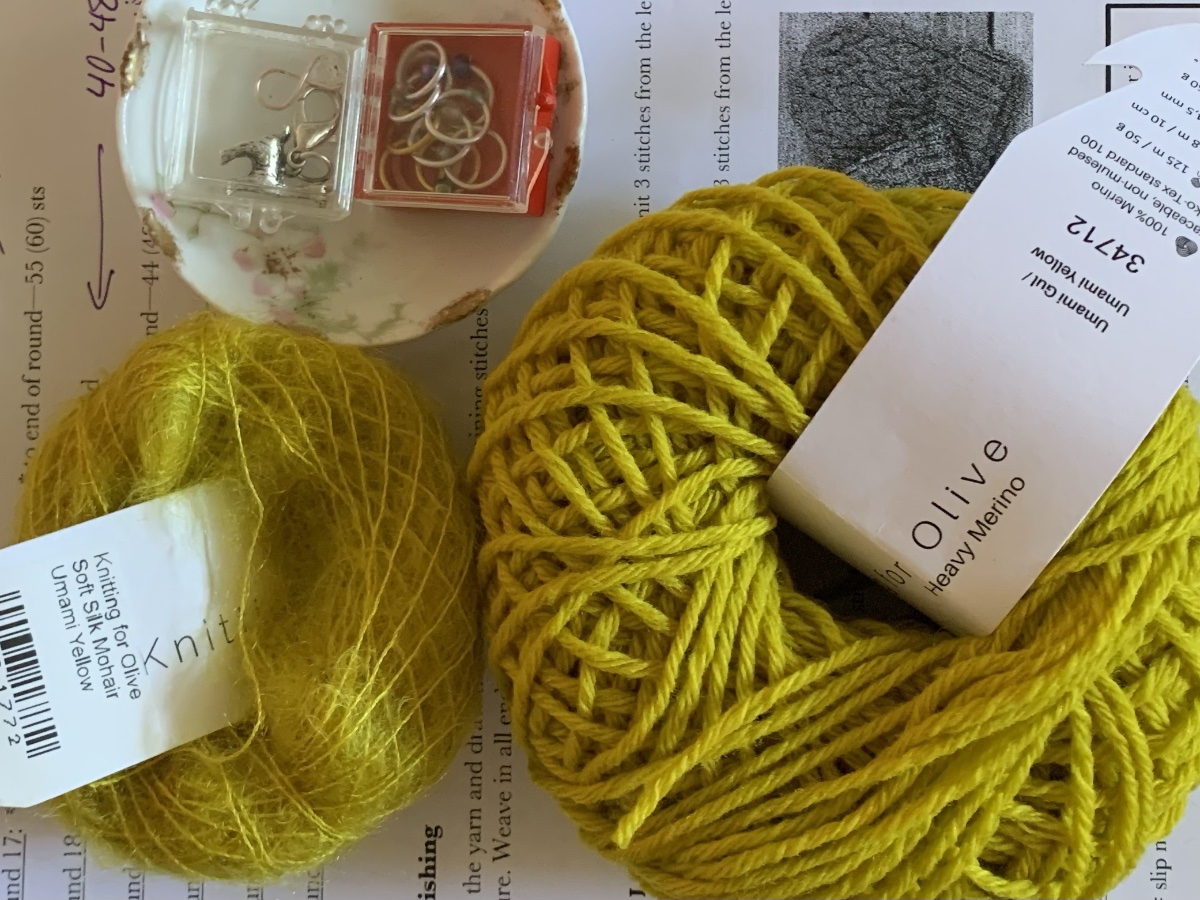
I had plenty of yarn leftover from my one ball of mohair and two balls of heavy merino. It took me 9 days to finish the hat, and I was away camping for 3 of those days (not knitting). I could probably have finished it in about 3 or 4 days easily.
Hand knits take forever to dry in my house because of the extreme humidity, even with the AC going 24 hours a day. Once it is dry I will share a photo of me wearing it.
This is what I love about knitting. I choose the yarn, the color, and the style. Within a few days, I have a new, warm and cozy, and completely unique, hat!