My next big knitting project for 2021 will be a colorwork, or Fair Isle, pullover sweater. I’ve been searching the internet and Ravelry for some ideas and now it’s time to narrow down the selections. It’s taken me months to write this post, and it’s already September, so I’ve already begun two sweaters (see below), and plan to make a third.
Hooked on Colorwork, Fair Isle Knitting
After knitting for a few years, I have decided that I really like colorwork knitting. Now that I have a couple of hats (Katie’s Kep), mittens, and fingerless mitts (Stellar Parallax) under my belt, I feel that a sweater is what I need to knit next. Once a year I need to make myself a sweater. This will really be sweater number two, after the Cobblestone, but the Cobblestone was not colorwork.

Stellar Parallax 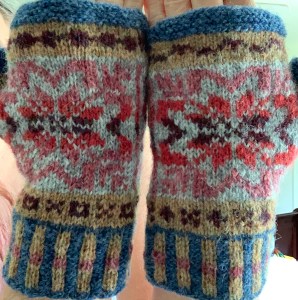
Fair Isle Mitts 
Oulu Mitts 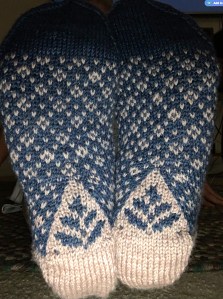
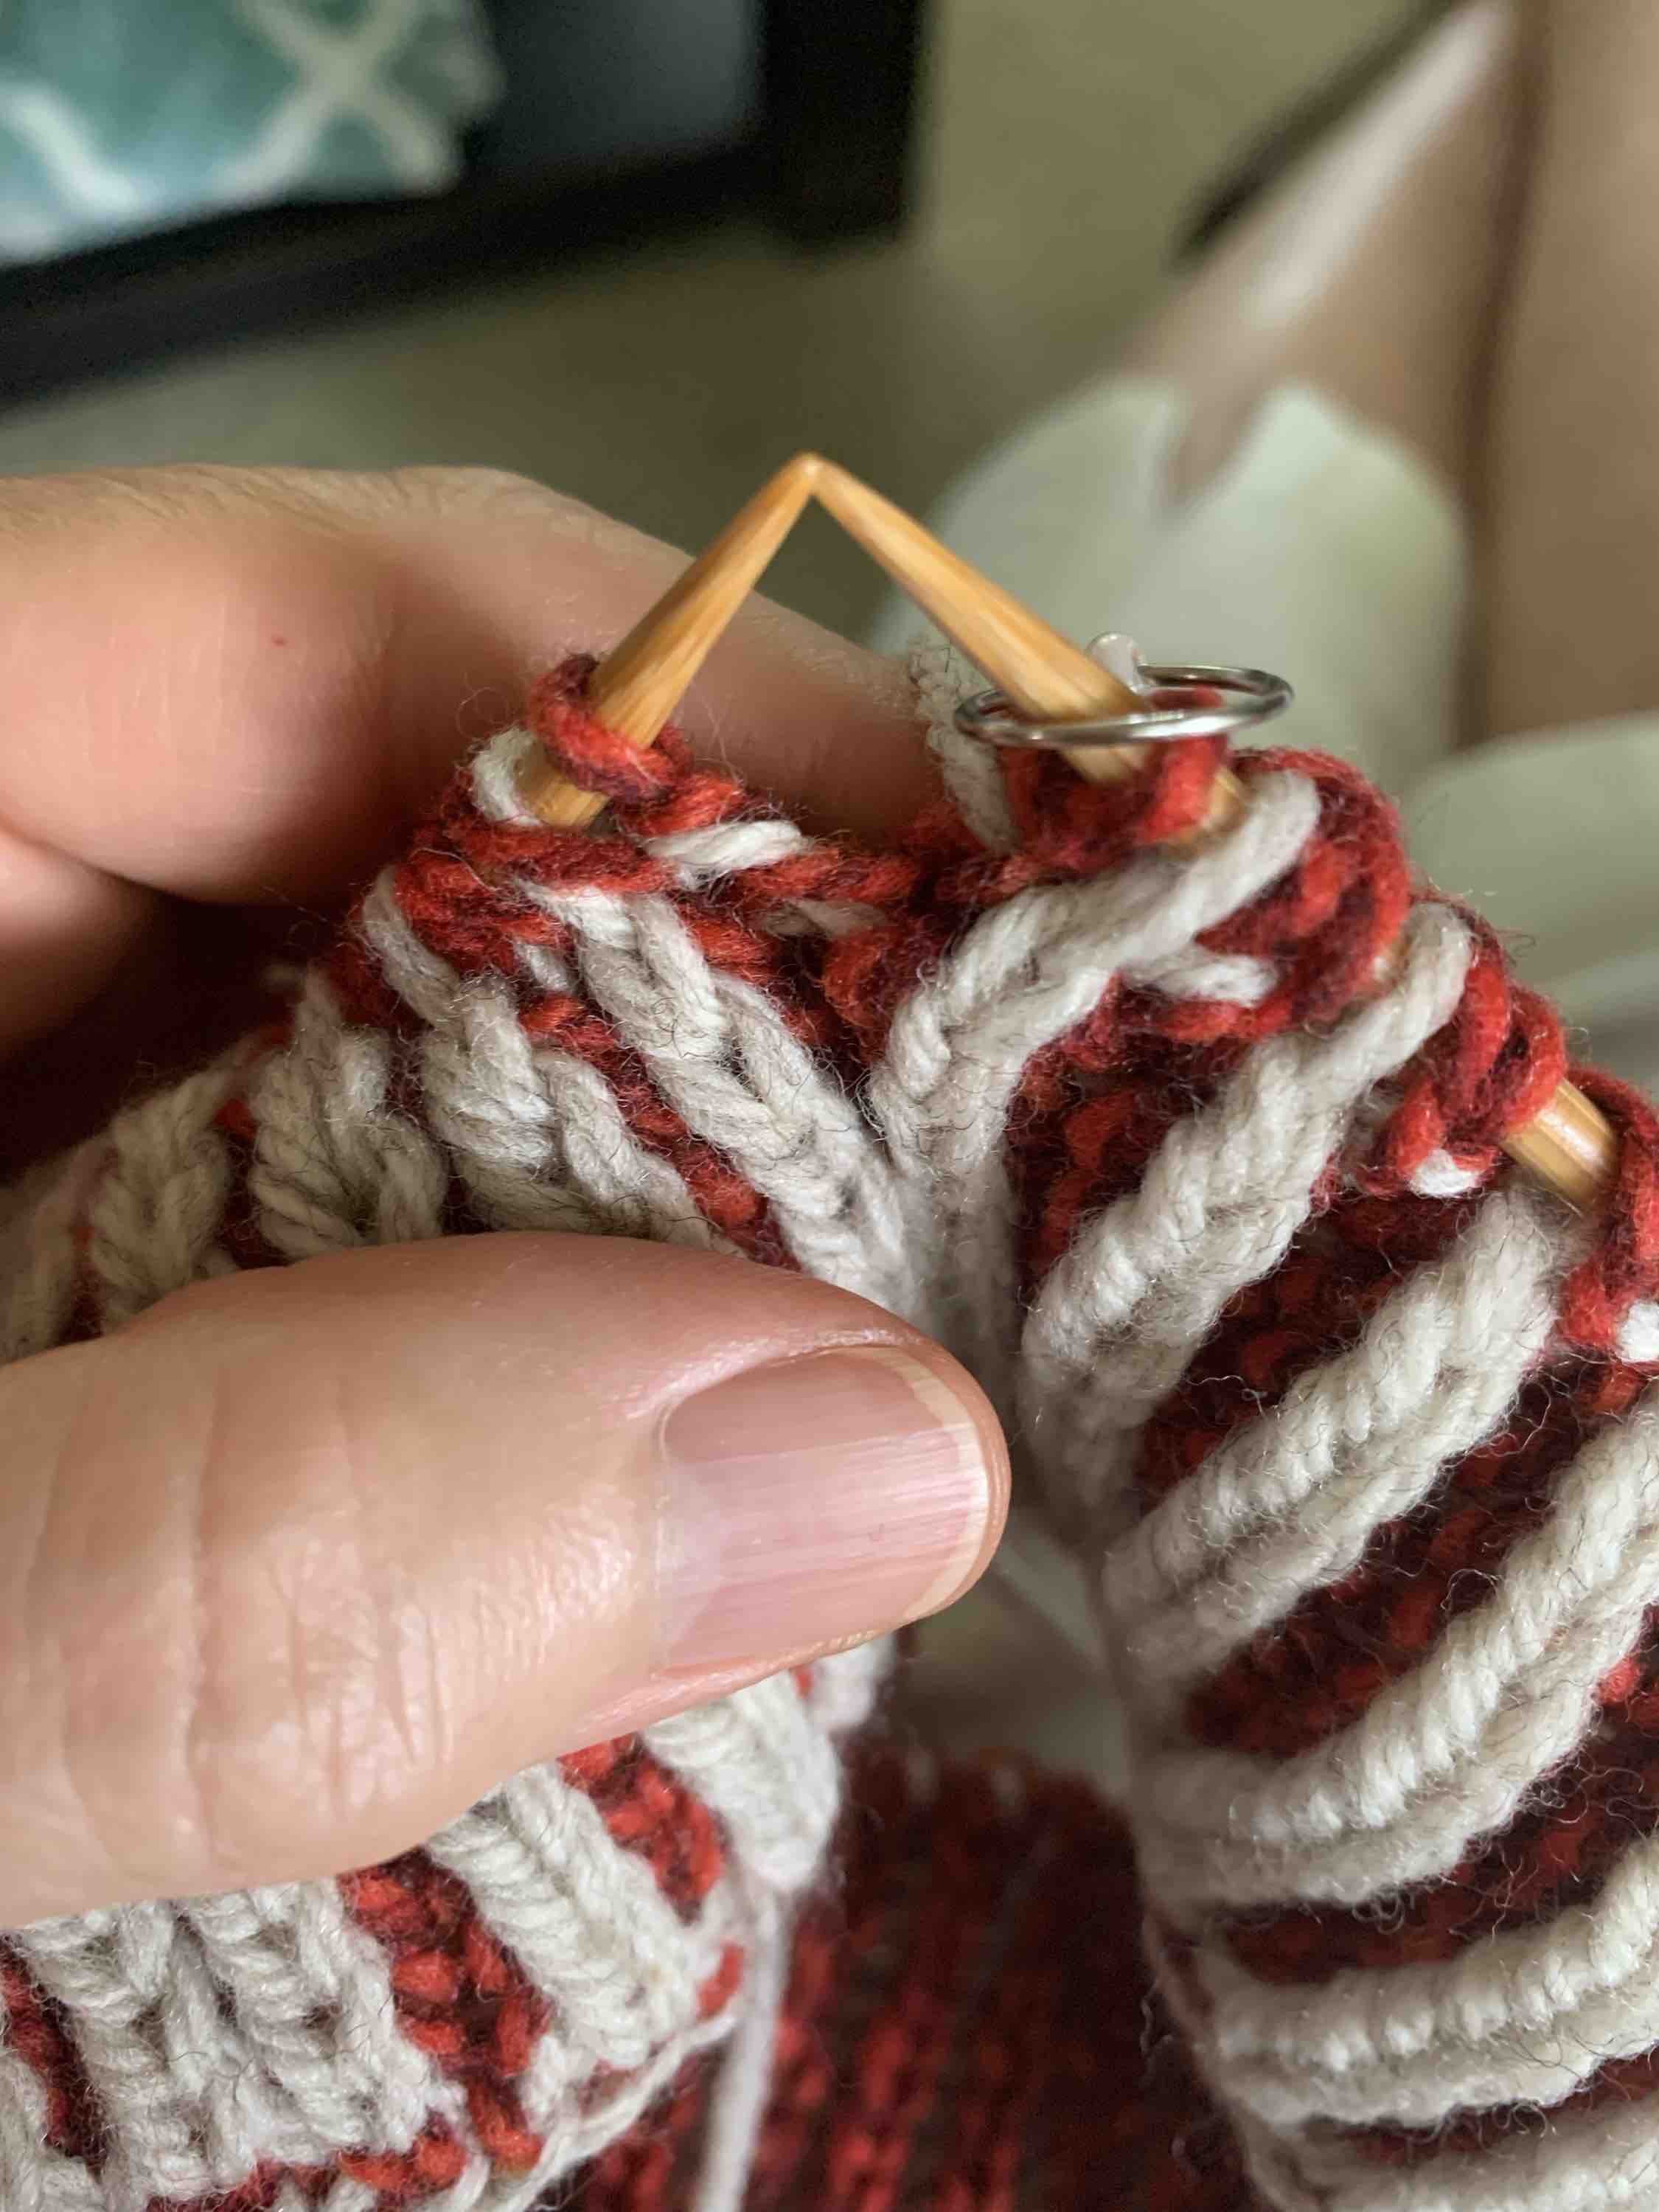
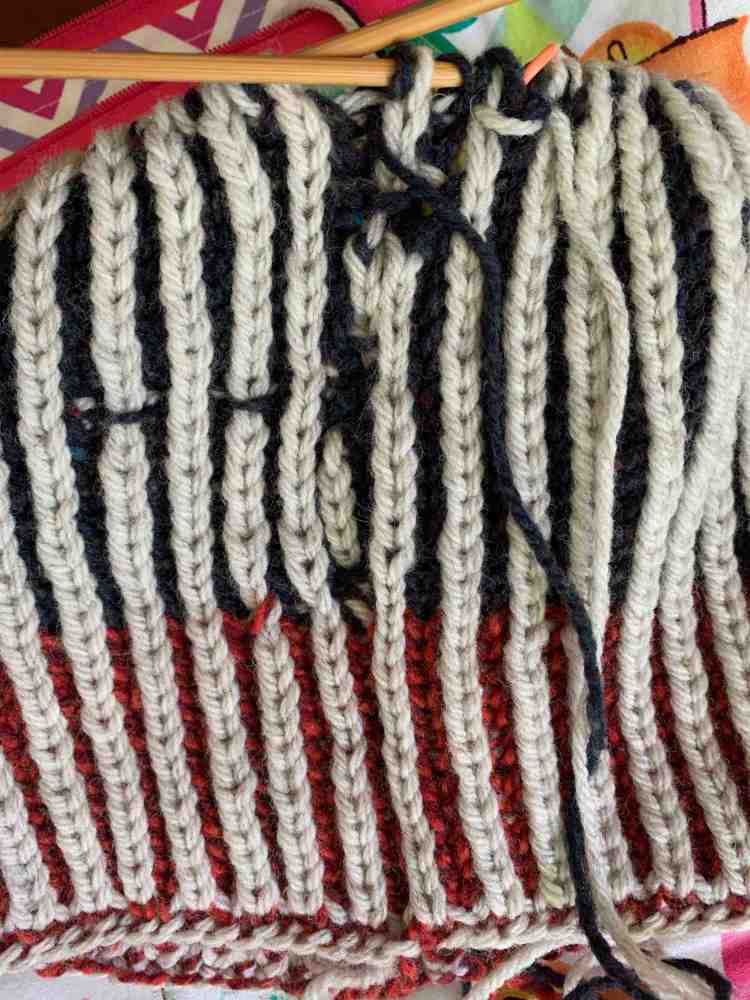
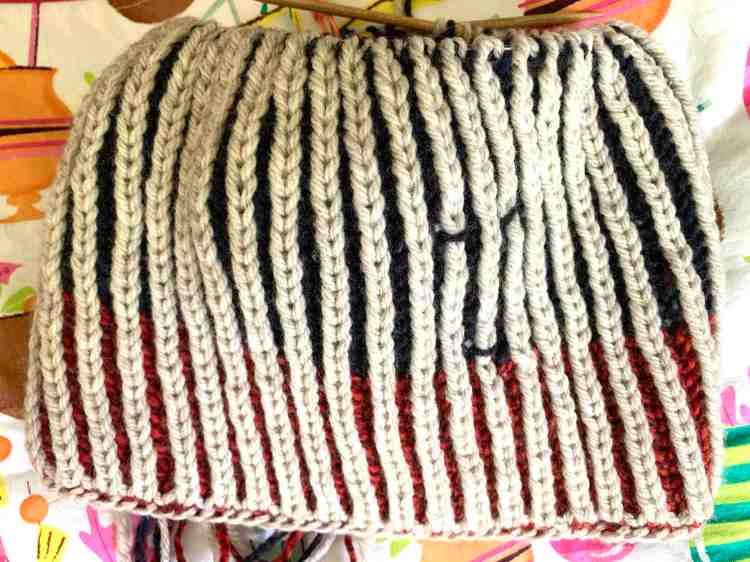
socksA Lesson in Holding Two Strands For Yarn Dominance 
Colorwork hats and mittens 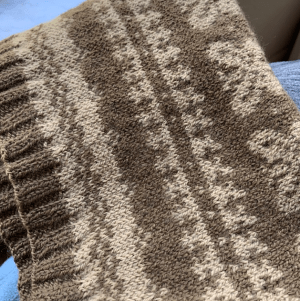

Keramos Cowl 
Fiddlehead
A Word About Steeking
A colorwork, or Fair Isle, sweater must be a pullover because a cardigan requires steeking. Once the sweater is knit, it is cut up the front to create the cardigan. Yikes, I am not ready for that yet.
Three Patterns For the Price of Two – Jennifer Steingass
Jennifer Steingass is a knitwear designer who offers lots of colorwork pullover patterns to knit. Also, she is currently (at the time I wrote this) selling her patterns at three for the price of two, or buy 2 get 1 free.
Because I have some Istex Lettlopi yarn on the way to my house from Iceland (that is so cool – LOL), I chose the following patterns to purchase. I’ve decided to knit with aran, or worsted, weight yarn for my next sweater. The links below go to Ravelry.
- Telja – Lettlopi (aran / worsted)
- Treelight – Lettlopi
- Goldwing – worsted
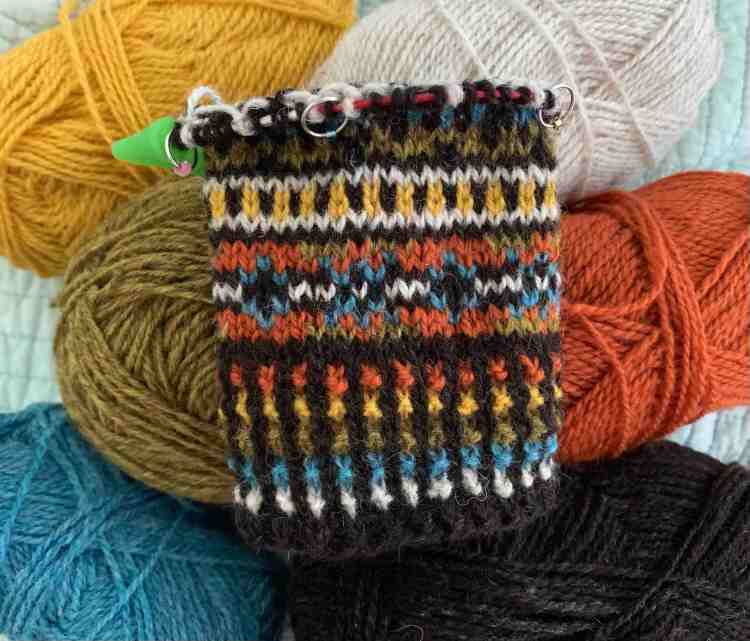
- Meadow Moon – Fingering, I am knitting this one – see photo below
- Newleaf – Fingering
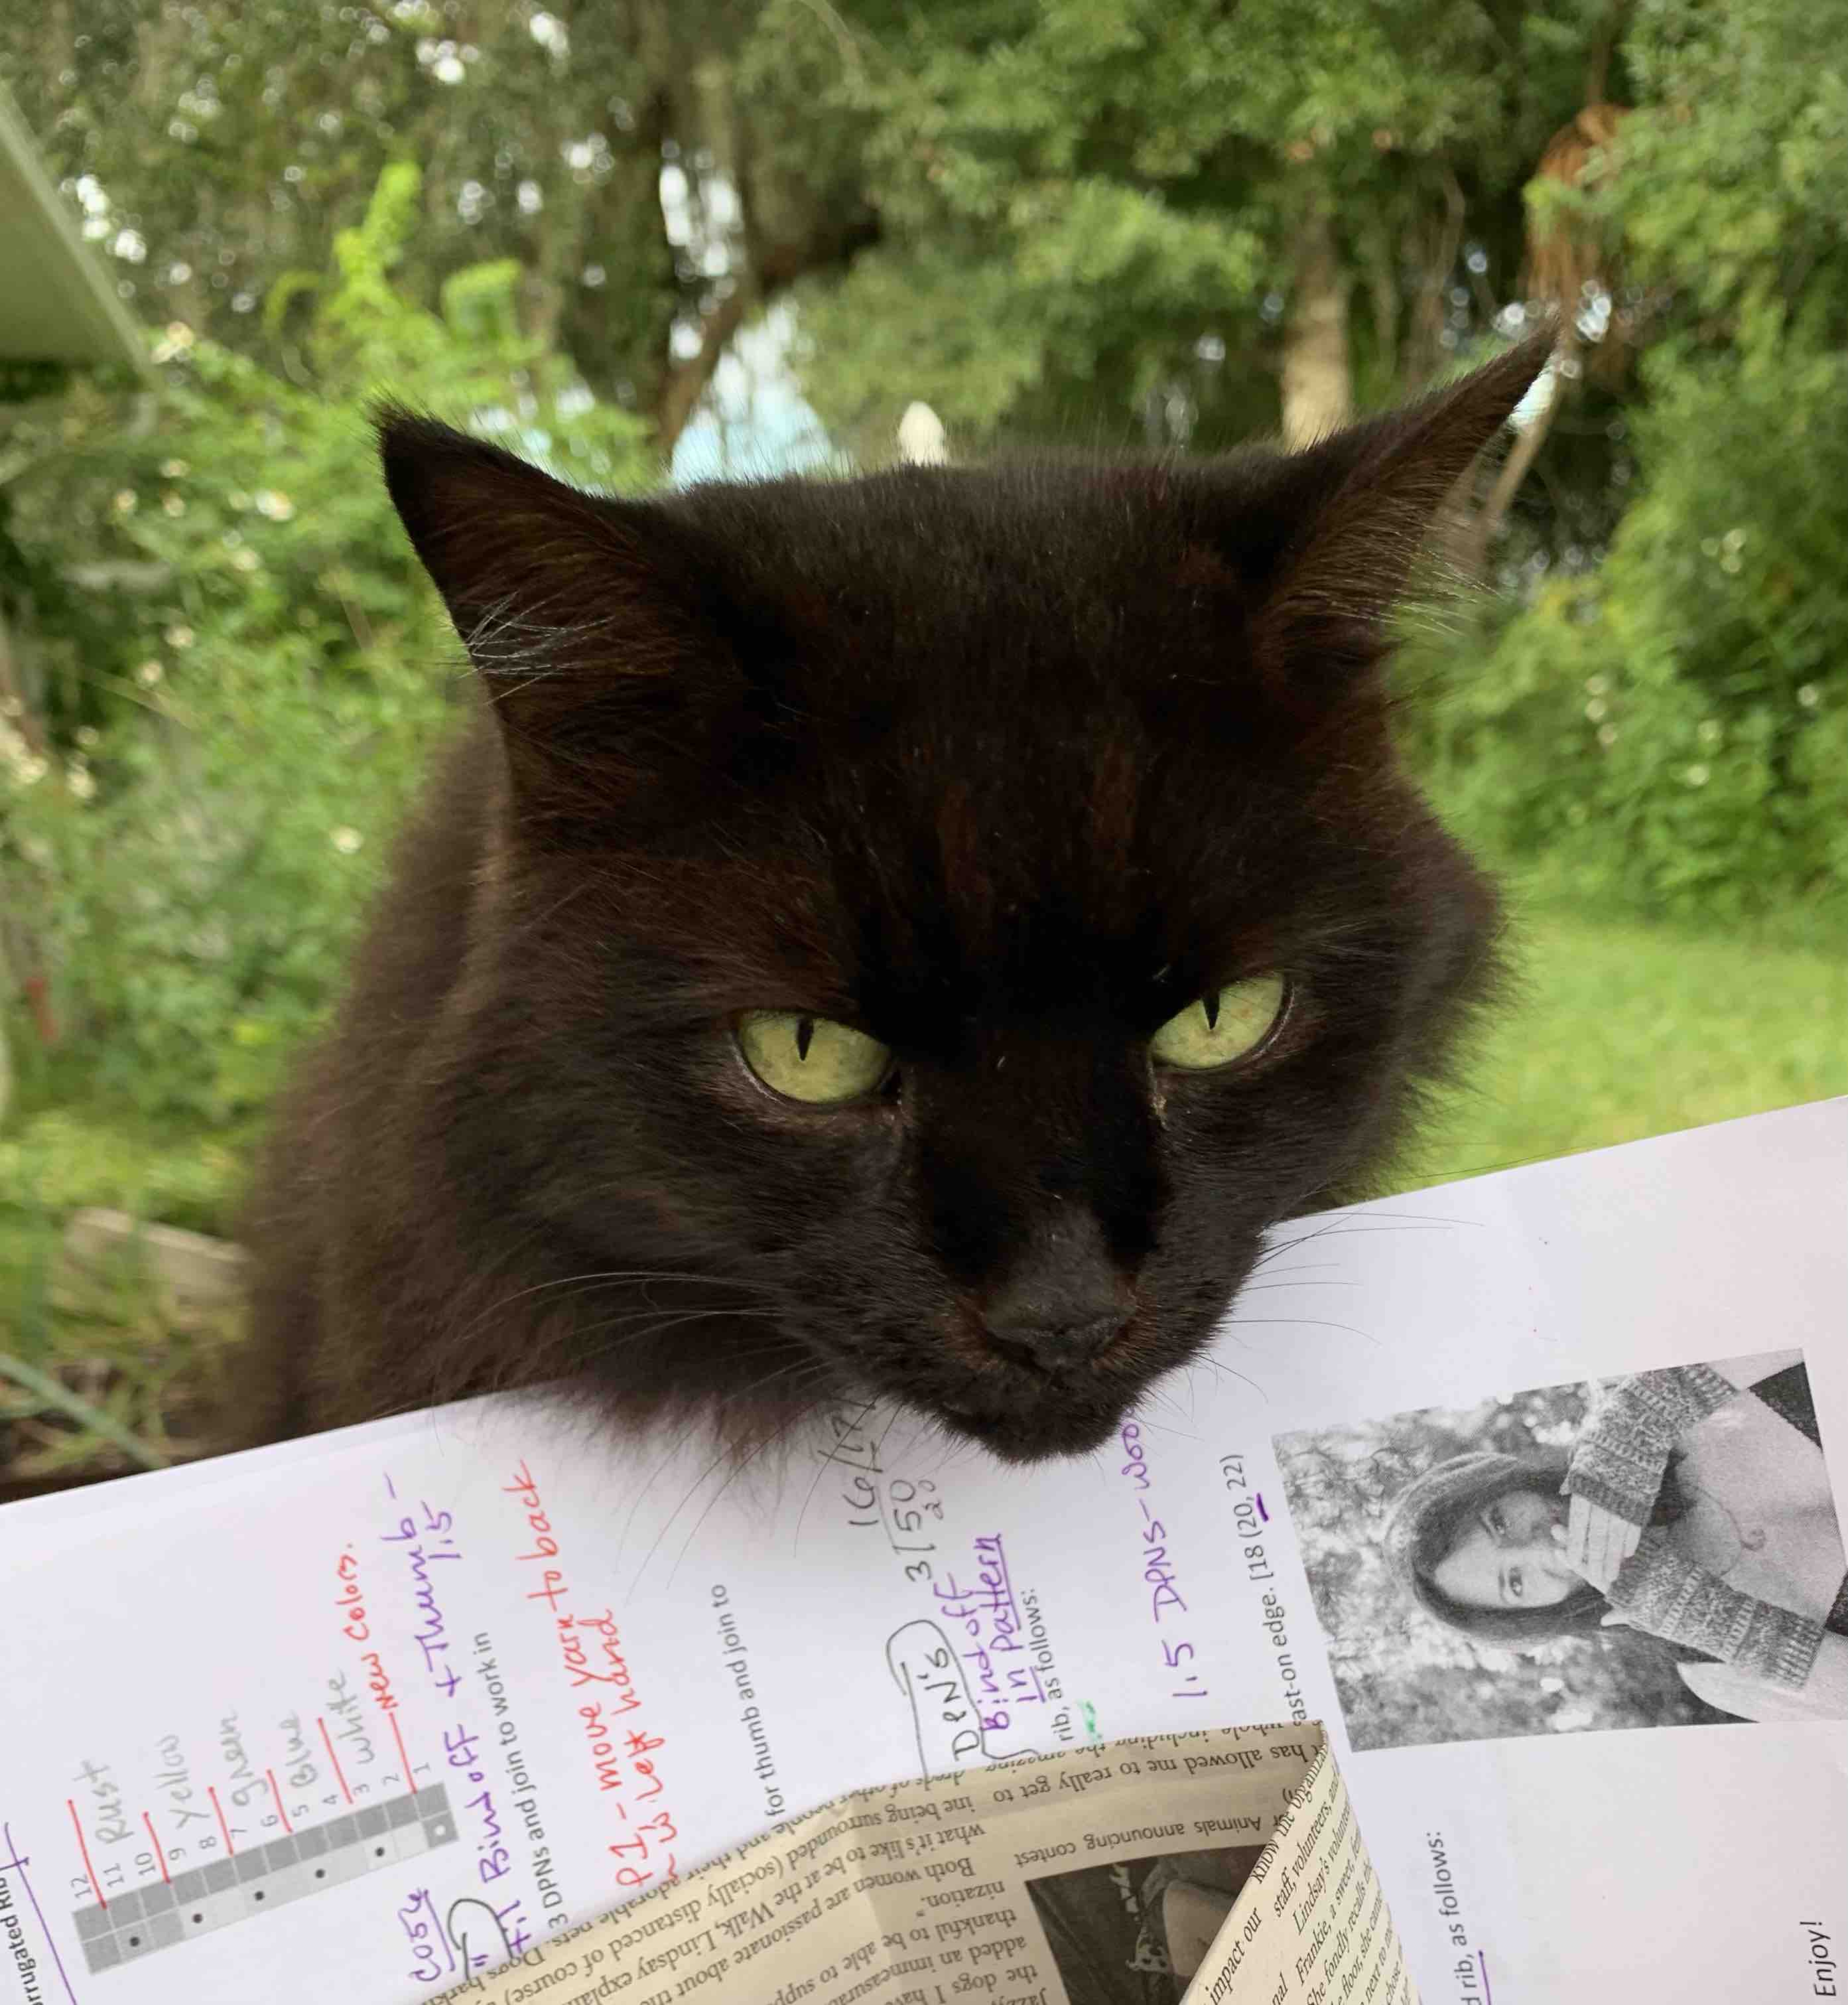
But beware… or be aware… not all of her color-work patterns are Fair Isle (using only 2 colors at one time), as some of them require three colors to be carried along one row of knitting. Of course, I can stay with two colors if I want and ignore adding a third. I find that trying to work with more than two colors can be annoying. I ran into that while knitting a few of the rows for the “Marshland” sweater.
Knitting Sweaters: On the Needles
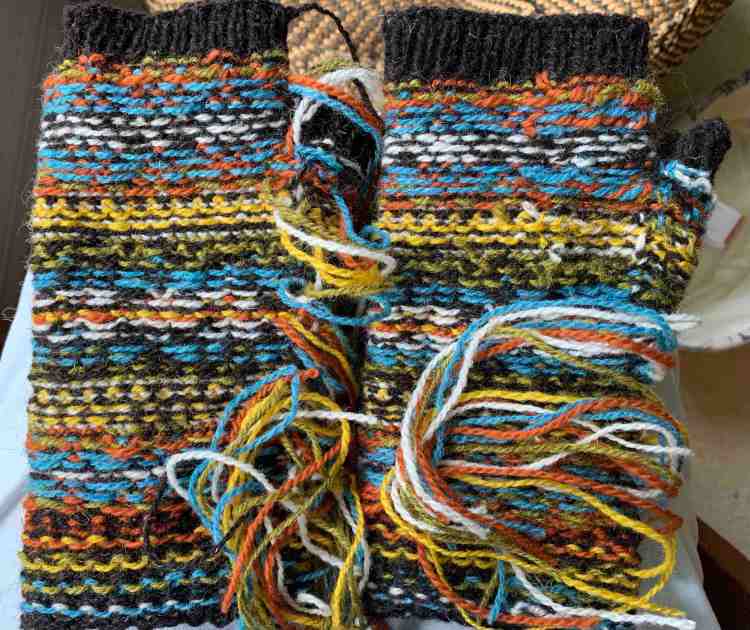
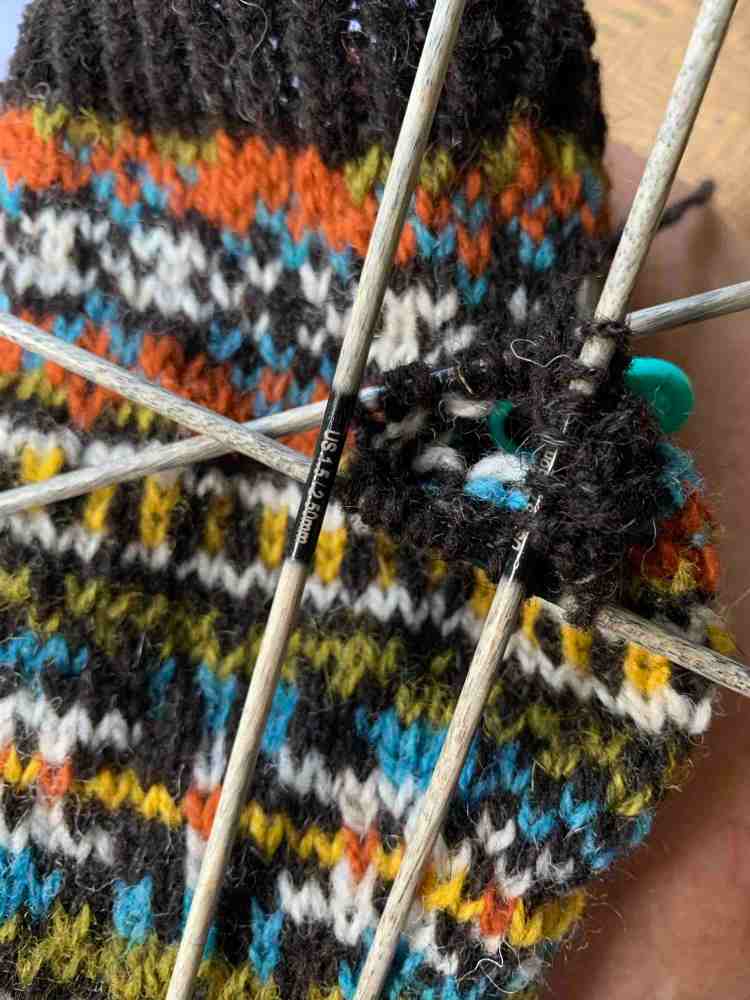
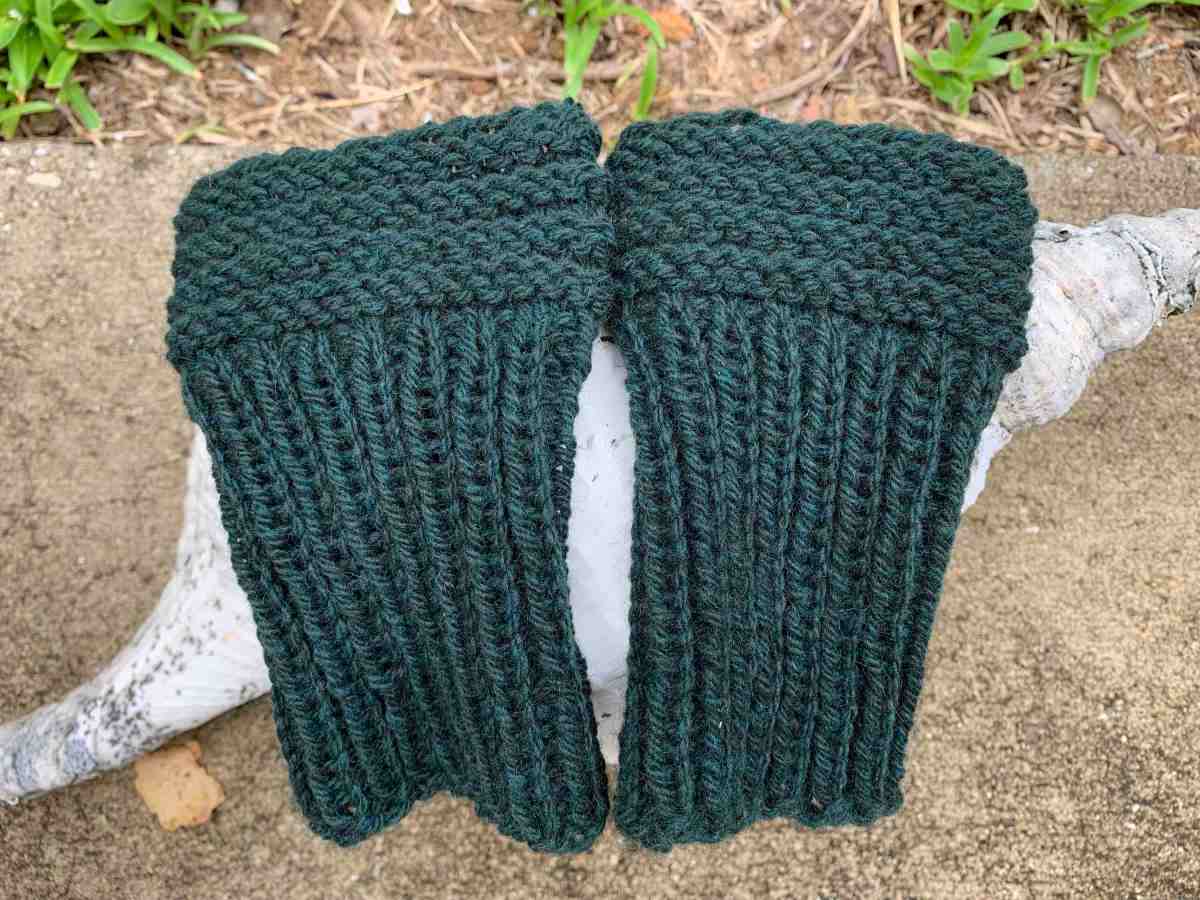
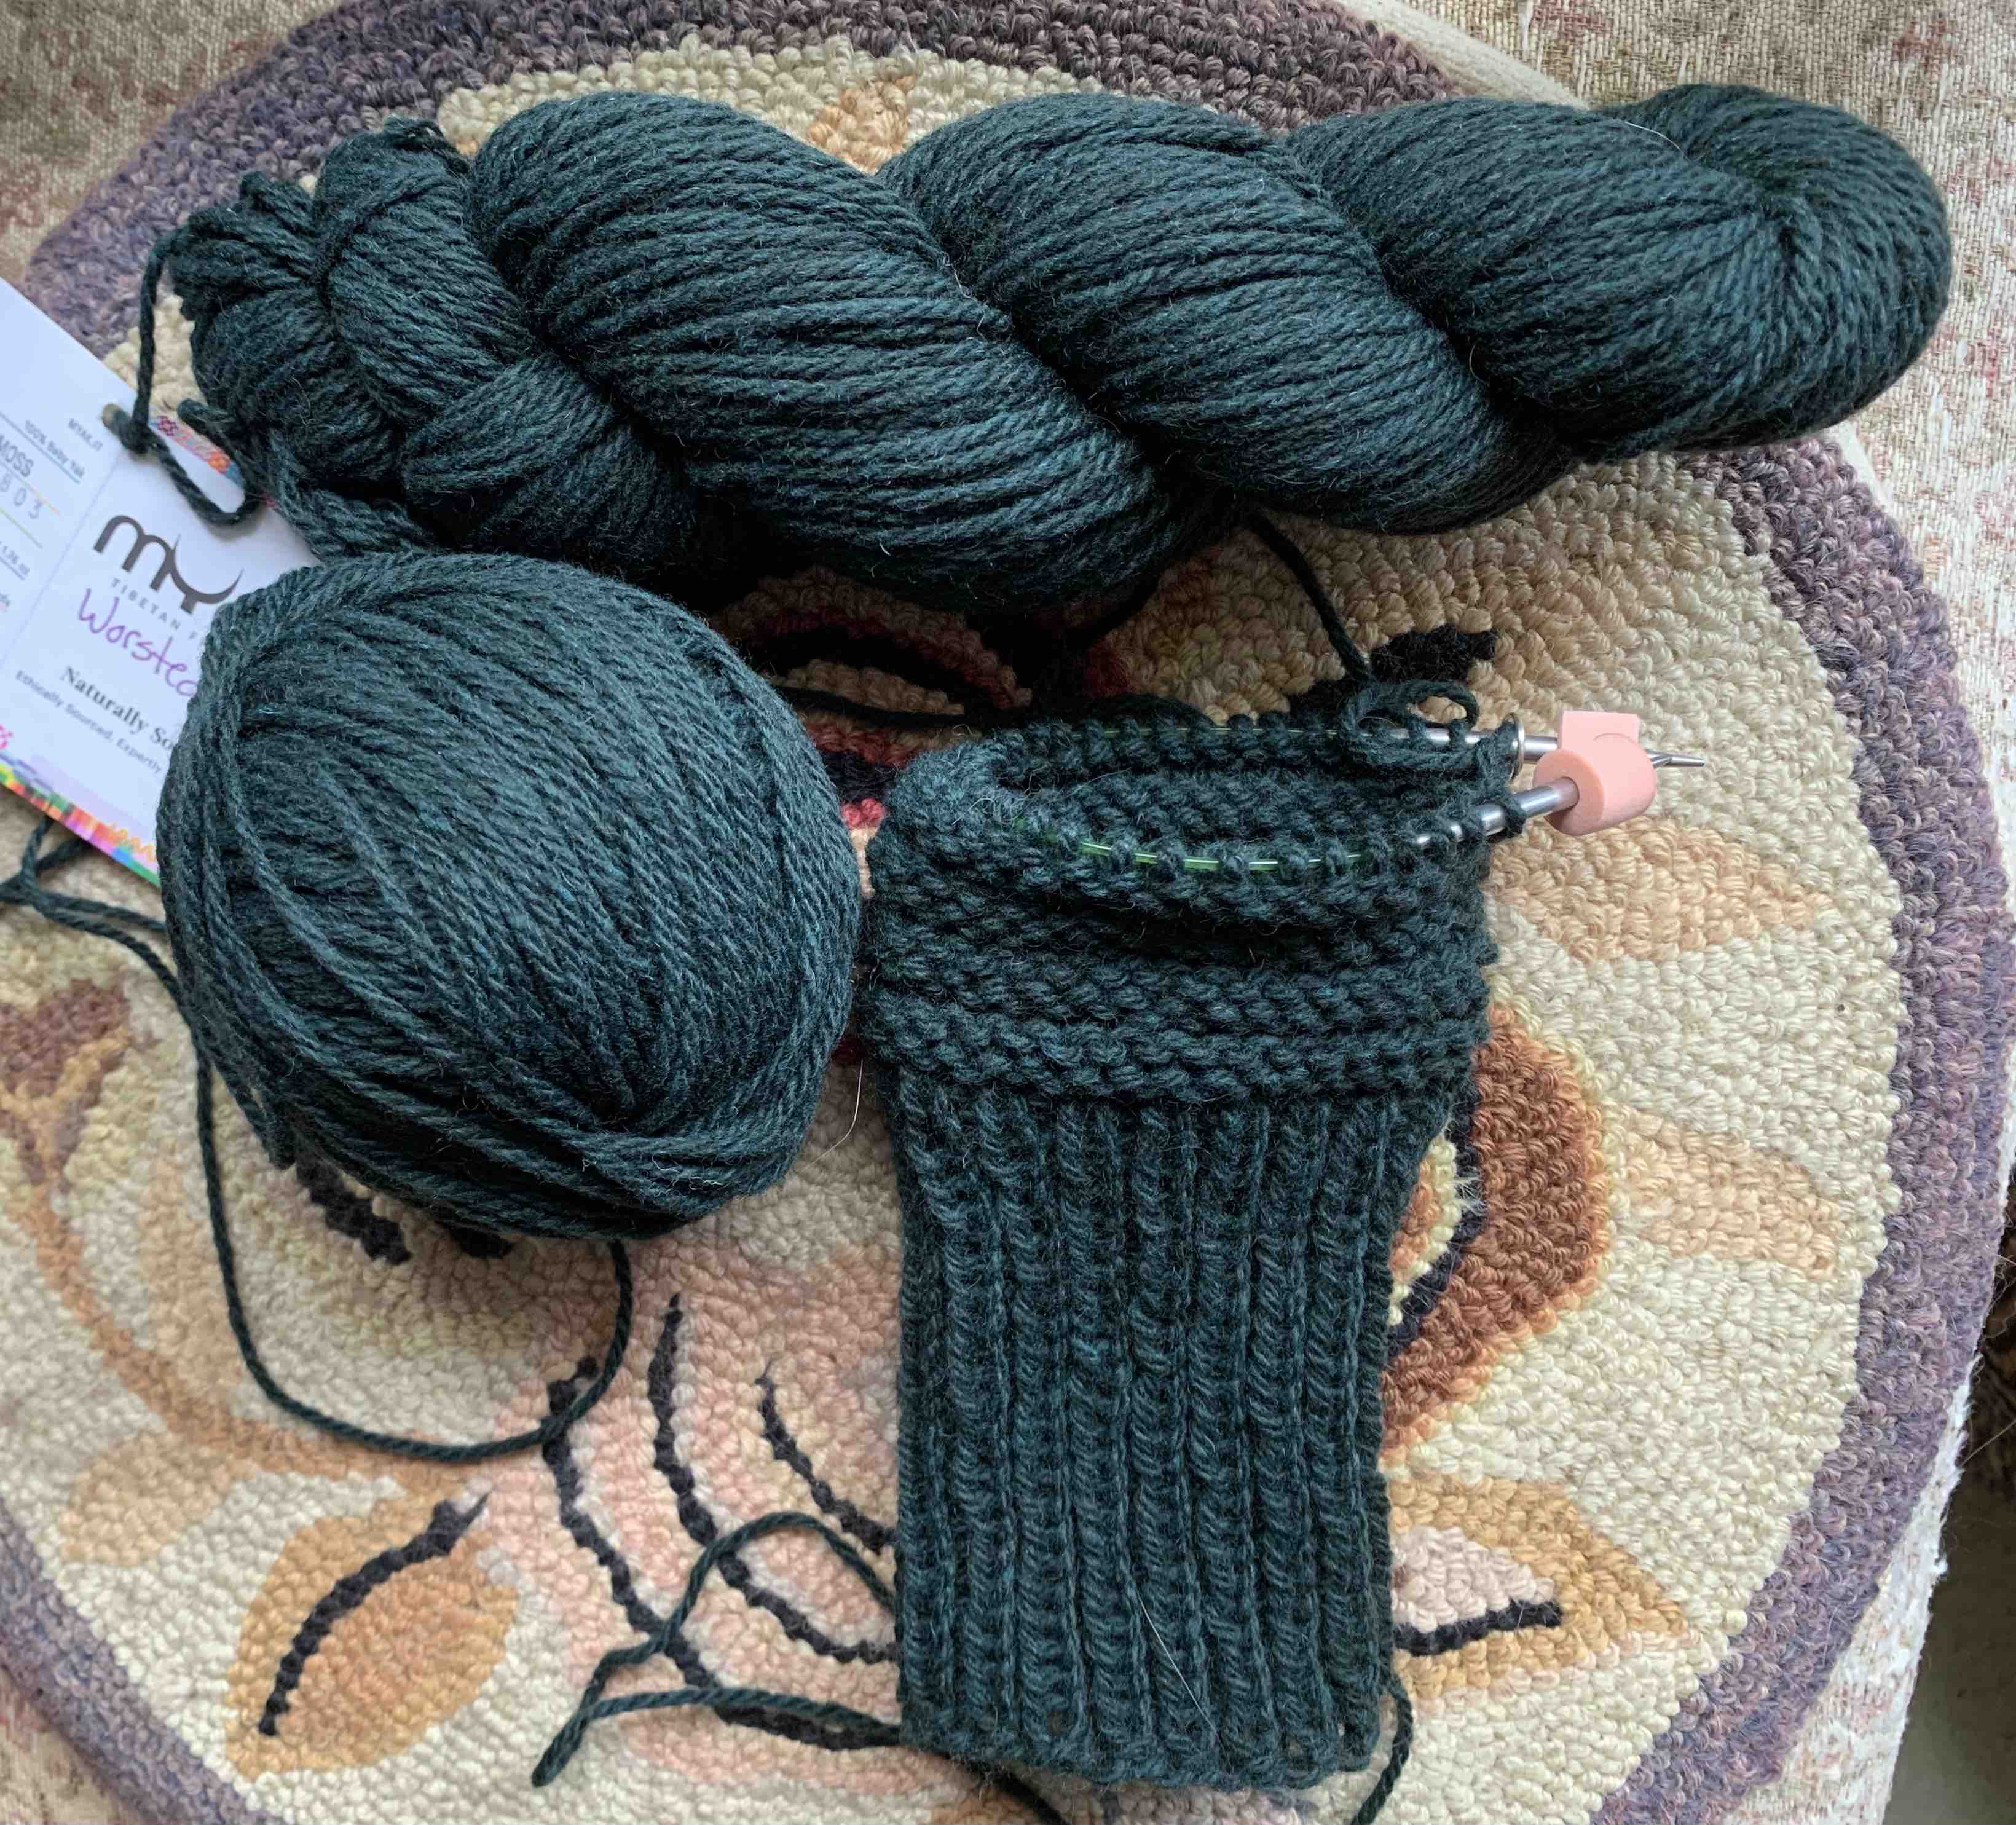
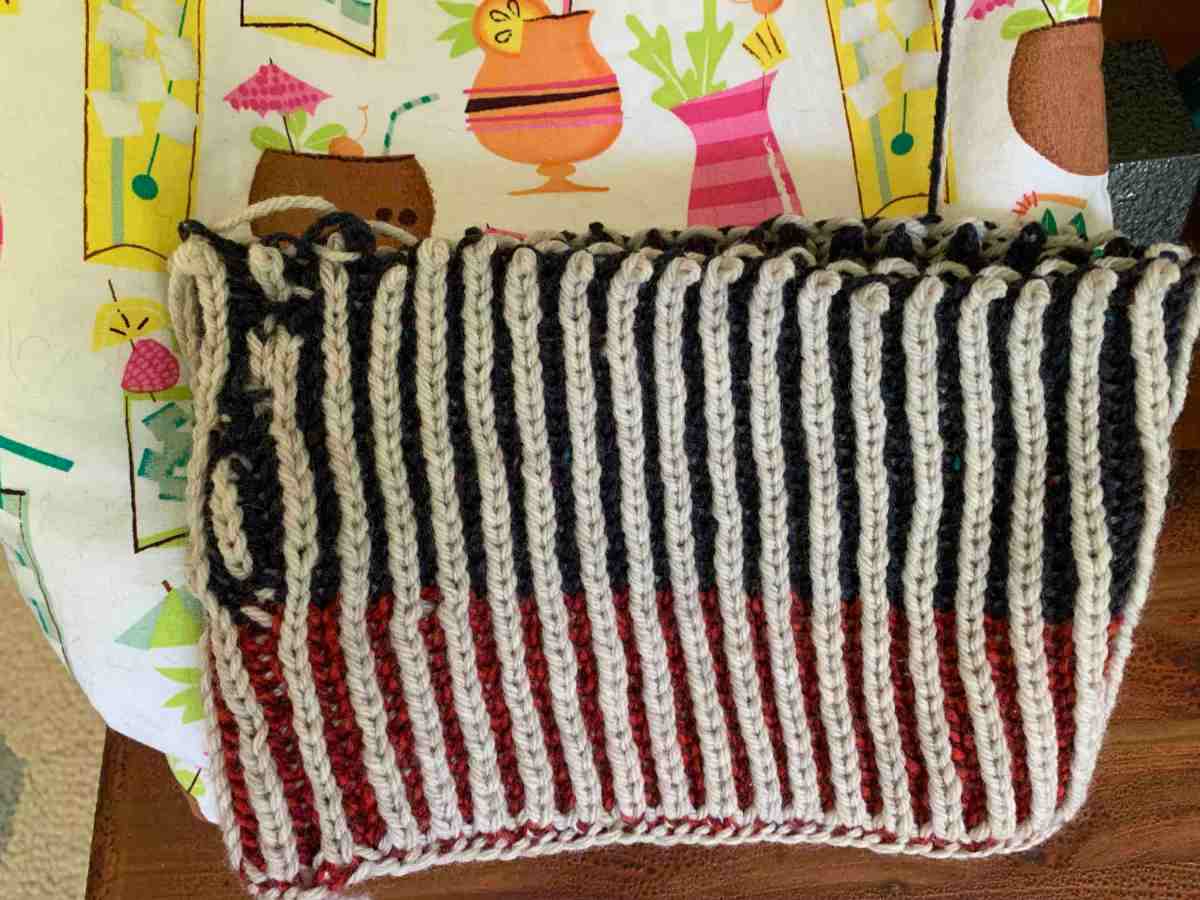
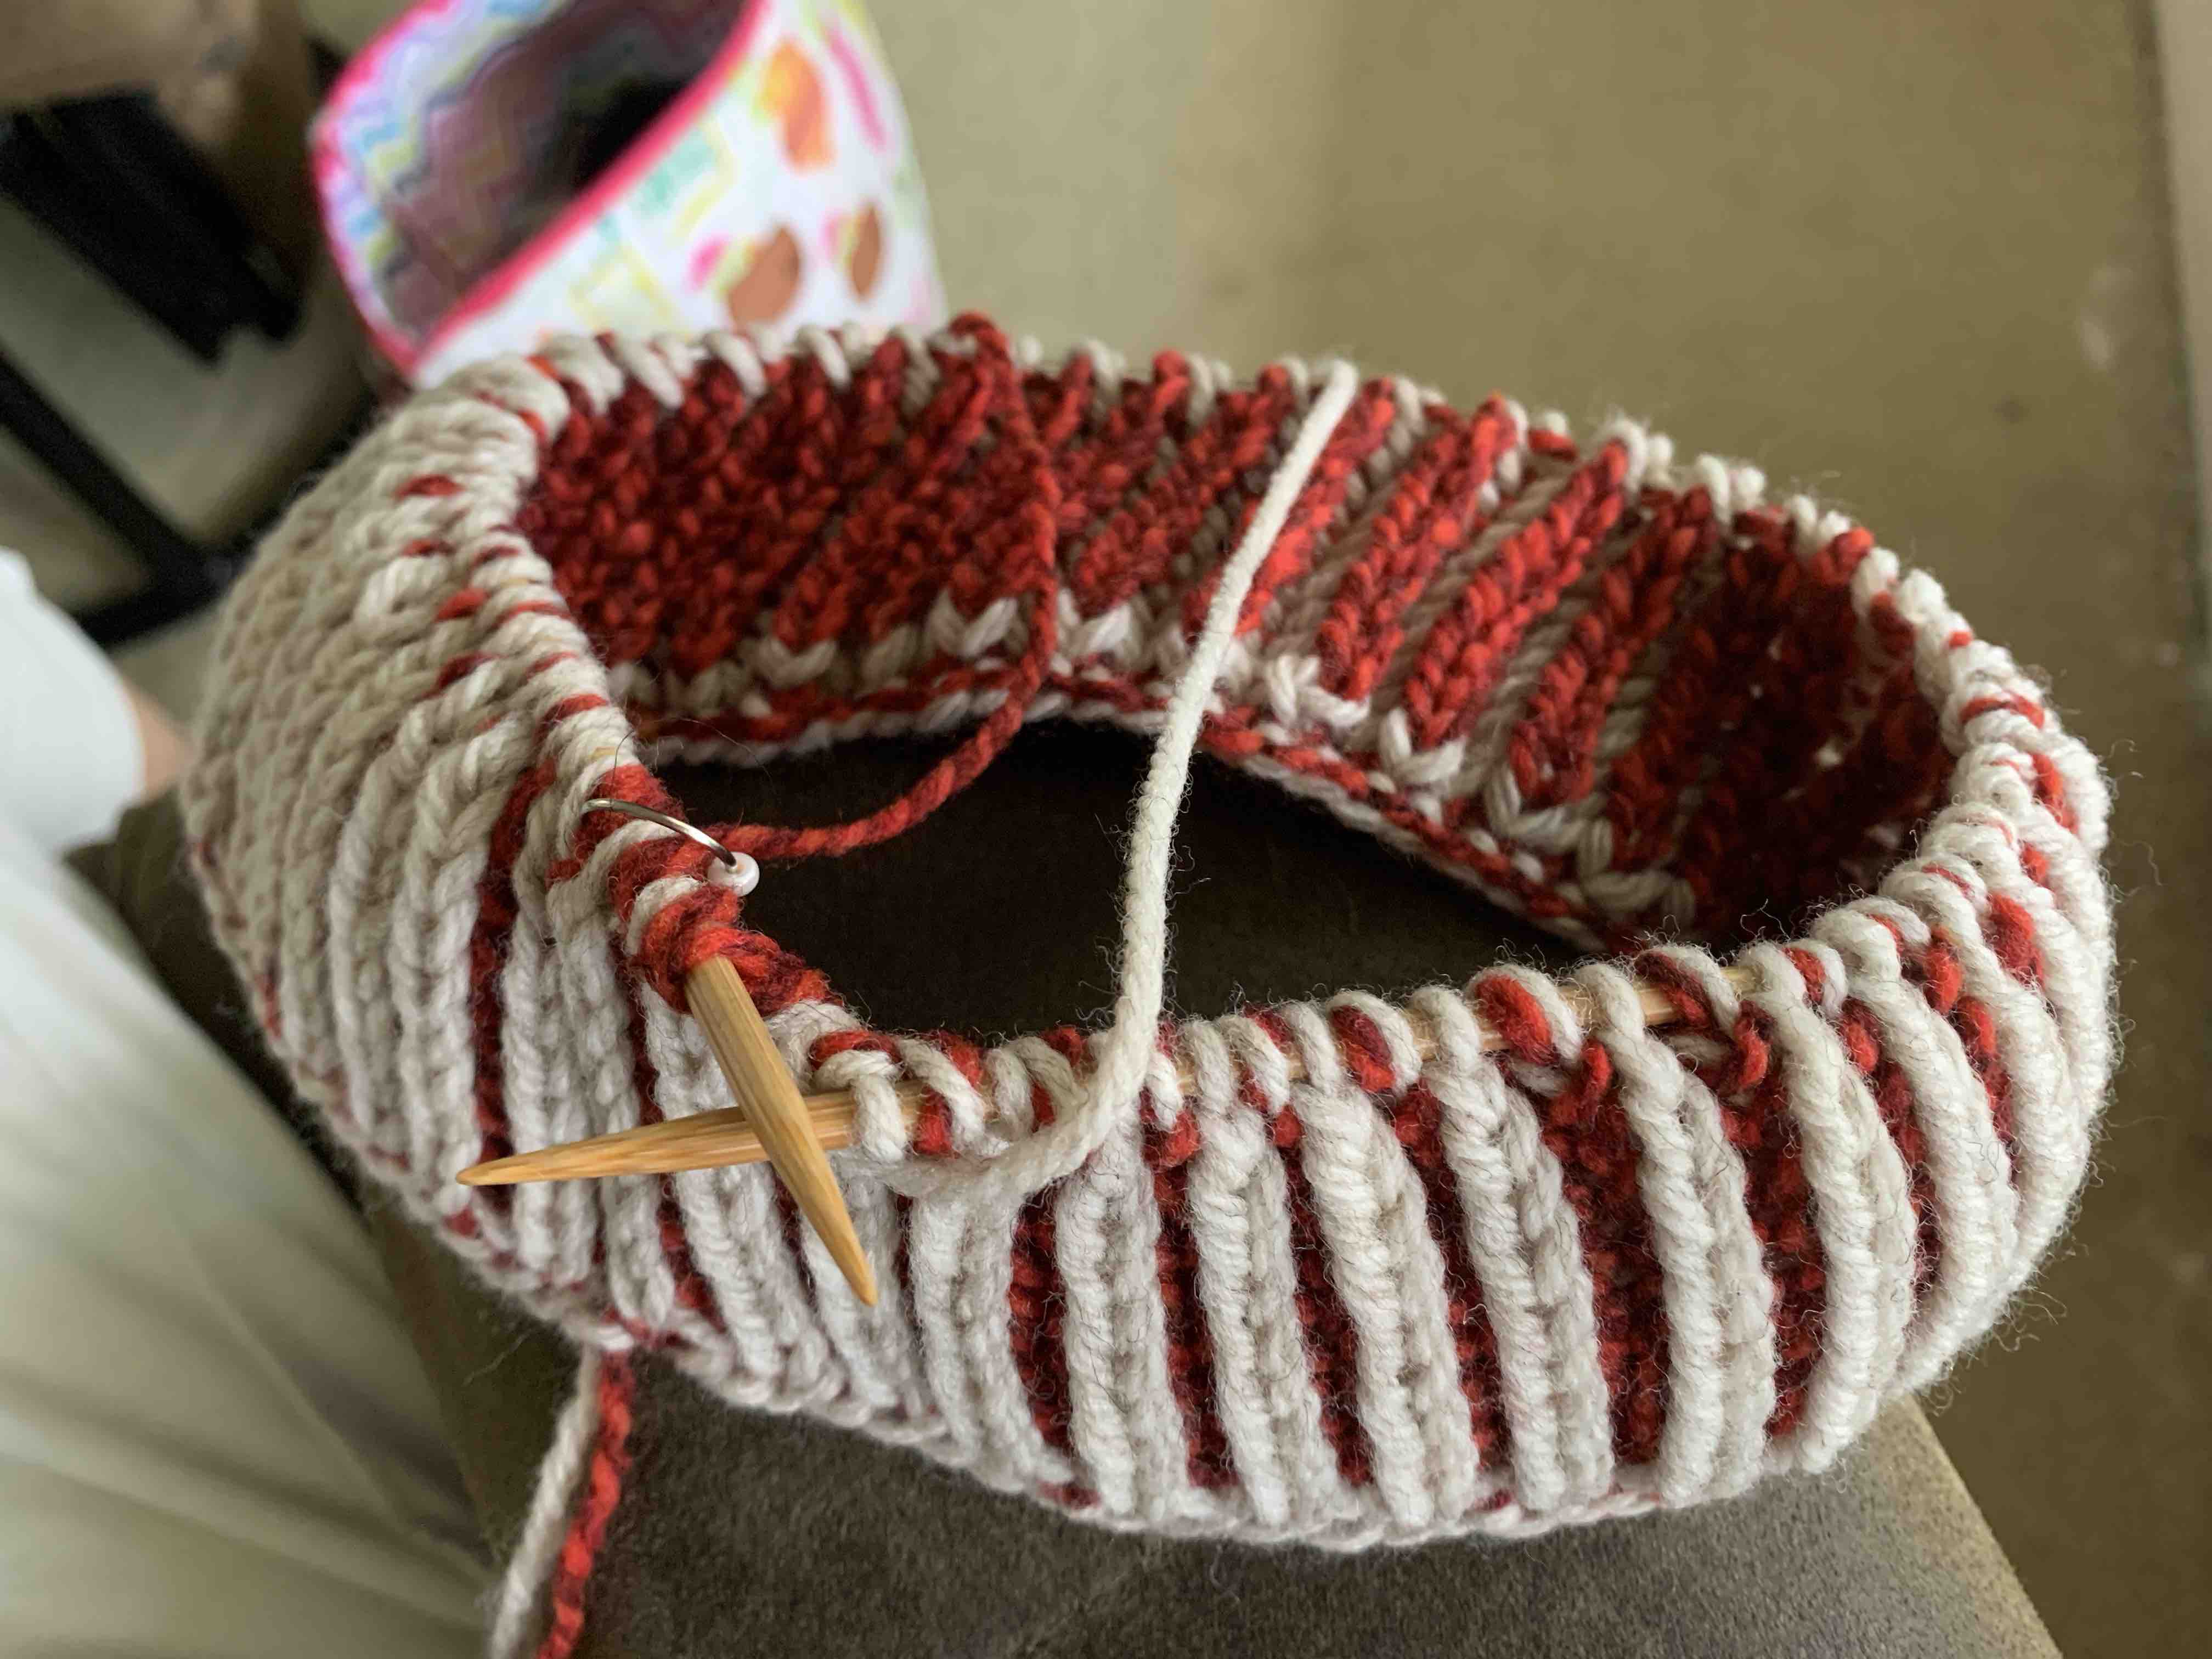
Right now I am knitting two sweaters while I wait for my Lettlopi yarn to arrive. Below is my green Calliope and colorwork Meadow Moon.
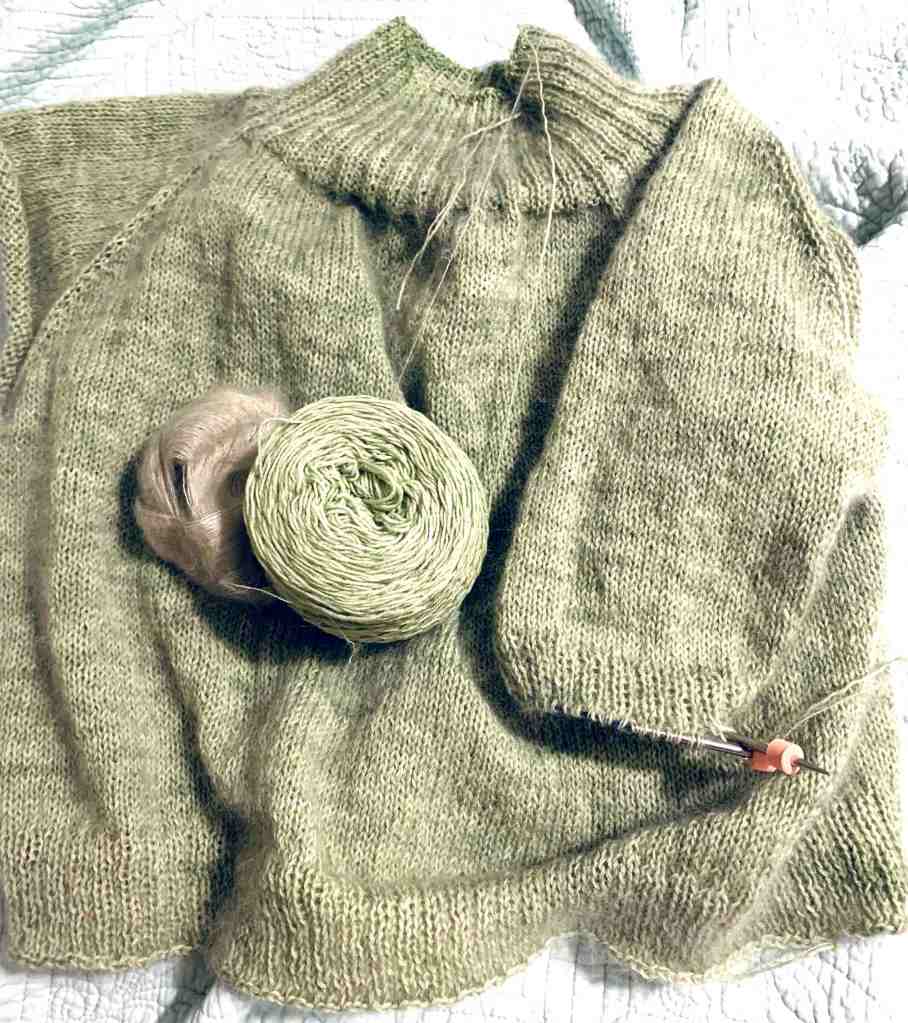
Calliope – Free pattern 
Meadow Moon


Marie Wallin’s Fair Isle Patterns
One of the first sweater patterns I saw at Ravelry was Marie Wallin’s Lovage. It is part of her Windswept Collection but the pattern can be purchased separately at Ravelry for approximately $8.87 US (at current writing). I’ve looked through the comments from knitters of this sweater and some people have had trouble. There is a lot of stranded knitting at the entire top and part of the sleeves. Then there is some braided work down the rest of the sleeve. It’s very pretty, but might be too difficult for me.
She also has a Meadow Collection and I love the Nigella Fair Isle pullover pattern, but wow, what a big project. It’s worth checking out her Free Patterns section too.
Sweaters Knit by Me
At the beginning of the year (2021)I knit the Cobblestone Cardigan and took it up to New Hampshire with me. I wore that sweater nearly every day! It’s big and soft and cozy. I won’t get the chance to wear it, or any sweater, until I can travel north.
Each time I knit a sweater, I learn a bit more. From the type of yarn, style, pattern writing, fit and mistakes to how much I like, or dislike, the end product. I’ve only knit five sweaters, one is a child’s size, two are pullovers and three are cardigans. I like cardigans best for wearing, although living in Florida means I seldom get to wear any type of sweater.
Each time I knit a sweater, or other item, I find more yarn I love. I keep it in mind for any upcoming projects. Each image below has a link at the bottom.
Marshland 
Cobblestone 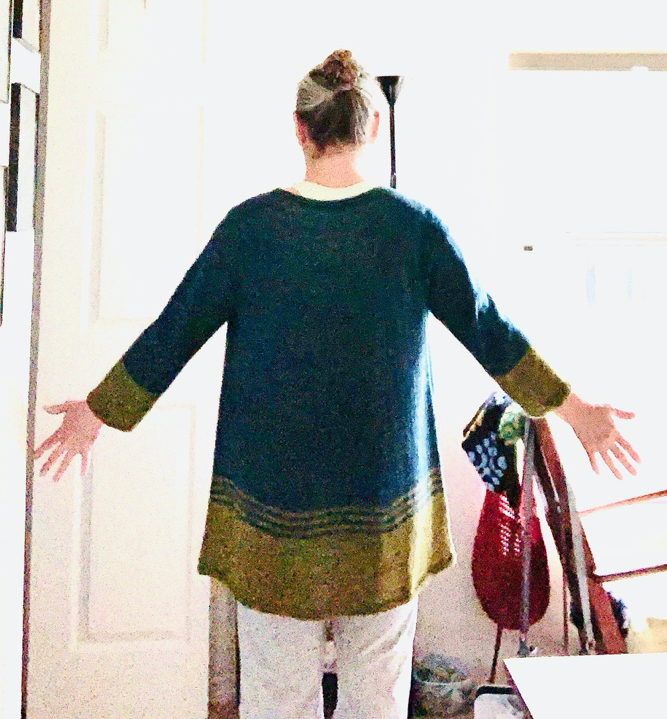
Fine Sand 
Fox buttons on the Playdate cardigan 
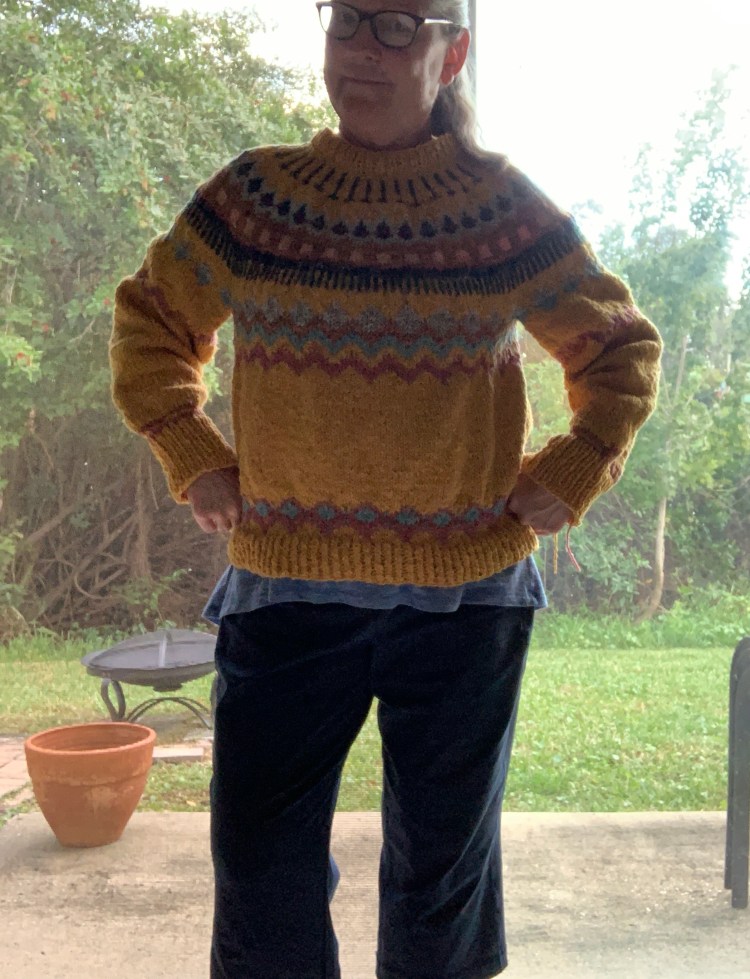
Wearing my Umpqua sweater – finally it got cold!
I’ve learned that I like knitting with wool and don’t like washable yarn. I’ve discovered what “pooling” is – see the Umpqua sweater, which I really dislike for many reasons, but it was my very first sweater! I knew literally nothing about sweater knitting. I will probably frog it at some point to re-use the yarn.
Sock yarn should be used for socks, IMO because when I want a sweater, I want it to be warm and cozy. Wool and natural fibers, tend to be cheaper also. I like that I know where the sheep / animals lived who provided it!
I Want to Travel to Cooler Locations!
I’d love to leave the state of Florida more often. I dislike living here, and there is so much of the US I have not seen.
After being unable to travel due to the Covid restrictions, which seem to drag on and on, I have decided I will not count on airplane travel any longer. Wearing a mask through the airport, on the plane and through a second airport, was very uncomfortable. I understand the concern, but the restrictions kept me from seeing two of my kids for over two years. This is unacceptable.
We will be buying an RV of some kind to make travel easier. I have cats and they will need to come along. But the most exciting thing is that we will be able to visit cooler locations. Then, I can wear my sweaters, hats, cowls, and mitts! I long for this.