My yarn order of The Fibre Co.’s Acadia DK arrived the other day. I’ve been planning to knit the Skiff hat pattern in Watch Cap form (already did the Beanie version) and I just needed the right yarn to get started. I began writing this as I began knitting, so be sure to read my final thoughts at the end.

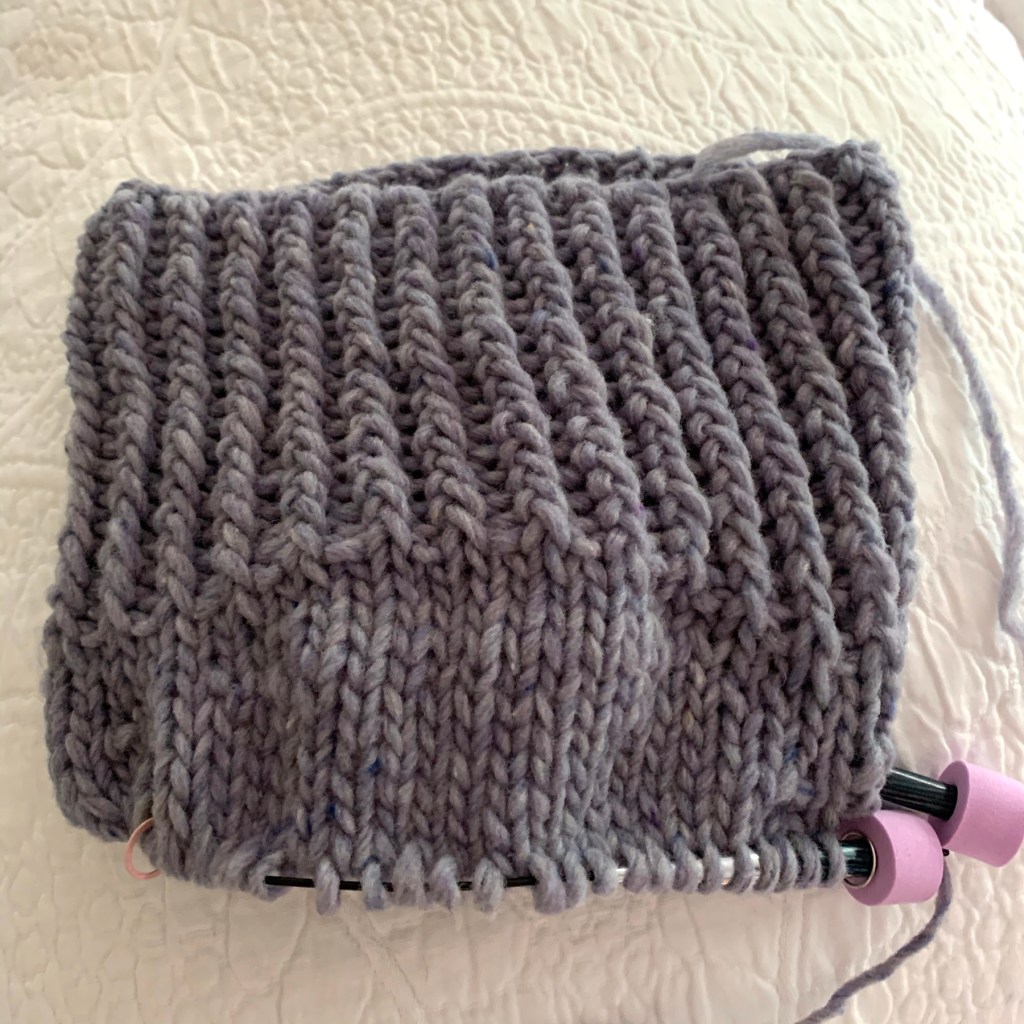
After beginning the pattern with some gray yarn from Quince & Co., but not liking the color (for this pattern), I used that yarn to knit my Curly Snowflake Hat. The Q&C yarn is nice, but the color was not right for gifting a “Skiff” to my daughter.
My new choice of yarn is from The Fibre Company. The Acadia yarn I ordered is off-white (Egret) and dark green-blue (Blueleaf Birch). They are great colors, but I still thought the white cap needed a bit of variation.
I got the notion to add some mohair to the lower portion of this long (over six inches) rolled brim. All I had was this pale pink mohair, and I can’t even remember why or where I bought it. Once I hit the “turning point”, where the brim would roll up, I dropped the mohair. I plan to add some mohair to the pompom as well, but the remainder of the hat will be solid off-white.
As a side note about this pattern, the brim takes three different needle sizes, according to the directions (which are not at all clear about this). Personally, I’ve made many roll brim hats and knit the brim in ONE size. So, I don’t see why I couldn’t do that with this hat. And… cast on about 10 fewer stitches so the cuff is tighter. The stitches will have to be added back on before the cables, but that is doable.
My First Time Knitting With Acadia Yarn
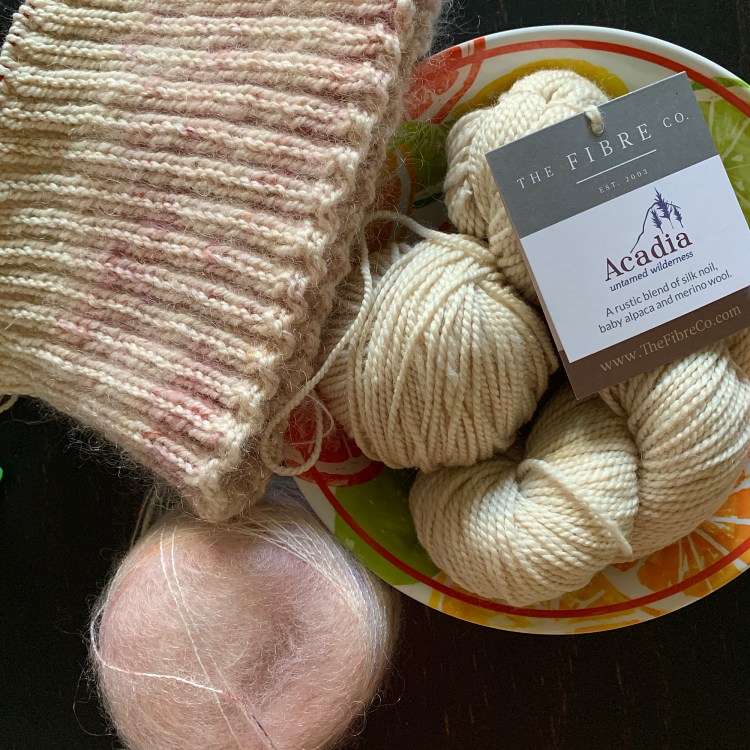
So, I cast on for the watch cap version of the Skiff pattern, using a size 6 needle, and holding mohair and Acadia DK together. The Fibre Company made this “Acadia” yarn which is “A rustic blend of silk noil (20%), baby alpaca (20%), and merino wool (60%).” It is made in Peru and comes in 145 yard skeins. I’ll tell you, it is very soft.
The one issue I have with this yarn is that every so often I get a lump of thicker yarn in the strand. I know this is due to the creation of a heathered look by combining the various yarns. But some of these “lumps” seem to be loose, almost like they are coming apart.
It may just be this skein, because I’ve begun using the Blueleaf Birch color and don’t seem to have the same issue.

Continuing to The Cables
I am now knitting with the Acadia only for the rest of the hat, which includes some pretty cable patterns. See (and buy) the Skiff Pattern here. The directions for the long brim of the watchcap are complicated – only because you must figure out needle sizes (there are 5 possible needle sizes used depending on which cast-on and hat version chosen), and find ribbing directions on two different pages – READ THROUGH THE ENTIRE SET OF DIRECTIONS CAREFULLY.
The most complicated part of the pattern is this long brim, which changes needle size three times – if I am doing it correctly. As I mentioned above, for another Watch cap I would cast on fewer stitches, and use one needle size – probably a 5 or 6US.
The part I love about this hat is the cables (chart only, but each is explained well). They are fun and a challenge at the same time. Yes, the hat gets tall, but that is to give it the slouch, which is especially needed for the Watch cap version.
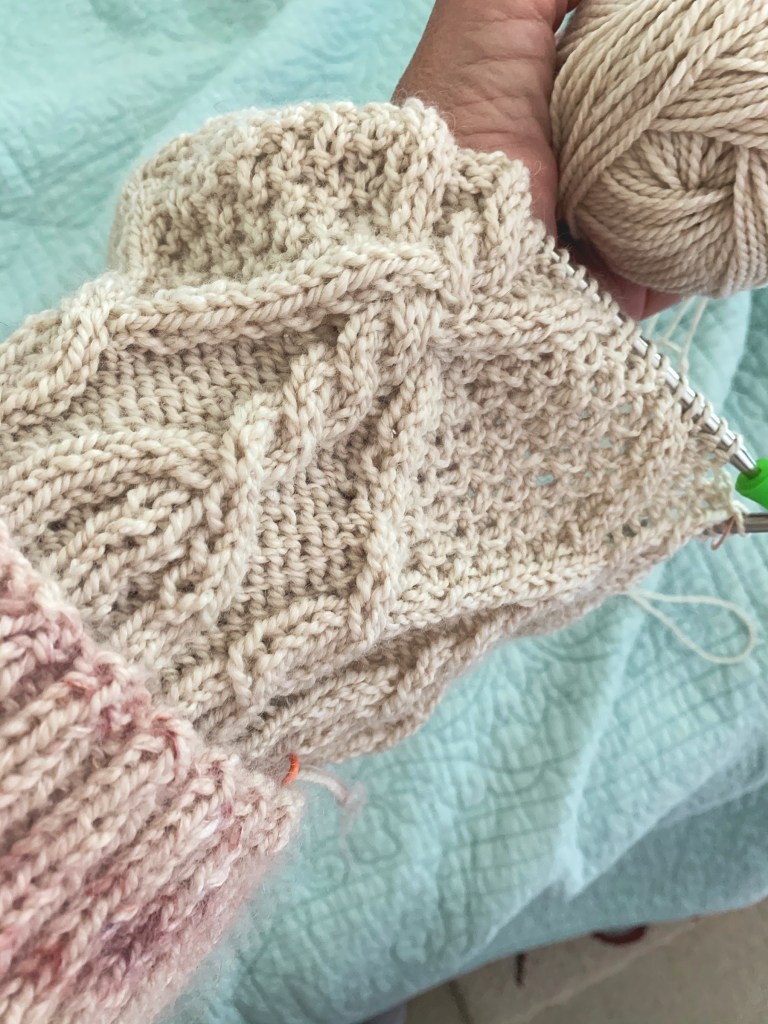
Because the cast-on needle size changes part way through the brim knitting (for the watch cap only), I began a second Watch Cap with the Blueleaf Birch yarn. My photo below shows the dark blue-green color pretty well, and it is slightly variegated and super soft.
UPDATE: Since I was not happy with the white hat, I am ripping out the progress I made in Blueleaf Birch.

Buying The Yarn
The yarn is not hard to find, but Webs / Yarn.com offers a discount and I saved over $20 on my seven skeins (3 white, 4 blue-green) of yarn! For the Skiff Watch Cap you will need 2-3 skeins (I ended up using 2 complete skeins), especially if you will add a pompom. If you knit loosely, you might need more. I don’t know why I bought four skeins of the Blueleaf Birch, but I will use it someplace because it’s gorgeous.
Just a note on the Webs photos: they don’t show yarn colors very well. What I did was search for the Acadia yarn to see better images of the colors on other sites, but Webs had the best price (that I could find).
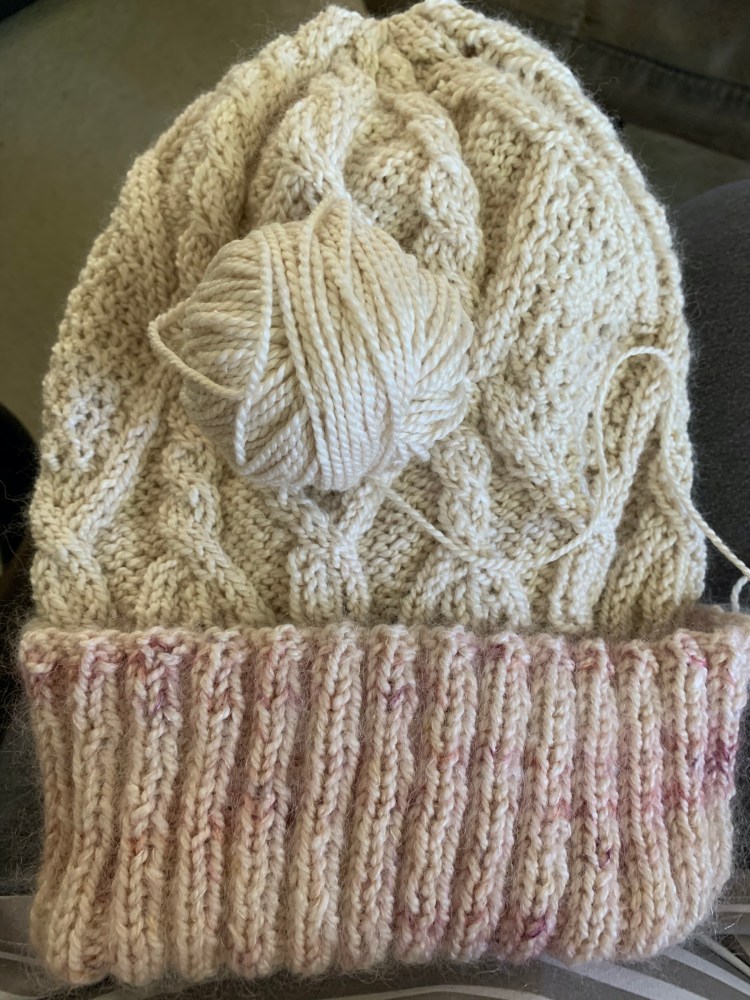
Other yarn to use for this pattern would be Madeline Tosh DK or worsted, which I used for my son’s Skiff Beanie. The variation in colors looks very nice and the yarn is a bit heavier. The Skiff pattern calls for Brooklyn Tweed Shelter, a worsted weight yarn.
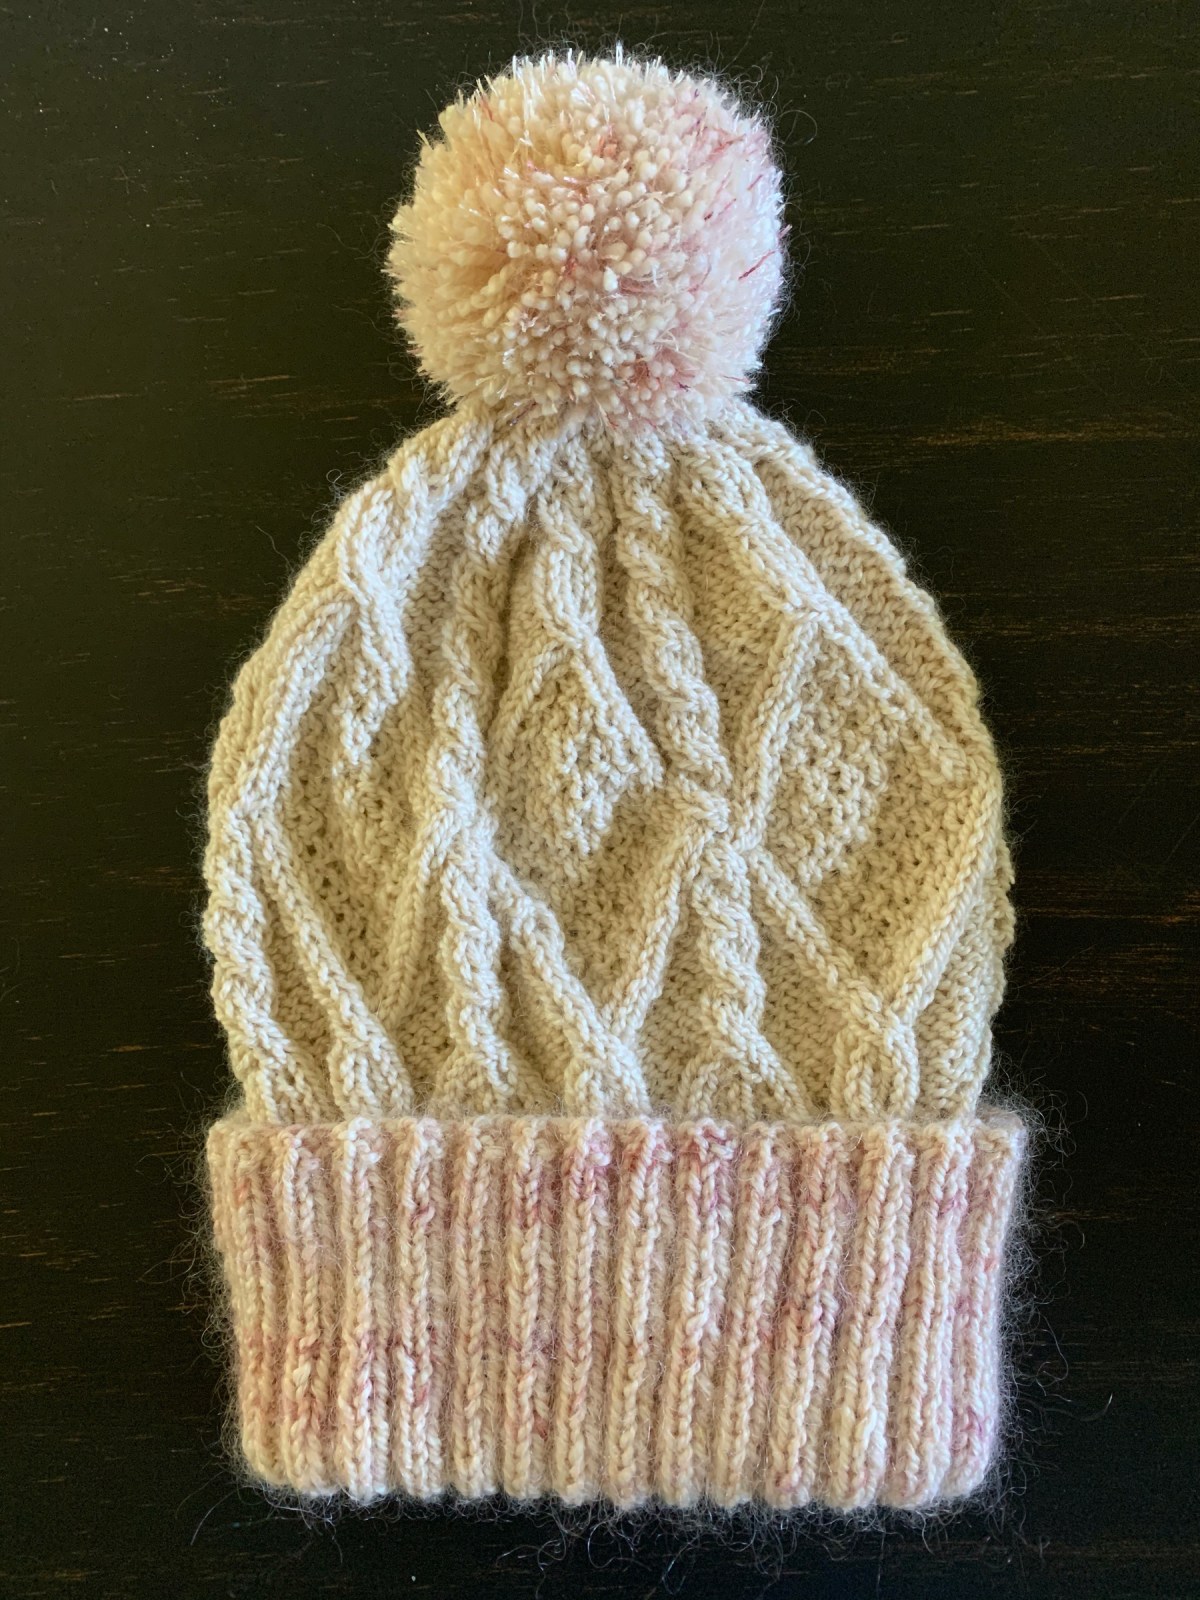
I wouldn’t choose a yarn with a lot of colors as that will take away from the lovely cabling on top, but slight variations can make this hat very beautiful. The Beanie version has no pompom, but the watchcap needs one. I used my largest pompom maker and wrapped it in both the Egret and mohair. I had just enough of the white yarn to make it work.
UPDATE: I love the pompom, but it is pretty heavy for this hat. If I had used sturdier yarn for the cables, it would have worked.
Final Results and Remarks
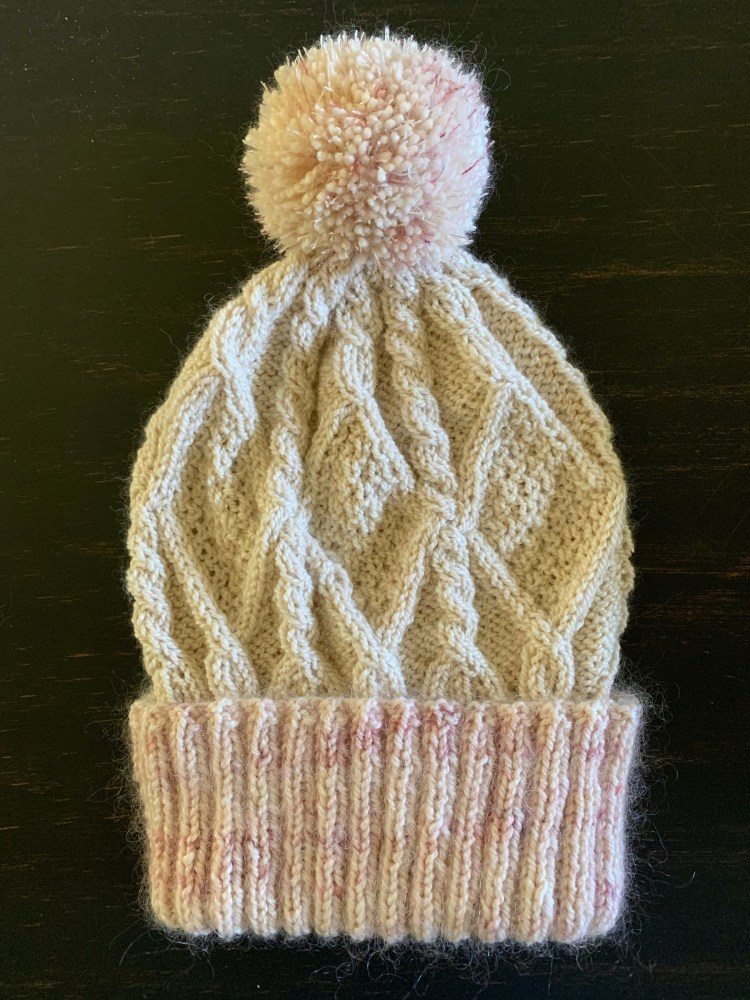
I wrote this post as I was knitting. Now that the hat has been hand-washed and dried, I think this yarn was too thin and silky for this pattern. The overall look is pretty, but the pompom weighs the hat down the the cabling is too airy to be warm.
The Acadia yarn would be nice for a baby blanket, shawl or cowl. I will definitely use the one skein of Egret and four skeins of Blueleaf Birch somewhere.
Overall, the brim of this hat is still too loose! I will cast on fewer stitches whenever I make it again. The pattern could definitely have been written easier to understand, but I do love the look of the cables. I just need to find the right yarn – still. Perhaps the suggested Brooklyn tweed Shelter is what it needs.
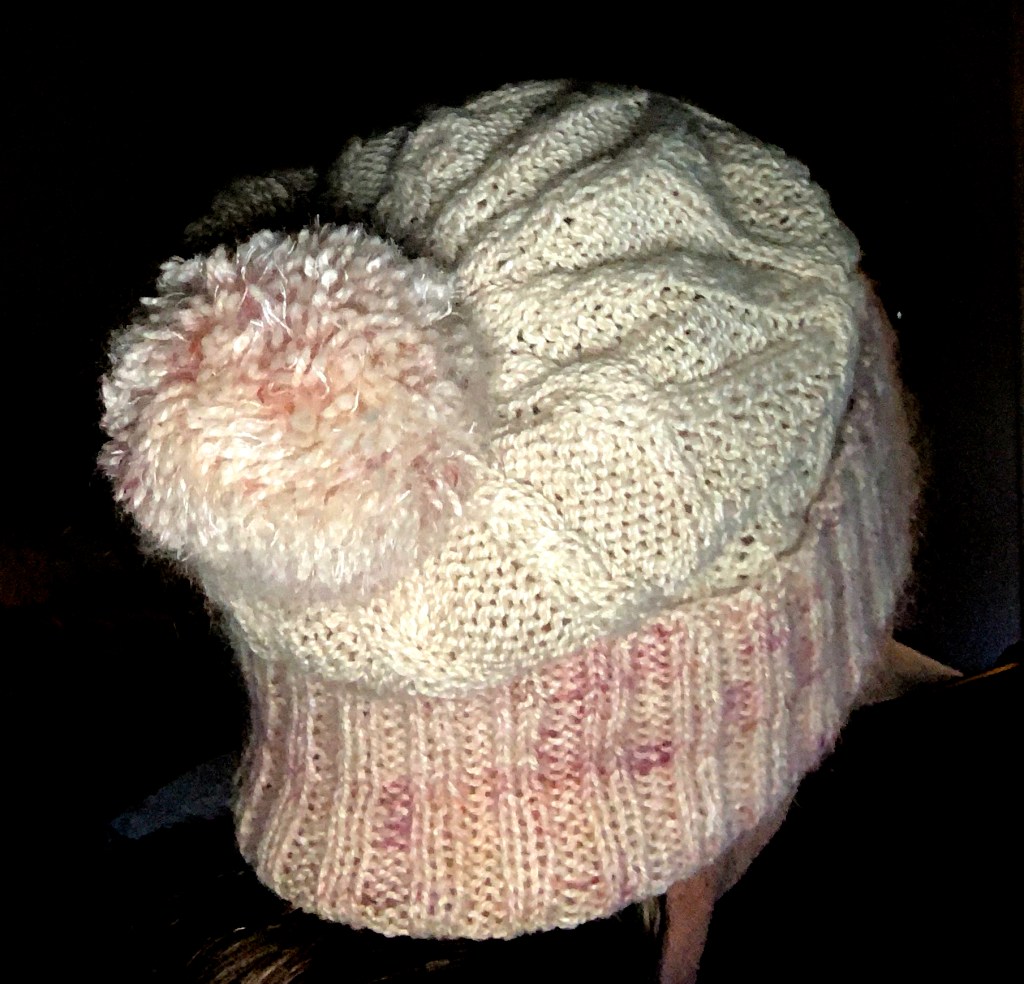
This hat was meant to be a gift to my daughter, but it is way too large for her head. I live in Florida, so I will never wear it. At this point it will go into storage.