Knitting The Stellar Parallax Mitts by Bunnymuff

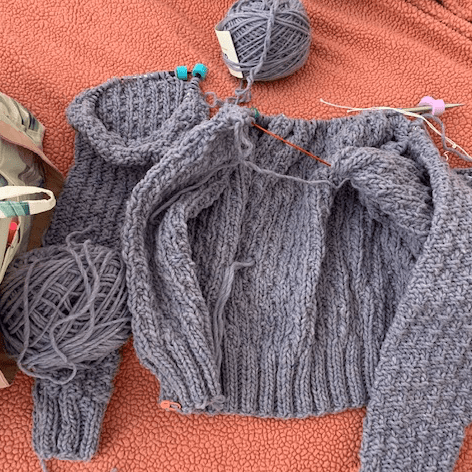
After knitting stockinette for days on my Calliope sweater, I felt that I needed a color-work challenge. Mona Zillah aka Bunnymuff has a pretty pattern done in Fair Isle, stranded knitting. The pattern is called Stellar Parallax and you get two patterns for the price of one as it includes directions for a hat and mitts. I’m knitting the fingerless mitts first.
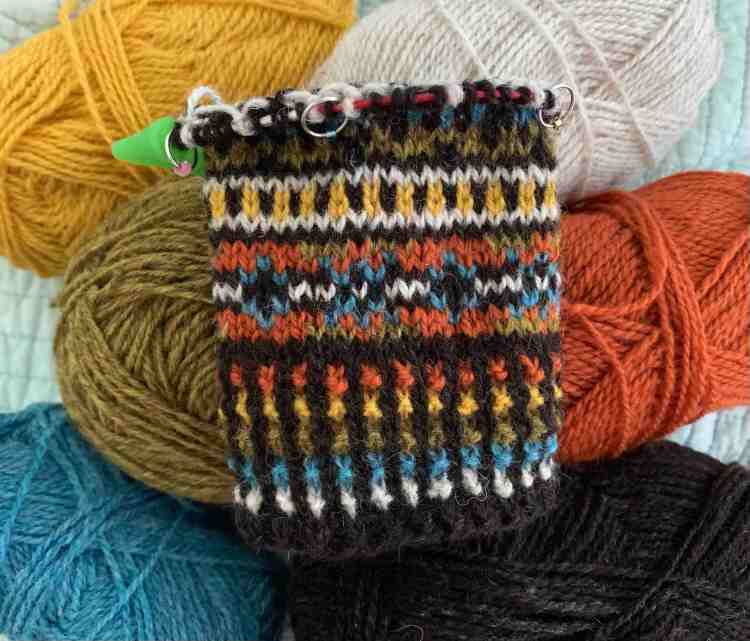
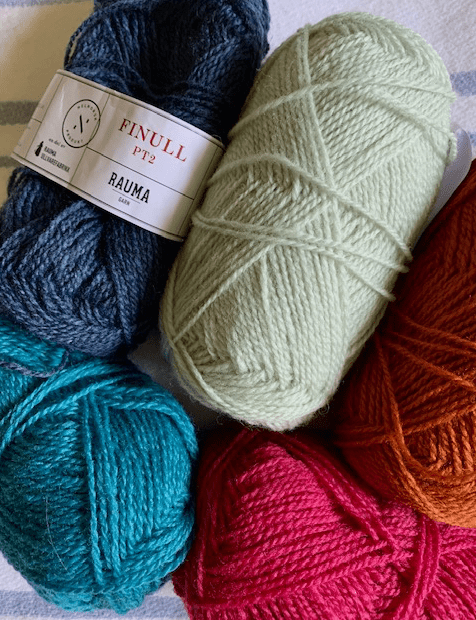
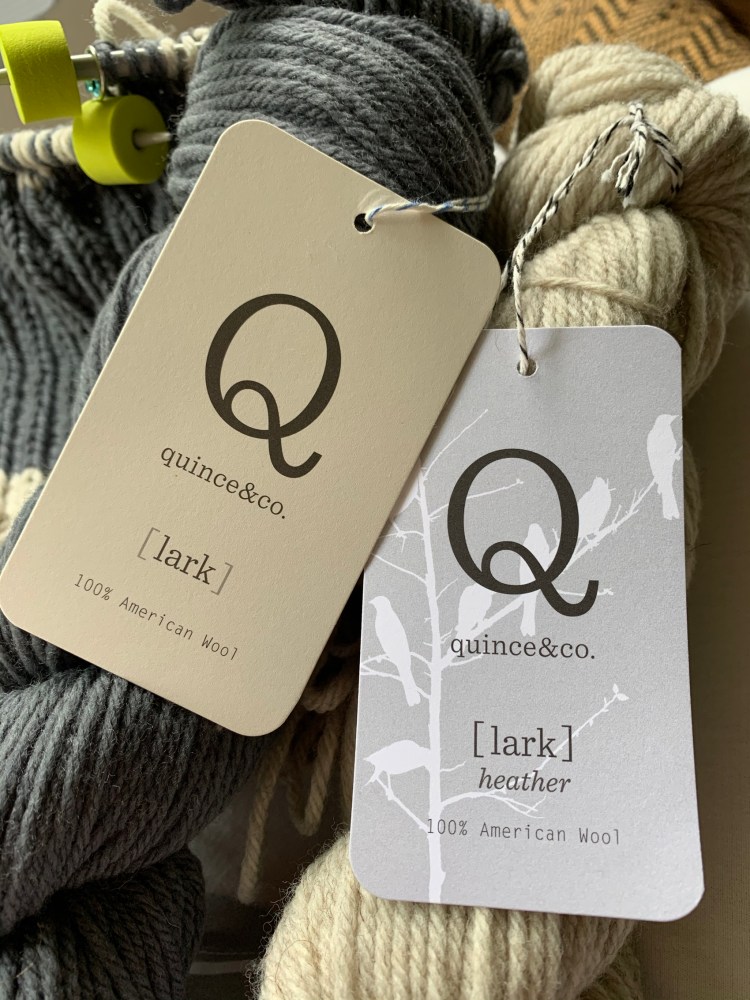
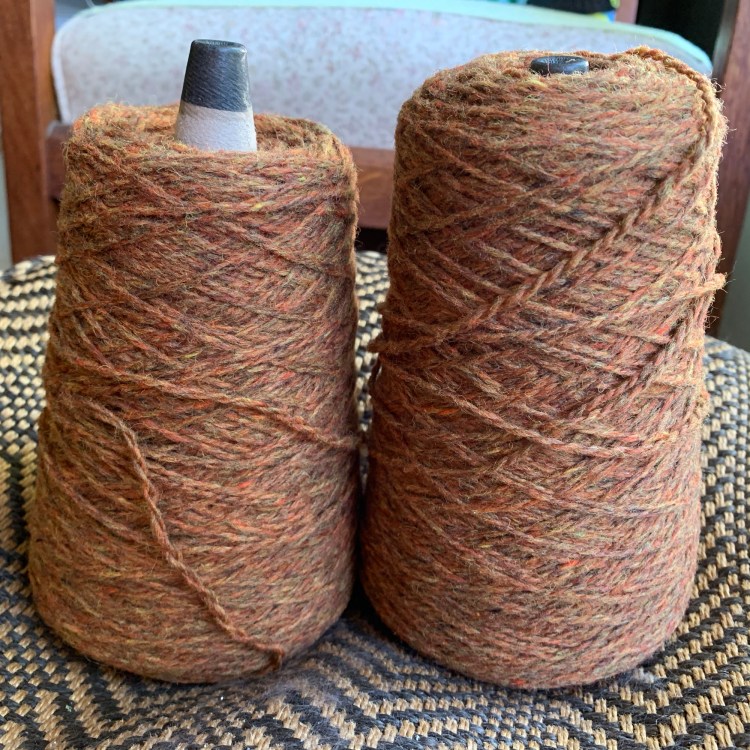
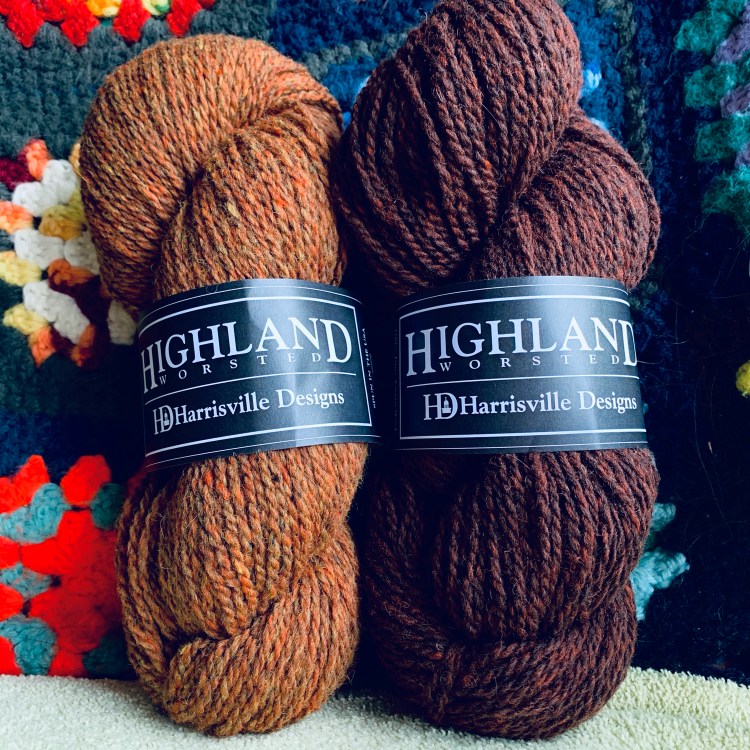
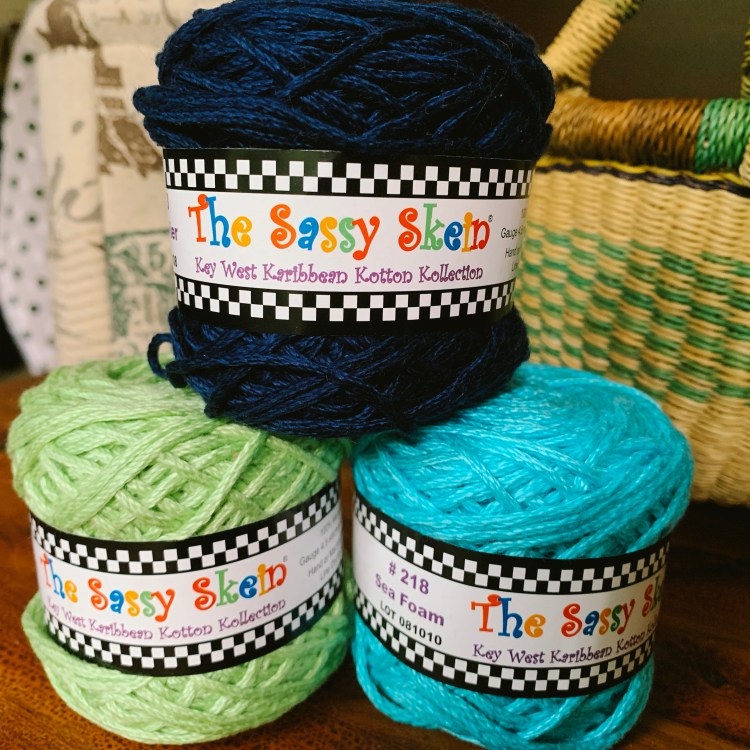
The Wool Yarn

I am knitting with wool yarn which I have in my stash and it includes Rauma (orange and yellow), Tukuwool (green), and Jamieson & Smith 2-ply (blue) and J&S Shetland Supreme (black- dark brown – and white-undyed). The only problem I had was with the dark brown yarn which would occasionally become very thin in places as I knit. All the other colors were very consistent.

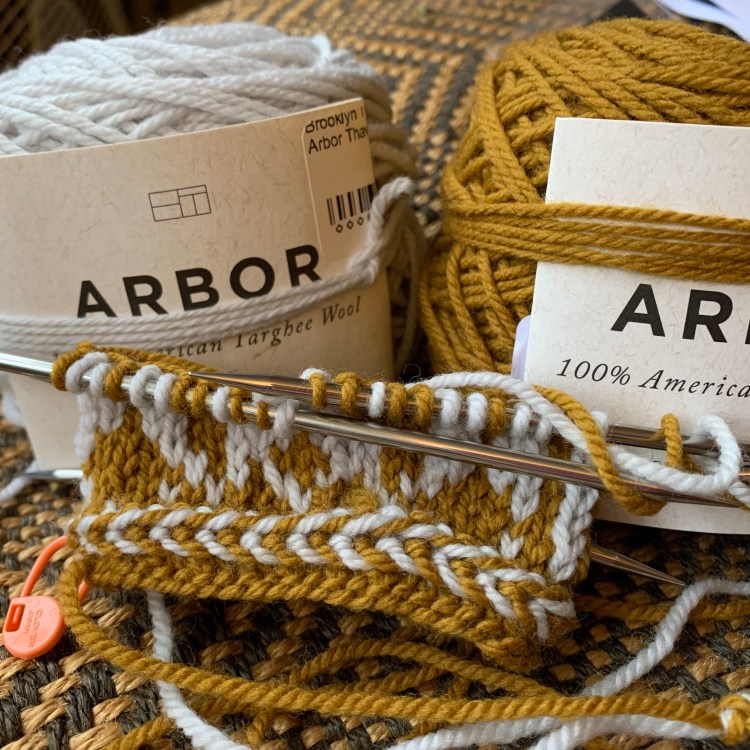
A New Way to Knit Corrugated Rib

I was unsure of what needle size to use. My first cuff was knit with a size 3US which is bigger than the pattern suggest. It turned out to be too large around so I began again with a size 2US .

Size 2 US used for all of knitting (9-inch circular needle) except for top of hand and thumb ribbing when I used size 1.5 DPNs.

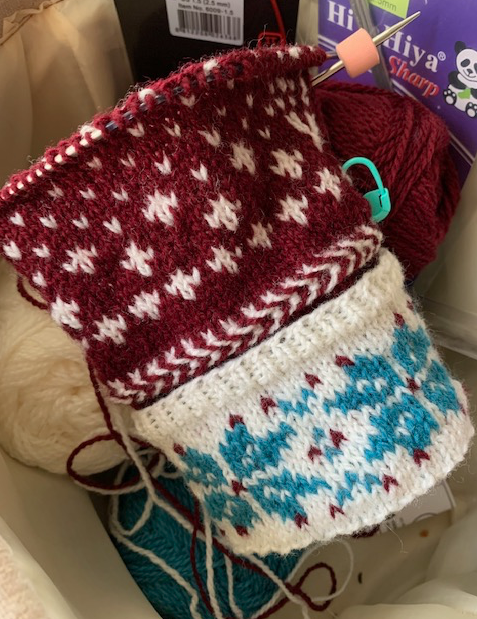
First, I did the cast-on and ribbing as I usually do corrugated rib. And it looked like this (photo left below). The cuff was too large, so I began again with a smaller needle and followed Mona’s directions (photo right).

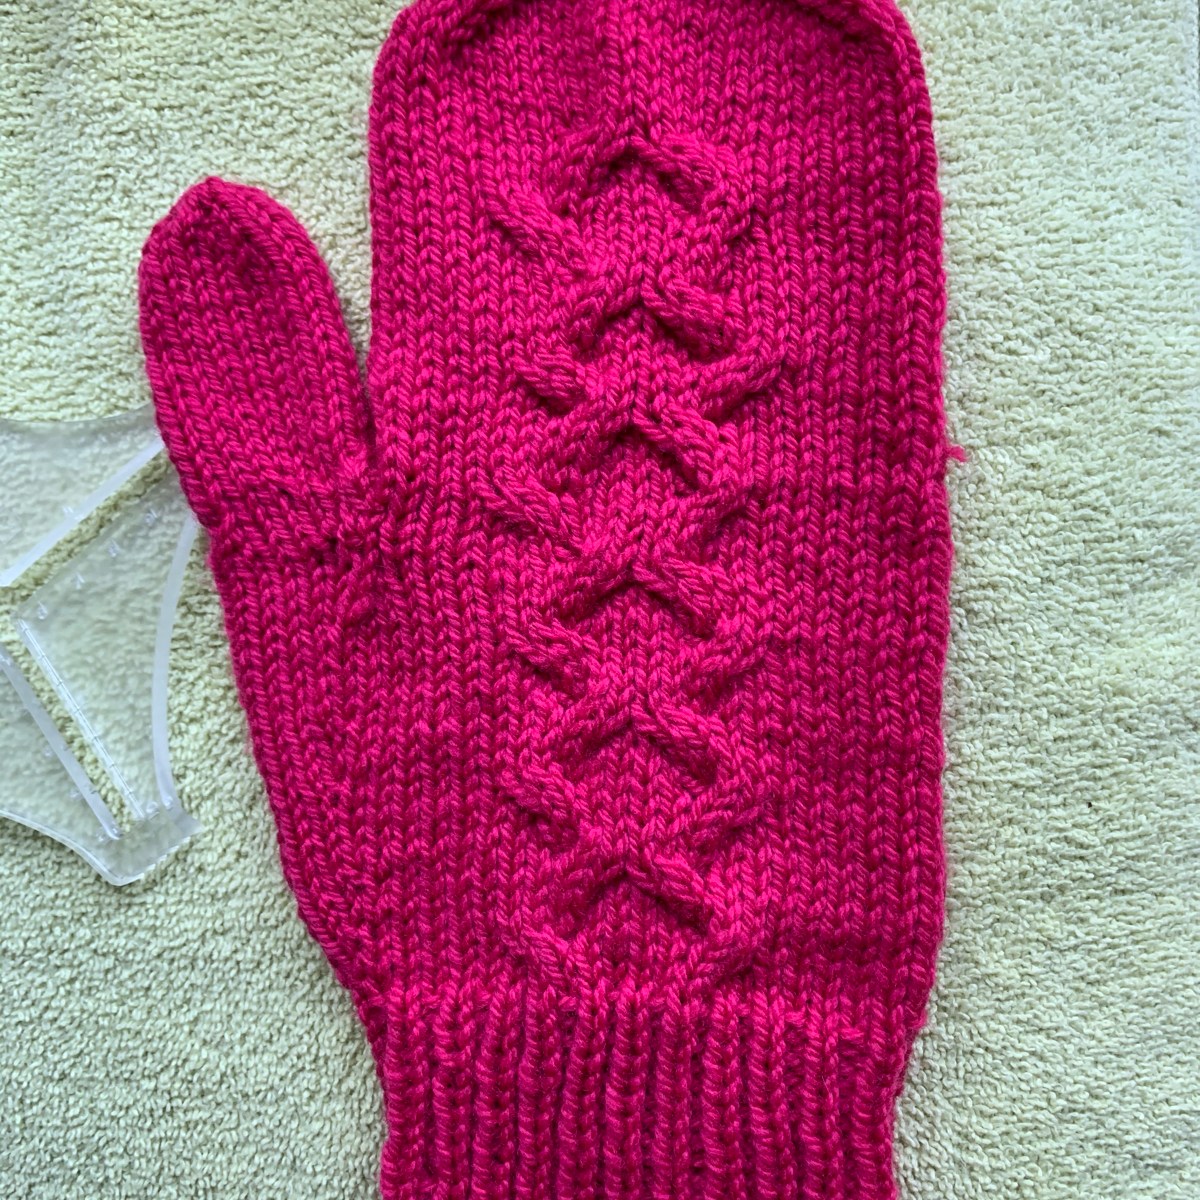
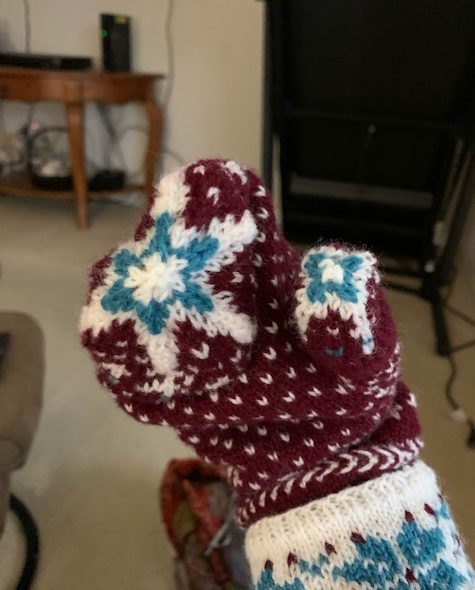
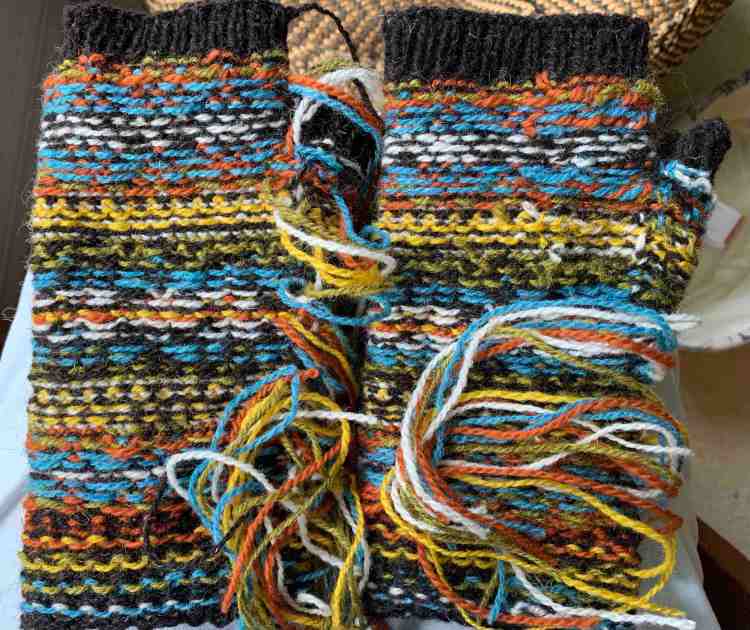
One Mitt is Finished

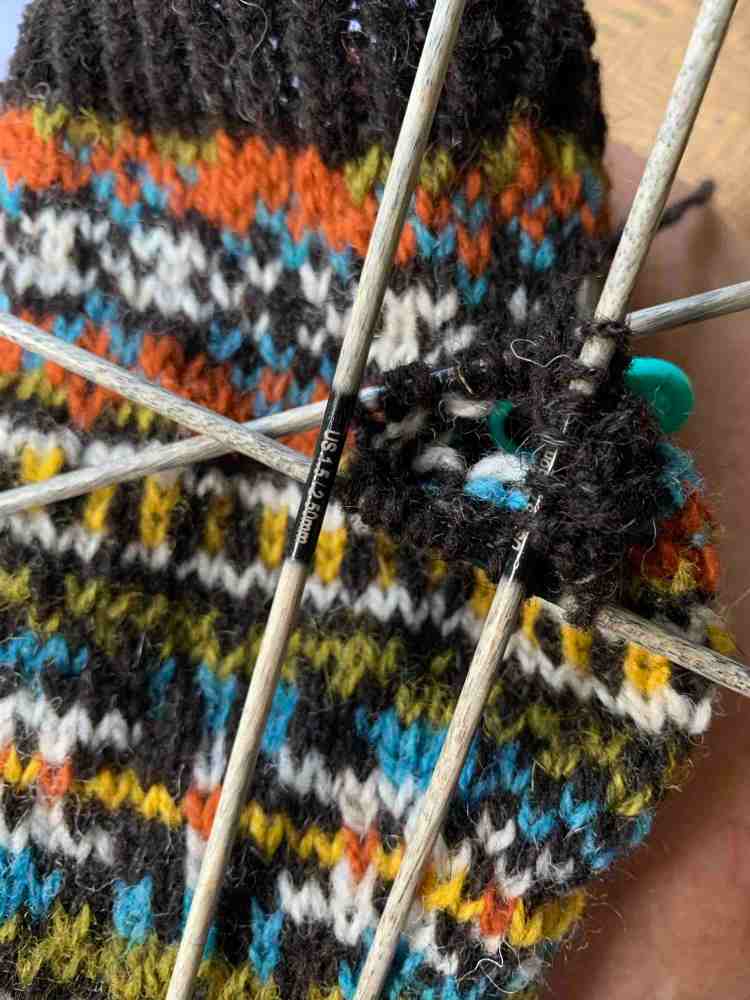
On September 4th I finished my first mitt. All that’s left is the weaving in of ends, which will be a big job. I took some photos while knitting the ribbing at the top of the hand with the thumb stitches on hold.

The whole mitt was knit with size 2 needles until the ribbing. I used size 1.5 to finish off the ribbing on the hand, and then I used the 1.5 for the thumb. I don’t like the Hiya Hiya set of three needles, so I bought some wooden DPNs to use for the second mitt – they are Lykke brand and are beautiful.

Ending Notes on Knitting the Stellar Parallax Mitts Pattern

I enjoyed knitting this pattern by Bunnymuff (link goes to her Ravelry store). She has a lot of colorwork patterns that I love, but she also creates patterns that require steeking – which I’ve never done. Steeking, in case you don’t know, is required when knitting colorwork sweaters that will become cardigans. Because Fair Isle knitting is done in the round, the sweater opening has to be created afterward. It all seems quite scary to me because you must cut up through your knitting! Yikes… I plan to learn it one day, but I’ll have to be in the mood. So I’m sticking with more simple colorwork projects for now.

black cat, knitting basket, fontana
Fontana checks out the knitting basket

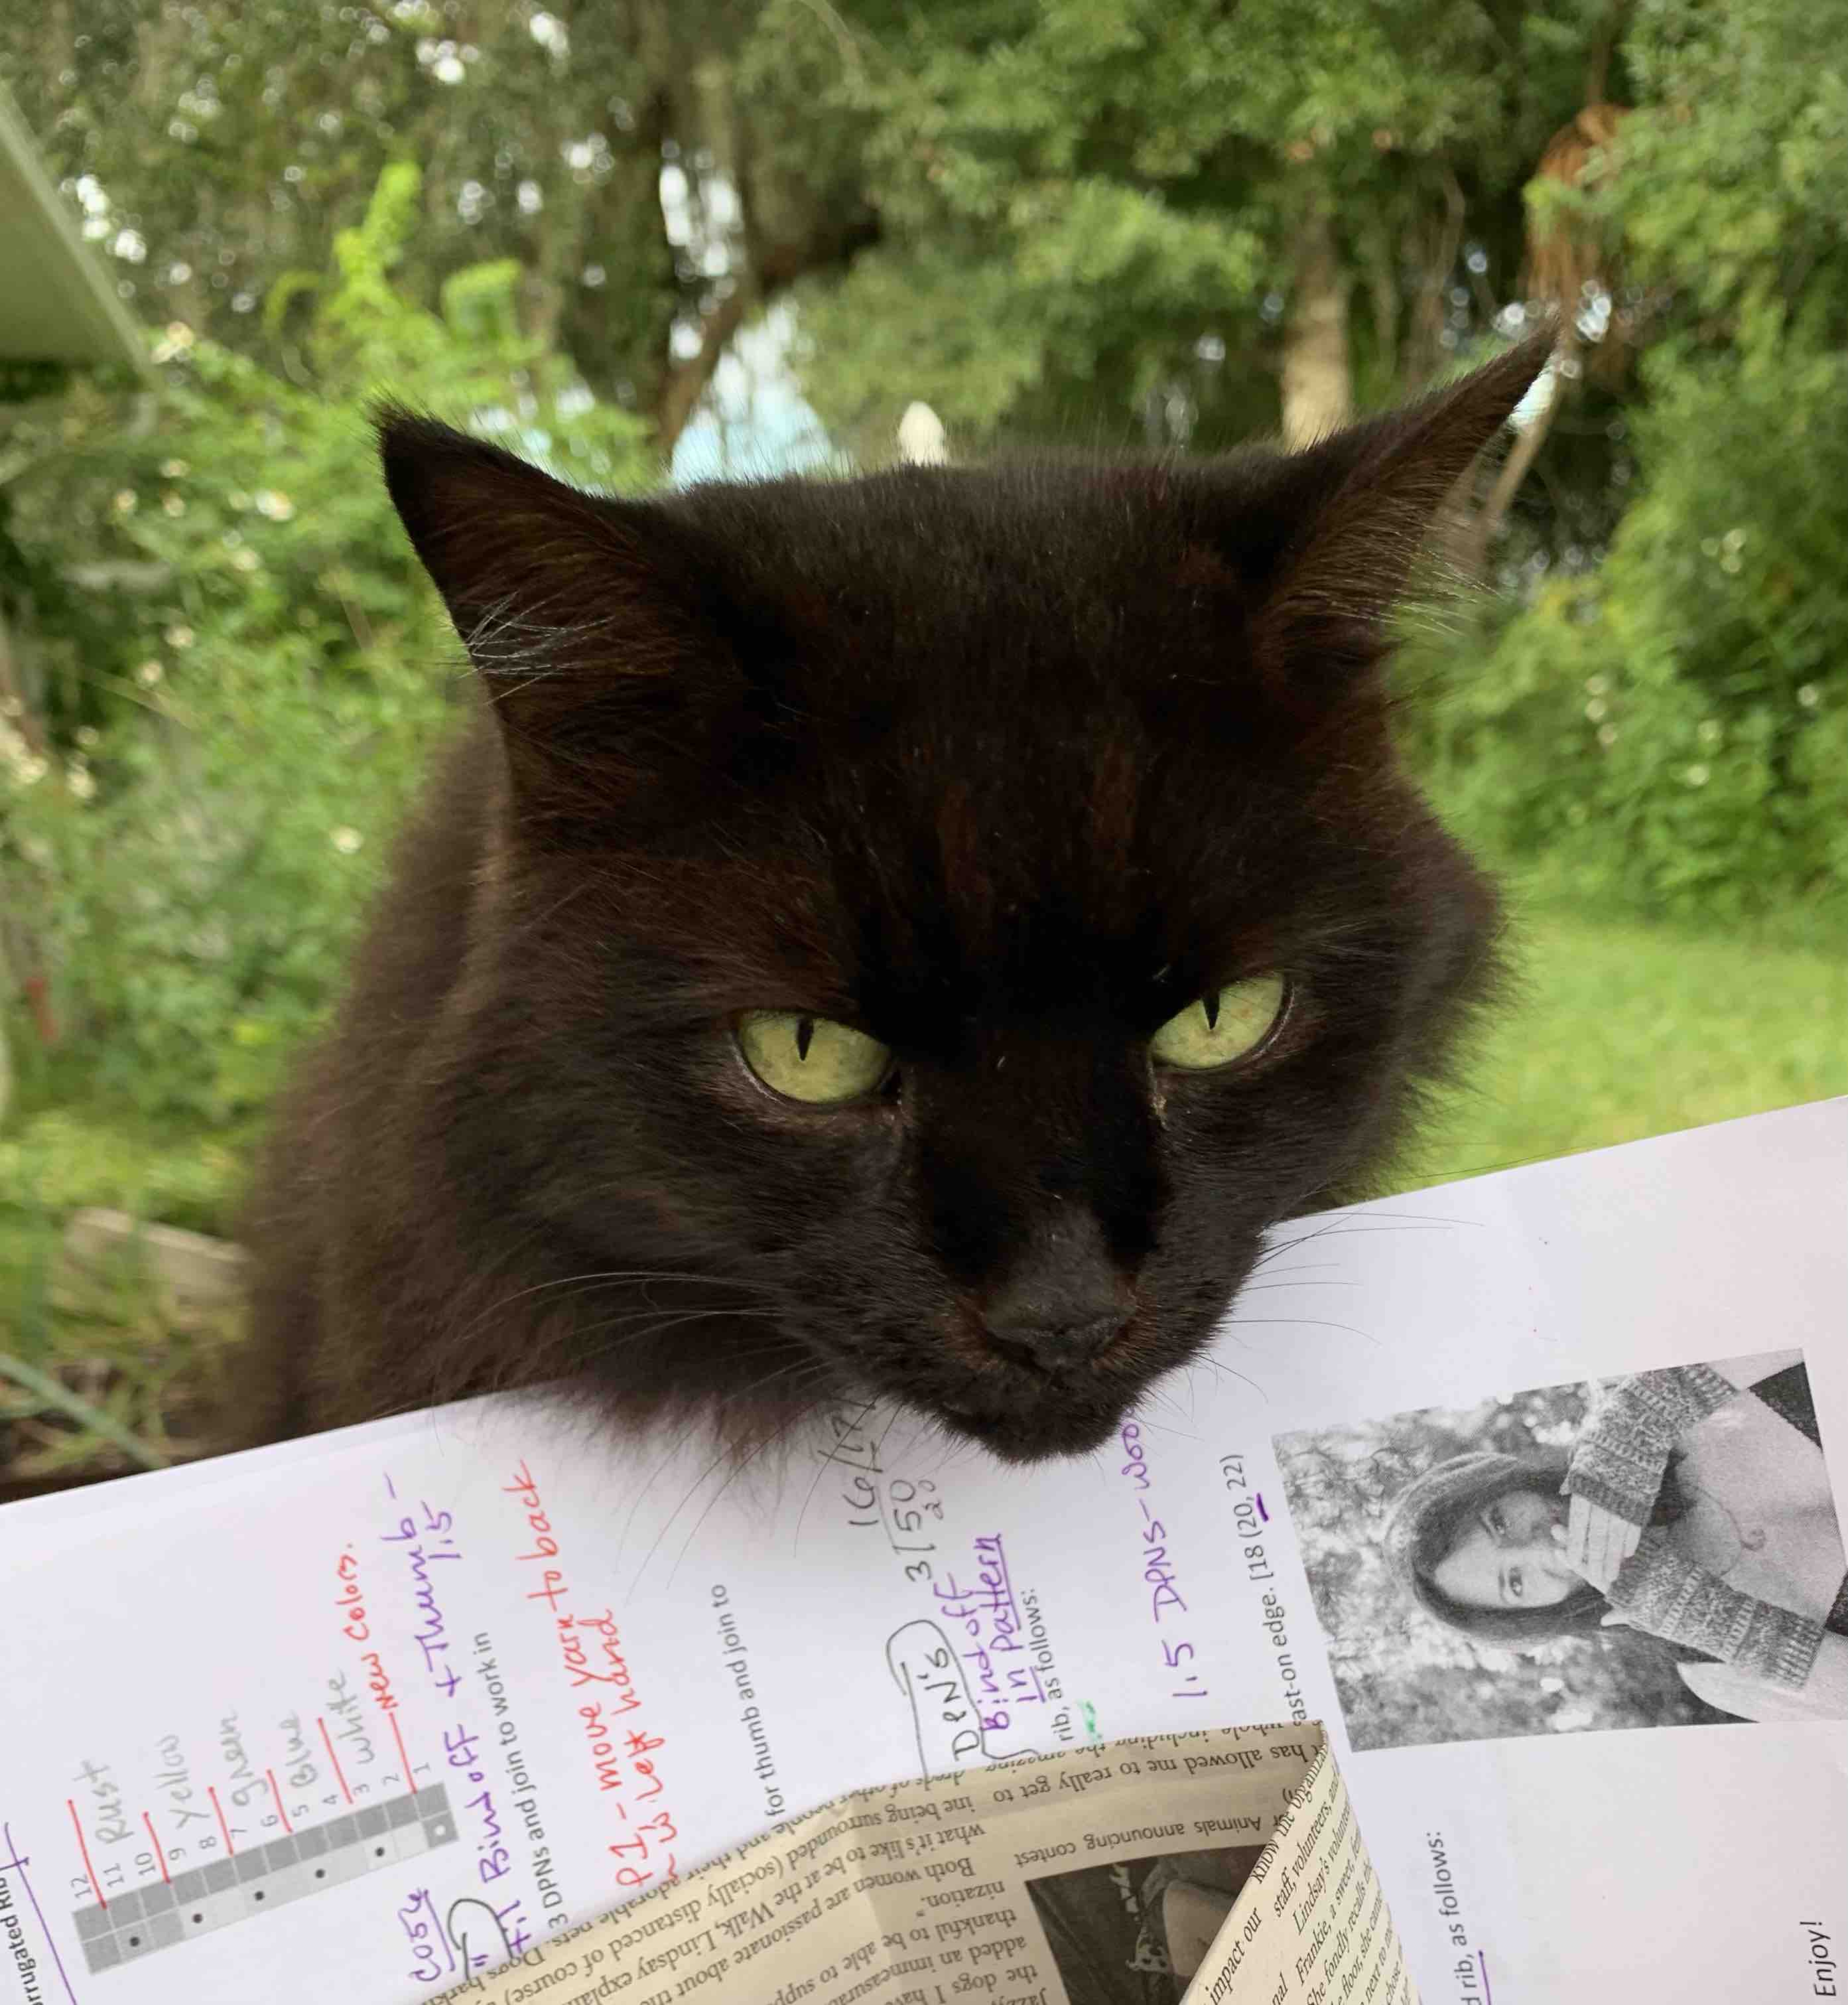
As I’ve said, I really liked knitting this pattern and it didn’t take long to finish the knitting. The weaving of ends is another story! I tried to carry the yarn colors more on the second mitt, to keep ends at a minimum, but it didn’t help much. It also didn’t help that Fontana, my cat, would insist on jumping into my lap while I tried to keep all my balls of yarn organized….!! How do cats always know to bother us when we are the busiest? Oh well, in the end, it’s all worth it.

Buying the new set of DPNs, Lykke brand (this is an affiliate link to Amazon), size 1.5 US, made a huge difference when completing the top ribbing for the hand and thumb.

I have yet to wash the mitts because I am still weaving in ends! It’s never-ending, but I love the look of the mitts, which fit perfectly. I’m happy with my color choices and I learned a new way to knit corrugated ribbing. I’ll have to begin the hat part of this pattern soon before I forget where I put all my matching yarn.

Knitting the Shell Cottage Socks Pattern

Knitting the Shell Cottage Socks.

Although I haven’t knit many socks, the Shell Cottage Socks looked pretty cute. I bought the pattern from Curious Handmade and this page is about my sock knitting adventure.

Having less income over the past year and a half, thanks to the pandemic, meant a chance to use up stash yarn. That lack of extra money to spend on yarn forced me to clear out and use up. Most items I’ve been knitting this past year were made from the yarn already in my house.

Sock yarn with nylon should really be used to knit socks. I have quite a few skeins to use and this pretty variegated blue was the one I chose for the cute little ankle socks.

The yarn came from Four Purls, which is a yarn shop near Orlando. It’s Emma’s Sock Yarn in colorway “Juneau”. I bought it back when the shop would travel around central Florida in their yarn truck. They used to come to my town and it was my temporary local yarn store. That hasn’t happened in a while, which has been good for my wallet.

Shell Cottage Socks Pattern to Buy

I bought my Shell Cottage Socks pattern on Ravelry. Helen Stewart is the designer with the shop name Curious Handmade. Her patterns are mostly socks and shawls. One of the very first knitting projects I undertook was her Spindrift shawl.

For the socks I chose to knit a size Large, using size 1US needles. After reading through comments by previous knitters I learned that many people found the socks to be too tight, or too small, so I figured a large size would be safe. I’m a tight knitter, so it made sense to choose the large size.

I began using my 9-inch circular needle for the cast-on and followed the directions with cast-on number 72 and worked the ribbing. I continued to use the small circular needle until I reached the heel.

This pattern is like none I’ve ever seen in my short knitting life. Every single row / round to be worked is written out, except for the ribbing. That makes it easy to follow along and check off each row when finished. A stitch count is also included for every single row!

Good Pattern for Beginners? Probably Not

I like the way every row is written out to be checked off as I knit along. Any beginner knitter would appreciate that. But a couple of things slowed me down while knitting this pair of socks.

First, when it comes to working the heel and the gusset, the stitch placement refers to only two needles – Magic Loop knitting. If you know how to use Magic Loop, you’re all set. But, anyone using four DPN’s would have to adjust. Although it’s not a tough thing to do, a beginner might be confused.

My other problem was that I personally found it difficult to do that slipover stitch that creates the cute cable look. That cute design is the reason I chose this pattern! I had a really hard time grabbing that stitch and pulling it over the others. I ended up using a crochet hook, which was annoying. Maybe different needles would have helped, I don’t know. And to be fair, I did not read any other reviews of this pattern where the knitter complained about doing that faux cable stitch.

The toe is finished with the Kitchener Stitch, which is probably a difficult accomplishment for a beginner knitter.

In fact, if you are reading this and have not knit much at all, try something easier than socks! Socks are my least favorite item to knit. I think many people knit socks because they are useful garments. We all want to be able to use the items we knit.

For my first sock, I quit doing that extra stitch (named “KNOT” in the pattern) after the cuff (photo left above) because the aggravation for me was just not worth it.

On my second sock, I changed the way I did the “KNOT” stitch so the slipover was done on my right-hand needle instead of the left. This was much easier for me. It’s not exactly the same, but close enough, and was easy to do so I continued with it all the way to the toe.

So, my socks don’t match. They were good practice. I may knit this pattern again one day using a solid color, which I think would work much better for showing off that cable-look design. That ball of yarn is all I had left from the skein.

In conclusion, I did like this pattern once I made my changes. I made lots of notes on the pattern pages and that will make it easier to follow next time.

If you are a crazy sock knitter, and / or love knitting shawls, and haven’t heard of this designer, check out the Curious Handmade website.


Keep Reading: Recent Blog Posts

Patterns and Yarn, Hits and Misses So Far in 2020

First the Hits – Love These Patterns Enough To Knit Them Again!

Notice that these are hats, which I have always loved best. Even though all three hats pictured here came out large, I had loads of fun knitting them, and am pleased with the outcome.

Colorwork and cables are becoming fast favorites of mine. Left to right: Tettegouche, Skiff (beanie pattern), and Katie’s Kep.

At the beginning of the year I knitted two pair of mittens which turned out perfectly! They were fun to make and if I didn’t live in Florida, I would be churning them out like mad. (L- Fiddlehead, R – Glissade)

Too Many Misses, Some Are My Fault

Over half the year 2020 has passed and I’ve had many knitting projects fail for me. A project fails when I cease to like knitting it. When I dread picking up the project and working on it, I ask myself why do I keep on going? When I decide to stop knitting, and put it aside, or frog it, it’s because I have either chosen yarn I hate (Over the Top Tee), or the pattern is difficult (Oxbow Cardigan), or I knit as called for and don’t like the look (Millet mittens and Golden Afternoon Mittens).

The Snowfall Socks, in orange above, have been on the needles for months now. I’m using Tukuwool, and it’s very scratchy, otherwise I do like the pattern. I may never finish.

Yarn Buying Mistakes

Projects are often purchased on the spur of the moment, and I can say the same for yarn. Sales are the knitter’s downfall. Who can pass up a great deal on lovely yarn?

But buying sock yarn, when you have no desire to knit socks, or shawls, any longer, is a waste of money. I’m learning which types of yarn work best for the projects I like to knit. Sock yarn is pretty, but it’s not what I reach for these days.

The Milarrochy Tweed yarn is one I regret buying. I tried knitting with it and just didn’t like it. It’s very thin, with little thick bits. Also, it is a single ply yarn, which I am beginning to realize I dislike.

Milarrochy Tweed yarn
Milarrochy Tweed yarn by Kate Davies Designs

Tukuwool sock yarn is another I would not buy again. The colors are beautiful, but the yarn is scratchy. I bought these skeins from a shop that requires $99 in sales for Free Shipping, so I over-bought, thinking I would of course use it one day! (I despise paying shipping costs.) Bet I am the only knitter who does that sort of thing… hahaha!

Tuku wool sock
Wool yarn from Finland

New (Happy) Yarn Discoveries in 2020

Rauma Finull / Finnullgarn wool yarn from Norway is such a find! (I buy mine from either The Woolly Thistle or Wool & Company.) And similar type yarn in smaller skeins: Jamieson & Smith Shetland wool (find J&S cheap at Fairlight Fibers). This is real wool that comes from across the pond, and comes in an astounding array of colors.

Brooklyn Tweed Arbor is a DK weight, beautiful yarn, which I first discovered when knitting my first pair of colorwork mittens in February. The softness of Arbor makes it perfect for hats, mittens and cowls, or anything next to the skin.

Arbor yarn mitten knitting project
Brooklyn Tweed Arbor yarn is pretty nice

Quince & Co. “Lark” is a worsted weight, 4-ply, yarn and I used it to knit my Curly Snowflake hat. At first I wasn’t too sure about this yarn, but it’s really very nice for doing colorwork in worsted. I see more of this yarn being used in my future knitting projects. I bought it at Wool & Company.

Quince & Co. American wool yarn in "Lark" colors Storm and Audouin
Quince & Co. yarn in gray (Storm) and heather natural (Audouin)

I bought my first cone of yarn. Harrisville Highland “Foliage” will be used to knit a sweater one day. I can’t really say how I like it yet, but I love the colors. Both Teak and Foliage colorways were hard to find.

The Sassy Skein of cotton is now my favorite cotton for knitting dishcloths. The tropical colors are perfect for my Florida kitchen. Buy at Four Purls Yarn Shop in Florida, or at the Sassy Skein site.

The Sassy Skein

I’ve had a busy first half of the year knitting things I ended up not liking… but I have knit lots I do like. And every project is a learning time for me, so I don’t feel time has been wasted. Live and learn is a great motto. Knit and learn also applies.

Milet Mittens Colorwork Knitting Project and Mods

The Milet mitten pattern is my first real colorwork, small-needle knitting project. I’ve learned how to hold the yarn for the Main Color (MC) and Contrast Color (CC), and I’ve learned how to carry floats from both hands. So, I figured I was ready to attempt something new.

I did a trial knit of this pattern to try and figure out what size needles to use. The first attempt at this mitten came out very large (also my needle sizes were off – see Flexi Flip size discrepancies). I had gone up a needle size because usually I have to do that. But this time the mitten was way too big.

When I began my knit-along mitten project, although I had another mitten pattern in mind (Helianthus), I stuck with the Milet pattern because I could understand it (especially the thumb). I did go down to needle sizes 1.5 and 2 (pattern calls for 1.5 and 2.5). It meant I had to order some new DPN’s to finish off the top and thumb.

Honestly, I think this mitten should be knit in size 1 and 1.5, with added length for cuff and hand.

Knitting Milet mittens - cast on day
Accomplished the floral cuff the first day of knitting

The colorwork cuff is knit first then a ribbed lining is worked. Once the ribbing is finished the work is turned inside out to begin the hand. (See mug photo below.) I like this idea of making a double layer cuff.

knitting the mitten cuff and lining

Because I like a longer cuff on my mittens, I added extra rows of maroon to the bottom of the hand / wrist area, then did a Latvian Braid (just for fun) with a couple more rows of maroon. I wouldn’t do it this way again because that wrist area is too loose. I like the braid, but overall the mitten is simply too wide and loose.

Colorwork mitten knitting
I added a Latvian braid and extra rows to lengthen the cuff

The pattern is easy to follow, but it did take me some time to figure out the thumb knitting. I’m not experienced with picking up stitches and very small circumference knitting, so the thumb was annoying. Because of this, I decided to knit it solid maroon until I got near the top.

knitting colorwork Milet mitten pattern

It took me twelve days to finish this one mitten, but I did not work on it every day. I had to wait for my Hiya Sharp #2 DPN’s to arrive.

Learned this: Very sharp, metal, DPNs are super helpful when knitting tiny stitches.

Colorwork mitten knitting
Made some changes to lengthen the mitten

Review of Milet Mitten Pattern

Overall I like the looks of this mitten. Loads of people have also knit it, so it is popular. Many knitters have mentioned having to add length to the hand, which I also had to do. The nice thing about mittens is that they can be tried on. It’s easy to adjust length of hand and thumb by adding / subtracting rows.

The thumb chart has been fitted in with the hand, so it’s very easy to follow – but you must know how to read a chart to knit mittens. It’s not difficult, but when designers put the thumb chart separate from the rest of the work, I don’t know how to incorporate that into my knitting. It’s something I will have to figure out because I have other mitten patterns I would love to knit.

Buy the Milet Pattern, by Ysolda Teague, Here

I added three extra rows of the white dot pattern, but once I got to the top “star” pattern I realized I needed more length. So I added a couple more rows there.

The mitten is also very wide. I believe a thin pair of gloves could be worn inside for extra warmth.

The left-hand mitten will not be knit exactly the same way as I will make better adjustments. I’ll use the same needle sizes so the pair will match, but next time (if I ever knit this pattern again) I will use smaller needles overall.

Changes, Mods, to Pattern For Next Time

  • Needle size 1 and 1.5 for a tighter cuff and smaller mitten circumference overall
  • Lengthen the cuff by adding more colorwork or plain color knitting, then more rows of ribbing to match length.
  • Add as many rows as needed of dotted colorwork to the hand length.
star pattern at top of Milet mitten pattern
The stars at the top add beauty to this pattern