It is not a misprint – all mittens have thumbs, but not all mittens have thrums!
What is a Thrum?
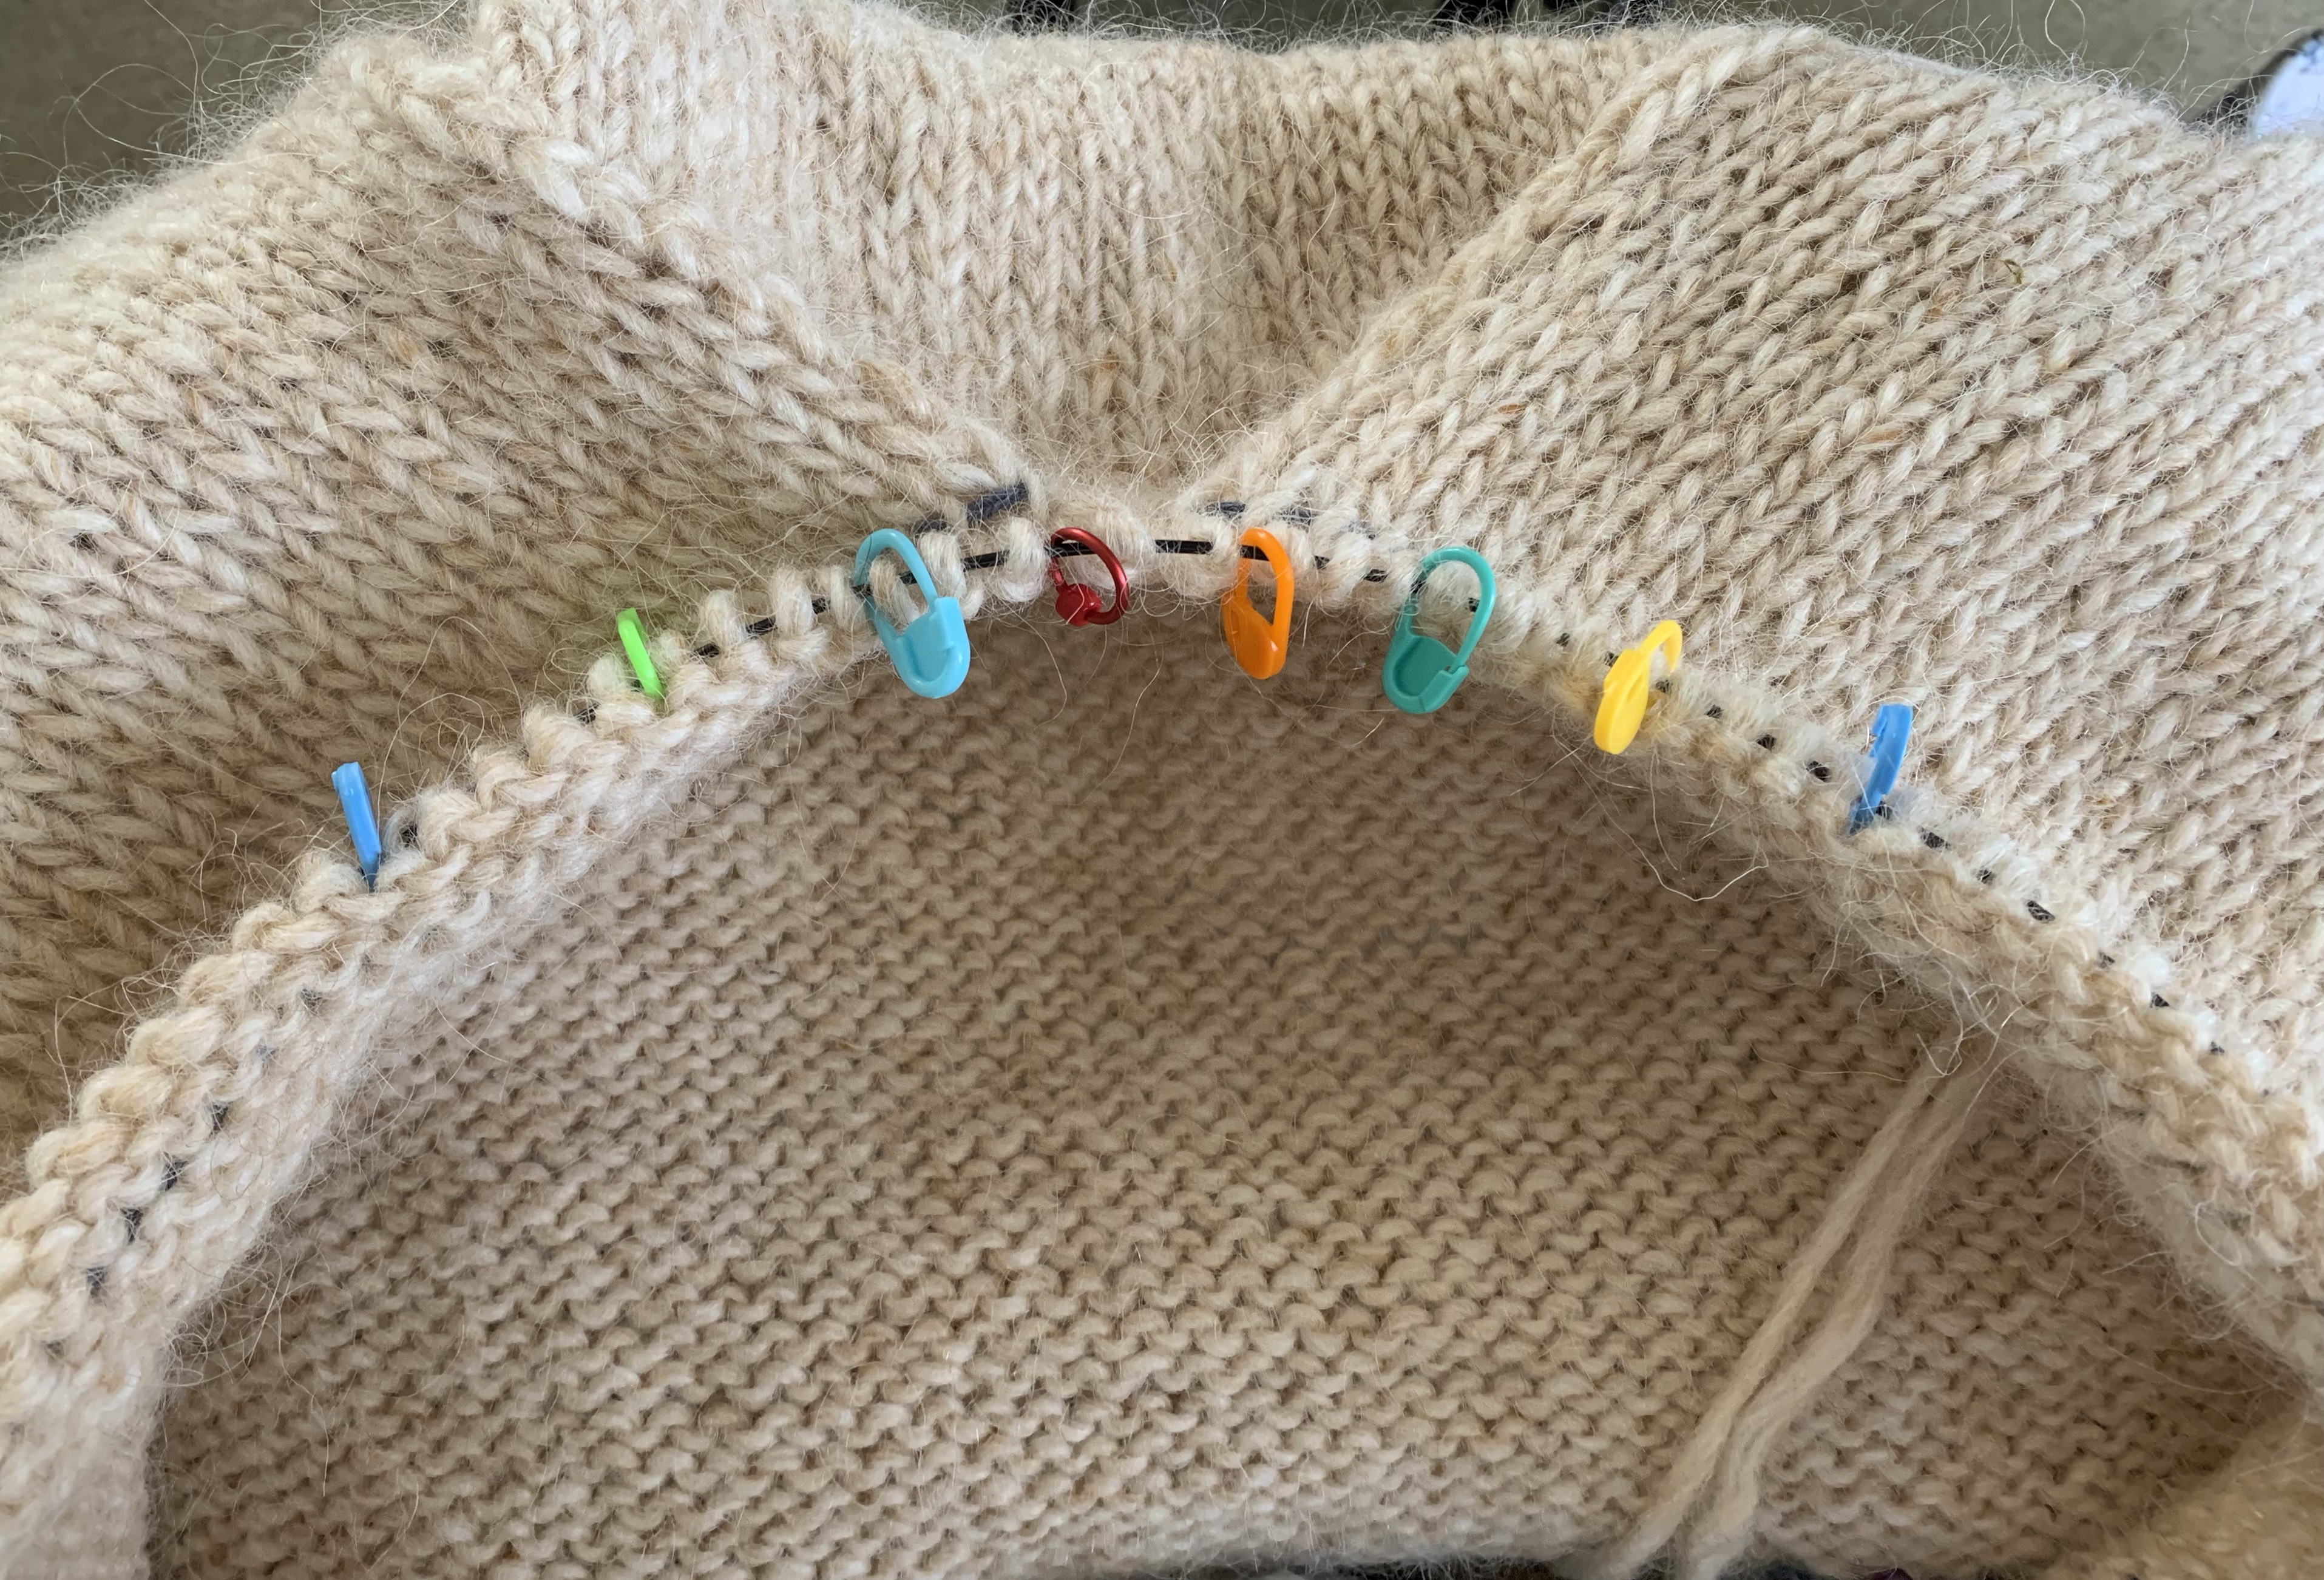
Before fiber becomes yarn as we know it, it needs to be spun. The puffy fiber which is used to spin the yarn is called roving, or a carded top. (To get the roving to that point requires other processes as well.) To make thrums, that fluffy roving is knit, piece by piece, into a mitten. Knit a simple pattern, and add the roving – here and there – to create fluff inside the mitten. Each bit of fluff is called a thrum. Hence, when you do this you have thrummed mittens.


Yarn spinners buy roving to spin (and sometimes dye, if it’s natural) to create their own unique hand-spun yarn. What I call roving, is also sometimes called a top. I’m unfamiliar with it really, but just wanted some fluffy stuff to add to my mittens!
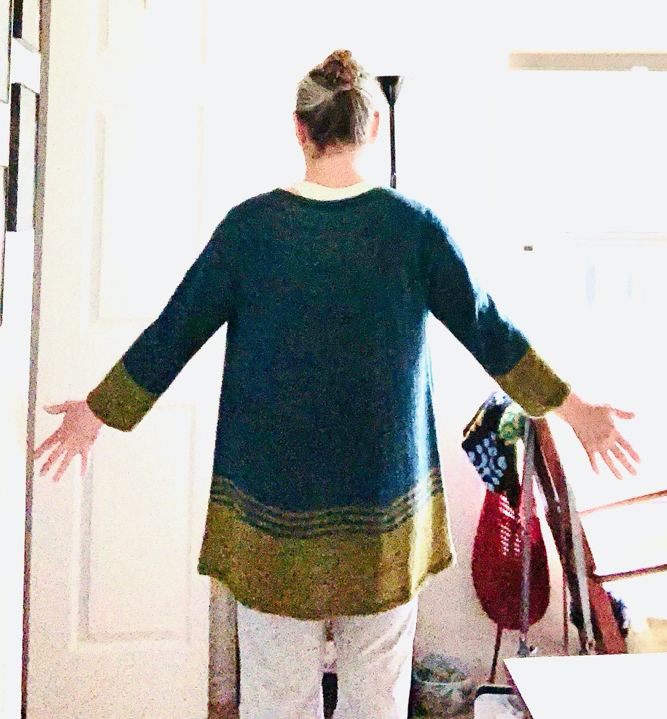
Thrummed mittens are perfect for those who live in cold weather climates. The Well Sweep Sheep shop at Etsy has handmade thrummed mittens for sale. Take a look at the photos if you are not familiar with the look of thrummed mittens.
For a good result, most knitting projects take some planning. When I first saw mittens knit with thrums, I wanted to know more. I can’t believe I have never heard of this until recently. Now, I will plan and knit mittens with thrums – for the first time.
A Little About Mitten Thumbs – Two Ways to Knit
Be aware that mittens can have either “side gore” or “peasant / afterthought” thumbs. I’ve only knit mittens with the side gore directions, which makes them interchangeable – no right and left. The thumb area begins to expand shortly after the cuff is knit by making increases. Once part of the thumb is knit, those stitches are put on hold to finish after the hand.
All mitts and mittens I have knit have a side gore thumb. These are not Thrummed.


An afterthought thumb is added by leaving an opening in the hand where the thumb will be added later. The thumb is placed more toward the palm, which means each mitten knit will be for either the right or left hand and are NOT interchangeable. Read this article at Just Crafty Enough to see the difference.
Free Patterns for Mittens With Thrums
When searching for mitten patterns with thrums, free patterns and patterns to purchase are available. While most people love free things, we must take into consideration how well a free pattern works. Some free patterns are great, but others don’t work out.
Since I have knit quite a few mittens, I’m really only looking for cast on number, and thrumming information. I can’t see paying for that. YouTube and knitting websites all have information about how to thrum. Basically, I need a knitting pattern in worsted or chunky / bulky yarn where I can add thrums.
Here is a list of free patterns I would like to suggest. I have not knit any of these myself. The patterns are listed at Ravelry and get good reviews and ratings.
- How to Make Thrummed Mittens – (Worsted) Advice and Free pattern with side gore thumb! Source: Haveayarn.ca
- Chroma Thrummed Mitts – (Bulky) I printed this free pattern out and it has an “afterthought” or “peasant” thumb. This is something I am not thrilled about as I’ve never knit that type of thumb. But, the pattern has nice directions and advice on thrumming.
- Worlds Simplest Mittens – not a thrumming pattern, but Tin Can Knits has offered this free pattern to knit mittens in 4 different weights of yarn, including worsted and chunky. Also a toddler size is included. I’m thinking I’ll watch a thrumming video, and add thrums to any of these mittens. Should work, right? Thumb type is side gore style.
Pay For Thrummed Mittens Patterns
Although free thrummed mitten patterns may be fine for anyone who can basically knit a mitten, some people will want more help. There is nothing wrong with supporting designers by buying their patterns.
- Family Thrummed Mittens – (Aran) Children’s size to mens large.
- Thrummed Mittens – by Staci Perry, from Very Pink Knits. When you buy this pattern you will have links to her videos to help with placing the thrums, or just watch her video here.
- It’s a Snow Day! Mittens – (Fingering) by Bunnymuff – this pattern includes stranded colorwork with thrums. I’d love to knit these once I get the thrumming bit down on a simple pair.
- Thrummed Fleece Stuffed Mittens – Worsted / aran yarn.
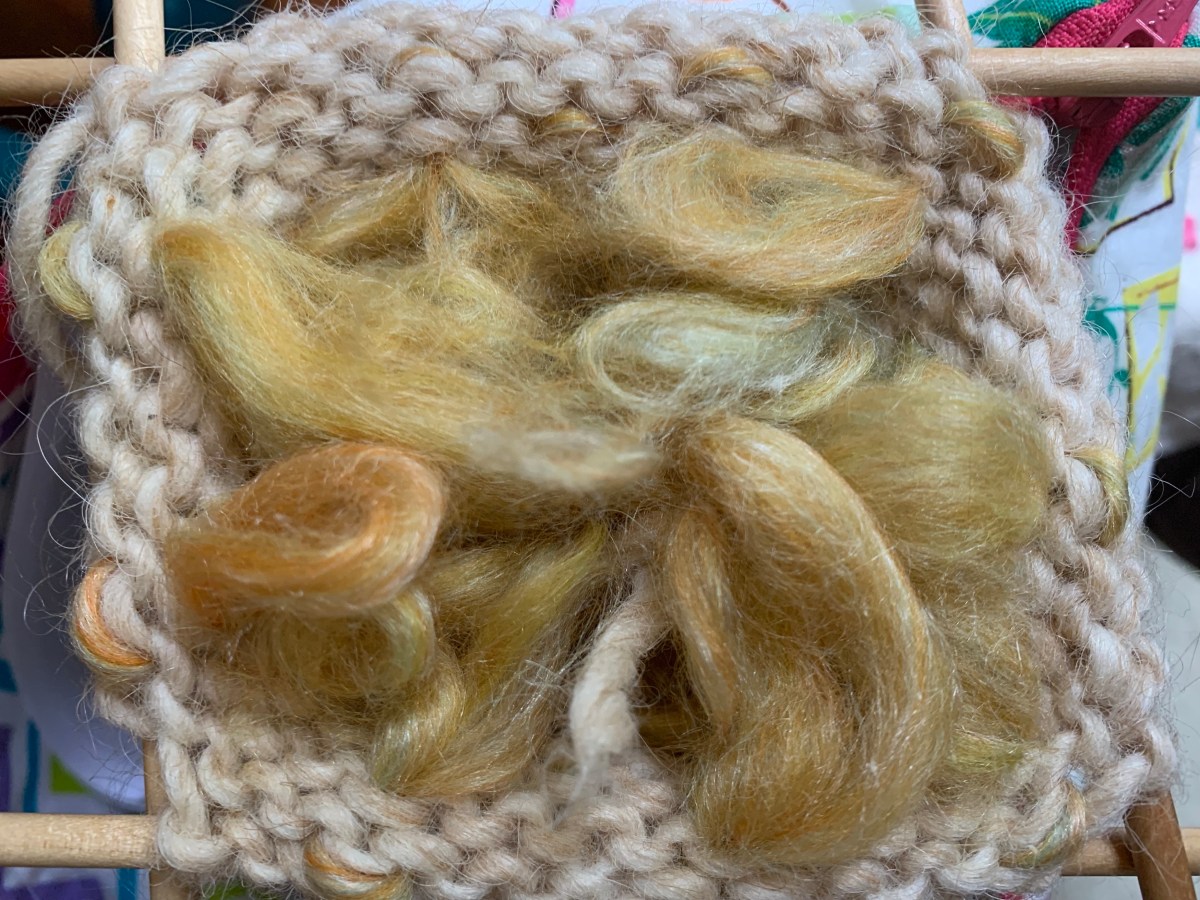
Roving
One question I had was about the roving. I know nothing about it really, but I assume a nice wool of some sort would make those thrums nice.
I couldn’t find much info about this. At Three Waters Farm on Etsy, I see nice roving made from all sorts of fleece, including BFL, Merino, Merino and silk, Falkland wool, Romney, Corriedale, Targhee, Polwarth, and … yikes! Now I am more confused. I do know that you want wool, which will felt after washing. So do not use Superwash! This way the thrums will mesh together to create a nice soft layer inside the mittens…. right?
I am making mittens that I want to be very warm. Wool is my first choice so I don’t think I could go wrong with any of the wools listed, as long as they are not superwash. Bits of the roving will be pulled from the braid to match up with the yarn I use.
I ended up buying my roving from Paradise Fibers. I bought a merino and silk blend mainly for the color – I love the swirls of gold and pale green. Etsy shops also sell roving, and so do many yarn shops.

Bulky Yarn Ideas for Quick Mitten Knitting
Roving is puffy, so a worsted, chunky or bulky weight yarn would be nice for a first thrummed mitten project. Apparently you simply make smaller thrums if the yarn is lighter weight.
Here are some bulky yarn suggestions for knitting thrummed mittens.
Prices listed here are current to the writing of this post (Jan. 2022) and obviously may change.
- Wool of the Andes, Bulky – Knit Picks, $6.99 for 137 yds. per skein
- The Petite Wool, Bulky- We Are Knitters, $14.90 – $19.90 for 142 yds. (+/-) per skein
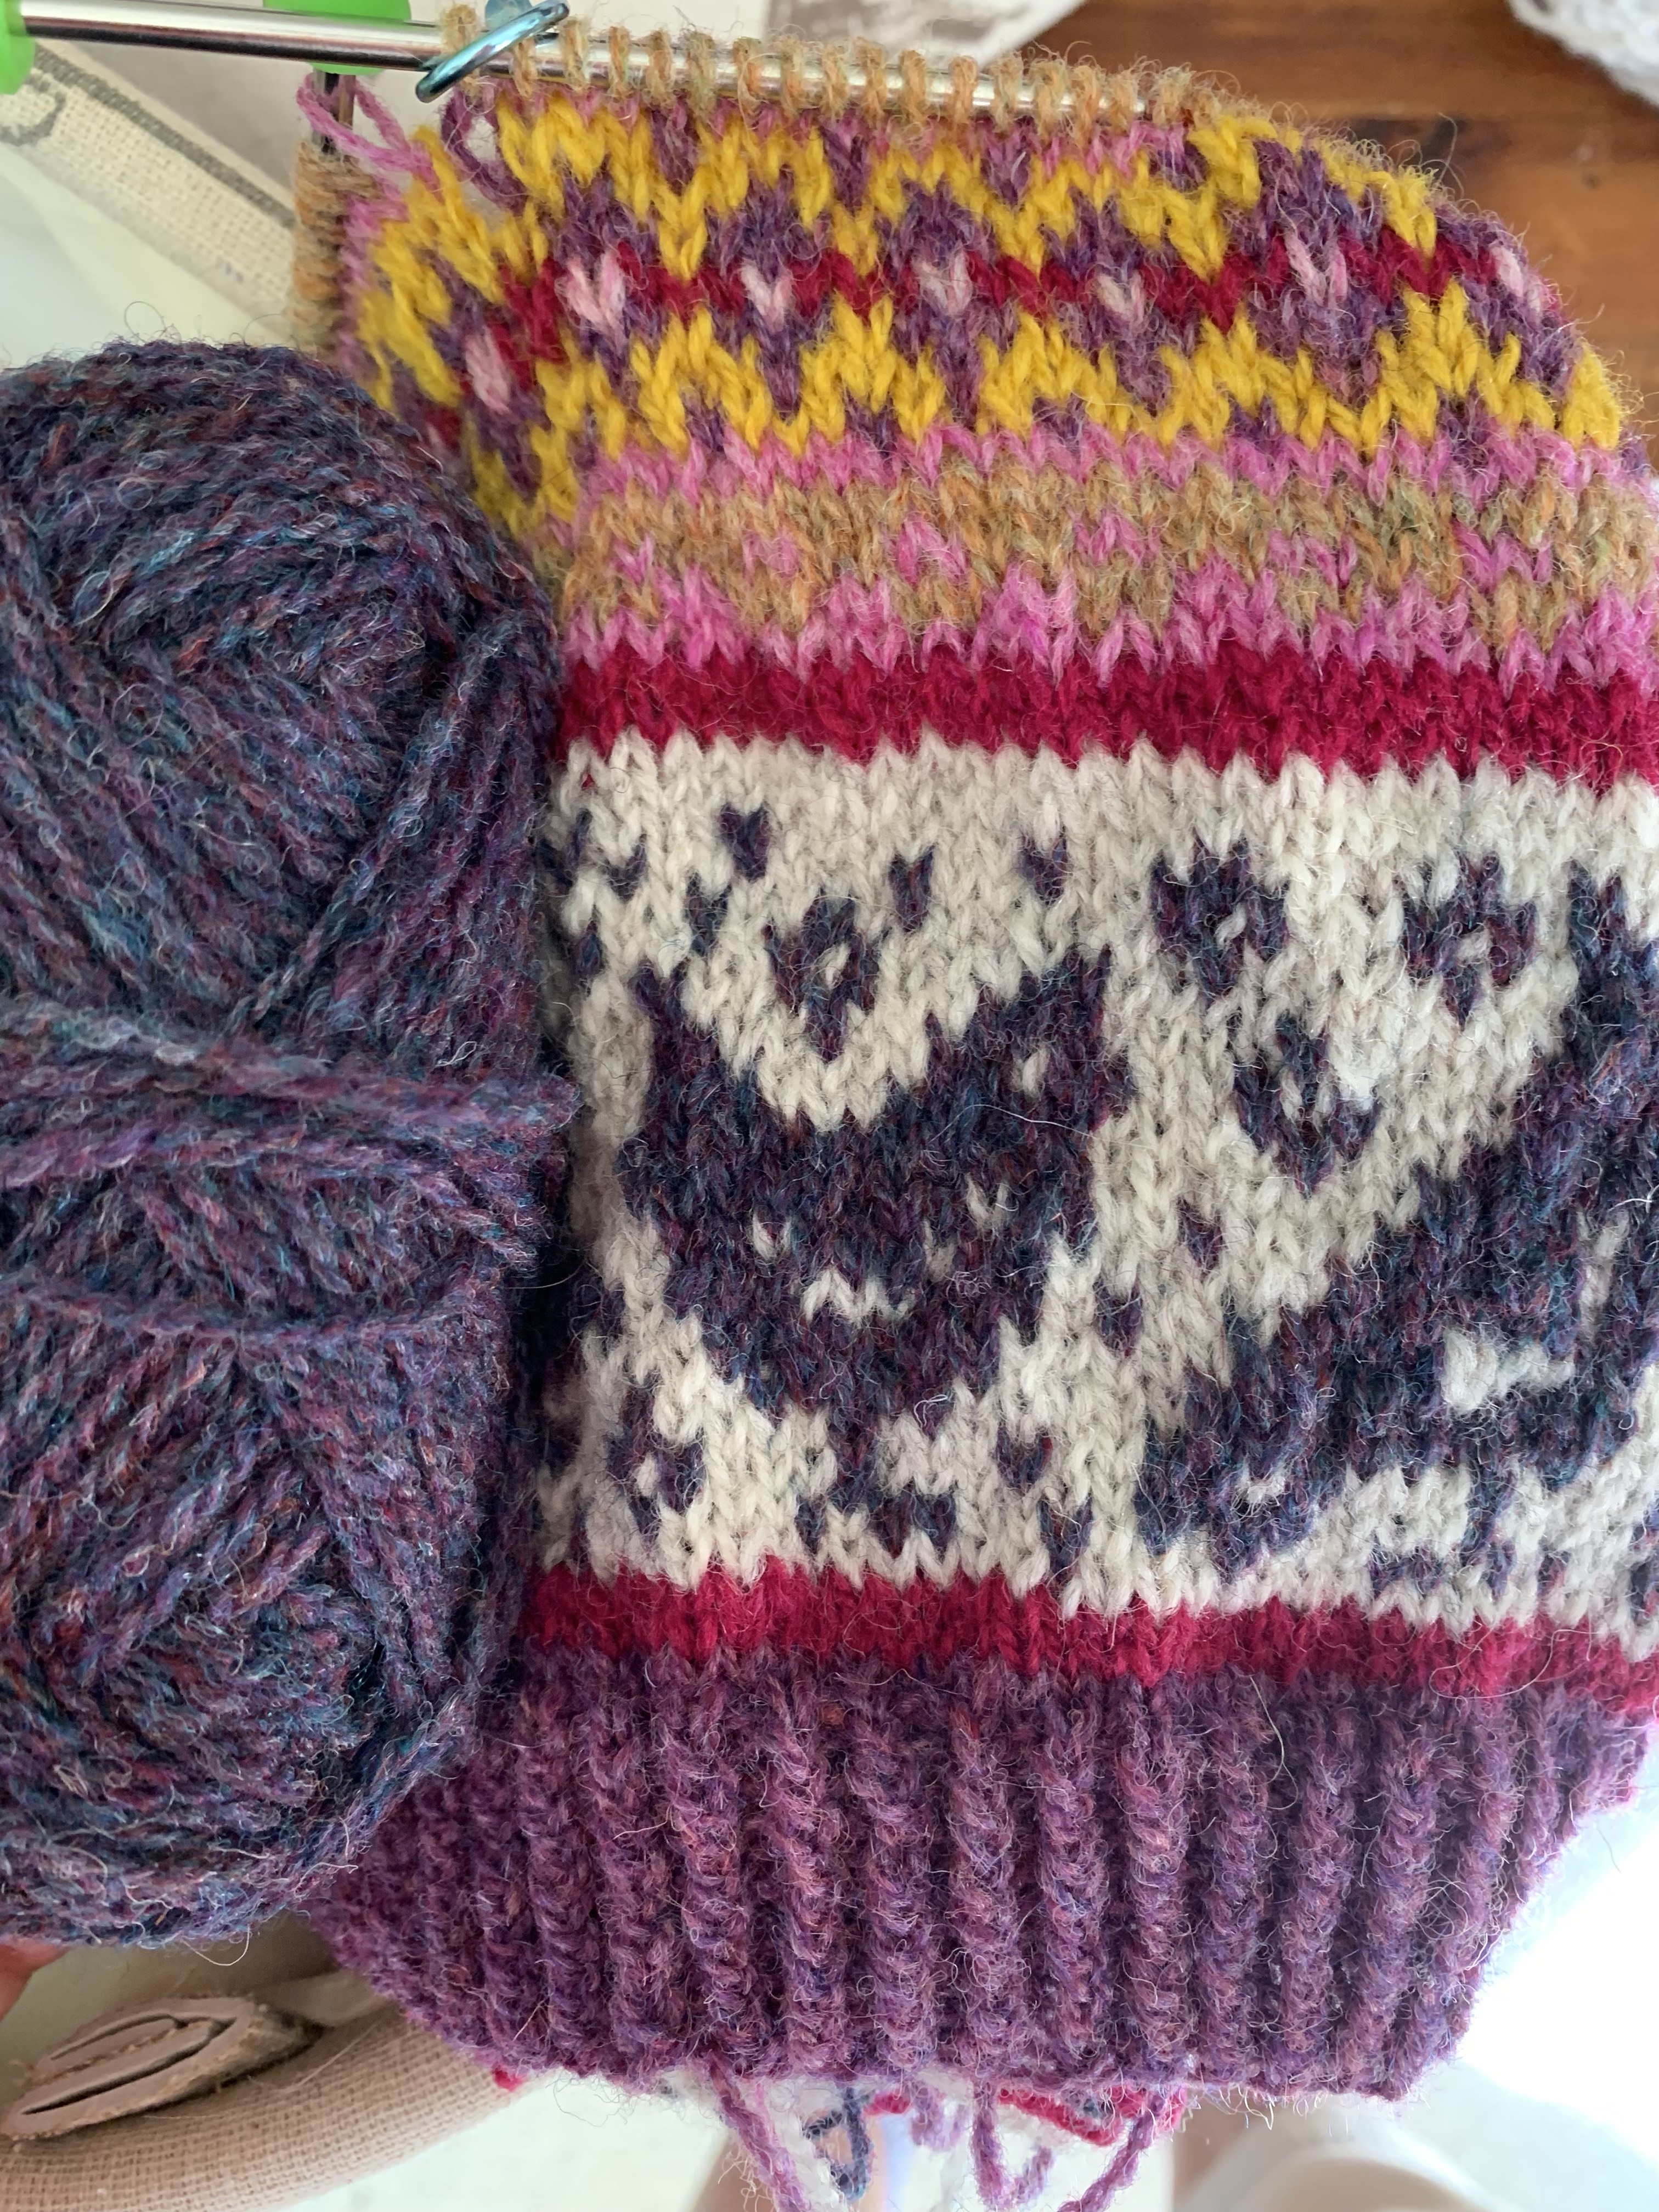
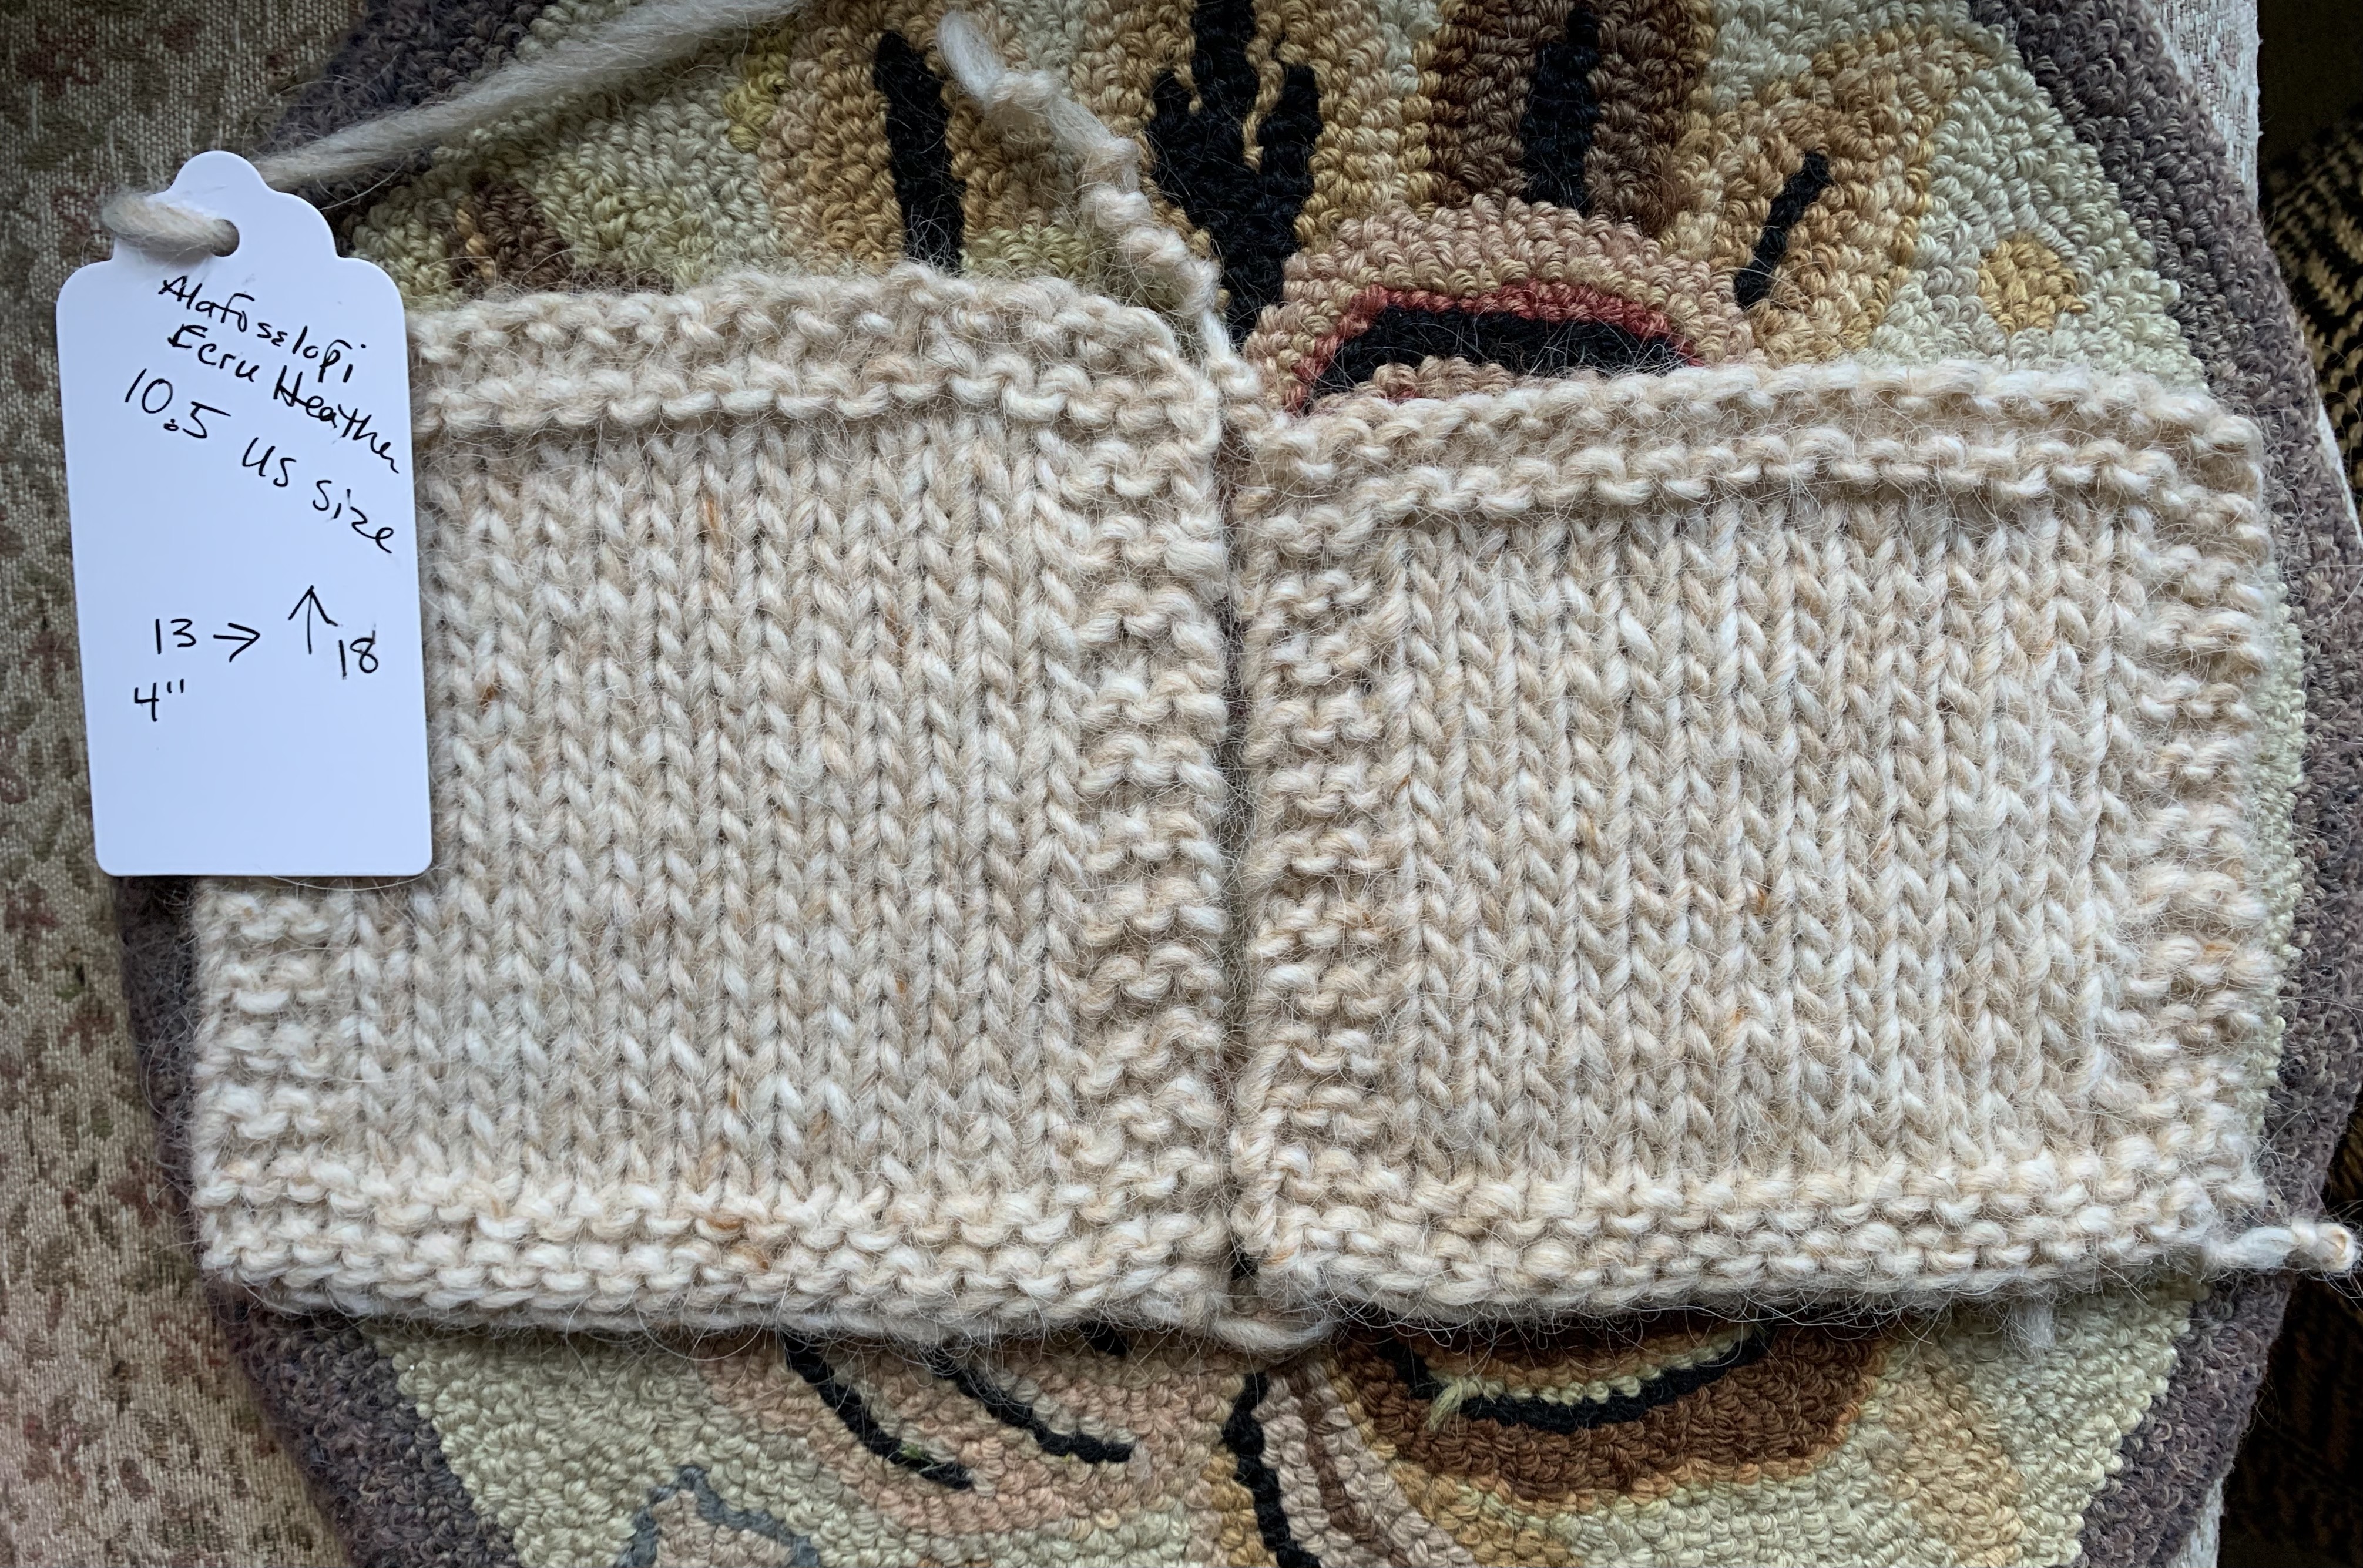
- Alafosslopi – Bulky – Istex Icelandic wool – buy direct from Iceland for about $6.29 per skein, or find it available in many US locations, usually for $10 each skein (109 yds). (I’m using this type of yarn for my thrummed mittens.)
Read about knitting my first pair of thrummed mittens on a post soon to come.