Curly Norwegian Snowflake Hat In Worsted Wool

After knitting the Skiff beanie pattern, I decided to knit the same pattern in the Watchcap style. I asked my daughter if she liked the style, since it would be for her, I wanted color input. She then was happy to give me some color ideas which ranged from “speckled white” to “gray blue”. She wouldn’t mind hand washing the hat, so I could go with beautiful and soft wool of some kind.

If you are a knitter, you may well know that many places are simply out of yarn. As we “shelter in place” due to Covid, lots of yarn suppliers are not supplying yarn. Colors can be hard to come by within our favorite brands.

In this case, I was searching for yarn by color, but also by good reviews. I have rarely knit with worsted weight yarn in the past. Quince & Co. had good reviews, and the colors I needed. This is my first experience using this yarn.

Each skein is 134 yards and I used all of the gray and most of the natural to make this hat. I had to finish the very top in the light color (see my last photo). There is not enough yarn leftover to make a nice, two-color pompom, which I think is needed. Also, I am a fairly tight knitter, so you may run out of yarn sooner.
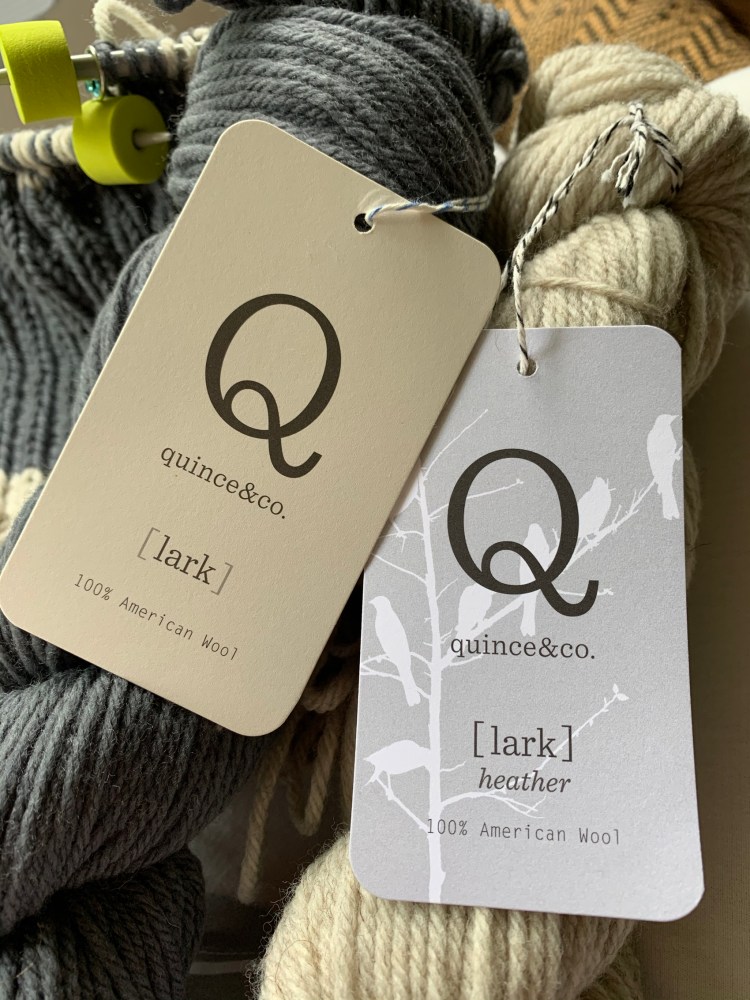
Quince & Co. American wool yarn in "Lark" colors Storm and Audouin
Quince & Co. yarn in gray (Storm) and heather natural (Audouin)
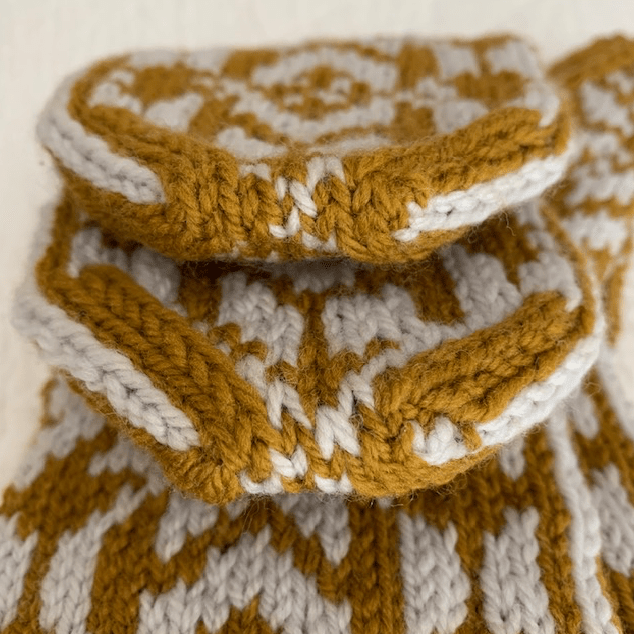
Gray and natural double brim snowflake hat
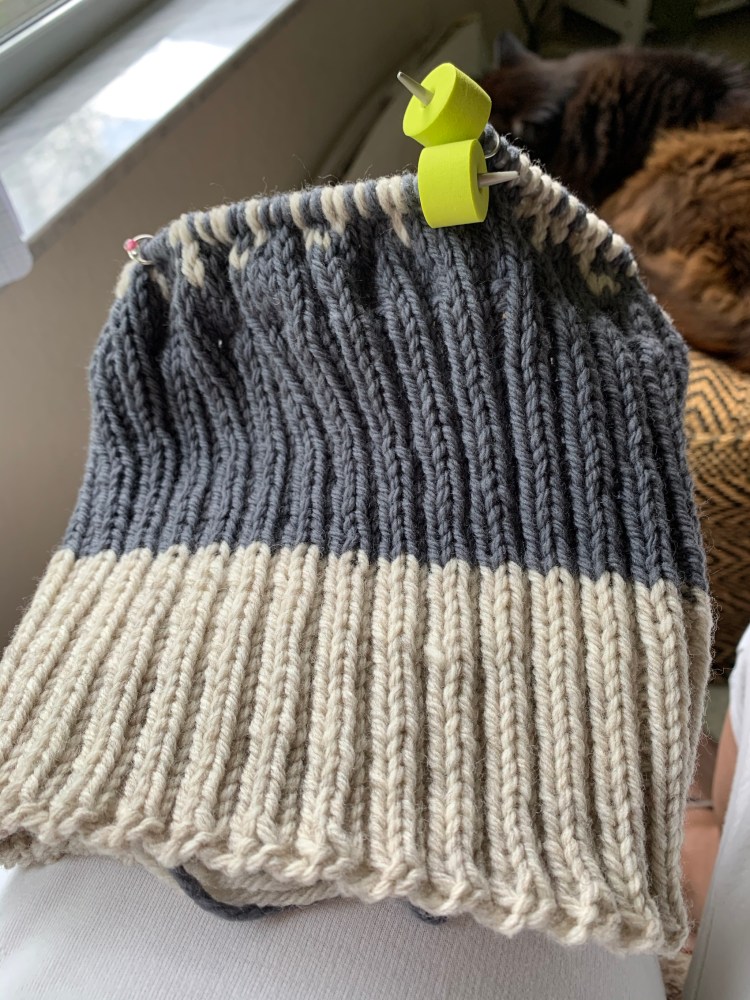
Ribbing to make the roll brim

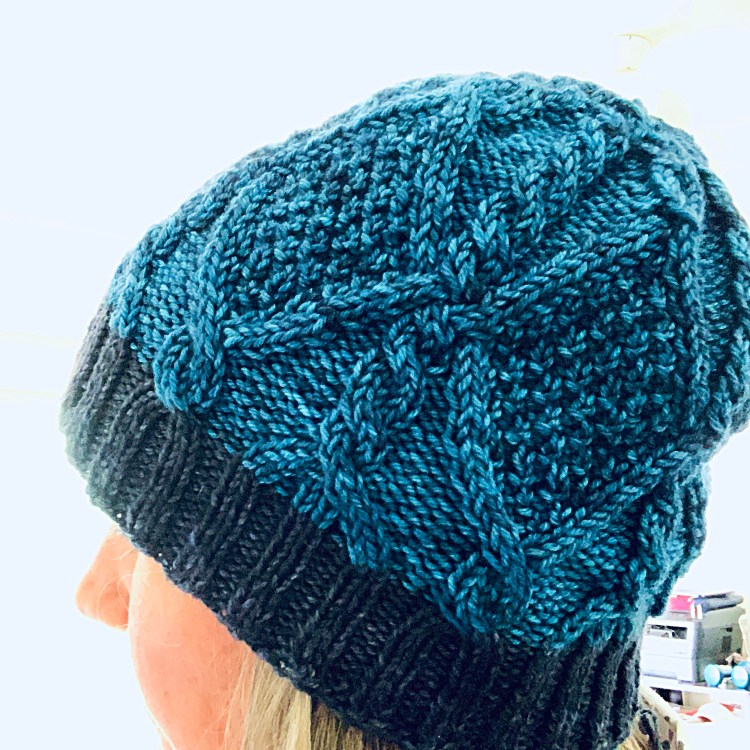
When I began the Skiff Watch Cap pattern, I used a needle that was too small, with the solid gray yarn. That Skiff cable pattern gives you a nice hat, but the pattern directions are difficult to follow. The long brim is the toughest part to figure out because so many size needles are mentioned. I had to tear out the first brim I knit, which was turning out to be too small, and I admit that I wasn’t really crazy about the yarn. In fact, I was thinking of returning the unused skeins. I have never returned yarn before. Neither color is really what I am looking for to knit the cable Skiff hat.

As I began the hat a second time, I used the natural color instead of the gray, which is listed as “heather”. I like the color better than the gray, but I thought it was too “dirty” looking for an entire hat.

These yarn colors just didn’t suit me for a solid color hat. This is when I decided to use up the two skeins – one gray and one natural – to make a different hat altogether. I needed a colorwork pattern that would work for 2 colors for the hat top section.

My snowflake chart
Following the chart

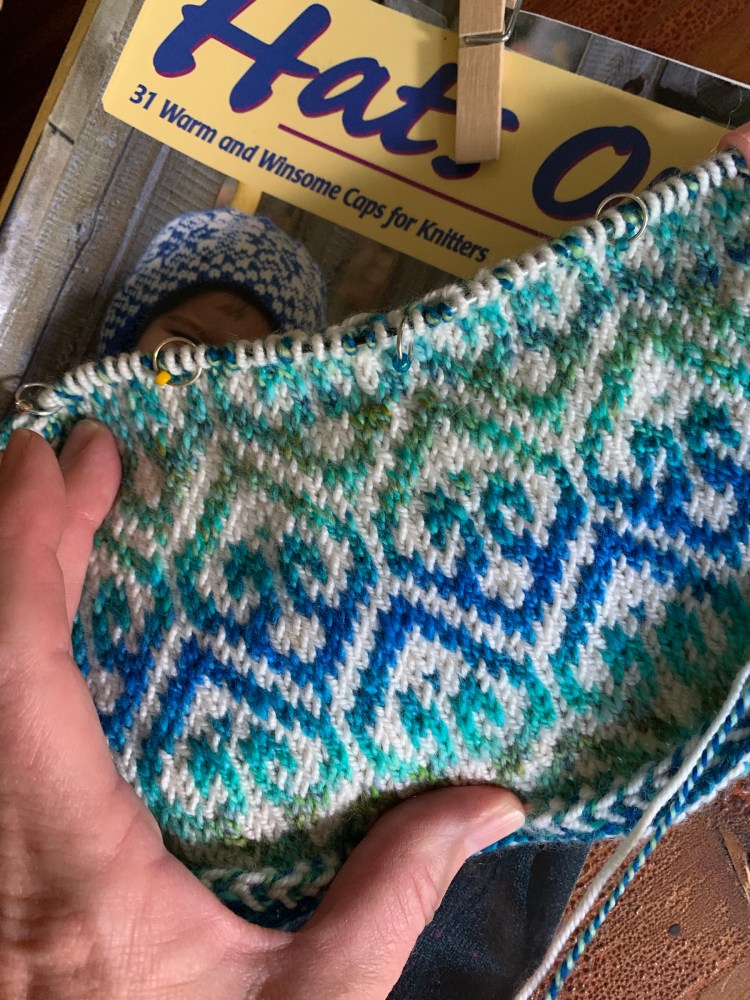
I’ve had this curly snowflake on my mind for some time and have planned to make a hat using it. Well, now is as good a time as any! I found the star in a section of a hat pattern in my “Hat’s On” book which is part of the Doublemassa Cap. (I am working my way up to knitting that big project.) Anyway, it’s exactly the type of Norwegian “star” I wanted for my hat.

So I copied the star part only into my knitting notebook (by hand, and made a couple mistakes) so it would be easier to read. Also, I could save it for other projects.

Rolled brim hat stitch stoppers
Beginning the snowflake pattern

To use up the yarn evenly, I made the second part of the brim gray. For the top, the gray would be the background color with the natural color used for the snowflake.
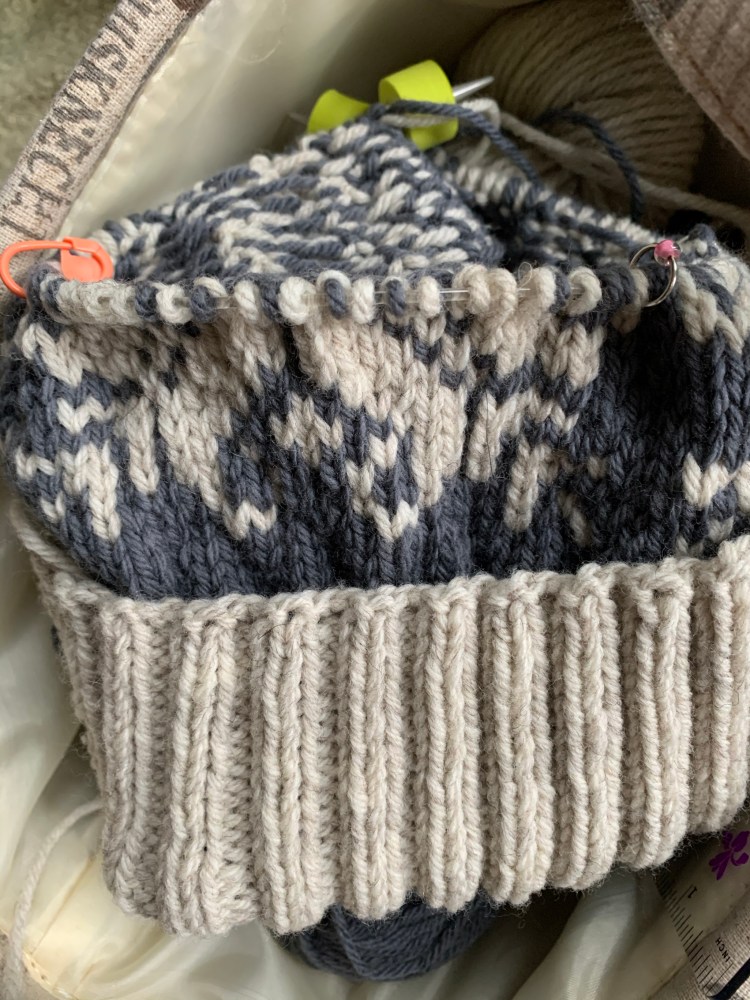
Norwegian snowflake hat in gray and heather off-white
Working my way to the crown

I like the Lark yarn much better when mixed. It seems to be excellent for colorwork knitting. And I do like the two colors together.
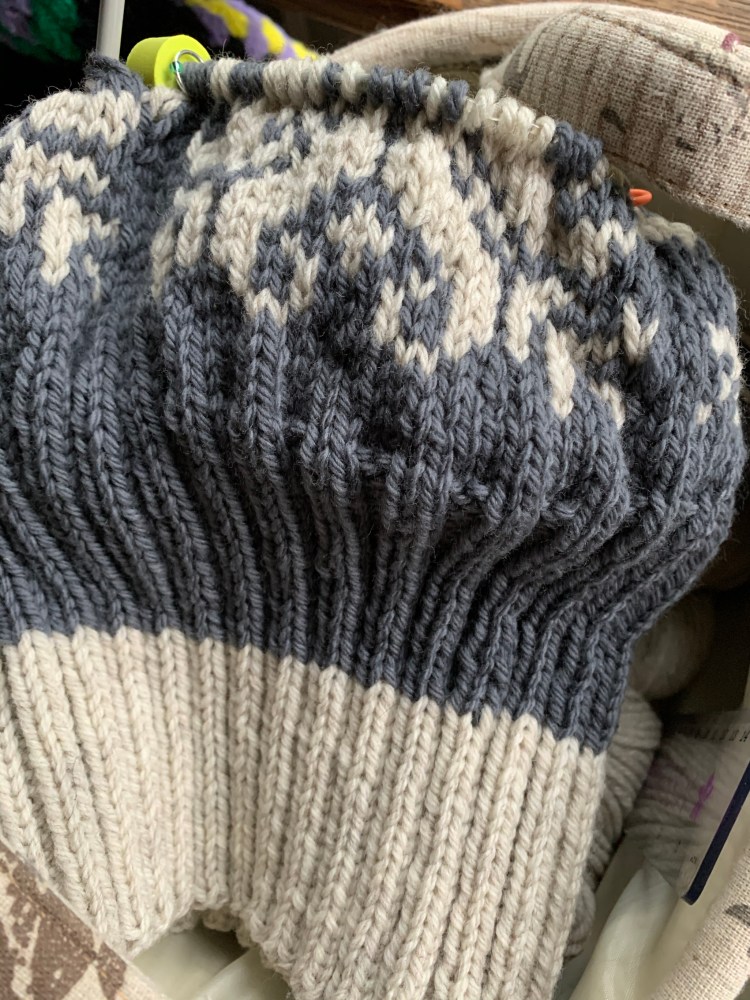
beginning the snowflake pattern
The snowflake pattern

How I Made This Hat

  • Size 6, 16 inch needle, Cast On 120 stitches (Old Norwegian / German Twisted) and join.
  • Knit 2, purl 2 around, in off-white for 2 3/4 inches, then gray for same length. Do more rows of white than gray, and there might be enough gray left to finish the top.
  • Change to size 8 needles and knit 3-4 rows around in gray.
  • Begin snowflake chart. Many books have snowflake charts of all kinds that are very pretty. Your pattern must fit the number of stitches. I had to add 3 rows of solid color between my snowflakes to make the stitches come out even.
  • Knit in gray for 2 rounds and place markers as below
  • Decreasing the crown: Divide into 20 sections of 10 stitches – PM at count of 10
  • Decrease round 1: K2tog, k6, SSK, SM, around (This is how I did the top, with knit rows between the decrease rows. The last row was a k2tog around leaving 4 stitches on each of 3 DPNs to tie off. Next time I would do the decreases differently for a smoother crown.)
  • The “star” is a bit big for this type of cap. In the Doublemassa, the star is used in the brim, and the hat is knit in fingering yarn.
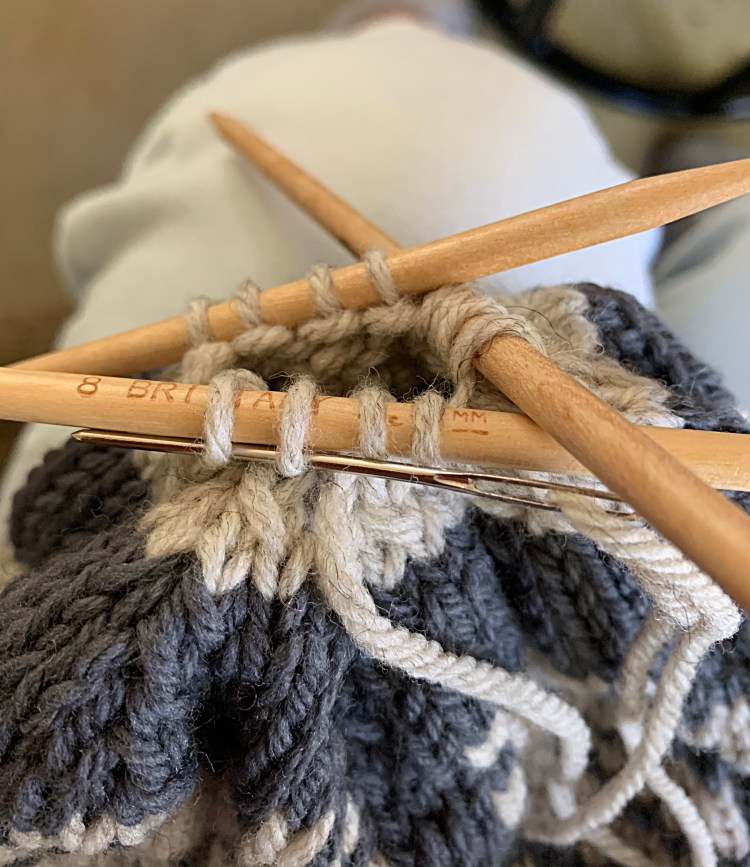
Crown finishing with darning needle picking up stitches

Finishing off the Top

The way I did the decreases left the top of the hat puffy and lumpy looking. This hat needs a big shaggy pompom, but I have used up all the gray yarn, unless I dig into a new skein. There is not much of the natural color left either.

I have to decide if I will keep the rest of this yarn or return it.

Snowflake hat finished
Used all yarn except for small ball of natural color
Top finished image of snowflake hat with bumps and white yarn used
Very top of snowflake hat is white because I ran out of gray yarn.

This hat really needed a big pompom, so I wound a new skein of gray yarn and created a gray and white pompom. Guess I will keep this yarn. I would like to use it to make another colorwork hat. This type of hat works well in winter winds, with double brim over ears and good thickness on top.
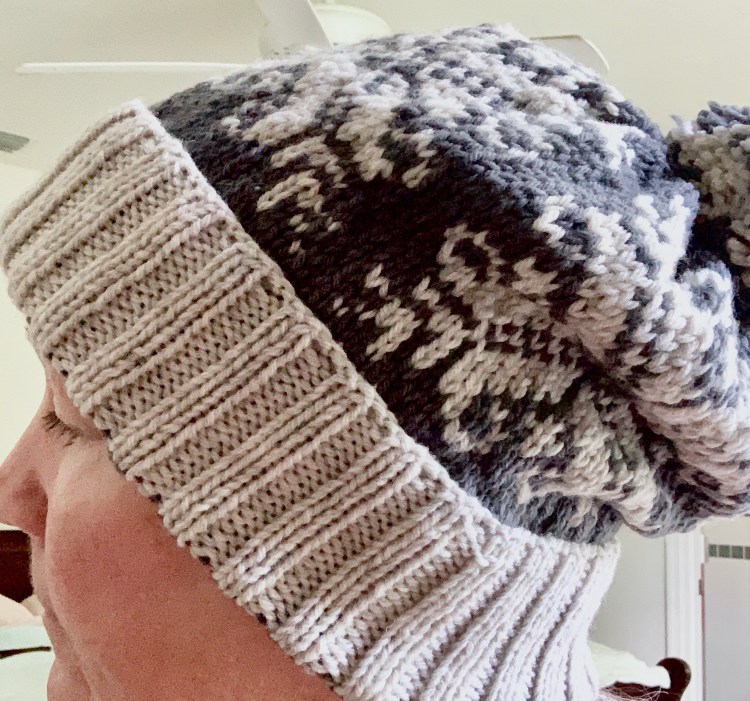
Snowflake hat slouch pompom
With extra on top, the hat can be pulled down to look slouchy

Pink and White Triple-Patterned Watchcap

The Triple-patterned Watchcap pattern comes from the “Hat’s On” book. I love the look of this little colorwork hat, but “little” is the key word here.

I should have known better. I knit tightly and this is colorwork – which tends to be tighter and smaller in the end than regular knitting. I decided to knit the size “small”. It ended up being about 15 inches around, which is a child’s size.

Triple patterned watchcap small
Unfolded, finished hat

Originally I had wanted to make this for my grown daughter, who does have a smallish head, but not that small. I realized, not too far into the knit, that this hat would be too small for an adult head. I kept knitting anyway to see if I liked the pattern after all. And I did.

Reminder: Stranded knitting does not stretch much!

This small size ended up measuring 16 inches around, just as the pattern noted for the Small size. If I use the same type of yarn, same needle size (I used size 6 as the pattern suggested) then each of the other sizes should give me the correct measurements. This is good to know because I do plan to knit this one again.

Triple patterned watchcap small
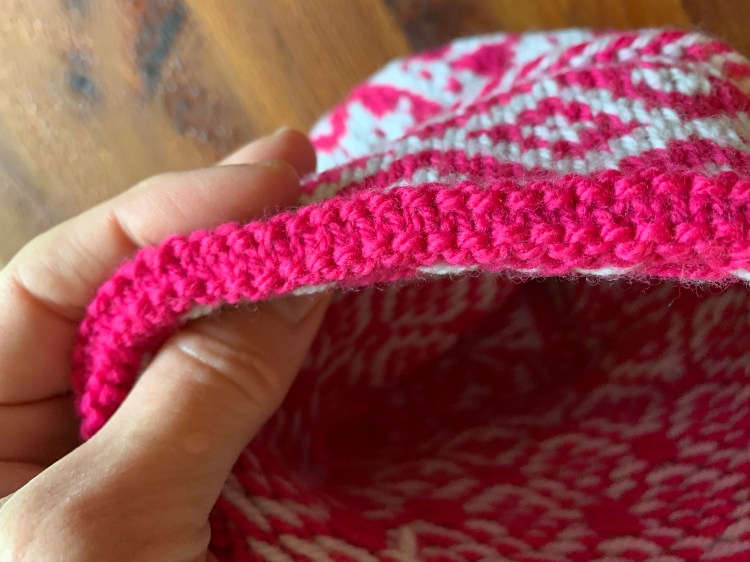
The edging at the fold

Some previous knitters of this pattern had swapped out the turn edging for a braid. I almost did that too, but I’m glad I didn’t. The turn rows for the edge, which end up at the bottom of the brim, work very nicely.

The brim of the hat is very pretty with the braid which ended up at the top and row of turning stitches along the bottom. The pattern is begun with the braid, worked to the end of the brim, then the work is turned (see notes below for turning) to begin the rest of the hat. This way the brim is made to fold up.

Triple patterned watchcap small
Crown

I made the second pattern section a little taller than called for and I honestly don’t know why. I was thinking the hat would be too short since it was turning out small. A short hat is not good, but I overcompensated.

I think another row of smaller snowflakes before the top section would be nice.

Triple patterned watchcap small
Finished!

The yarn I used is Arbor, by Brooklyn Tweed, and it’s become a favorite type of yarn for me (The link goes to Wool & Company). It is very soft, and creates a beautiful, squishy end product. The colors here are Azalea and Thaw.

Doing the “Turn”

The pattern says to work the cuff pattern for so many rounds, then “turn”. There is nothing else about doing the turn, but I have notes from doing a pair of mittens which are made in this manner where the cuff turns to begin knitting the rest of the mitten.

Simply turning the project and knitting in the opposite direction is what’s called for, but if it seems daunting, here are my notes:

  • Turn work inside out, with needles at top.
  • Slip the last worked stitch from the Left needle to the Right. This stitch will be the last stitch of the round.
  • Cut the unused color.
  • Begin knitting with the main color as pattern calls for.

Three Hats in Three Different Sizes

I’ve now knit three of these hats, and the green one is a Large – which will be gifted to my daughter. The XL size fits me perfectly, and was knit in another type of wool.

Triple Patterned Watchcap hats in three colors
Knit in sizes, XL (red), L (green) and S (pink)

More Hats I’ve Knit

Turkish Patterned Cap, Hand-spun Knitting Project

Hats, hats and more hats please! I don’t know why, but I love to knit hats. I’m pretty good at it, and I’ve knit enough of them to be fairly sure of size. The Turkish-Patterned Cap is my latest accomplishment. The pattern can be found in the Hat’s On book by Charlene Schurch.

The image here goes to Amazon, where the book costs around $10 for the Kindle version, or get a used book for around $13 (and up). For that price you will have 31 hat patterns to try out!

Although this particular hat is not a favorite of mine from the book, I’ve knit many others (nine, I think) that I would knit again. I really can’t say enough good about this hat knitting book.

The Turkish-Patterned Cap Review

Beginning the cap with a “Twined Herringbone” edge, or braid, was a first. I’ve done braids on mittens a couple times, but never a hat. I knew it wouldn’t stretch much, so I knit the size Large and hoped it would be large enough – it is. This hat will be a gift, and my daughter has a small head, so it should fit perfectly.

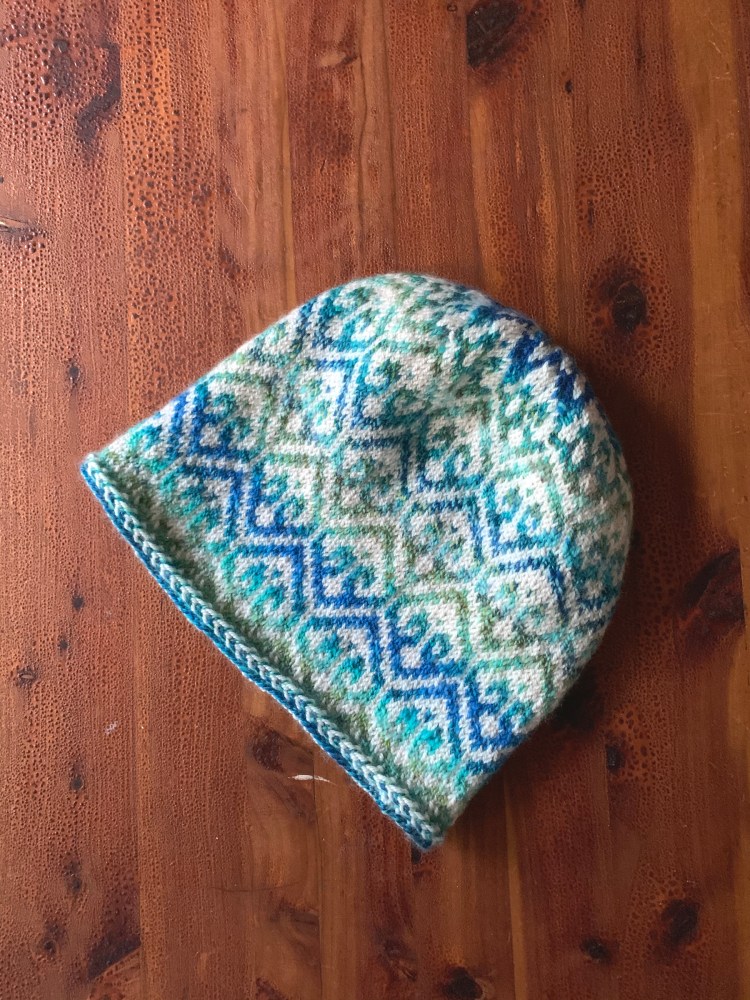
Turkish patterned cap stranded knitting
Size 4 circular needle using DK and fingering weight yarn, I knit size Large

I used the suggested needle size, but my yarn was not worsted weight. The circumference of the hat is spot on at 20″ around as the pattern says for a size large.

The hat was fun to make – until I reached the top decreases. I am not new to decreasing for a crown, nor am I new to colorwork at the crown. I knit two Katie’s Keps, and the Tettegouche hat without a problem. For some reason this pattern did not work for me at the crown. I did something wrong, and couldn’t figure out what. I had stitch markers for each section, but suddenly the colors were not matching up.

Please read the post about knitting my second hat like this one where I discovered the mistake in the pattern decrease area! I explain how to fix it- or how I fixed then problem.

Turkish patterned cap stranded knitting
I had trouble with the crown

All I could do was keep going and hope for the best. You can see that the “star” is not perfect, but oh well… . Because of this, and the fact that I am not crazy about the braided brim (for my own hat wearing), I won’t make this hat again. I think my daughter will love it! She does a lot of snowboarding and needs hats like this to wear beneath her helmet.

Turkish patterned cap stranded knitting
Washed and blocked hat

About the Yarn

I’ve been eyeing my hand-spun yarn stash and wishing I could knit something wonderful using those lovely skeins. They are labeled as “sock yarn” but I dislike knitting socks. Projects like this hat are perfect for this yarn. Stranded colorwork knitting is fun with this type of yarn.

Wound Up Fiber Arts sock yarn hand-spun
Beautiful hand-spun yarn

For the Turkish hat, I used my blue-green skein (fingering?) from Wound Up Fiber Arts (see the ball in my yarn photo). For my neutral color, I used off-white “Naked” Kunlun yarn from Miss Babs (DK) which I had bought on sale a while ago (it contains cashmere and silk). By the way, Wound Up Fiber Arts has limited amounts of yarn like this because it is hand-spun. I’ve considered myself fortunate to actually find yarn to buy on her site.

The Turkish cap pattern calls for two colors, and I thought this variegated yarn would make an interesting color gradient. While knitting, it’s fun to see the various shades emerge. Aren’t they pretty?

Turkish patterned cap knitting design
Gradient coloring due to the hand-spun yarn

Ever since I began knitting stranded colorwork mittens back in February, I can’t stop knitting items that require two yarn colors! It is such fun, and the end result is so nice. Those mittens could be knitted with this same yarn, which would make a pretty set.

Help With The Provisional Cast-on

The provisional cast-on is needed when you will have to go back at some point and use, or pick up, the stitches that were cast onto the needles to begin with.

Waste yarn – some yarn other than your main yarn – holds those stitches until they are used. This cast-on method combines both the working yarn and waste yarn to begin the project.

The gray yarn is my waste yarn, the pink is working yarn.

There are a couple of ways to get these two yarns onto the needles correctly. I use the crochet hook method because it is easiest for me.

#1. Cast-on Using a Crochet Hook

For the crochet provisional cast-on, I watch Purl Soho’s YouTube video. It is straight forward and easy to understand. However, it ends there, at the end of the cast on stitches. The first time I watched it, I was disappointed because I didn’t know what to do next!

HINT: After the crocheted cast on, you need to knit one row with the main / working yarn and then begin your pattern.

Provisional cast on with crochet hook

Below is a photo of the crocheted provisional cast-on I used for the Winter Morning headband. The gray yarn will later be removed as I pick up those pink stitches and graft them with the finished end of the headband to connect the loop.

first row of knitting on the provisional cast on
Knitting onto the provisional cast on

The Lion Brand page explains, and shows with photos, how to do this same cast-on. They also show how to pick up the live stitches / remove the waste yarn when the time comes to use those stitches.

#2. The Invisible Provisional Cast-on

As I was searching for help with the provisional cast-on, Lucy Hague’s blog tutorial popped up. I was specifically looking for advice on the type of yarn to use as waste yarn, and she mentions this in her article: Invisible Provisional Cast-on. Her information is all-inclusive, with photos to show what to do once all the stitches are cast on to the needle. In this case, you purl.

This type of provisional cast-on is made using two strands of yarn – waste and working – no crochet hook needed. Lucy shows us what to do; after the cast-on is made, how to begin the first couple of rows, what to do with the slip knot, and how to remove the waste yarn when the time comes. I have yet to find a video as comprehensive as her page.

But trying to knit while scrolling through photos is slow going. I did try to get the hang of this cast-on, but went back to the crochet hook! So I have not done this type of provisional cast-on. I mention it as an option.

What Type of Waste Yarn to Use?

Use a waste yarn with a color that contrasts with your working yarn. Lucy says to use a slightly thicker yarn. This makes it easier to remove the waste yarn when stitches are picked back up.

Do not use anything that is fuzzy. I learned that it’s more difficult to pick up those stitches when fuzz from the waste yarn gets in the way and is picked up into your project….! A smooth silky, or cotton, yarn may work best. If you have trouble gettin the gauge needle into the stitches, you can use a smaller needle to pick up the stitches. Then continue with the correct size.

Reasons to Do a Provisional Cast-on

Sometimes a scarf, cowl or shawl, will be knit from the center point to the end, like the little headband I mentioned above. If a pattern needs to look the same from both edges, or uses a cable that is knit one way, a Provisional cast-on might be used.

The headband / ear warmer I knit in bulky pink was knit from end to end and had to be grafted together to make the band. After I knit the length of the headband, I had to Kitchener stitch it together so it appeared to be one piece.

Kitchener stitch
In the middle of the kitchener stitch

Be Brave… Jump In… Try New Techniques

For a long time I avoided any knitting project that mentioned the provisional cast-on. Yikes… too scary..! My headband didn’t end up looking so great – because I needed practice on the Kitchener stitch. So I practiced. Then I knit some mittens that called for it at the top. I think they ended up looking pretty awesome!

Kitchener stitch
Kitchener stitch at top of mittens

I’ve used a lifeline before when knitting and had a heck of a time going back to pick up those stitches. So more frightening than casting on, was having to go back and picking up those stitches when the time came.

If you use a thick, smooth, yarn for the waste, and maybe use a smaller needle to pick up the stitches, you shouldn’t have a problem. Take your time, it’s not a race.

Every time we expand upon our knitting knowledge, a new world of projects opens up! Experience is key with all things, and that goes for the knitter’s world. You will never expand your knitting abilities unless you take a chance.

Try new things on a swatch before you mess up a project, if that makes you feel better.